• Please visit and share your knowledge at our sister communities:
  • If you have not, please join our official Homebrewing Facebook Group!

    Homebrewing Facebook Group

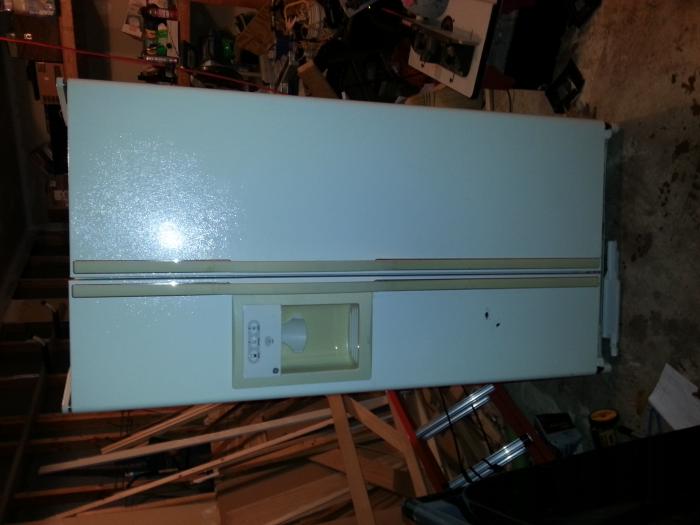
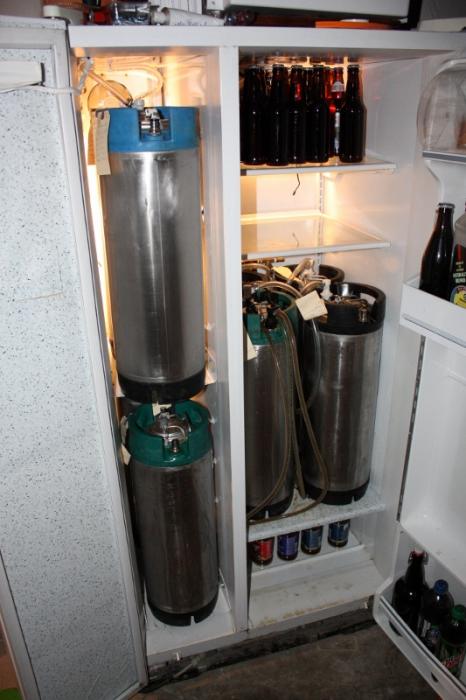
Fridgenstein Side-By-Side Kegerator / Fermentation chamber

Homebrew Talk

Help Support Homebrew Talk:

This site may earn a commission from merchant affiliate links, including eBay, Amazon, and others.
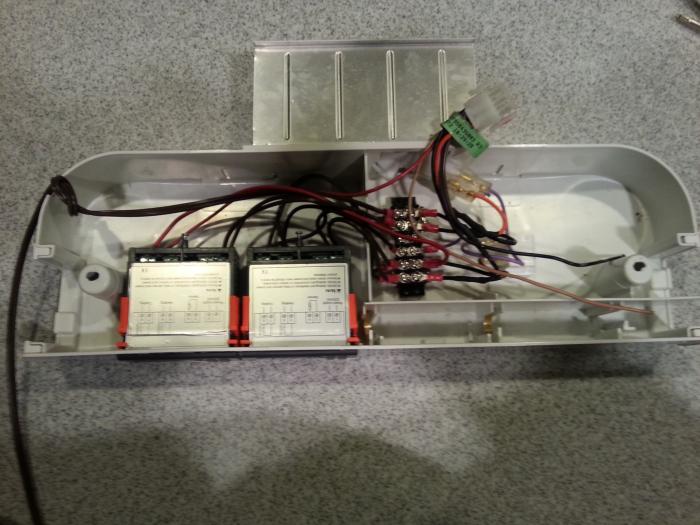
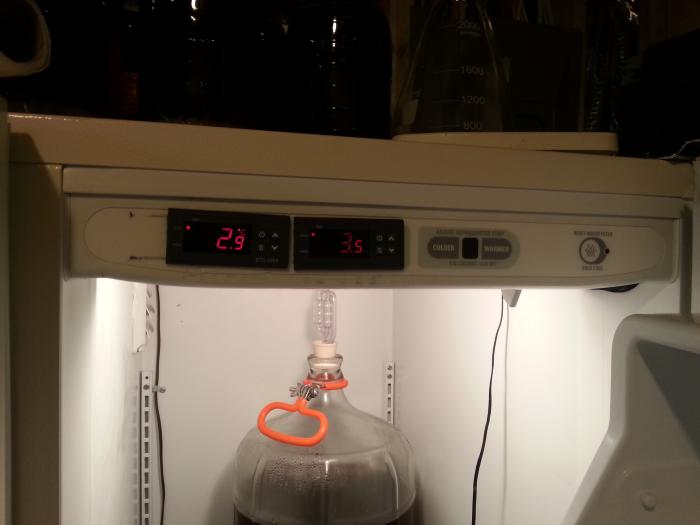
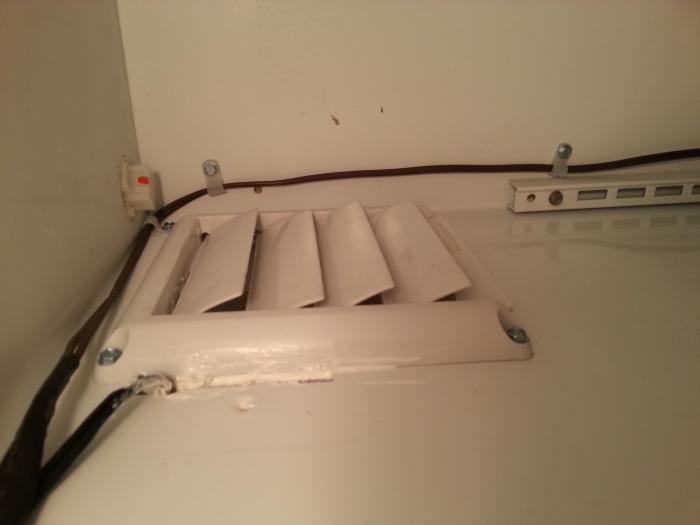
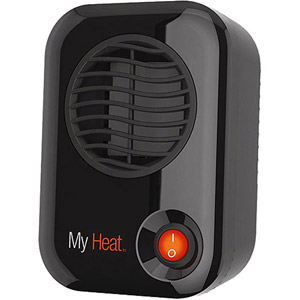
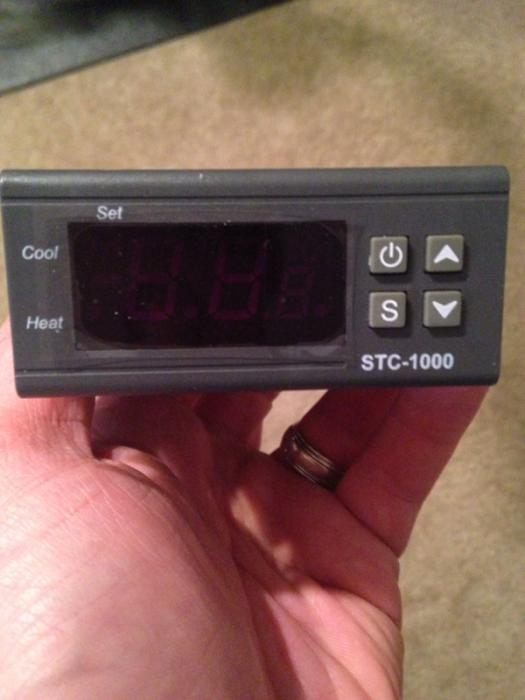
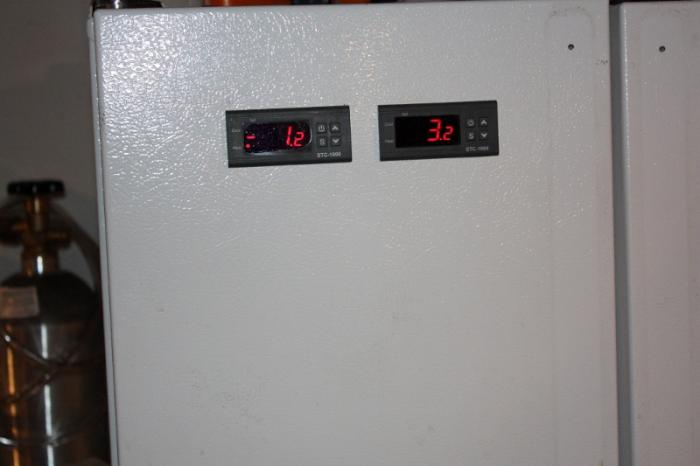
I have done this with great success. I took out the main board all together. I replaced it with a replacement defrost timer and a relay. I also added 2 120 volt pancake fans. I used 2 eBay controllers. I am able to keep both chambers at what ever temp I want down to the freezer temp. Defrost is not an issue.

I will take pictures tomorrow to show the end product.

Awesome, thanks. :mug:I look forward to seeing the result
 
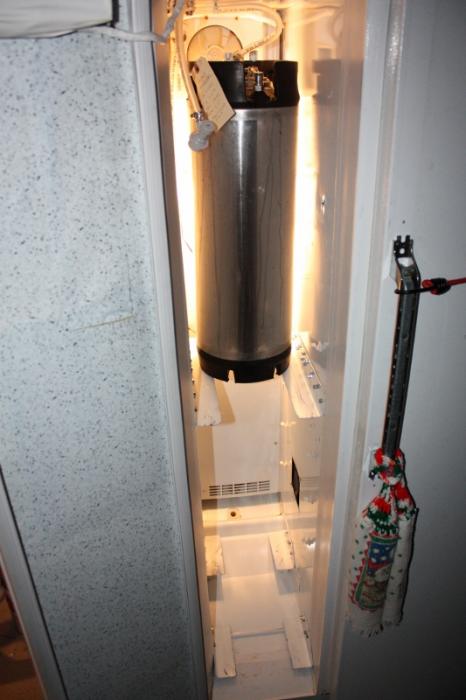
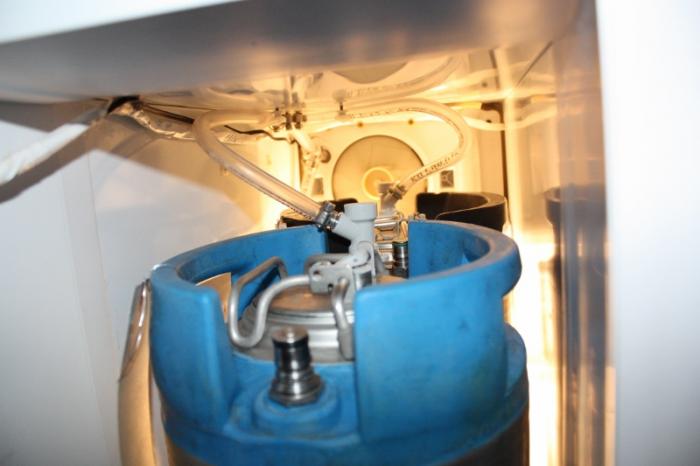
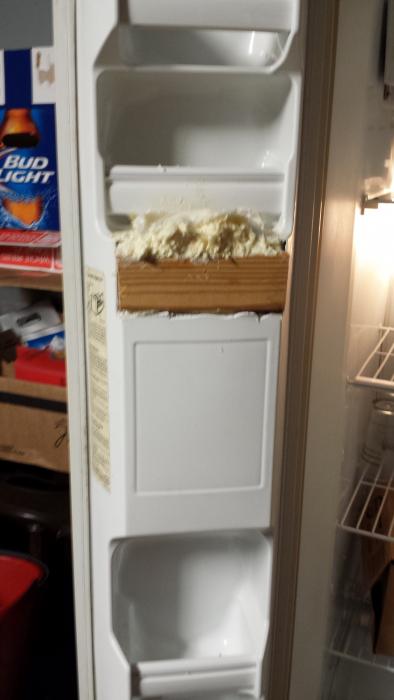
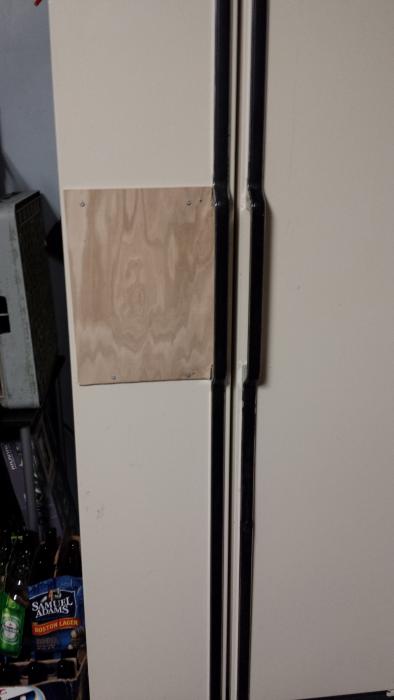
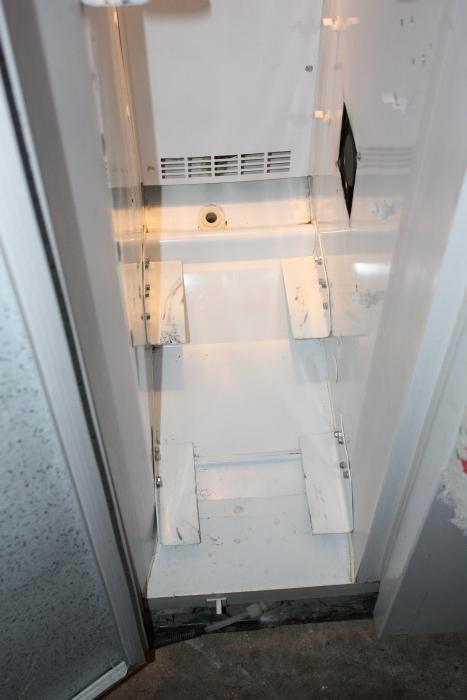
Ok here are some pictures I took during the install.

20121123_195153.jpg


20130103_203204.jpg


20130524_170040.jpg


20130524_170107.jpg


20130524_170121.jpg
 
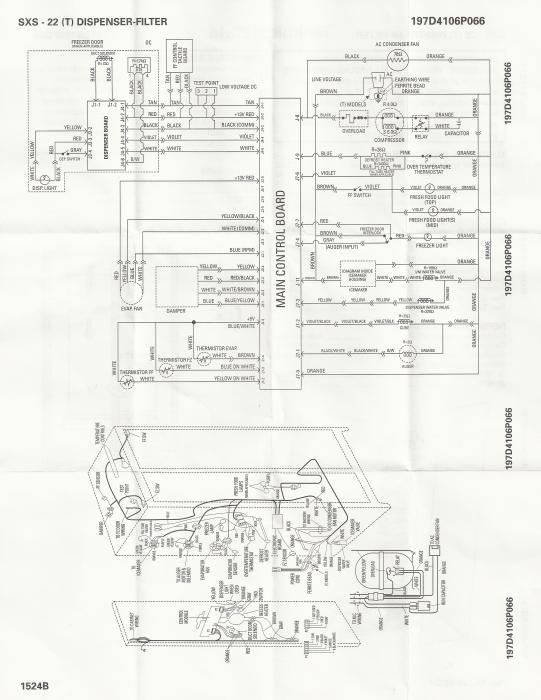
Here is the schematic.
The parts I used are as follows:

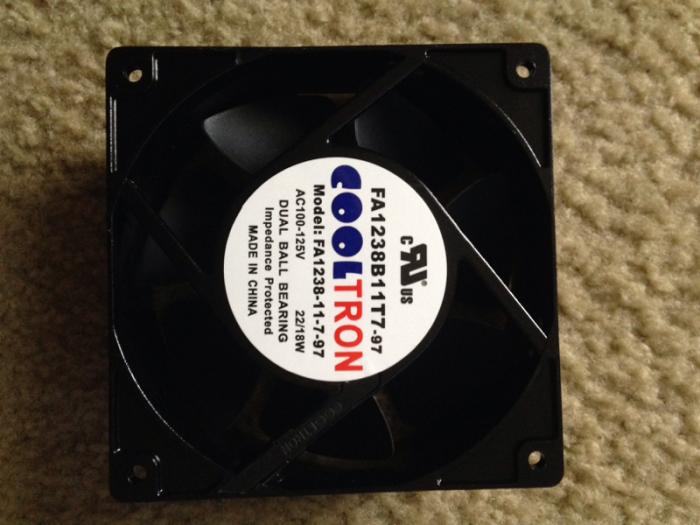
2 - 120 volt fan
http://www.amazon.com/gp/product/B004YUKWSW/?tag=skimlinks_replacement-20
2 - Damper
http://www.amazon.com/gp/product/B002FB65GK/?tag=skimlinks_replacement-20
2 - temp controller
http://www.ebay.com/itm/Digital-STC...030?pt=LH_DefaultDomain_0&hash=item20c5c422f6
defrost timer
http://www.ebay.com/itm/UET120-Supc...779?pt=LH_DefaultDomain_0&hash=item460f579913
Relay
http://www.grainger.com/Grainger/OMRON-General-Purpose-Relay-4FE15?Pid=search


I removed the mainboard. Placed the defrost timer and relay in its place and wired one temp controller to the relay and one to the fans and a heater.

If you need anyother help please ask

SCAN0027.jpg
 
Last edited by a moderator:
I am getting started on converting a newer GE side by side to a kegerator and ferm chamber. My GE has dials connectors to a digital encoder and I am trying to decide how to wire up the STC-1000s. Did you install a fan to move air from the freezer to the fridge side or are you leatting the fridge do its own thing in that respect?

Thanks,
Sean

Sorry for this late response; I missed your question when it was posed. I opted to let the fridge do its own thing with respect to cooling. The only issue I have is the need to manually defrost every 3 to 6 months and I know it's time to do this when cooling the refrigerator side becomes sluggish. I believe the source of this issue is due to the fact that every time I cut power to the controller at the completion of cooling, the auto defrost timer resets before it has an opportunity to run.

Blakeseven's strategy of utilizing the defrost mechanism seems like a good approach and I may consider running my freezer side heating to the defroster as well. The main reservation I would have would be the additional cycling due to the defroster necessarily cutting out the compressor which currently runs for any cooling on my system. (I'm happy with my setup so am not prepared at this point to gut the controller to the extent that Blakeseven did.) On the other hand, (as I just learned) many refrigerators (including my own) allow the auto defroster to also be run manually through the control panel or toggling the door switch and, depending on the setup, this may be a simpler and more desirable approach to rewiring the defroster.
 
Thanks, Bradley! I'm very happy with it. I think mistercameron deserves a great deal of the credit for his write up. My main deviations were the primitive adaptation of a digital controller, squeezing out every millimeter in determination to have a three keg system while maintaining as much of the existing shelving as possible, the reliance on the existing appliance light bulbs for heat, the routing of the wiring through the door, and leveraging existing screw holes for attaching the mounting plate which made that step very manageable.
 
Looking at the hand drawing in post #6, what would port #2 used for with the STC1000? Is that a switched leg? I would think a neutral leg would go here. #1 powers the unit but no return leg out. I see it is empty.
 
OK, brought the neutral leg from the light over and into #2 and all is well.
 
rxp said:
Thanks, Bradley! I'm very happy with it. I think mistercameron deserves a great deal of the credit for his write up. My main deviations were the primitive adaptation of a digital controller, squeezing out every millimeter in determination to have a three keg system while maintaining as much of the existing shelving as possible, the reliance on the existing appliance light bulbs for heat, the routing of the wiring through the door, and leveraging existing screw holes for attaching the mounting plate which made that step very manageable.

Thanks for the kind words. Your build looks great as well! It definitely took a lot of work researching and figuring out if this would all work. I'm glad it has paid off to help others. My next upgrade I'd to add a shelving on the freezer side so that I candor 4 kegs... Barely. The downside is I can't produce and drink beer that fast!
 
Thanks for the kind words. Your build looks great as well! It definitely took a lot of work researching and figuring out if this would all work. I'm glad it has paid off to help others. My next upgrade I'd to add a shelving on the freezer side so that I candor 4 kegs... Barely. The downside is I can't produce and drink beer that fast!

mistercameron, just an idea for you. I used light gauge angle iron attached with self taping screws to make a shelf with easy access and maximum air flow. The bottom is staggered to accommodate the hump. It is simple and easy to attach. Cheers

IMG_5124 (533x800).jpg


IMG_5125 (533x800).jpg


IMG_5134 (800x533).jpg


IMG_5135 (533x800).jpg
 
Wow, I haven't looked through this thread in a long time. I really like what I see. Eventually I plan on building out the freezer side shelving to fit 4 kegs, but as it is I've had trouble keeping a pipeline going with my schedule.

One thing that I have run into is that my fans are making some strange noises from time to time. It's like the bearings are giving out... Pretty loud screeching buzz. Usually a little smack will get them to quiet down. I wonder if the fridge is too cold or damp. I may try cheaper PC fans next time on a sacrificed phone charger.
 
I did this last night, and I plan on finishing as soon as get the rest of my equipment. Cheers

2013-11-28 00.06.14.jpg


2013-11-28 08.25.35.jpg


2013-11-28 08.24.57.jpg
 
Any ideas on how to keep the temp. up in the freezer without adding the temp controller yet?
 
Jupapabear said:
Any ideas on how to keep the temp. up in the freezer without adding the temp controller yet?

I've read a few threads about adjusting the internal thermostat to allow chest freezers to operate at fridge temps.

I'm hoping this will work with my side by side kegerator/fermentation locker build...

One idea you could look into
 
I found the coarse temperature screw. Now it's just trail and error to find my sweet spot.
 
Gave up on that, just finished installing the STC-1000 with out a wiring diagram. Trail and error, and some luck got me here. It's programmed similar to OP. Thanks for posting your experiences, and for the replies. Now the SWMBO will be happy to see me out of the garage. Cheers
 
Two questions:

What type of tool/ instrument should I use to cut into the center wall to place the fans?

What method are you using to hang/ mount the dual body regulator?

I am just looking to have two kegs on the serving side. I think that I now have all of the parts I need, the schematic, and I have completed all the initial tear out and prep work complete. Time to cut out the holes for the fans, wire it up, and make it look nice. Any suggestions would be great. These threads have been such a big help!!
 
hawkinst7 said:
Two questions: What type of tool/ instrument should I use to cut into the center wall to place the fans? What method are you using to hang/ mount the dual body regulator? I am just looking to have two kegs on the serving side. I think that I now have all of the parts I need, the schematic, and I have completed all the initial tear out and prep work complete. Time to cut out the holes for the fans, wire it up, and make it look nice. Any suggestions would be great. These threads have been such a big help!!
I have two STC controls that I am going to use with two PC fans and a small heater. I think I am going to put toggle switches on each device. That's the plan anyways...

image-2976539656.jpg


image-472524381.jpg


image-2771857701.jpg
 
Two questions:

What type of tool/ instrument should I use to cut into the center wall to place the fans?

What method are you using to hang/ mount the dual body regulator?

I am just looking to have two kegs on the serving side. I think that I now have all of the parts I need, the schematic, and I have completed all the initial tear out and prep work complete. Time to cut out the holes for the fans, wire it up, and make it look nice. Any suggestions would be great. These threads have been such a big help!!


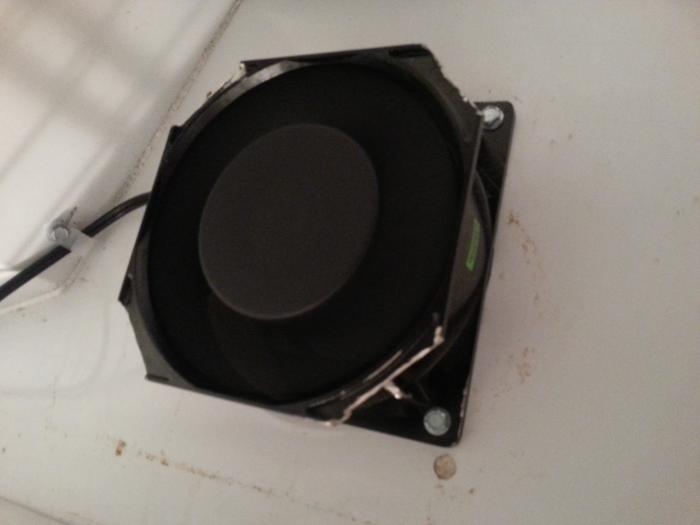
I used a Dremel with a metal cutoff disc. I put the fan up to the panel where I wanted it and traced the outline, then cut on the lines. After the cutout was removed I cut out the insulation with a utility knife. If you cut this accurately your fan will fit tightly in the hole. I then fitted and placed the fan in the hole, and using a drill, I ran a small drill bit through the mounting holes on the fan to mark the other side of the panel. This side I cut out a smaller hole. Just enough to give an opening for the fan. This way I could fit the fan in the cutout, and run the mounting bolts from the smaller cutout side. Oh yeah, its easier to start this from the fridge side as there is more room to work.

Another thing, I use two fans, both installed with the same procedure, one high, one low, only they each blow in opposite directions, creating an effective circulation, and evening the temps on both sides. I use the entire fridge as a kegerator so I want it all the same temperature. One fan is wired to the main STC1000 with the temp probe on the fridge side and comes on with the compressor. The other fan is wired to a separate STC1000 with the probe on the freezer side and is attached to the heat relay. This way if the freezer side drops below the desired temp this fan will come on independent of the compressor and even up the temps.

I also use 110v fans that can be wired directly.
The STC 1000 can be installed in the door using the same Dremel cutoff wheel and procedure starting by marking the outside, cutting out the hole, removing insulation, and marking the inside hole with w drill bit from the outside. Cut as little as possible to create a tight fit, and a neat appearance.

First pic is of the installed fan.
The second is of the installed STC 1000.

IMG_5123.jpg


IMG_5116 (800x533).jpg
 
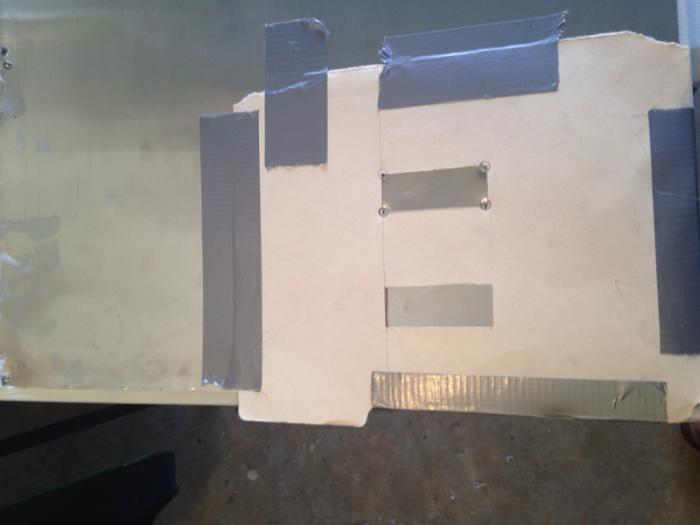
Thanks for the help! I ended up taking off the door, created a stencil, and used a jig saw to cut the holes for the STC's and the fans. The STC's and fans are in place. I removed the shelving on the doors and used a sheet of roofing valley metal to dress it up. I still need to wire it and clean it up but I'm making some progress.

image-1586645810.jpg


image-4240172691.jpg
 
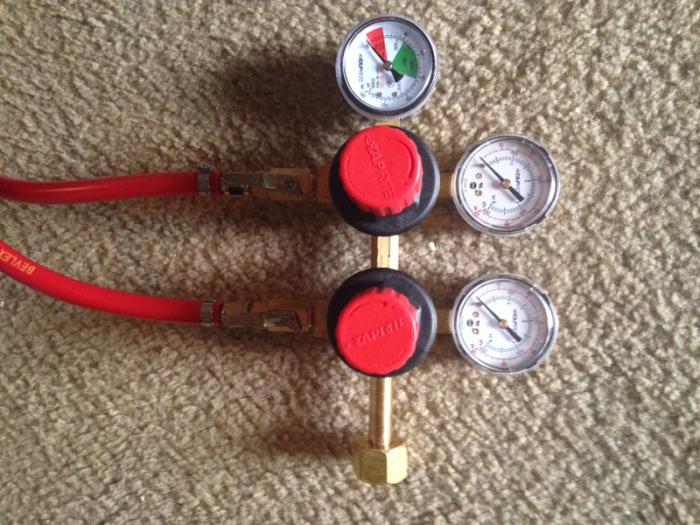
One issue or concern that I have is where to place or how to install the CO2 regulator. I have the one below in the picture and my initial thoughts are to place it in a "compartment" with the CO2 tank in the freezer side under where the kegs are going to be. Thoughts?

image-3856648784.jpg
 
I put mine outside the fridge, and ran the gas line through the same hole the water line ran through for the ice maker. It saves room for more kegs in our small freezer compartment.
 
Ok, I'll see what I can do. I would like to keep it contained inside but it may not work out. I want to be able to read and access the regulator so having it inside may make that difficult. Deciding that and finishing the tap door are the next steps. thanks
 
I reused the rubber stopper my water line was held in my. I just had to make a small cut on the inside and force it to fit my gas line. Snug as a bug in a rug.
 

Latest posts

Back
Top