• Please visit and share your knowledge at our sister communities:
  • If you have not, please join our official Homebrewing Facebook Group!

    Homebrewing Facebook Group

Finally...beginning my electric brewery

Homebrew Talk

Help Support Homebrew Talk:

This site may earn a commission from merchant affiliate links, including eBay, Amazon, and others.
dburgette said:
I just ordered that same display. I saw a thread discussing it and looked like a nice alternative to ordering a 3rd pid for just temp display. Most of the people that have it said it was working for their needs.

That makes three of us. I had been debating trying to wire up a switch to go back and forth between two rtds but this is much simpler especially that I can check temps at any time without screwing up the pid programming. The plan is to have one quick disconnect in each vessel as well as somewhere on the herms line, them I can move either of the two rtds wherever they need to be. Hopefully it fits in my box.
 
PM JREMS if you have (still have) questions on add this display to your CP, he has the same one in his and it is very helpful, I plan to use the same on my build.
 
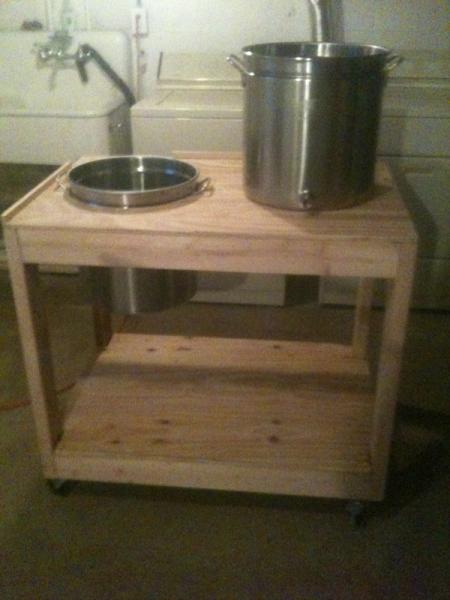
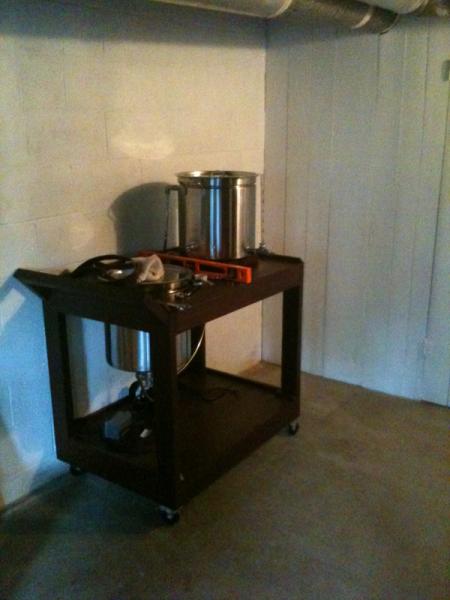
Hadn't done much work on the system lately, but this past weekend I had some time to begin building the brew table. I'll be adding casters. Here it is in it's current state. No work on it tonight as I'm getting pumped for the championship game!

image-93070637.jpg
 
I'm intrigued by your brew-stand with the hole in the top. Are you basically "cheating" by calling it single-tier but actually putting the kettles at different levels? :)

I scored a stainless steel table with an extra top, so I'm trying to figure out what height/style base to build for the extra top. Would it be a good idea to build the table, say, 3 feet tall? That way I can see down into my kettles and add ingredients, etc much easier.

How did you choose your design?
 
What size box would you guys suggest for the pid?

Kal's build uses an enclosure that is 16" x 16" x 8" Inside, there is a back panel that takes up a bit of space... I could measure one of my PIDs as I'm just in the part-acquisition stage right now, but I know when I bought my enclosure, it was $100 w/ free shipping and they were out of 16x16x8 so sent me 20x20x8 and I'm glad for the extra space. I think 4.xx might be a bit shallow, unless you mount your controls in the side (something I considered doing with a smaller enclosure).

Hope this is helpful... now back to drinking my Imperial Stout.:mug:
 
Newbrew,

Not really calling it a single tier per say, but I'm using bottom drain with just a single pump. If you look at the link to the build I'm emulating you can see how he has his system plumbed. The further into the build I get I'm wondering if I should have just done a full blown Kal build, but I really want this build to remain "simple". I want a nice easy system too minimize cleaning. That's my problem with my single tier 3 keggle propane system. I hate cleaning the keggles. I'll use a bag for the mash in the system, so cleaning should be CIP.


Not sure about bracing the mash tun. Might have to fill it with some weight to see if I get any buckling. If so, I can rig up a brace. The best thing about the stand is that's it's cost me about $15 dollars right now. Had all the wood on hand. The $15 dollars has gone into some trim I bought. I got it cut tonight but didn't take any pictures. I think at the end the stand will cost about $25 dollars including the stain I just bought.
 
Well I'd try loading the pot up with water overnight before you go staining. Yours looks like the newer tack-welded handles, right? Unfortunately I have one of each, don't match too well :p. But anyways, I've lifted the pot up by riveted- handles before while it was full, and while it worked I wouldn't have felt save doing that permanently. To the best of my knowledge tack-welding isn't very strong either.

Plus I'd like to think that's a lot of weight for two two points table-top wise.
 
I have started my list and checking it 1000 times.

I have a spikebrewing pot and am doing extract brews for now. Looking to do full boil 5 gal batches.

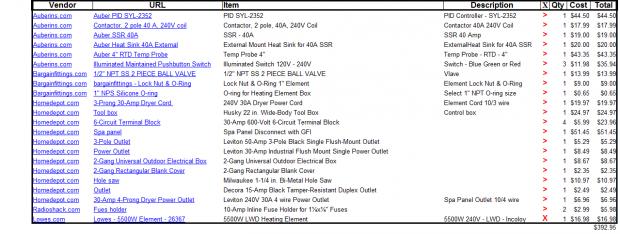
Here is my list let me know if I have missed something. I want to start basic but leave room to upgrade if or when I go all grain.

Parts List.jpg
 
Crappy phone pictures. Sorry don't have a camera but here is an update to the stand. Added some trim and the cart handle. Going to add a cradle system for the mash tub. Should help with the weight. Then I have to figure out how to attach the control panel. I don't know if it would add too much weight on one side. Any thought? After that the. Stain and begin control panel work! Still a long way to go.

image-1552296001.jpg
 
nspaldi0 said:
Crappy phone pictures. Sorry don't have a camera but here is an update to the stand. Added some trim and the cart handle. Going to add a cradle system for the mash tub. Should help with the weight. Then I have to figure out how to attach the control panel. I don't know if it would add too much weight on one side. Any thought? After that the. Stain and begin control panel work! Still a long way to go.

Looking good. Why not attach the control panel to the right side of the stand with a constructed arm or an adjustable TV mount?
 
I'm thinking about using a 2x4 on a bracket that I could swing out to the right. I would have it swing back to the front for storage. I'm just not sure how much the finished control panel will weigh. I might need to finish the control panel then work on mounting it.
 
I'm thinking about using a 2x4 on a bracket that I could swing out to the right. I would have it swing back to the front for storage. I'm just not sure how much the finished control panel will weigh. I might need to finish the control panel then work on mounting it.

I'm taking my unfinished control panel to work today for show-and-tell so I'll go ahead and weigh it.... let's see...

It weighs 29 lbs with about 1/2 of the 'guts' installed and no wiring... I'm guessing that will add an extra 10 lbs or so. I'd say, if your mounting location can handle 50 lbs of weight, that should allow some leeway for pushing/pulling when you are attaching cables, etc.

Edit: They did send me the larger 20 x 20 x 8 enclosure so that could contribute to the weight.
 
My panel is nowhere near 30 lbs. It's heavy, but more like 15 if I recall correctly. I don't have a full-size Kal clone though. Mines 12 x 12 x 8 with about half the goodies as his.

Protip: If you're going to use a TV wall mount make sure you install the mounting bracket on the back before you wire. I had to undo all of my wiring to the receptacles and dist. blocks so I could take out the backplate and rotate the mounting plate. I put it in freakin' vertically instead of horizontally.
 
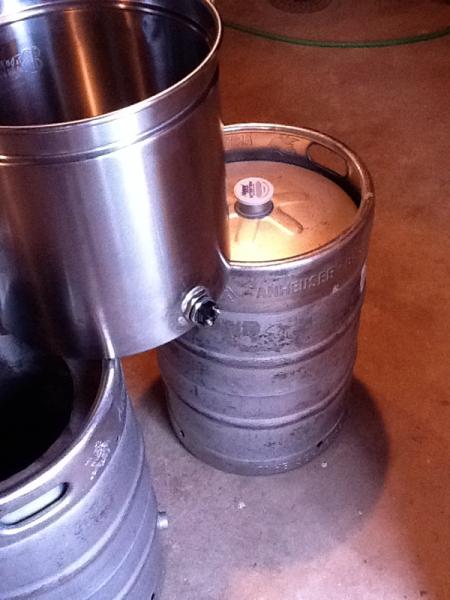
Got the element from HD, solder the locknut and doing a leak test now. Have to say this was by far my worst soldering job yet. I've done many fittings between my propane rig and this system but never done the locknut. As long as it's leak free, I don't care since it will be out of sight.

image-1142767112.jpg


image-1180342375.jpg
 
Leak test was successful. I ordered the panel and 3 way ball valves yesterday. Man this little system is becoming expensive!
 
nspaldi0 said:
Leak test was successful. I ordered the panel and 3 way ball valves yesterday. Man this little system is becoming expensive!

Nice! Yea it def all adds up fast!
 
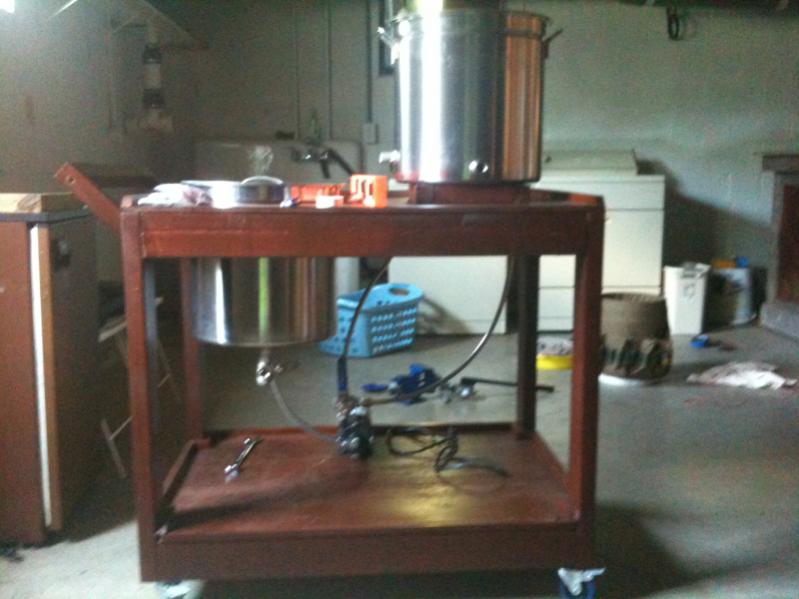
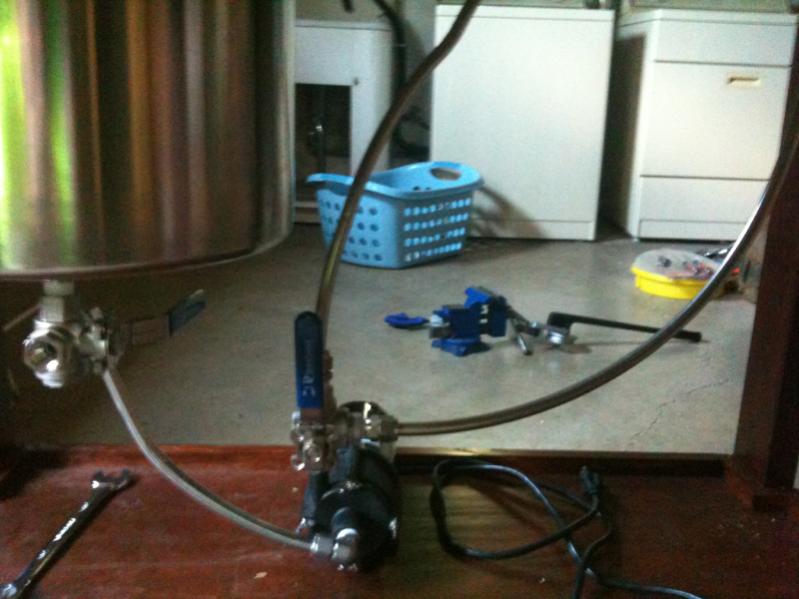
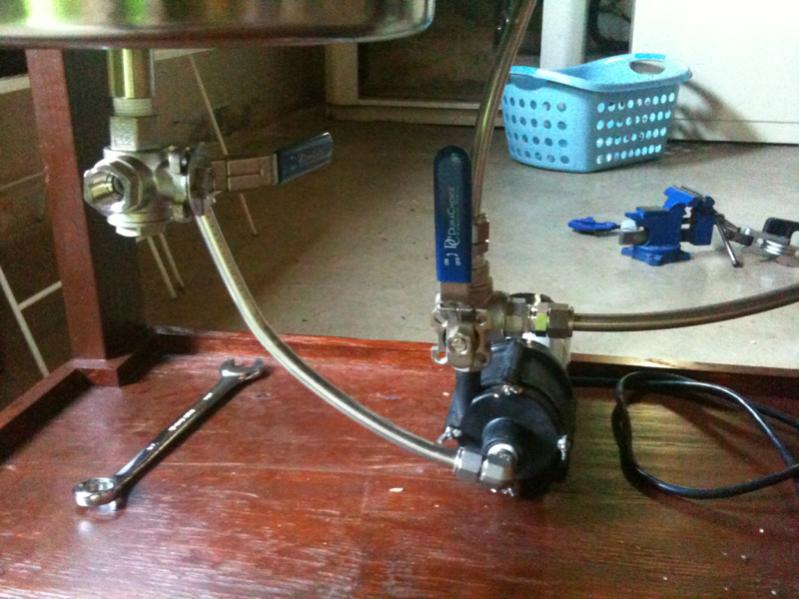
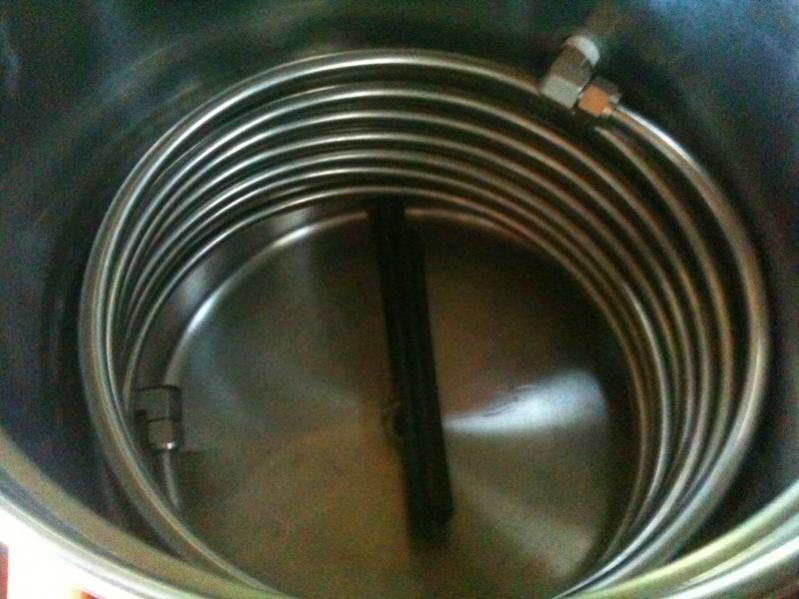
I haven't updated this thread in a while. I have everything hard plumbed. I still have quite a bit of work to do. Here's some phone pictures I snapped today.

image-1800050857.jpg


image-3199264908.jpg


image-3270219528.jpg


image-1875327361.jpg
 
Anyone? I'm going to send my panel to a cutter this week. Any help on the above question is greatly appreciated.
 
I completed a wet run tonight. Well, I've encountered a pin hole in my mash tun - so disappointing. I tried to solder it but was unsuccessful. I am going to order a 1/2 coupling and plug it I guess.

Heres a picture of the final spot for the new brewery. I decided to mount the panel on the wall.

image-2322424272.jpg
 
Anyone know what size hole to drill in the panel for the deluxe Auberins RTD probe?

This one? http://www.auberins.com/index.php?m...id=118&zenid=abd6008ecfa47ba67bd26a863c9464a3

There are dimensions listed right there on that page. It's an incredibly small room for error, though, so do it small and bore it out if need be in my opinion.

I'd advise you to go for an XLR panel mount connector instead of that one if you haven't already bought it, though. Flush, easier to install too.
 
Long time without posting on this. Finally have it up and running but having issues with heating element. I think I may have a bad contactor. With a multimeter, I am reading 120 from the push button neutral to hot. However, it is as if the contactor isn't closing because I don't get any reading across contactor to the element plug. Any thoughts? Should I order a new contactor? Wondering if home depot would have one. Really wanted to brew this weekend.
 
Input side of contactor is reading 240V but nothing's reading on the output side to the element. Faulty contactor?
 

Latest posts

Back
Top