Nobody talked about aeration yet. Doesn't require new equipment. After transferring to fermenter, seal it up (sanitized hand works fine) and give it a good shaking. Let the foam settle, and do it again. You won't get as much dissolved O2 as with an aeration stone and pure O2 source, but it is sufficient for most beers.
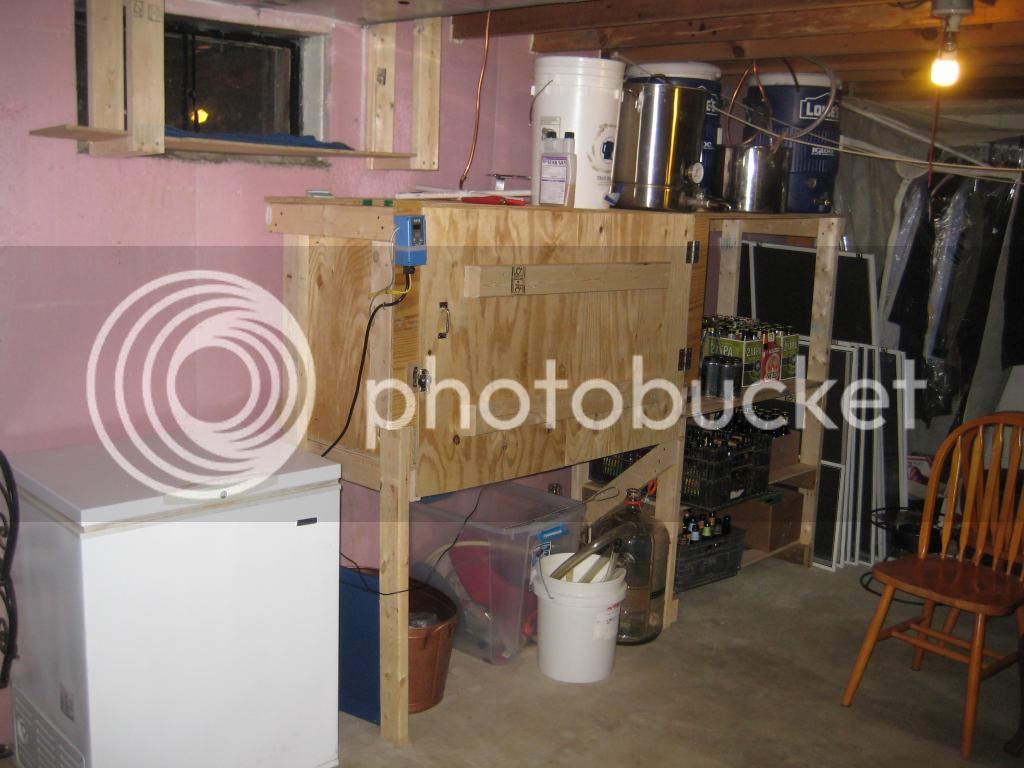
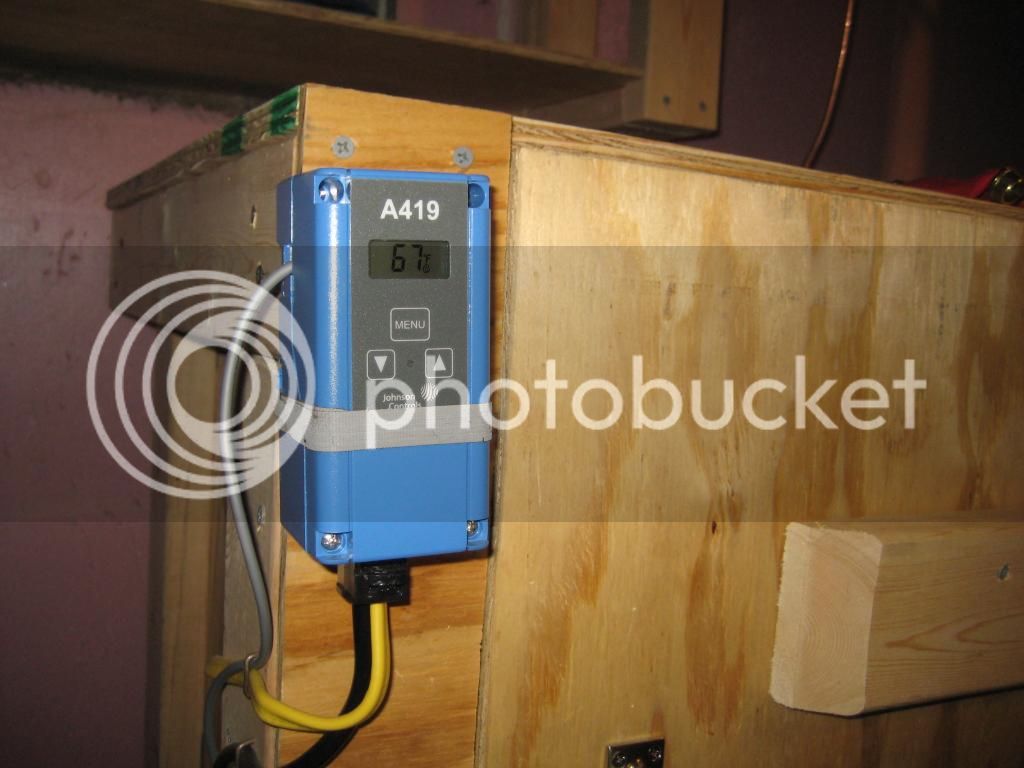
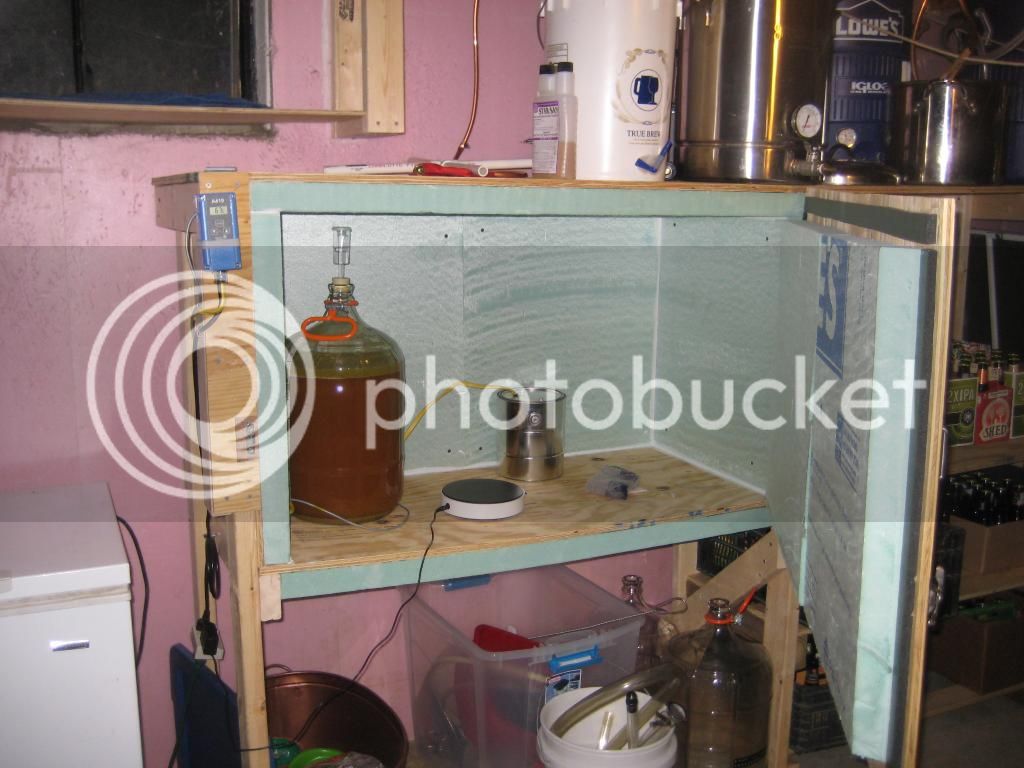
As for ferm temps... when I first started, I took a tiny dorm fridge and made an extension for it out of 2" rigid foam insulation and ducktape. Probably cost 25 bucks for the whole thing, as I already had the fridge. And, it looked beautiful. In an ironic sort of way.
Essentially, I made a box out of the insulation with a removable bottom. Cut a whole in the side that fit the opening of the fridge (with the fridge door removed). Make sure to seal the seams well with duct tape. Also, if you can get the pink panther brand insulation, leave the logo on the outside. It really tied the room together
")
What sort of beers are you interested in making? I'm sure everybody would help you build a recipe that fits your tastes perfectly. I'm a big fan of malt-forward IPAs, and its hard to find one that isn't 9% ABV or more, so I made (and tinkered with) a recipe that is exactly what I'm looking for. You can do the same sort of thing. Think of exactly what it is you want in your beer, and folks here will help you achieve that.


![Craft A Brew - Safale BE-256 Yeast - Fermentis - Belgian Ale Dry Yeast - For Belgian & Strong Ales - Ingredients for Home Brewing - Beer Making Supplies - [3 Pack]](https://m.media-amazon.com/images/I/51bcKEwQmWL._SL500_.jpg)