FastFerment conical

Homebrew Talk - Beer, Wine, Mead, & Cider Brewing Discussion Forum

Help Support Homebrew Talk - Beer, Wine, Mead, & Cider Brewing Discussion Forum:

This site may earn a commission from merchant affiliate links, including eBay, Amazon, and others.
My only worry, as to why I haven't purchased one yet, is the gurgling that happens when you replace the sediment ball at the bottom. I have read that when you replace it with another, empty one, air gets put back into the conical and fermentation has already been finished. Isn't that a bad thing?

If you use a bucket or carboy, do you rack to secondary? Do you open it to dry hop? How do you take samples or test gravity?

If you are super concerned you could always fill the collection ball with Co2 and then when you open the co2 goes out the top with the rest of it...

Even if it did add a little air, once it got to the headspace, it will be dissipated by the existing C02 from the yeast or eventually get pushed out the bubbler.

to me, the fastfermenter minimizes the opportunity for sanitation and exposure issues. leans out the process..

*I added a small petcock valve to where you would normally install a termometer and I take samples all the time. It's quite nice, I highly suggest adding a sample valve!

^^^ What he said^^^

I don't know about you but I always seemed to get bubbles in my auto-siphon when racking. All and all, it's less exposure to air than racking.
 
I paid the extra for the accessory stand but I'm very disappointed. The stand is too short - the entire weight of the tank is resting on the ball. And of course there is no space to remove the ball! Anyone else have this problem?
 
Yeah, I guess you guys are right. I never thought about it like that. But, on a side note, a sample port would definitely be nice, like the ones you get from other conicals. Maybe those guys will add that on the next version.
 
I paid the extra for the accessory stand but I'm very disappointed. The stand is too short - the entire weight of the tank is resting on the ball. And of course there is no space to remove the ball! Anyone else have this problem?

Do you have it upside down? The wide end rests on the ground and the fermenter goes into the narrow end.

To rack into a keg, however, built this as others have

View attachment 1422122042078.jpg
 
I had to use two pair of channel locks to tighten the crap out of the union fitting. Is yours leaking from the union or from the male threads on the bottom of the conical?

There is an O-ring that rests in a groove in the upper union. Perhaps yours is missing. I don't need to but snug up the union. No over-tightening. I make sure it's still in there when changing the ball after primary.
 
I paid the extra for the accessory stand but I'm very disappointed. The stand is too short - the entire weight of the tank is resting on the ball. And of course there is no space to remove the ball! Anyone else have this problem?


I found this out too. There are two different size stands. The short one is designed for racking into kegs. Lucky I bought mine at the LHBS and just swapped them out for the taller one.
 
Actually the short one is designed to fit in a refrigerator. In order to rack I have to put mine up on a work table.
 
I found this out too. There are two different size stands. The short one is designed for racking into kegs. Lucky I bought mine at the LHBS and just swapped them out for the taller one.

I guess it wasn't obvious to me that there were 2 sizes of stand. There is no way that this is a simple case of an o-ring or something. I had to prop it up on a couple of 2x4s to get the ball off.

I'll contact the seller and see if they will swap it out for the taller one.
 
Actually the short one is designed to fit in a refrigerator. In order to rack I have to put mine up on a work table.

I ran into the same thing with a fermentation chamber. I'm a DIY nut... I get something in my head and I just have to make it.

I made a couple of short stands for inside the fermentation chamber and a large stand I call The Beast for lifting and moving the FF around when it's full.

2 FF stands.jpg

https://www.homebrewtalk.com/f256/beast-508996/

Cheers!
:mug:
 
There is an O-ring that rests in a groove in the upper union. Perhaps yours is missing. I don't need to but snug up the union. No over-tightening. I make sure it's still in there when changing the ball after primary.

The O ring is definitely there. In fact, from so much tightening, it's been flattened on the side facing down somewhat. Just racked my 4th batch, this one hasn't leaked yet. I'll need to replace that O ring soon probably. More teflon tape seemed to help this time.
 
The O ring is definitely there. In fact, from so much tightening, it's been flattened on the side facing down somewhat. Just racked my 4th batch, this one hasn't leaked yet. I'll need to replace that O ring soon probably. More teflon tape seemed to help this time.

It is possible the o-ring was defective from the factory. Maybe had a flat spot that went unnoticed which would have caused the initial leaking. I bet if you replace that o-ring your leaking issues will go away. The union coupler shouldn't require any teflon tape. Only where the fittings screw on to the fermenter and the collection ball.

I know this has to have been a PITA so good luck with solving it!
 
I've run two through mine and doing a third this weekend. I changed the first ball out after 7-8 days. Then when the fermentation is done, I transfer to a bottling bucket and there is a little trub that still comes out. What I found is to change the second ball about 1-2 days before I am going to transfer and there is no trub at all that comes out. So if you are going to bottle straight from the FF I would recommend doing this. Hope this helps.
 
I've run two through mine and doing a third this weekend. I changed the first ball out after 7-8 days. Then when the fermentation is done, I transfer to a bottling bucket and there is a little trub that still comes out. What I found is to change the second ball about 1-2 days before I am going to transfer and there is no trub at all that comes out. So if you are going to bottle straight from the FF I would recommend doing this. Hope this helps.

What he said!!^^^

Beginning trub removal through collection ball changes seems to be working well after primary fermentation is complete.

As far as bottling; I used a bottling bucket as well to make sure the priming sugar it mixed well. Also don't want to chance scratching the inside of the FF by stirring.
 
It is possible the o-ring was defective from the factory. Maybe had a flat spot that went unnoticed which would have caused the initial leaking. I bet if you replace that o-ring your leaking issues will go away. The union coupler shouldn't require any teflon tape. Only where the fittings screw on to the fermenter and the collection ball.


I know this has to have been a PITA so good luck with solving it!


Where should the said O-ring be because I believe mine is missing?
 
I ran into the same thing with a fermentation chamber. I'm a DIY nut... I get something in my head and I just have to make it.

I made a couple of short stands for inside the fermentation chamber and a large stand I call The Beast for lifting and moving the FF around when it's full.

View attachment 251353

https://www.homebrewtalk.com/f256/beast-508996/

Cheers!
:mug:

Hmmm . . . looks like a bar stool with the seat cut off . . . I wonder if my wife would notice one missing?

Seriously, thanks for all the help!
 
I guess it wasn't obvious to me that there were 2 sizes of stand. There is no way that this is a simple case of an o-ring or something. I had to prop it up on a couple of 2x4s to get the ball off.

I'll contact the seller and see if they will swap it out for the taller one.

Do you have the stand upside down? The small ring goes on top.
 
*I added a small petcock valve to where you would normally install a termometer and I take samples all the time. It's quite nice, I highly suggest adding a sample valve!

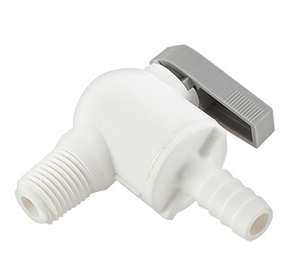
now THAT is a fantastic idea! I would love to be able to sample the wort to check on fermentation progress without opening up the top! I dug around and found some nylon elbow shut off ball valves that are 1/4 MNPT to 1/4 barb and got a reducer bushing to fit it into the themowell hole which is 1/2 NPT

The shut off valves ( one LiquFit the other barb) valves are about $6 each and the bushings are .90 cents. Will post results and install pics as soon as they arrive, found everything from US Plastics website. Since you cant see through the sidewall, this would be an enormous improvement to the FastFerment, they should come with the option for a second hole just for this, I will try to figure out a way to drill a second hole myself in the meantime.

Screen Shot 2015-01-29 at 1.46.15 PM.png


Screen Shot 2015-01-29 at 1.46.32 PM.png
 
Could you install a Tee off the port, put a valve on the downspout and a temp sensor straight through? Get both in one shot.
 
Could you install a Tee off the port, put a valve on the downspout and a temp sensor straight through? Get both in one shot.

Hmmm, that's a cool idea ( anything that does not involve making more holes) but how would you get the temp sensor into the middle of the conical

Help me with a visual, the port is 1/2 NPT ( which is a pain since most of the available pipe fittings / mini ball valves, etc, are 1/4.

I like the fact that the temp sensor is up inside the conical, since the temp is usually warmer than ambient due to the heat the fermentation creates.

In any case, I'm psyched to have a sample port now!
 
Do you have the stand upside down? The small ring goes on top.

After a lot of back and forth emails with the manufacturer it seems that the stand design was changed to be more compact so it would fit in a fermentation chamber. So what you see in the pictures on the various vendor sites (the ball several inches off the floor) isn't what you get.

In the end, they told me to tighten the fittings to get more space. I didn't want to risk it as the fittings were pretty tight and didn't leak. I cut 4 pieces of 1/4" rubber hose, slit each one and slid them over the top ring. Gave me the perfect amount of space under the ball, and the bonus is that the rubber grips the sides of the conical and keeps it from tilting in the stand.

My thanks to everyone for the help!

IMG_1704.jpg
 
After a lot of back and forth emails with the manufacturer it seems that the stand design was changed to be more compact so it would fit in a fermentation chamber. So what you see in the pictures on the various vendor sites (the ball several inches off the floor) isn't what you get.

In the end, they told me to tighten the fittings to get more space. I didn't want to risk it as the fittings were pretty tight and didn't leak. I cut 4 pieces of 1/4" rubber hose, slit each one and slid them over the top ring. Gave me the perfect amount of space under the ball, and the bonus is that the rubber grips the sides of the conical and keeps it from tilting in the stand.

My thanks to everyone for the help!

WHY MAKE A STAND SO YOU CAN'T GET THE COLLECTION BALL OFF!?!? The very thing that separates this fermenter from others, they make a stand that doesn't utilize that feature......DOH! :mad:

Don't get me wrong. I have grown to like and appreciate this fermenter. A decent conical at this price level is a good thing. But the little details can make or break a product. Be the difference between a good product and a great product.

This is a good product. But with some better decision making, it could be a great product. THAT DRIVES ME CRAZY. It shows where FastFerment folks are coming from.

Sorry for carrying on...

pg brewing, good for you for coming up with a creative solution to get around POOR stand design.
 
now THAT is a fantastic idea! I would love to be able to sample the wort to check on fermentation progress without opening up the top!

Me too. I would agree but I actually use my thermowell for the temp controller sensor. So maybe a new hole is in my FF's future??
 
Hey Everyone,

Thanks for all the FastFerment chat - great to hear most people are having positive results with it. For anyone that is not please get in contact with us at [email protected] we try our very best to get everything sorted out. But also reading the forums on homebrewtalk.com or posting your question here is awesome. We do a lot of our learning on here. Couple updates and points we've taken from reading this thread over since our last post...

1. Bolts - Yes we are currently looking finding a new lag bolt supplier. They are rated from the manufacture but it sounds like some of the heads are torquing off. Thanks for the heads up.

2. Cool that yeast harvesting is going well. We plan to learn more about this too and do an instructional video up at some point. Please stay tuned.

3. Information on ball change outs can be found here. We have found some tricks for making it go well and helping minimize sediment.

https://fastferment.myshopify.com/pages/fastferment-faqs

4. Gasket/Sealing - This has been a work in progress and we are pumped to have new rubber gaskets which are 3mm thick arriving soon. We had a small amount arrive but a big order will be here shortly and we will make them available for purchase on our website for a limited time until they research our retail partners. Please stay posted for that.

5. We also have replacement O'Rings that will be available in about 4-5 weeks. This point is something we will add to the instructions to be careful that is does not slip out and get lost like its happened to. We will also we will make them available for purchase on our website for a limited time until they research our retail partners.

6. Lots of comments about a us having an accessory test port available. We will work on making it and instructions available soon.

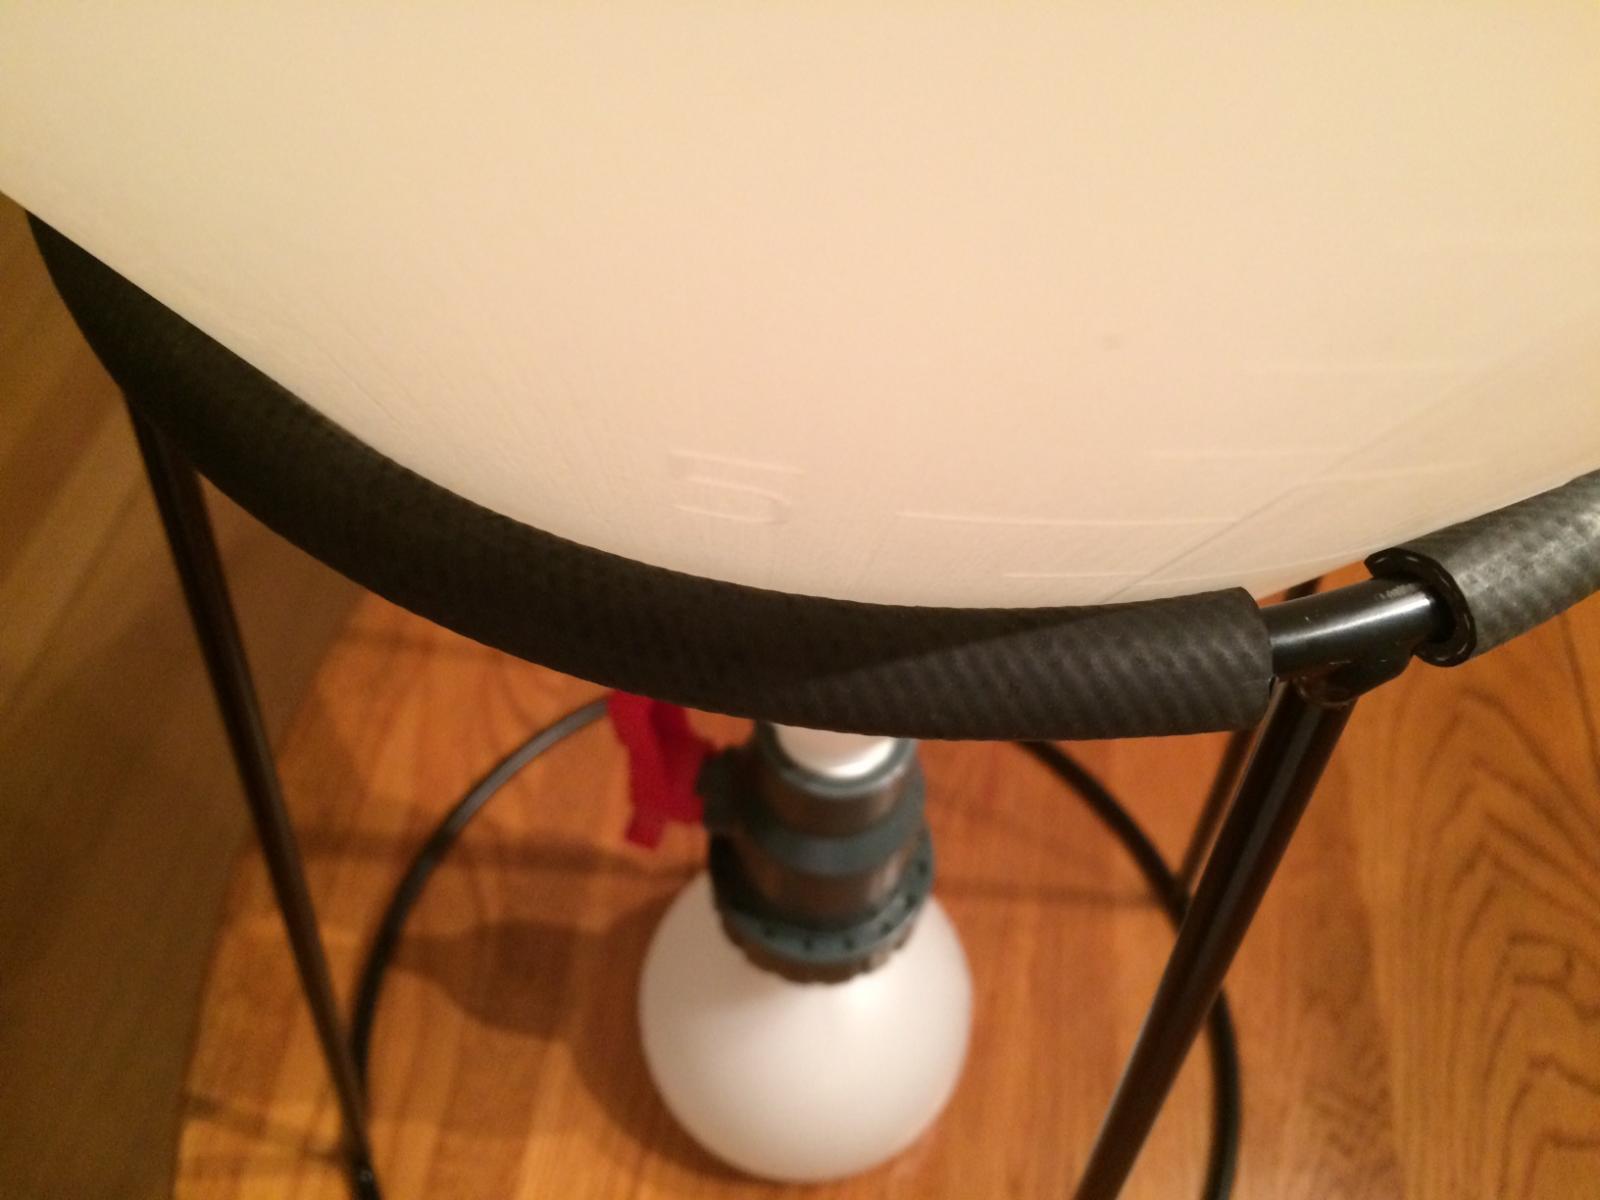
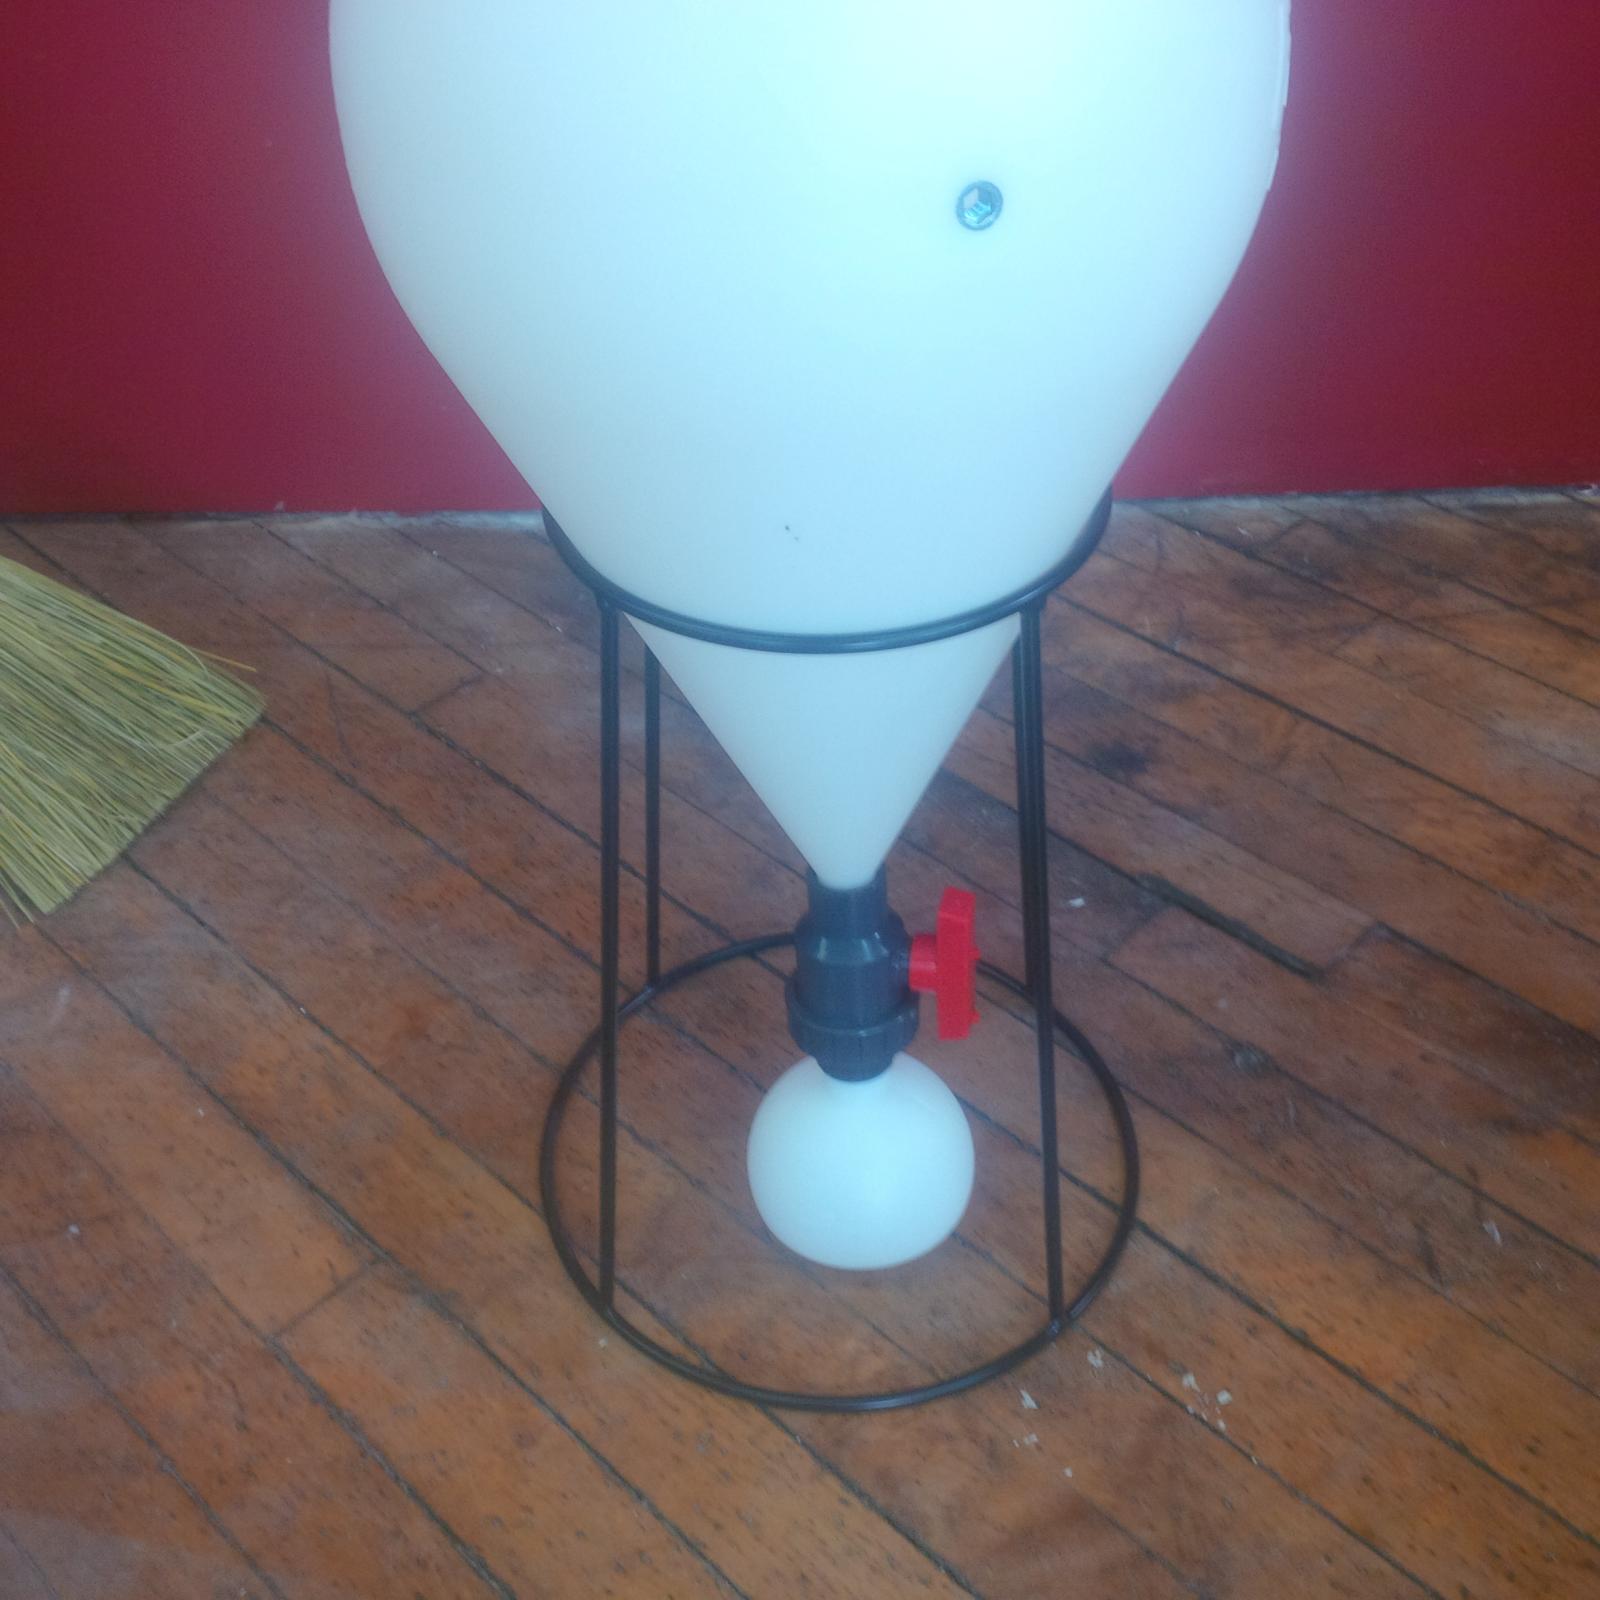
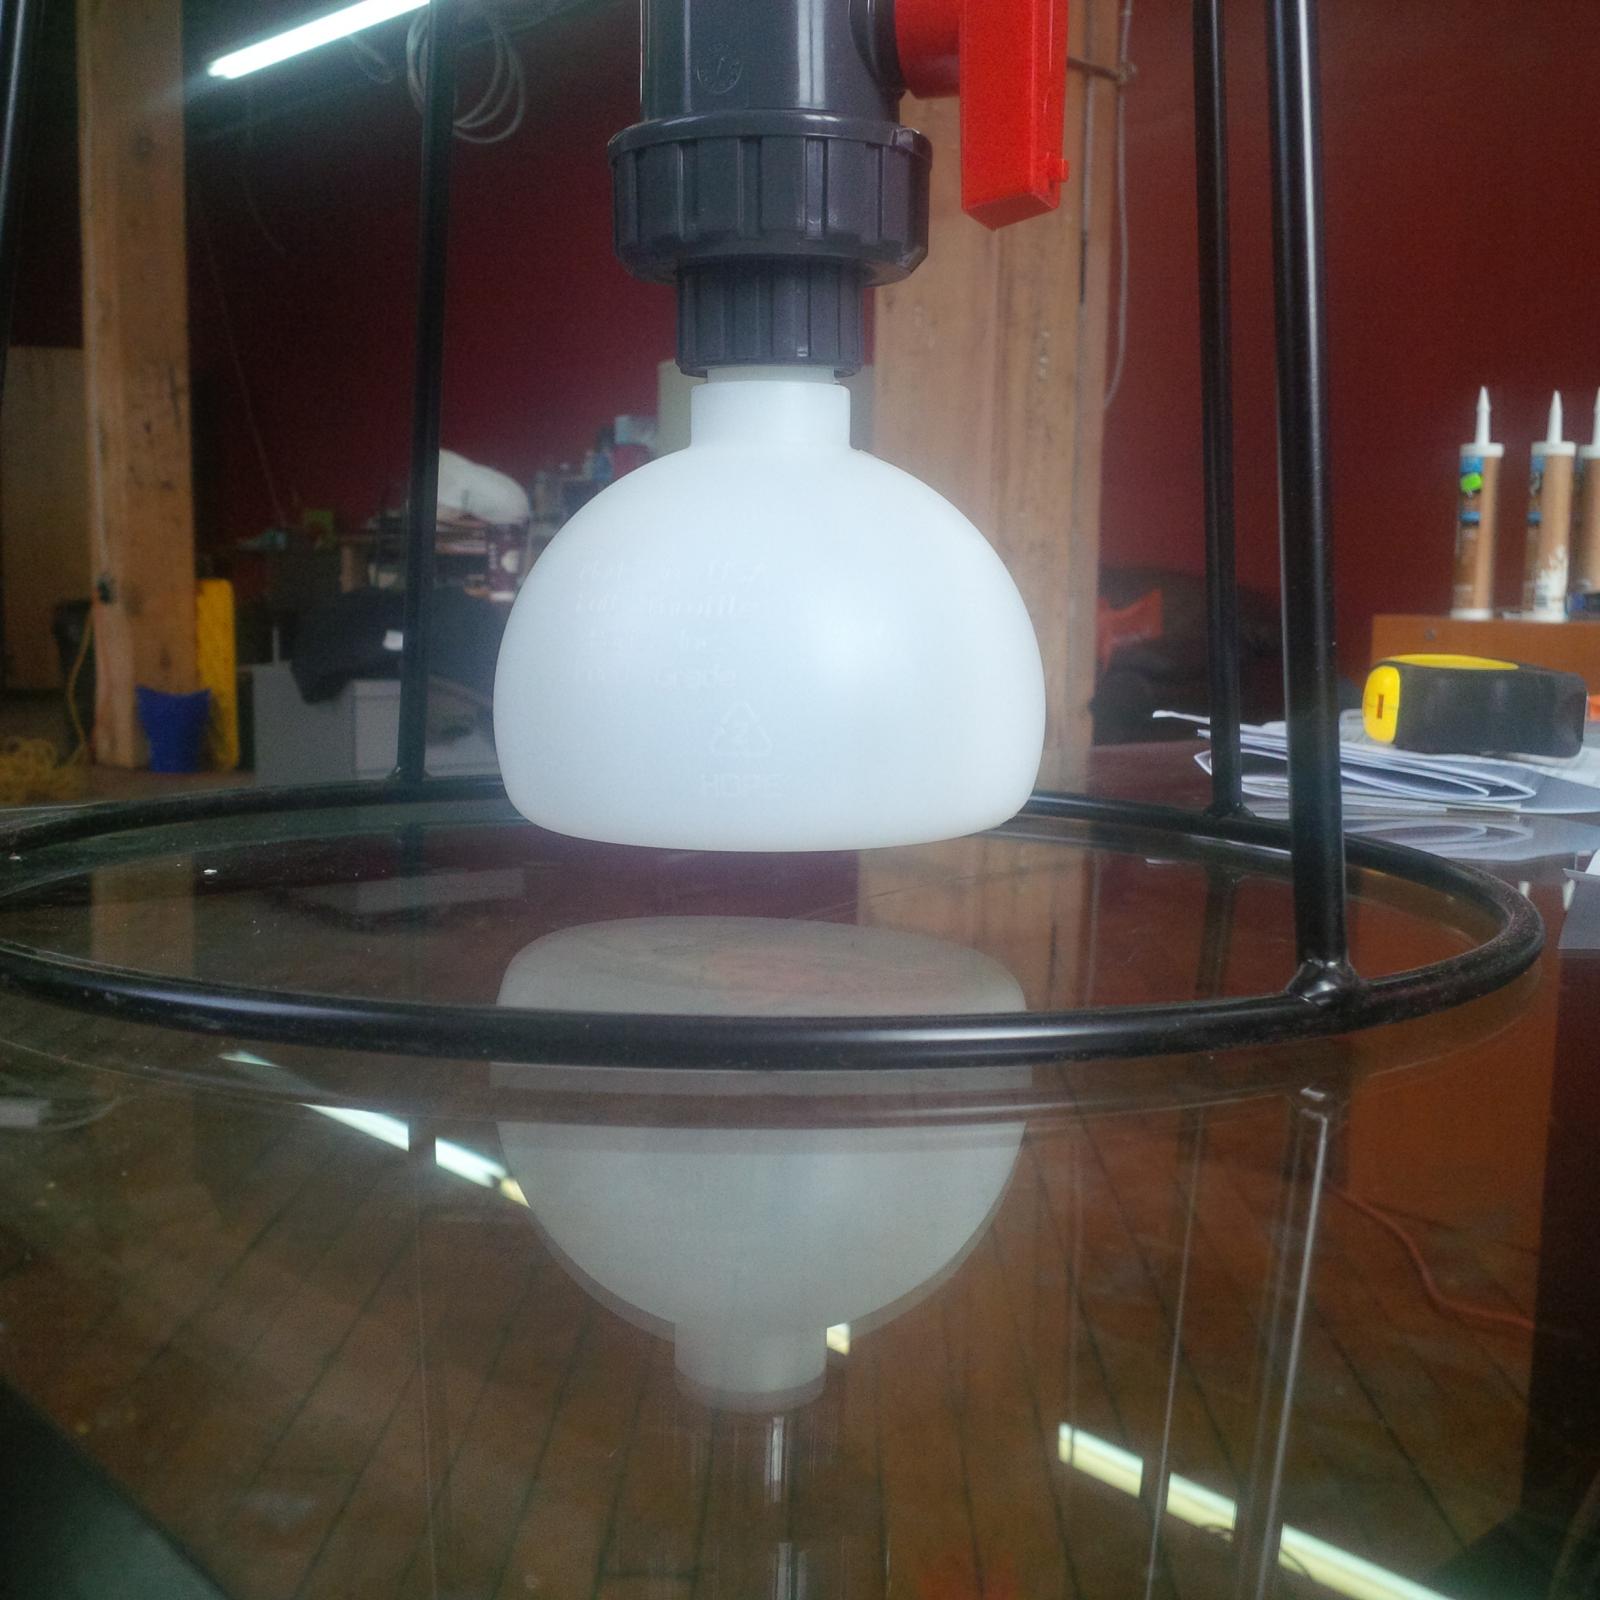
7. I have attached some pictures of the FastFerment in an 18" stand. When we originally started production the stands were 19" tall. We made around 1500 of these until we changed the design to the more compact 18" version. We had many requests about making the units as compact as possible to fit in fermenting chambers so since there was excess room we trimmed it down. I have attached pictures of the current 18" stand. There is 3/4" of space underneath it that should provide more than enough room for removing the ball. I am not sure how a couple of the last post are having issues with this but we would appreciate having pictures sent to [email protected] We are keen to make FastFerment an enjoyable experience for all.

8. Lastly We are getting a lot of request for making a fermenting chamber. Over the next few months we will be designing a custom jacket similar to the cool-brewing.com Fermenting Cooler System. We hope to have something available for the warm summer months that we can't wait for ahead!

Hope this is helpful and we appreciate your thoughts and suggestions. Let us know if we can help with anything and happy friday!

Cheers,

Red Dragon
CB
Team FastRack

IMG_20150126_113911.jpg


IMG_20150126_113336.jpg


IMG_20150126_113344.jpg


IMG_20150130_144625.jpg
 
Hey Everyone,

Thanks for all the FastFerment chat - great to hear most people are having positive results with it. For anyone that is not please get in contact with us at [email protected] we try our very best to get everything sorted out. But also reading the forums on homebrewtalk.com or posting your question here is awesome. We do a lot of our learning on here. Couple updates and points we've taken from reading this thread over since our last post...

Team FastRack

Hello FastRack Team,
Very glad you guys are reading this tread and taking the comments here into account. I would venture to say, a good part of your consumer base follows this forum if not this thread.

I think you have a good base product. I have two! And I'm pulling for you guys! I've been a big advocate of your product but also very critical where it's warranted.

Like most products, there is room for improvement. However, the most important gauge of a business is how they respond to their customers who do have issues. There have been some, not a lot, but some who have posted with less than favorable comments about the response to their situation after contacting FF customer service. The first line customer service folks need to be trained not only in how to respond to various logistical situations but also in your customer service philosophy. Your customer service approach WILL come through your CS folks. Just make sure you are communicating the right message...

Since I know everything, I'm going to comment on your individual items:

1. Bolts - Yes we are currently looking finding a new lag bolt supplier. They are rated from the manufacture but it sounds like some of the heads are torquing off. Thanks for the heads up.

This can be a shared issue between a low quality bolt and incorrect installation. Some either do not drill pilot holes or drill holes too small for the size lag being used.
  1. Include information on the proper pilot hole size in the installation instructions
    &/or
  2. Include bolts that are larger in diameter to withstand the torque

2. Cool that yeast harvesting is going well. We plan to learn more about this too and do an instructional video up at some point. Please stay tuned.

I am completely happy with this feature!

3. Information on ball change outs can be found here. We have found some tricks for making it go well and helping minimize sediment.

I would add suggestions/instruction to wait until after primary is complete before starting collection ball changes/trub removal.

4. Gasket/Sealing - This has been a work in progress and we are pumped to have new rubber gaskets which are 3mm thick arriving soon. We had a small amount arrive but a big order will be here shortly and we will make them available for purchase on our website for a limited time until they research our retail partners. Please stay posted for that.

There is no excuse to allow this issue to continue. A good temporary fix would be to add a second gasket in each kit and instruct folks to double stack the gasket. The added thickness will seal the top and the small added cost will not make or break you until a suitable replacement is had.

5. We also have replacement O'Rings that will be available in about 4-5 weeks. This point is something we will add to the instructions to be careful that is does not slip out and get lost like its happened to. We will also we will make them available for purchase on our website for a limited time until they research our retail partners.

I've seen several post from folks not able to get the union to seal. I suspect it's either from missing, mis-aligned or deformed o-ring. I suggest adding a trouble-shooting section to your instructions to address this.

6. Lots of comments about a us having an accessory test port available. We will work on making it and instructions available soon.

Cool! Just don't take away the thermowell port... ;)

7. I have attached some pictures of the FastFerment in an 18" stand. When we originally started production the stands were 19" tall. We made around 1500 of these until we changed the design to the more compact 18" version. We had many requests about making the units as compact as possible to fit in fermenting chambers so since there was excess room we trimmed it down. I have attached pictures of the current 18" stand. There is 3/4" of space underneath it that should provide more than enough room for removing the ball. I am not sure how a couple of the last post are having issues with this but we would appreciate having pictures sent to [email protected] We are keen to make FastFerment an enjoyable experience for all.

hmmm... Not sure cutting 1 inch from the stand height was the best decision? Is 1 inch enough to make much of a difference in fitting the FF into chambers or compact refrigerators?? Your photos show a gap under the collection ball. But then again, the fermenter is empty. What happens to that gap when the FF is full??

8. Lastly We are getting a lot of request for making a fermenting chamber. Over the next few months we will be designing a custom jacket similar to the cool-brewing.com Fermenting Cooler System. We hope to have something available for the warm summer months that we can't wait for ahead!

Interesting! If you make good design and price point decisions, this could be a very good product for you.


I hope you take my feedback as constructive, instructive, and most of all supportive. I DO LIKE YOUR PRODUCT!

Let me know if you have any questions on my comments or if you'd like to know the meaning of life. I'll be glad to tell you...

Cheers!
 
It's ALIVE

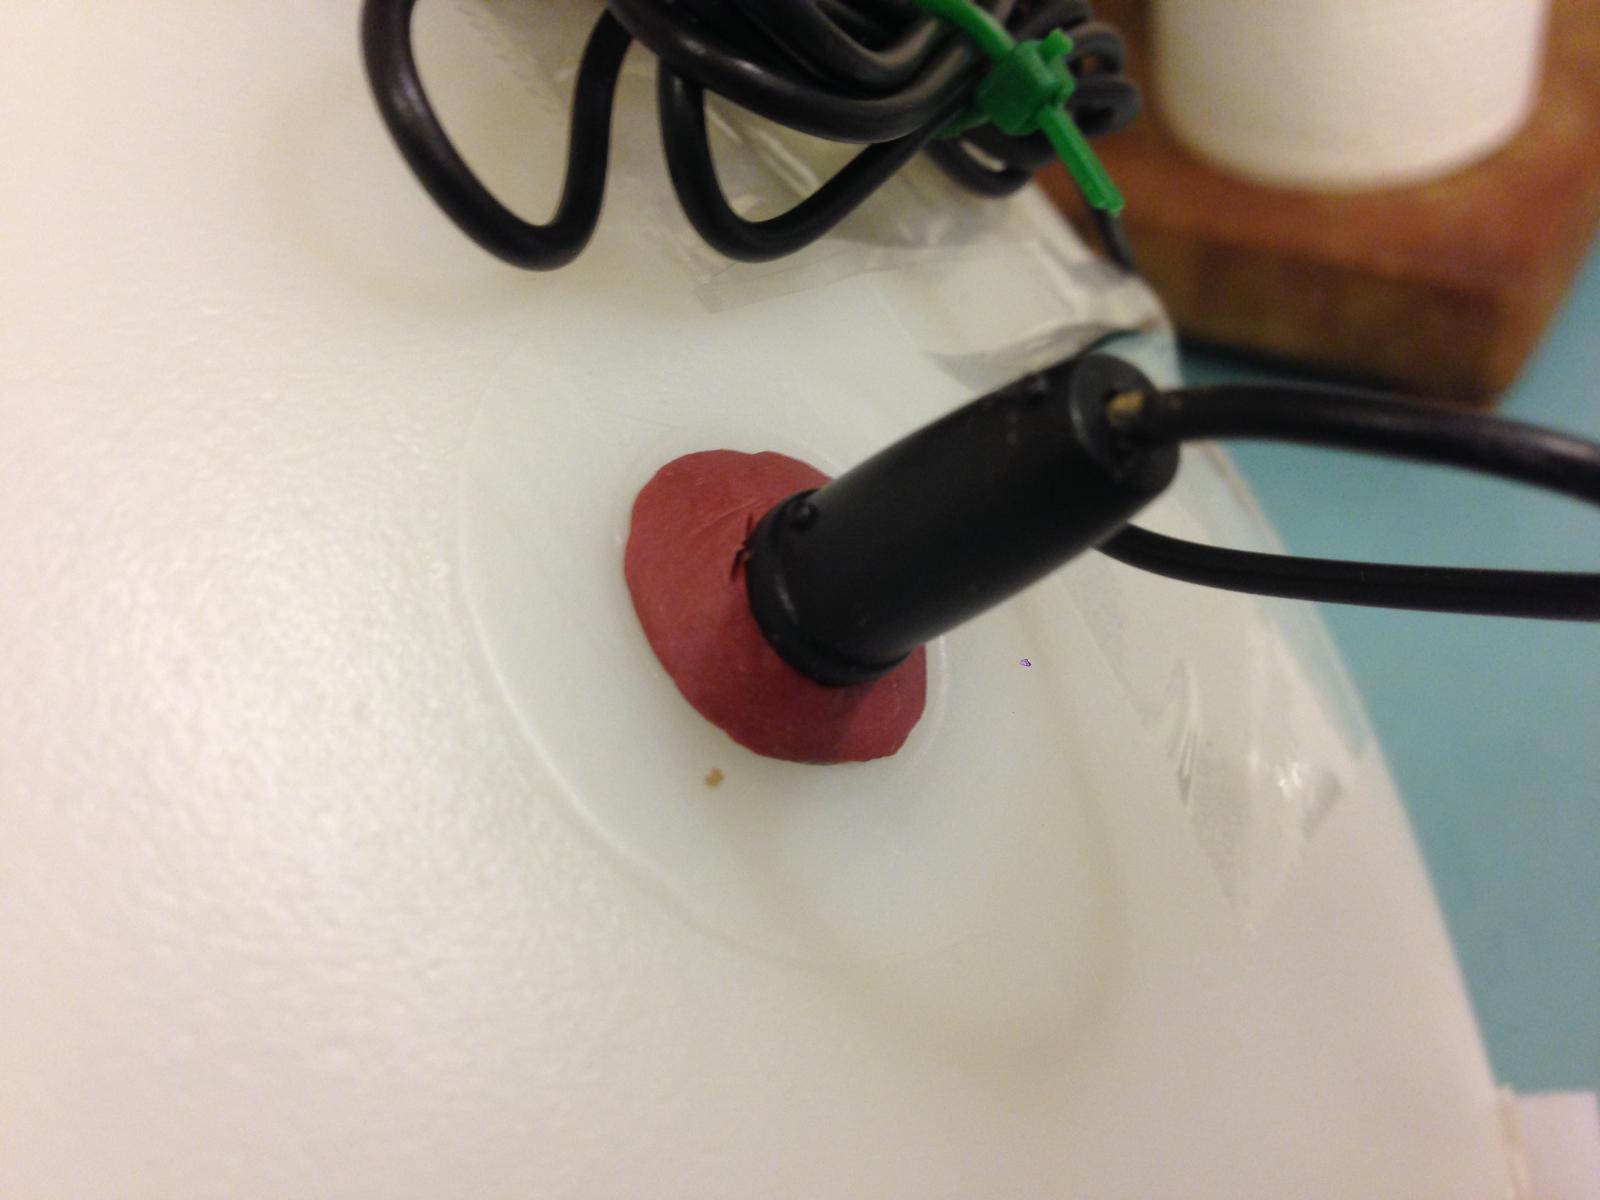
The $3 for the 2 parts from US plastics fit perfectly into the thermo-well port and even with a half batch ( 3 gallons ) the port is situated low enough for samples to be drawn.

Since I use the stand and not the wall mounts, I inserted a temp probe into the hole for the wall bracket and sealed it with window calk so now I get temp readings from the inside (well, not as deep, but still better than ambient)

On another note

This last brew was a half batch (3 gallon) of the AG Bee Cave Weizen that Ed Wort describes and I pitched 3068 smack pack ( no starter, but swelled to popping level) at about 66F, airlock active after 3 HOURS!!!

This is hungry, horny yeast which likes this particular wort in a scary way!

IMG_8049.jpg


FF macro.jpg


FF temp probe.jpg
 
It's ALIVE

The $3 for the 2 parts from US plastics fit perfectly into the thermo-well port and even with a half batch ( 3 gallons ) the port is situated low enough for samples to be drawn.

Since I use the stand and not the wall mounts, I inserted a temp probe into the hole for the wall bracket and sealed it with window calk so now I get temp readings from the inside (well, not as deep, but still better than ambient)

On another note

This last brew was a half batch (3 gallon) of the AG Bee Cave Weizen that Ed Wort describes and I pitched 3068 smack pack ( no starter, but swelled to popping level) at about 66F, airlock active after 3 HOURS!!!

This is hungry, horny yeast which likes this particular wort in a scary way!

forgot to add, the temp probe is a $6 aquarium thermometer from Amazon
 
I was a little tough on the FF folks. I hope they took my comments as constructive criticism, as I do like the FF product!

So... Thought I would share a monumentous occasion in my brewing life with the FF.

Filled my first keg tonight!!

I used The Beast to lift the FF so I could rack a Caramel Amber Ale into the keg....

filling keg.jpg

WOO HOO!!!

:ban:
 
+1 on the terrible lid gasket. Anyone have a work-around?

Some folks have used telfon tape around the threaded top. Some use an additional gasket for added thickness to help create a seal. Check out post#111 in this thread.
 
I am really new to brewing and just brewed my first batch of wheat beer in my fastferment. To clean it I left the thermowell installed and the valve body installed with teflon tape. I soaked and scrubbed the inside with PBW, rinsed well, and sprayed it with star san. There still is a faint odor of beer when I stick my nose in the top. I also cycled the valve with PBW in it so I think that is clean. Is this typical? Do I need to disassemble it further and soak the valve?

Chris

I don't own a FF, but I've noticed the same with my Better Bottles. After letting them sit in open air for a day or two the smell left. No residuals.
 
They all do that. It's really not a big deal. I still use buckets for my fermentation and the leftover smell is still there after several weeks. It obviously fades after a while, but it's really not a big deal. That's just the way plastic is. The only time I've been able to remove the smell is when cleaning my kegs, which are made of metal so the smell doesn't linger.
 
I would also like to know any methods to help make the lid airtight.

My first FastFerment had a obscene amount of flash on the top. The opening varied by an 1/8" due to lack of trimming the molding flash. I exchanged it and the second one was much better, but it still was rough. I took a board and some 120 grit sandpaper and carefully flattened the opening. The seals perfectly now with the included gasket. FastFerment should consider adding a machining step to their manufacturing process since we require an airtight seal.

Chris
 
Back
Top