• Please visit and share your knowledge at our sister communities:
  • If you have not, please join our official Homebrewing Facebook Group!

    Homebrewing Facebook Group

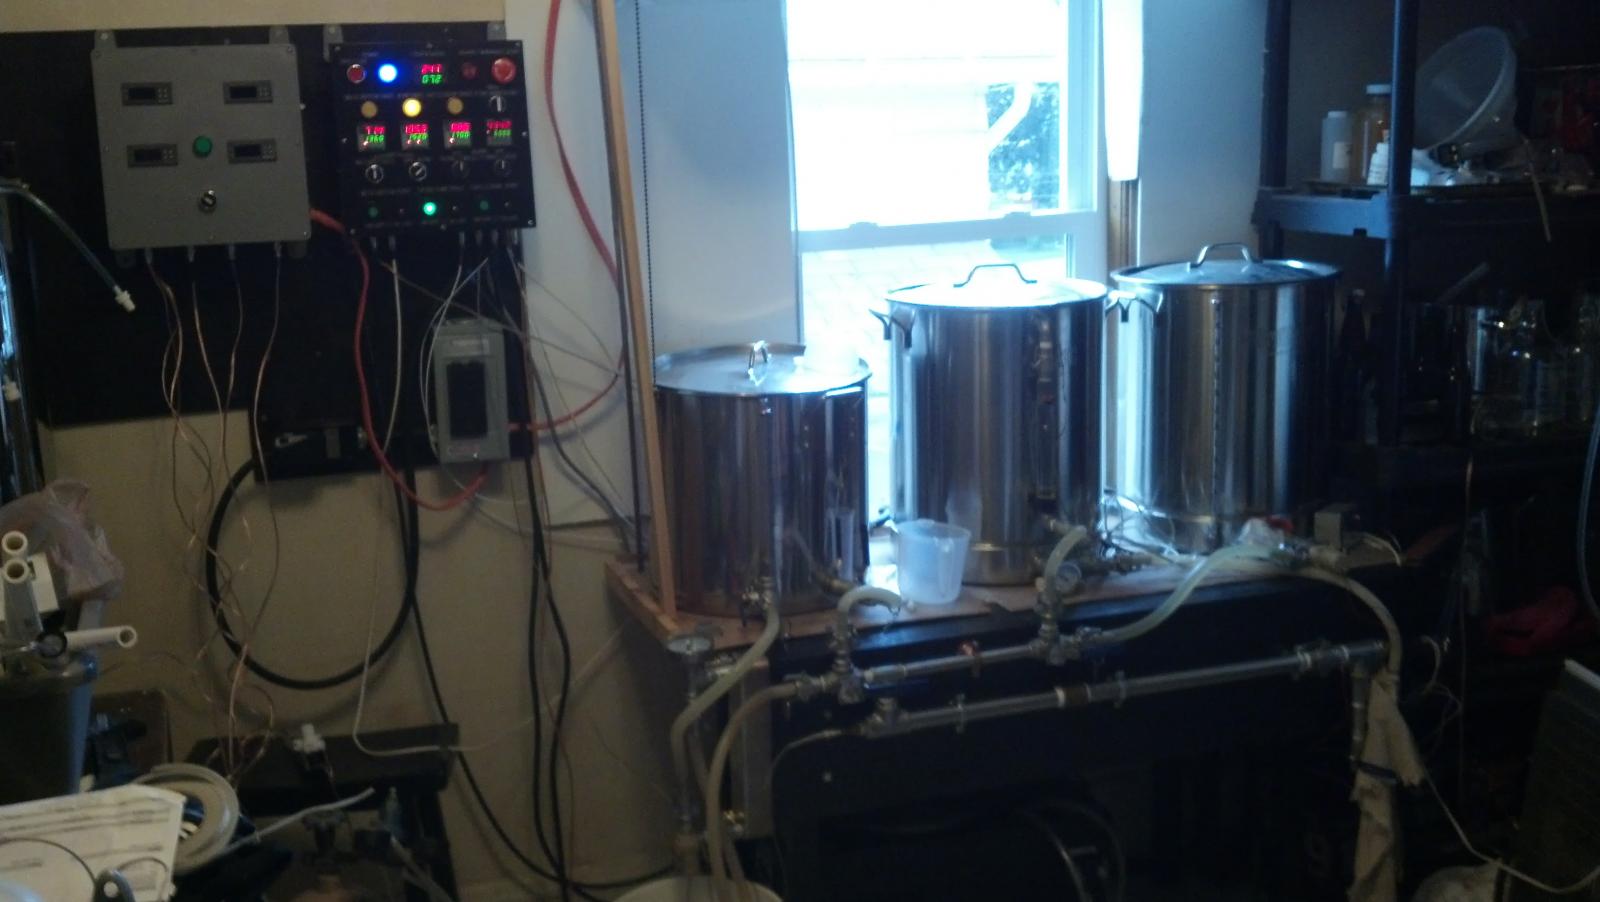
Facelift for my control panel

Homebrew Talk

Help Support Homebrew Talk:

This site may earn a commission from merchant affiliate links, including eBay, Amazon, and others.
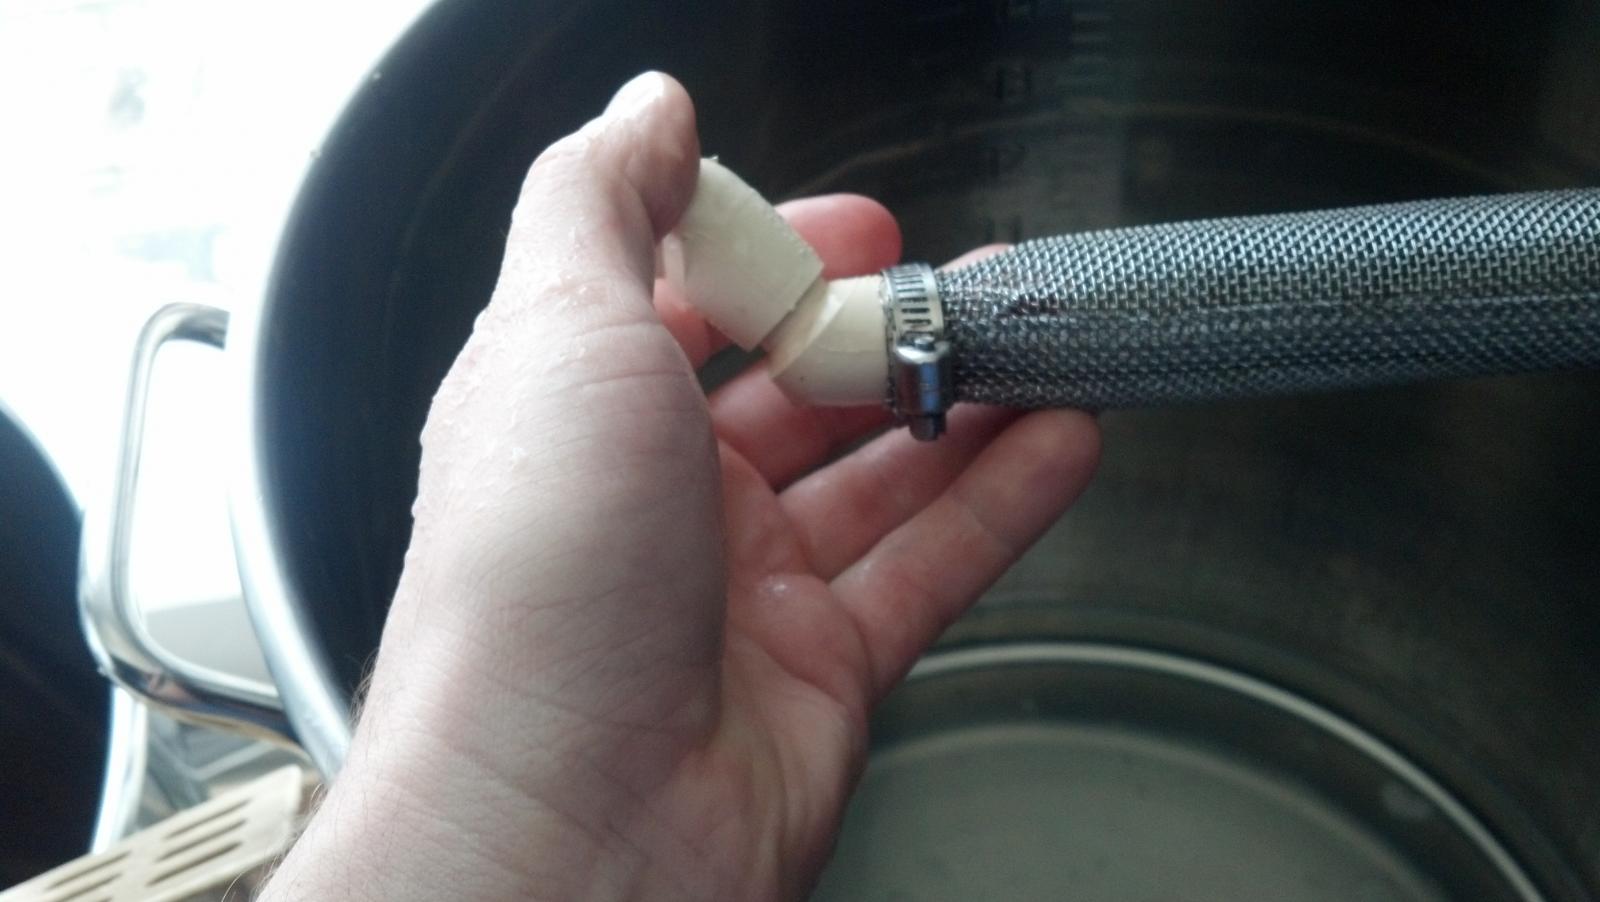
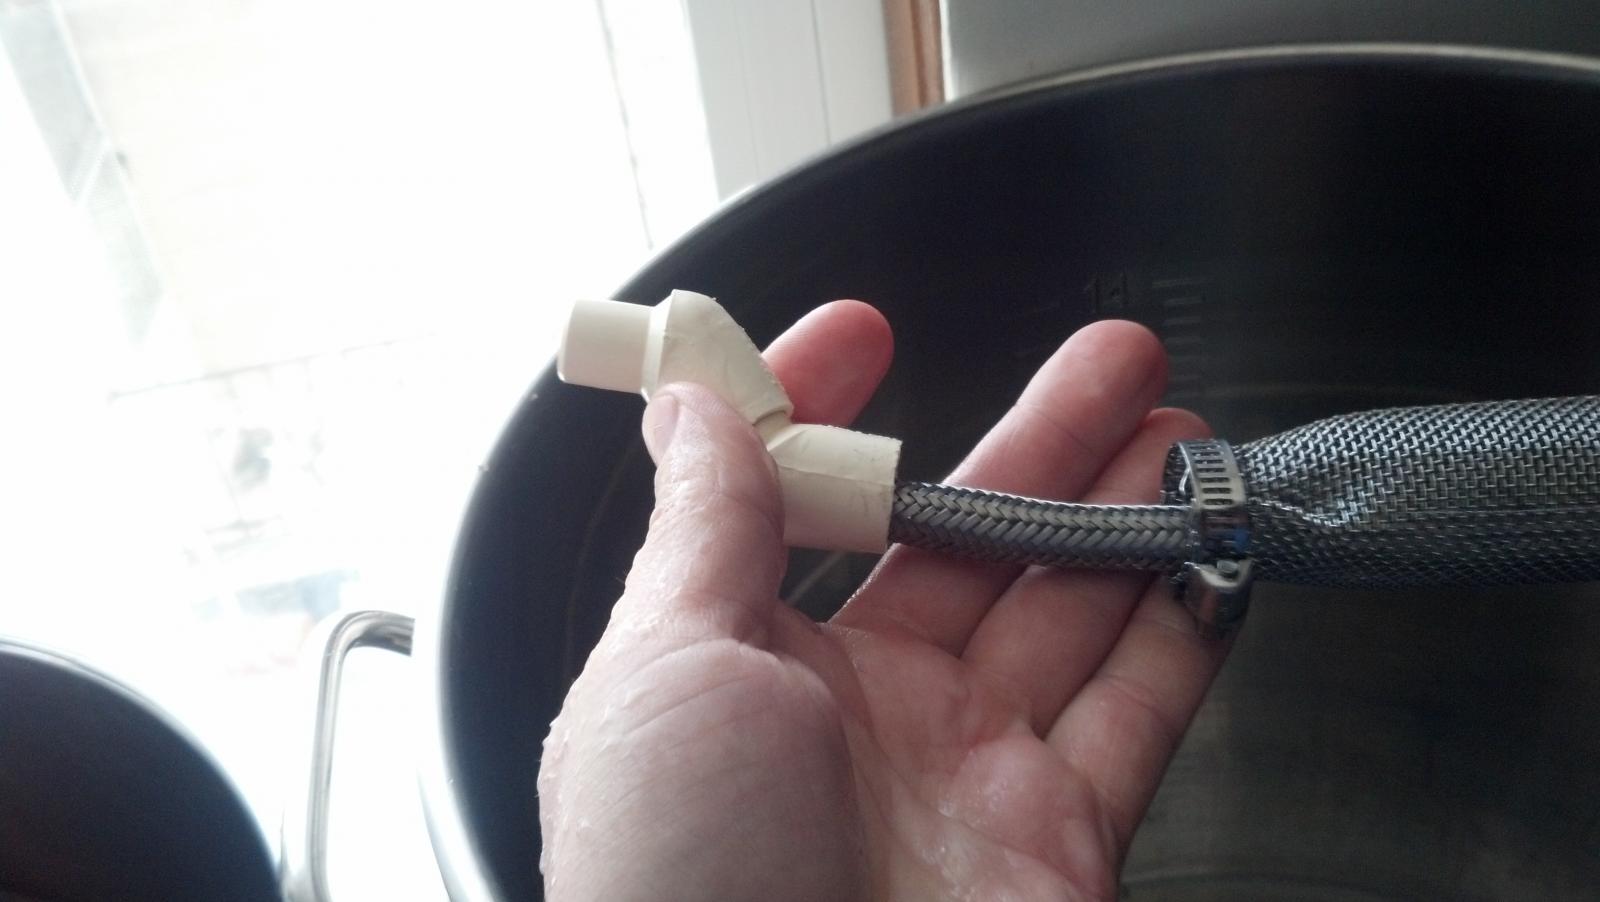
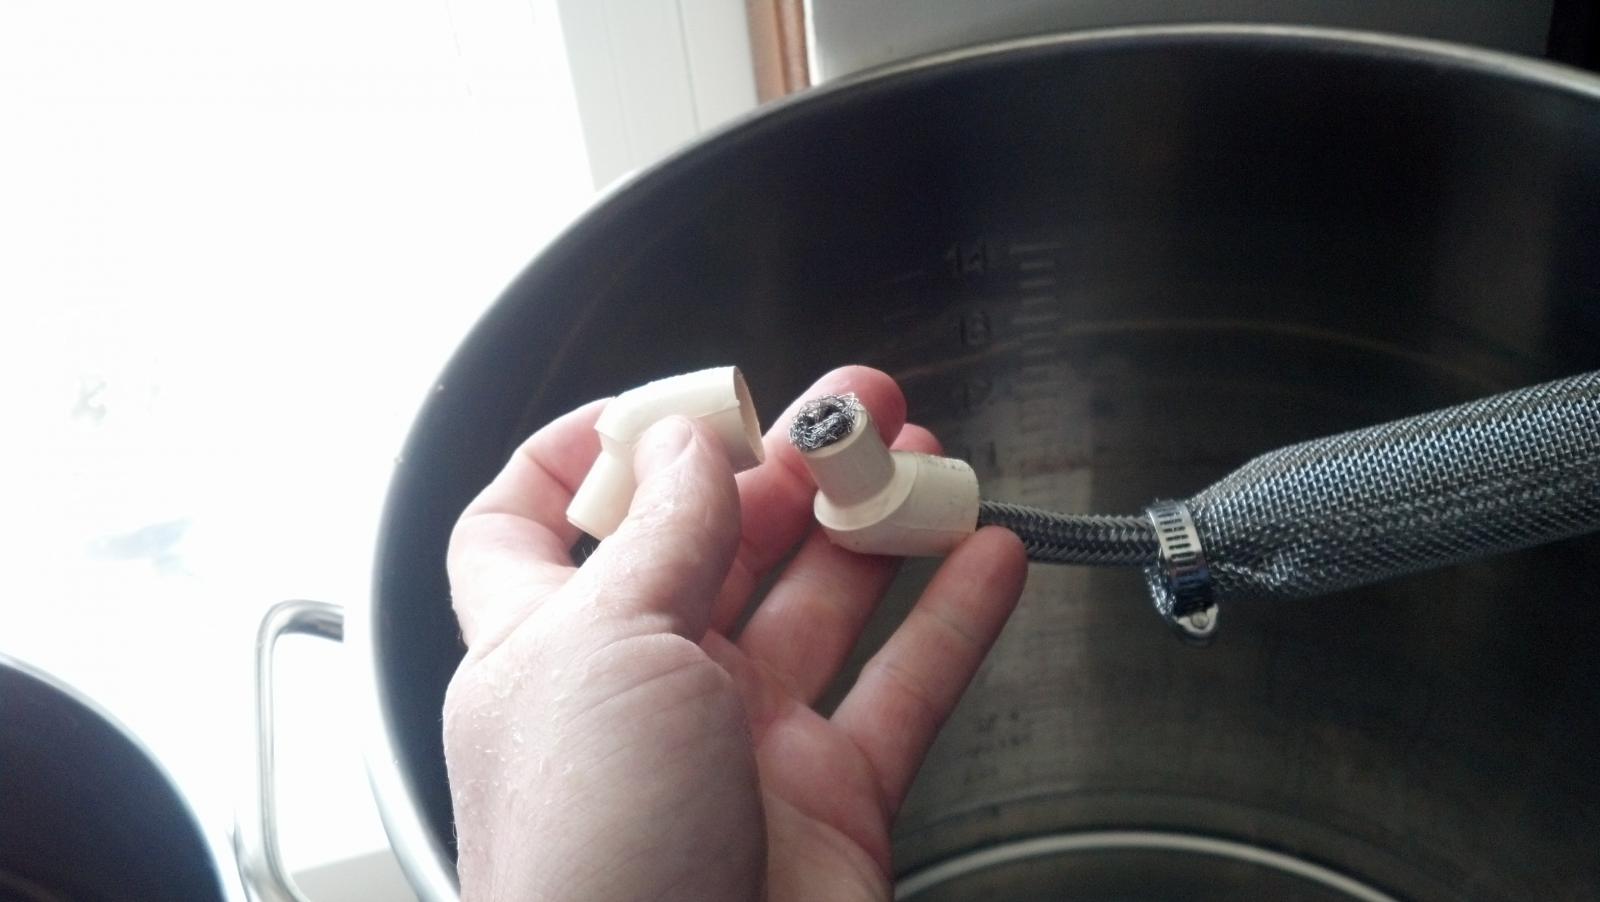
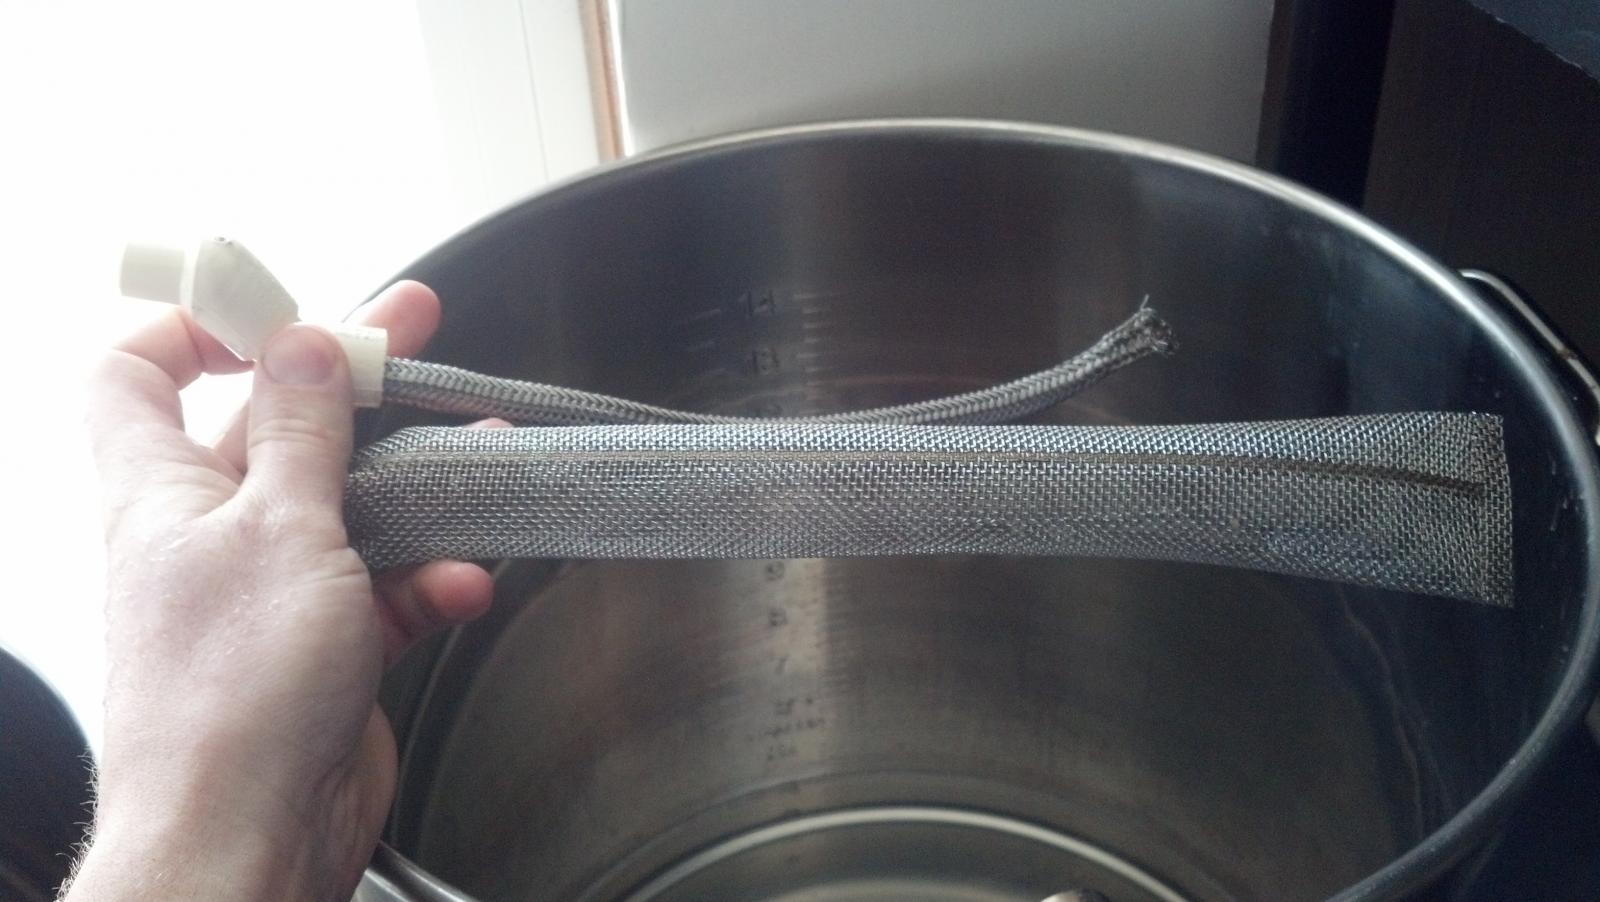
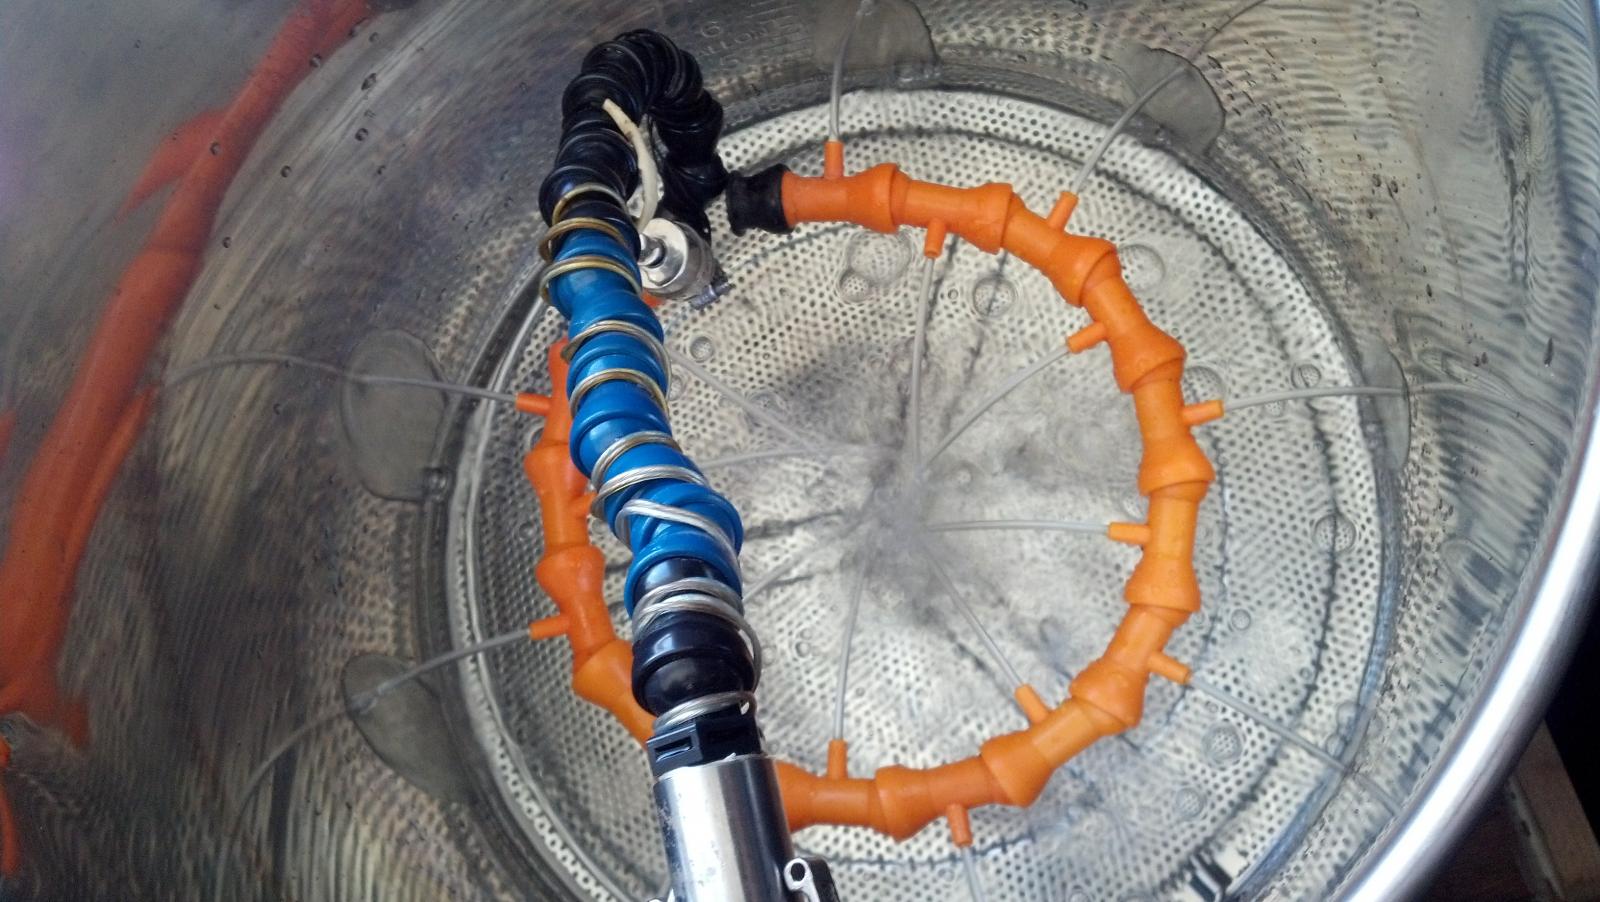
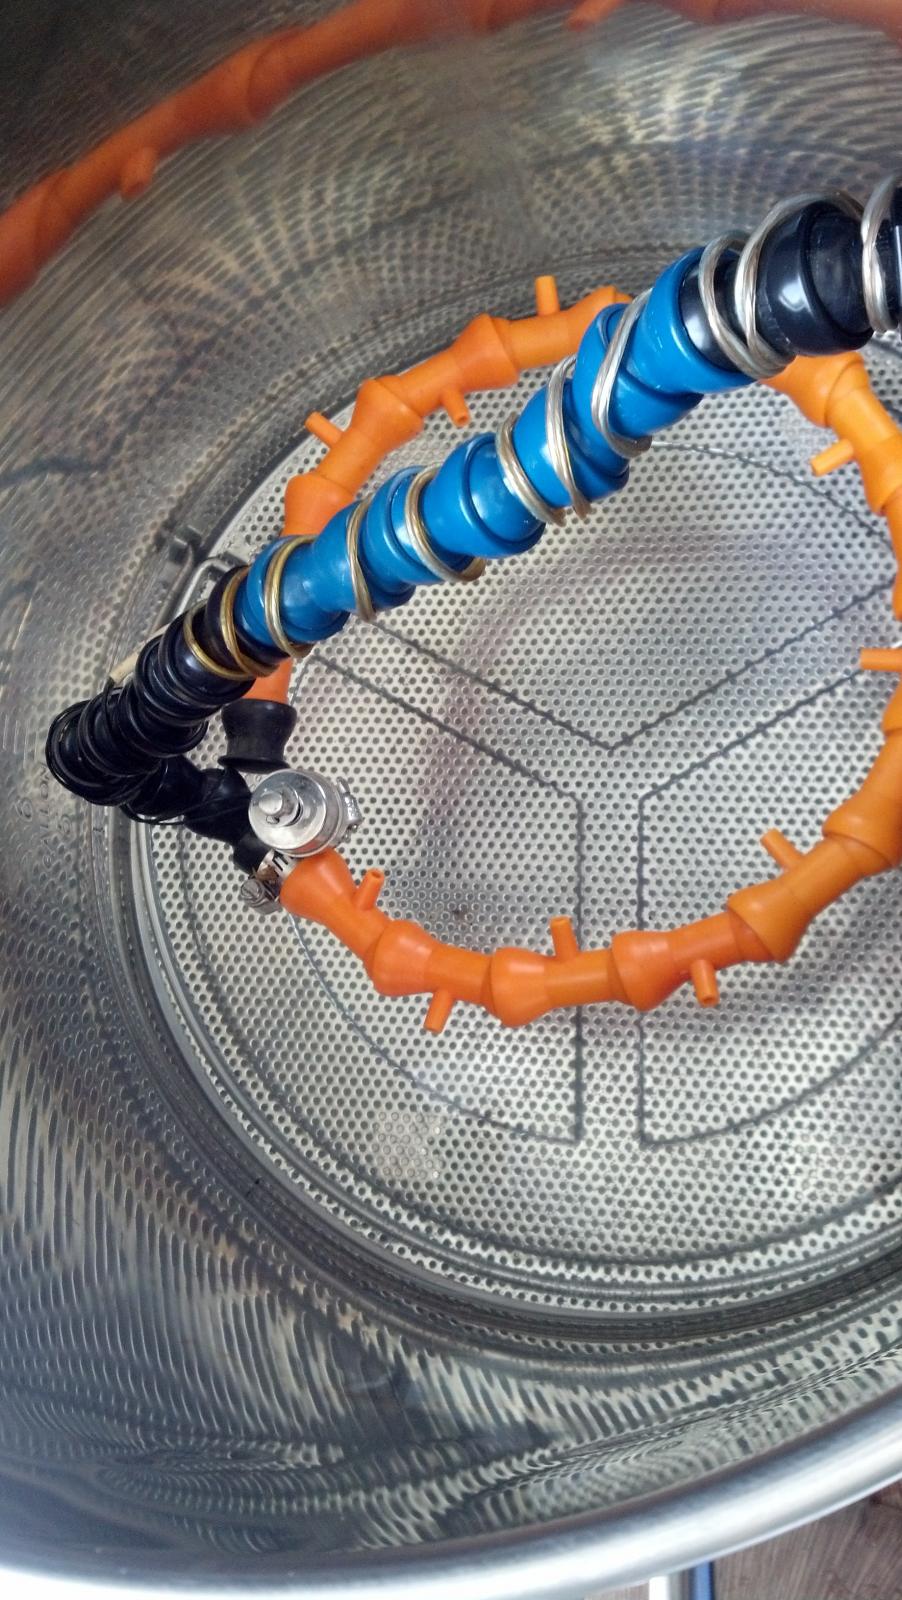
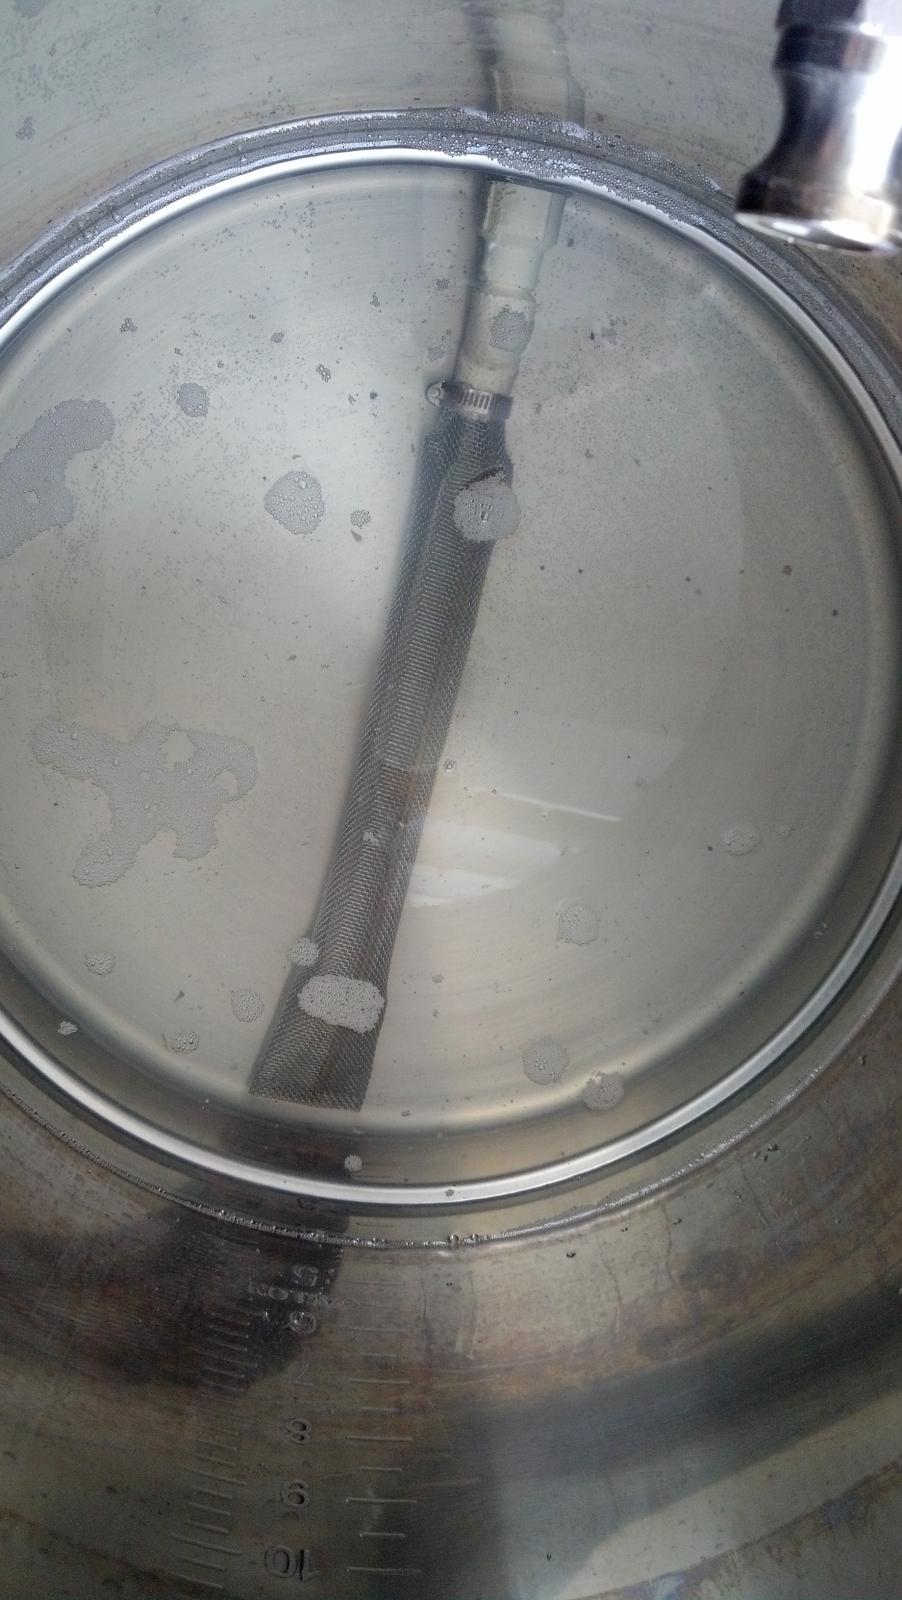
jawilhelm asked for pictures of my mash tun false bottom filtering setup..
here you go
theres water in it because I was experimenting with flow levels with while using a flow switch that will kill the rims heat if I get a stuck sparge.
IMG_20150219_103231_325.jpg


IMG_20150219_103334_555.jpg


IMG_20150219_103346_165.jpg


IMG_20150219_103400_441.jpg


IMG_20150219_103415_718.jpg


IMG_20150219_103436_318.jpg


IMG_20150219_103506_766.jpg
 
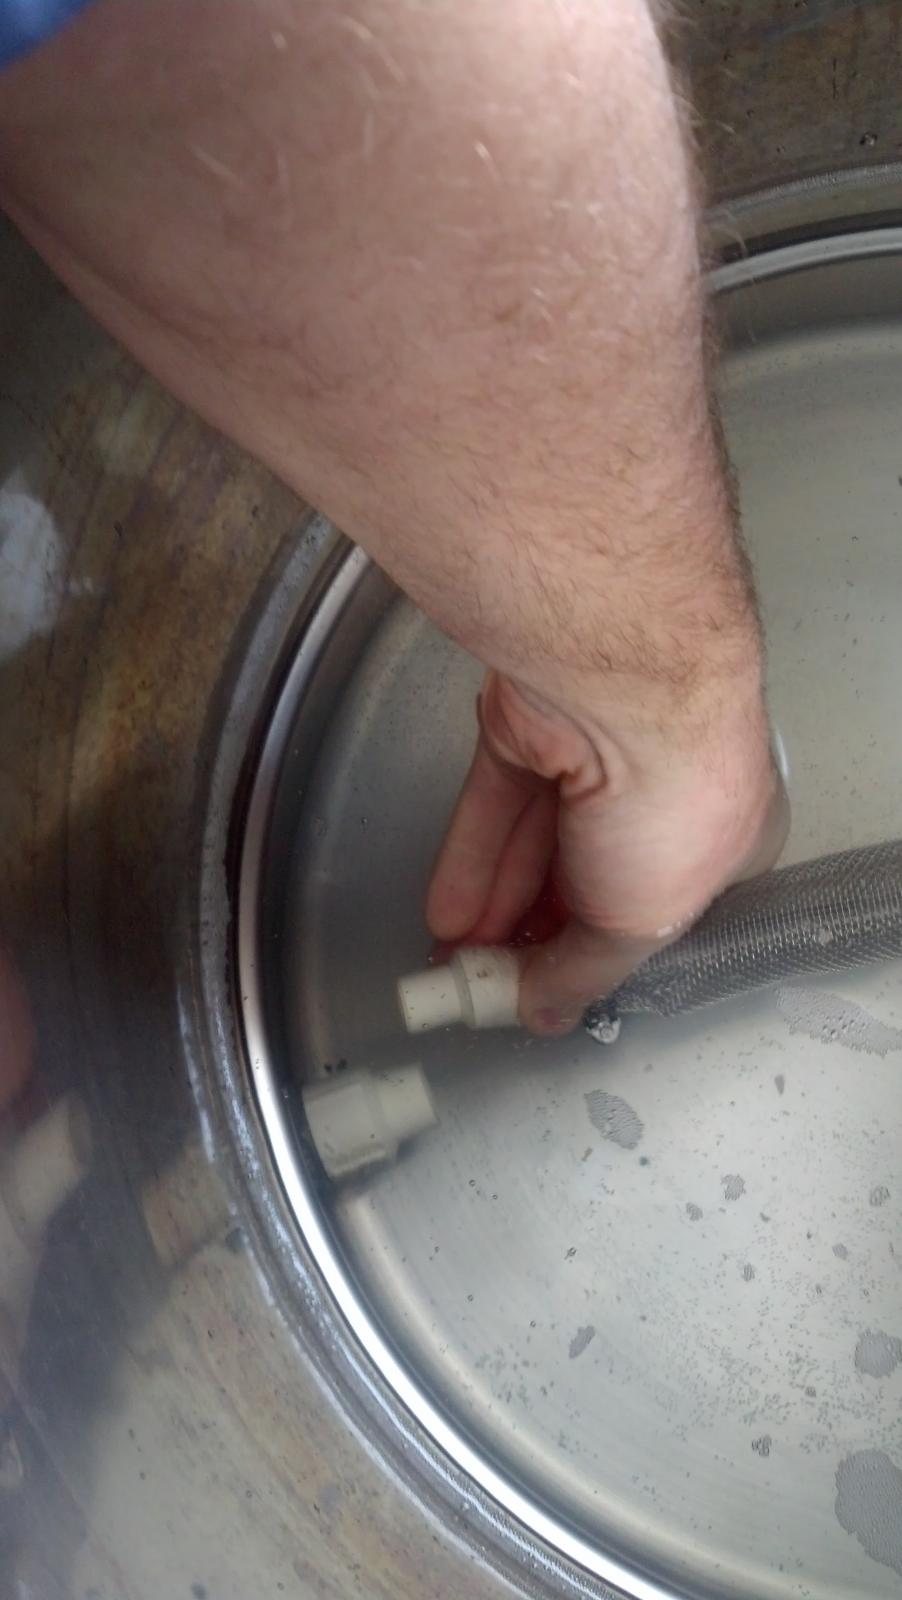
jawilhelm asked for pictures of my mash tun false bottom filtering setup..
here you go
theres water in it because I was experimenting with flow levels with while using a flow switch that will kill the rims heat if I get a stuck sparge.
How did that level switch work out for you?
 
How did that level switch work out for you?

the float level switch in my mashtun works well for controlling my sparge pump.

The flow switch I just bought restricts my flow about a half gallon per minute and I dont like that... I'm looking for a lighter spring to replace the one it has now... besides that it will work great. I love the flowmeter though. It works well to see how well the wort is clearing up as I recirculate the mash as well.
 
What did you use to adapt from the BSP threads to NPT?

Ok , update on the flow switch... out of the box it restricted flow too much and did not reliably actuate So I modified the float by filing away some material. I also modified and ultimately ended up reversing the spring so it just prevents the float/actuator from traveling too far... now the switch actuates reliably with gravity , even with the pump at half speed and does not restrict flow more than .2
gallons per minute which is ok. now I just have to wire it into my rims ssr control circuit.

In short it should work very good as an added safety measure to both prevent dry firing and scorching in my rims.

Cool! Can you post some pictures please?

After much debate about not using food grade materials I finally just decided to use one of those $10 plastic flow meters for this purpose, kill 2 (or 3) birds with one stone.
 
Cool! Can you post some pictures please?

After much debate about not using food grade materials I finally just decided to use one of those $10 plastic flow meters for this purpose, kill 2 (or 3) birds with one stone.

you can get the stainless flow switches (not the same as a flow meter) for $10 shipped as well...
 
you can get the stainless flow switches (not the same as a flow meter) for $10 shipped as well...

Yeah I had seen those, my worry was 1) they looked like they would be really restrictive to flow and 2) from the pictures it looked like the 'plunger' or internal materials were plastics anyway! But you've obviously found a solution to the first concern.

What are the internal materials?
 
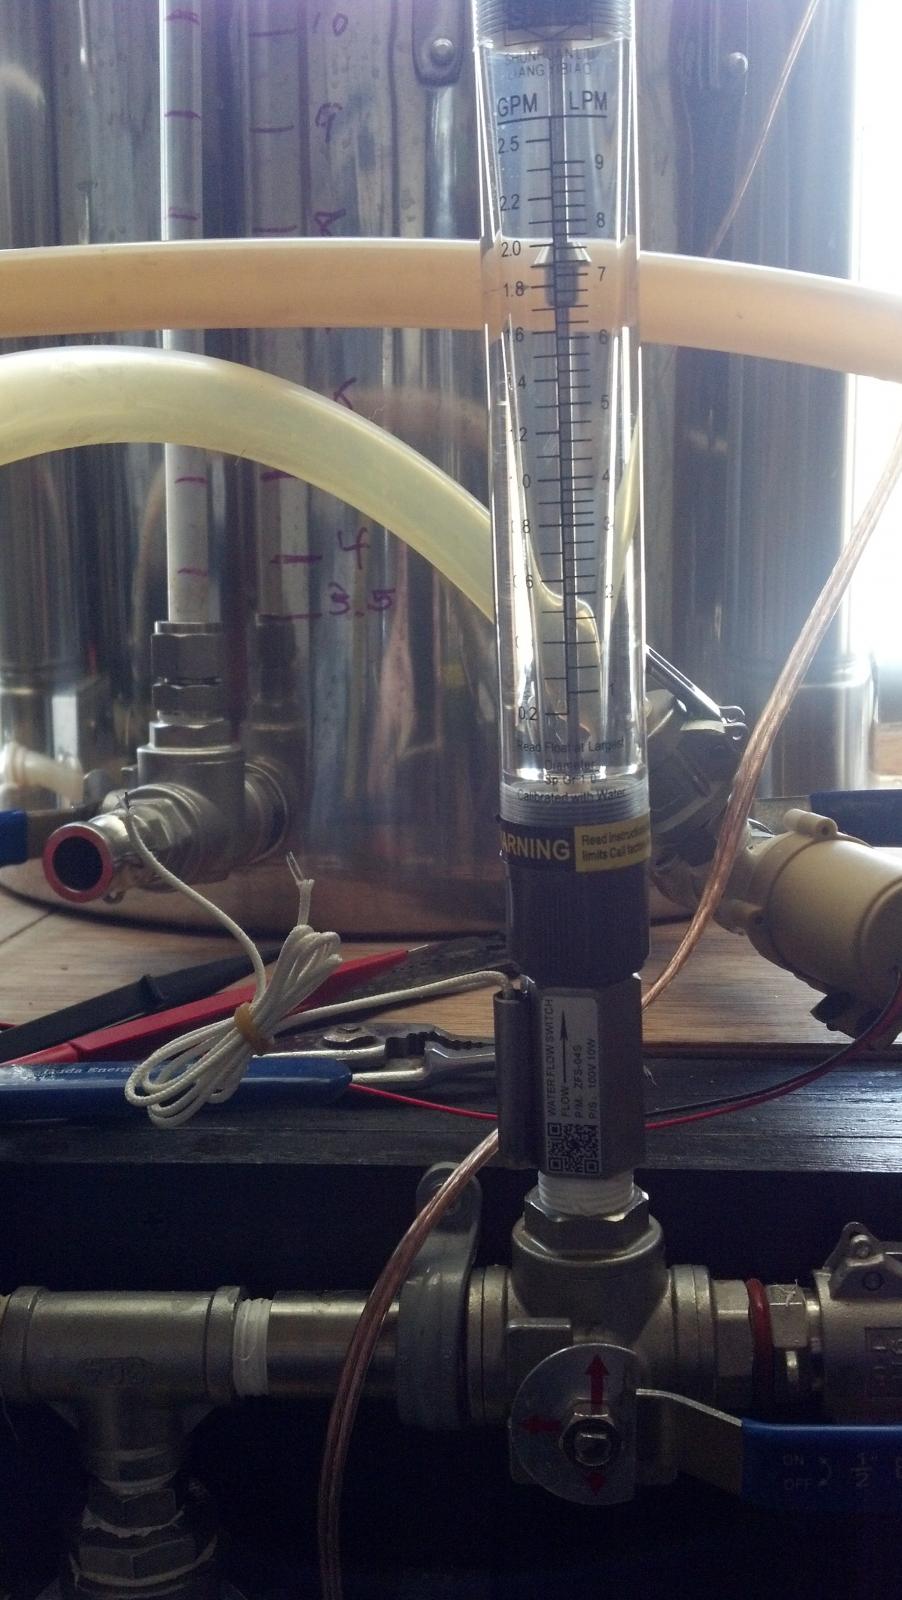
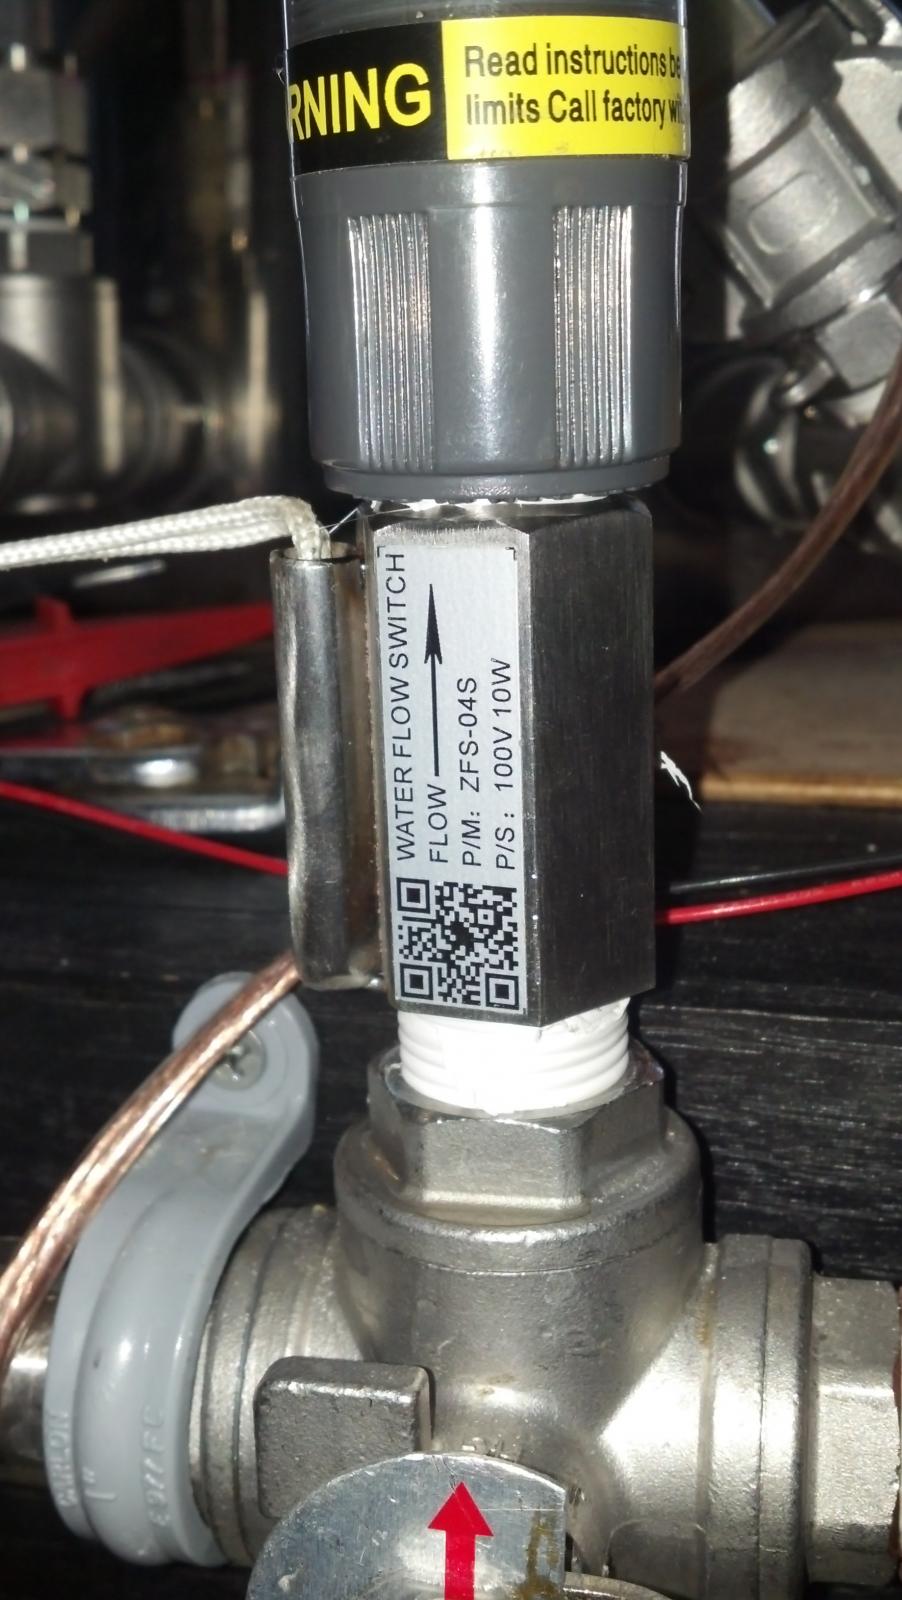
so here is my progress so far.. You can see the flow switch mounted at the base of my flow meter. I have tested it many times with an ohm meter and its working great.. I just need to add the xlr connector and wire it to disrupt the voltage to the ssr...
The last pic it the flow rate into my MT which appears to be virtually unaffected at this point. flow was just over 2gpm before without the switch.

IMG_20150227_093004_092.jpg


IMG_20150227_093014_237.jpg


IMG_20150227_093034_156.jpg
 
Yeah I had seen those, my worry was 1) they looked like they would be really restrictive to flow and 2) from the pictures it looked like the 'plunger' or internal materials were plastics anyway! But you've obviously found a solution to the first concern.

What are the internal materials?
there is a small white plastic "float" or "plunger" with the magnet enclosed inside of it and a stainless spring... the rest is all stainless.. the plastic appears to be the same type as the fast ferment conicals are made of but I cant remember the name... in any case the highest temp it will ever see is 170 and its a very small amount of plastic.. it was a concern until I pulled it apart and checked everything out. FYI you can actually scan that barcode and get the manufacturers specs on it I tried :) its in chinese but I'm looking for a good translator now.

all the manufactuer states is the float sensor and plunger are imported for use... they do state the plastic float switches housings are made of polycarbonate which comes in food grade and non food grade from what I read in wiki. the manufacturer does list water purifiers and supermarket applications so I really hope its foodgrade...
 
all the manufactuer states is the float sensor and plunger are imported for use... they do state the plastic float switches housings are made of polycarbonate which comes in food grade and non food grade from what I read in wiki. the manufacturer does list water purifiers and supermarket applications so I really hope its foodgrade...

It's rated to boiling so you know it's not going to melt, I wouldn't worry about it. I've justified my non food grade flow meter with the notion that the alcohol will do more damage to me than a little bit of plastic. The basicbrewing.com 3 part podcast series with the toxicologist really put me at ease to this sort of thing.
 
Augie,

One last question on the 24v pumps. I'm not planning to have screens on either my MLT or BK pickups(both will have dip tubes). I'll be using a false bottom in the MLT - leaning toward the AIH one with stand. Just curious if you think I'll have problems with grain debris and pellet hop gunk fouling the pumps?

Thanks!

yes you may very well have issues.... these pumps are small and dont pump solids well.
 
Well I just wired up an xlr connector to my panel and Im happy to say this works awesome! I simulated a stuck sparge by turning my pumps up and down in speed to off and an and the element is shut off and on just as it should be.
 
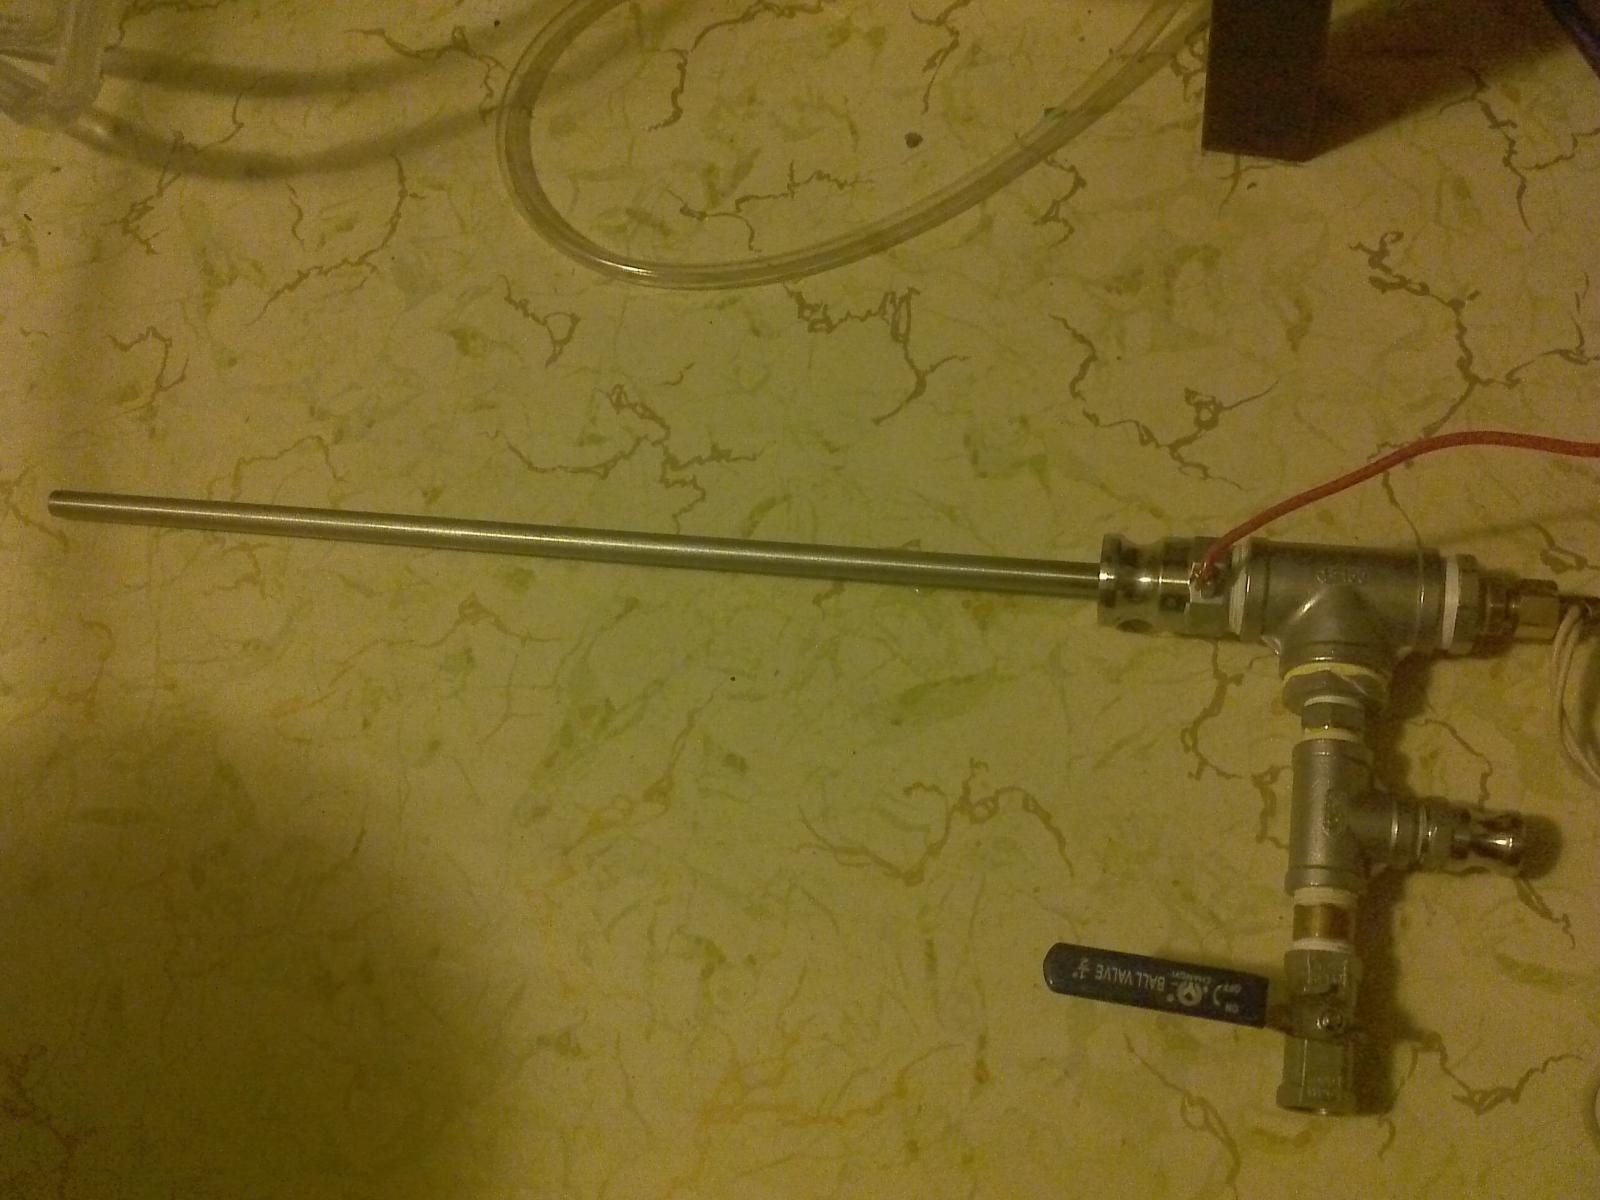
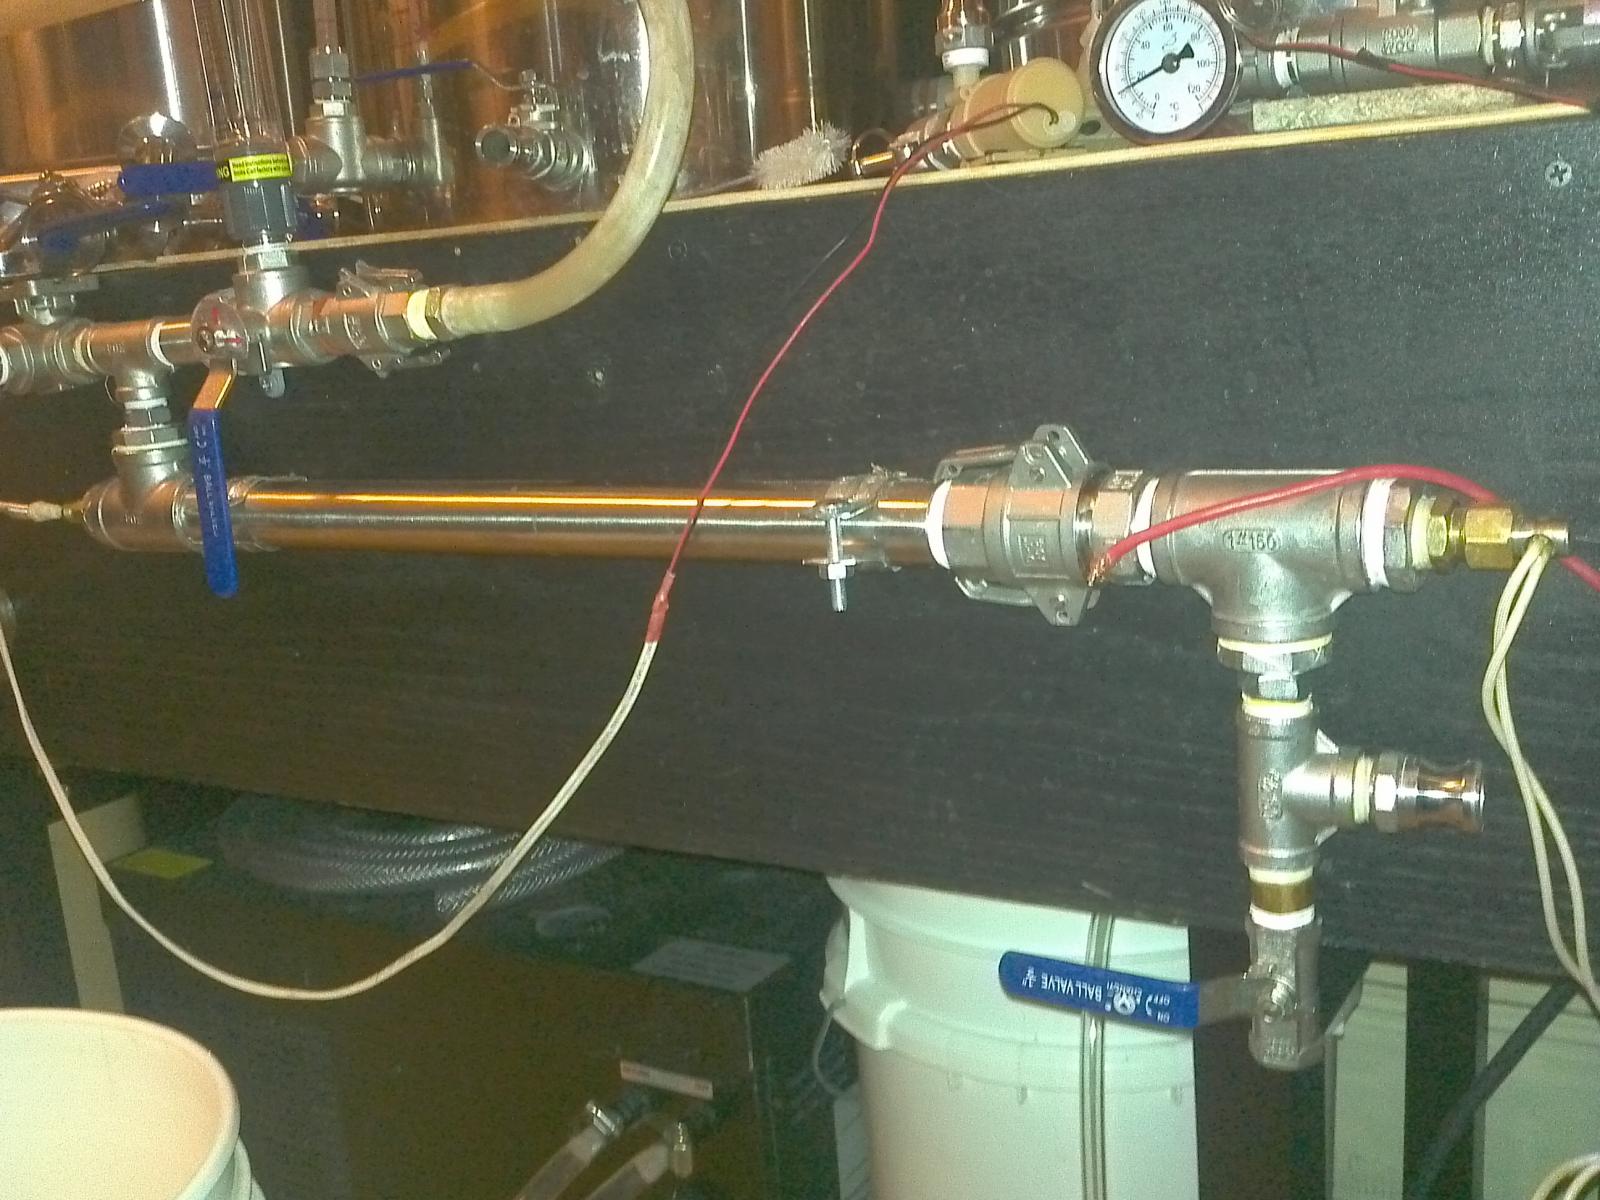
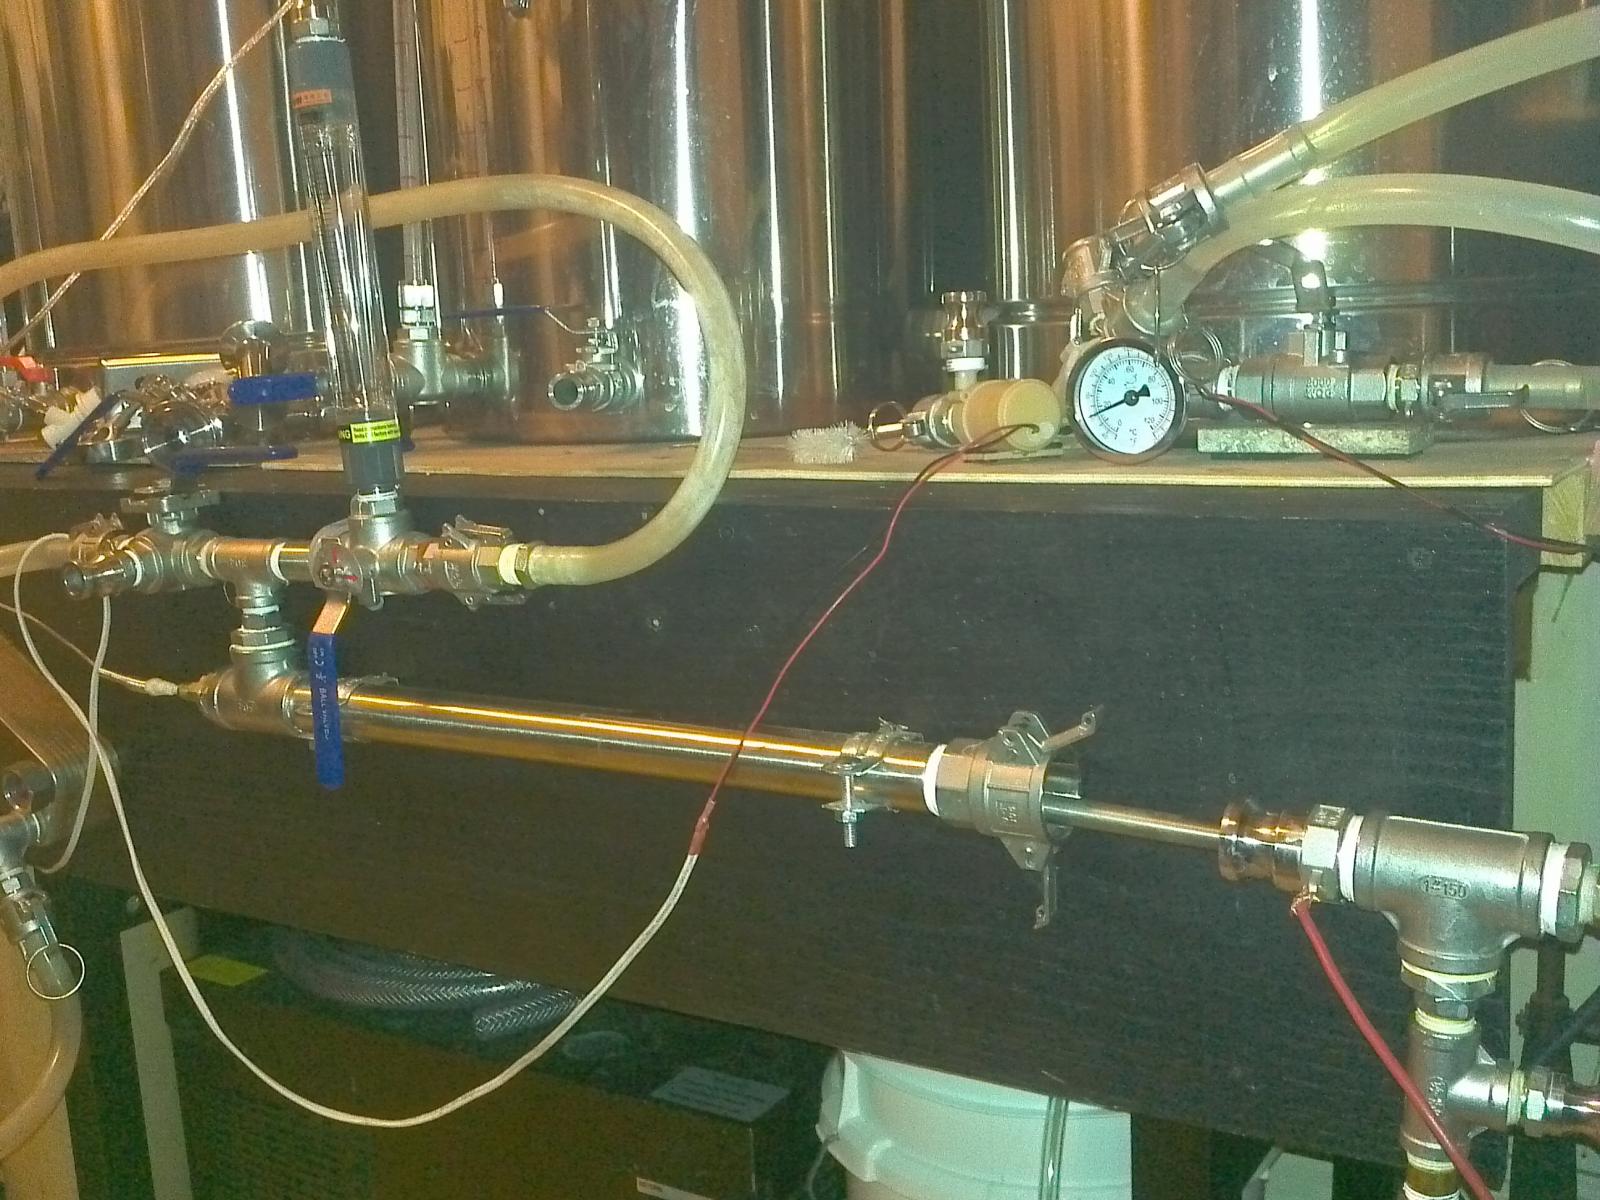
I just realized I didnt post any real pics of my budget cartridge heater rims tube...
So here are some I posted on the "dirt cheap rims" thread where I got my inspiration.

IMG_20150116_221917%5B1%5D.jpg


IMG_20150116_221853%5B1%5D.jpg


IMG_20150116_221940%5B1%5D.jpg
 
Whaaaaaat? That's not a water heater heating element... What's the specs of that thing? watts, watt density, materials, rims tube pipe diameter, etc? Most importantly, what's your review of it compared to water heater element RIMS tubes?
 
Whaaaaaat? That's not a water heater heating element... What's the specs of that thing? watts, watt density, materials, rims tube pipe diameter, etc? Most importantly, what's your review of it compared to water heater element RIMS tubes?
Its a stainless "cartridge heater" they are often used in industrial and food manufacturing applications, I tried a few different sizes before deciding on a 24.5" log by 5/8 (or possibly 1/2') diameter element... its 1000w at 240w and because of the length and diameter its still ULWD. I made the tube of 1" stainless with a 1" camlock pictured for easy removal to clean (so far only needed to clean once when I accidently left it dry dry while on -hence the flow switch I installed above to prevent that from happening again.

I drilled out the extra bit at the base of a compression fitting and mounted the element inside of the compression fitting to mount it and keep everything waterproof.

these cartridge heater can be found for as little as $10 all the way up to $100... just search "cartridge heater" on ebay or amazon. I have mounted and tried 3/8 x 10" and 3/8 by 17 and 1/2" x 15" elements... they even sell them with a j type thermocouple built right into the element which would really prevent scorching which I tried but decided against because it operated much slower this way.

I had good results with this heater but went longer for more safety...
http://www.ebay.com/itm/FAST-HEAT-C...386?pt=LH_DefaultDomain_0&hash=item5b023ad2aa
 
This is a truly beautiful build. I might have to steal some ideas from this!

Thanks... its a bit confusing since I kept upgrading things along the way, I hope to eventually make a youtube video showing how things work.... I did end up moving my flow switch to the rims inlet and it now works well in recirc or sparge mode and while running pbw through it and my chiller for cleaning.

I believe I have made over 50 batches of beer on this rig now and I love it!
Unfortunately life has gotten in the way and I havent brewed in about 2 months..
 
That damn thing they call life, it's a bxtch!

Nice build, read through the thread as I continue my quest to switch to electric.
 
That damn thing they call life, it's a bxtch!

Nice build, read through the thread as I continue my quest to switch to electric.

Tell me about it... since my last brew session in march, My dad passed unexpectedly leaving a mess, I ended up buying his house and am settling his debts. Plus I find out tomorrow (hopefully) if the large recently discovered but fast growing nodule in my neck is cancer or not.... I've had enough of lifes ****ty surprises for a while...
At least I had brewed up a large stockpile of beer over the winter to help me through these last 6 weeks or so :tank:
 
UPDATE...

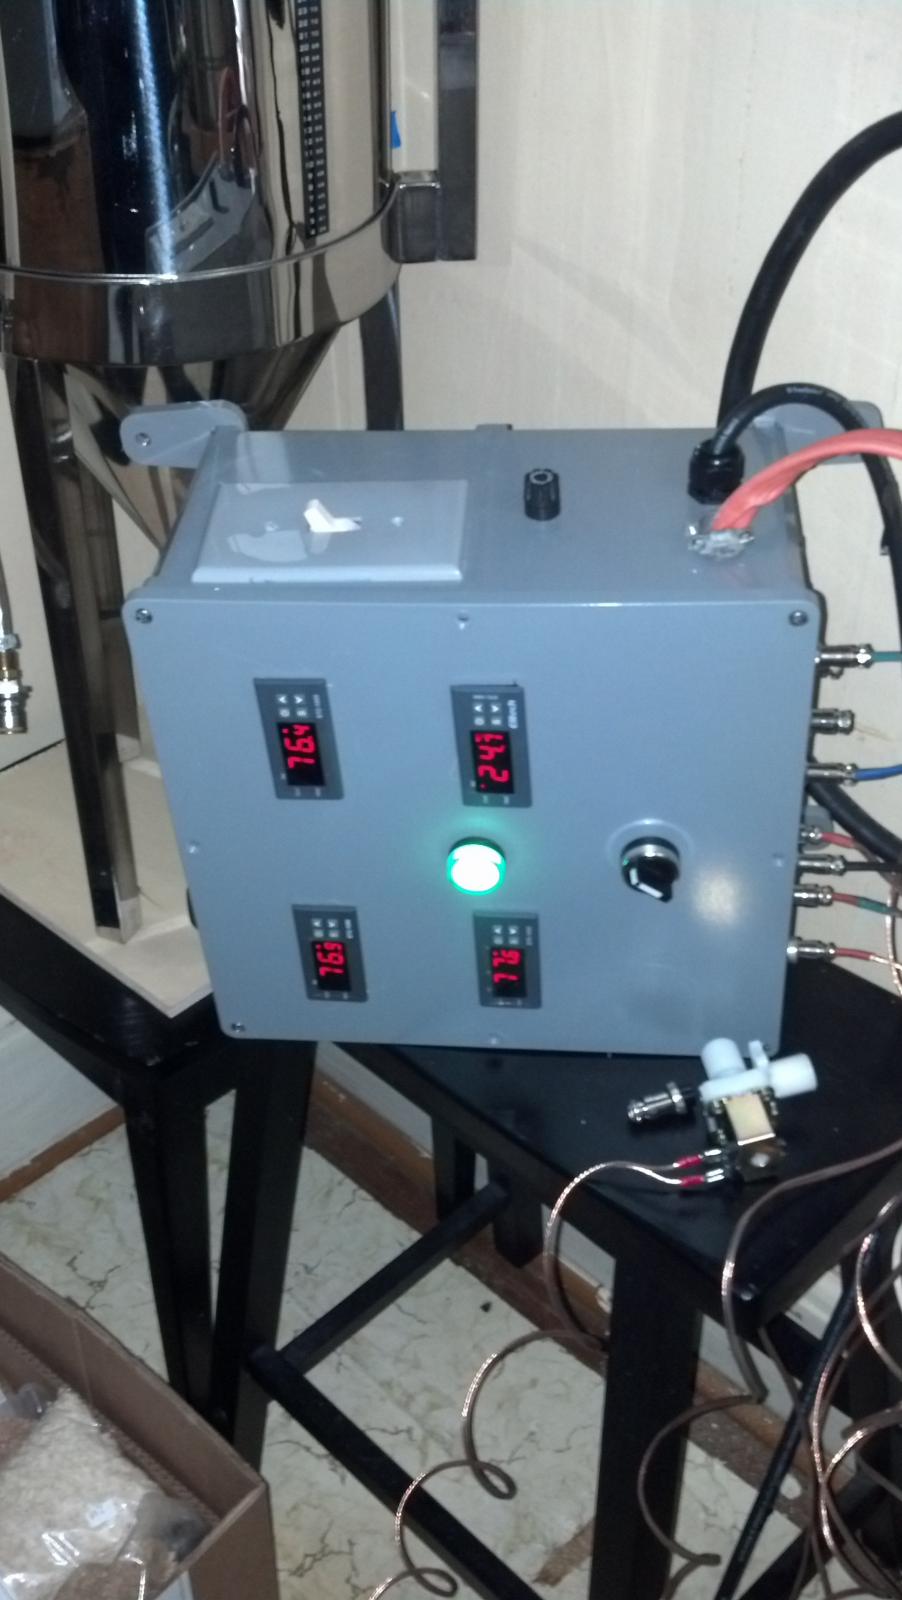
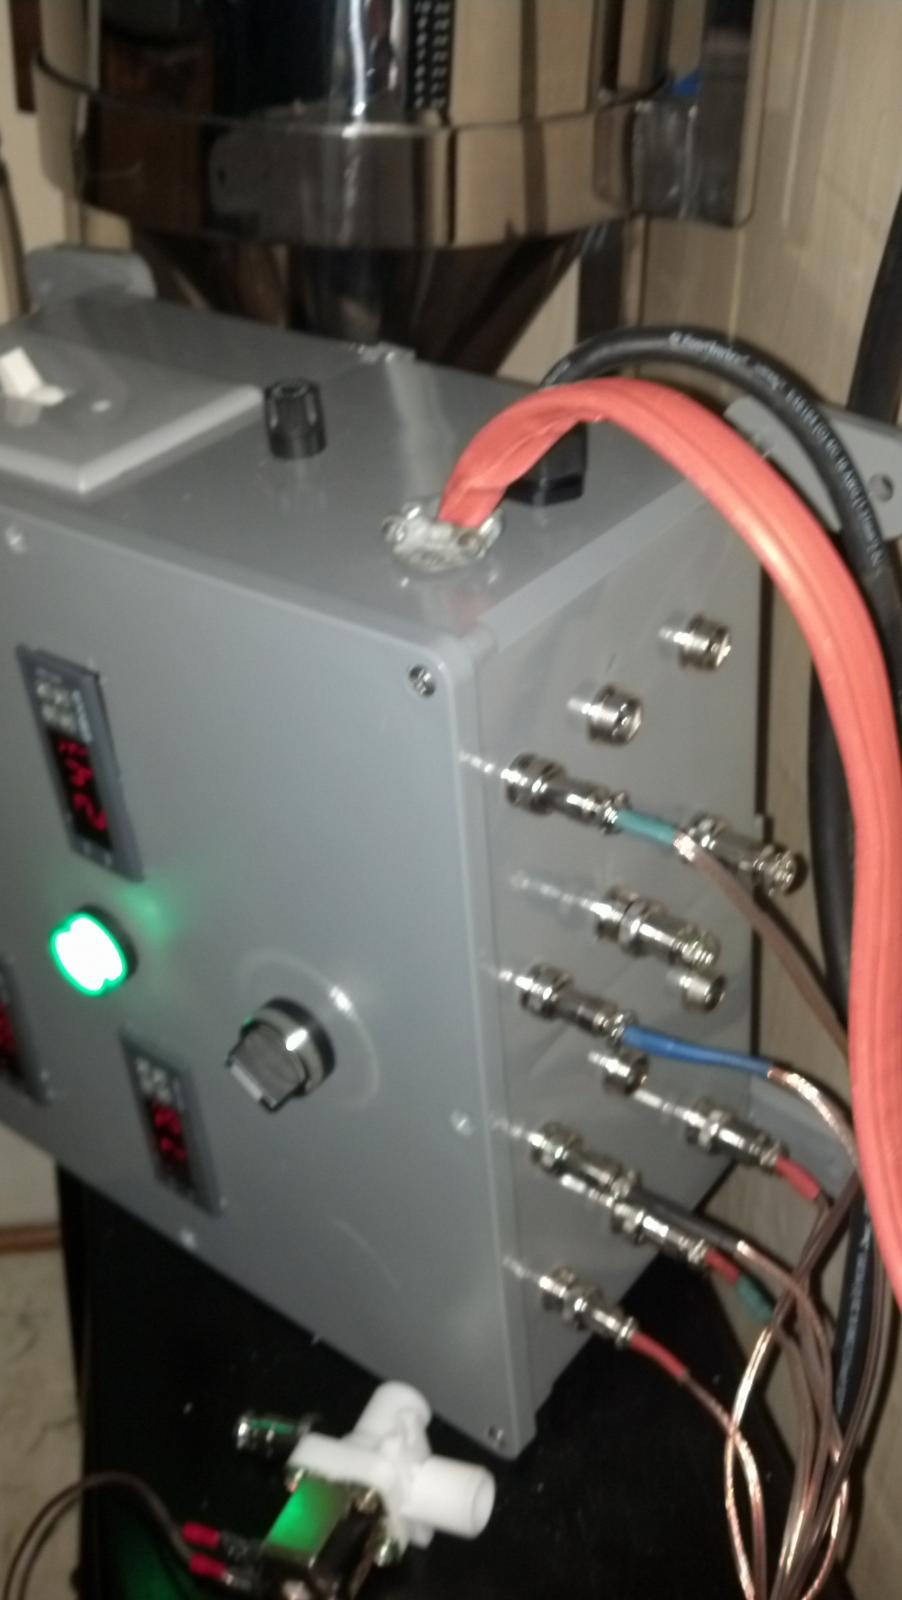
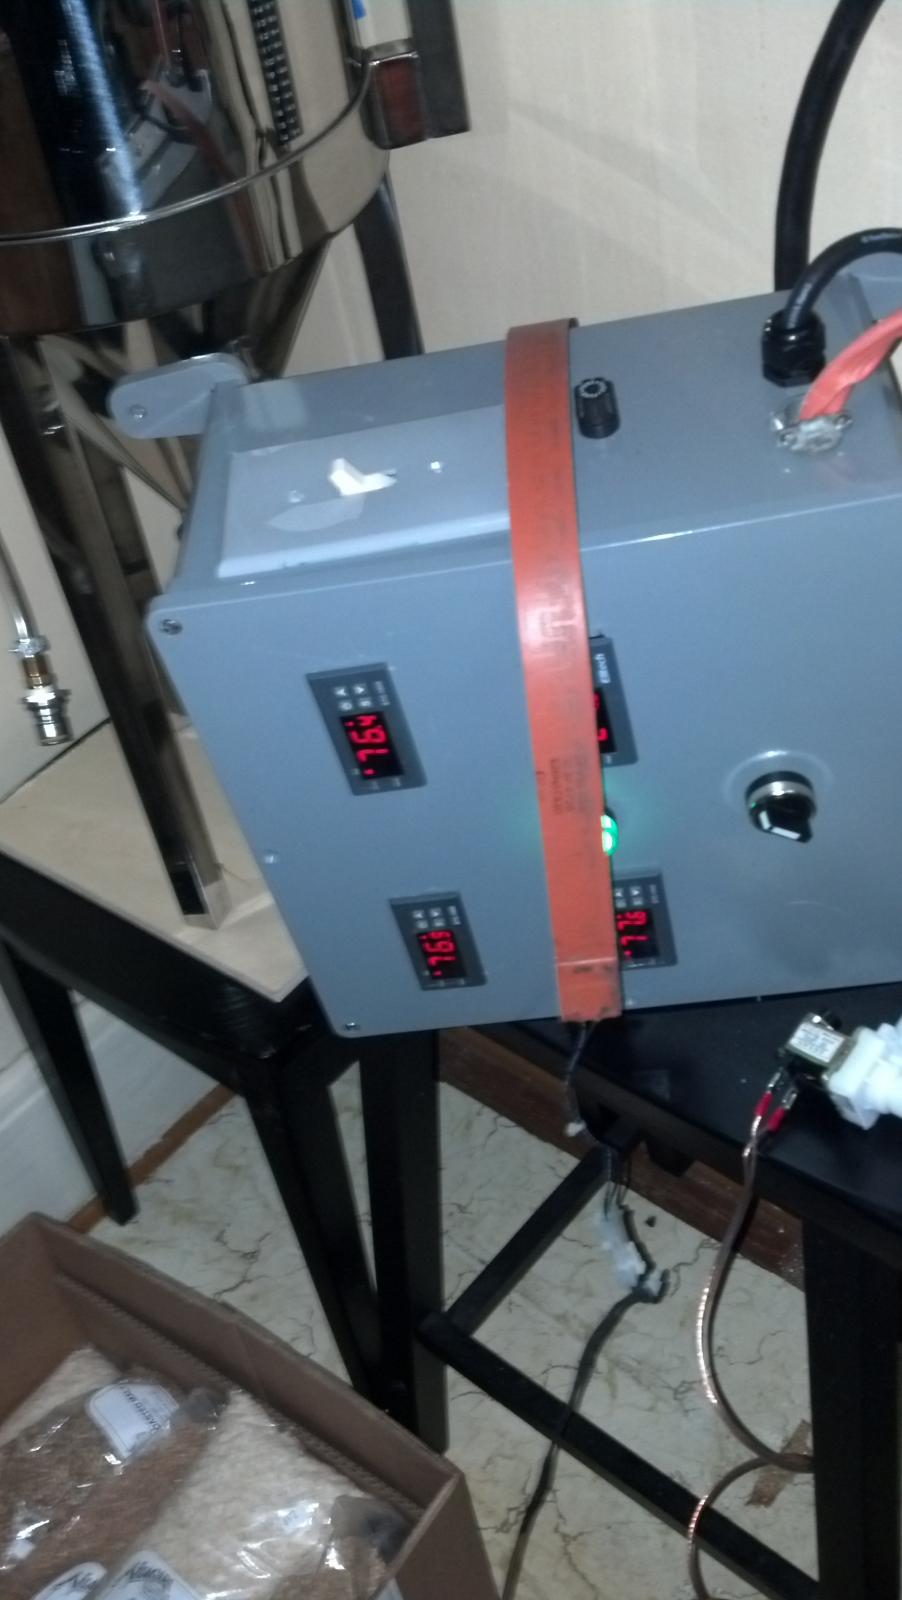
So I had a little time last week to finally pu together my fermentation control box..
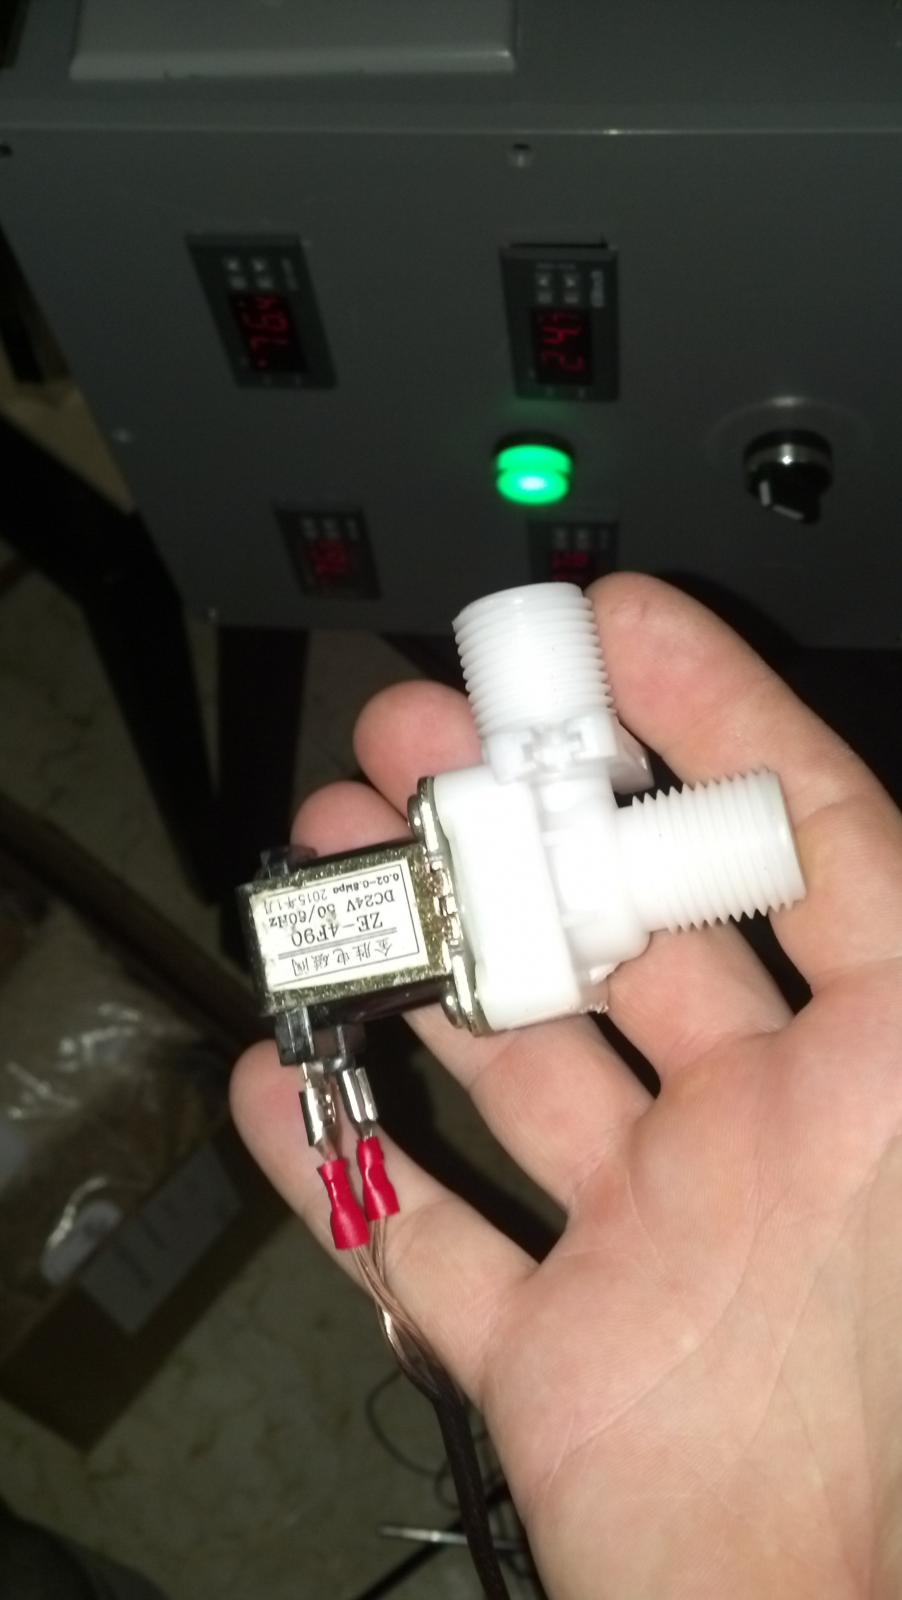
It currently has 3 stc1000+ and one regular stc1000 temperature controller which I wired to control 24DC to my 24v heater strips as well as 24v dc to cooling dual relays which simultaneously turn on or off 4 individual 24vdc soleniod controlled flow switches as well as 240v to my chiller flow pump which should allow me to independently control the temps on four fermenters with the heat strips and cooling zone cooling jackets....
I havent mounted anything yet or plumbed in the cooling lines for the water/glycol solution but hope to get that done soon. Sorry for the poor pics. I will take better ones once its mounted.

fyi the solenoid valves are only $2.19 a piece with shipping and the controllers were $16 a piece making this a relatively inexpensive build. the heaters and 24v powersupply are recycled from old xerox parts left over from obsolete equipment. I scored the chiller from a customer at work but If I didnt have it I would build one using an AC window unit and a cooler... I am extremely impressed with how quickly the cooling jacket chills my conical... I do have a feeling I will want to build an insulated cabinet for use in the summer but it worked great in the winter when the chiller was only controlling the concals temps.

IMG_20150518_101513_442.jpg


IMG_20150518_101522_314.jpg


IMG_20150518_101541_521.jpg


IMG_20150518_101600_479.jpg
 
Interested to see how this works out for ya. I have 4 unused channels of my BCS-462 that are screaming to be used for individual fermenting.
 
Go on about the chiller, friend.

lol.... I service and maintain some equipment at newspaper accounts and the plate processor use beverage system chillers with water (rebranded of course) for the processors. another Tech was replacing one because of issues and knew I was looking for one and saved it for me (we dont normally service them, only replace them so im told) anyway I was able to repair it and they work very well with the $60 cooling jackets http://www.gotta-brew.com/products/cool-zone-cooling-jacket.html to cool carborys, buckets and conicals....
since my compressor runs so little I dont see why I cant control multiple fermenters with it..
I have tested the heater circuit as well as the valves with water and my only concern now is how to get adequate flow through each chilling jacket since the liquid is likely to take the path of least resistance... I guess I could have went with 3 way valves that cut flow to the rest of the circuit but then only one jacket could cool at a time...

I have seen a number of people doing this with homemade chillers made from taking the ac units condenser coil and putting it into a cooler of water along with the temp probe. I actually will need another chiller soon for my reef tank so I may do this myself. The chiller I have now runs on 240v which I do not feel like running to my Den for my aquarium.
 
I have a question i havent seen answered anywhere about these enclosures.

How are you mounting the internal items that dont come outside, like SSR, etc.

Are you drilling through the back and screwing/bolting the Heatsink to the box then SSR to that? JB Welding the Heatsink to the inside? Trying to figure out how to go about doing it.
 
The enclosure has a removable panel on the inside that you mount the parts to. It mounts to standoffs in the enclosure.
 
I have a question i havent seen answered anywhere about these enclosures.

How are you mounting the internal items that dont come outside, like SSR, etc.

Are you drilling through the back and screwing/bolting the Heatsink to the box then SSR to that? JB Welding the Heatsink to the inside? Trying to figure out how to go about doing it.

These enclosures actually dont have standoffs with a panel (I wish they did) I did exactly what you said... I drilled small holes and mount the components with screws. epoxy and jbweld is not a good idea in my opinion for servicing but High gravity does glue their components in the same enclosures which are extremely overpriced IMHO.

If I where to build another I would have spent the $4 for a 12" section of Din rail and mounted my heatsinks and suck to that justto make changes and service easier. I kept adding things and its gotten tighter and tigher inside the enclosure.
 
I found a great deal on a 10x10x5 metal enclosure last night on Amazon, only 31. Less than I paid for the plastic enclosure alone not counting the jb weld and aluminum plate. I think I'll be using that instead since I am making an elsinore box I should have plenty of room with no pids taking space.

Just a rpi, contactor, and 4 ssr.

Thats a lot smaller... So yeah it would depend of what your putting in it.
I chose plastic for the reason that its much easier to work with myself.
the switches and pids themselves are plastic and the control panel is powered down when not in use so its kind of a moot point to go with steel as I saw it.
What was was the jb weld and plate for? normally a back plate is mounted on standoffs for easy removal and servicing.
 
So I cant leave well enough alone, I picked up a longer (36") more powerful 1800w cartridge heater and an extension for my rims tube to try and make it possible to do step mashes in a more timely manner by increasing the contact time between the wort and element while not decreasing flow and while still keeping the watt density very low.

I bought one of these...

http://www.ebay.com/itm/390993852374?_trksid=p2057872.m2749.l2649&ssPageName=STRK:MEBIDX:IT
 
I would jb weld the stand offs to the box then screw the plate into them. That way I don't have metal screws external that in theory could be charged.everything would be inside. Regardless I'm going steel just because I got it so cheap.
 
any chance of you doing some schmetics of your control box as i'm in the process of rebuilding my system and am not the best at guessing which wire goes where....thanks
 
any chance of you doing some schmetics of your control box as i'm in the process of rebuilding my system and am not the best at guessing which wire goes where....thanks

honestly I wouldnt know where to start... I am unfamiliar with the software used to draw it up and I did not go by schematics when building it other than to reference some of PJ's diagrams posted here when I was learning how this stuff works. sorry.... if you have any specific questions to how something is wired I can try to answer them though...
 
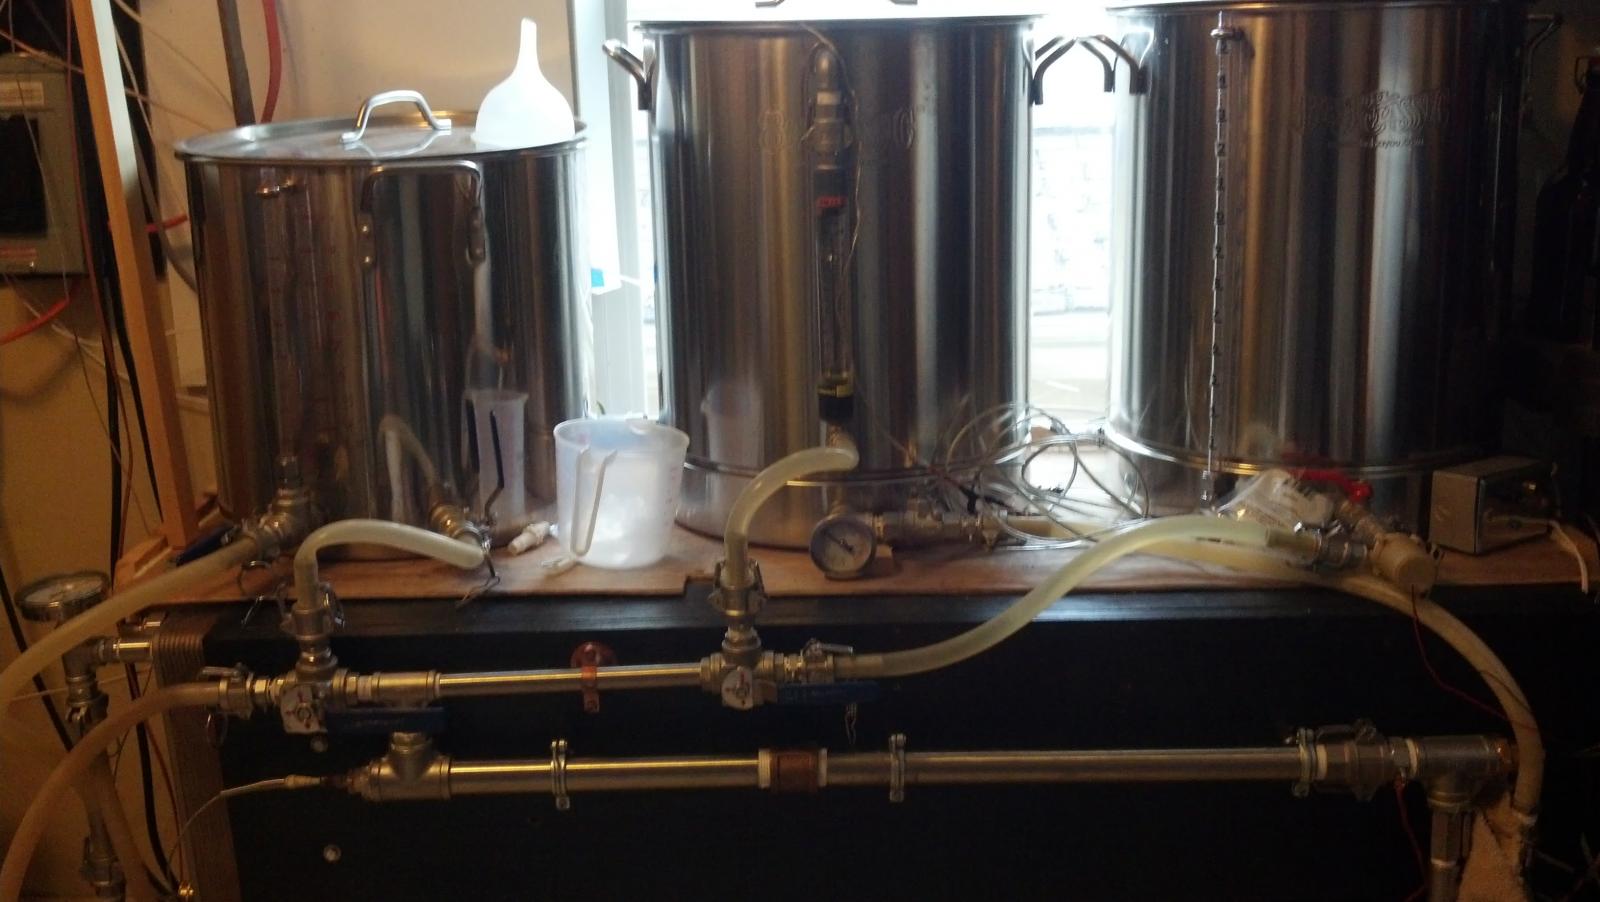
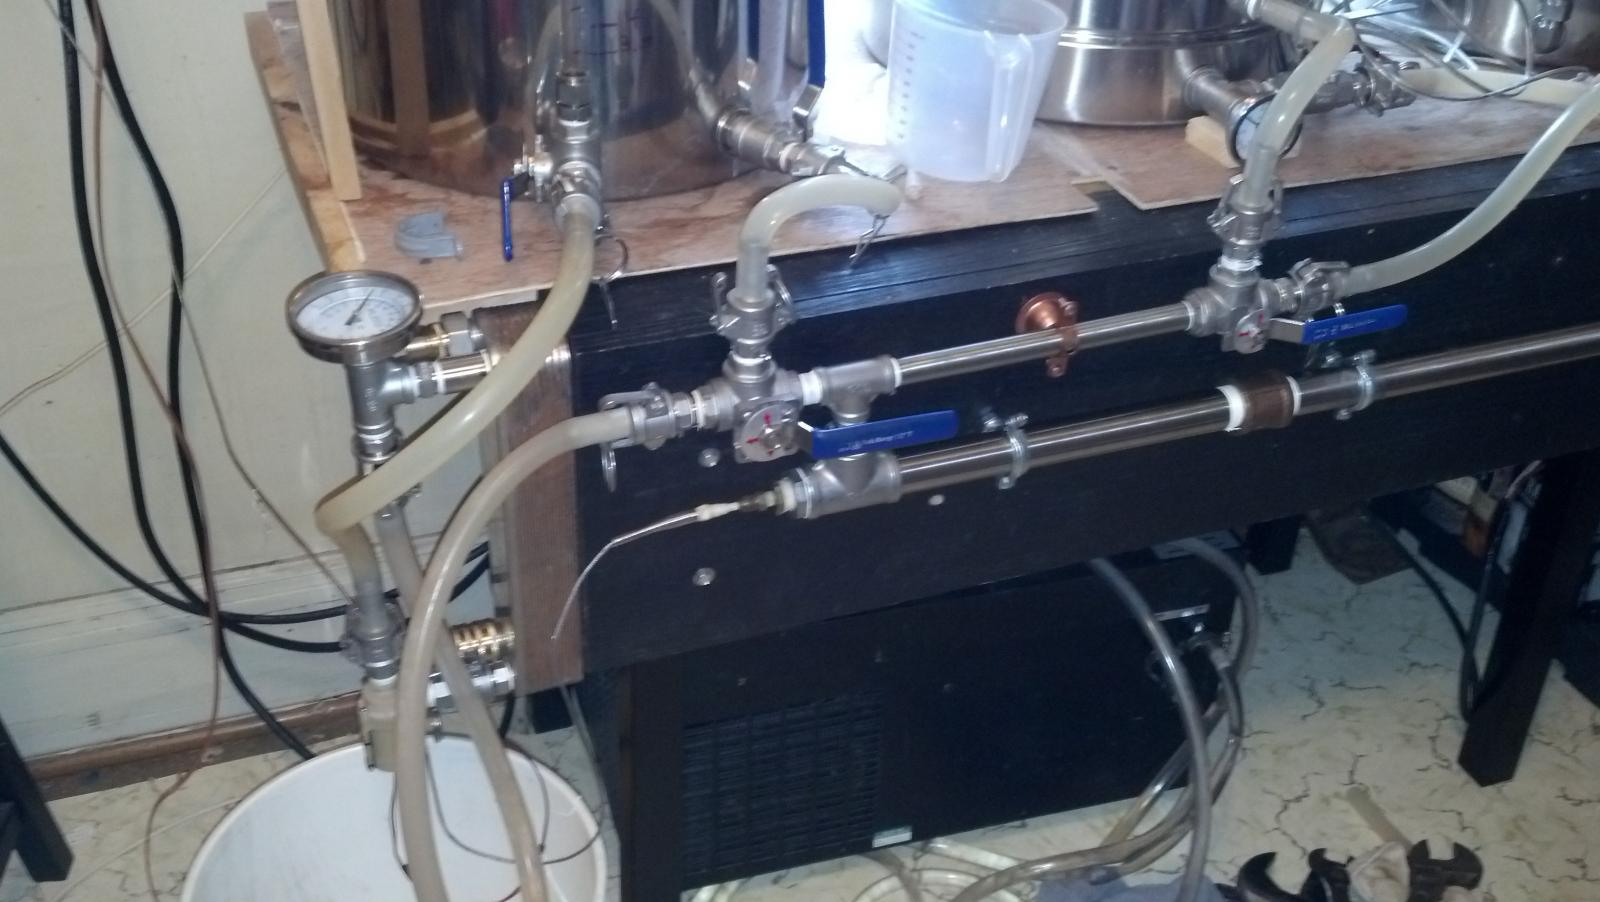
OK I got my longer 1800w rims tube built.... its noticeably faster than the 1000w setup... I took 5 gallons of 72degree water and raised it to 152 in 42minutes with a 2 degree rise about every minute. I also rarranged so things and moved the flow meter/siteglass to the front of my mash tun which is now in the center... all in all the new layout works better and matches the layout on my control panel.
hopefully I will get to brew something today or tomorrow for the upcoming 4th of july concert weekend I attend every year.

oh and I also picked up a third matching 16.5 gallon stainless kettle for $89 with tax and shipping from amazon (open box like the others were)...just waiting for it to arrive.

IMG_20150607_190026_519.jpg


IMG_20150607_190006_268.jpg


IMG_20150607_185956_280.jpg
 
Thanks for the inspiration! Was worried about cost of building my eHERMS system, but have been convinced 24vdc pumps will do the trick. Finally realized everything doesn't have to be Blichmann! Only thing that sucks is most of everything is coming from China... shipping is going to take forever and I just wish it was American made. Cheers!:mug:
 
Back
Top