• Please visit and share your knowledge at our sister communities:
  • If you have not, please join our official Homebrewing Facebook Group!

    Homebrewing Facebook Group

Experience Using Chapman Fermenters?

Homebrew Talk

Help Support Homebrew Talk:

This site may earn a commission from merchant affiliate links, including eBay, Amazon, and others.
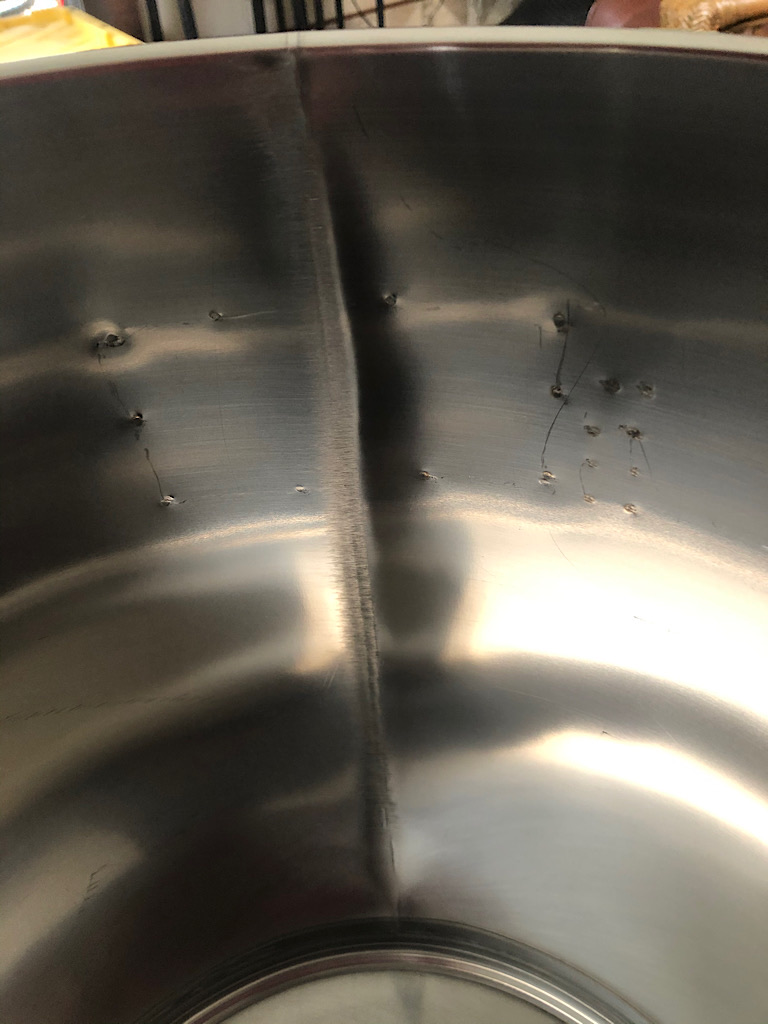
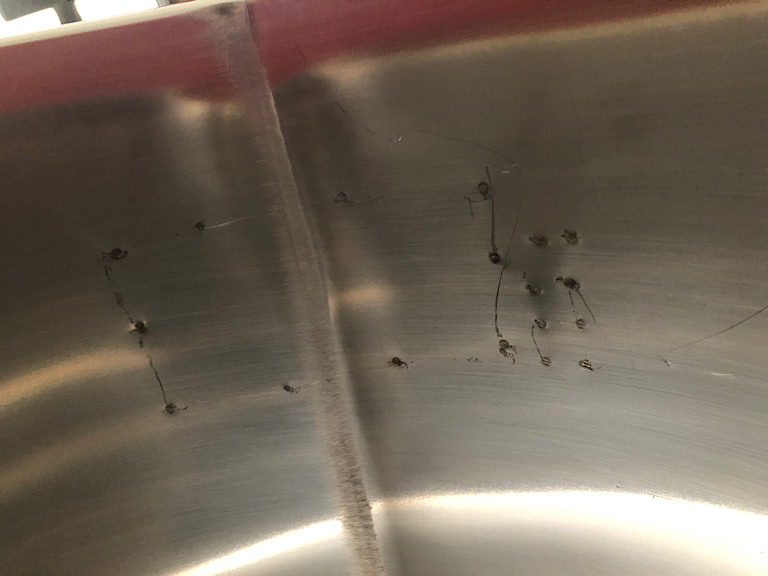
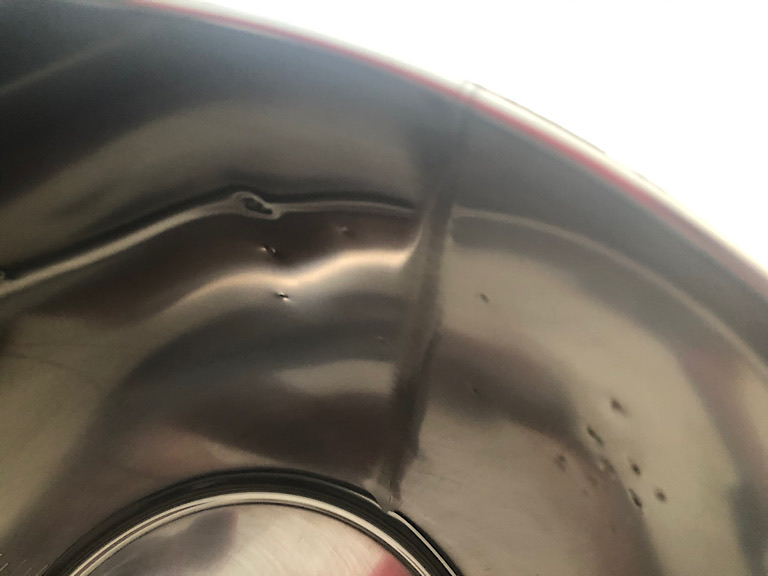
@Haole when doing closed transfers using 2-3 psi of Co2 neither of the seven gallon univessle fermenters leak. Although I can see where the fourteen gallon model is more likely to leak. The seven gallon model is twelve inches in diameter where the fourteen gallon model is seventeen inches in diameter. A worthwhile change Chapman could make is to add a fifth buckle clamp to their larger fermenter in the future.

I have a second batch, a Spruce Tip Honey Amber Ale, bubbling away like mad now.
sprtip-1-sml.jpg
 
It’s really close to being an excellent large batch fermenter. A fifth (and perhaps sixth and seventh) clamp would help quite a lot, as well as losing the 2” hole in the lid for a tri-clamp or other stopper arrangement. Those number 10 stoppers get expensive as re-seating them in the thin lid slices them up until they no longer make a perfect seal either. I like that you clamped yours in place via expansion. That’s clever.
 
I use a section of 1/2 silicone hose under the clamp to put more pressure on the lid and have not had any issues since. This is wiht both the 7g and 14g.
 
It’s really close to being an excellent large batch fermenter. A fifth (and perhaps sixth and seventh) clamp would help quite a lot, as well as losing the 2” hole in the lid for a tri-clamp or other stopper arrangement. Those number 10 stoppers get expensive as re-seating them in the thin lid slices them up until they no longer make a perfect seal either. I like that you clamped yours in place via expansion. That’s clever.
Thanks. Using some stainless steel hardware to squeeze the stopper is a quick and easy fix that works.
 
Early next week, for the second time using a closed transfer, I'll be kegging ten gallons of beer. This time I plan to fill both kegs with StarSan and use Co2 to empty them prior to filling with an Amber Ale. The first closed transfer of Kolsch is still lagering and should be ready to sample in three weeks. It's amazing how easy it is adopting closed transfers and low oxygen transfers into the brewing process.
 
I’d be doing that for every mead, wine, and beer that I brew though CO2 costs us a lot out here. Instead, a bit of purging and capping is good enough for now.

As for the Chapmans, I ordered a second 14-Gallon unit despite the design flaws because it’s the most cost effective stainless fermenter that I can get shipped to the Big Island and it works quite well for 12G batches. This should allow me to brew a good sized lager in step with every ale or three from the first fermenter. Not sure how to address the leaky lid problem for longer lagering where a complete seal will be critical, though I’m open to suggestions.
Cheers everybody,
 
My second closed transfer from fermenter to keg went well the other day. When cold crashing it's important to inject a few psi of Co2 into the sealed fermenters as the beer volume inside contracts. To prevent creating a vacuum that could suck air or sanitizer from blow-off tubes back up into the fermenter. Or worse yet cause the lid to bend and in the process damaging the airtight seal.

trsfr-2sml.jpg


Fermenting a five-gallon batch in the seven-gallon size leaves plenty of room for krausen for the 6% abv beers I brewed. Clean up was easy enough to do using hot water and a small cotton cloth. And the ball valve outlet near the bottom was high enough above the yeast and trub pile to promote clear beer transfer.

frmtr-1sml.jpg


I filled the kegs with StarSan then used Co2 pressure to empty them before transferring the beer. To prepare to transfer the beer I removed the blow off tube and connected the Co2 line to the fermenter gas post to add 2-3 psi of pressure. Connecting one end of the beer transfer line to the ball valve and loosening the disconnect fitting on the other end. I opened the ball valve a little until beer ran clear from the other end then tightened the disconnect and attached the beer out connector to the keg.

trsfr-1sml.jpg


With the Co2 gauge set to 2-3 psi the beer transfer to the keg was easy to do. I opened the pressure relief valve on the keg to release Co2 from the headspace as the beer filled the keg. It took about fifteen minutes to fill each keg and once filled they went into the refrigerator to carbonate. At the end of the day after cleaning the Chapman fermenters looked good as new again.

frmtr-2sml.jpg
 
Last edited:
Not sure how to address the leaky lid problem for longer lagering where a complete seal will be critical, though I’m open to suggestions.
Cheers everybody,
@Haole I ordered a dozen of these 2 inch wide by 1 inch Large Binder Clips to help seal the lid in between the clamps. I found two of them in a desk drawer and tried them. They fit the lid perfectly and applied plenty of pressure to keep the lid sealed.
 
@Haole I ordered a dozen of these 2 inch wide by 1 inch Large Binder Clips to help seal the lid in between the clamps. I found two of them in a desk drawer and tried them. They fit the lid perfectly and applied plenty of pressure to keep the lid sealed.

Thanks for the idea. I use small spring clamps from my shop, three per section between the four buckles.

Plot thickens: I ordered a second 14G Chapman in order to help me run some additional batches for the holidays. Hit the RMA button the moment I opened the box. Shame, as I really wanted to fill this this weekend. It has three cracks in the primary weld, the patina was not polished on the seams, and it is scratched to hell on the inside where sanitation is most important. Last bit of money that Chapman will be getting from me. Stay away from these fermenters unless you want to deal with the return game. I bought four 30L buckets to replace this piece of trash.
 

Attachments

  • 24ECB530-0643-4228-BF47-4DDD72200968.jpeg
    24ECB530-0643-4228-BF47-4DDD72200968.jpeg
    155.7 KB
  • B4D68C83-1B59-4B9E-92AC-E7A05DD61F8D.jpeg
    B4D68C83-1B59-4B9E-92AC-E7A05DD61F8D.jpeg
    126.7 KB
  • E95F1BD0-C55D-43DA-87D1-B6762C7E8A67.jpeg
    E95F1BD0-C55D-43DA-87D1-B6762C7E8A67.jpeg
    90 KB
  • D57F6698-1679-4018-9425-BFA8340099AD.jpeg
    D57F6698-1679-4018-9425-BFA8340099AD.jpeg
    128.2 KB
  • 50CEC4D1-7D4E-478A-8D86-512BE6B64497.jpeg
    50CEC4D1-7D4E-478A-8D86-512BE6B64497.jpeg
    141.7 KB
  • DE4EFDB3-24FD-4644-85A3-CA354FDE2B4E.jpeg
    DE4EFDB3-24FD-4644-85A3-CA354FDE2B4E.jpeg
    79.9 KB
  • E999F1E5-059A-4977-B04A-C04FACC0AAE0.jpeg
    E999F1E5-059A-4977-B04A-C04FACC0AAE0.jpeg
    205.6 KB
@Haole can't blame the way you feel about the quality of that fourteen gallon UniVessel. I'm convinced Steve Chapman never even sees them before they're shipped. He probably has them dropped shipped direct from the manufacturer to the customer. After emailing him pictures of a ball valve I had an issue with he did reimburse me for my troubles. So much for a thorough quality control process though, unfortunately it seems to be hit or miss.
 
Guys, to be clear this is the standard 14G fermenter (non-ported). I’m sure it’s the same pot that goes on to be knocked out for the ball valve so buyer beware either way.
 
Yesterday the closed transfers from fermenter to keg went well. By adding a few large binder clips, to supplement the four hold downs on the fermenters, Co2 leaks during transfer were eliminated. About 2-3 psi of Co2 pressure is enough to purge the kegs of StarSan and to transfer the beer from the fermenters. Like working any new step into your brewing process this fourth batch was more intuitive than the previous batches.

cf-1.jpg

Purging StarSan From Kegs Before Transfer


cf-2.jpg

Using Co2 Pressure To Transfer Beer

The ball valve is located high enough above the bottom of the fermenter to keep trub and yeast from getting in the beer. Another benefit of using the Chapman fermenter, after dumping the first few ounces the remaining beer ran clear as the kegs were filled.
 
Back
Top