
Alright live update from the brewery testing this rig. 20 gallon blichmann with 5000 w boil cool at 65%. 30 qt mixing bowl with 449 CFM 6" fan reduced downstream to 4". Simulating 10G batch with 90 min boil.
1. Excellent airflow. All the steam is staying under the hood and is venting up. Nothing outside that. EDIT: Speed controller was probably a waste of $12. The faster the steam gets out the less it condenses.
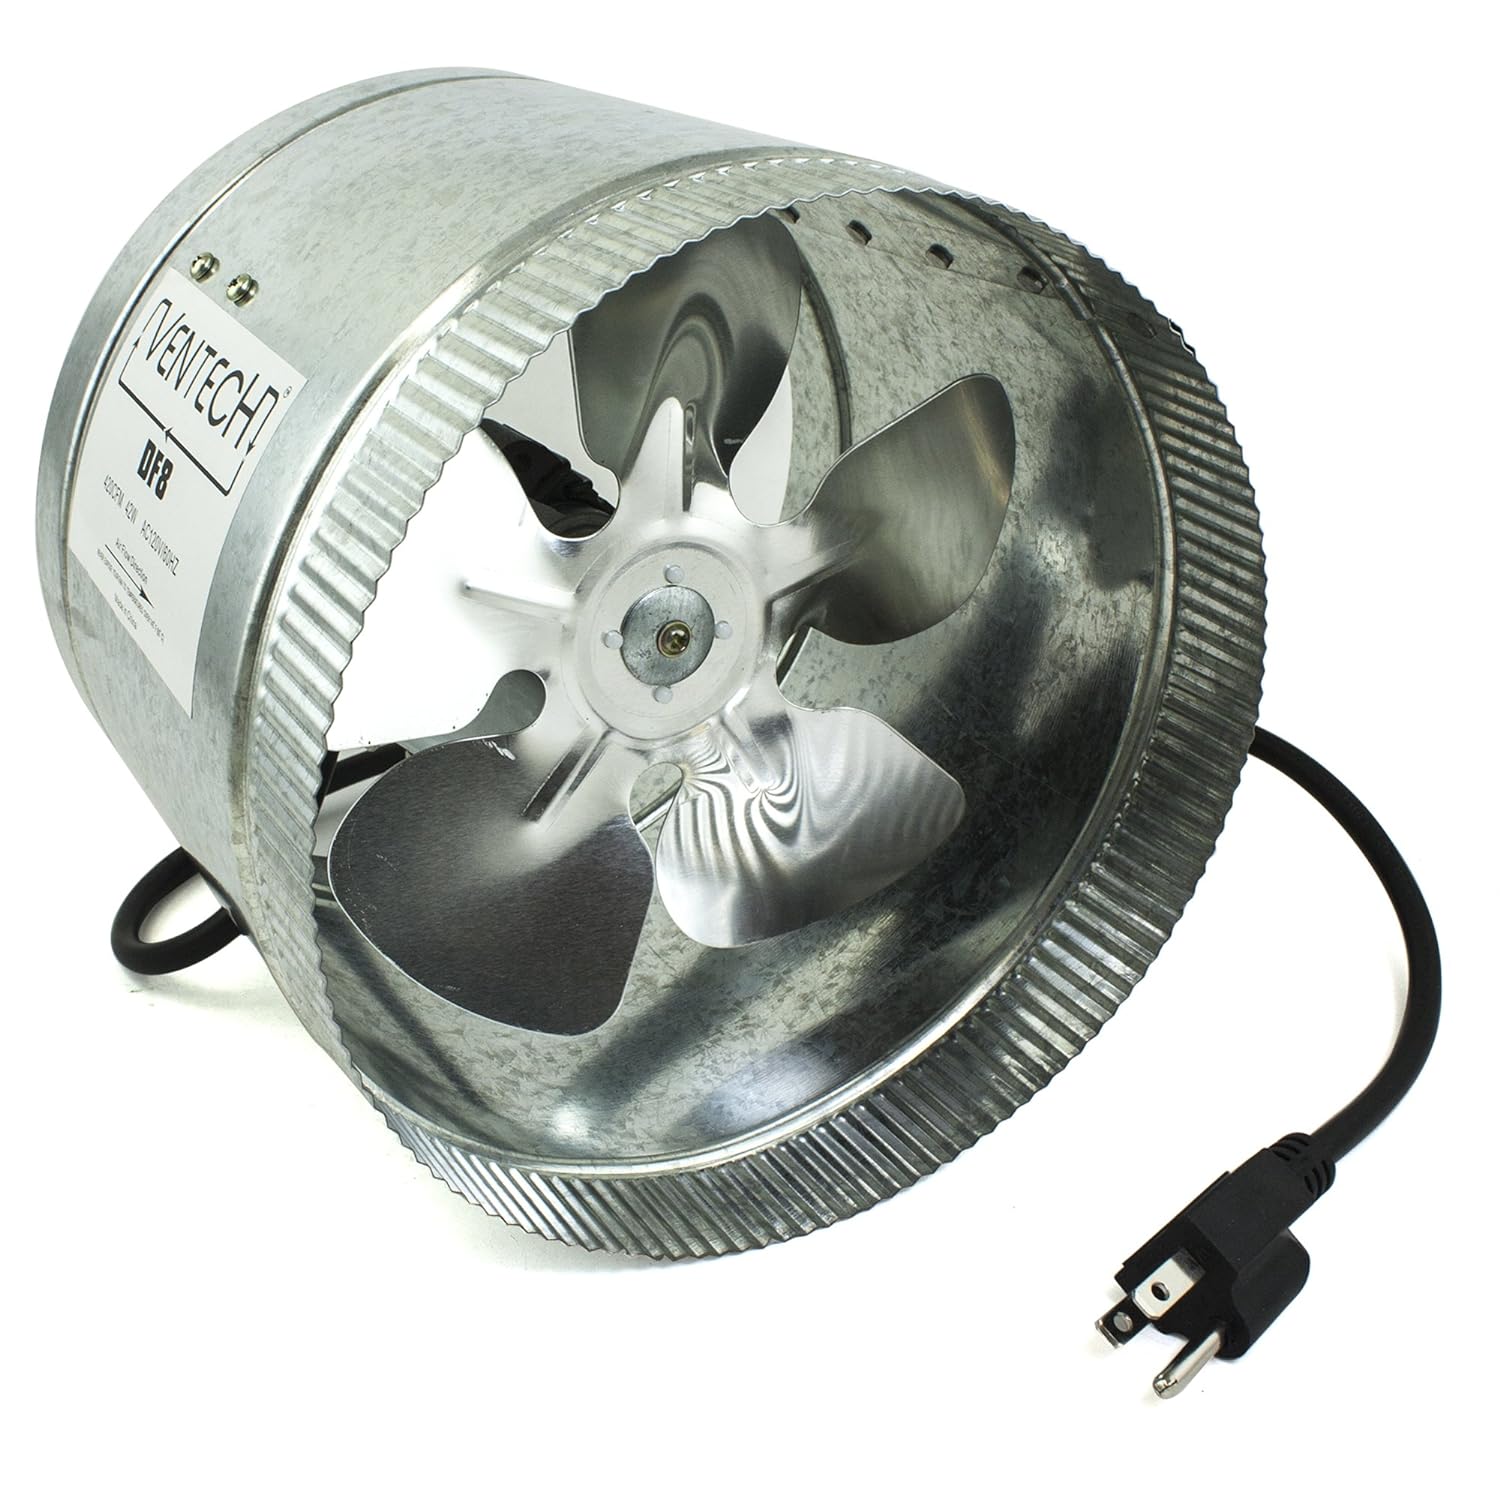
2. Within a minute I was hit by a droplet of water. This fan isn't sealed for crap. It's coming out between the fan housing. Will fix tomorrow with silicone caulk and expect that to solve.
View attachment ImageUploadedByHome Brew1422927016.944208.jpg
3. Outside its cold (25F) and it looks like a dryer vent or heater vent. Huge cloud of steam billowing out. Bad news is some is condensing in the window sill. I'll have to see how much when done to determine if that's an issue.
Will update afterward.
1. Excellent airflow. All the steam is staying under the hood and is venting up. Nothing outside that. EDIT: Speed controller was probably a waste of $12. The faster the steam gets out the less it condenses.
2. Within a minute I was hit by a droplet of water. This fan isn't sealed for crap. It's coming out between the fan housing. Will fix tomorrow with silicone caulk and expect that to solve.
View attachment ImageUploadedByHome Brew1422927016.944208.jpg
3. Outside its cold (25F) and it looks like a dryer vent or heater vent. Huge cloud of steam billowing out. Bad news is some is condensing in the window sill. I'll have to see how much when done to determine if that's an issue.
Will update afterward.


![Craft A Brew - Safale S-04 Dry Yeast - Fermentis - English Ale Dry Yeast - For English and American Ales and Hard Apple Ciders - Ingredients for Home Brewing - Beer Making Supplies - [1 Pack]](https://m.media-amazon.com/images/I/41fVGNh6JfL._SL500_.jpg)


")
