
thorongil
Well-Known Member
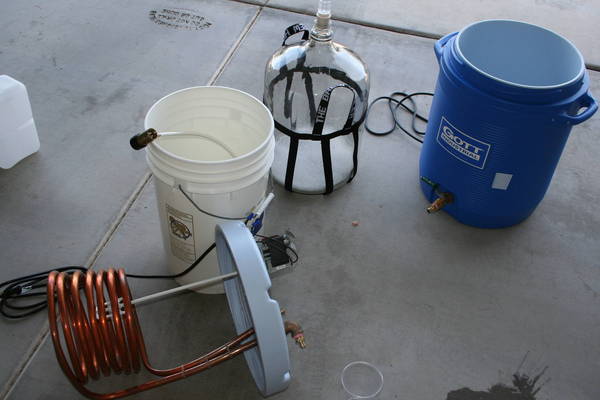
For quite a while now... a few months at least, I have been planning Brewery 2.0. Taking many ideas from The Pol, I designed Brewery 2.0 to be a simple HERMS system that was both (somewhat) easy on the budget and easy on the storage space. I've been AG brewing for more than a year now, and I wanted a rig that could get me the consistency that I need to replicate my favorite brews time after time, while being simple to break down and store in our crowded 2 car garage...
For some background on my motivation, check out The Pol's excellent thread here.
I'm still finalizing my parts and price list, and will update this post once it is done. Basically, the rig came in at about $1200 or so for everything... not too bad...
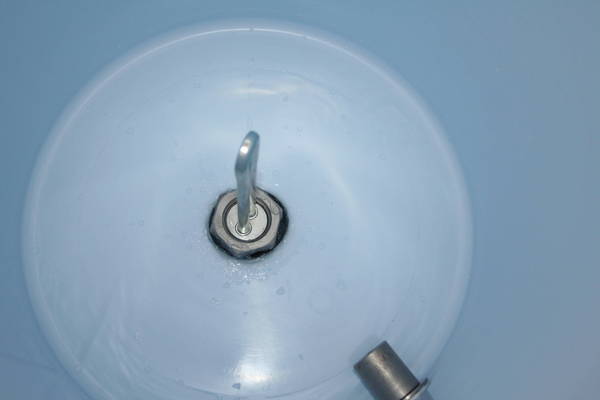
The build was not too bad but I did rush a couple things that I would later regret. The chief problem came with drilling the hole for the HLT element inside the cooler. My drill was a tad too long to fit in squarely, so I had to angle the drill a bit to get it to fit. Bad idea. The resulting hole was only not round, but was bigger than the rubber washer that the element came with that was designed to seal it... Good thing I did a leak test with water only, cause boy did it leak. I was able to get to Lowes a couple of minutes before they closed and ended up with a rubber flange that I thought could be modified to give me a good seal. With the modification done (removal of the flange part so that I ended up with a big rubber washer) and a generous dose of silicone sealant, it was water-tight. Here's what it looked like - messy but effective:
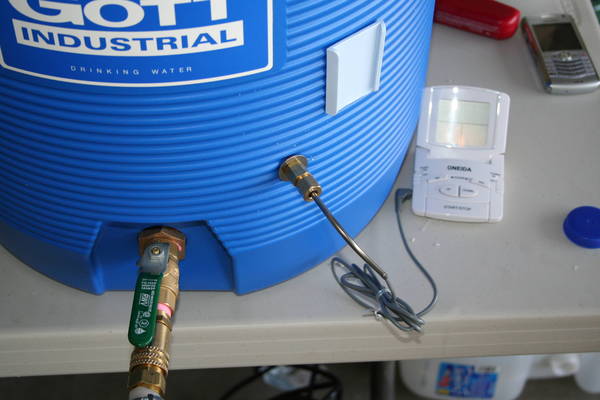
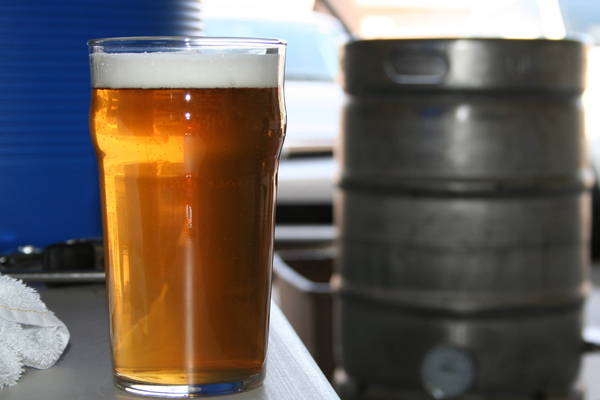
That was the only leak, so I was ready to brew... I absolutely loved the American Amber recipe from Jamil's book, so I figured it would make a good trial run. Here's everything set up and ready to rock:
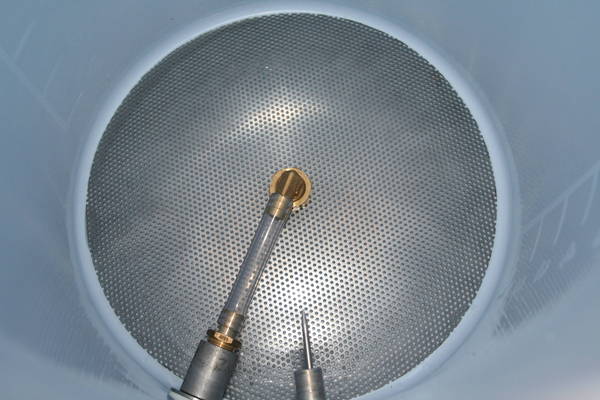
Inside of MLT:
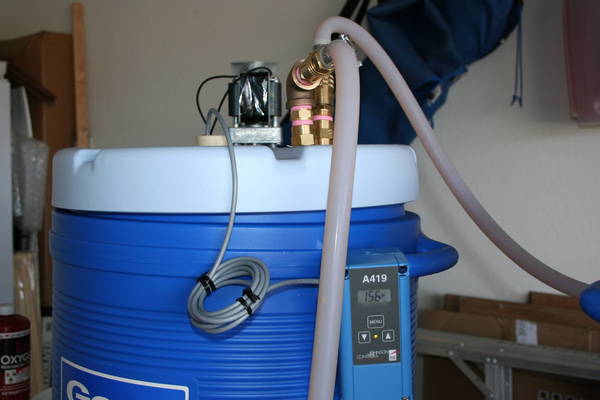
Recirculating:

Top of the HLT. Normally I'm a directions guy, but I figured that I knew how the Johnson controller worked... Wrong... didn't know about the jumper to set it from cooling to heating... not too much damage done:
For some background on my motivation, check out The Pol's excellent thread here.
I'm still finalizing my parts and price list, and will update this post once it is done. Basically, the rig came in at about $1200 or so for everything... not too bad...
The build was not too bad but I did rush a couple things that I would later regret. The chief problem came with drilling the hole for the HLT element inside the cooler. My drill was a tad too long to fit in squarely, so I had to angle the drill a bit to get it to fit. Bad idea. The resulting hole was only not round, but was bigger than the rubber washer that the element came with that was designed to seal it... Good thing I did a leak test with water only, cause boy did it leak. I was able to get to Lowes a couple of minutes before they closed and ended up with a rubber flange that I thought could be modified to give me a good seal. With the modification done (removal of the flange part so that I ended up with a big rubber washer) and a generous dose of silicone sealant, it was water-tight. Here's what it looked like - messy but effective:
That was the only leak, so I was ready to brew... I absolutely loved the American Amber recipe from Jamil's book, so I figured it would make a good trial run. Here's everything set up and ready to rock:
Inside of MLT:
Recirculating:
Top of the HLT. Normally I'm a directions guy, but I figured that I knew how the Johnson controller worked... Wrong... didn't know about the jumper to set it from cooling to heating... not too much damage done:


![Craft A Brew - Safale S-04 Dry Yeast - Fermentis - English Ale Dry Yeast - For English and American Ales and Hard Apple Ciders - Ingredients for Home Brewing - Beer Making Supplies - [1 Pack]](https://m.media-amazon.com/images/I/41fVGNh6JfL._SL500_.jpg)


