ImNoExpert
Well-Known Member
Off topic but your keezer is a thing of beauty.

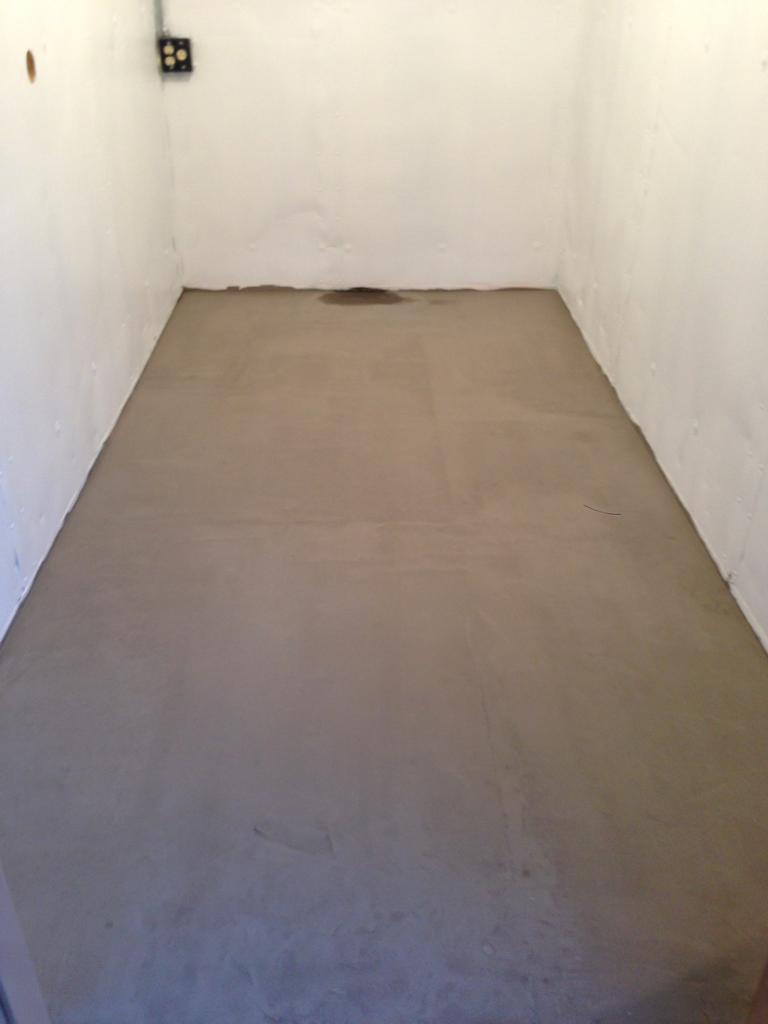
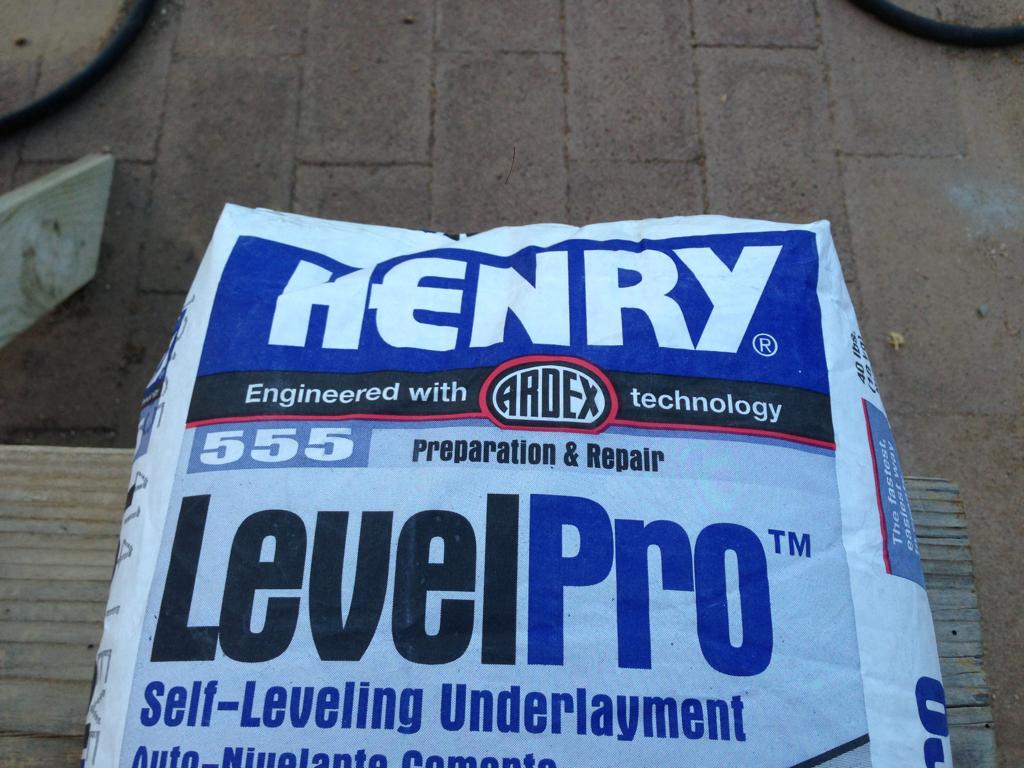
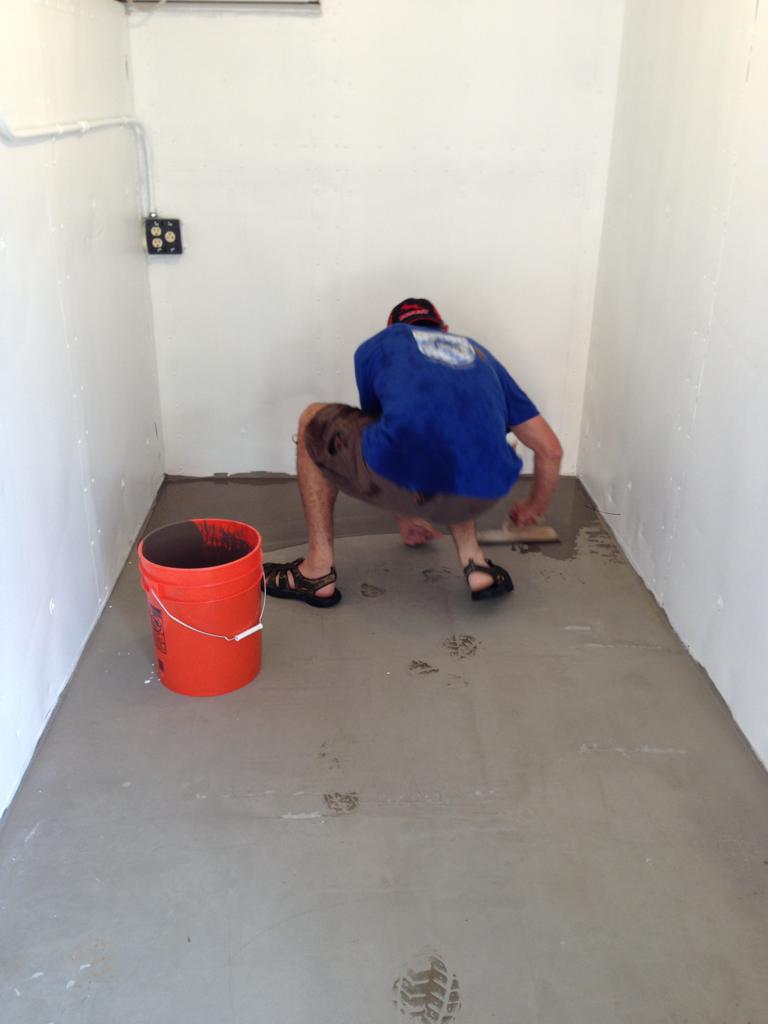
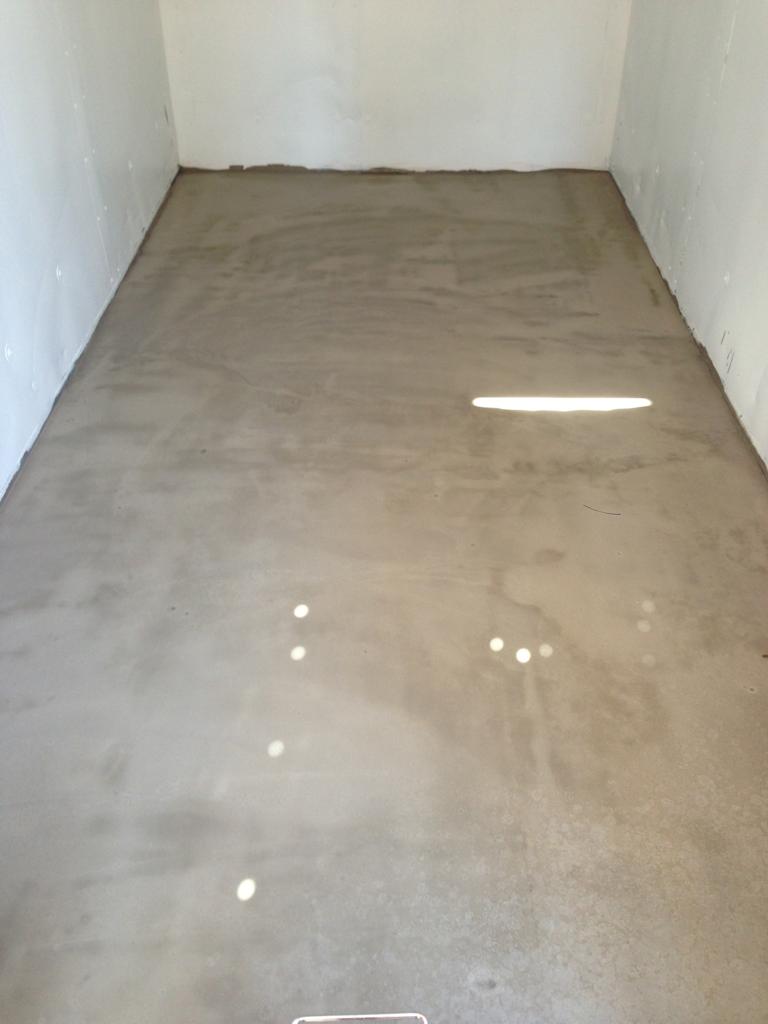
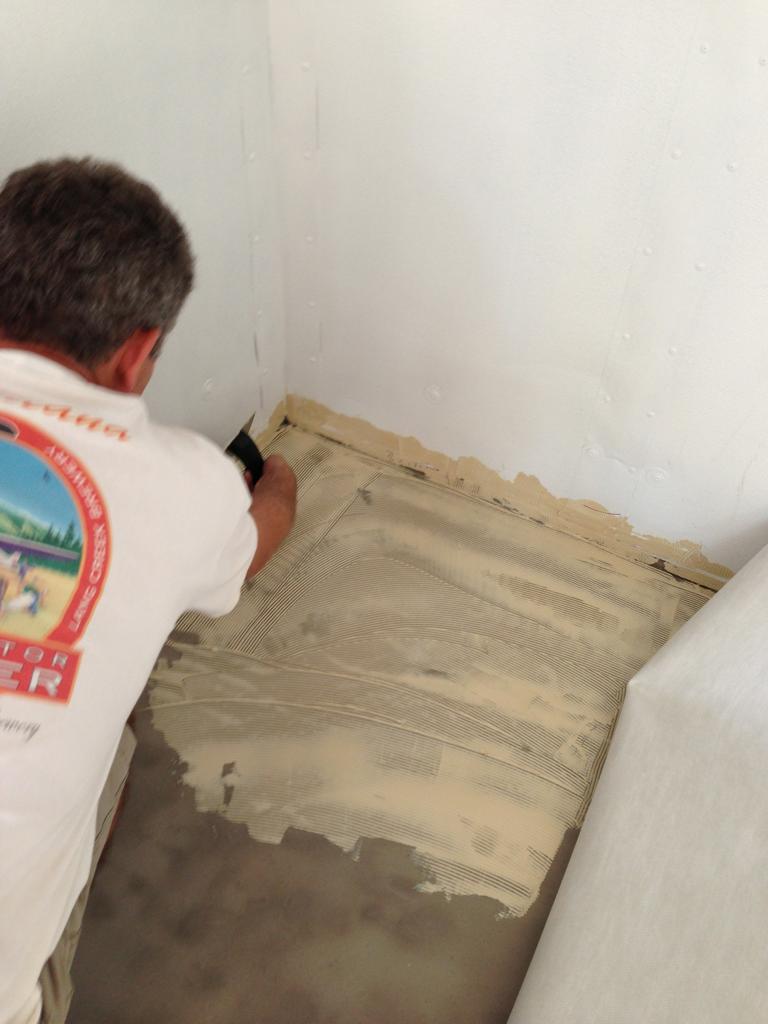
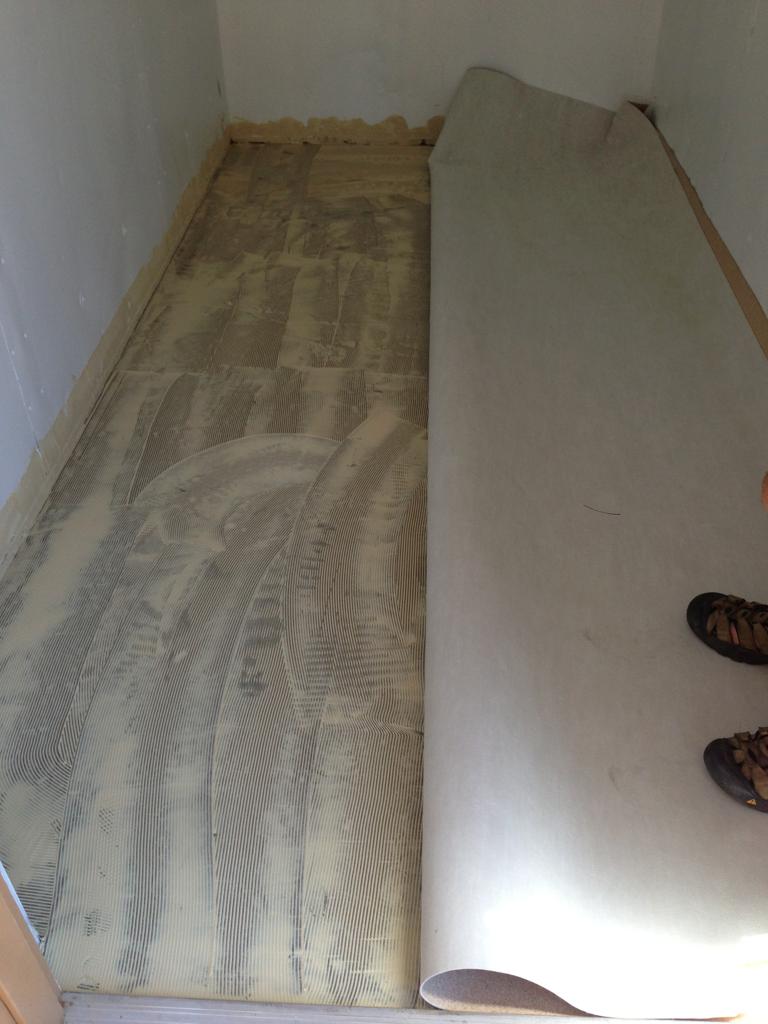
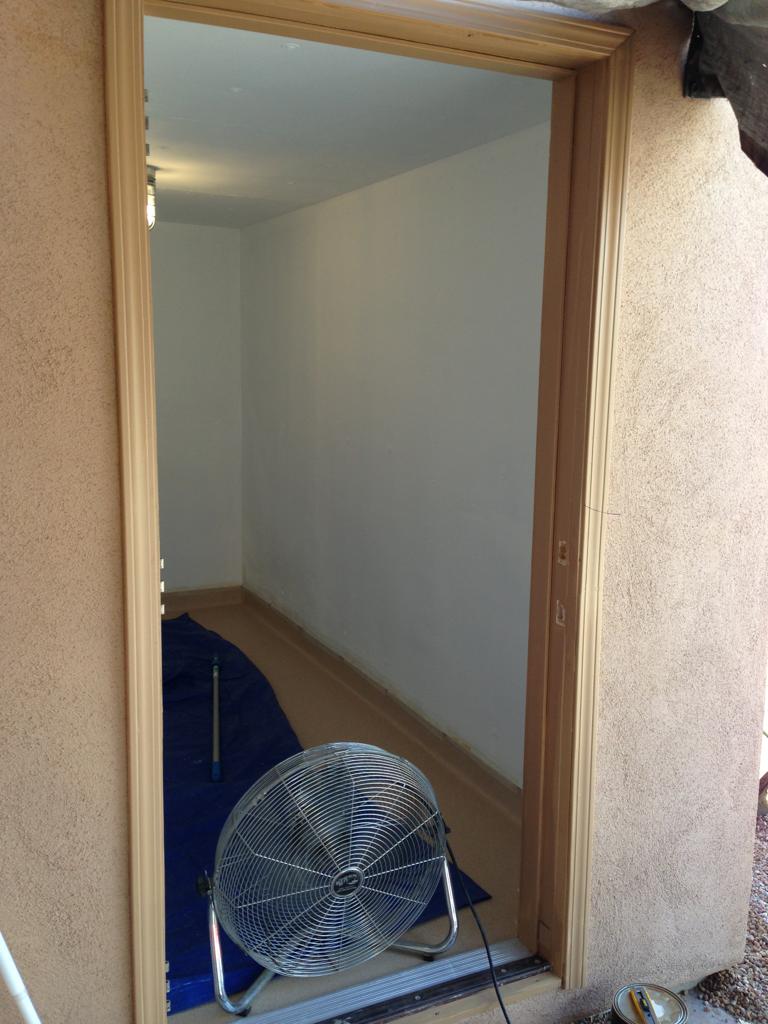
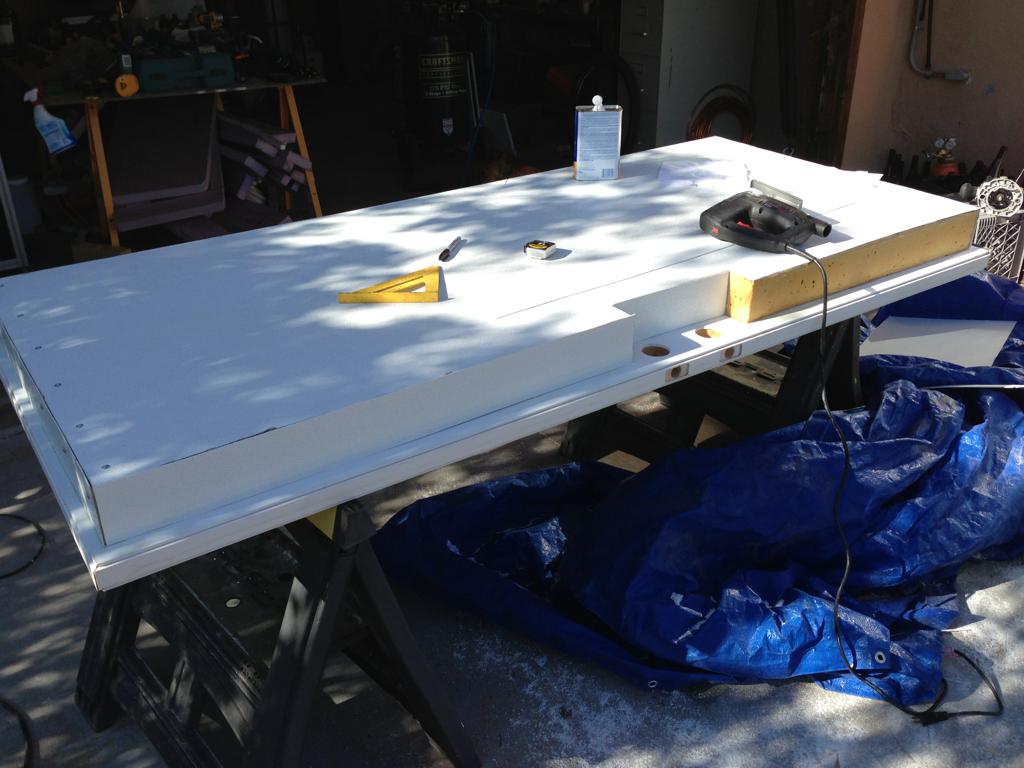
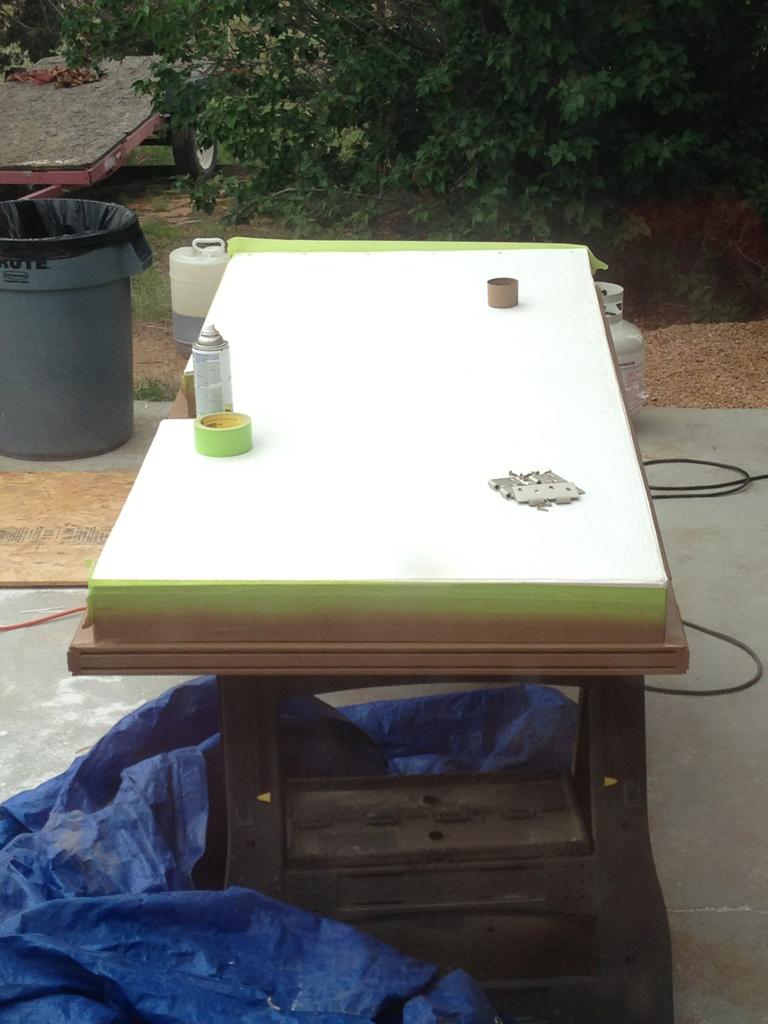
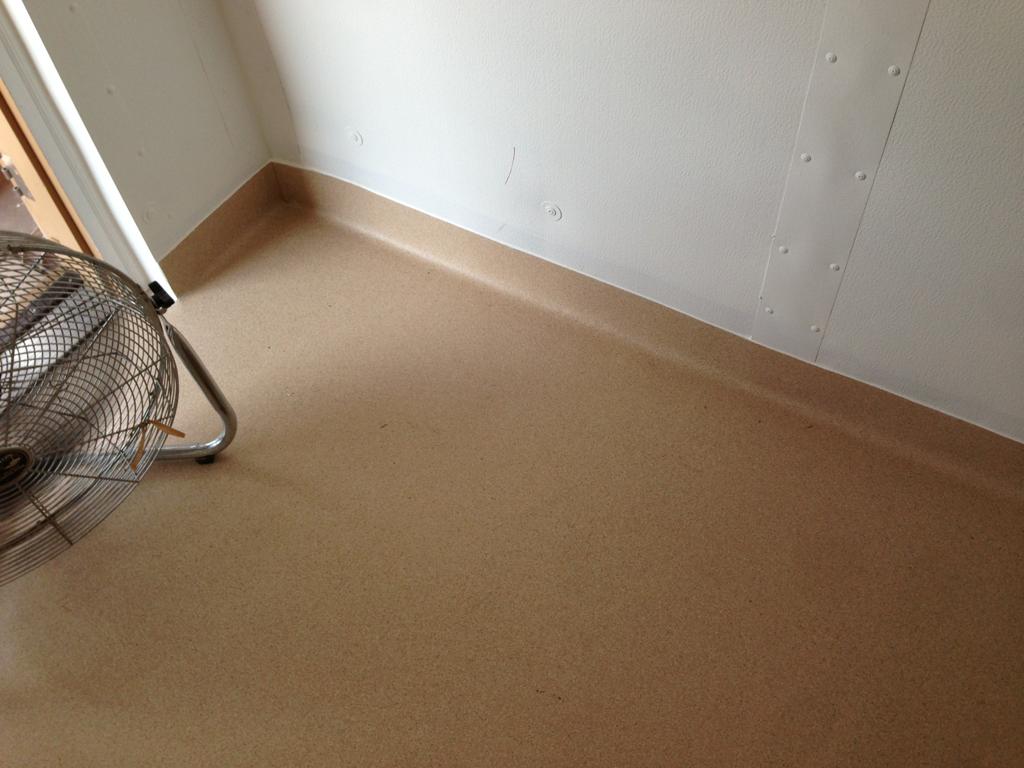
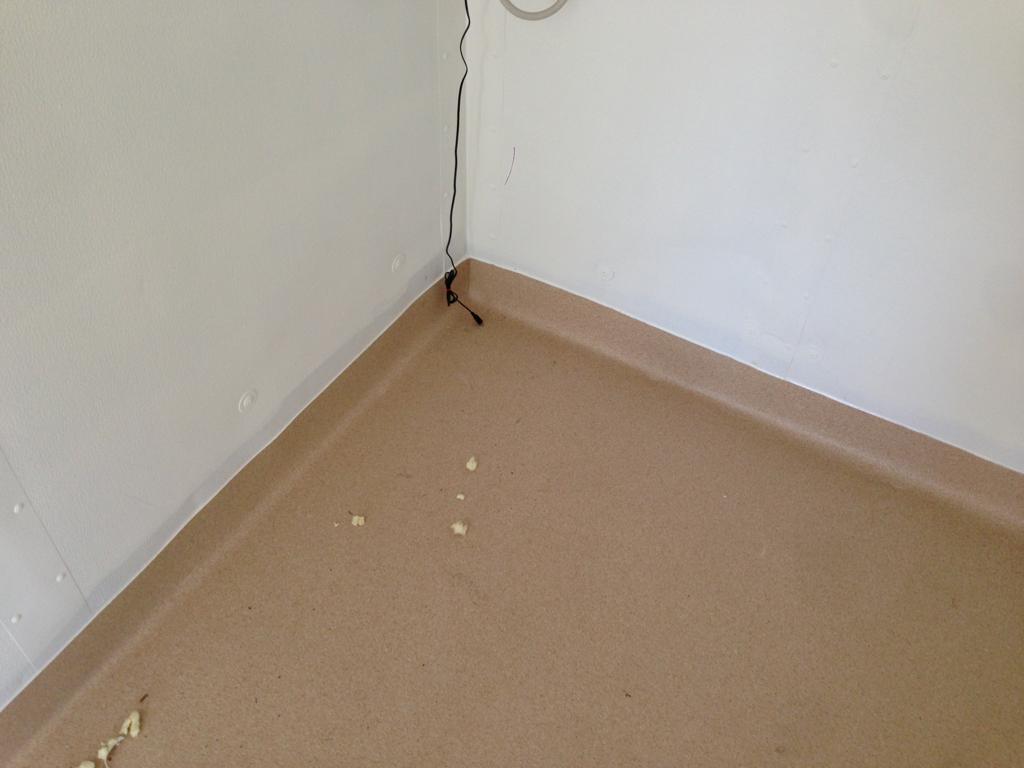
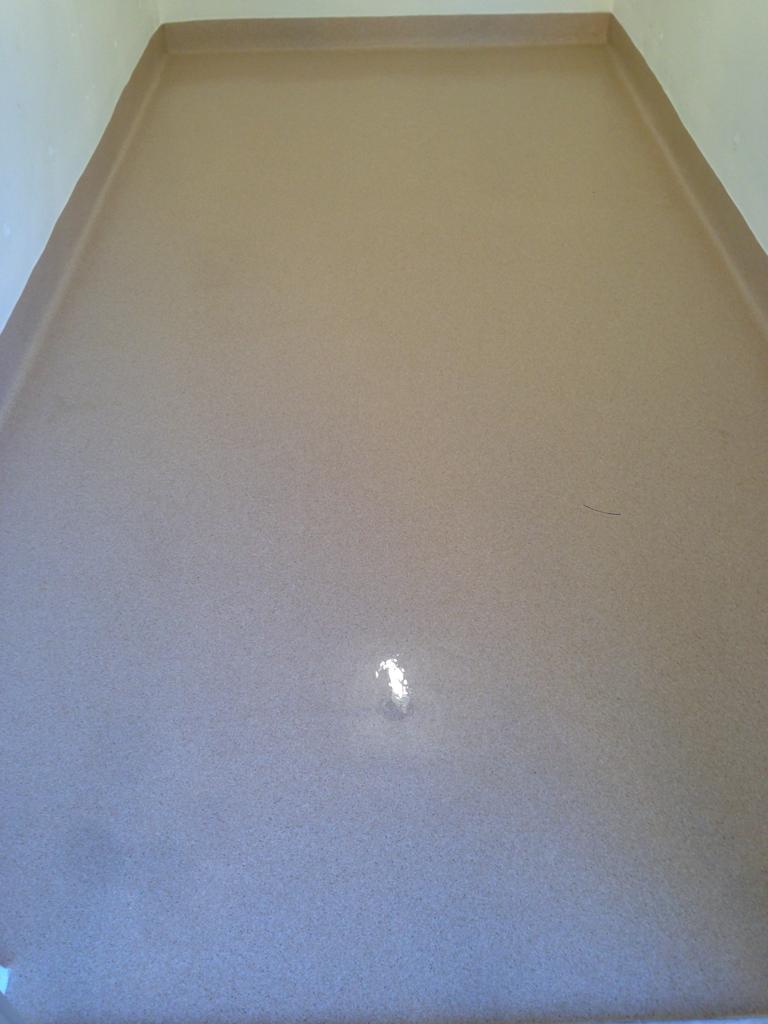
So I checked out the floor this morning before I left for work. It looks OK but not level enough. So I'll stop at the Despot on the way home and pick up another couple of bags of underlayment and see if I can find the proper tool. The coating I laid down last night is pretty thin so I don't think it will hurt to do it again.


![Craft A Brew - Safale S-04 Dry Yeast - Fermentis - English Ale Dry Yeast - For English and American Ales and Hard Apple Ciders - Ingredients for Home Brewing - Beer Making Supplies - [1 Pack]](https://m.media-amazon.com/images/I/41fVGNh6JfL._SL500_.jpg)


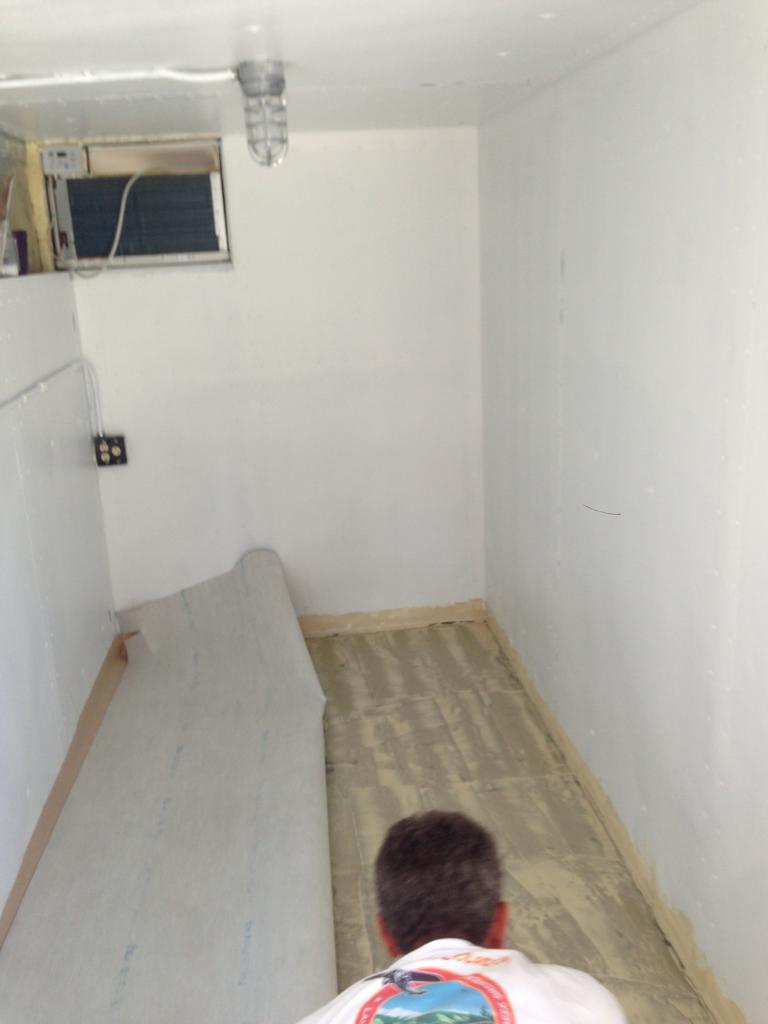
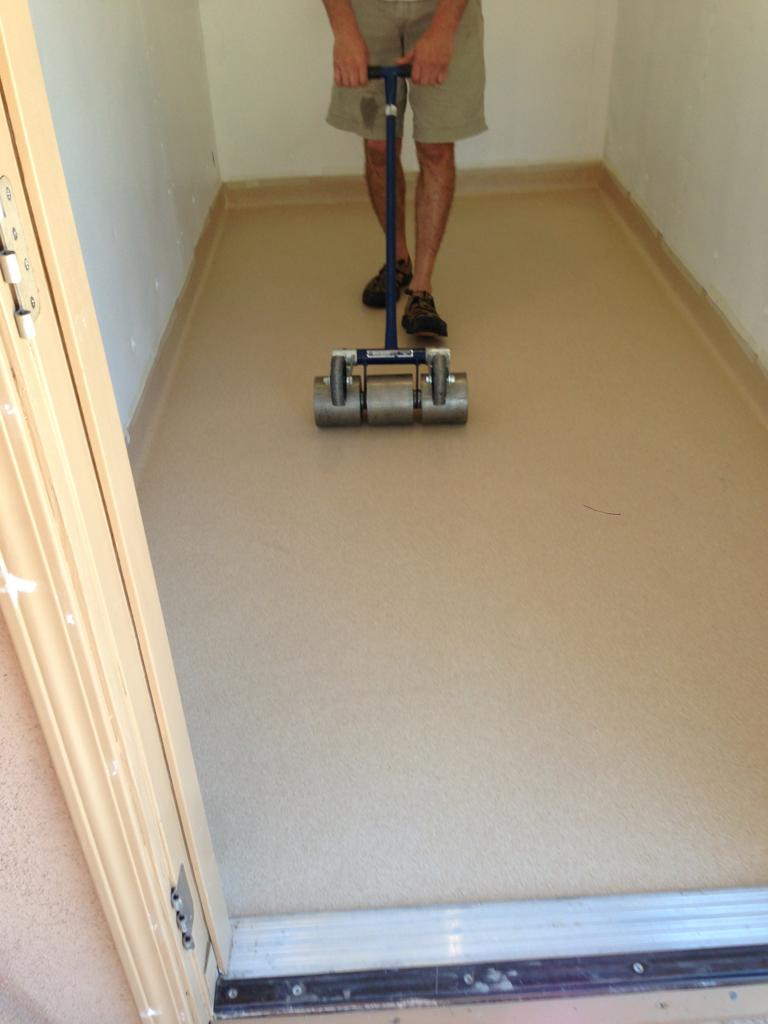
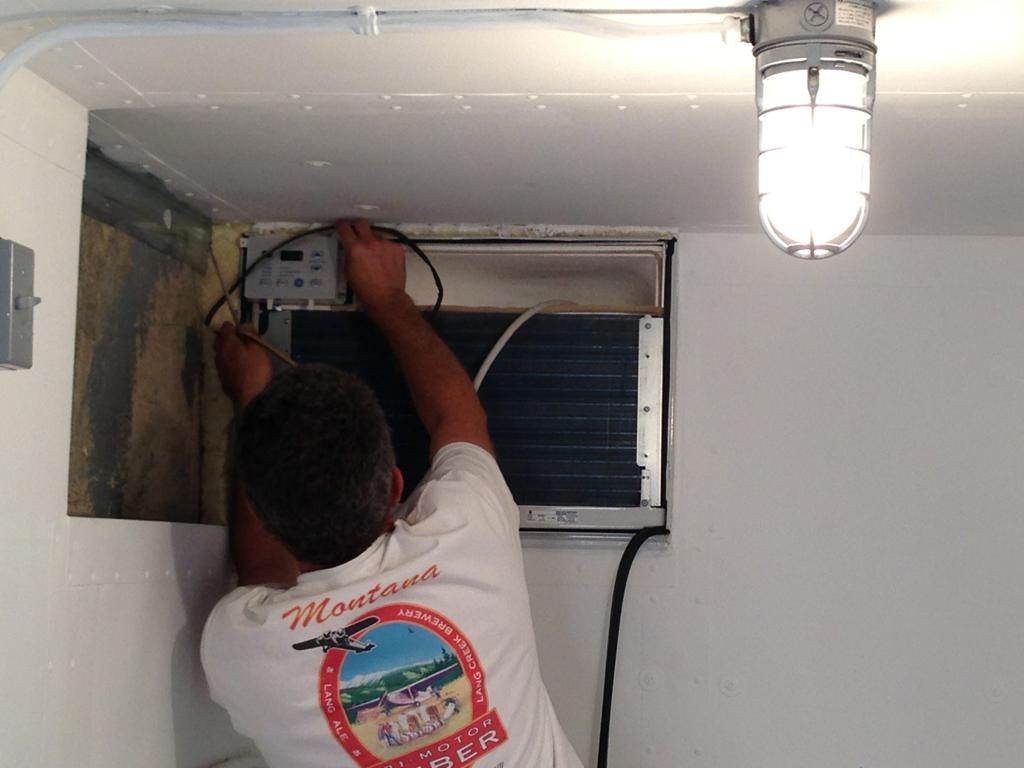
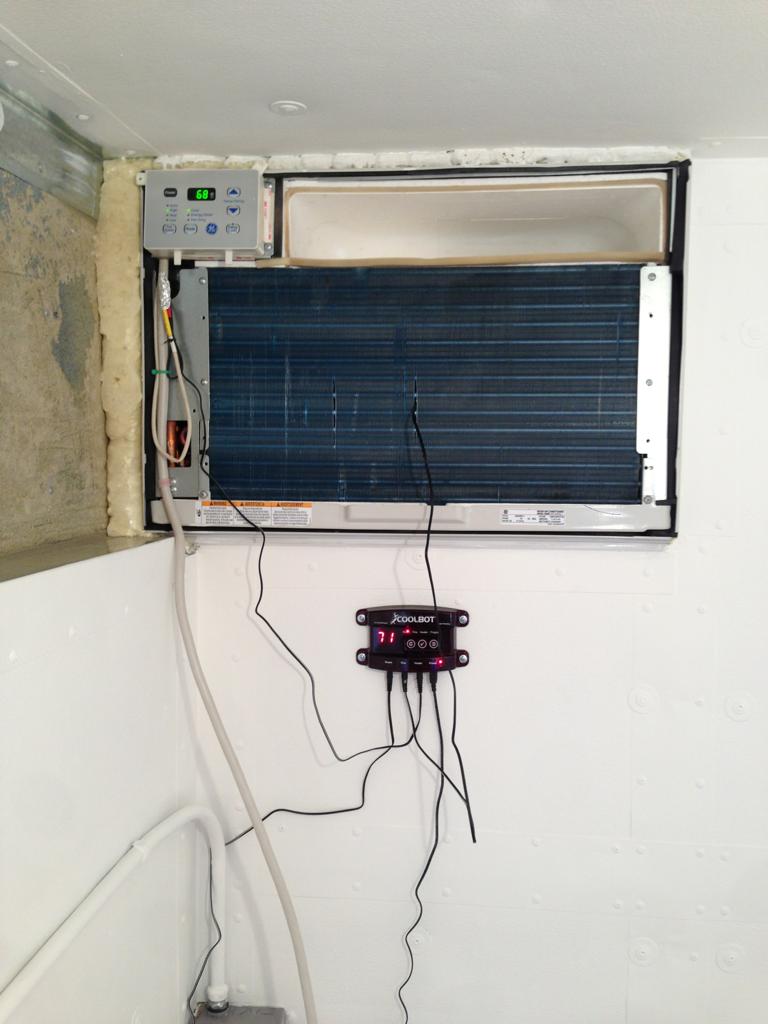
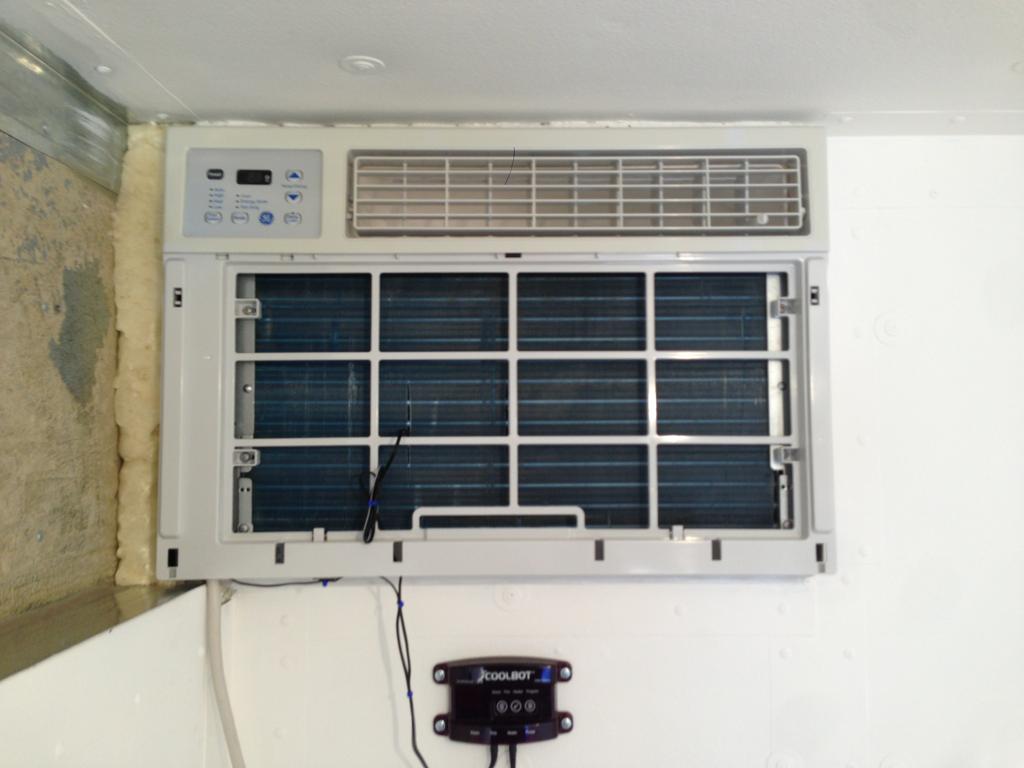
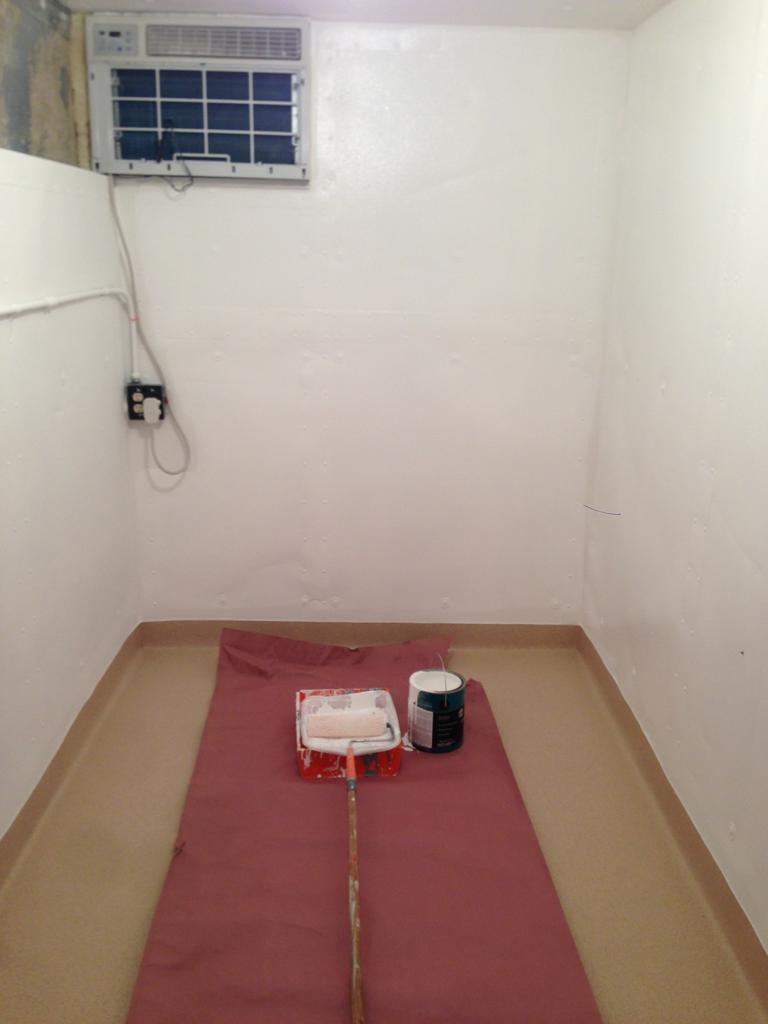
Irrenarzt said:Not much to update other than a 3 day weekend is starting now so I'll be able to work a fair amount this weekend. I hope to have this bitch up and running here in short order.
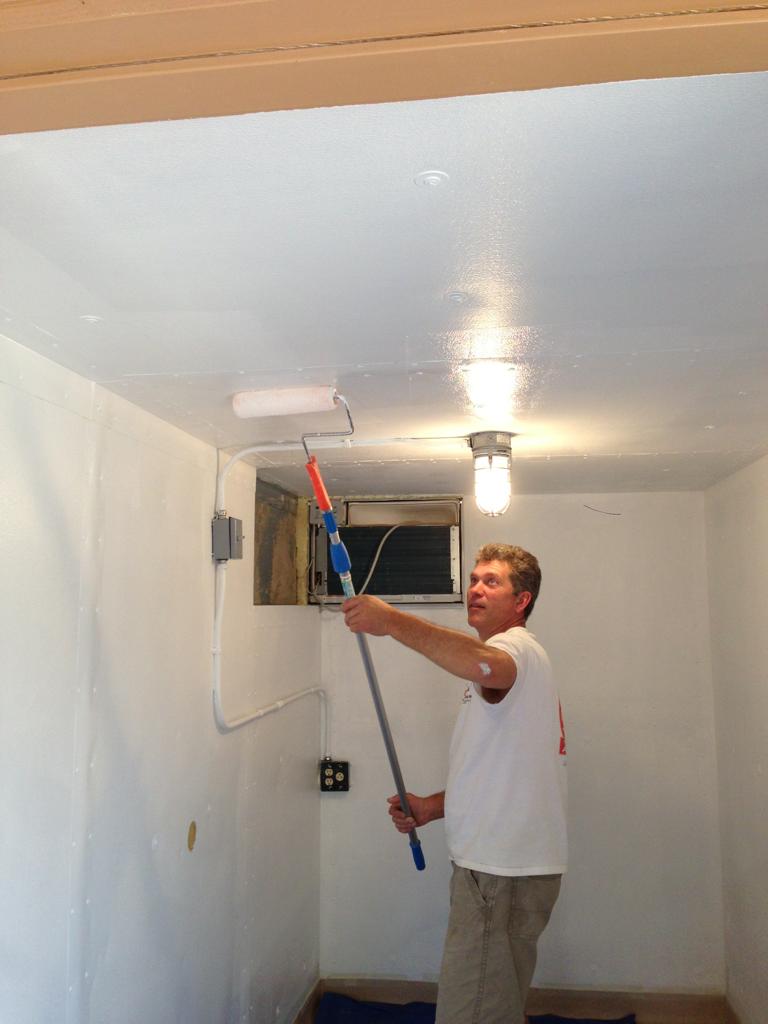
I have been holding back on posting, "JUST TURN THE DAMN A/C ON ALREADY."
Travestian said:Ah, but the devil truly is in the details. Turning on the A/C too soon could delay the whole process. Everything in due time my friend. Everything in due time.
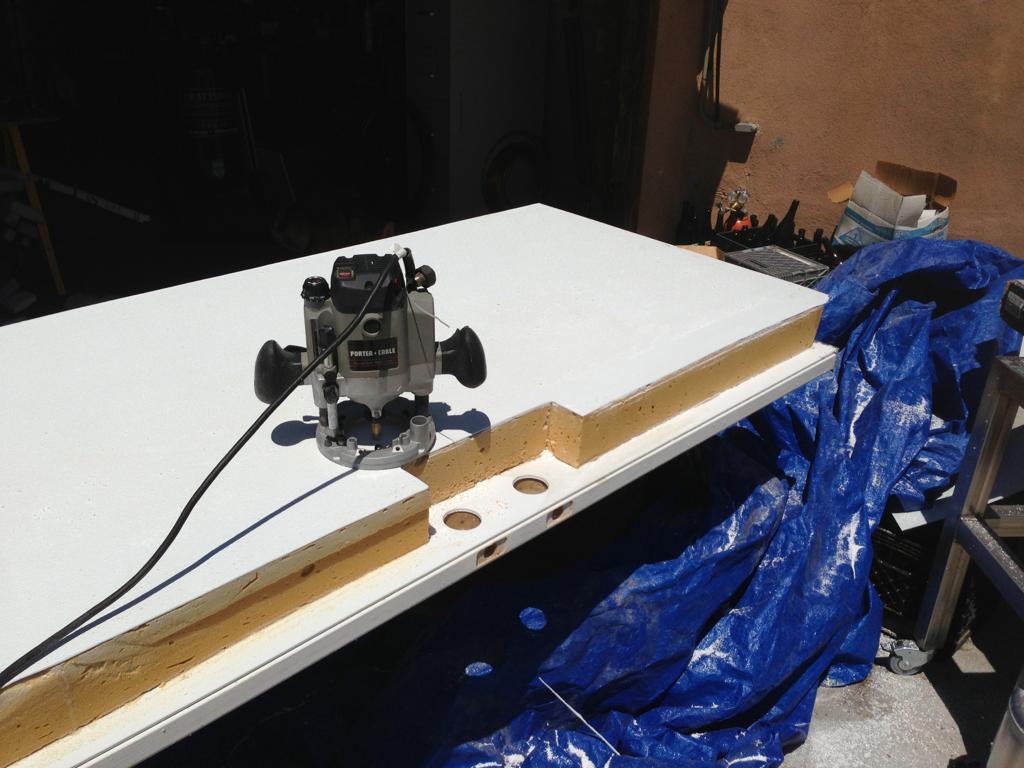
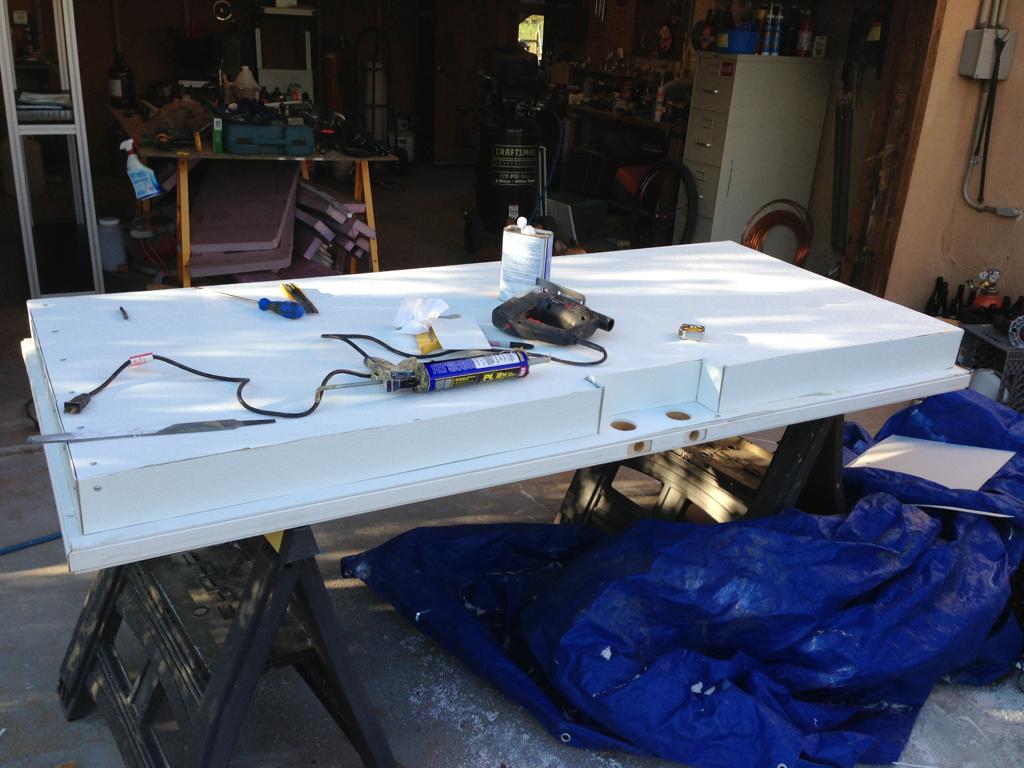
Irrenarzt said:That was a nice keezer (trilayer birch outside/XPS150 foam/enameled pine inside collar, extra insulation in the floor, both nitro and CO2 feeds, machined aluminum sill plates). Sad to see it go but the walk in is so much more pimpen.
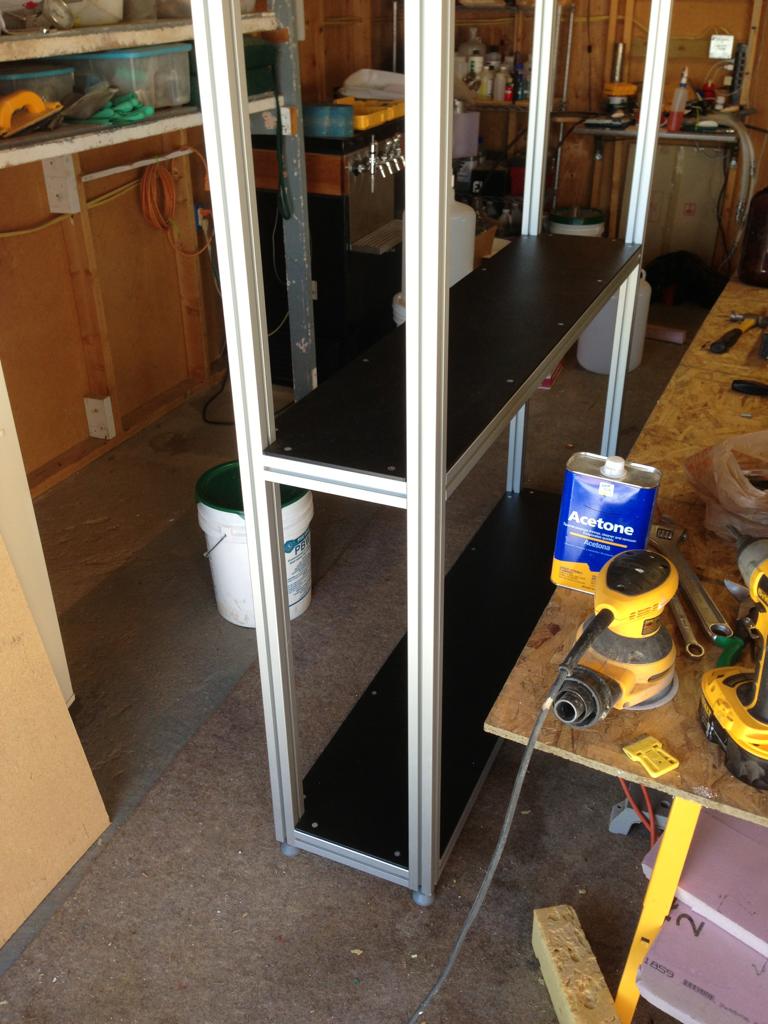

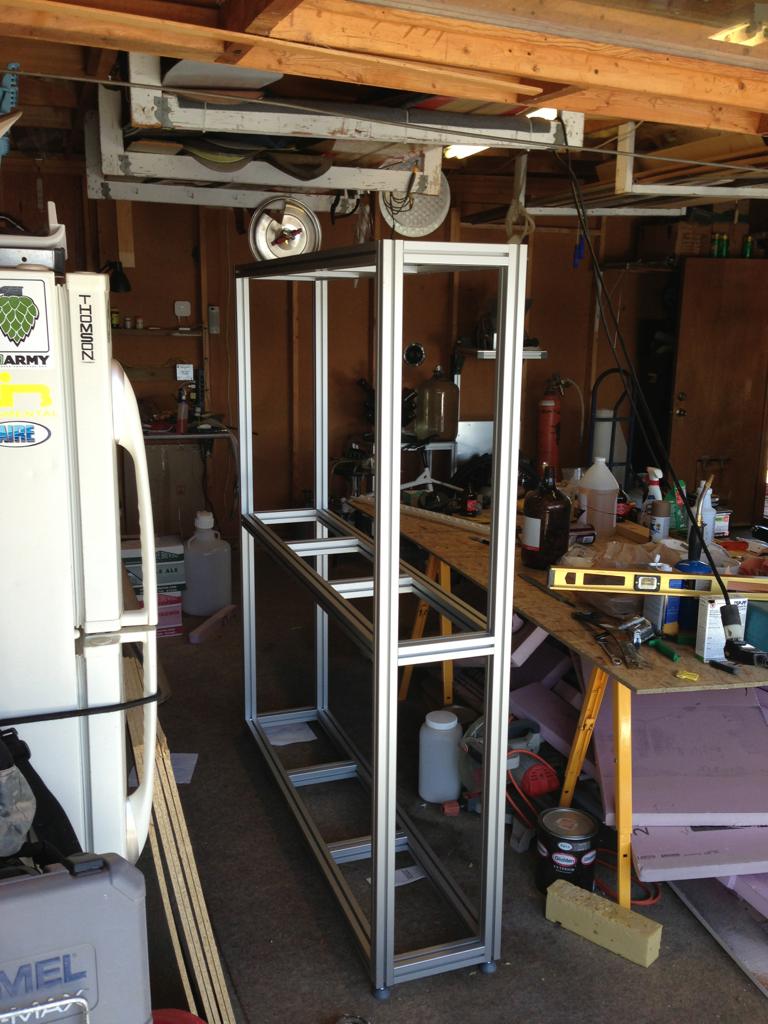
Do you think the keg rack will hold without any vertical support? We've had some slip under load with just the 3/8 fasteners in long lengths like that.
")
I'm not sure what you are asking. Each shelf is rated for 300 pounds according to my Solidworks model. I just input the part numbers, lengths/dimensions, fasteners and it does the rest.
Well jealousy is there regardless, as much for the sweet cooler you have as for the craftsmanship. Well done.
I have a section of my garage that currently houses a workbench and my 7 cf ferm freezer which I want to wall off into a cooler room which should require far less materials than you used as the garage is partially underground as it is. Appearances will not much matter there and no HOA guy worry about.


