Unfortunately my 5 gallon brewing kettles are only 11" ID, so I can't use the very nice 13" stainless mesh baskets recently advertised (Stainless steel basket for BIAB brewing- cheap! ).
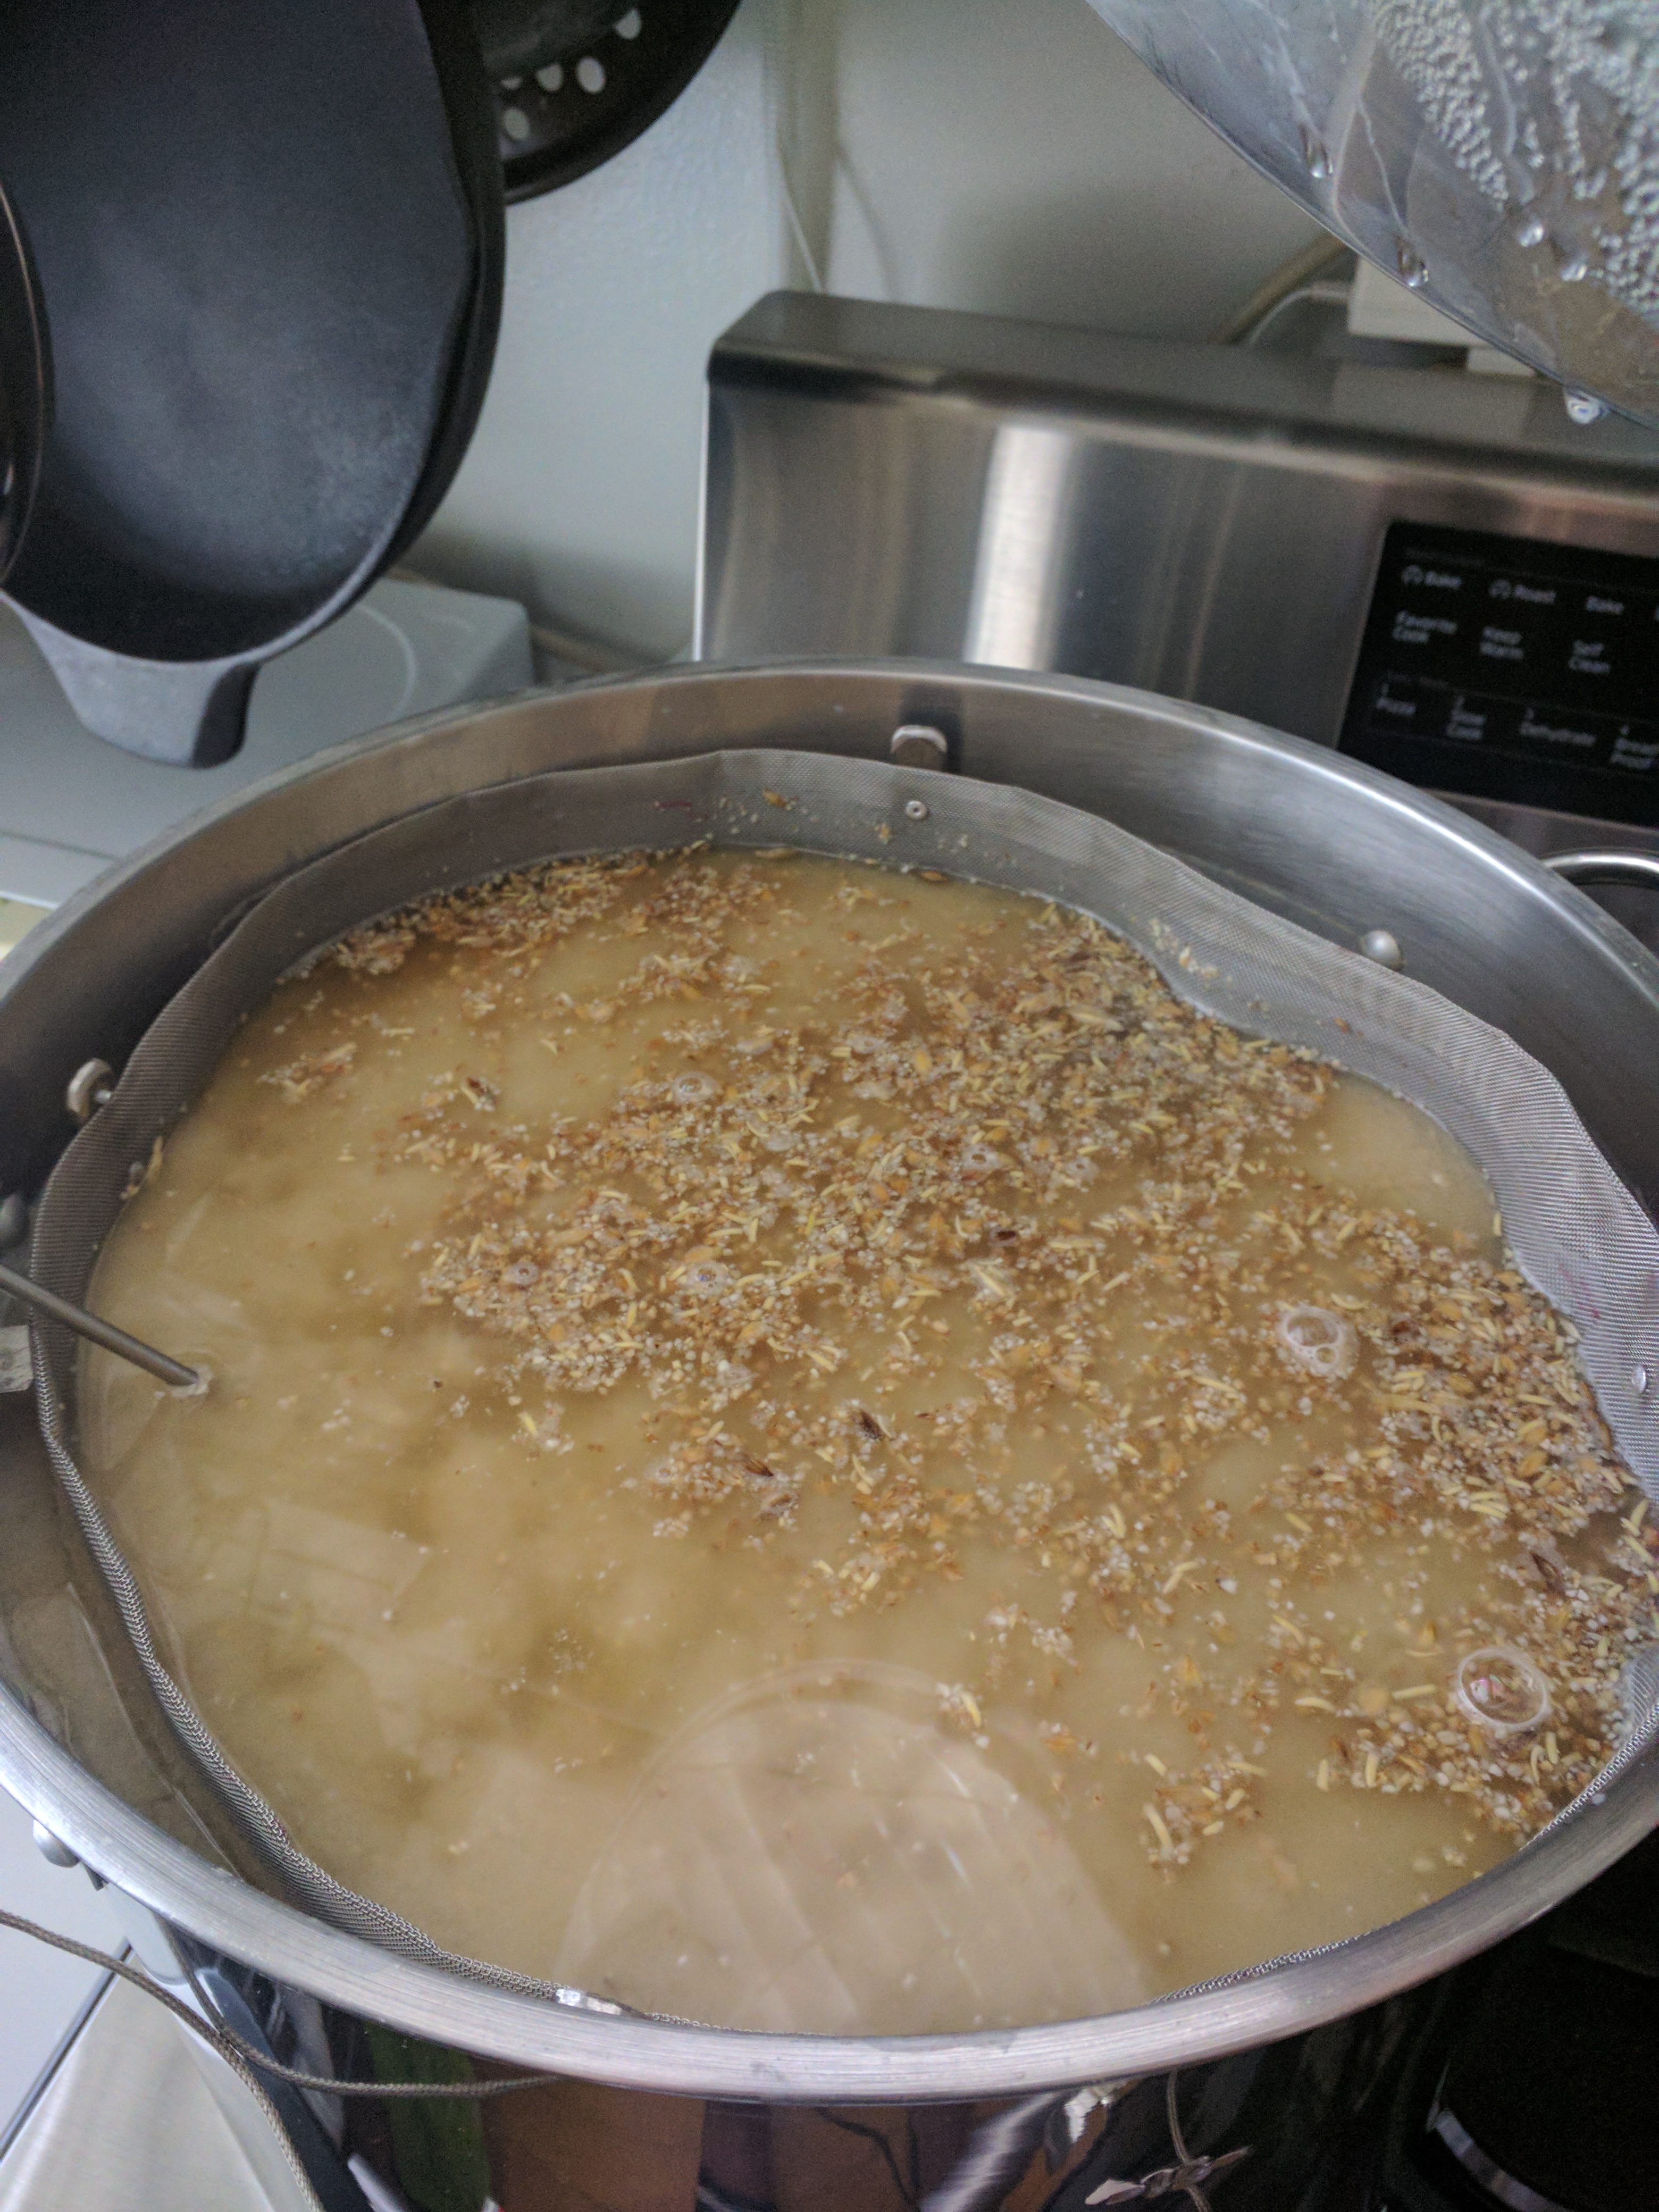
Therefore I ordered 5 feet of 12" 40 mesh (about 400 micrometer) 304L stainless mesh and some 1/8" 304L bars from McMasterCarr, and made a basket myself. Today I used it for the first time for brewing, and it worked very well. Much easier for stirring and cleanup, and a lot less messy than using a brewing bag. The only problem in manufacturing was drilling holes into the stainless bars for riveting. I went through two 3/16" cobalt drill bits until I decided that 3/32" rivets will be good enough. I also reduced the number of rivets attaching the mesh to the steel bar structure a lot from my initial plans, so in retrospect one or two 3/32" cobalt bits would probably have been enough for the whole structure.
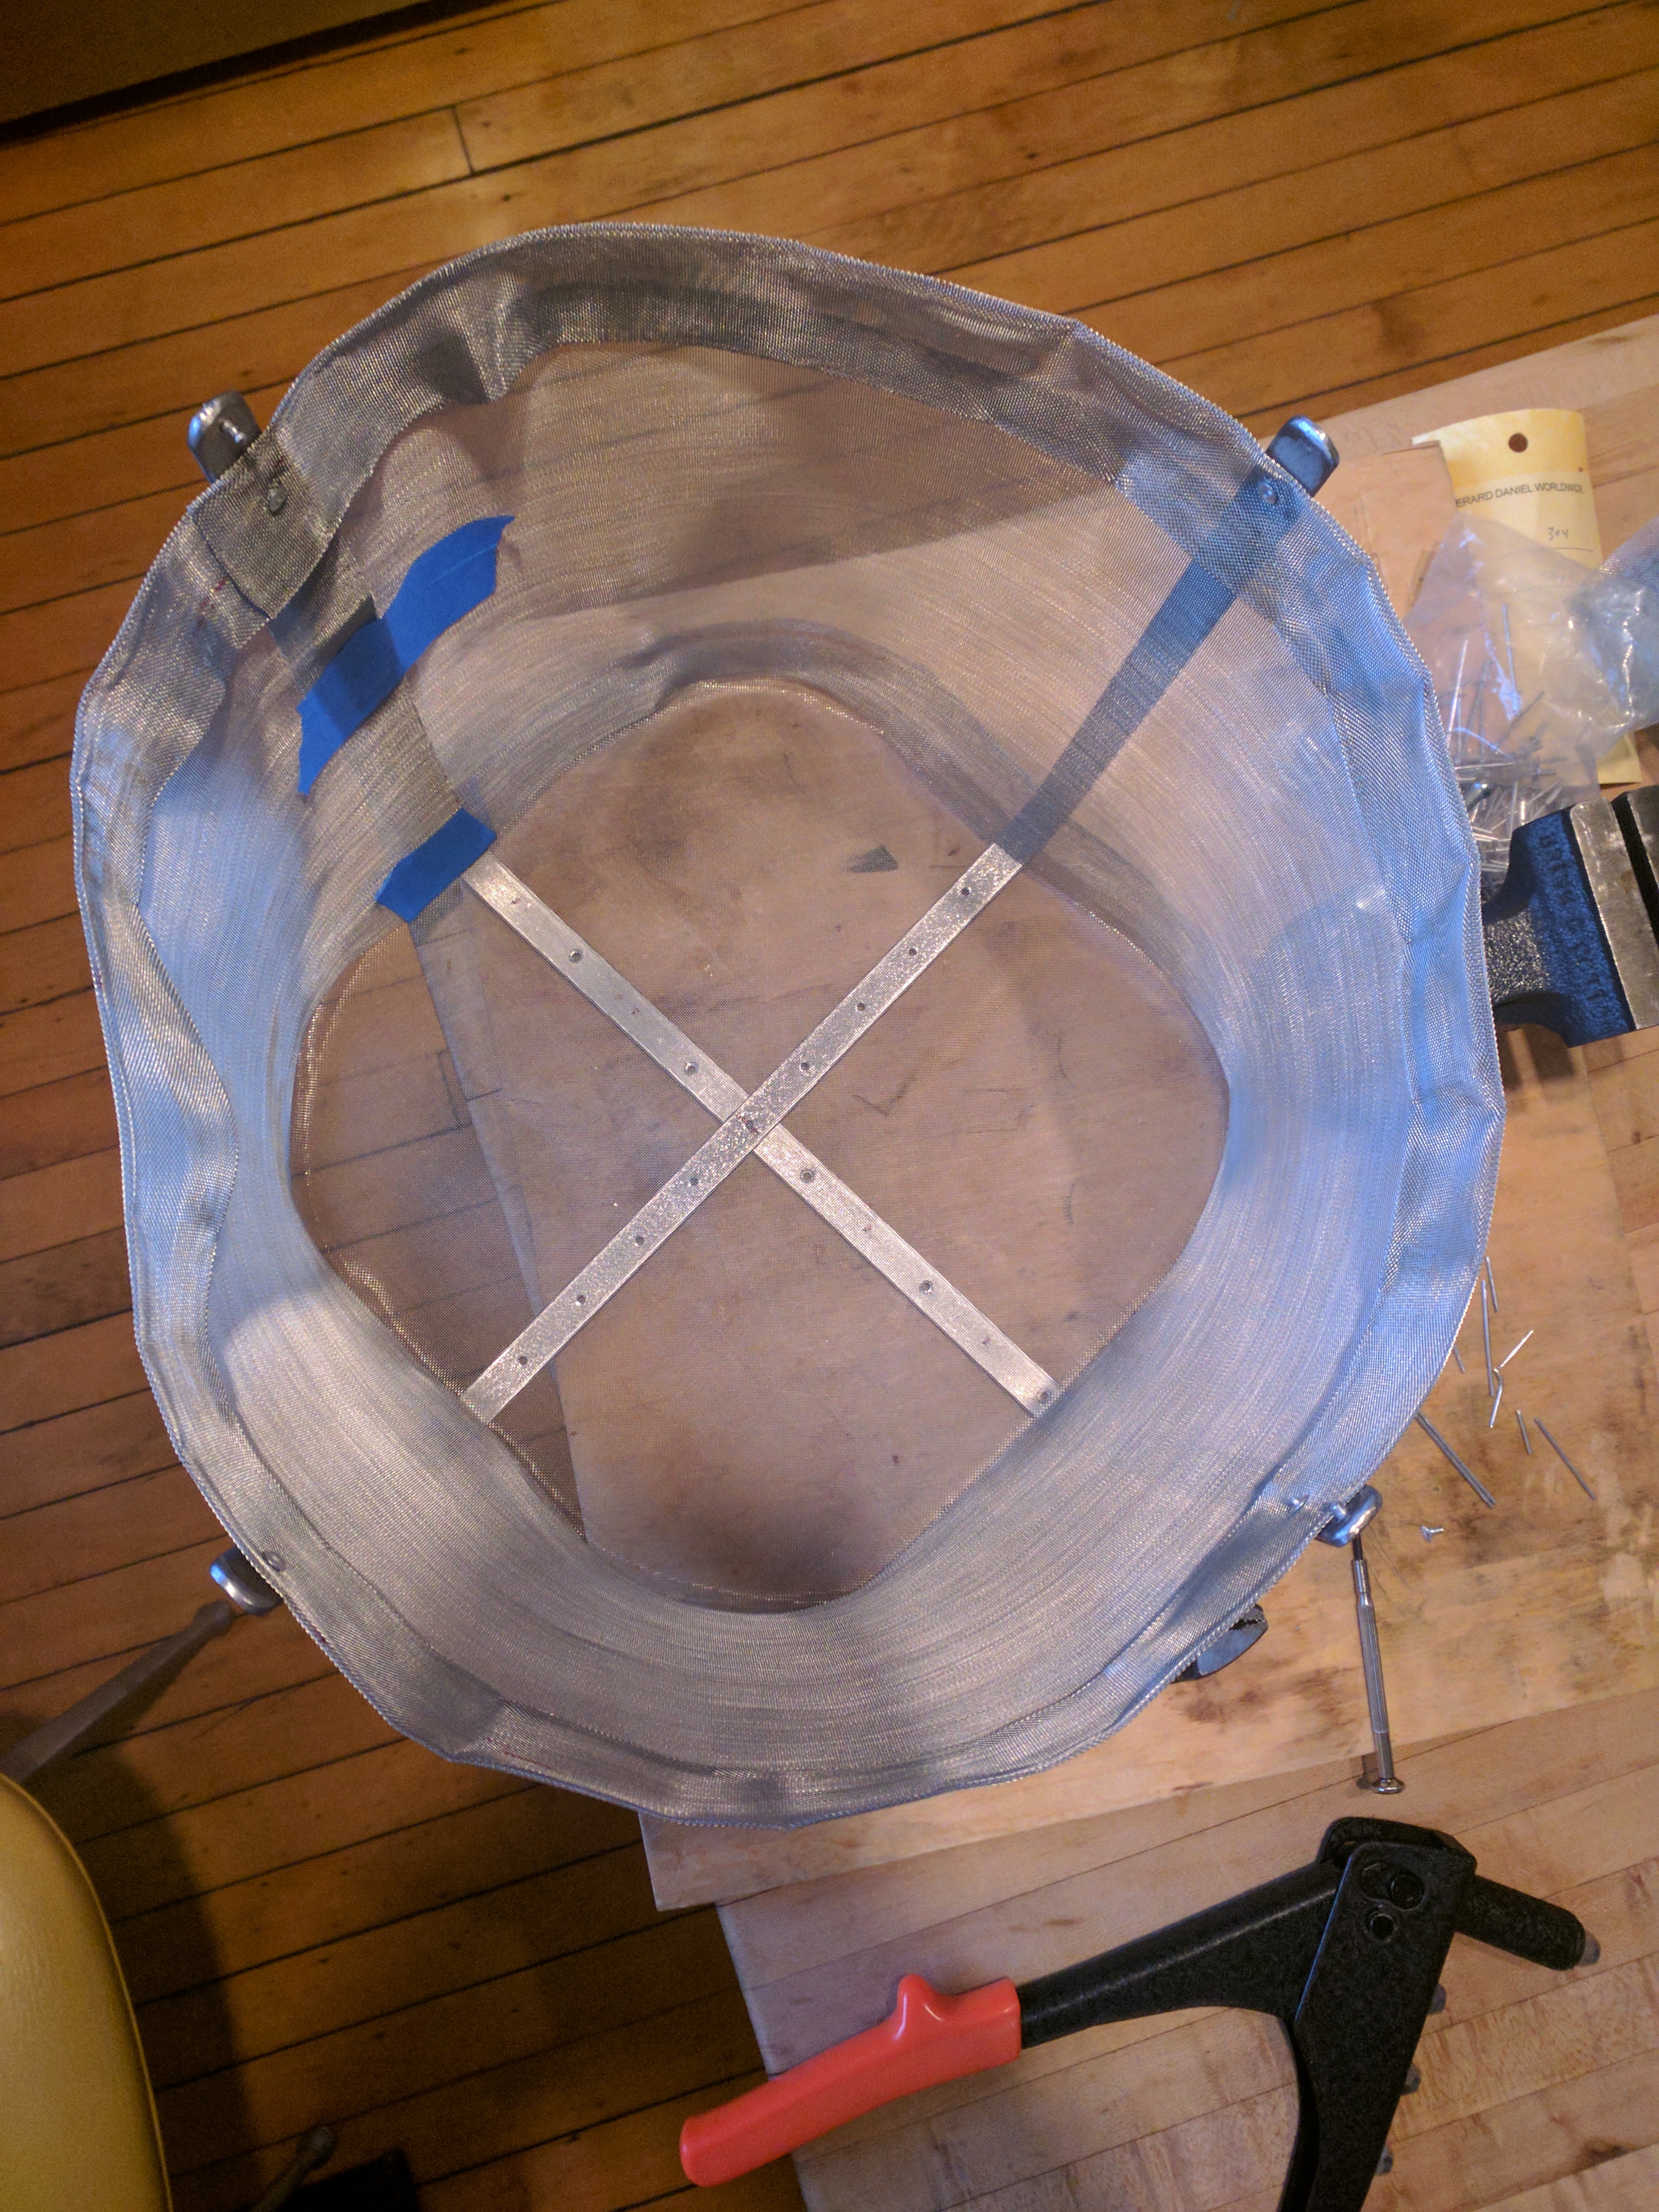
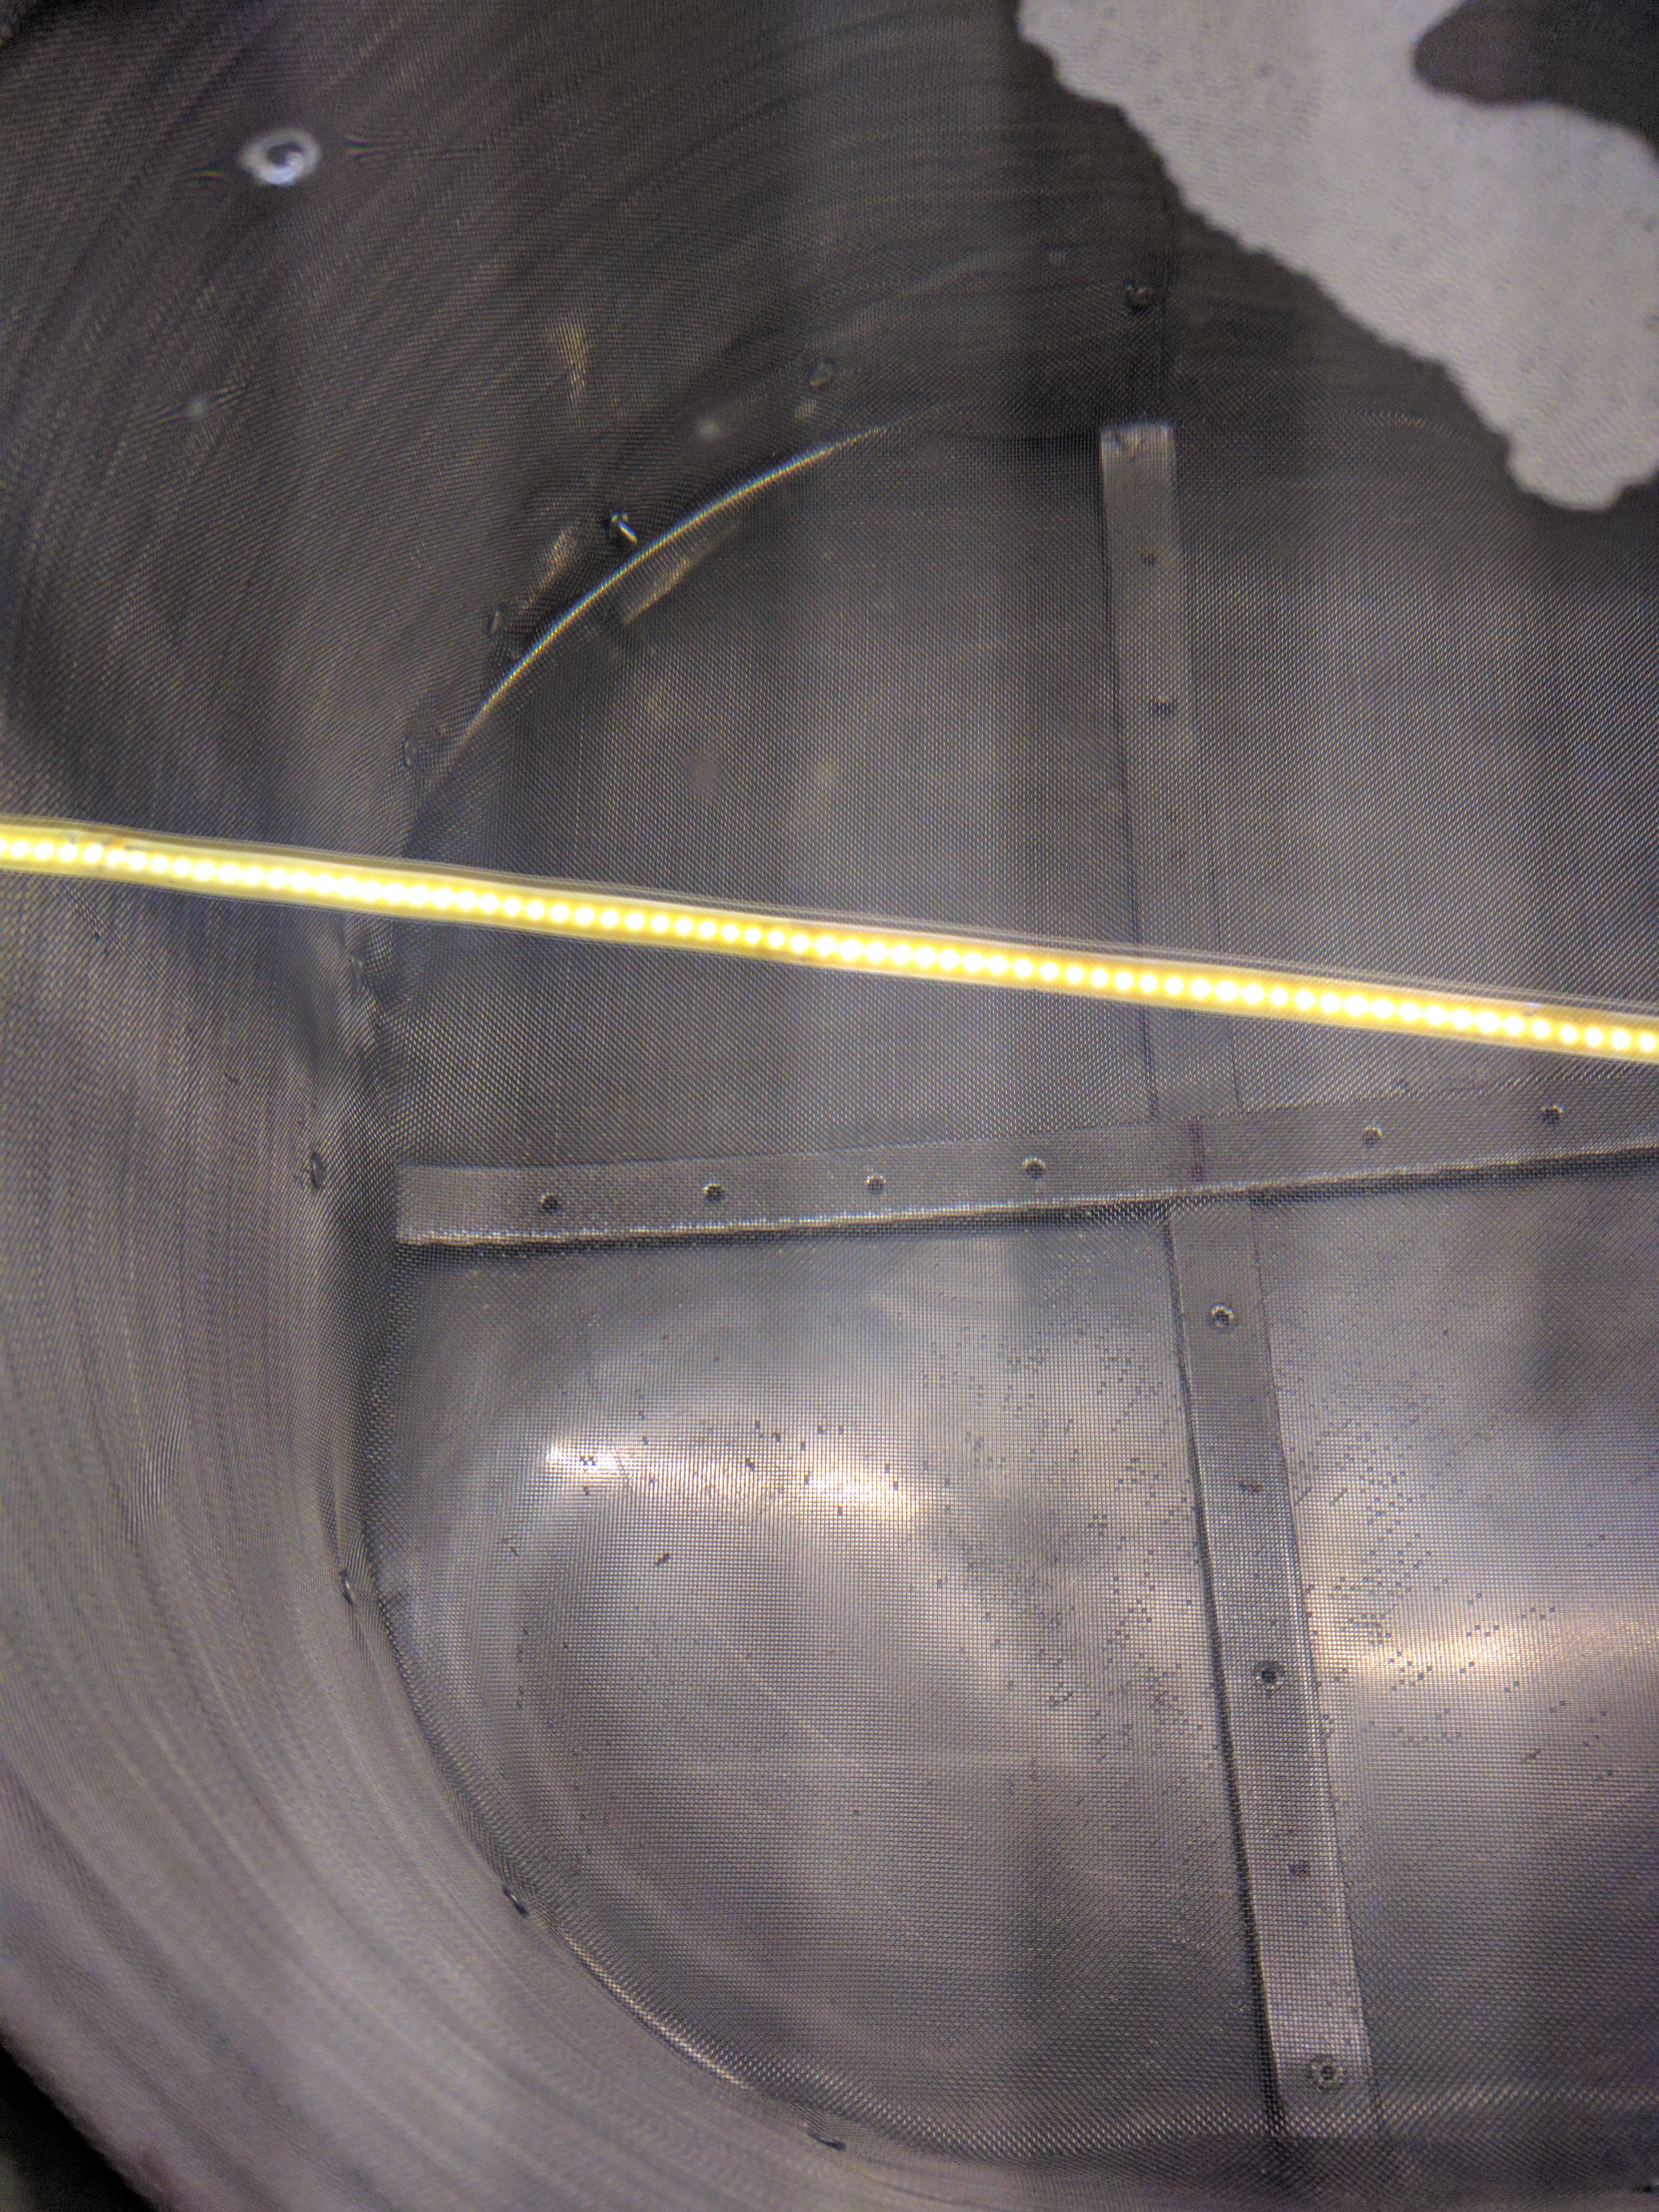
It's a 9" tall 11" diameter basket, made entirely from 400 micrometer stainless mesh (bottom and sides); the bottom disk was cut from 12" wide material, same as the sides. I bent the disk edge up, using one of the kettles as a template, and then riveted everything together. I used the one perfect edge (the other edge was also very nice, but only one was perfect) of the material to form the bottom edge of the cylindrical sides; it sits snug enough against the bottom disk so that no grains got through, with rivets on about a 2" spacing.
The cylinder joint is finished with a double overlap ( both ends bent back on themselves) to avoid any exposed raw mesh edge. The top edge is folded inwards twice, again to avoid any exposed edge; folding outwards would have been better, but I wanted to finish the cylinder seam first, and after that folding outwards on a relatively small diameter cylinder didn't seem like a good idea.
Here are some pics:


McMasterCarr material list:
Buying the ready-made baskets would have been cheaper (drill bits are expensive at Home Depot!), and certainly more convenient, but since they don't fit, that was not an option.
Therefore I ordered 5 feet of 12" 40 mesh (about 400 micrometer) 304L stainless mesh and some 1/8" 304L bars from McMasterCarr, and made a basket myself. Today I used it for the first time for brewing, and it worked very well. Much easier for stirring and cleanup, and a lot less messy than using a brewing bag. The only problem in manufacturing was drilling holes into the stainless bars for riveting. I went through two 3/16" cobalt drill bits until I decided that 3/32" rivets will be good enough. I also reduced the number of rivets attaching the mesh to the steel bar structure a lot from my initial plans, so in retrospect one or two 3/32" cobalt bits would probably have been enough for the whole structure.
It's a 9" tall 11" diameter basket, made entirely from 400 micrometer stainless mesh (bottom and sides); the bottom disk was cut from 12" wide material, same as the sides. I bent the disk edge up, using one of the kettles as a template, and then riveted everything together. I used the one perfect edge (the other edge was also very nice, but only one was perfect) of the material to form the bottom edge of the cylindrical sides; it sits snug enough against the bottom disk so that no grains got through, with rivets on about a 2" spacing.
The cylinder joint is finished with a double overlap ( both ends bent back on themselves) to avoid any exposed raw mesh edge. The top edge is folded inwards twice, again to avoid any exposed edge; folding outwards would have been better, but I wanted to finish the cylinder seam first, and after that folding outwards on a relatively small diameter cylinder didn't seem like a good idea.
Here are some pics:


McMasterCarr material list:
Buying the ready-made baskets would have been cheaper (drill bits are expensive at Home Depot!), and certainly more convenient, but since they don't fit, that was not an option.
Last edited:


