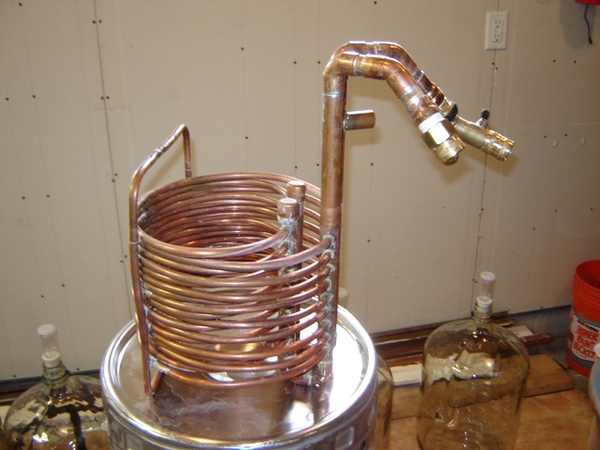
i just made my first batch last night with a brewers best kit, and i was instructed to only boil 2 gal, so i did. Of course, following with murpheys law my propane was tapped out after 20 min of boiling, so it all got brought inside. If i did the full 5 gal, by ****ty stove couldn't keep a boil. back to topic, i had a massive ss pot that i could barely reach in between that and the hood fan, and that giant chiller in it and i feel that i cooled my 2 gallons in the time i turned the hose on outside and walked back in. I guess it wasn't a accurate test because 90% of the chiller wasn't submerged, but i wanted to say that i was very pleased. While cooling i actually spread the coils a little so there's barely a square inch in that pot that doesn't have a copper tube cutting through.
^ = good design, very happy.


 )
)


![Craft A Brew - Safale BE-256 Yeast - Fermentis - Belgian Ale Dry Yeast - For Belgian & Strong Ales - Ingredients for Home Brewing - Beer Making Supplies - [3 Pack]](https://m.media-amazon.com/images/I/51bcKEwQmWL._SL500_.jpg)