
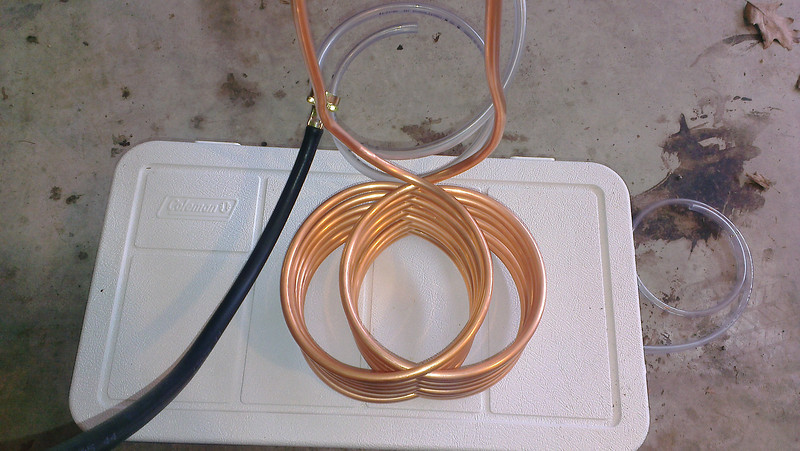
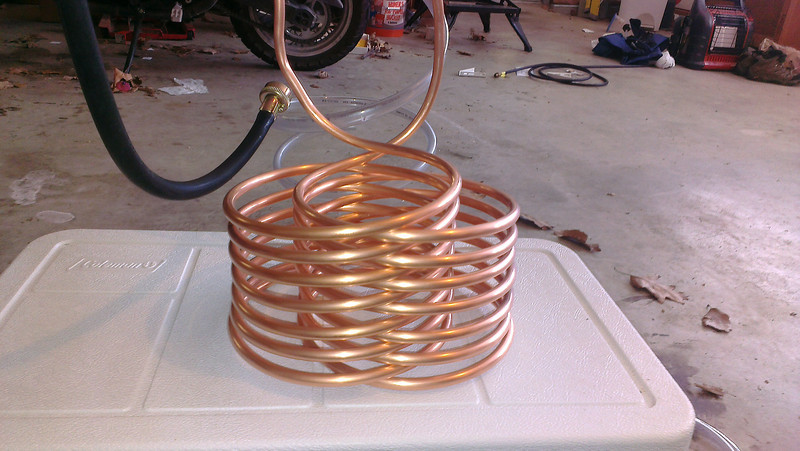
Like this.I have an immersion chiller I bought that uses a standard female hose fitting. Your idea to use a hose valve makes a LOT of sense... I may have to see if I can't find something like that for my chiller!
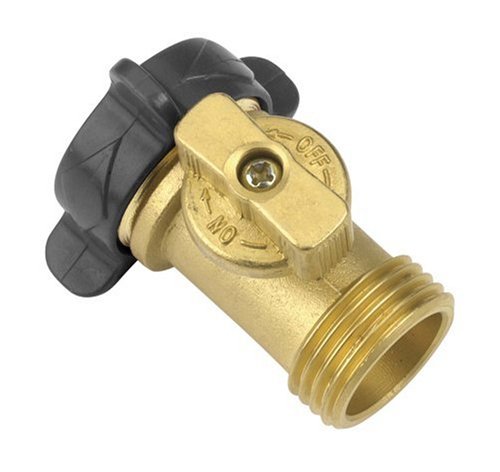
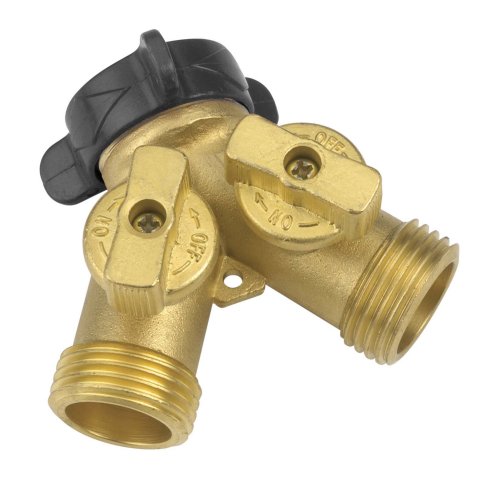
I chill in my sink in my basement and I have this splitter with shutoffs so I can have a hose and the chiller at the same time.
Last edited by a moderator:


![Craft A Brew - Safale S-04 Dry Yeast - Fermentis - English Ale Dry Yeast - For English and American Ales and Hard Apple Ciders - Ingredients for Home Brewing - Beer Making Supplies - [1 Pack]](https://m.media-amazon.com/images/I/41fVGNh6JfL._SL500_.jpg)


