Bobby_M: I would like to say thank you for your very informative video. Following your instructions, I made my own hop filter using 30x30 316SS mesh and stainless wire from McMaster Carr. I put it together some time ago, but have been on a brewing hiatus for some time. Well, last night it got put to the test and I am
extremely satisfied with the results.
The brew was an IPA with 5oz. of pellet hops in the kettle.
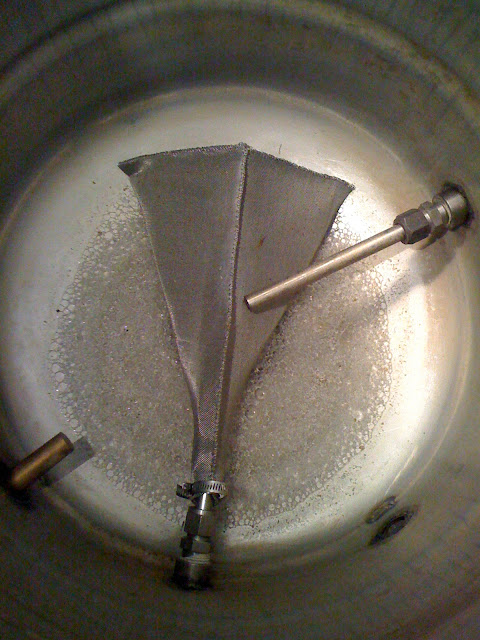
Installed Filter (post-brew. Not completely cleaned up yet):
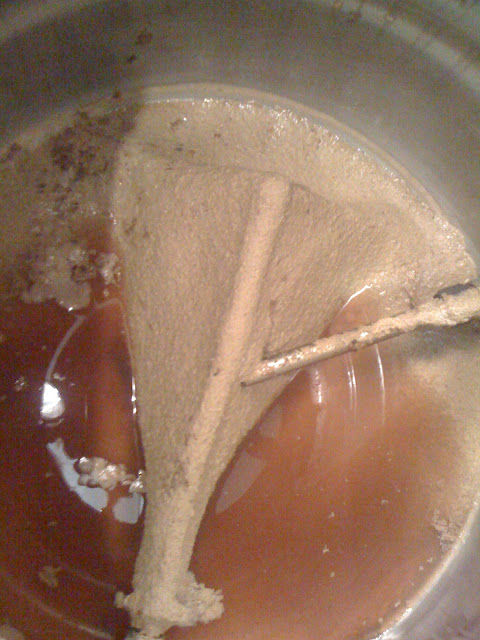
Coated in hops:
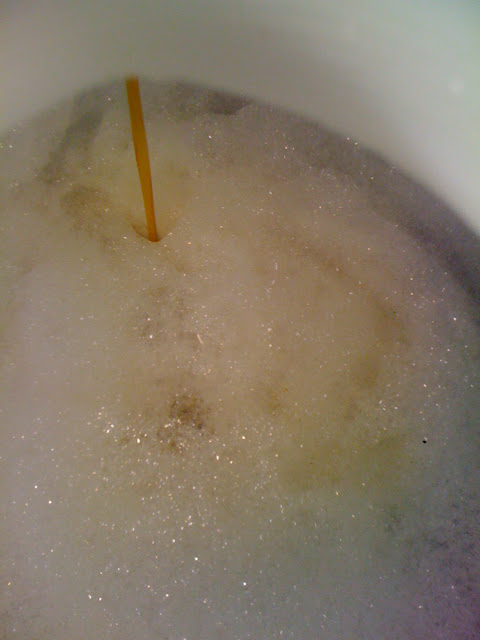
Showing the flow. This was taken seconds after the previous picture:
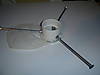
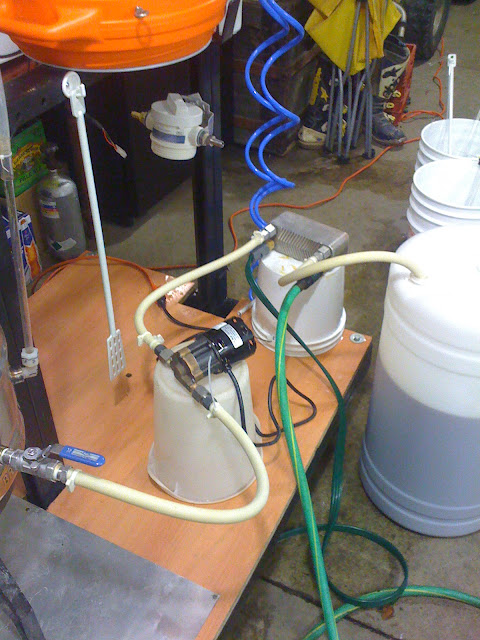
Setup:
I never saw even the slightest little bit of non-liquid material in the flow to the fermenter. My plate chiller had 0 issues. Cleanup was a breeze because all of the solids remained in the kettle!
I need to re-do my dip tube because it left about a half gallon of wort in the kettle, but that shouldn't be an issue.
As I stated before,
extremely satisfied.


![Craft A Brew - Safale S-04 Dry Yeast - Fermentis - English Ale Dry Yeast - For English and American Ales and Hard Apple Ciders - Ingredients for Home Brewing - Beer Making Supplies - [1 Pack]](https://m.media-amazon.com/images/I/41fVGNh6JfL._SL500_.jpg)