OP
OP
Boerderij_Kabouter
Well-Known Member
Cool. In that case, thanks 


 I said from the beggining this was a long term project.


![Craft A Brew - Safale S-04 Dry Yeast - Fermentis - English Ale Dry Yeast - For English and American Ales and Hard Apple Ciders - Ingredients for Home Brewing - Beer Making Supplies - [1 Pack]](https://m.media-amazon.com/images/I/41fVGNh6JfL._SL500_.jpg)


What does that mean?

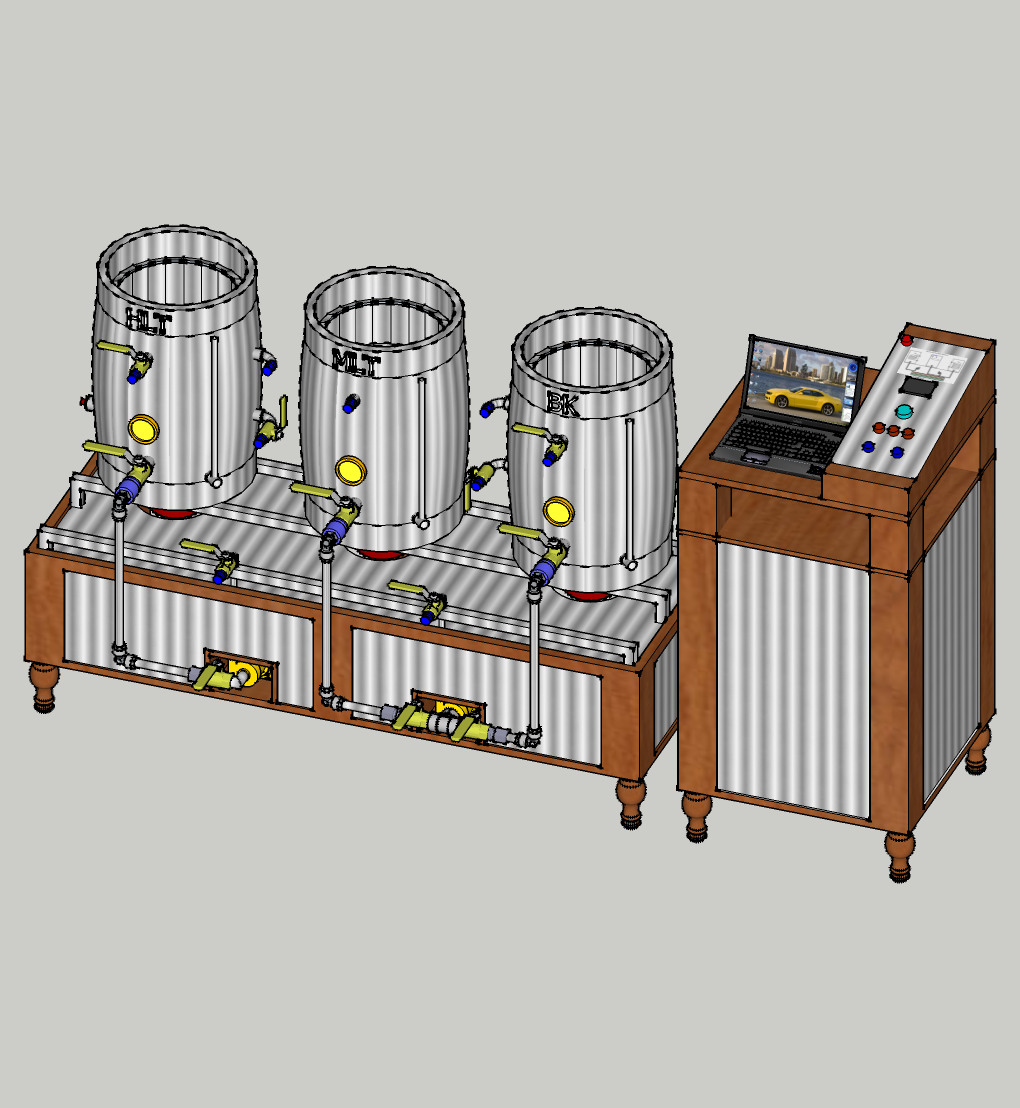


The setup looks great Kal!
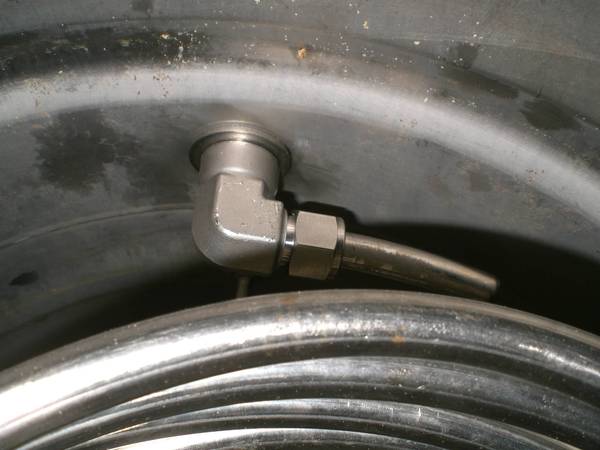
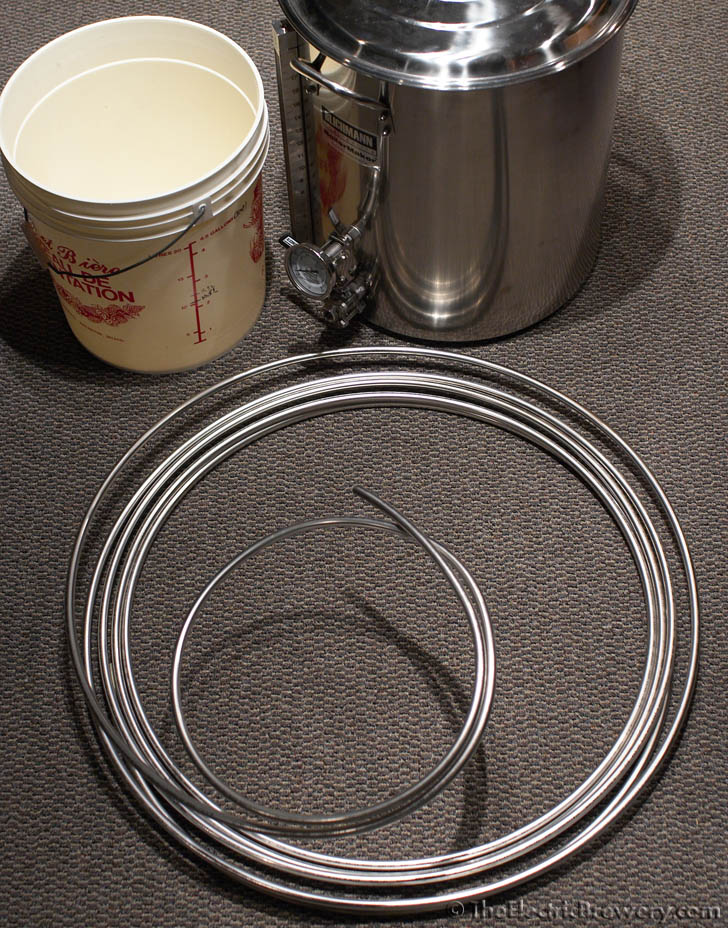
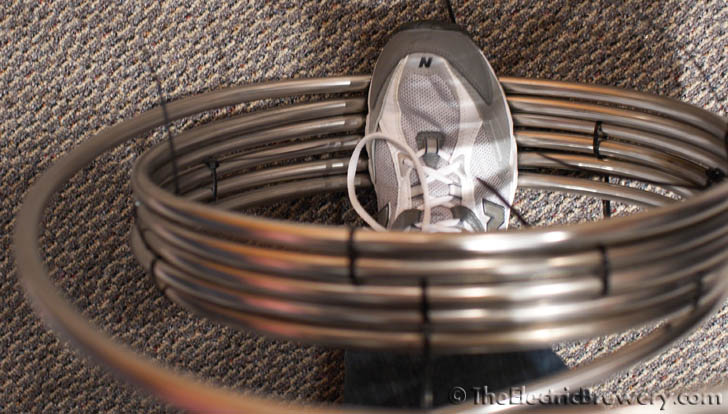
Yeah the stainless is a bear. I think the next coil I do I will take breaks as I go. I got it almost perfect for a while, but your hands and forarms just get to sore and I started screwing up.
Slow and steady wins the race.
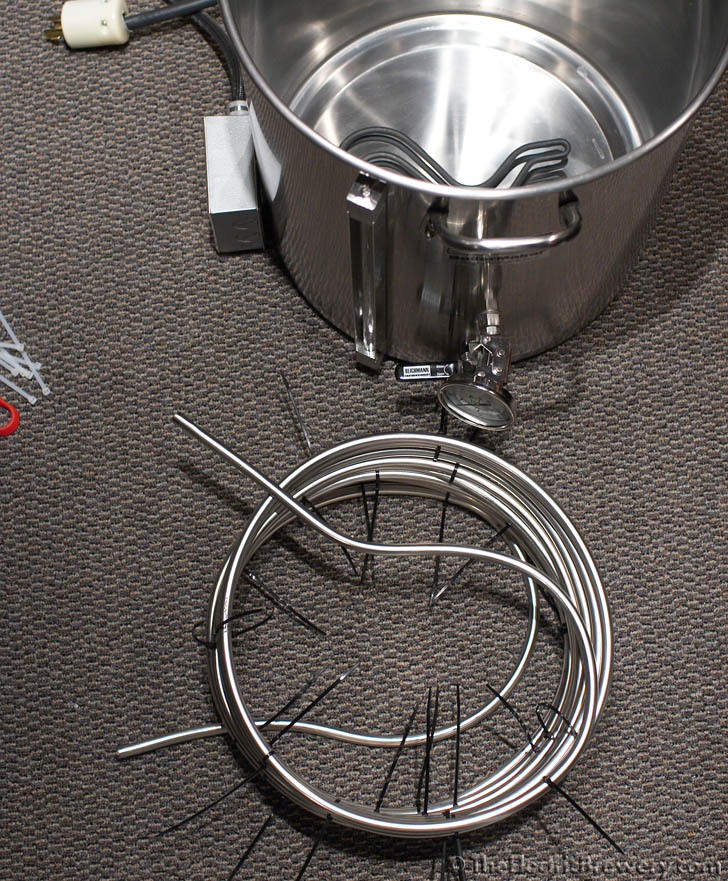
... and even if you miss a few bits here and there, who cares? It'll just be boiled again for 60+ minutes next time. Sanitation is not an issue.I think I have squashed the idea that a hard mounted SS coil in the BK will be hard to clean. A simple rinse down after brewing, and a 30 minute soak in PBW and it is shining more than before I brewed. Easy as pie, everything just rinsed right off.
Very cool! Thanks! (And you're making me thirsty too...)I brewed a American IPA, a Helles, and an Oktoberfest. The IPA had 14 oz. of pellet hops in it, the Helles and the Oktoberfest were both in the 5-6 oz. of pellet range.
Watching the cooling be that fast was awesome. The cold break in these beers is a bit silly compared to what I am used to. Definitely a huge step up.
Thanks!
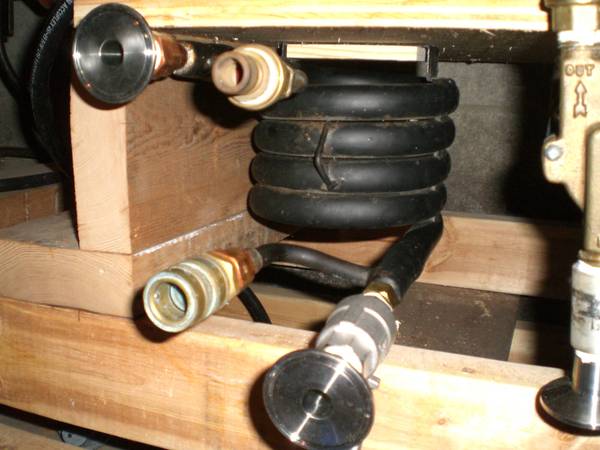
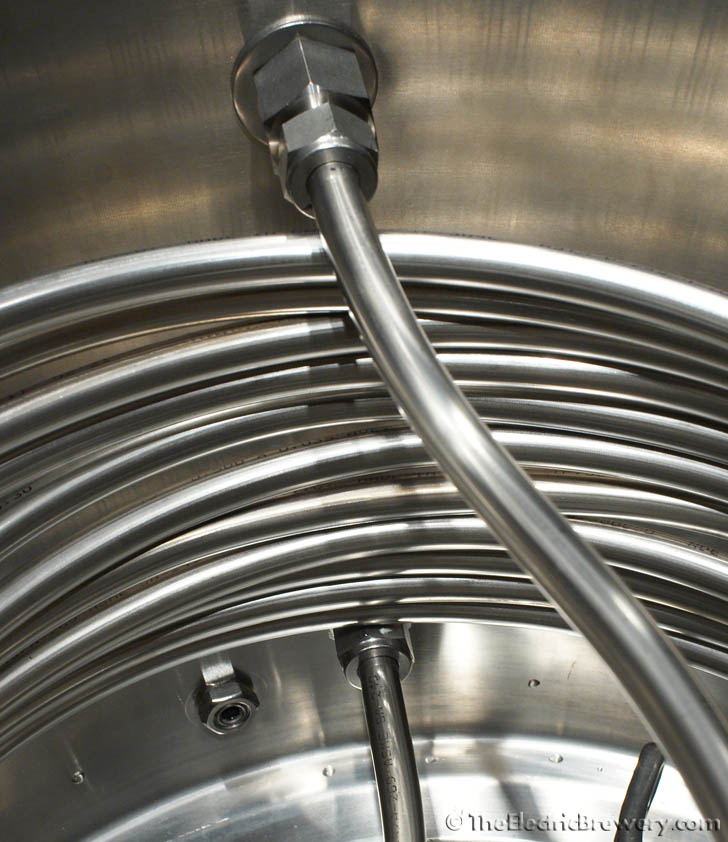
The connectors are called Tri-clover or tri-clamp fittings. The advantage over regular QD's is that the are bomb proof with no moving parts, and are very easy to clean/sanitize.


