Damonic
Well-Known Member
HOLY CRAP! Those diagrams rule...

I like it but I don't see a need for the dubble cooling thingy. I think a good plate or CFC whirlpooled back in would do it just fine and less to deal with.
 The reason I am using those is for cost economy (believe it or not). It is a rather cheap way to form a solid connection. Once the kettles are installed the should be locked in place. My original idea was to use cam-lock fittings, but these are way cheaper and cheaper than any other alternative I could find.)), I'm trying to decide if the extra cost is worth it to go pretty much all stainless in my setup...


![Craft A Brew - Safale S-04 Dry Yeast - Fermentis - English Ale Dry Yeast - For English and American Ales and Hard Apple Ciders - Ingredients for Home Brewing - Beer Making Supplies - [1 Pack]](https://m.media-amazon.com/images/I/41fVGNh6JfL._SL500_.jpg)


Thanks. I've already bought 50' of quality 1/2" silicone hose so I'll stick with 1/2". Didn't realize either that the SS pump head is 3/4" and not 1/2".1) I am going 3/4 because I am hoping that this extra volume will help prime the pumps marginally better, it provides a larger supply to the pump inlet, and the inlet for the stainless pump heads is 3/4. The price difference is rather marginal if you source the parts right. I already have all my 3/4 compression fittings... if you search Ebay for "swagelok" and have a bit a patience, you can easily get these fittings for way under half price.
Ok. I'll consider it. Not quite at that buying stage yet. (Waiting for my Blichmann pots to arrive first .... )3) I am going with the stainless pump heads. If I am investing this much to have all the rest stainless, it seems silly to me to use anything non-stainless. Bling bling baby!
Makes sense. Luckily I'm not really on a budget. Still, I don't want to spend money needlessly if it can be avoided of course. If I can get away with under $5K for the whole setup I'll be happy. I don't think it'll get that high though.The way to do it is to bargain a percentage of your budget with your SWMBO. For example, I get 5% of our spending money for brewing and personal use. Slowly but steadily, this build will happen!
Agreed. It is high. Hell, you can brew great beer for only a few hundred dollars but that's not the point for many of us (yourself included obviously as you already have likely a great setup). I'm an engineer by background and want something that not only looks good but that is easy to use and that I can be proud of. For many of us it's not about saving money obviously either. You can buy a lot of beer for $5K.
Good luck with the build! So far all I have is a grain mill, 50' of silicone hose, and Blichmann pots on order. Lots more to go...
Kal
Also, I coiled the 50' of 1/2" stainless that I have. NO PROBLEM
I have never really (yet) had a need for a grant in my system.
Good Luck, buddy!
Based on your gallery pics, your setup seems pretty advanced I'd say! Do you have any information that describes your setup and how you "kept it simple"? I'm always looking for new ideas (and I'm a KISS type of guy too).Personally, I am more a KISS kinda guy, as you have seen from my build. Form follows function. Of course, that said, I didn't have the budget that you have, either, so....


The simplest 'sparge arm' I've seen is the Sabco method. They use silicone tubing, long enough to curl around the circumference of the tun, then the point down into the grain bed. You would think introducing the sparge water this way would cause channeling, but they cite a lot of research and trials that give no indication of channeling or inefficiency. Sometimes simple is good I spoze. Here is a picture of the Sabco method, when the tun is full the tubing mostly floats and the tip will naturally go below the wort level just a bit.
Interesting. Good to know. I'll by fly sparging too I think since I have two pumps like yourself.Basically, what I do now is just use a straight section of silicon tube and disperse my sparge water over the surface of the grain manually. I use the stream of sparge water to break up the surface of the grain bed and to evenly distribute the flow. This avoids channelling and in both Mensch and my experience it allows for very fast fly sparging with good efficiency and wort quality.
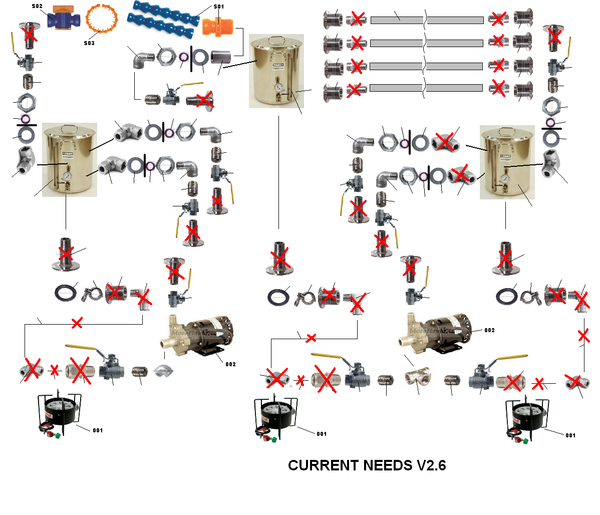
This design seems to have plenty of redundant systems.
2 coils where 1 would be sufficient
4 heat sources where 2 would be sufficient
This is the engineer in me trying to eliminate unnecessary extras. If you want them then go for it.
BUT IT GOES TO ELEVEN! :rockin:
-OCD


