• Please visit and share your knowledge at our sister communities:
  • If you have not, please join our official Homebrewing Facebook Group!

    Homebrewing Facebook Group

Crane's Never ending Brewery Upgrades

Homebrew Talk

Help Support Homebrew Talk:

This site may earn a commission from merchant affiliate links, including eBay, Amazon, and others.
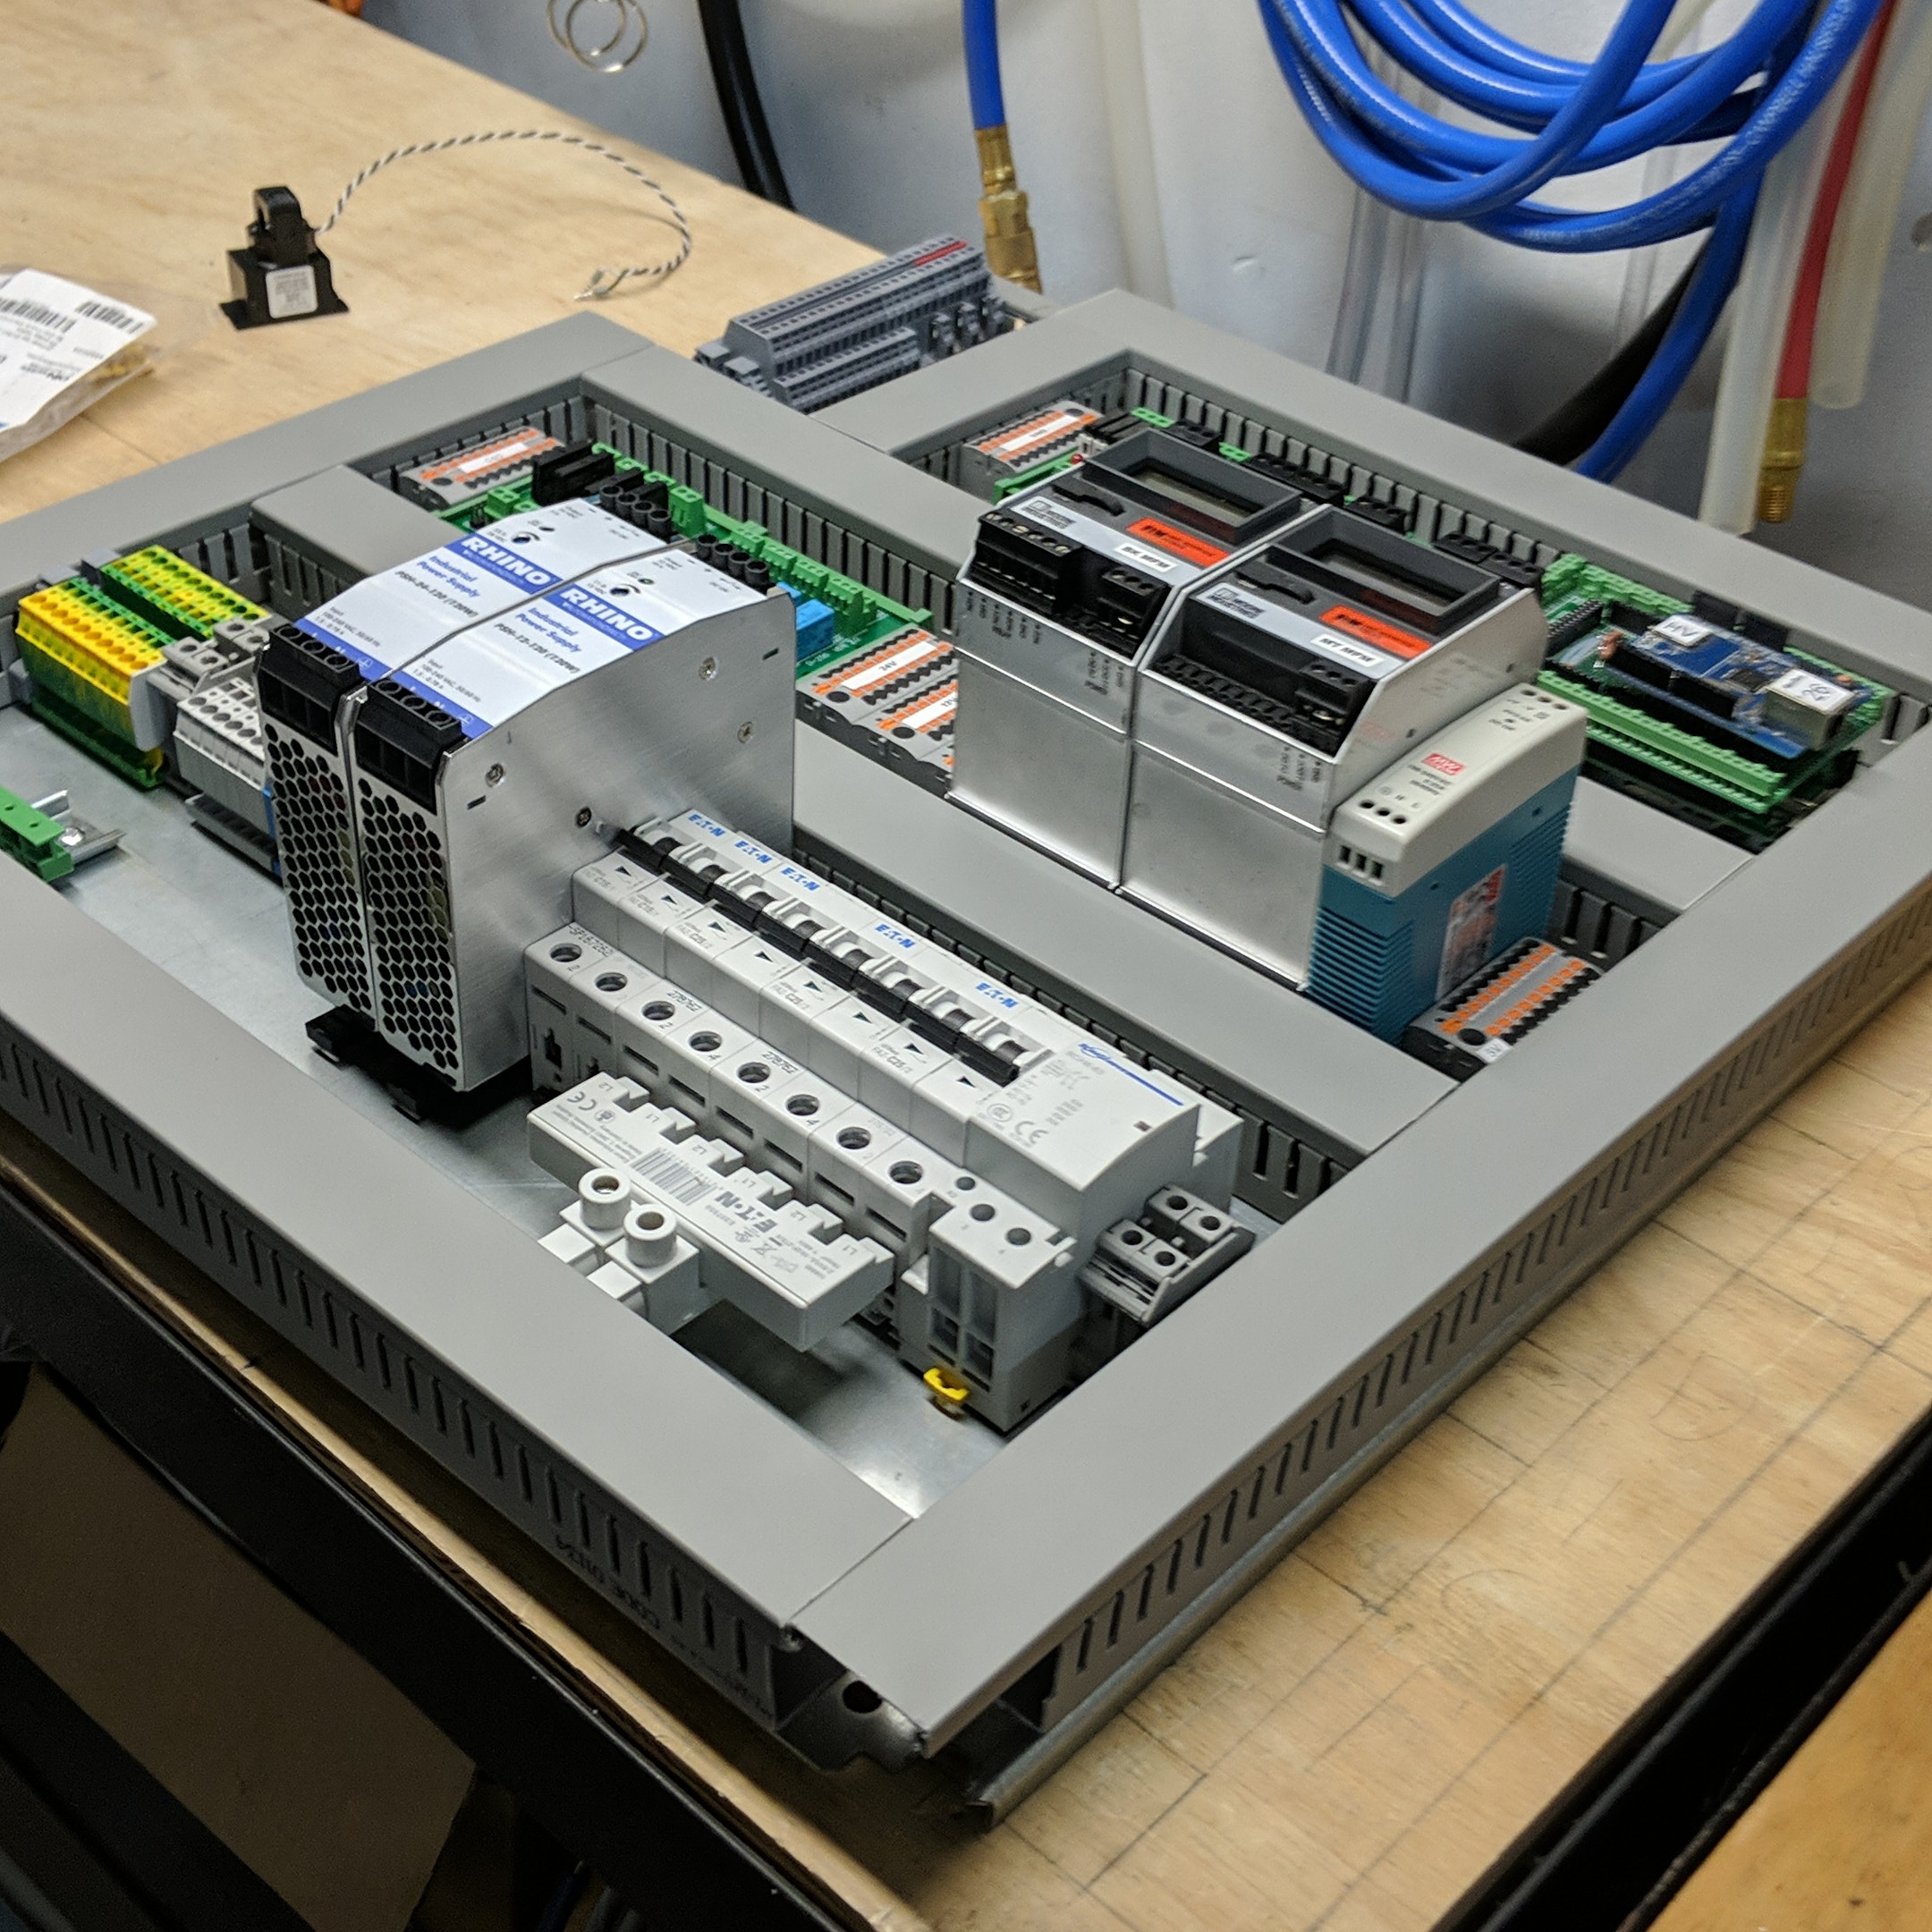
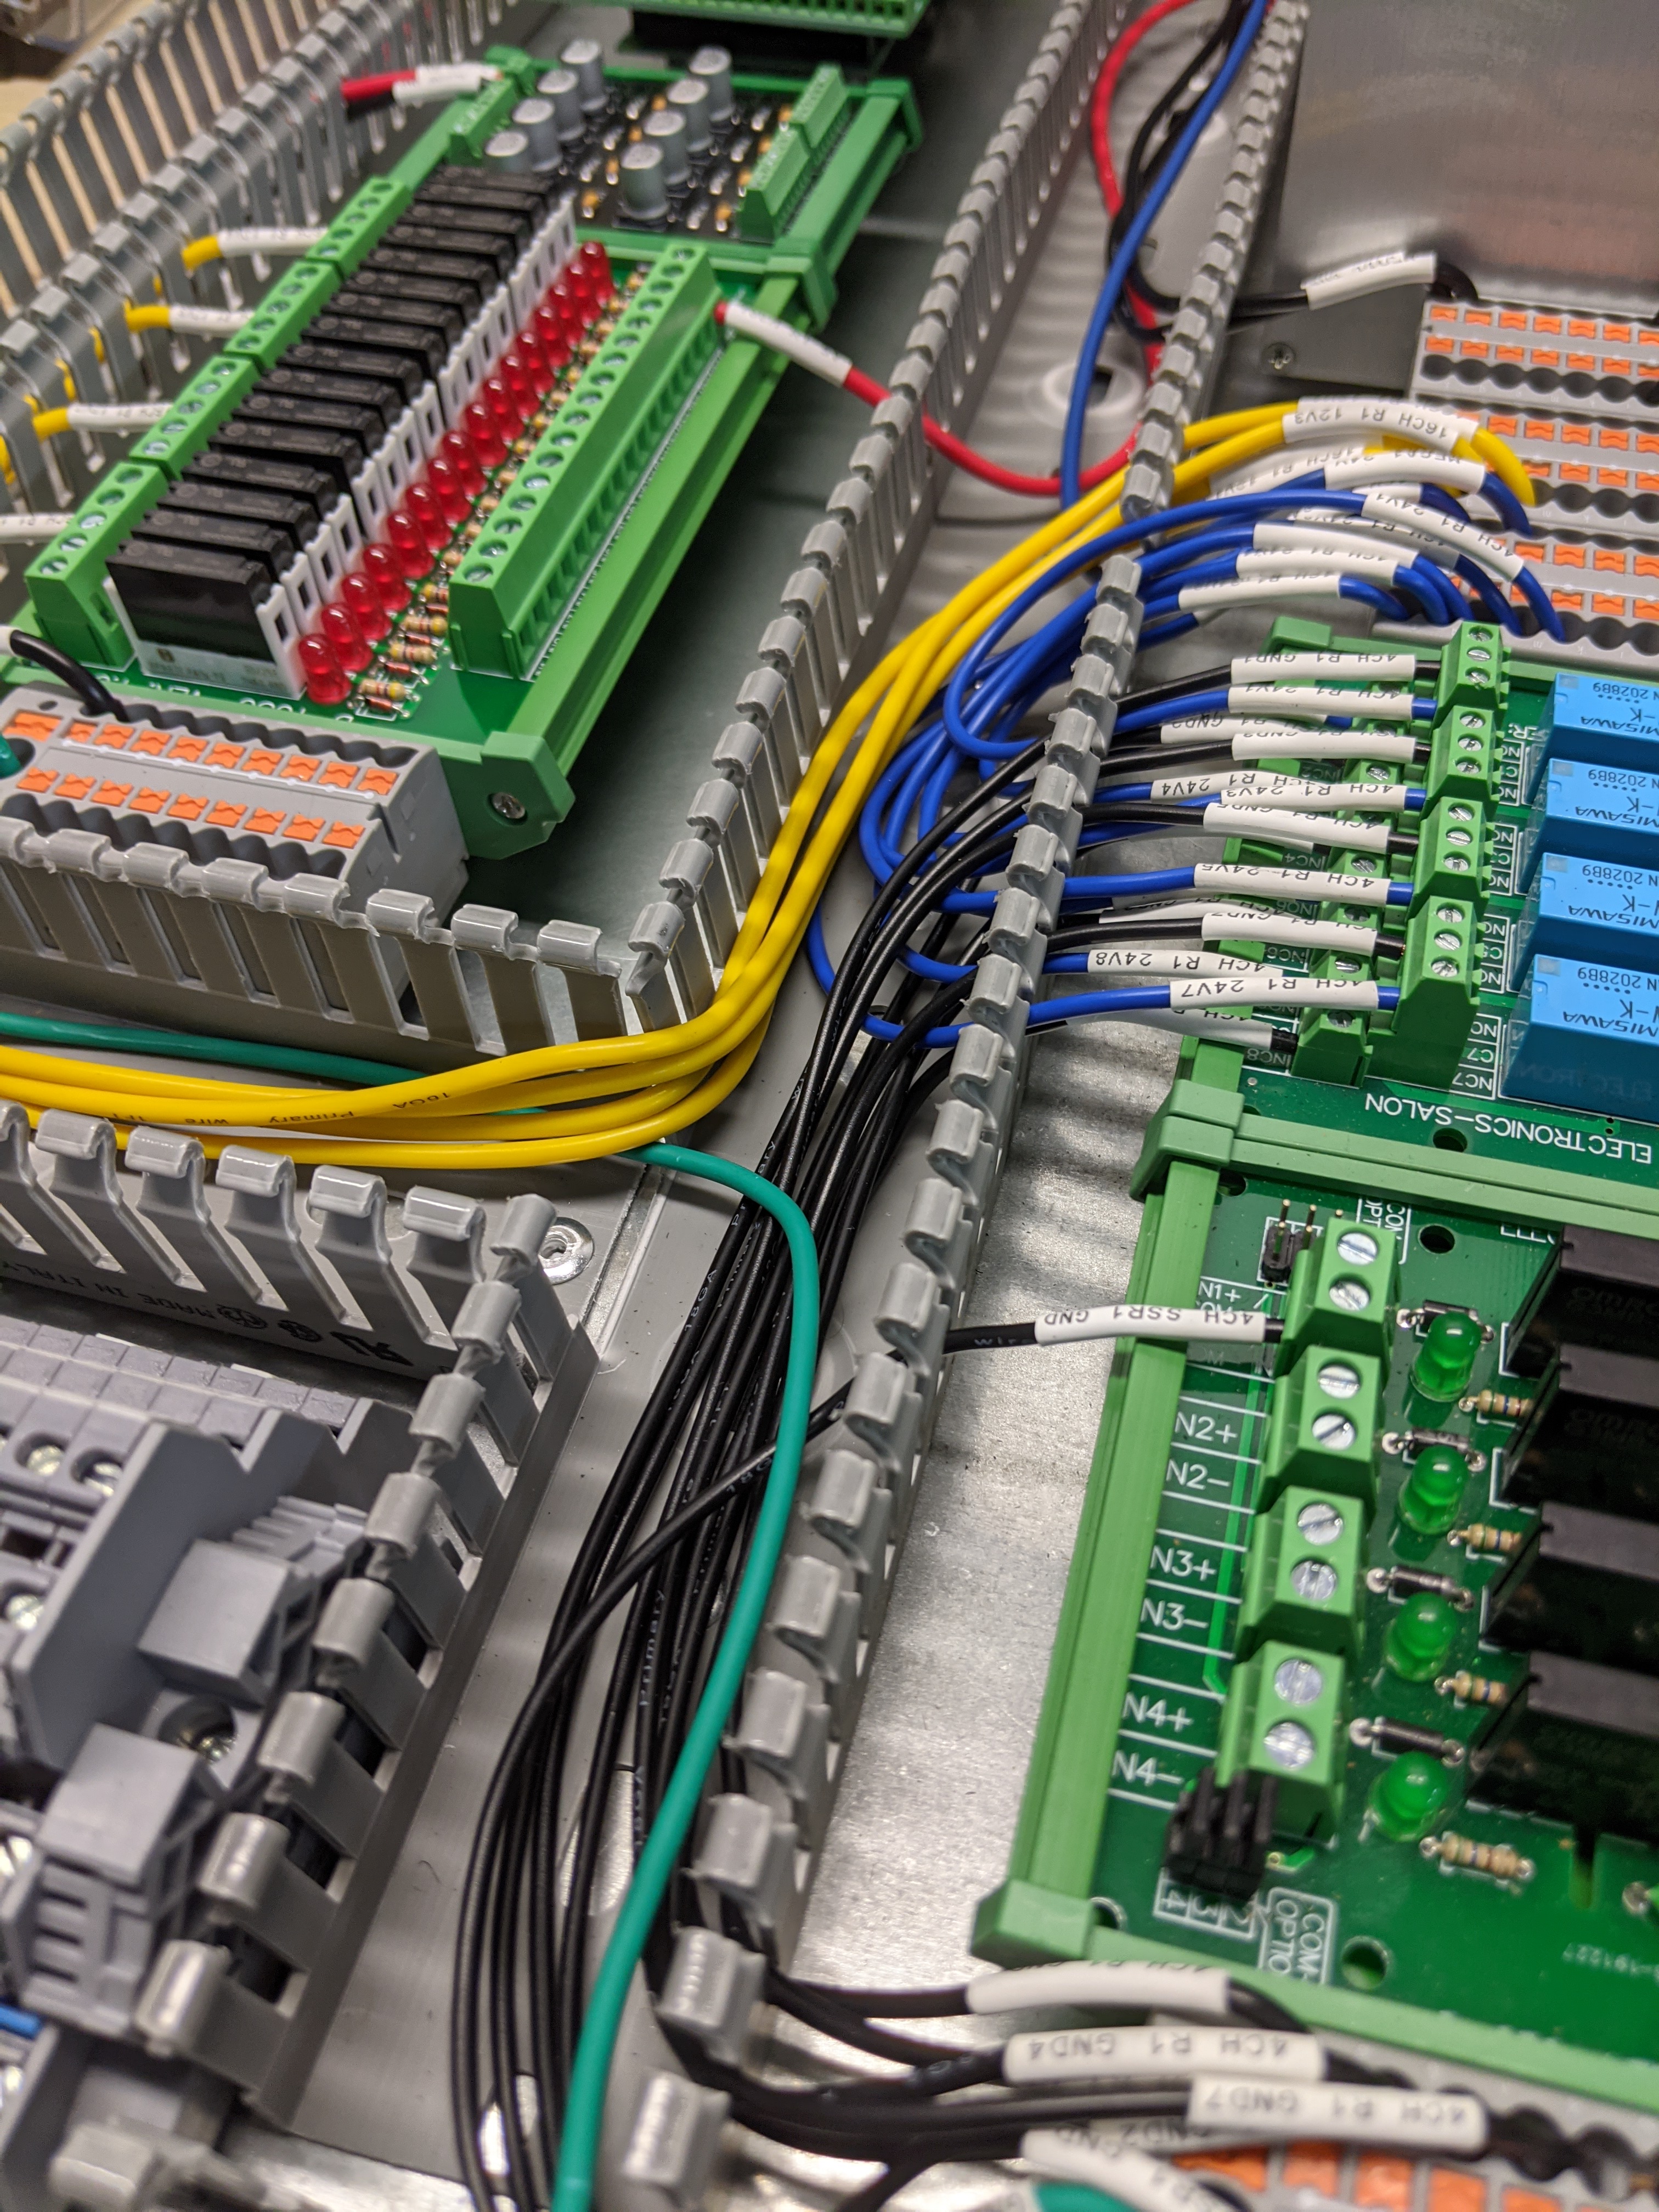
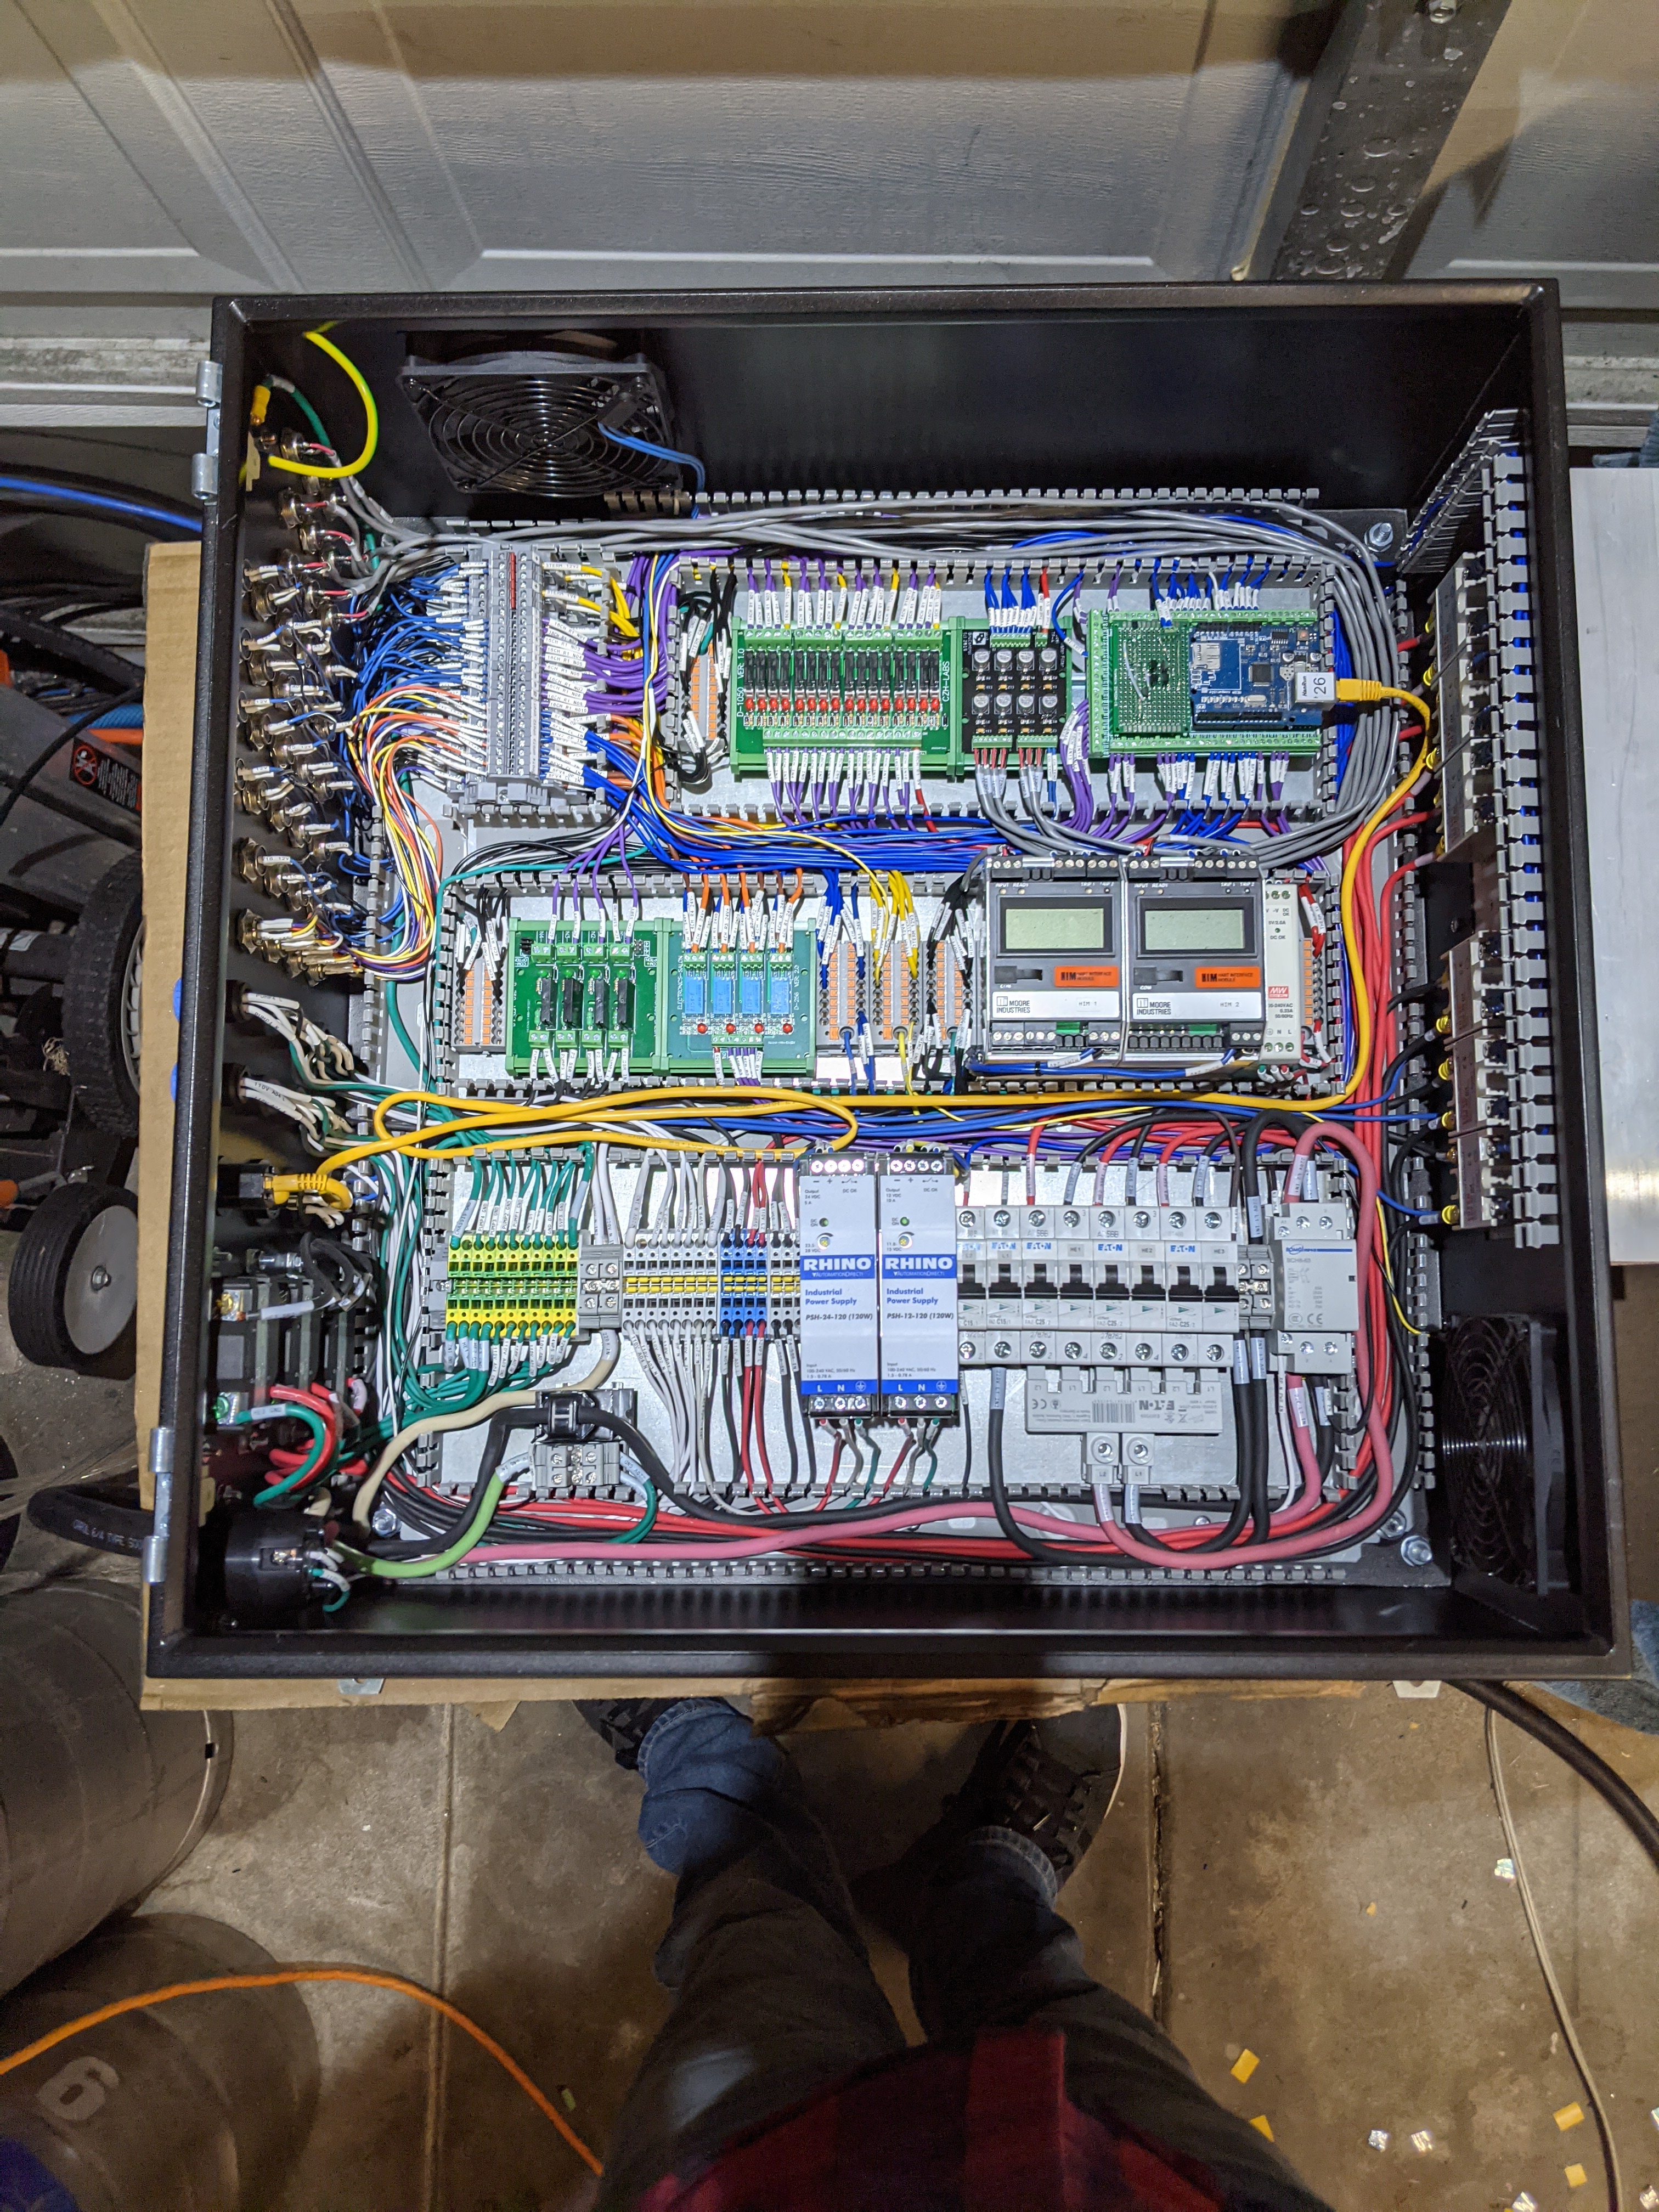
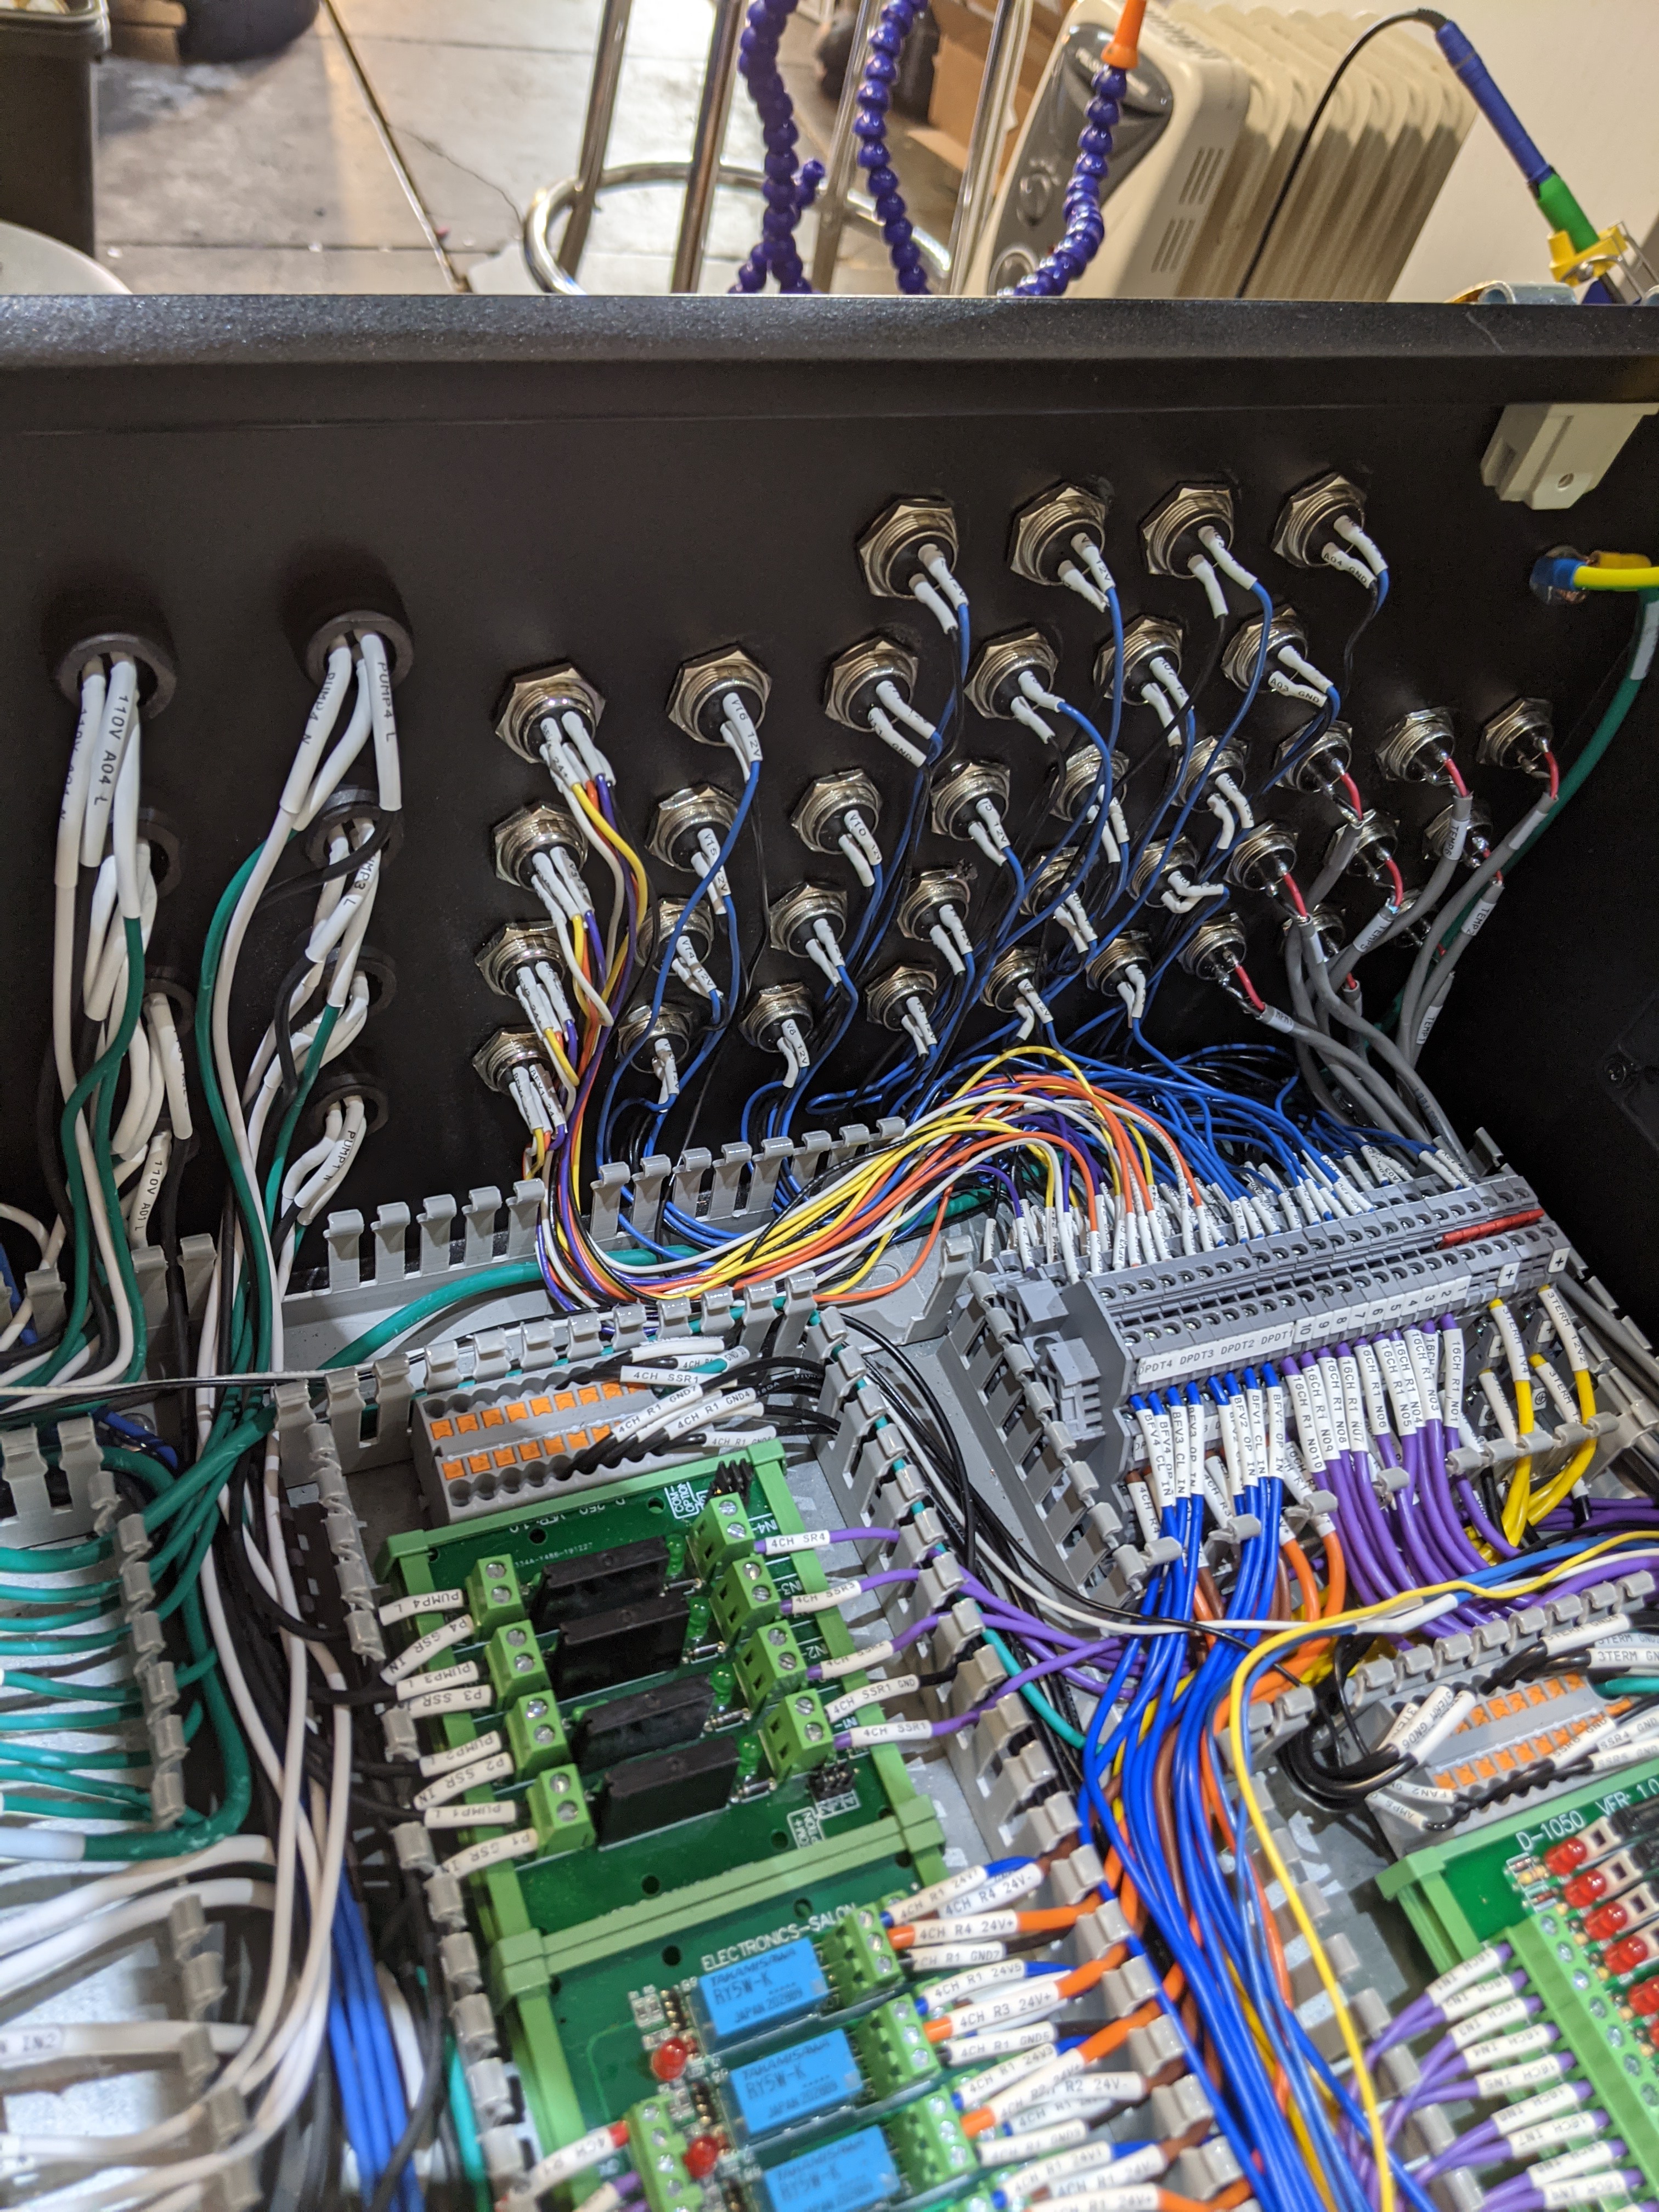
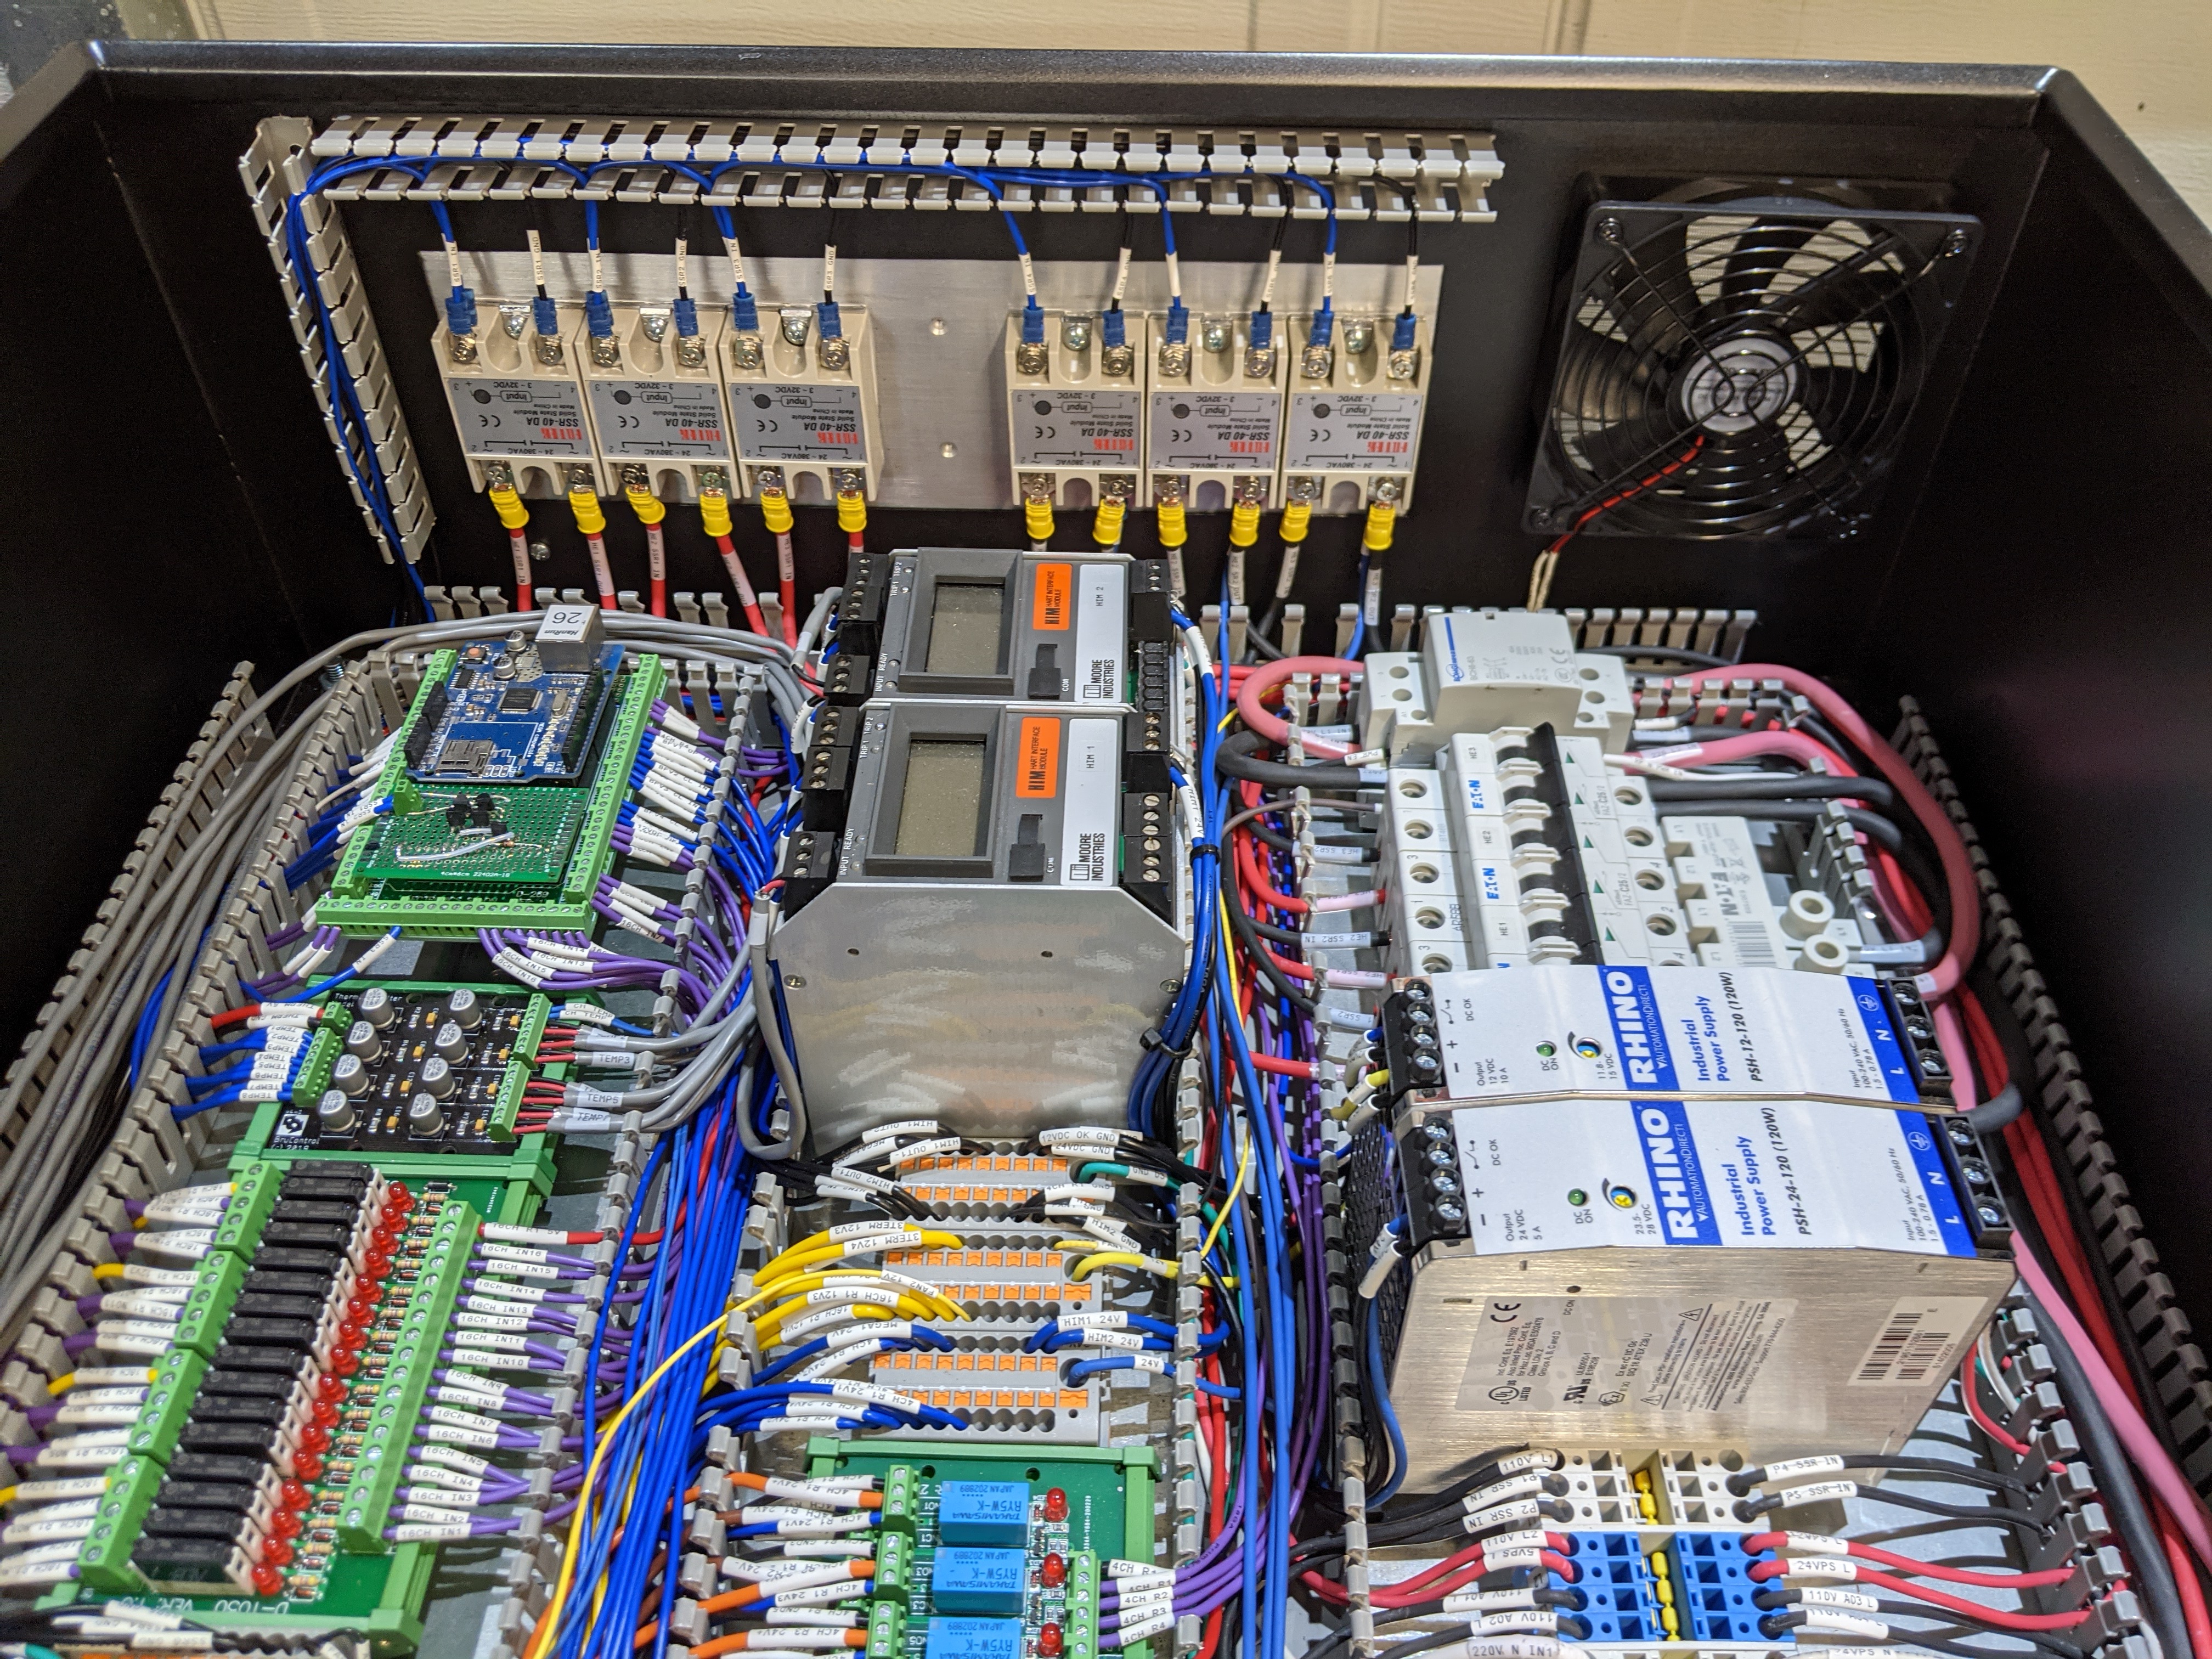
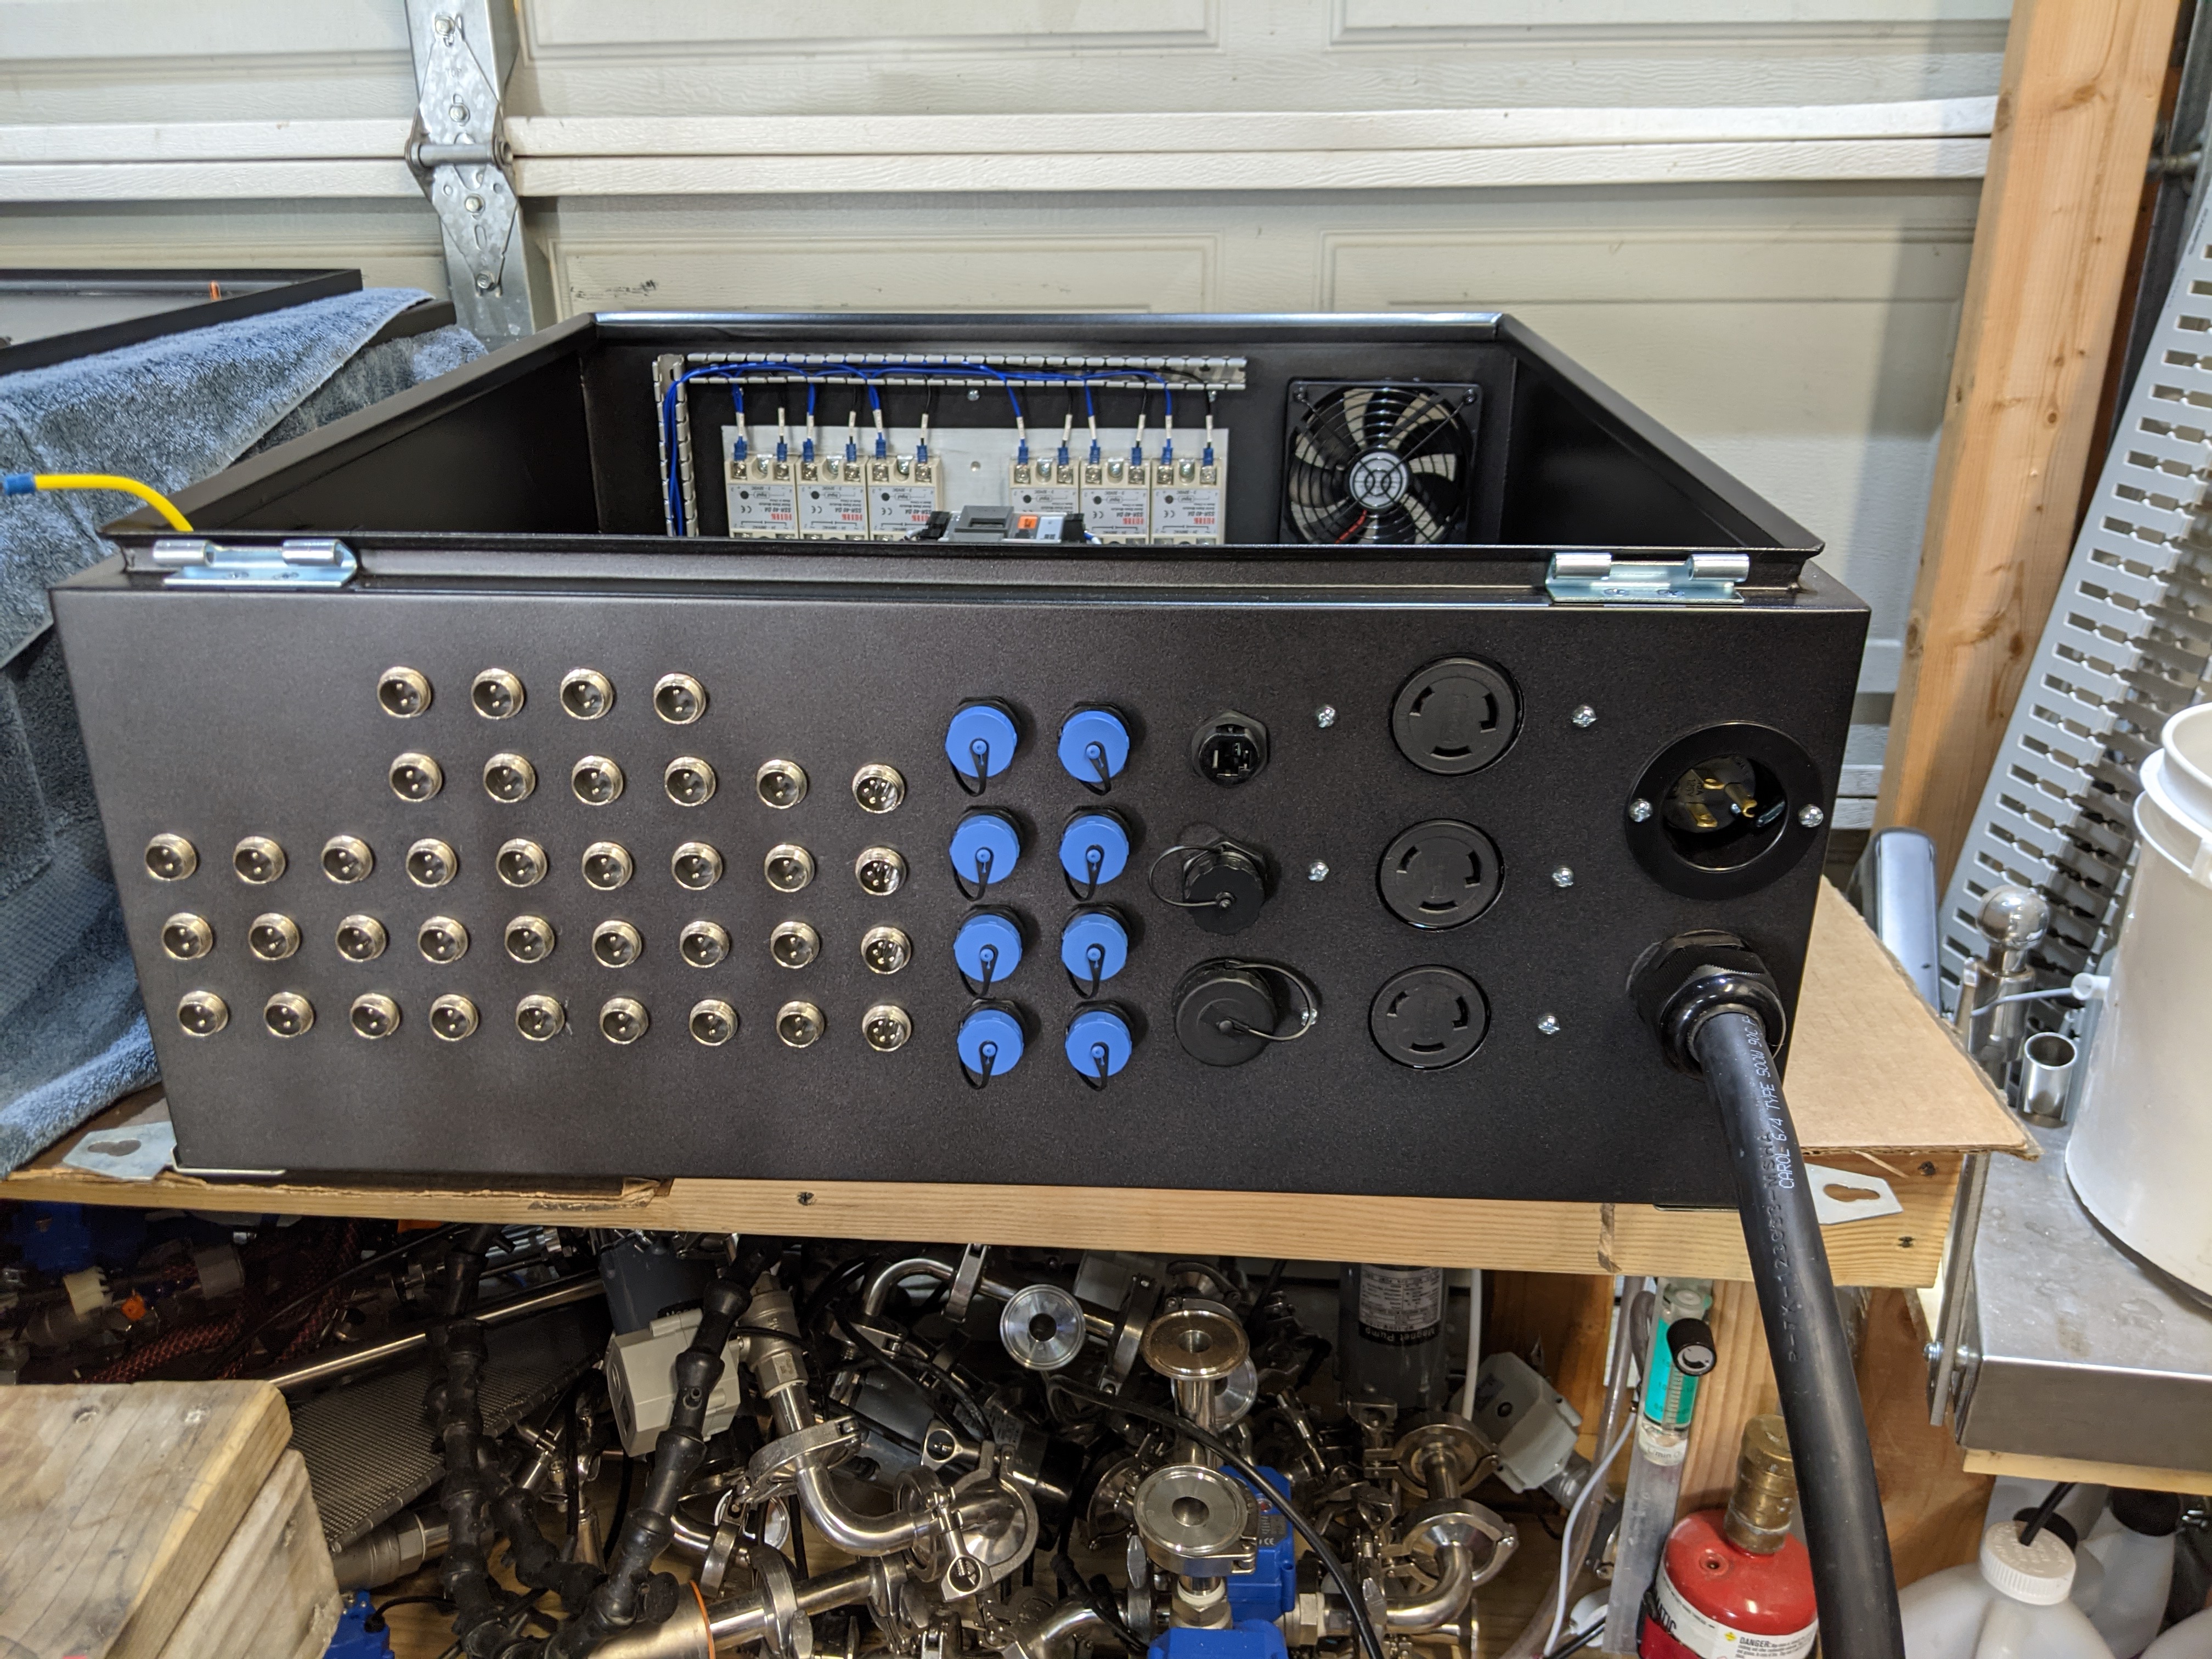
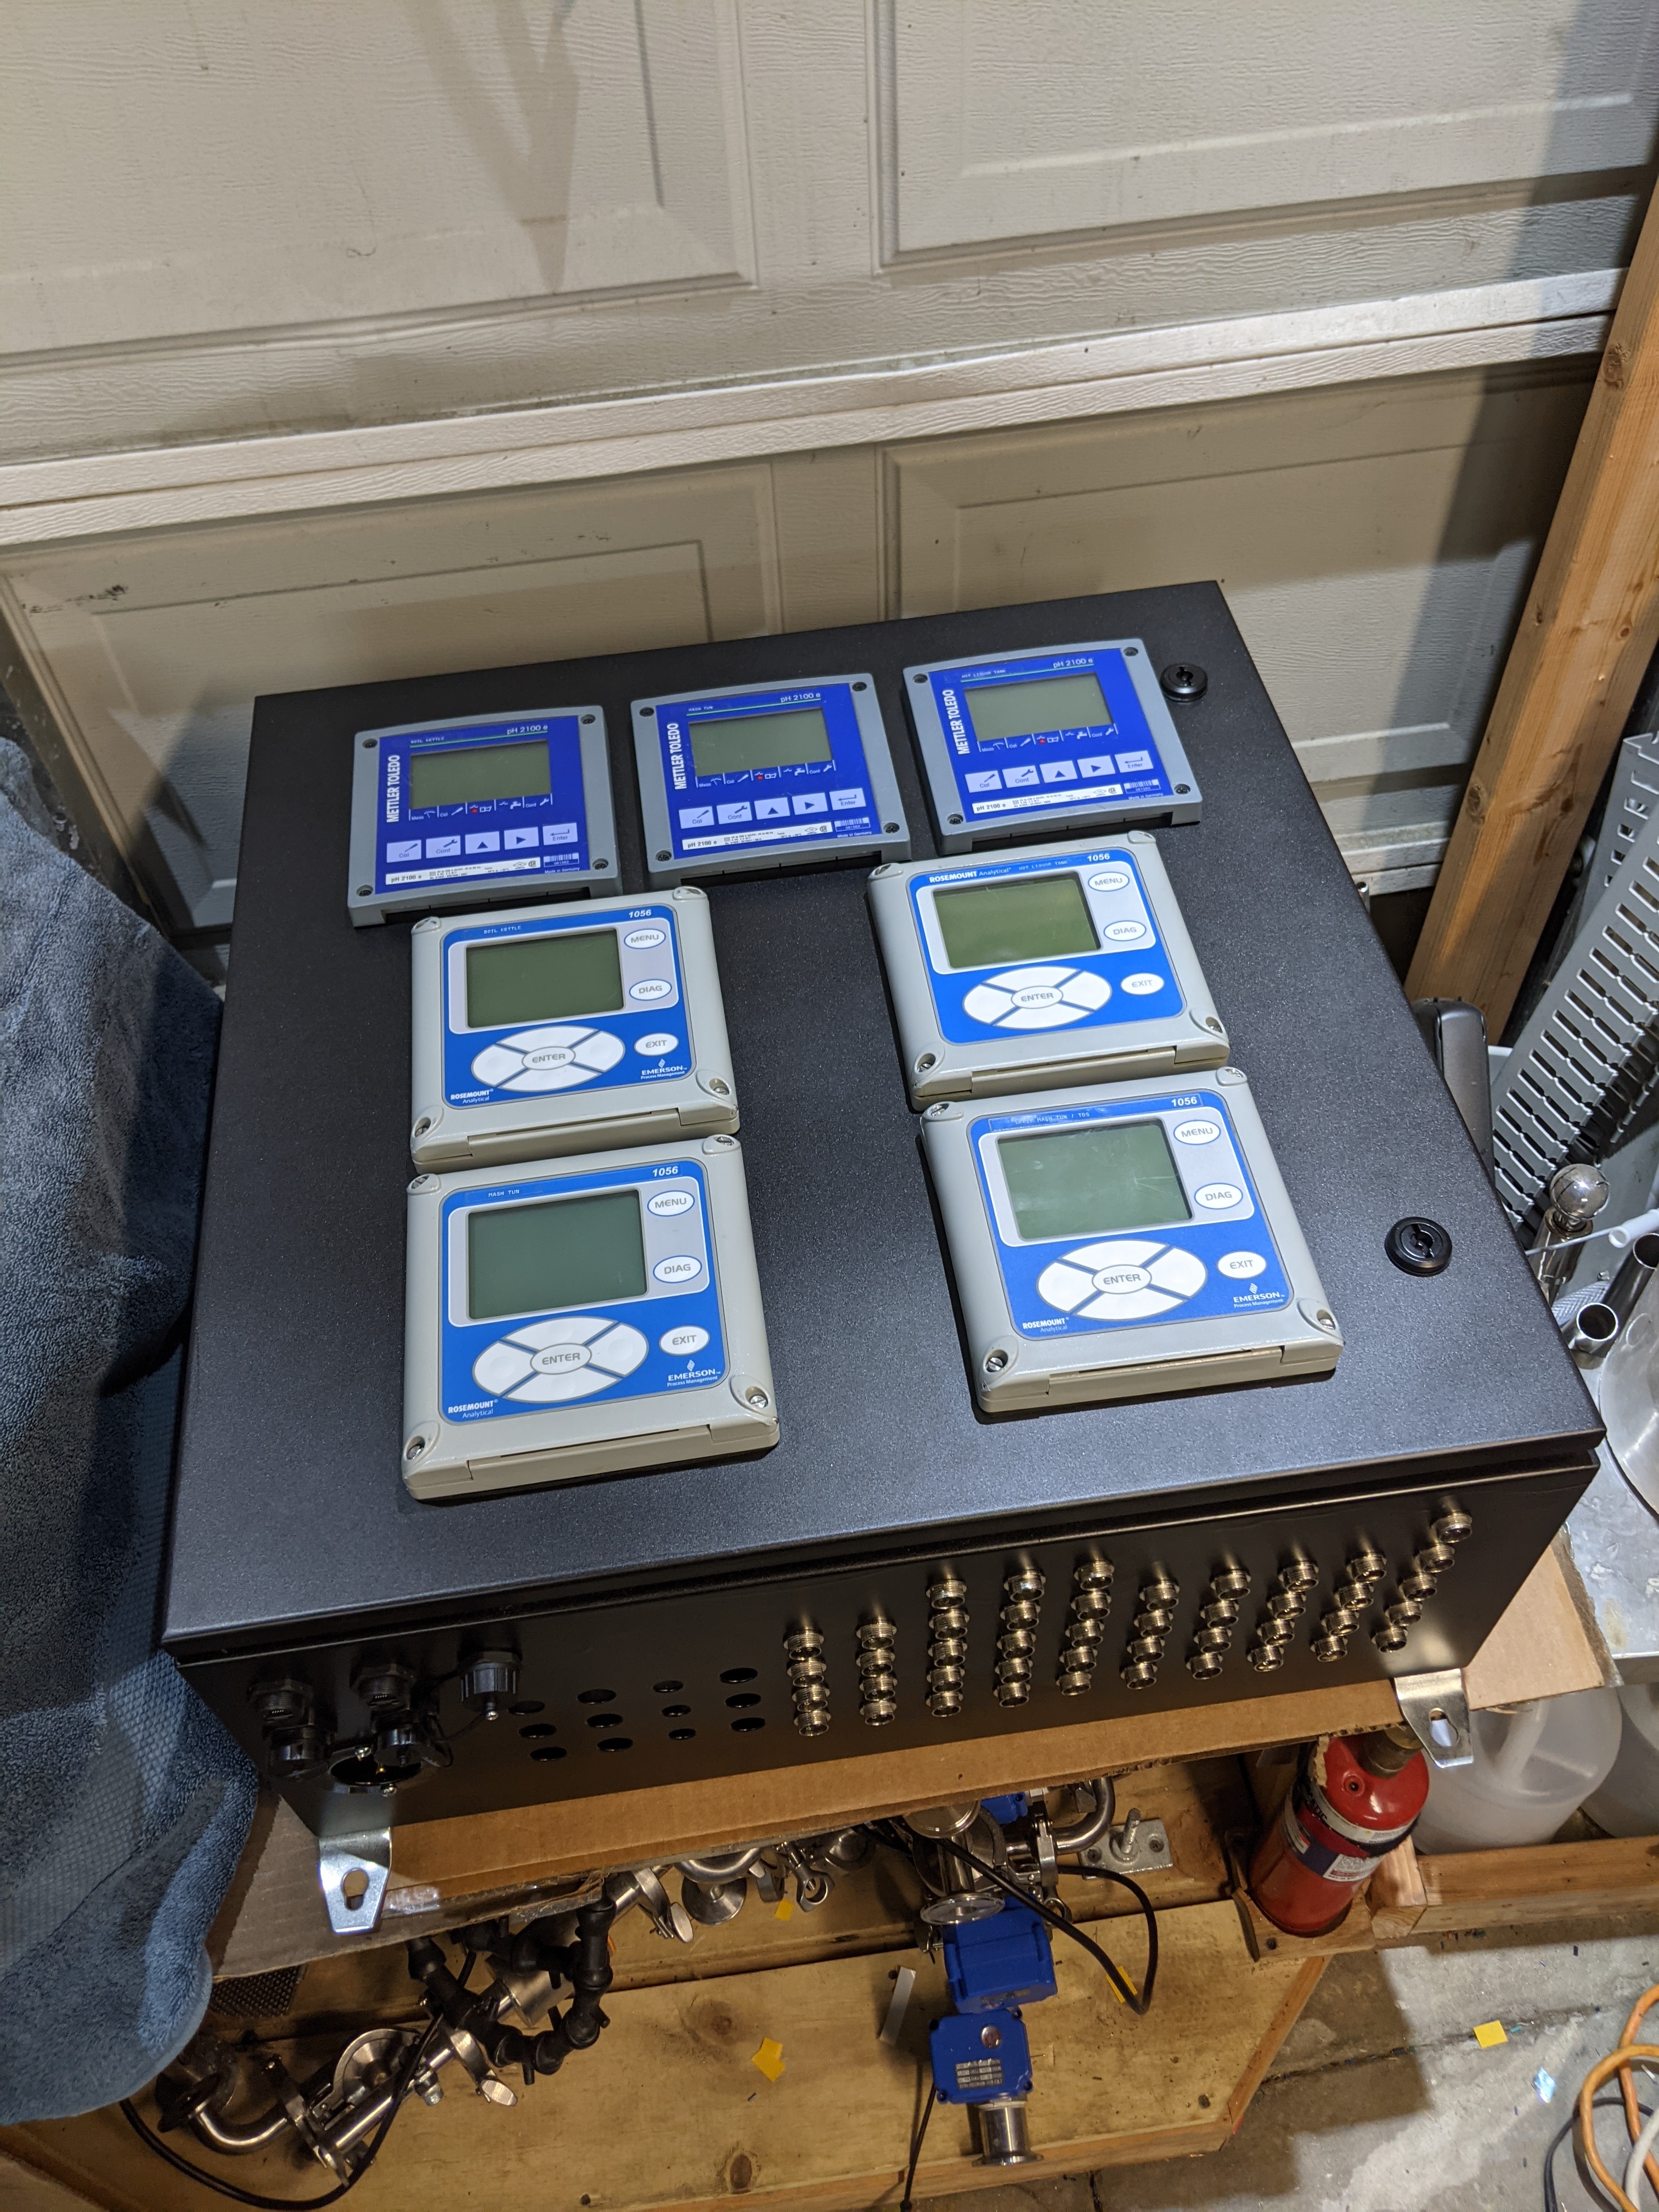
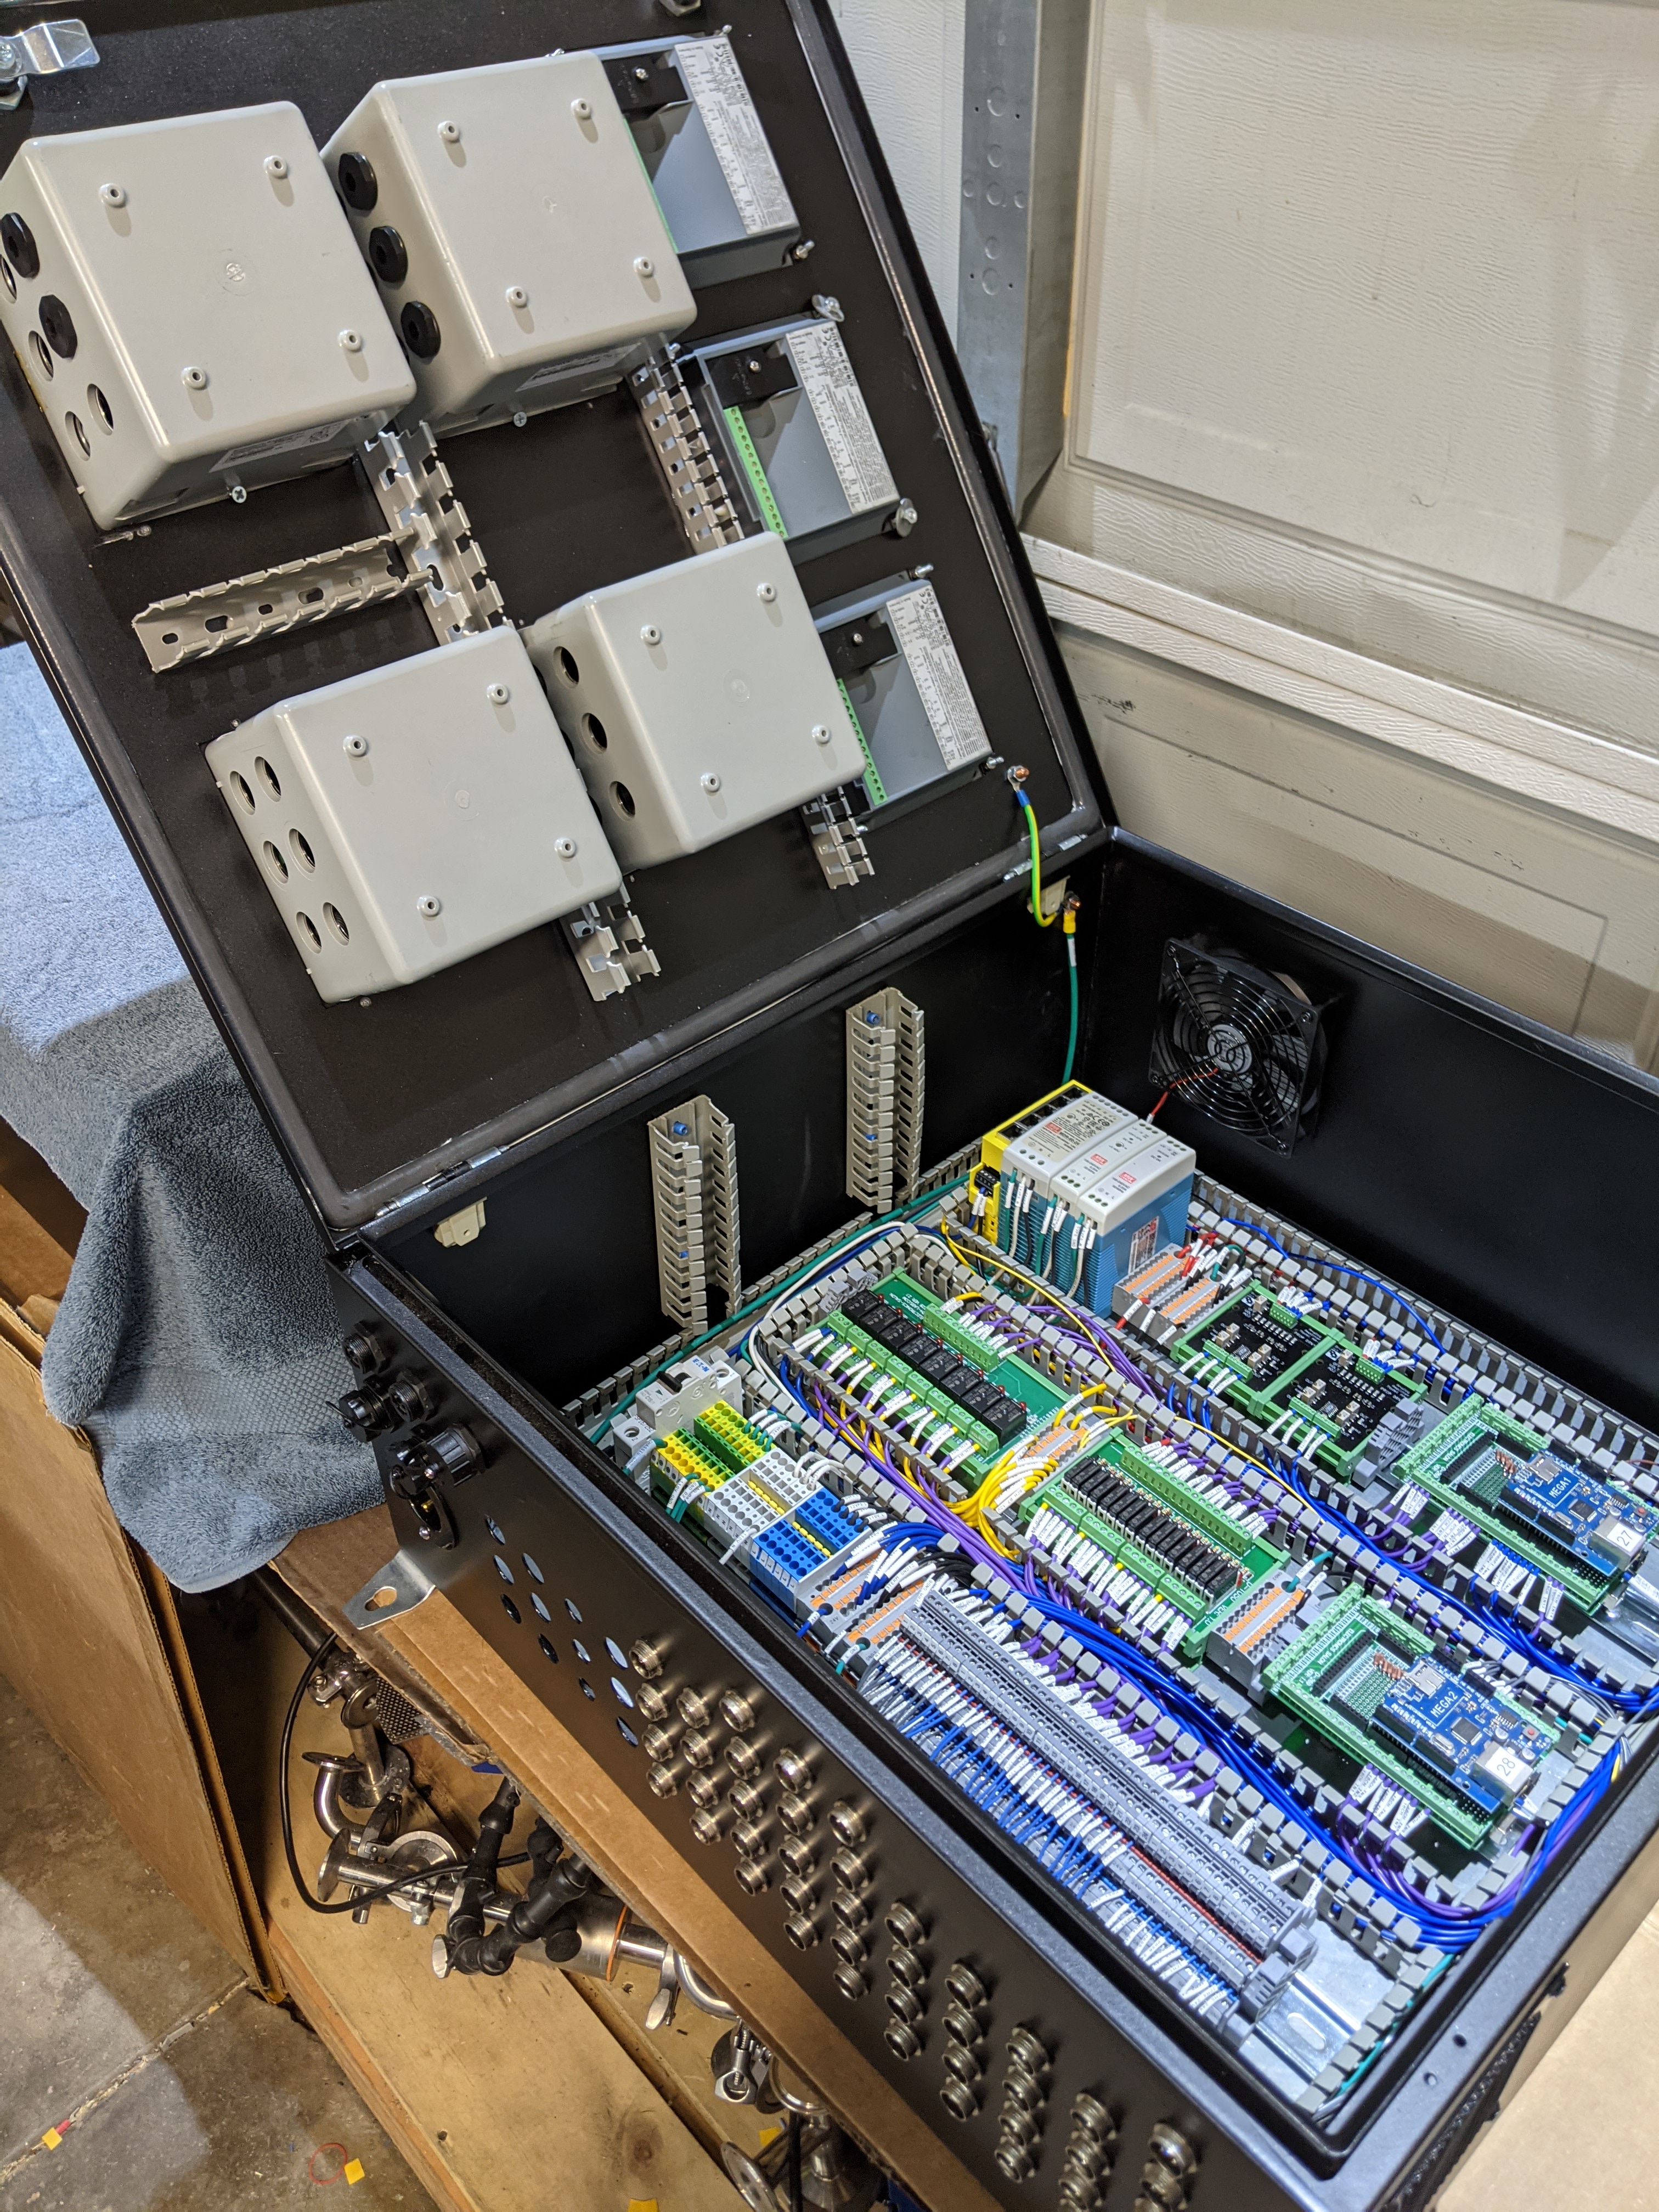
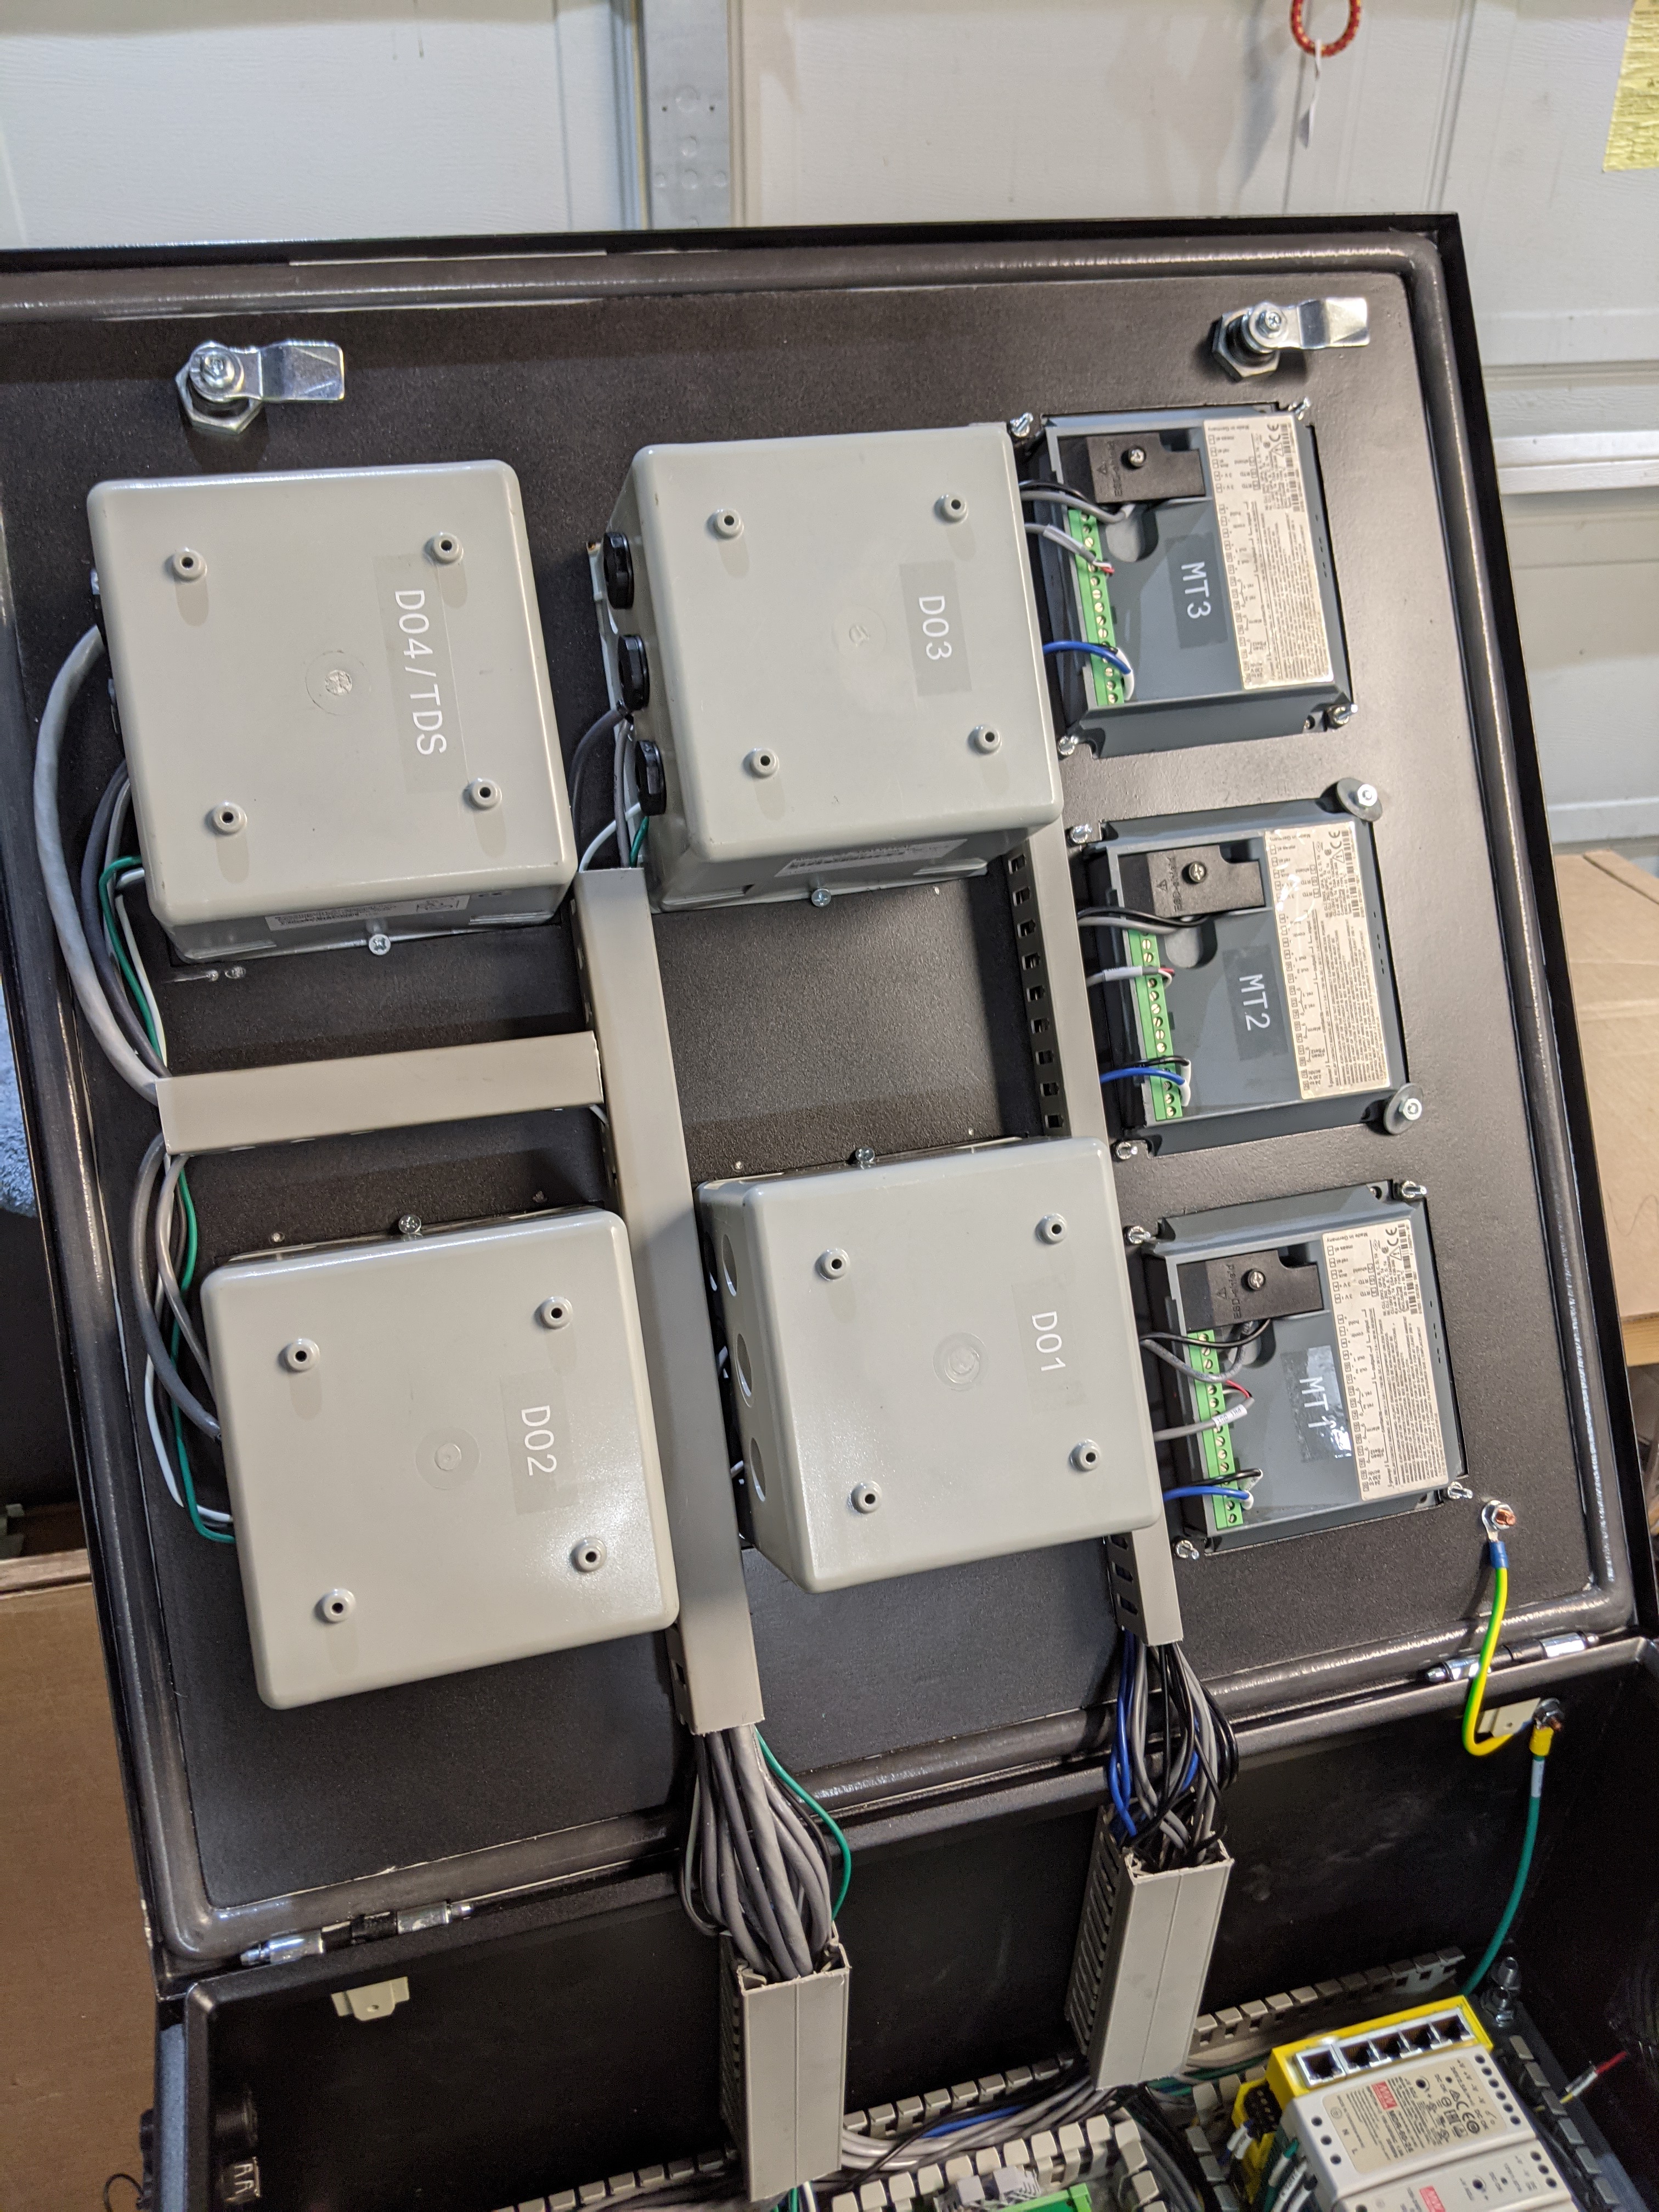
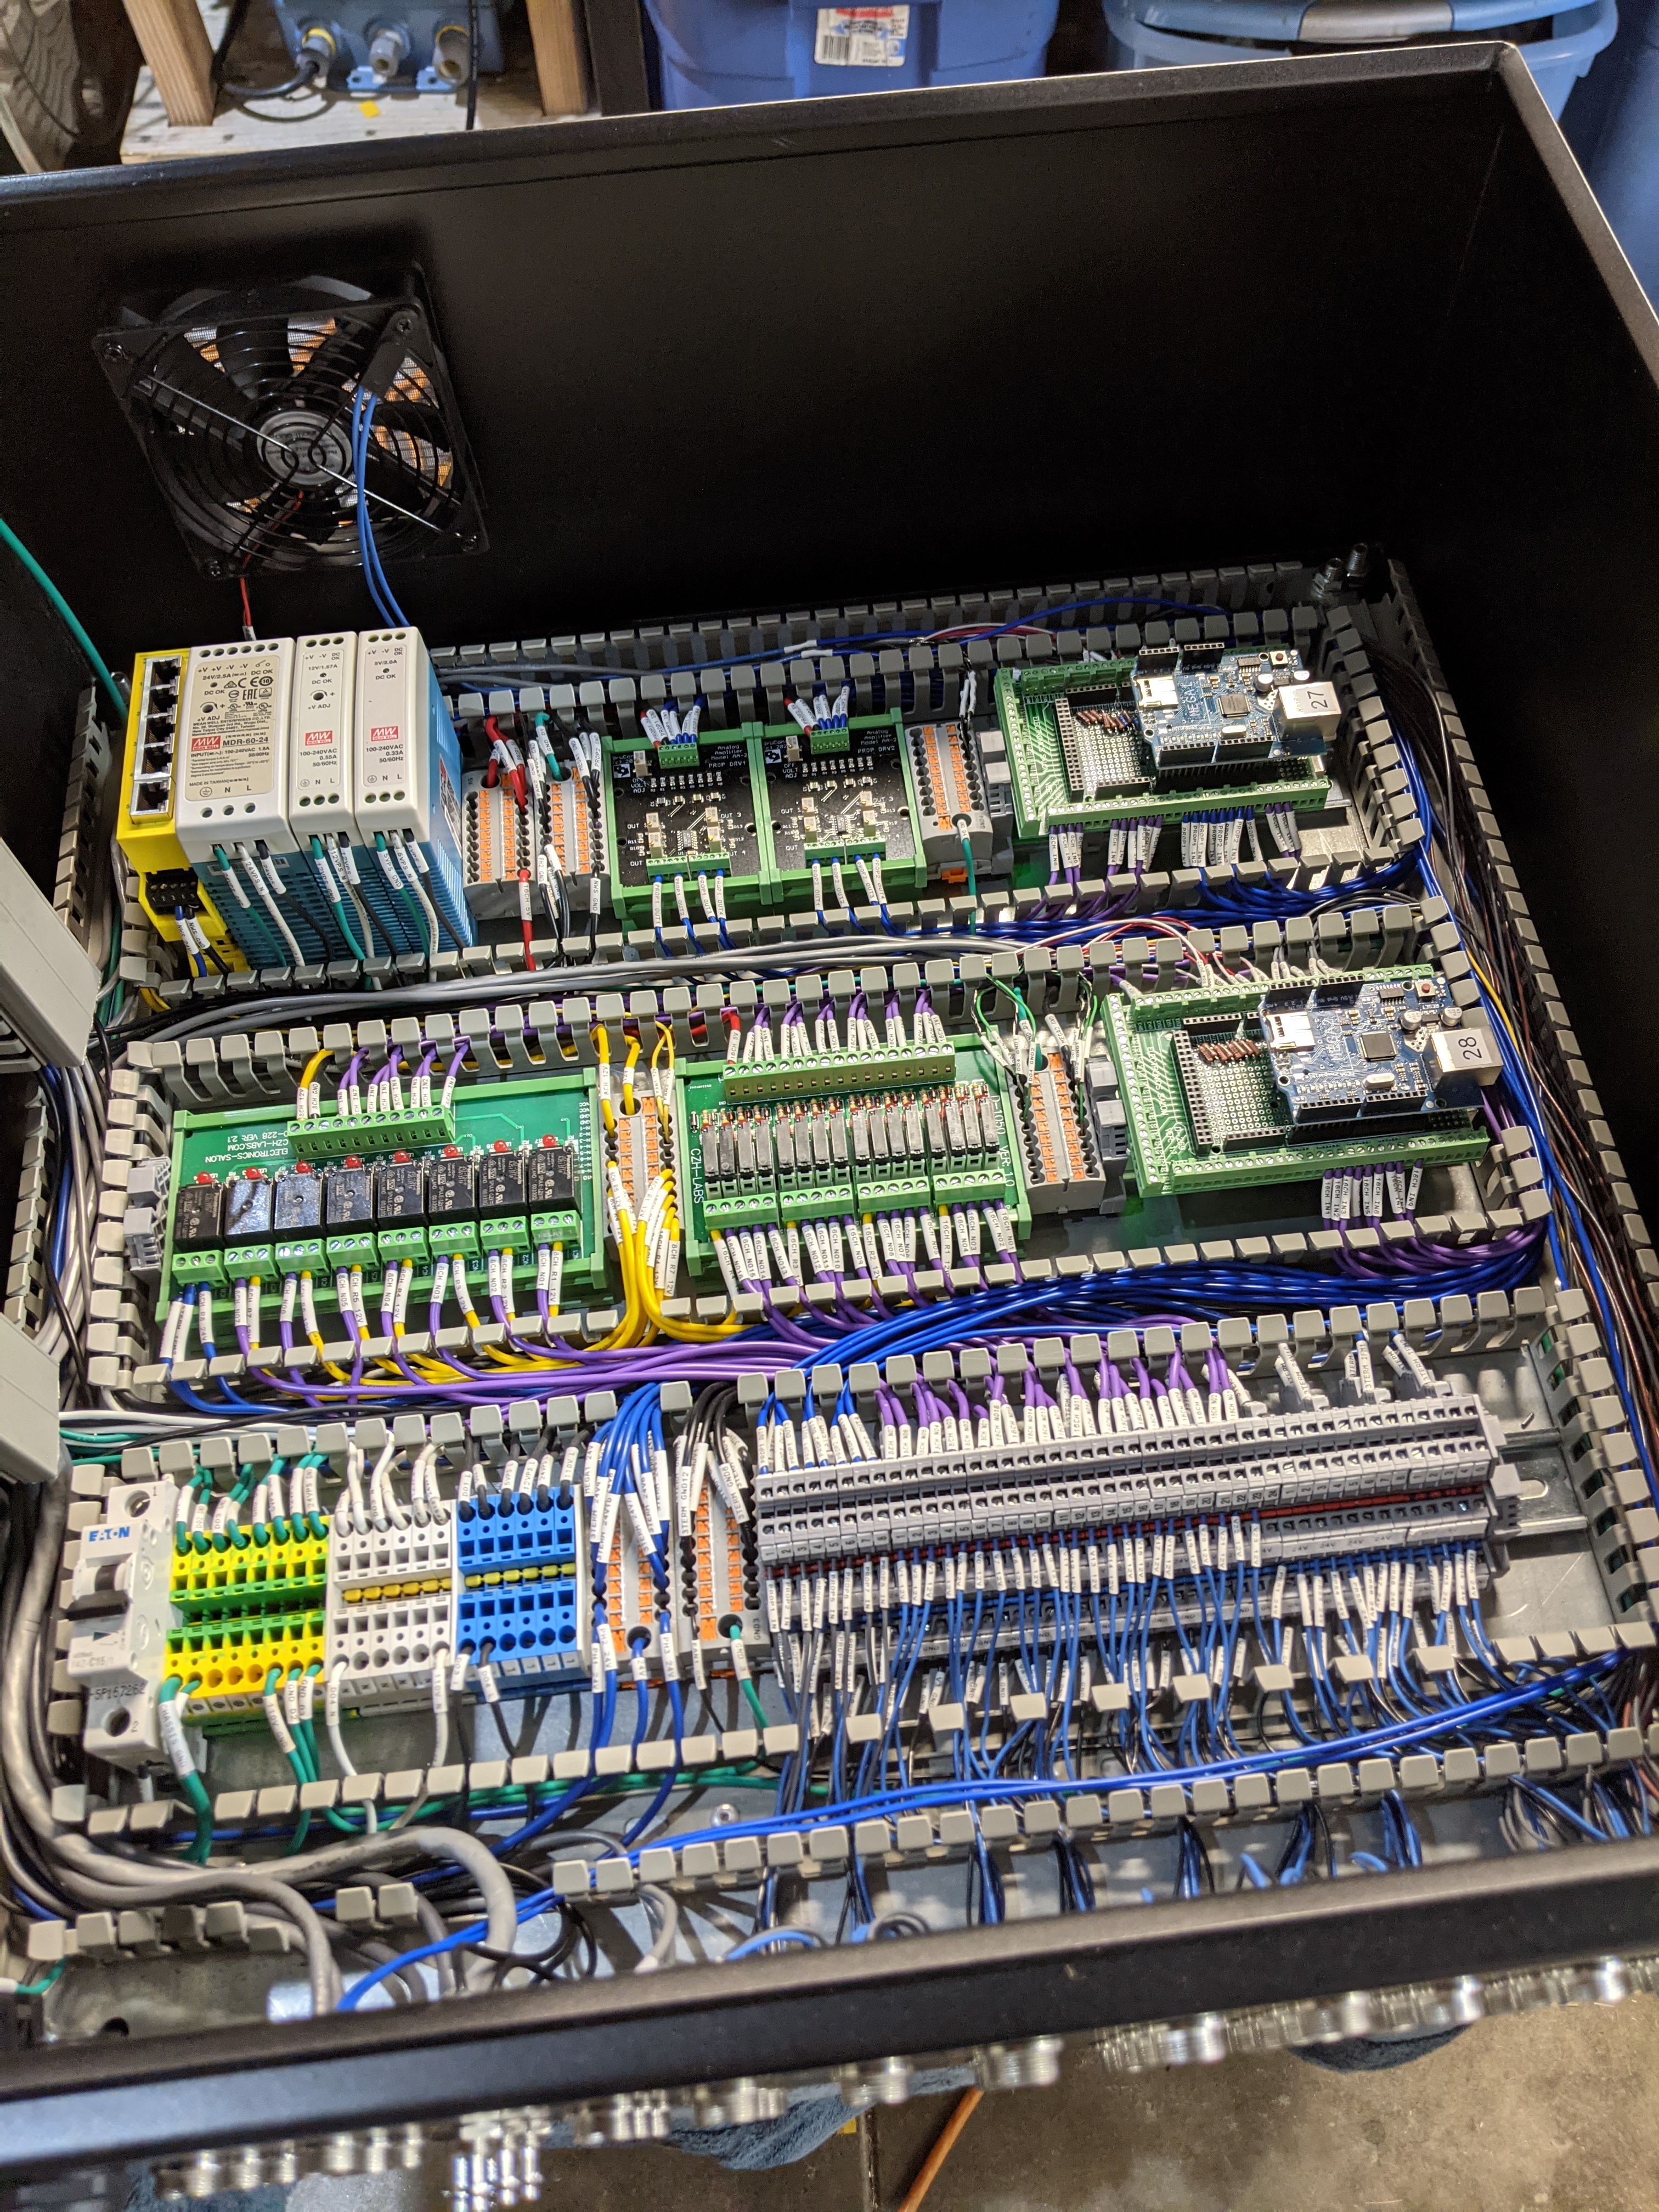
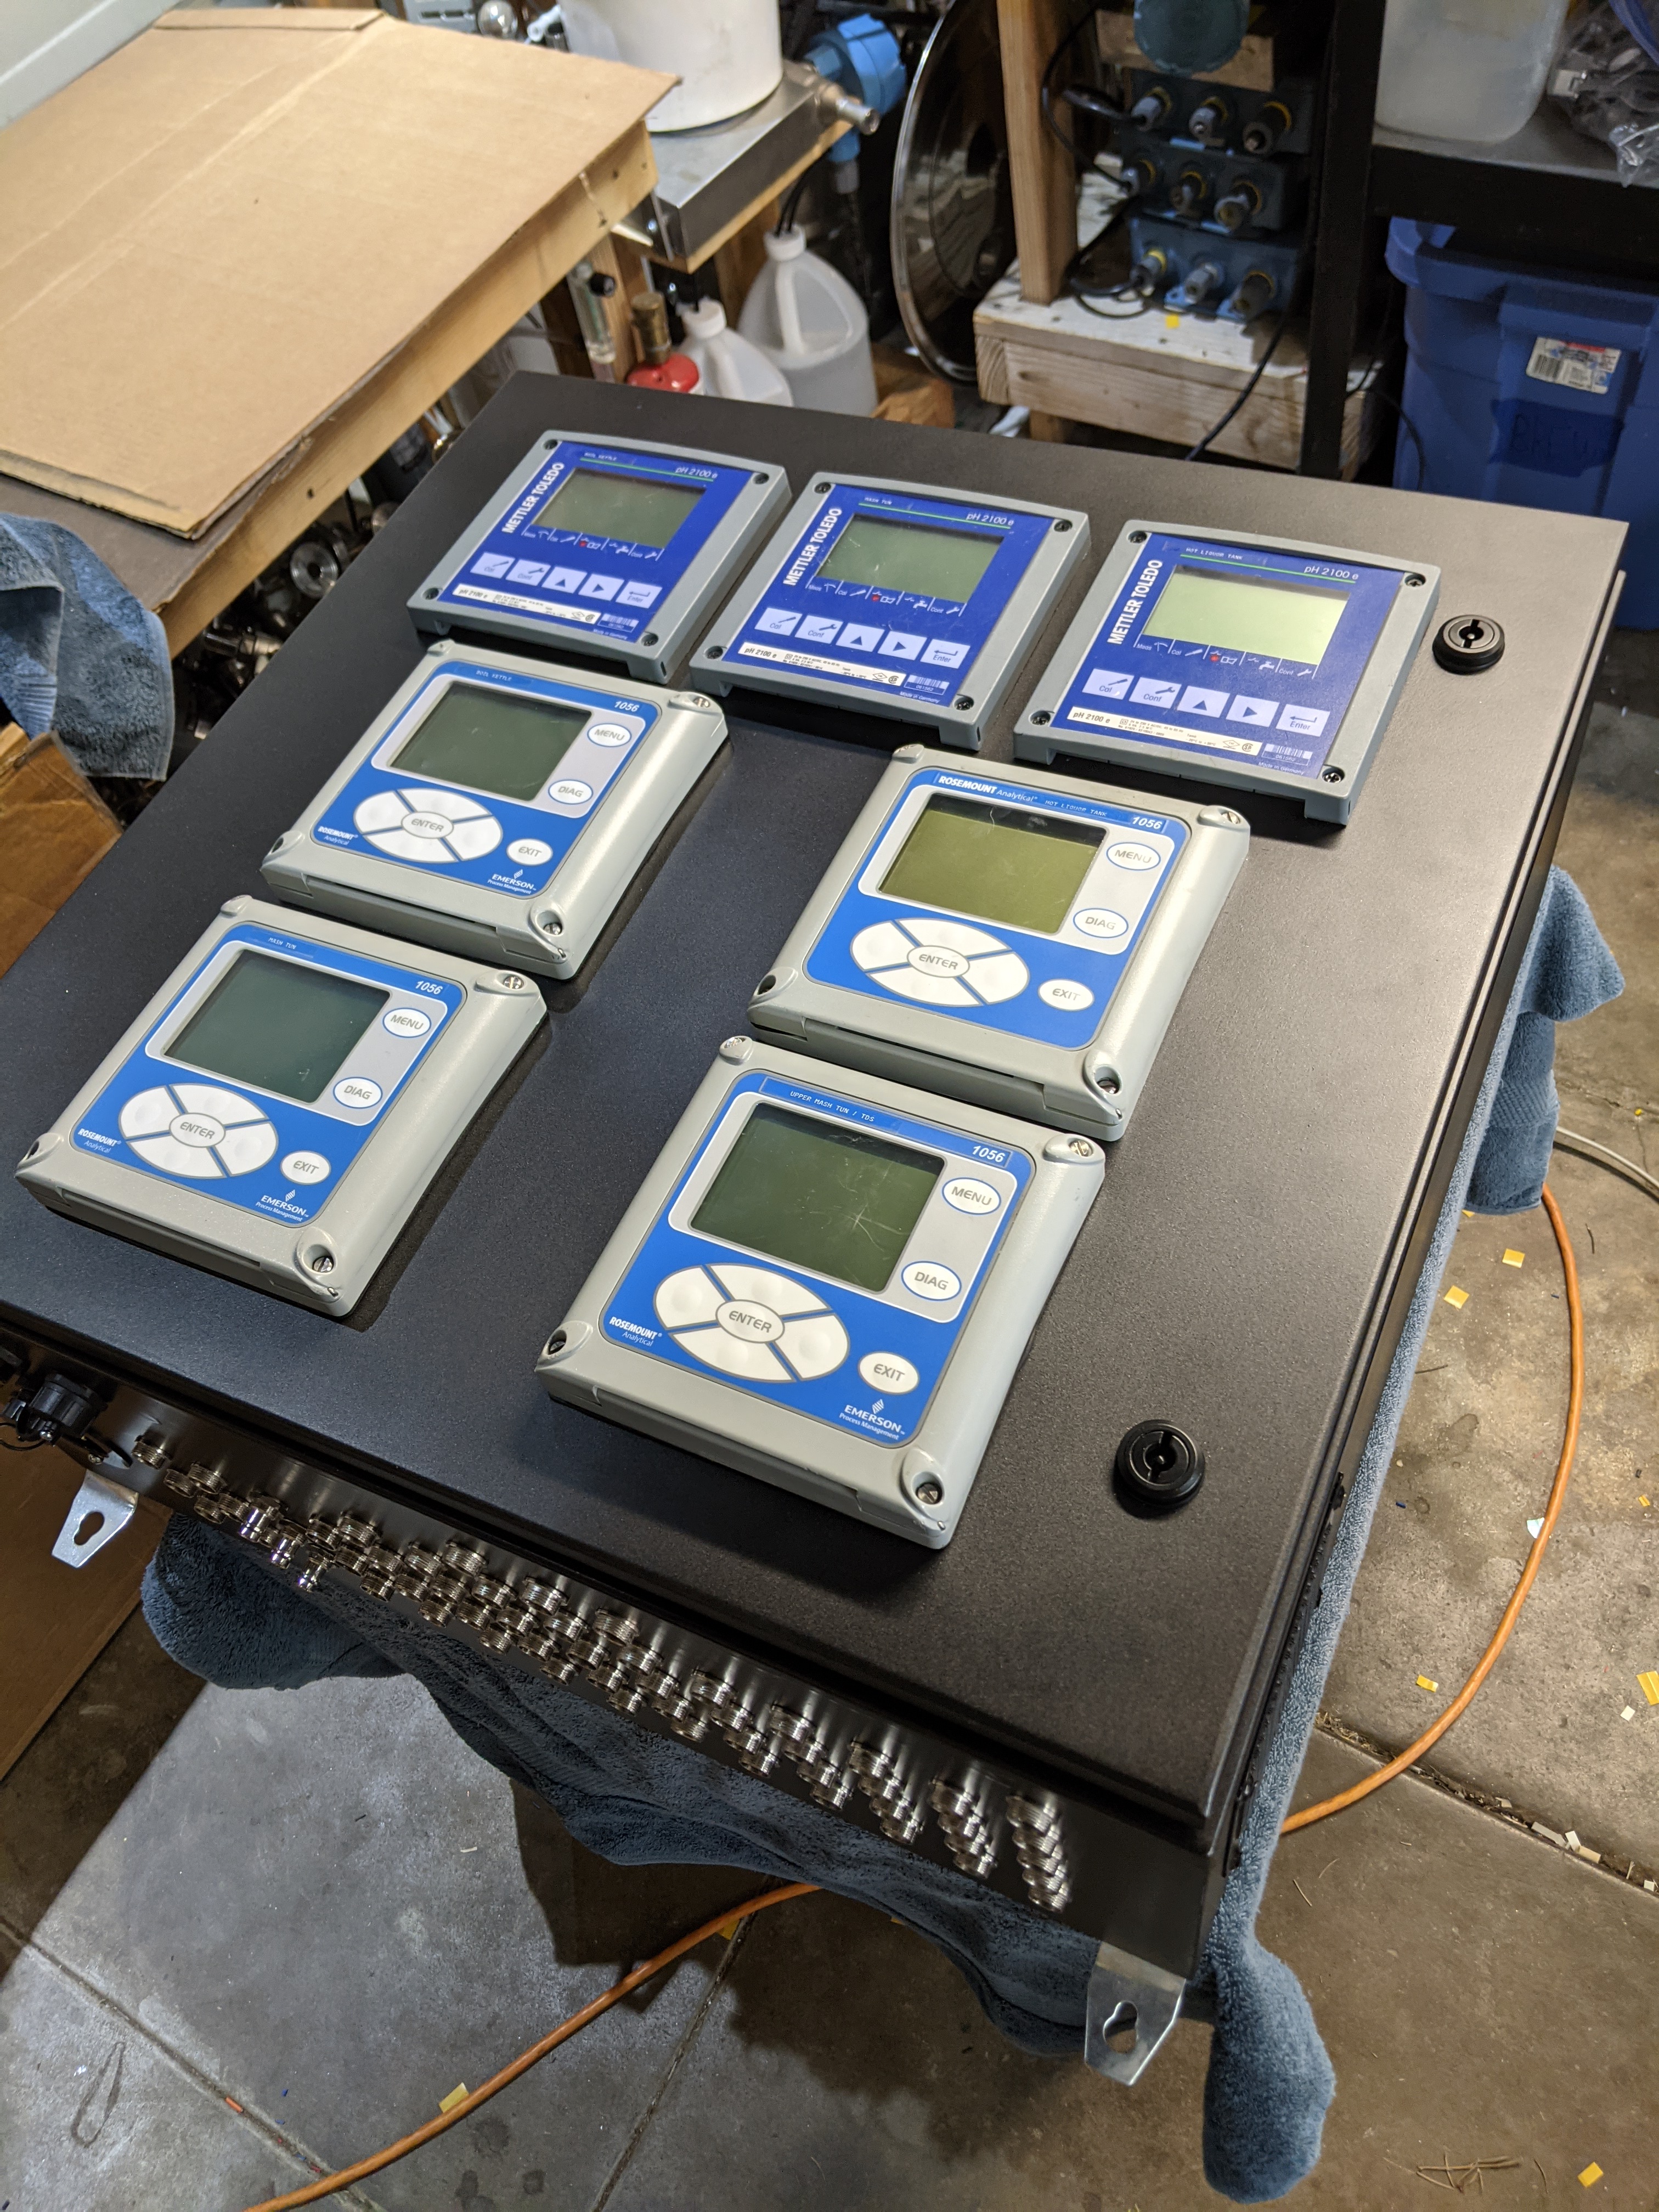
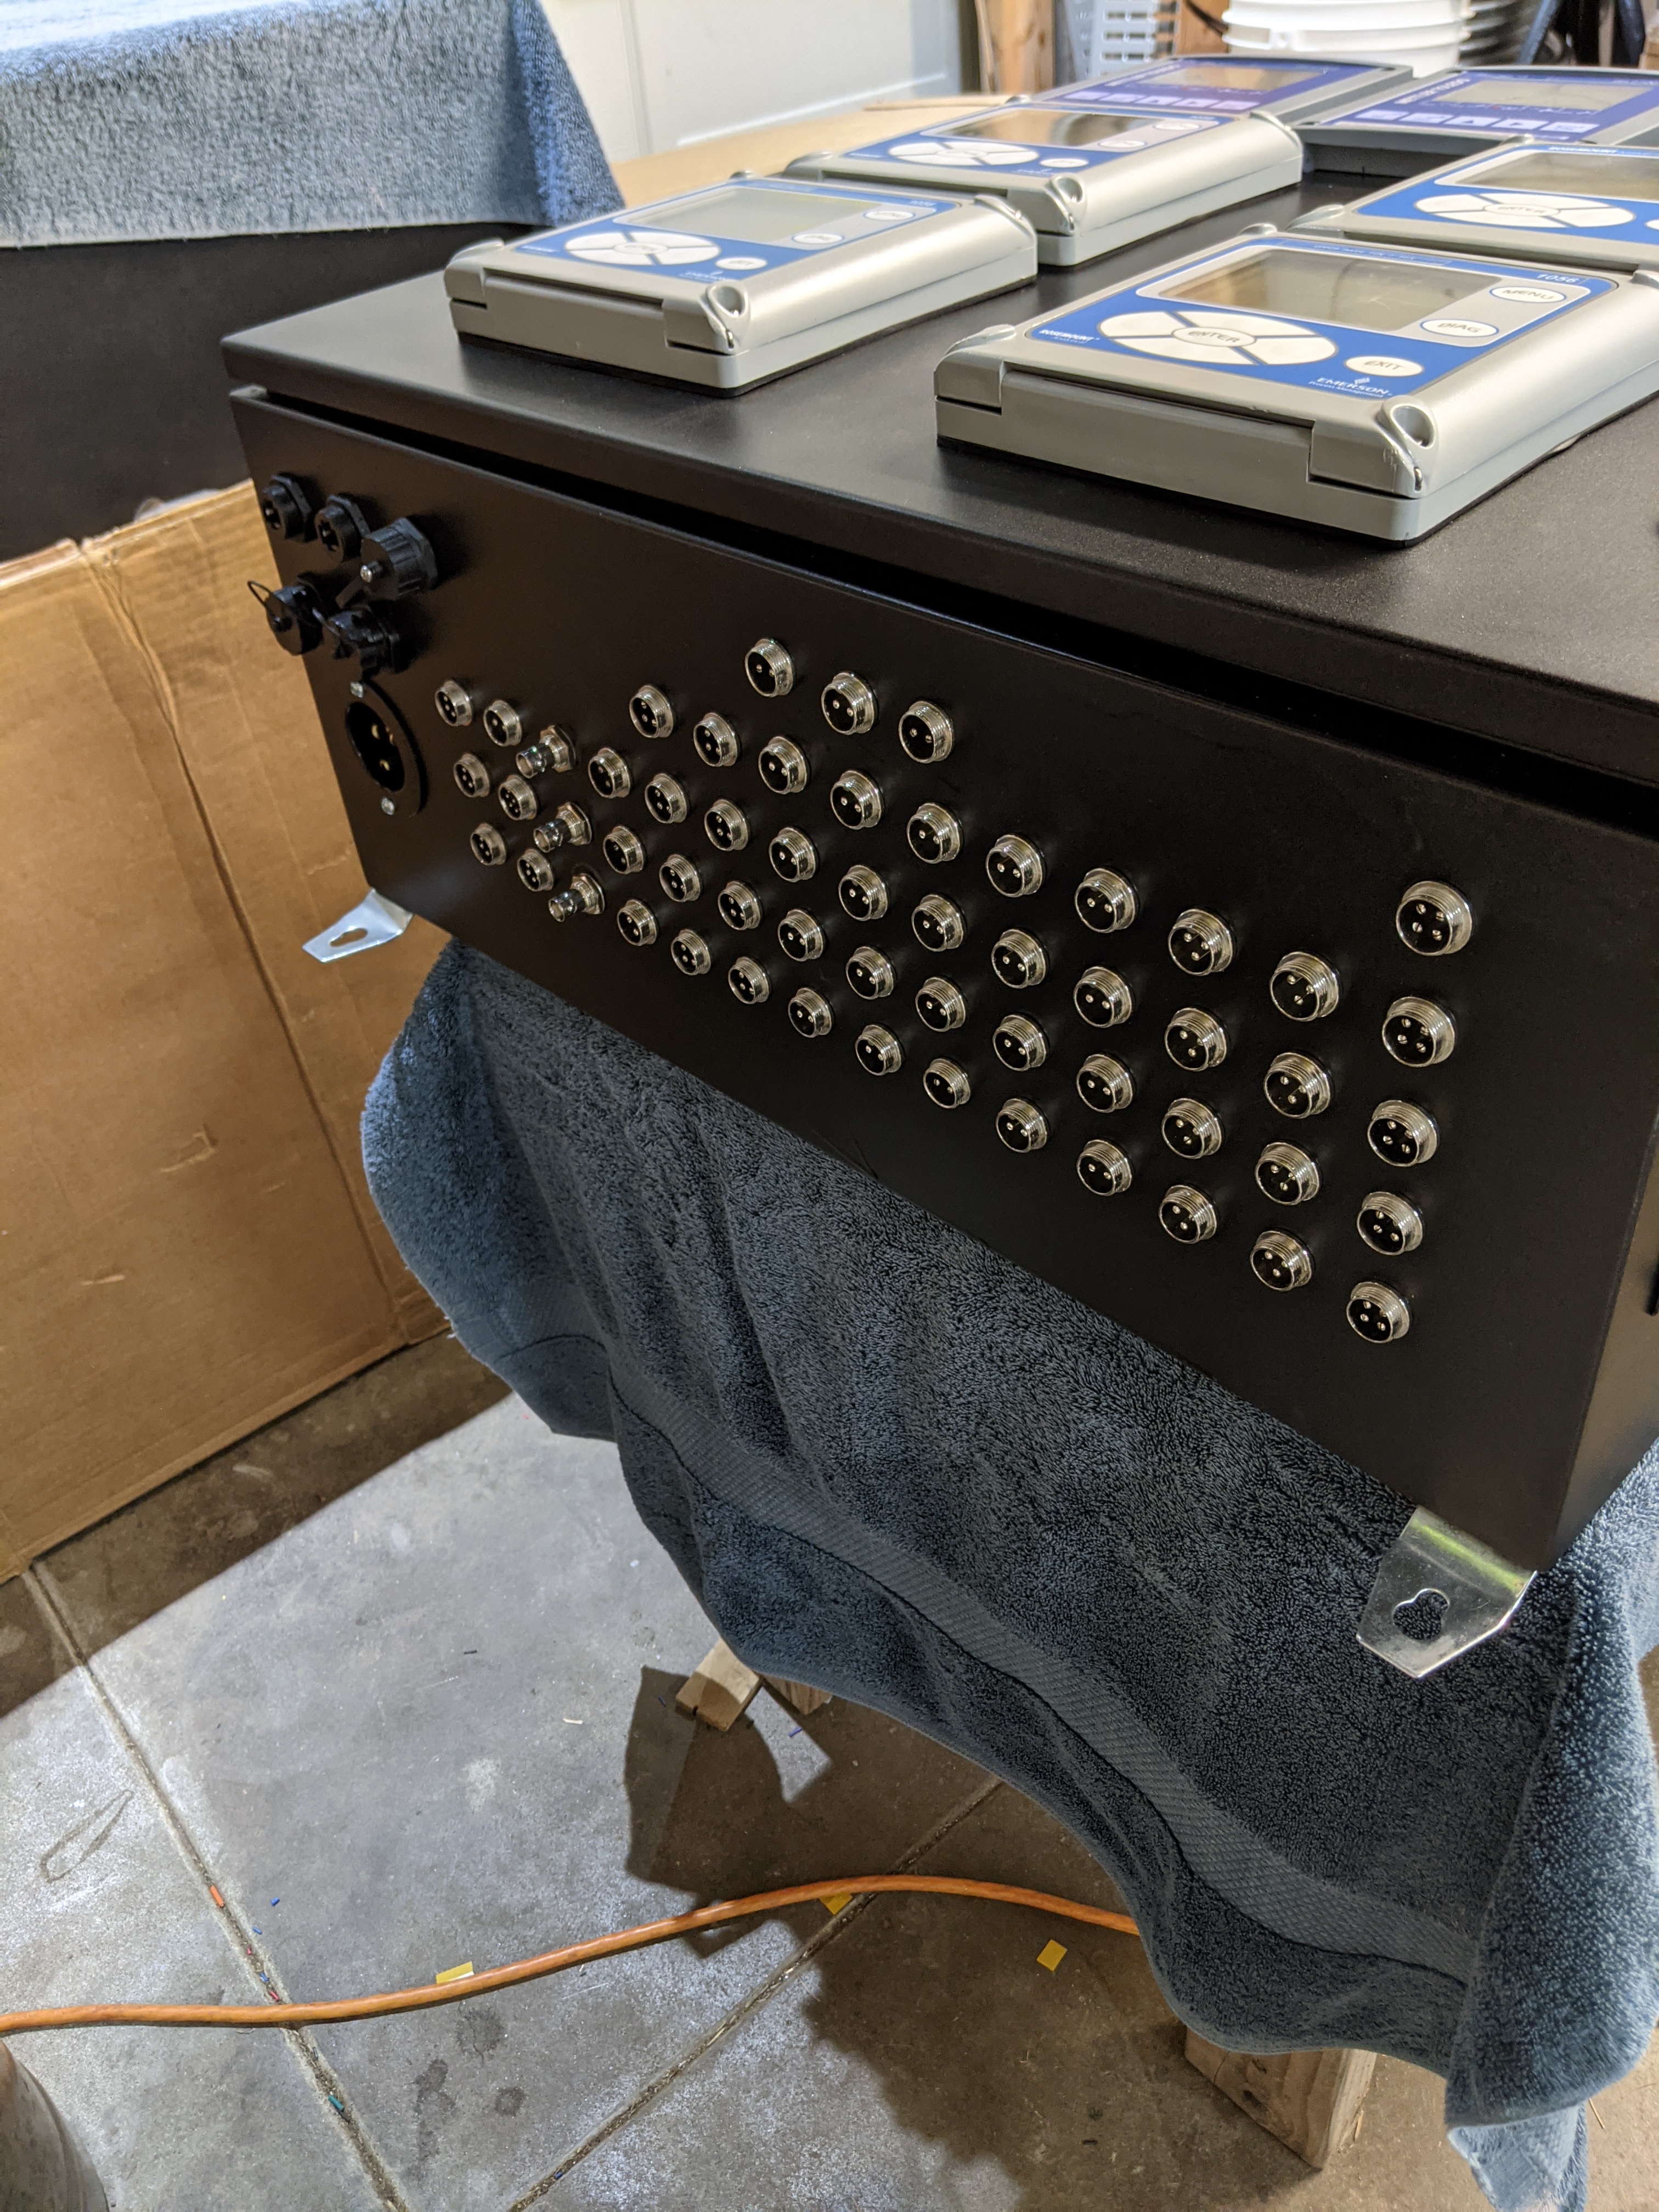
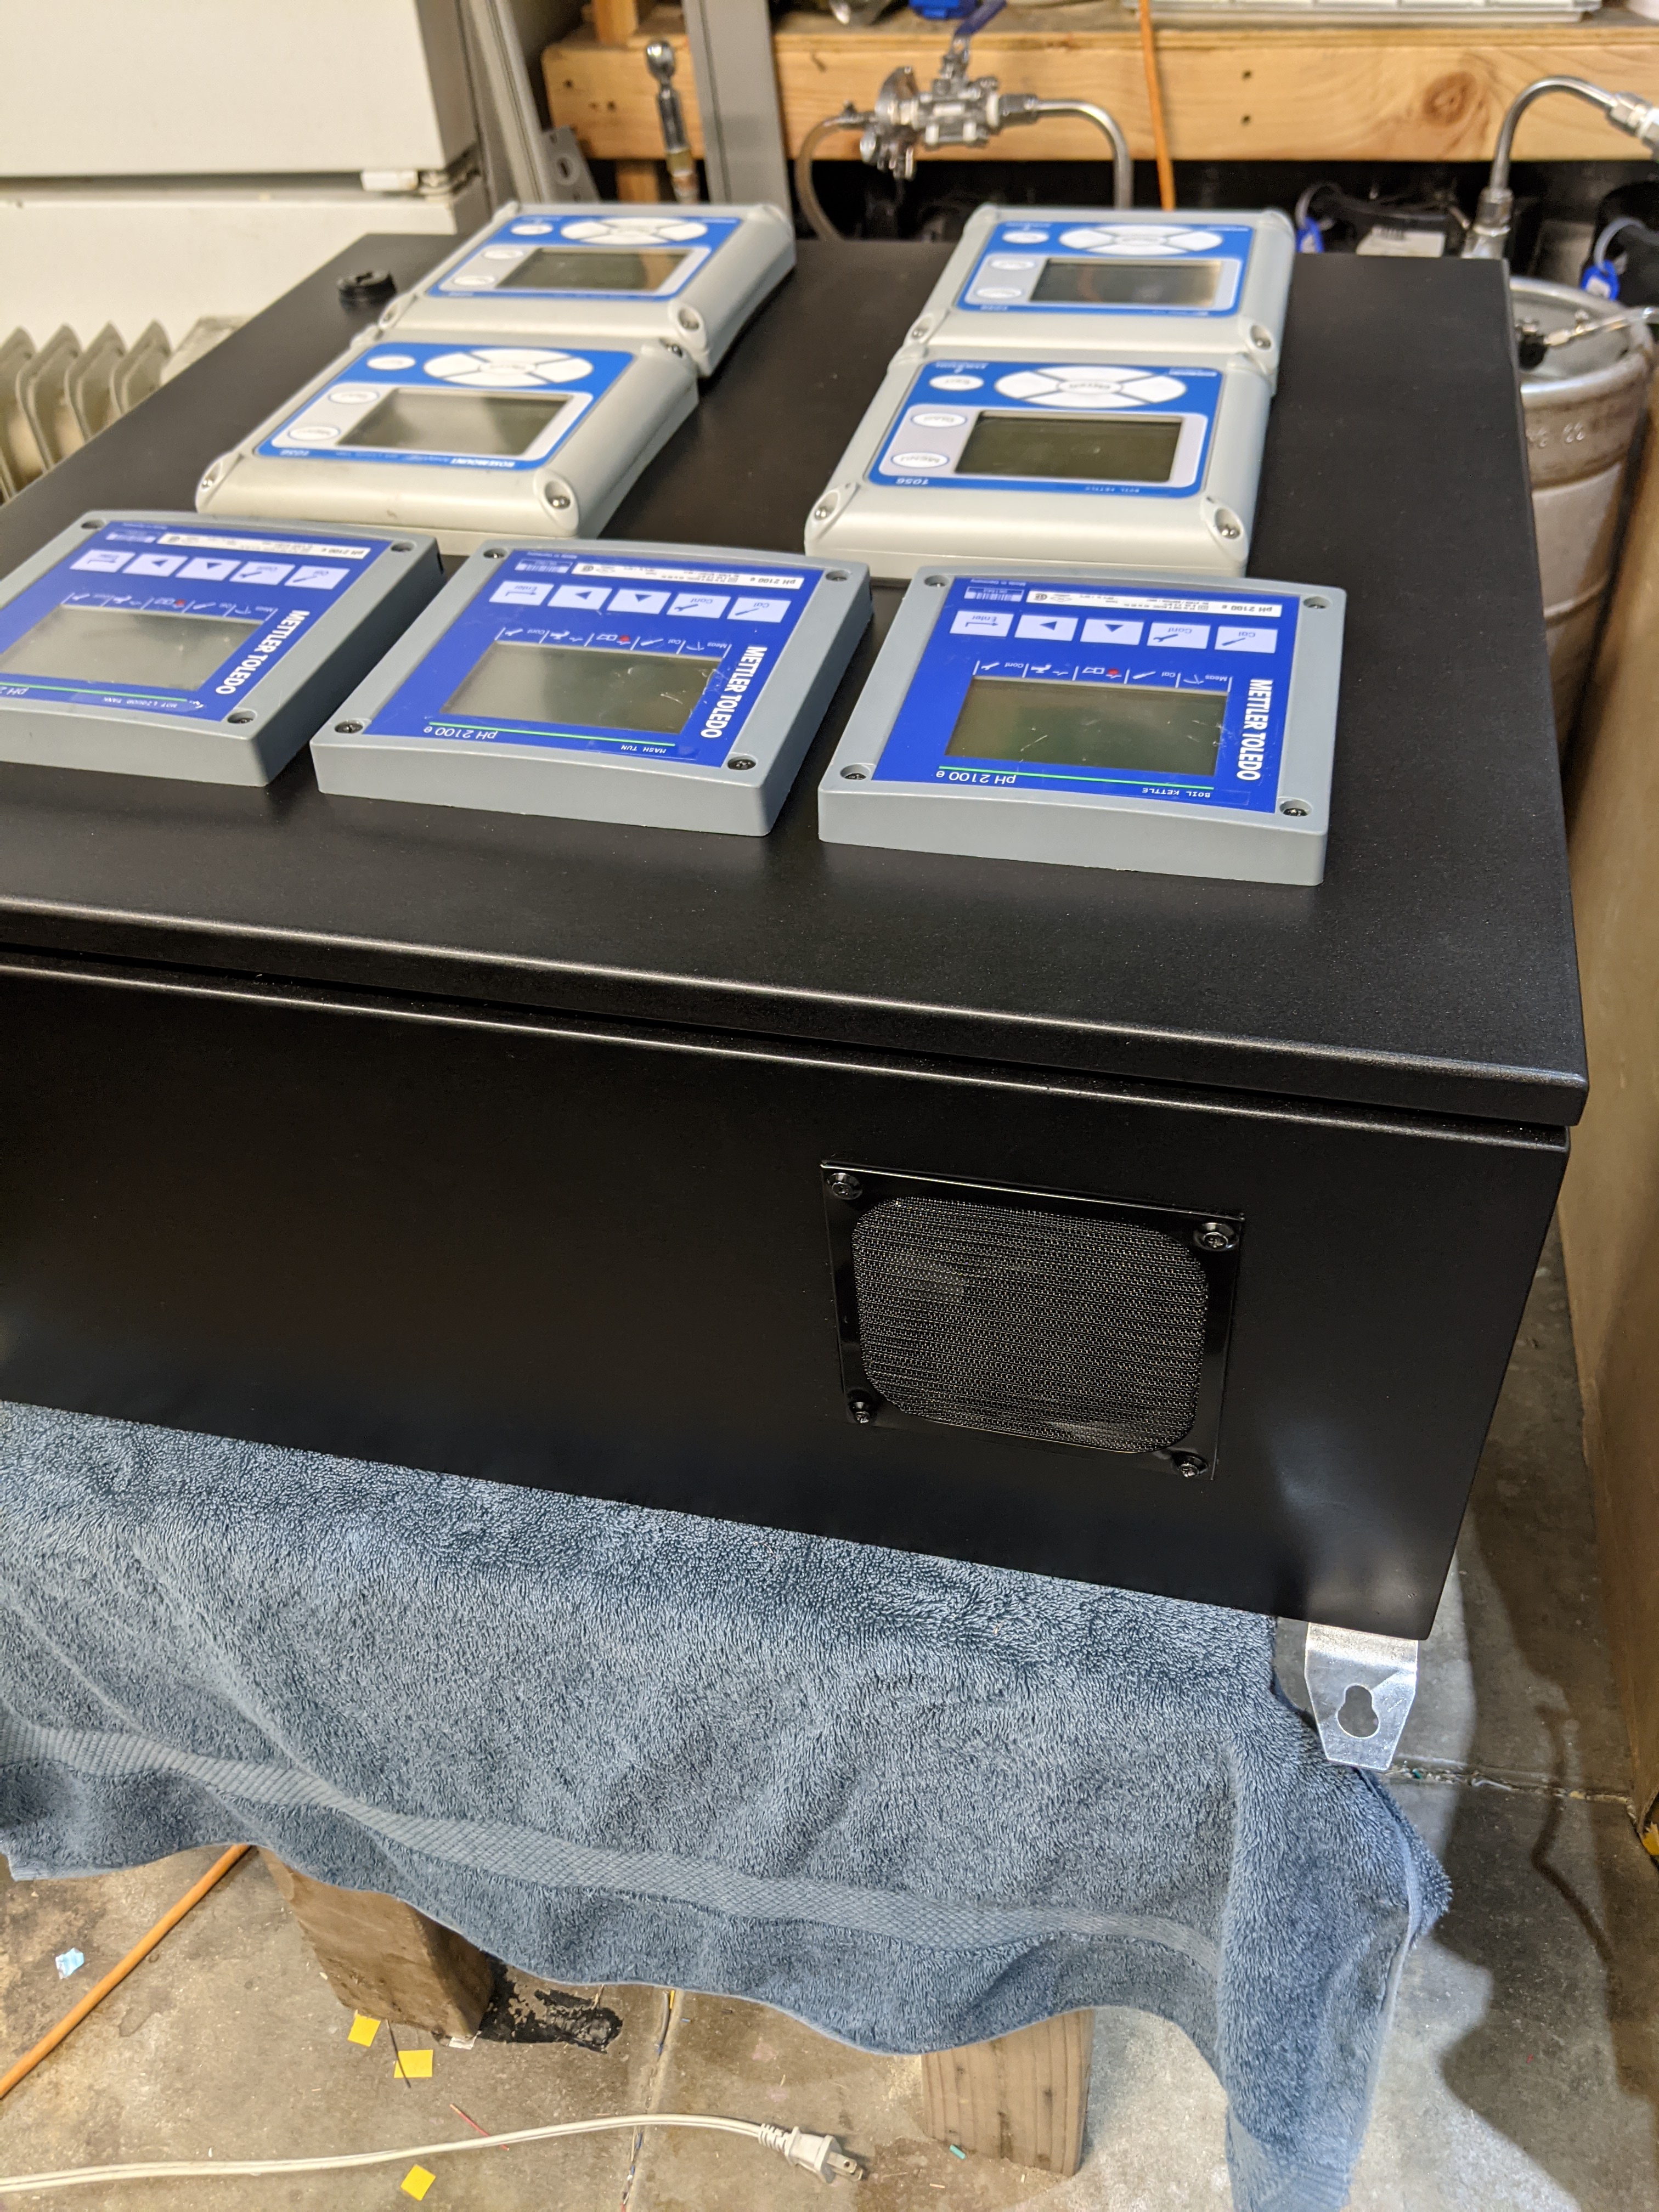
Making some progress on the control panels build.
IMG_20210109_152911_641.jpg
IMG_20210112_174806_627.jpg
PXL_20210110_032321420.jpg
 
Last edited:
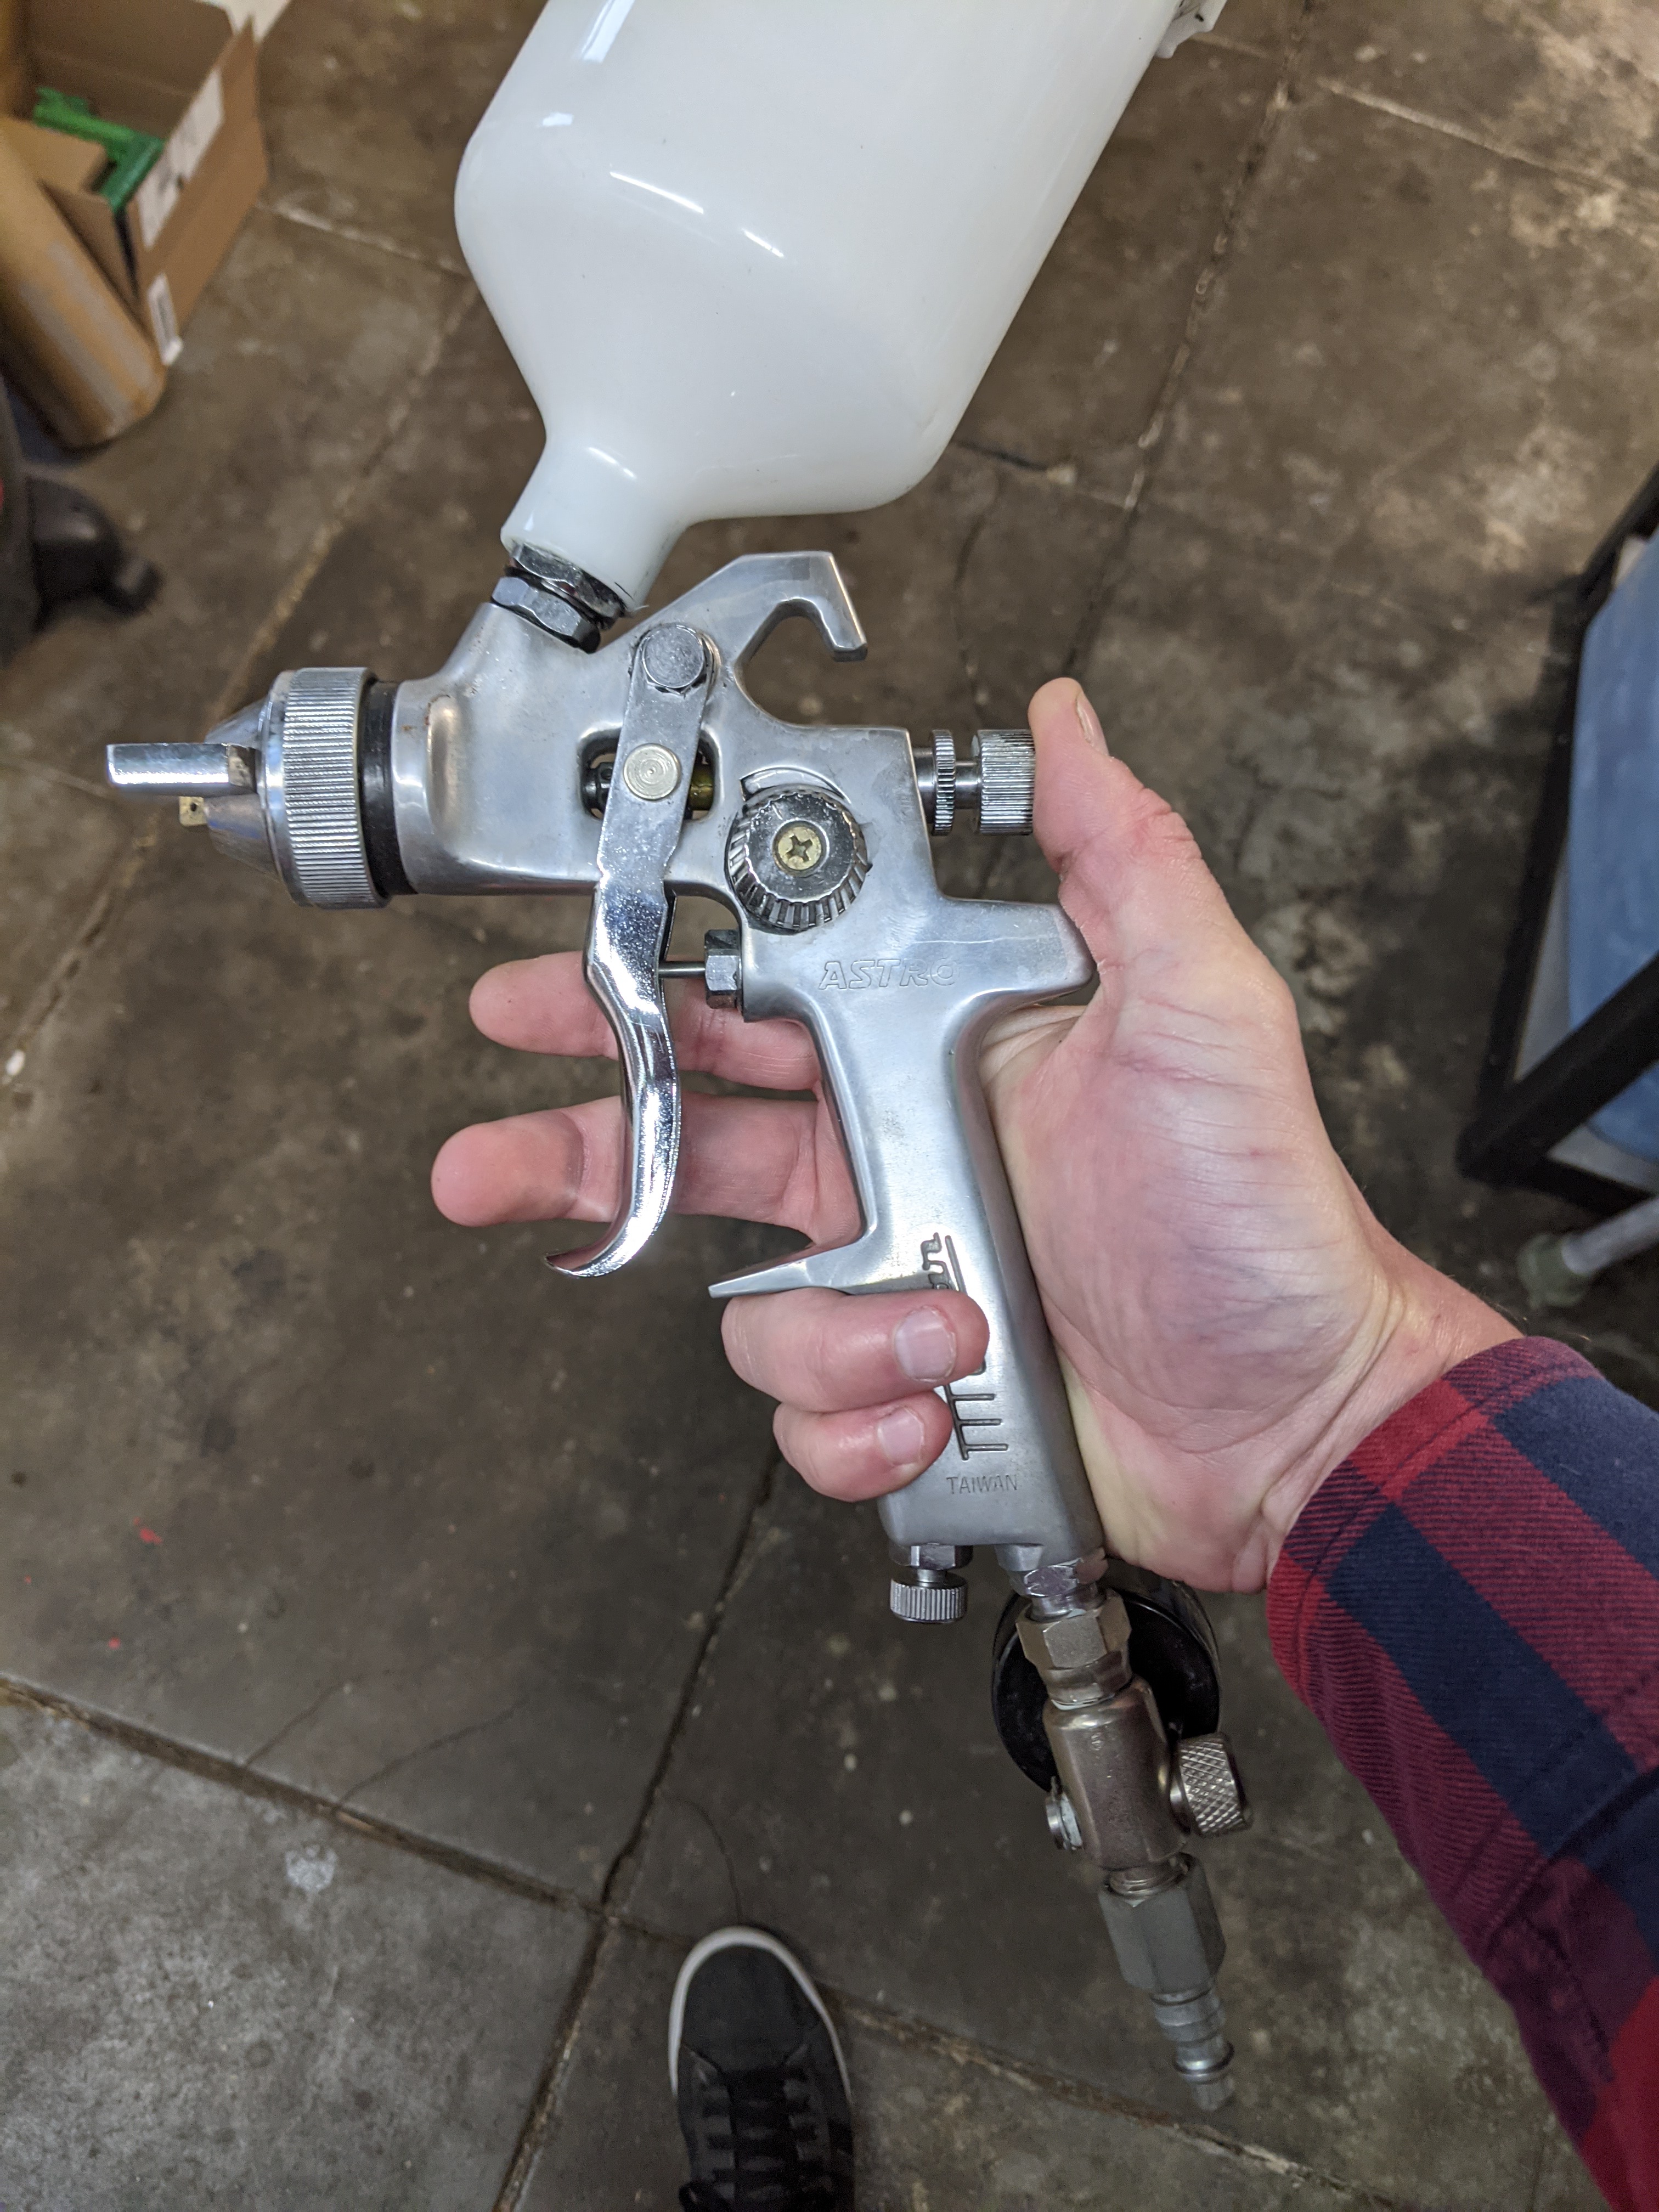
With 2 large enclosures the amount of spray paint cans needed for a couple decent coats becomes rather obnoxious and is getting into the price range of a quart of car paint. I bought this paint gun almost 20 years ago when I built a dune buggy. I figured I should use it at least once every 20 years. Let's see how this goes.

PXL_20210122_010658727.jpg
 
Nice! I am loving the progress! I get excited each time you post in here. I will be starting my build soon. The parts have started arriving this week!
 
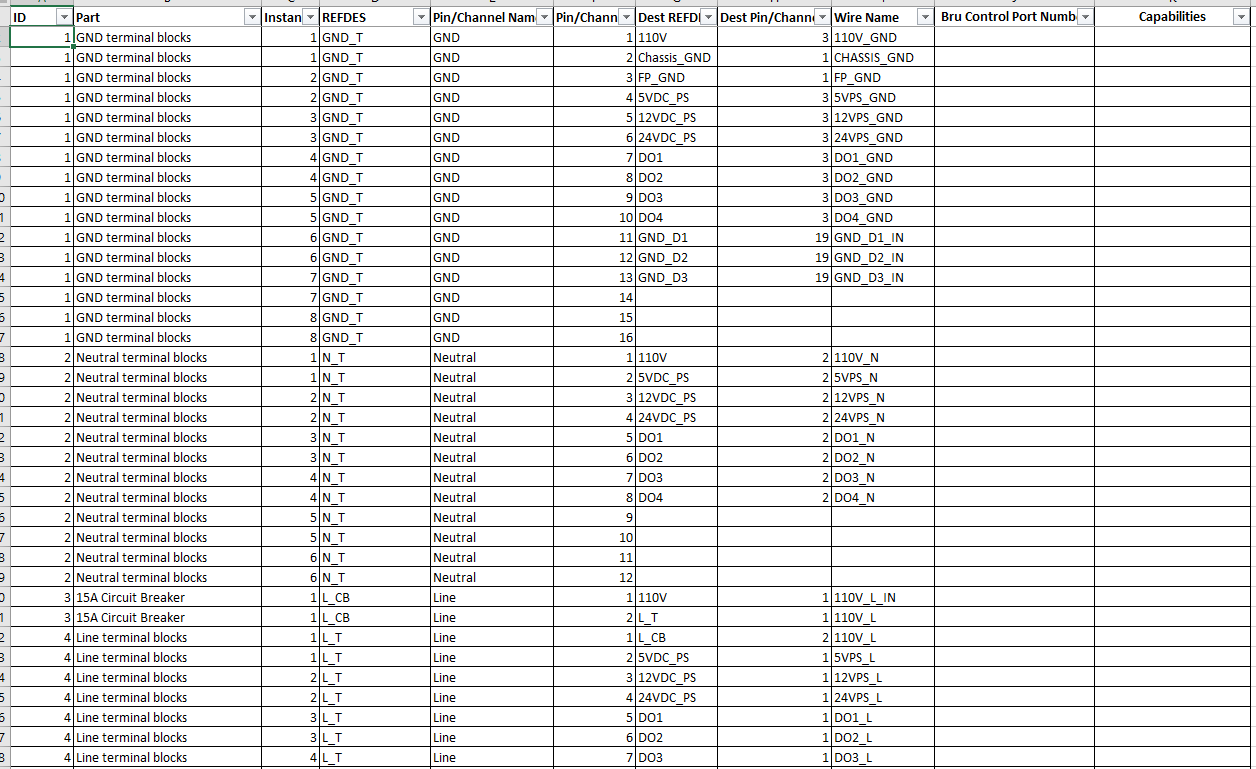
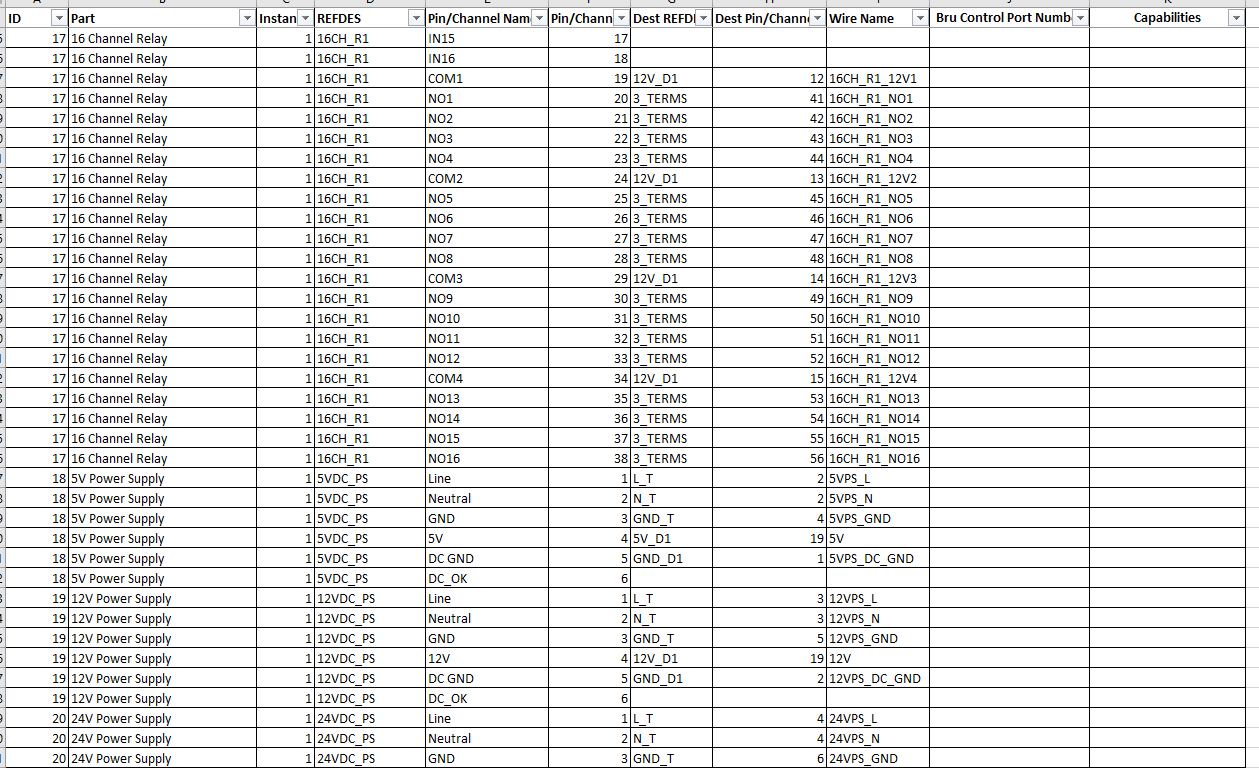
So instead of making a schematic/wiring diagram I took a different approach. Each panel has over 90 different components in them. The resulting schematics would be split across too many pages to make it easily digestible. Instead I created a spreadsheet that contains the "netlist" for each control panel. The particular format I chose is what's called "netlist by part" as opposed to "netlist by net". This is a large table that contains 1 row for each pin/port of every device in that panel. Each line shows the from/to relationship between pins and has a unique identifier (Wire Name). Similar to a circuit board design there is a unique reference designator (REFDES) for each component. The pins for each component are numbered sequentially as well as having a name for its function. The resulting netlists have 700 lines/pins and 859 lines/pins for the 2 panels. Not all pins are used on all components so the wire count is going to be ~300 for the high voltage panel and ~400 for the low voltage panel.

Being able to sort/filter the netlist in spreadsheet format makes this easier to trace signals around.

netlist1.PNG


netlist2.PNG
 
I was going to use them for some of the connections. While wiring the other night one of them broke off leaving the ferrule stuck in the mega breakout board. I had a hell of a time getting it out and ended up destroying one of the screw terminal sections in the process. Luckily I was able to unsolder one from another board and fix this one.
 
Should be a breeze, looks like you have all the right tools for the job. How do you like the air gun, is it as precise as an iron ? I was considering purchasing one of these to add to my iron collection.
 
Air gun is only for heat shrink, not soldering. It works well for how cheap it was.

Also talking about precision, the hakko solder stations are about as good as you can get. Much better than metcals in my opinion.

I like the fact that both soldering iron and heat gun go into standby mode when you place them in their holders, and both heat up in seconds. The hakko beeps when it gets to temp so you don't even have to look at the display.
 
+1 on Hakko solder stations, I have the FX 888D station. Got tired of melting components and terminals with my old iron.
 
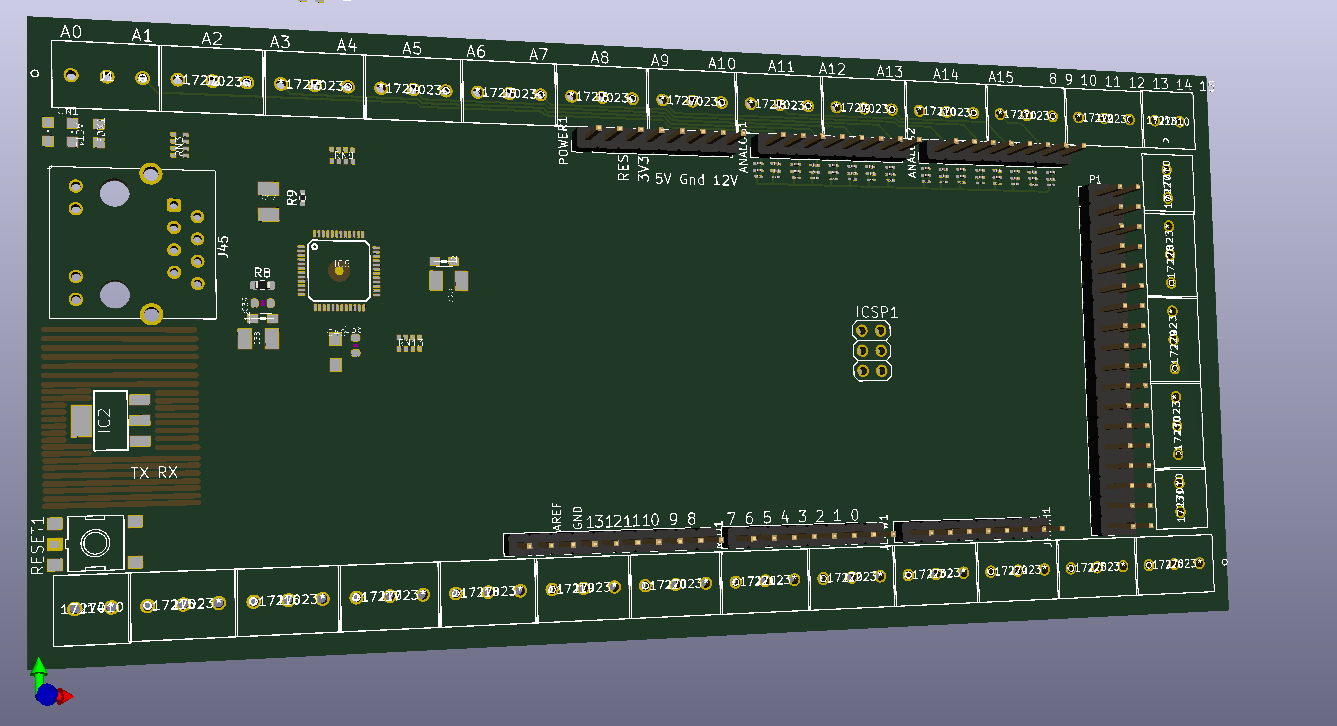
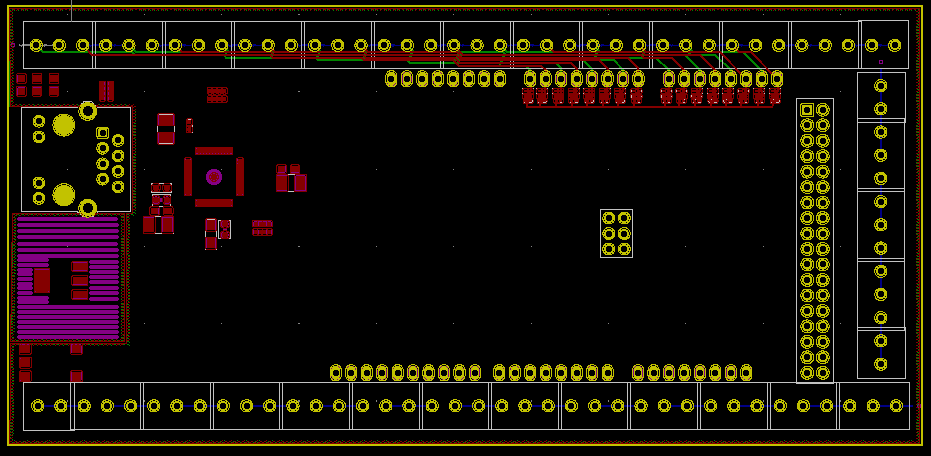
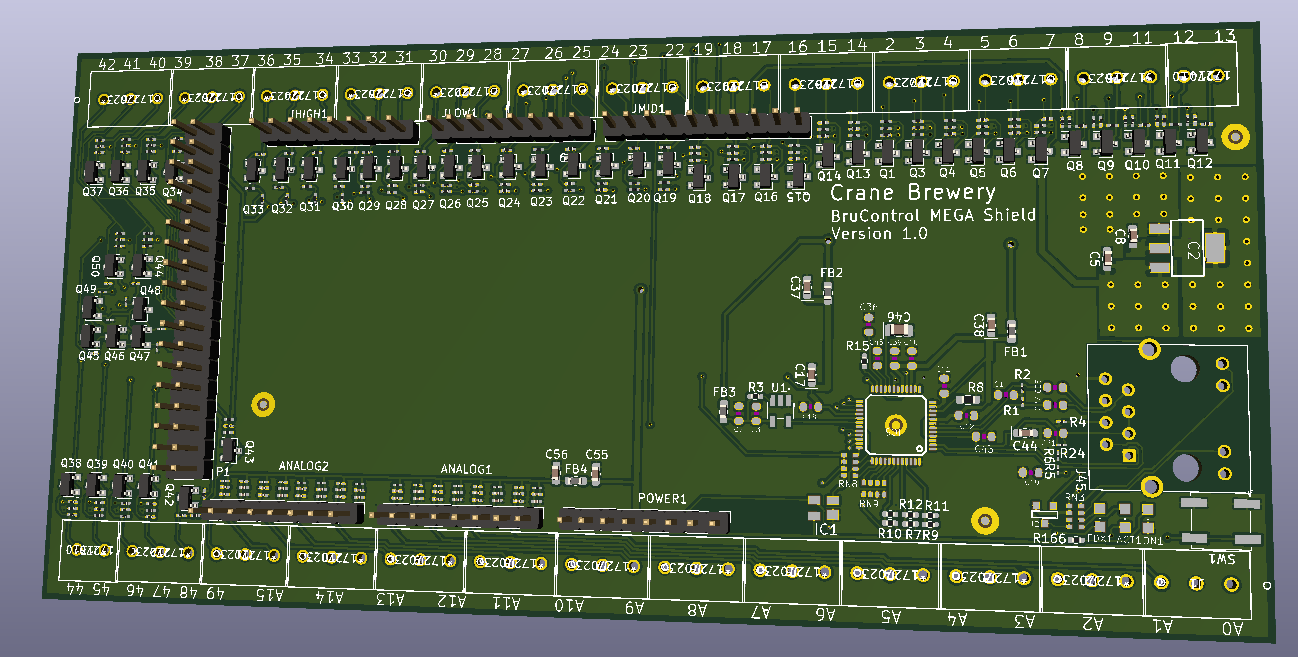
So between the 2 panels, here are all the features. I have 3 arduino megas that have all but one analog input used.

39 12V relays for ball valves and solenoid valves
8 proportional valves
4 DPDT relay board for the large electronic butterfly valves
4 channel SSR board for AC pump control
4 always on 110V outlets for MFM transmitters/etc.
8 always on 12V outputs for dosing pump/hop boss/etc.
8 thermistor inputs (2 used for chassis exhaust temperature monitoring)
5 IFM SM6004 inputs (flow and temperature)
2 Micro Motion MFMs (density, flow, temp)
3 PH meters/sensor (PH and temperature)
4 DO meters/sensors (DO and temperature)
1 conductivity sensor for monitoring RO filter TDS
8 pressure sensors/0-5V inputs
Current sensor for heating elements
3 heating element outputs (2 are using my time sharing solution)
5 port network switch. 1 uplink, 3 megas, 1 spare
2 fans for each panel
panel mount USB connector for each mega for FW upgrades

Since I am using the Rugged Circuit's megas, I can/am powering them off of the 24V power supplies. This allows me to monitor the DC ok outputs from the 5V and 12V power supplies. As long as 24V is up, then the megas and ethernet switch will be powered on, and able to communicate. If there is a problem with the 5V or 12V power supplies I can have an alarm for that.
 
That is quite the build, very well thought out! Amazing data collection too. What are you going to use for data storage? What size batches are you going to brew? Cheers!
 
I use Brucontrol so that uses a sql database for data storage.

I typically brew 5 gallon batches, but do an occasional 10 gallon batch.
 
Back
Top