Corny Keg Fermenter Upgrades

Homebrew Talk - Beer, Wine, Mead, & Cider Brewing Discussion Forum

Help Support Homebrew Talk - Beer, Wine, Mead, & Cider Brewing Discussion Forum:

This site may earn a commission from merchant affiliate links, including eBay, Amazon, and others.

Rogue_Atom87

Well-Known Member
Joined
Sep 3, 2020
Messages
134
Reaction score
27
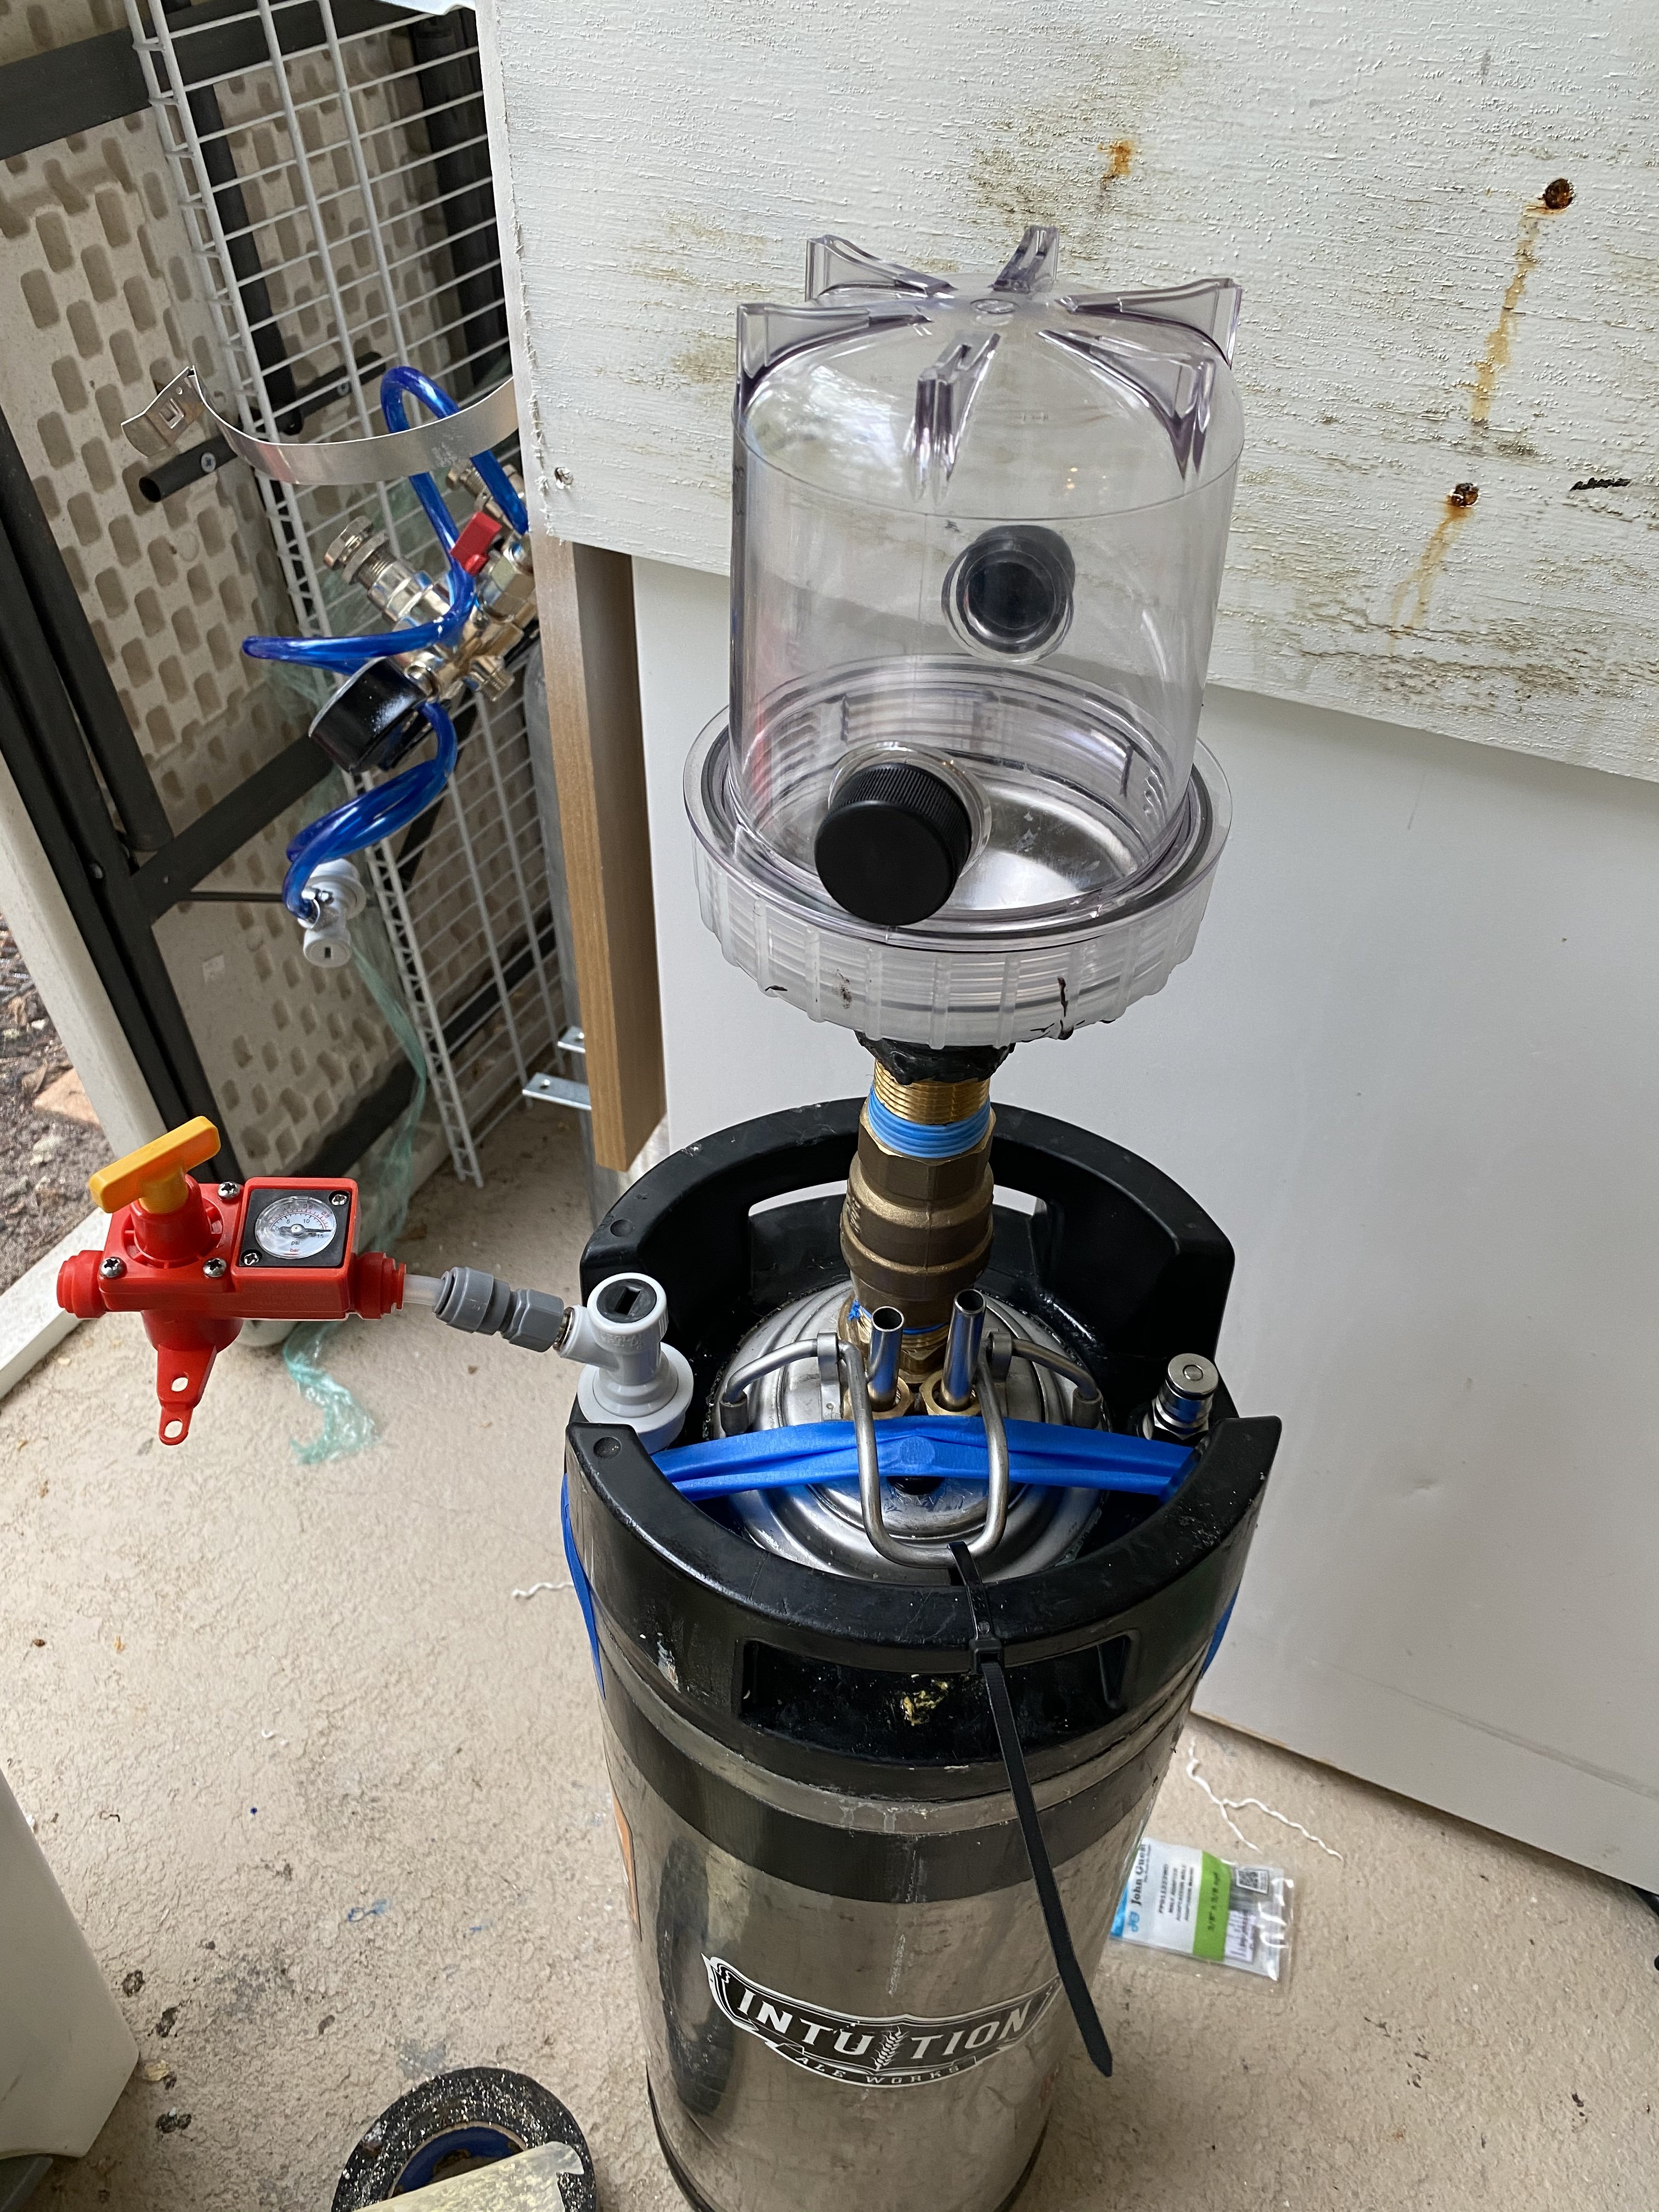
After getting back into this hobby and only 4 brews its time to start tinkering and upgrading equipment. Since I do small batch of roughly 2-2.5 gallon I use a 5 gallon corny keg as a fermenter. Currently I use a shortened dip tube with a screen and it works well preventing trub getting into serving keg. I also use an airlock built into gas ball lock. To date I put the keg in a keg cooler and use shock pack to keep temp low. To monitor temp I van seal a thermo pro transmitter and drop it into the fermenter. I then put receiver on top to ready temp thru the keg walls. Temps will stay between 63-68 with no issue but unable to keep it precise. I do closed transfers from keg to keg to prevent oxygen from getting introduced.

With that I wanted to add the following:
Pressure Fermentation
Thermowell
Coil to control temperature
Way to add hops, flavoring without opening up keg.

Most of the items to do this I already had on hand so with the cost of keg and to do the above I estimate total investment of around $150.

Main goal was by time I close lid for fermenting the only time beer touches air is when in the glass and this includes dry hopping and any other items need to put in beer for fermenting or rest period.

Pressure Fermentation - Bought Blowtie 2.0 with a spare gas connector. This solves pressure fermentation problem.
Thermowell - Plan was to use 1/4" copper tube sealed at one end with the cap. Use a grommet thru the lid for sealing
Temp Control - 3/8" copper tube ran thru grommet in the lid. I purchased another IBC that I will mount to keezer with a glycol/water bucket on inside. I am running 1/2" PVC thr keezer collar with 1/2" barbs. This way I dont have to permanently seal hoses into collar
*Here is main question on above. Are there any concerns with copper sitting in fermentation vessel for an extended period of time? If so I will convert a straight keg dip tube for thermowell but not sure how to make a cooling coil. If there a place to get 3/8" stainless tube in 10' lengths that is easy to bend? Was going to use Anvil cooling coil but doesnt go down far enough into 5gallon keg for a 2-2.5 gal batch

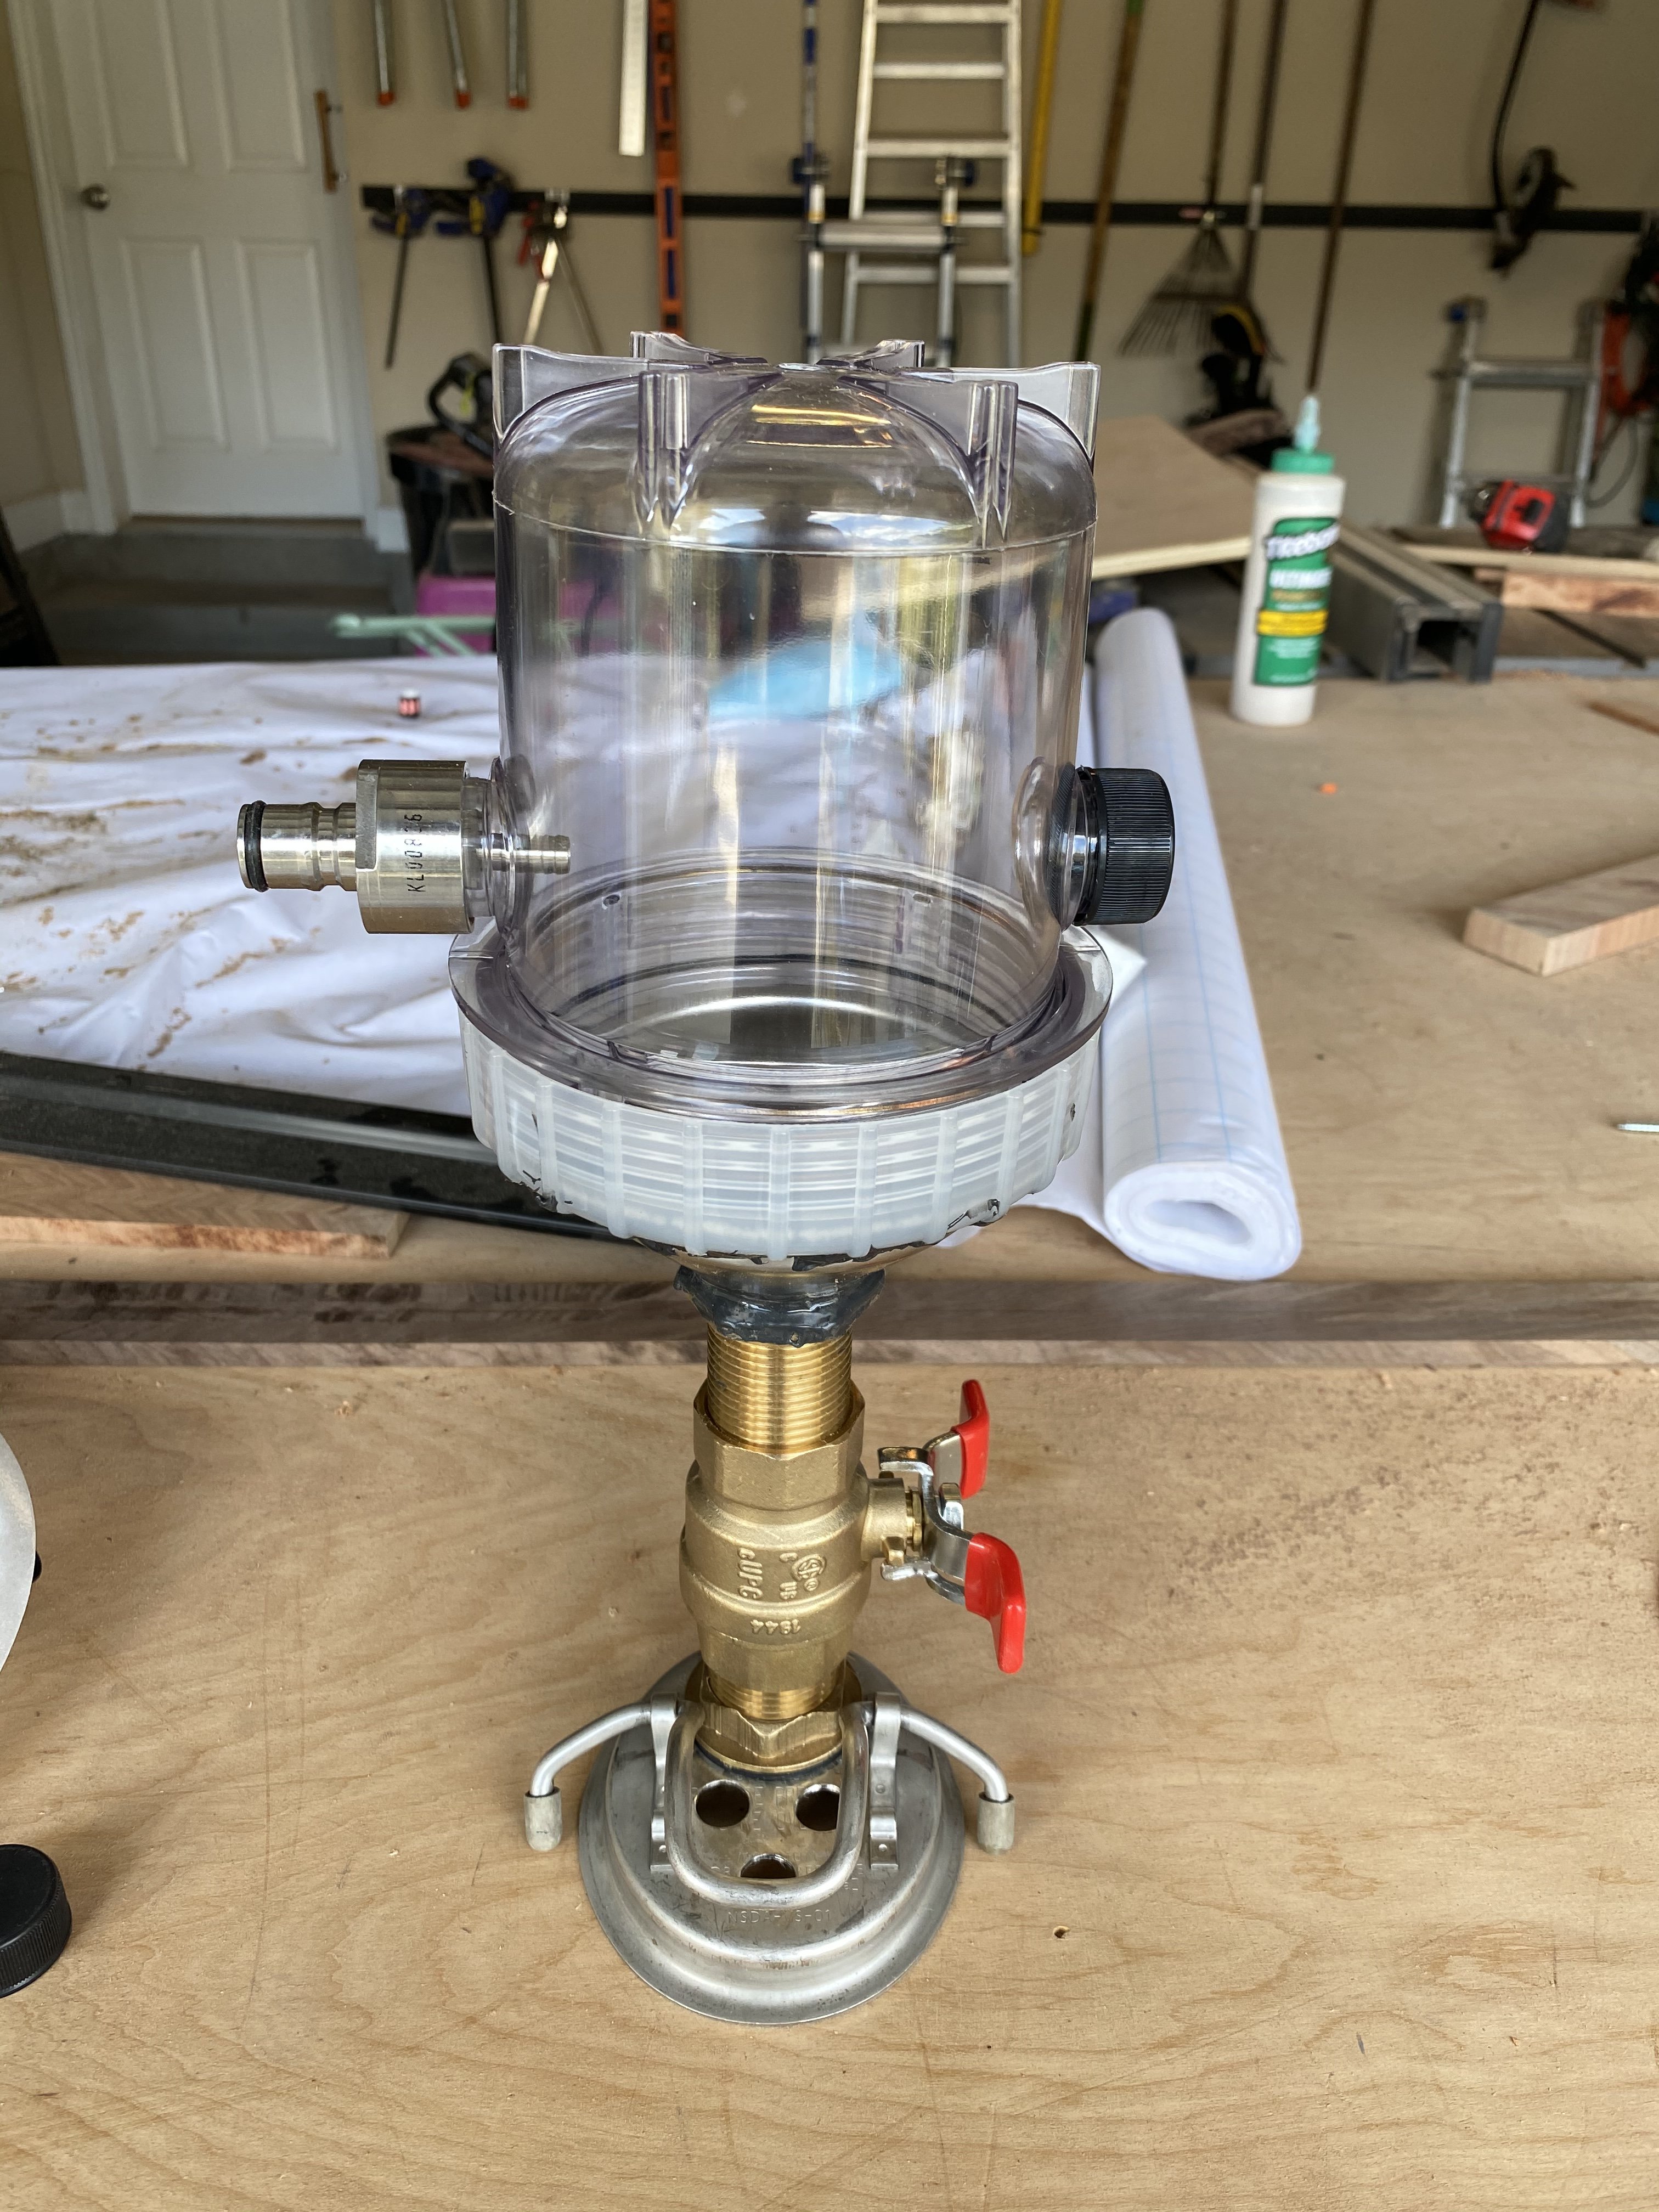
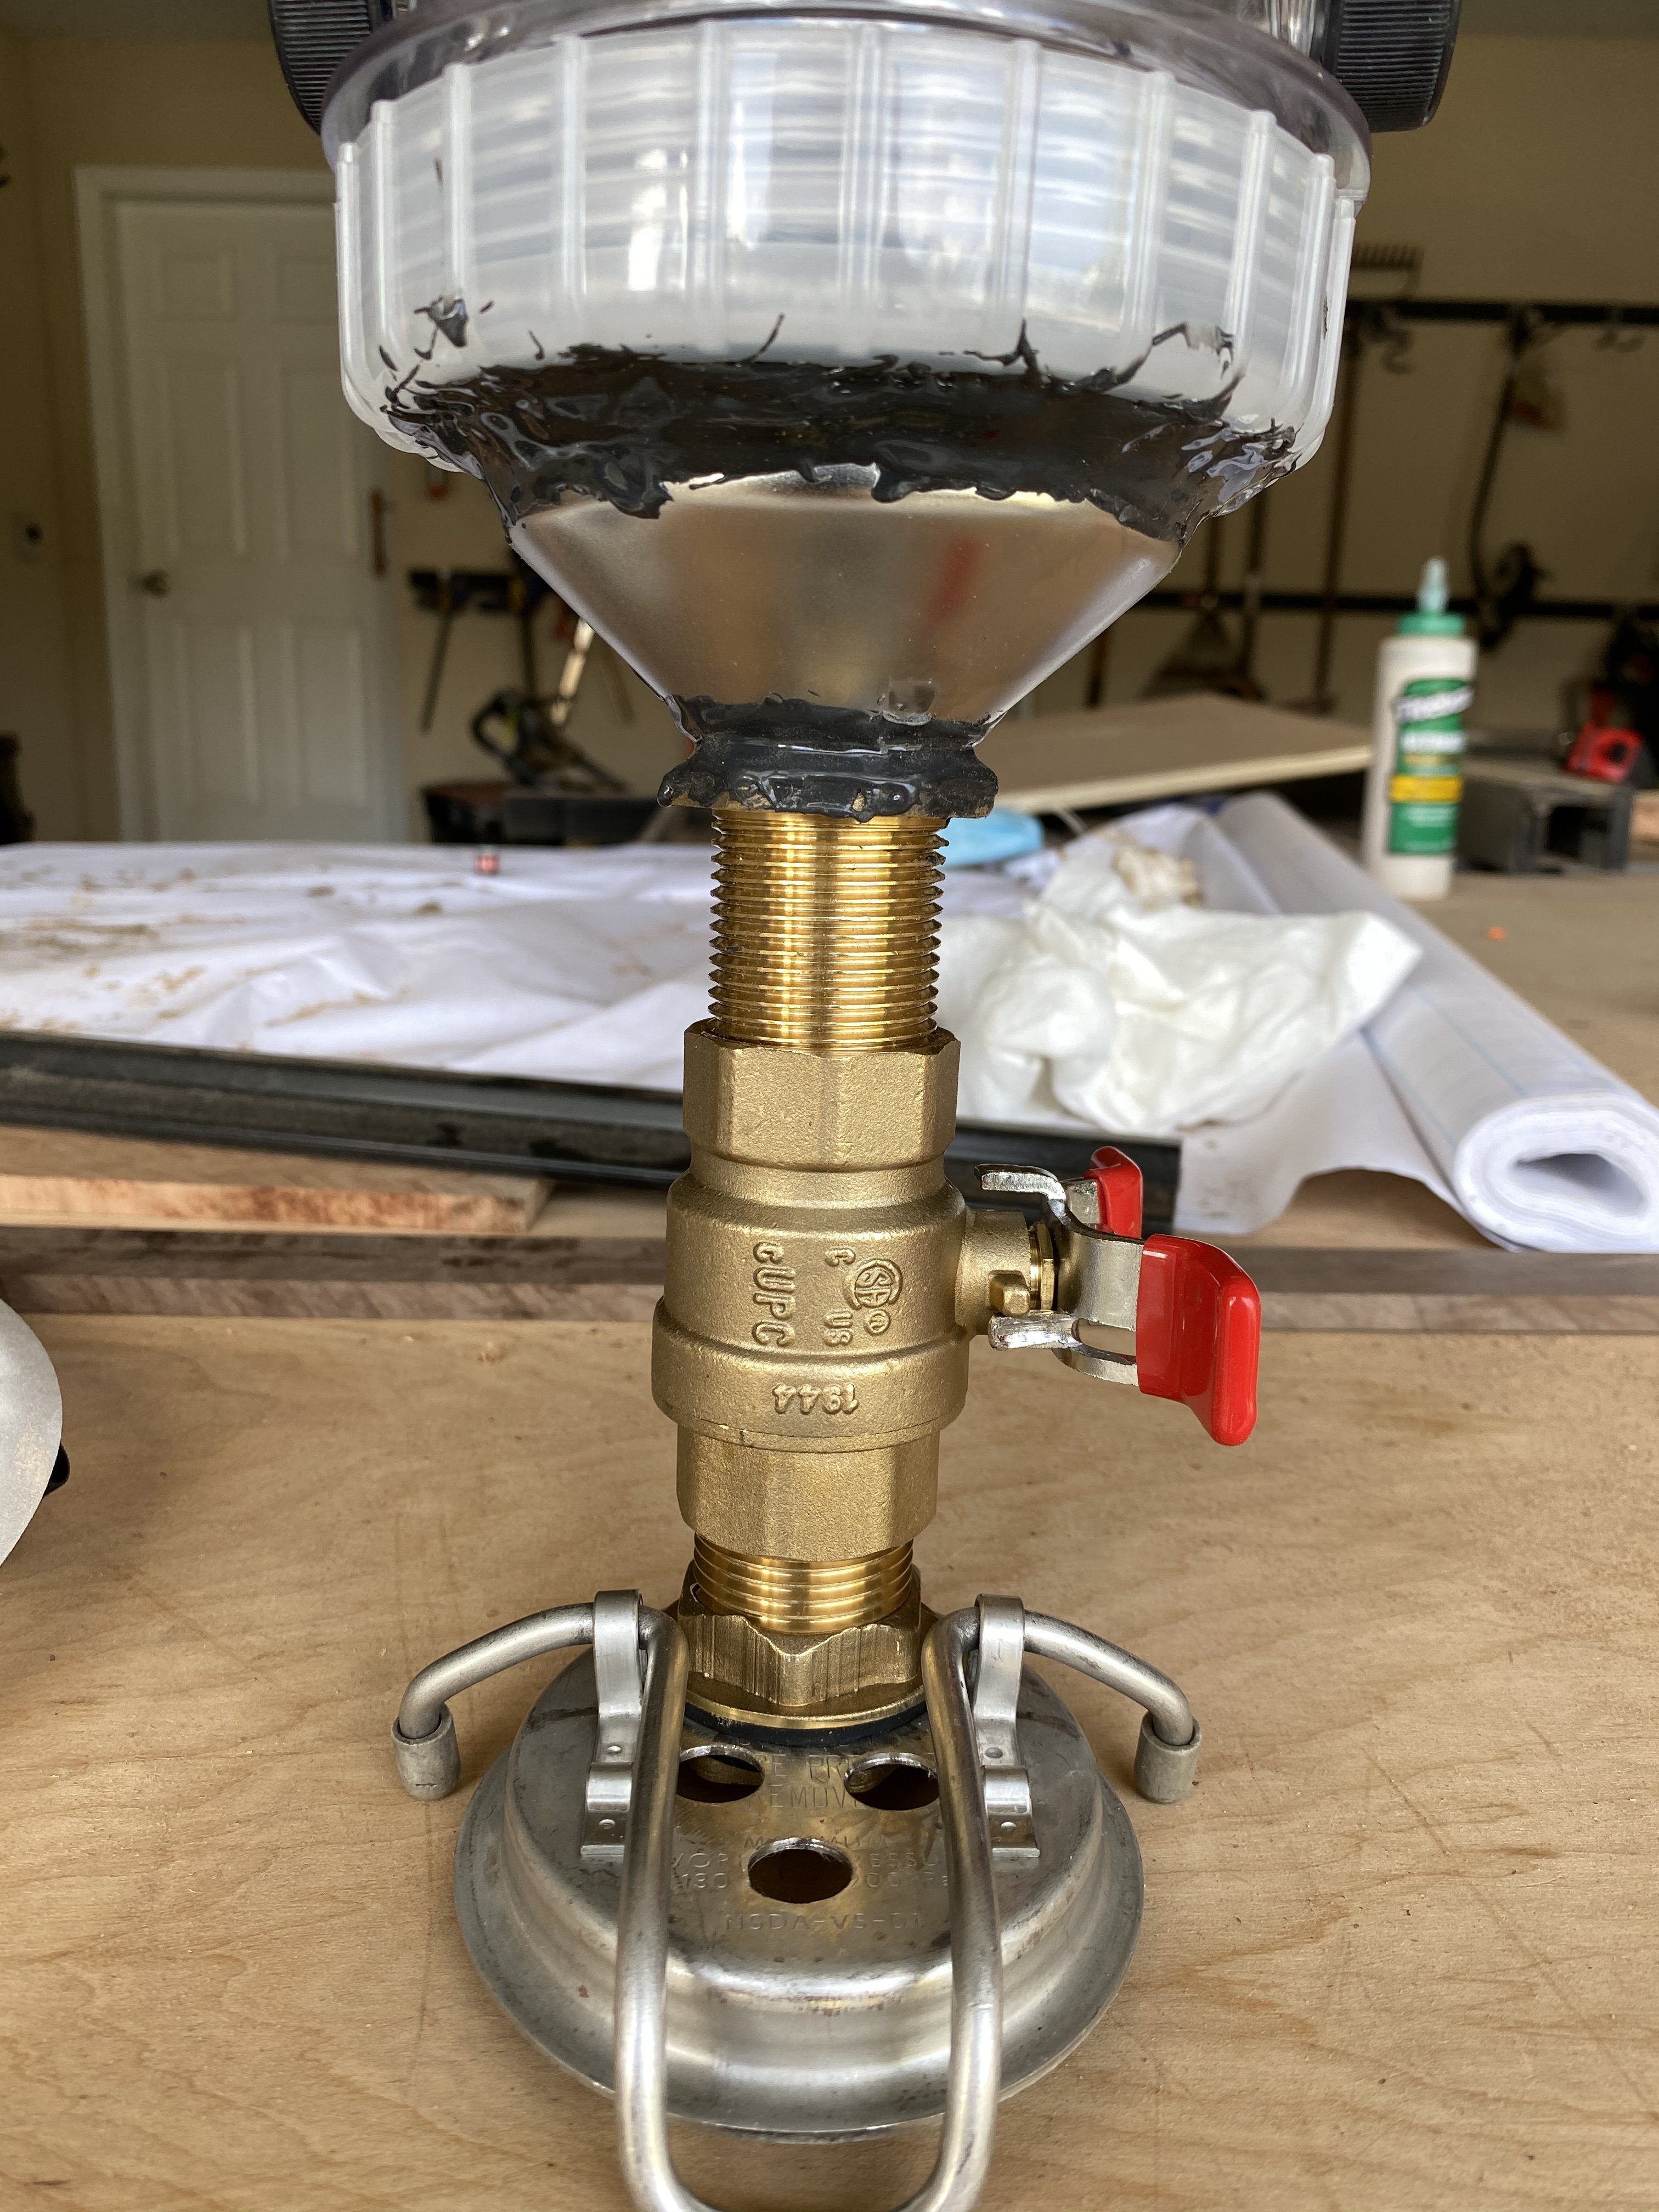
Dry Hopping - I purchased a 1" threaded bulkhead and a ball valve that will be connected to keg lid. I also purchased the yeast collection jar for fermzilla fermenters and will secure lid to a stainless cone. Will then add hops/flavoris/etc and secure to ball valve. Will use side port to purge with CO2 and remove all liquid. When time comes will open valve and let items fall into fermenter. Imagine will need to pressurize this a few PSI over what keg is pressure fermenting at.

Other item thought of is will the grommets thru the lid be able to withstand pressure fermentation at low PSI?
 
After more research looks like Copper is not the best to use inside fermented. I ordered a stainless 20" thermowell and a 6ft section of 3/8" 304 Stainless I will use for cooling coil. Ill use he copper to make a wort chiller.

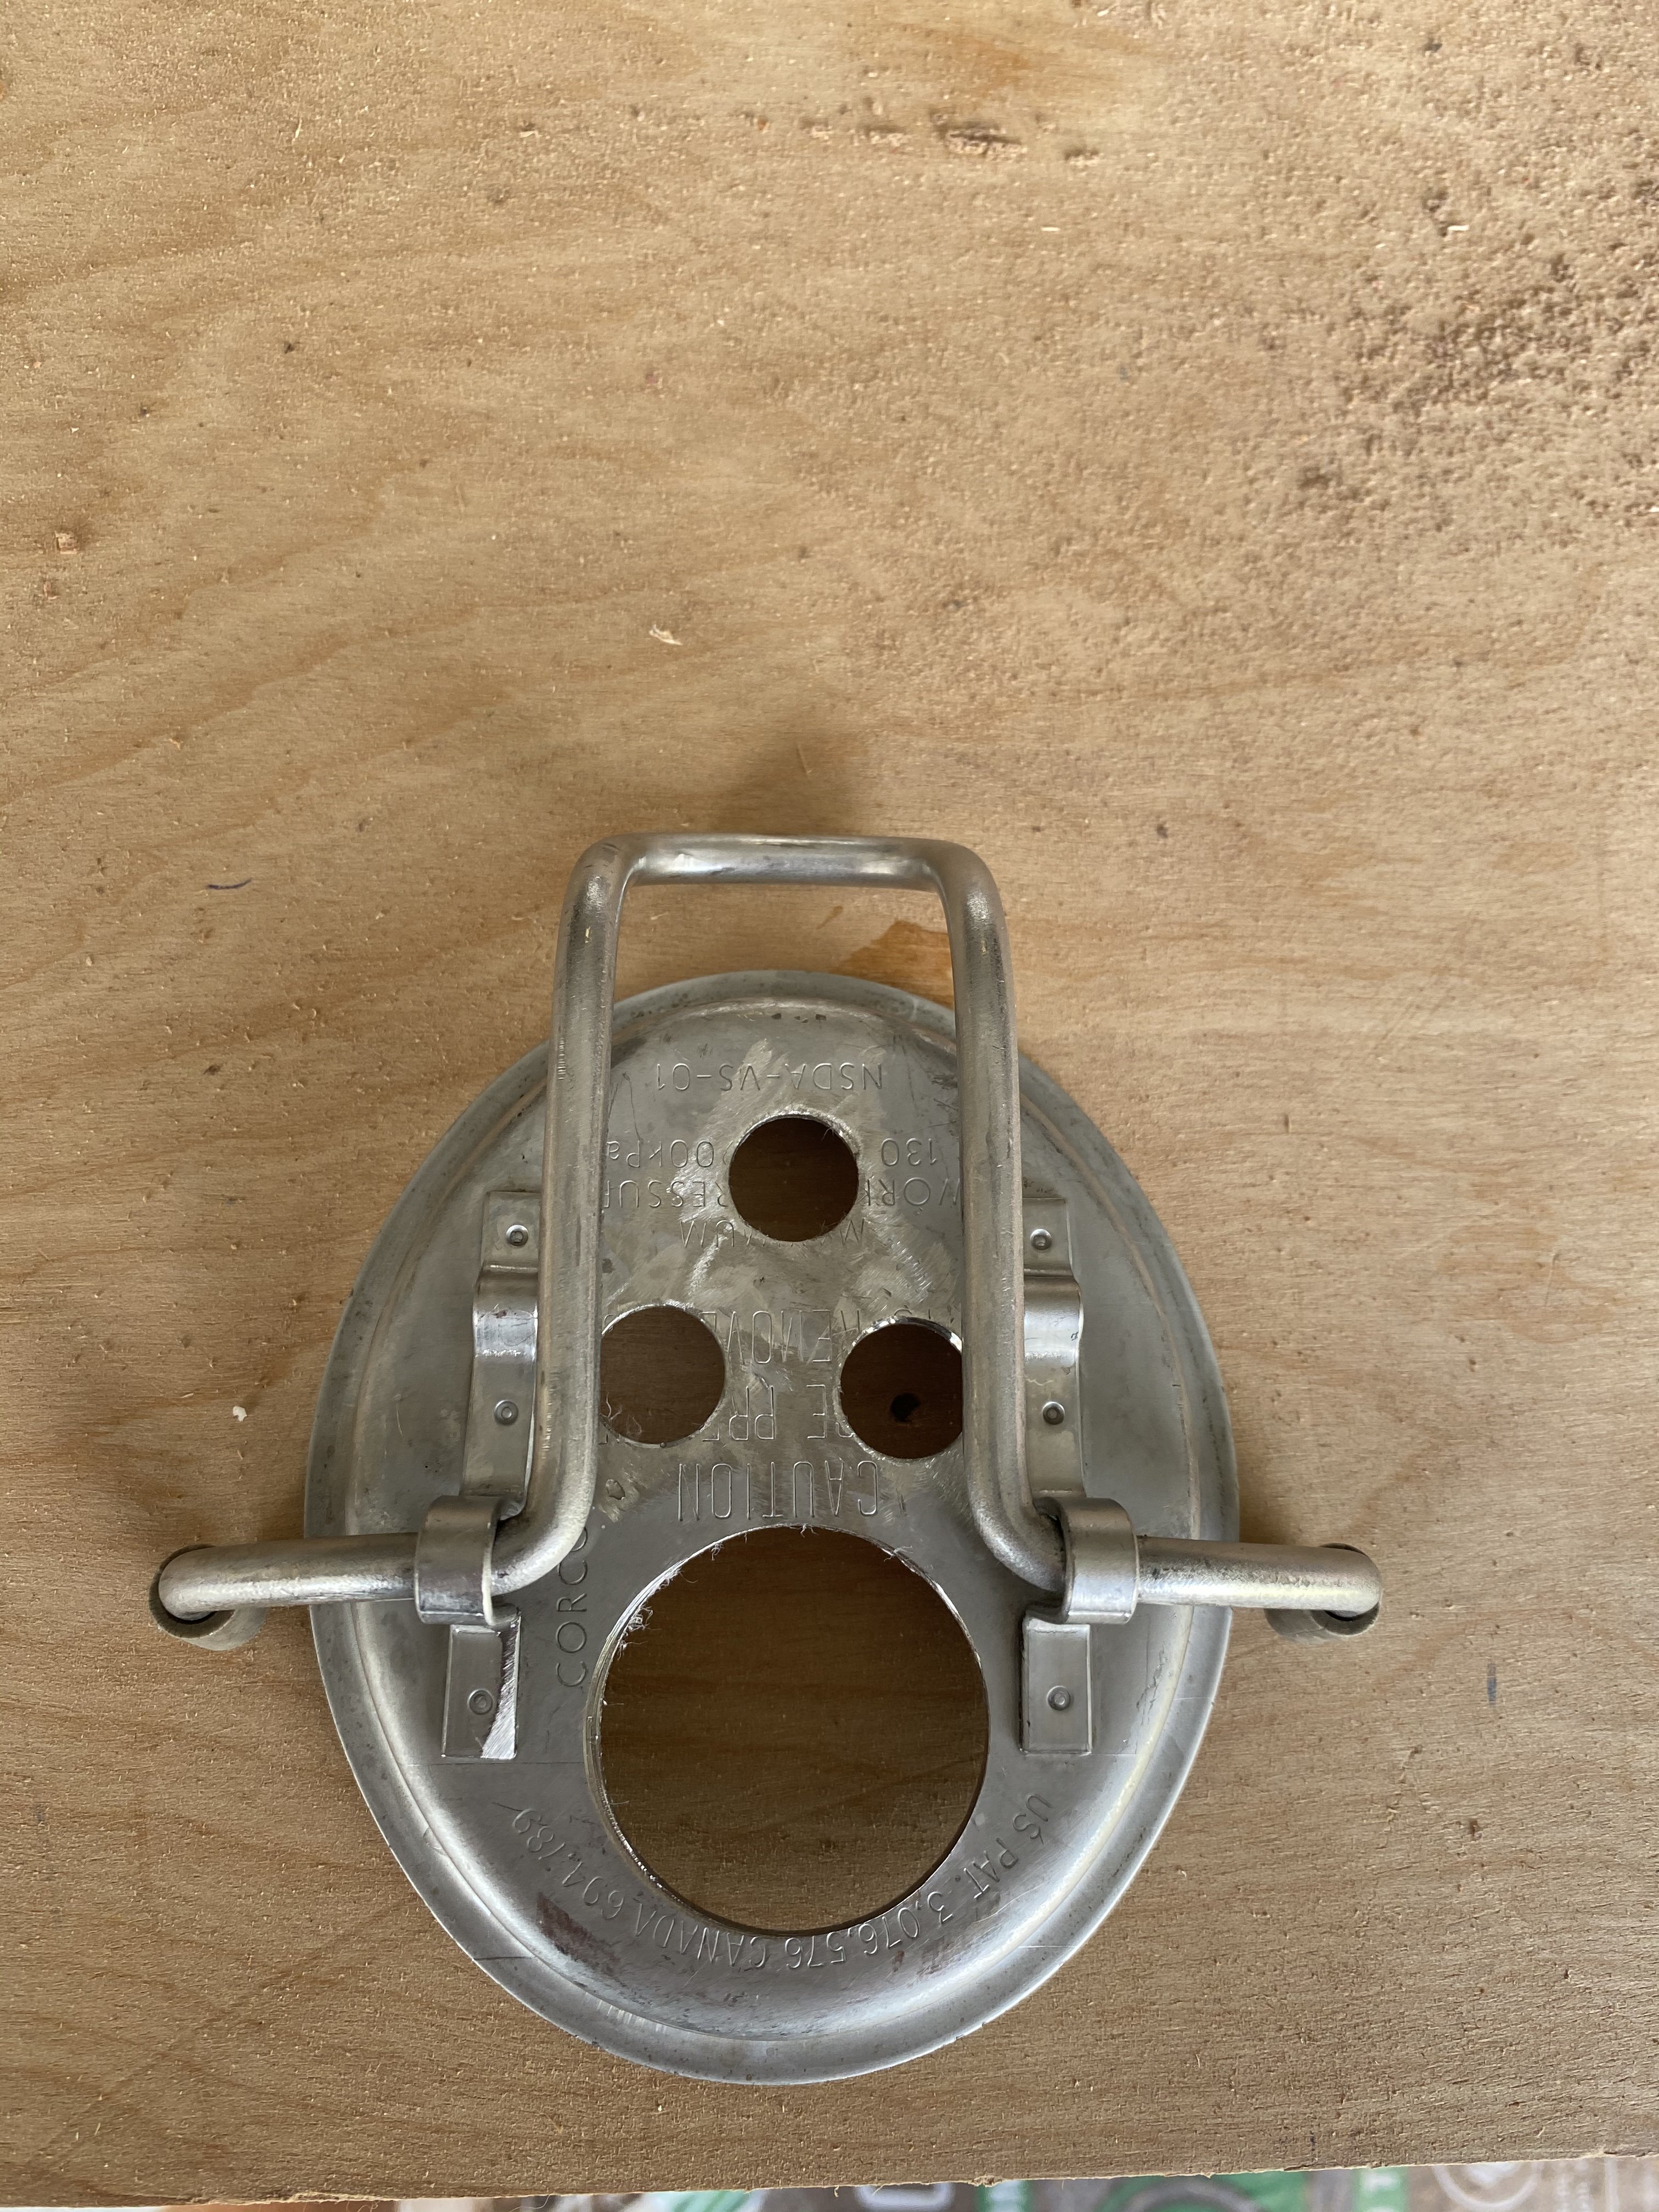
I did realize there is not enough room on a corny keg lid to do a 1" valve, thermowell, and an in/out hole for cooler. Only way to make it work is to drill out the PRV. I will then take a spare 1" adapter and mount PRV into it so I can still use if needed but will be connected to discharge side of ball valve.
 
Are you going to drill the lid for the cooling coil or elsewhere in the keg? I have to angle the lid pretty significantly to get the lid in a corny. Why not just wrap a coil around the outside of the Corny and then cover in insulation like reflectix or similar?

While the above suggestion makes this harder, I typically just tape my tc on the outside of the corny and then cover it with some folder over paper towels as insulation.also going to be hard due to your batch size and the area on the keg that can then be cooled.

I ferment in a repurposed wine fridge combined with an inkbird.

I think I’ve seen a corny lid with a 25 or 40mm port welded in online somewhere. If nothing else that plus a butterfly valve, length of pipe, and a cap with a prv/ball lock post will enable the dry hop portion
 
I was planning to drill the lid and put it inside. Since the coill diameter and height would be pretty small with long inlet and outlet I would pull all the way up until touches lid and put in that way. Then push down once lid is secured. If this doesnt work I would attach to hose and run hose thru grommets as it is flexible.

I thought about putting on outside but not sure how good of cooling that would apply vs inside. I only have a 6 ft section and not sure I can get enough wraps around the keg. Granted only has to be half the keg due to my batch size. I did look at the cool jacket that is available but not sure if it is too big for a corny keg. Also at $75+ ship its significantly more than a $15 piece of stainless tubing

I tried taping Thermo to side of keg opposite of where I put ice packs previously. Even with it covered in insulation the metal was significantly colder than inside. The inside and out side probe differed by as much as 6*F.
 
I was planning to drill the lid and put it inside. Since the coil diameter and height would be pretty small with long inlet and outlet I would pull all the way up until touches lid and put in that way. Then push down once lid is secured. If this doesn't work I would attach to hose and run hose thru grommets as it is flexible.

It's not impossible, but very difficult because of the angle you have to tilt the lid to get it into the keg. I made a pair for with a coil that barely fit into a 10 gallon keg. I wouldn't be able to put this lid on a 5 gallon keg. I did make a coil that would work with a 5. It's similar to the Anvil coil, but folded back on itself once more.


117167078_772723080157926_422064442752007193_n.jpg117172248_335100847520067_6794256032541691508_n.jpg
 
It's not impossible, but very difficult because of the angle you have to tilt the lid to get it into the keg. I made a pair for with a coil that barely fit into a 10 gallon keg. I wouldn't be able to put this lid on a 5 gallon keg. I did make a coil that would work with a 5. It's similar to the Anvil coil, but folded back on itself once more.


View attachment 702324View attachment 702325
Do you have photo of 5 gallon setup. My thoughts were to do something similar to what you posted but half height

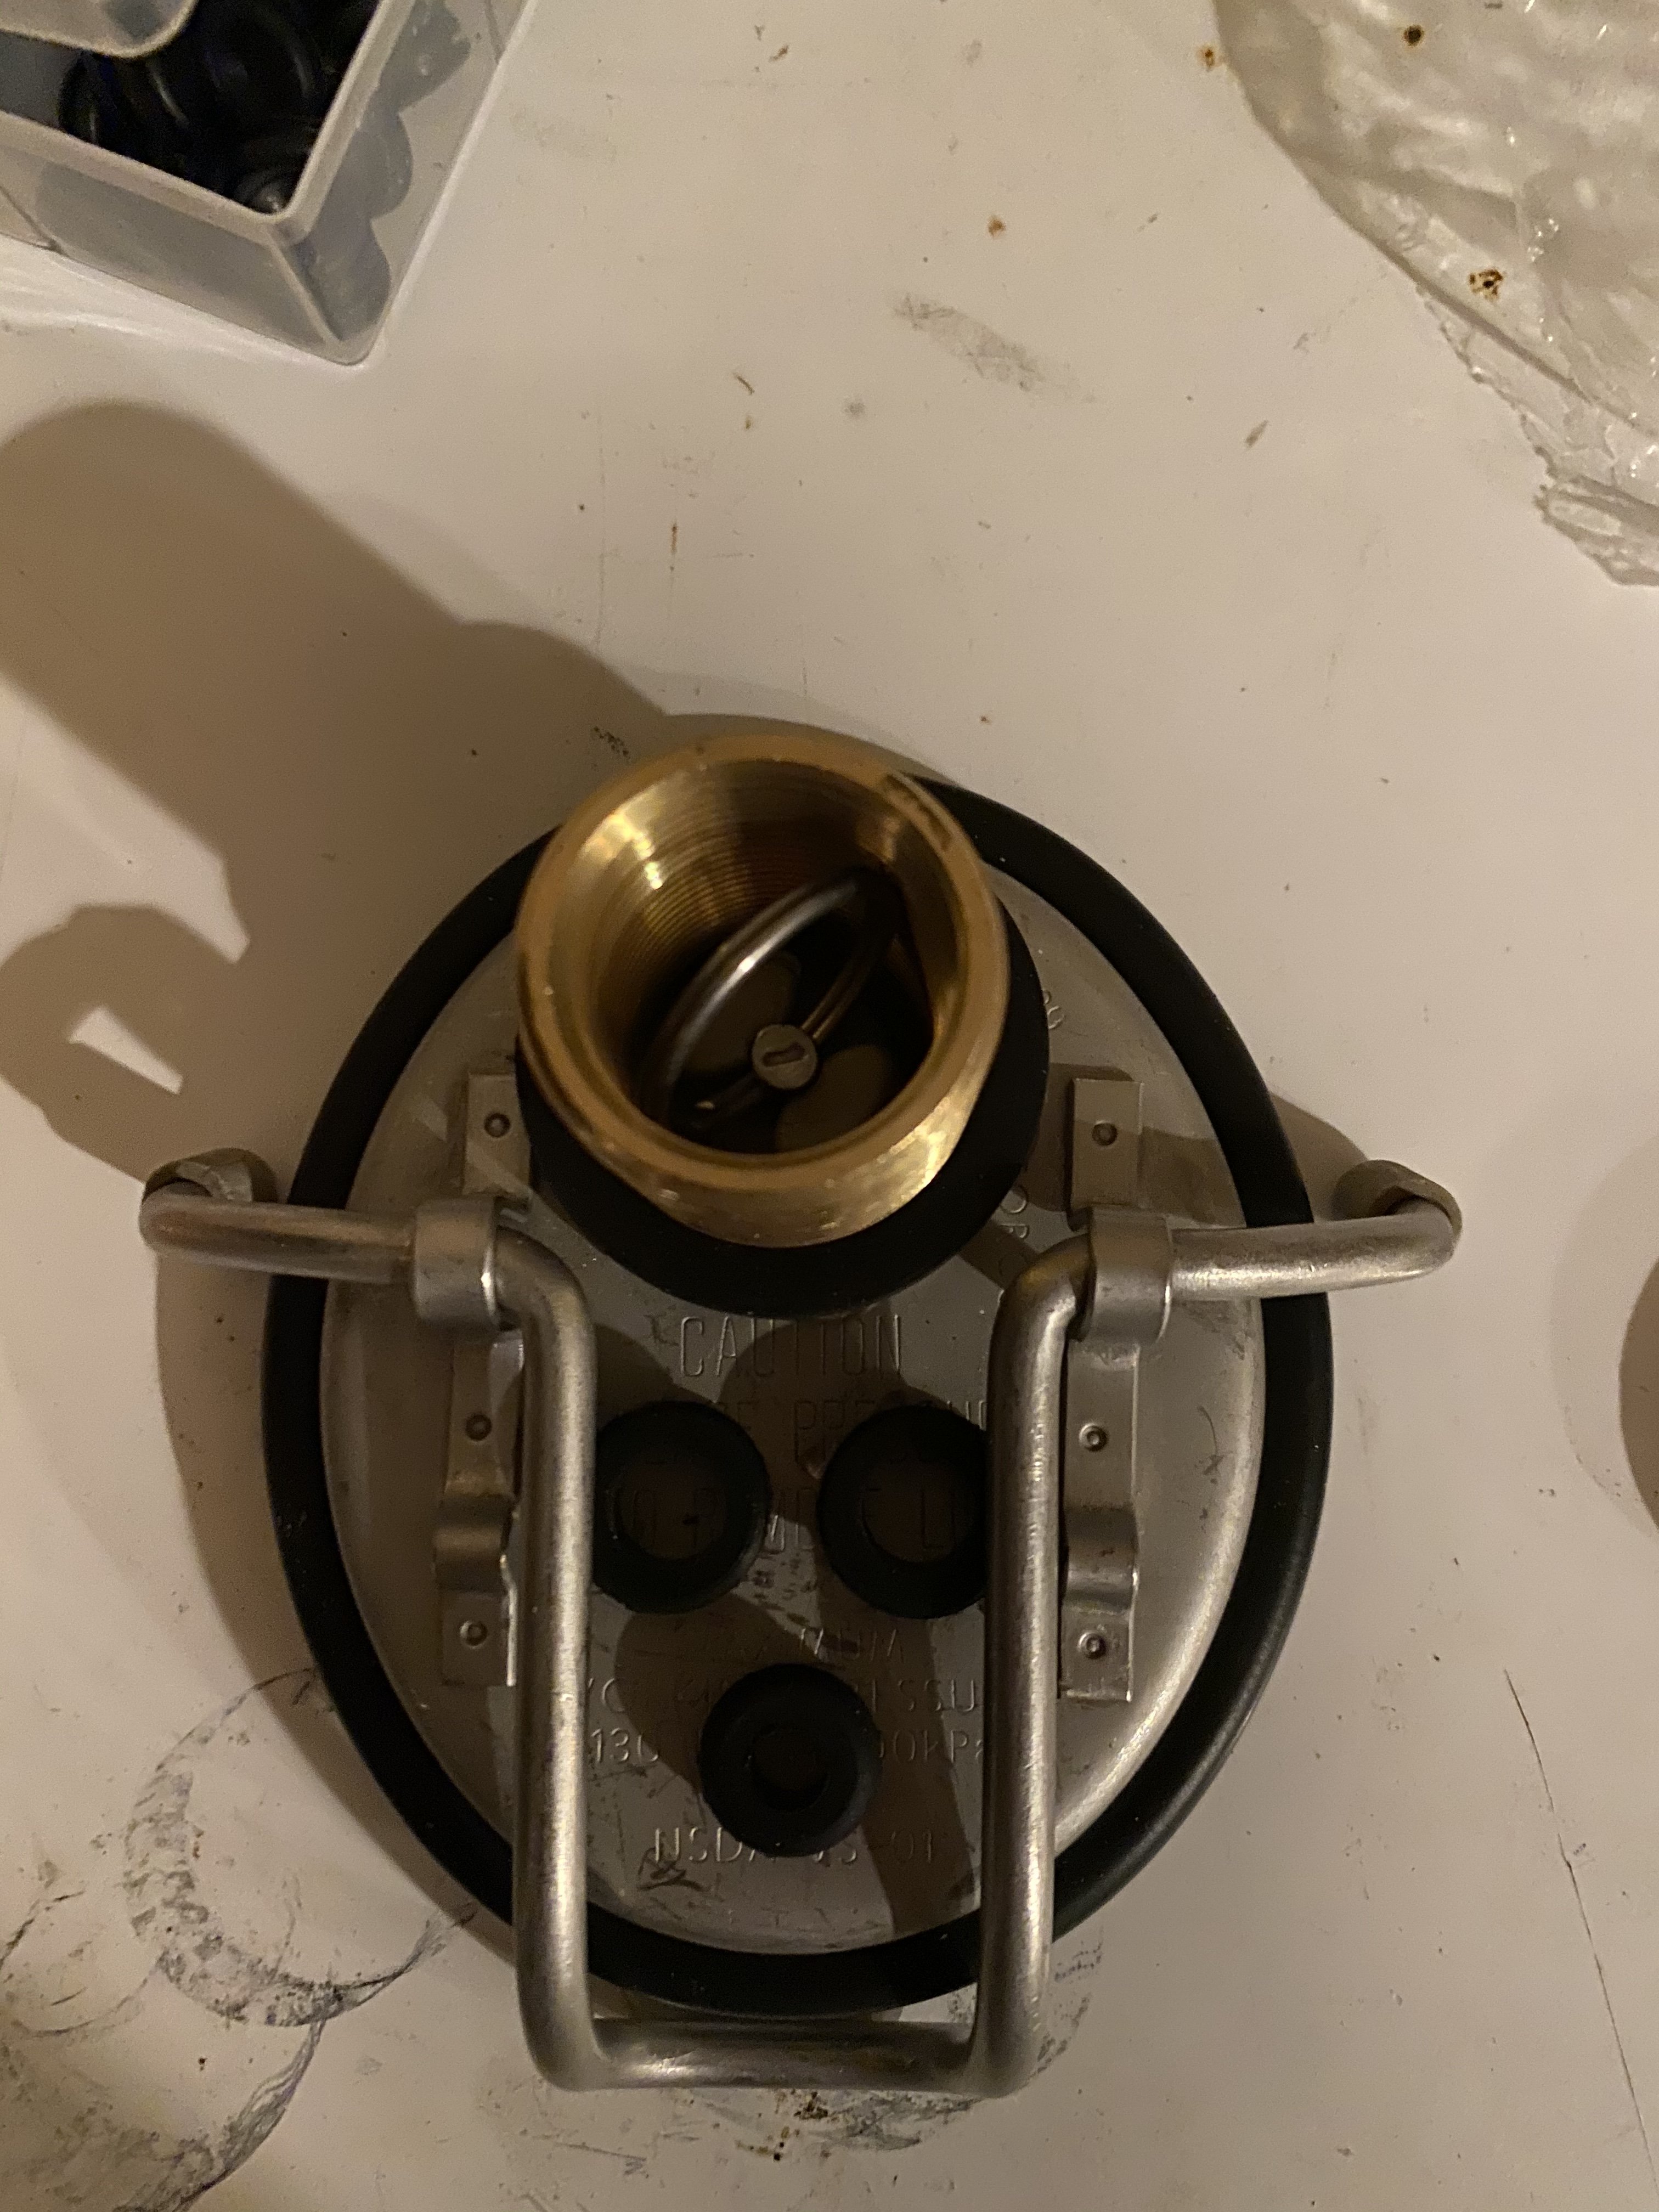
I figured I have two options. First is layout below. Drill prv to install hop dump then secure thermowell and cooling coil close together
B761207B-6235-4085-8BC7-93B7CAA8AEBF.jpeg

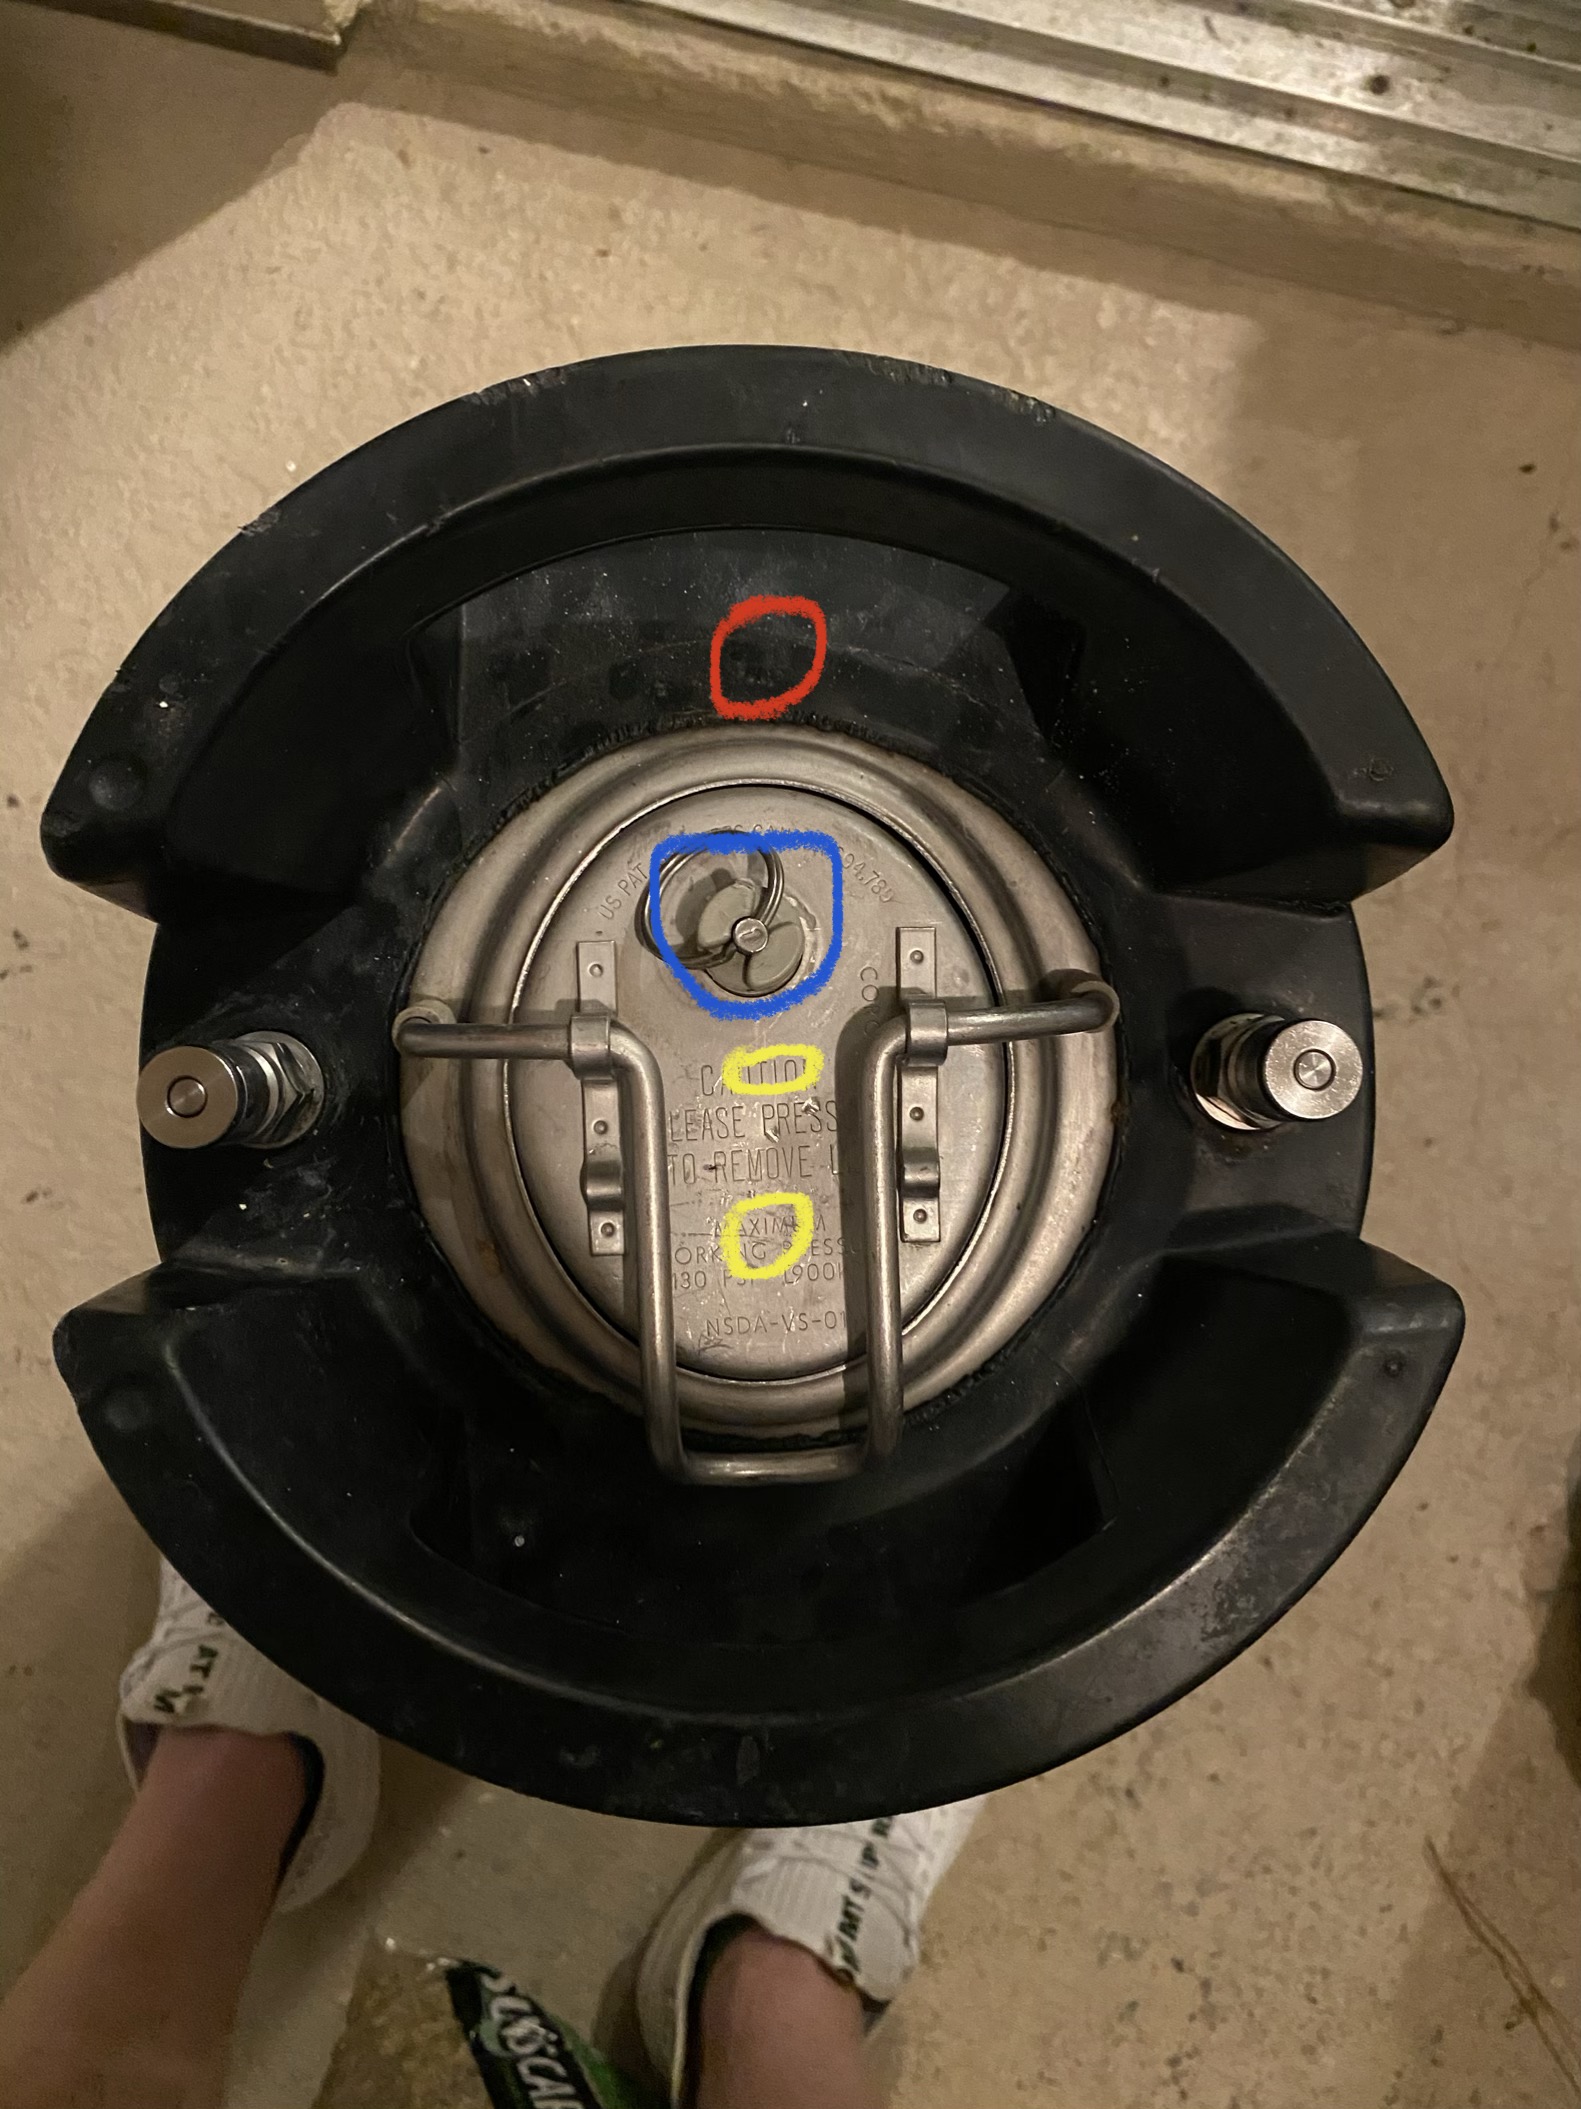
Or do the below which would require drilling outside lid and install thermowell where red circle is. Hop dump on blue and cooling coil yellow. Have you seen anyone drill outside of lid?
B66360ED-43D0-4747-87C0-1AB917D52D29.jpeg
 
I didn't intend to fold the coil back on itself, which ruined the initial, clean bends I had made with the proper tool. Also, I started bending it in the wrong direction and had to undo it. Nobody was supposed to see this sloppy work and I wanted to make sure it worked well enough before starting over, but here it is. The lid is identical to the 10 gallon lid.

Since I was building these for a pair of 10 gallon kegs (5 gallon keg is a bonus until I find another 10), I had three goals for my build. 1) I wanted the coils to be removable so that they can be cleaned, which ruled out utilizing the existing posts. 2) I wanted to continue to be able to ferment under pressure. 3) I did not want to permanently damage the expensive kegs. By going through the lids, all I have to do is replace the lid and it is back to normal.

Some thoughts on your build:

Have you looked into the fermzilla w/ the cooling coil attachment? It seems to do everything you want off the shelf.
https://www.morebeer.com/products/fermzilla-conical-fermenter-71-gal-27.html
Copper and brass parts on fermenters are bad, but you figured that one out on your own.

I wouldn't count on the grommets to hold pressure. I'm using compression fittings.

You can drill outside of the lid (one of my 10's came with a pressure gauge near your red circle), but you are adding a potential place for contamination and leaks.

If you are open to adding more holes to the keg, why not have your coils go through the keg wall? Same with a thermowell.

Removing the PRV isn't a horrible idea. Your spunding valve is now your PRV.

Removing the lids to dry hop is a shortfall on my build because it takes more effort and a wrench vs. a regular lid and flipping the latch. However, I question if your have enough real estate on the lid for your hop port and if the latch will open far enough to put the lid in the keg. Fortunately for me, I don't brew many IPAs. I will eventually build a hop torpedo and use the existing keg posts/dip tubes to cycle the beer through it.

PXL_20201014_134003671.jpg
 
thought about ferm zilla but too big. I like small profile of keg and fits my batch size perfectly. Also I like tinkering with things and trying to get them to work

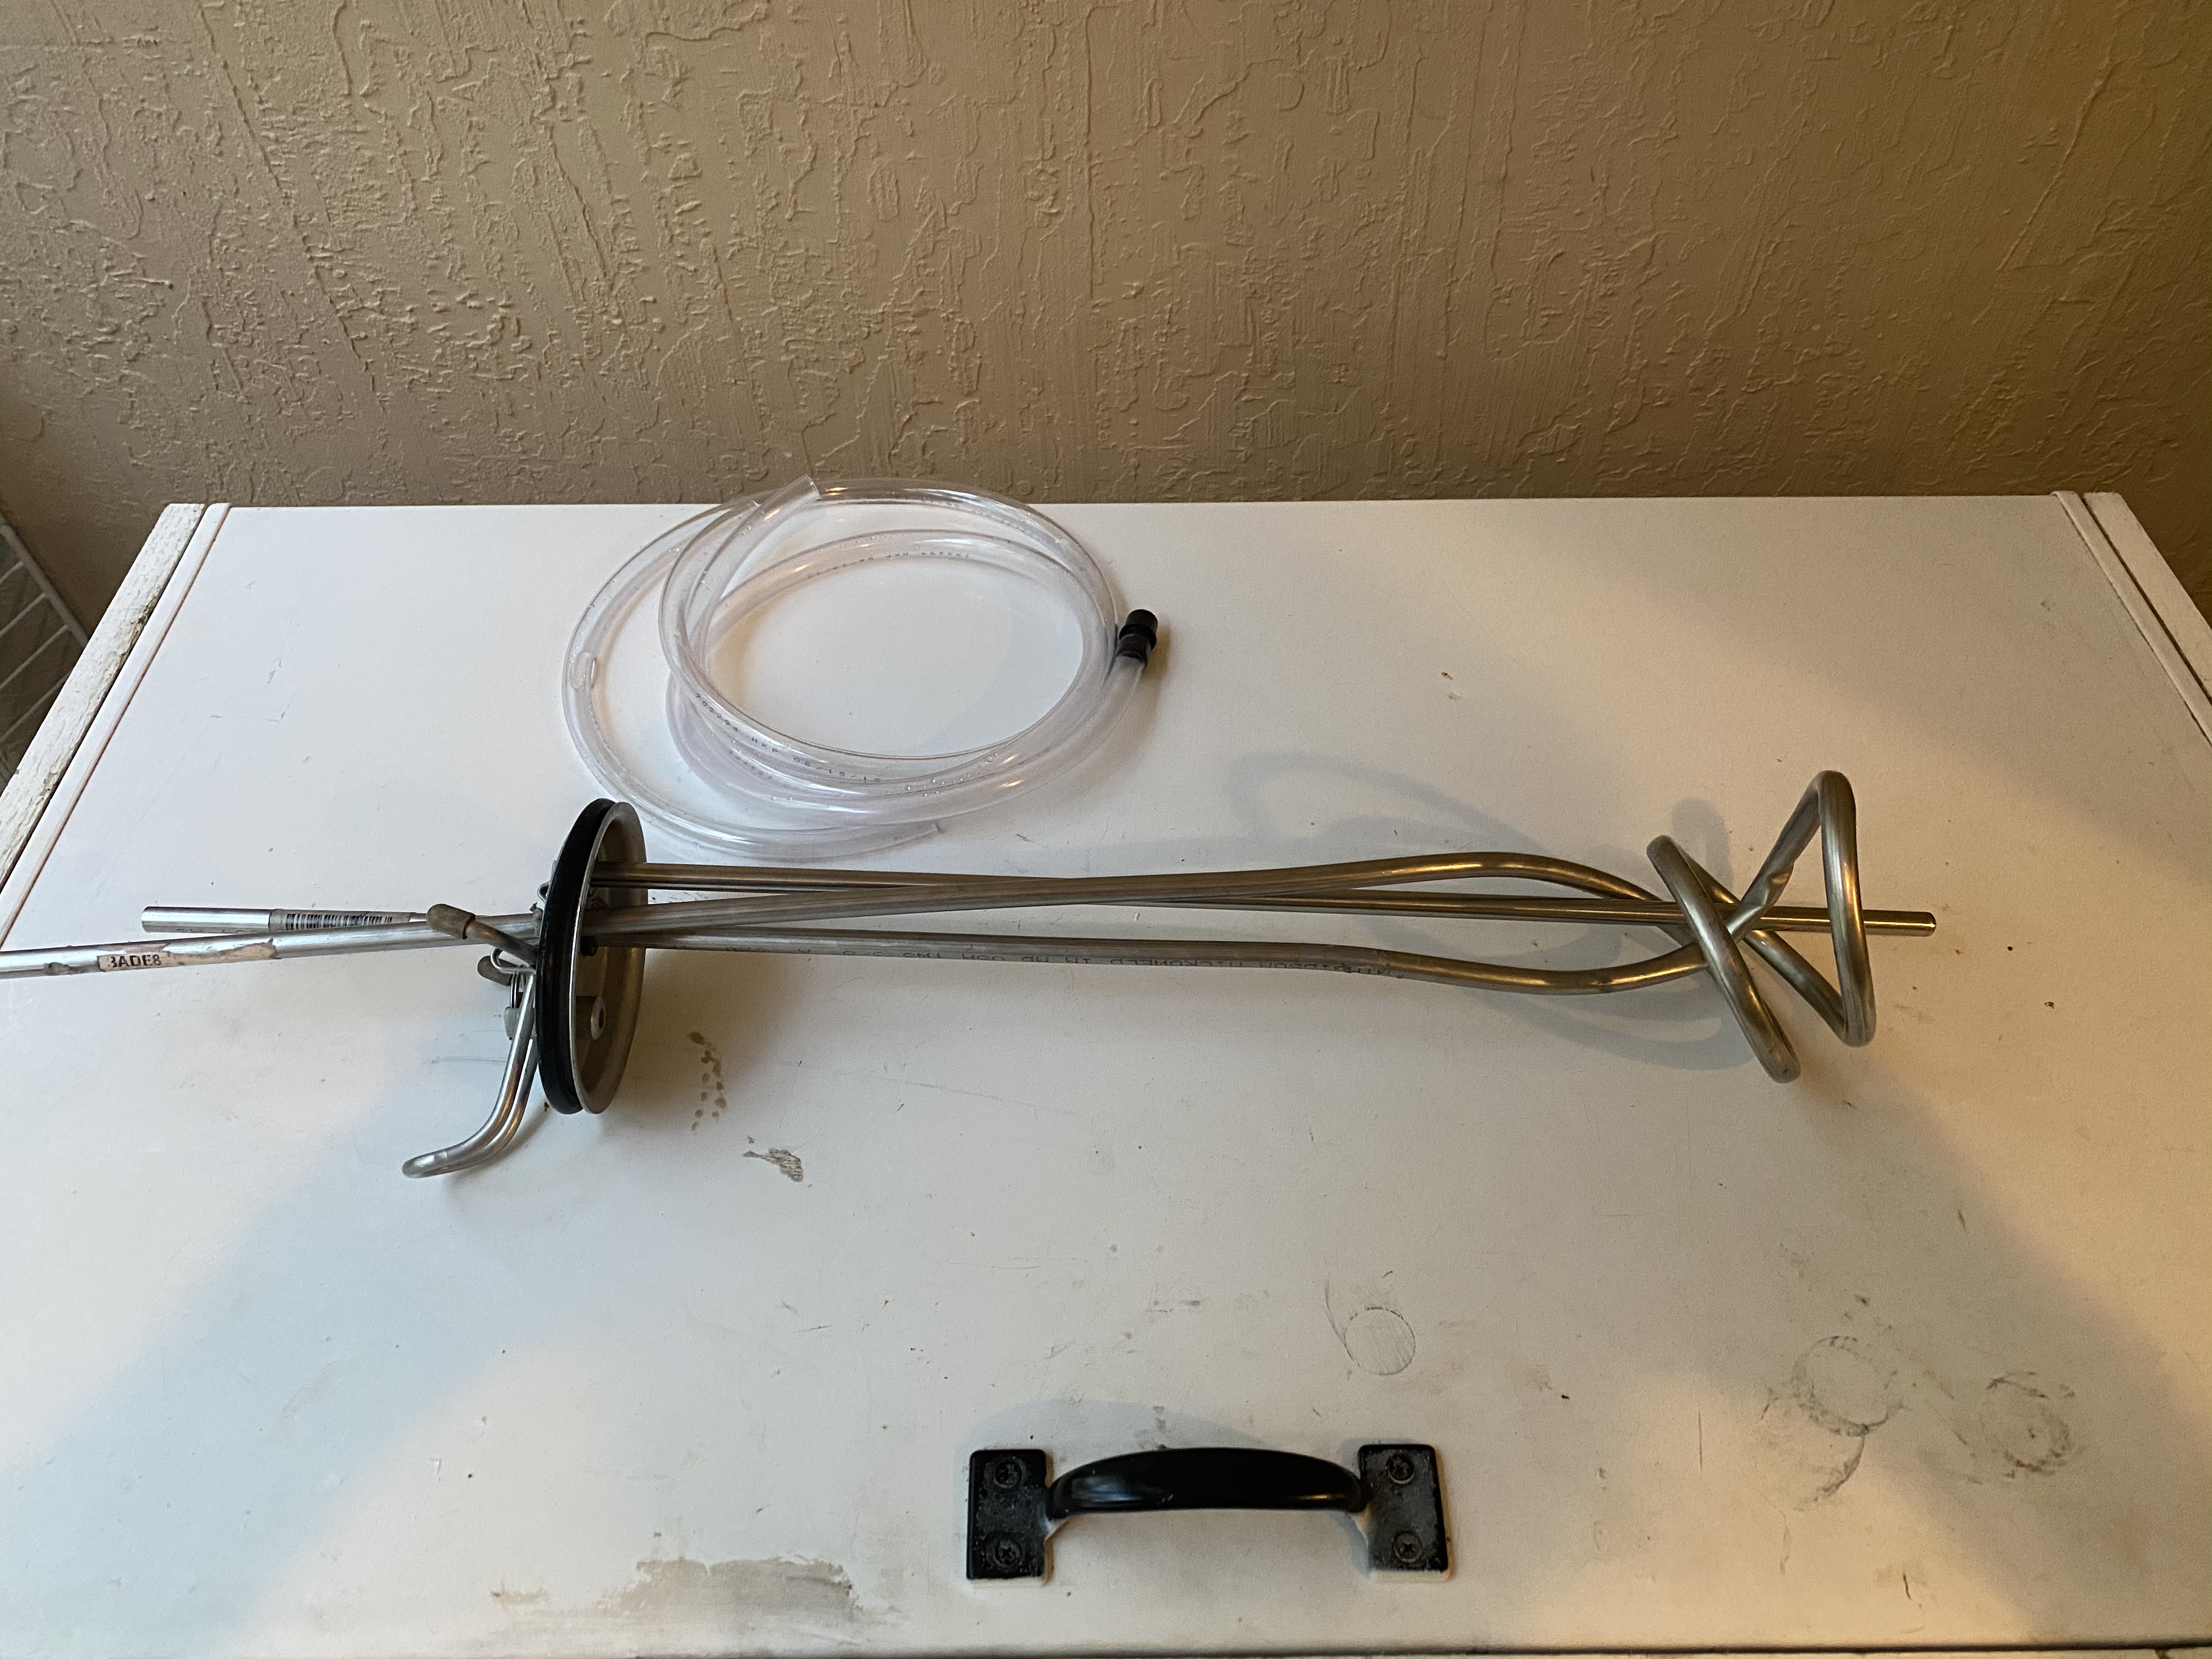
So I managed get coil done today (if you can call it that). I thought use of spring bender would be fine but started getting kinks. I then filled whole tube with salt and used spring bender and worked better. Looks like A** but it works. The placement of lid in photos is where it needs to be to slide in and goes in with ease which is nice. Drilled (3) 1/2” holes and put in (3 )3/8” grommet in lid. Thermowell gets installed after lid in place. Coil gets pushed all way down after lid installed as well
8C547ED6-8245-4F87-90E4-12E0B622E62F.jpeg
ABDD2F6A-9614-4418-8782-82640533CB7D.jpeg
EC4E7EC4-19C6-431F-B447-F842B93CF7B3.jpeg

tested in sink and worked well. Plan to fill keg half way with water tomorrow and run it to see how maintains temp. I may try and find a custom shop to make a tight 1.5-2” coil and redo

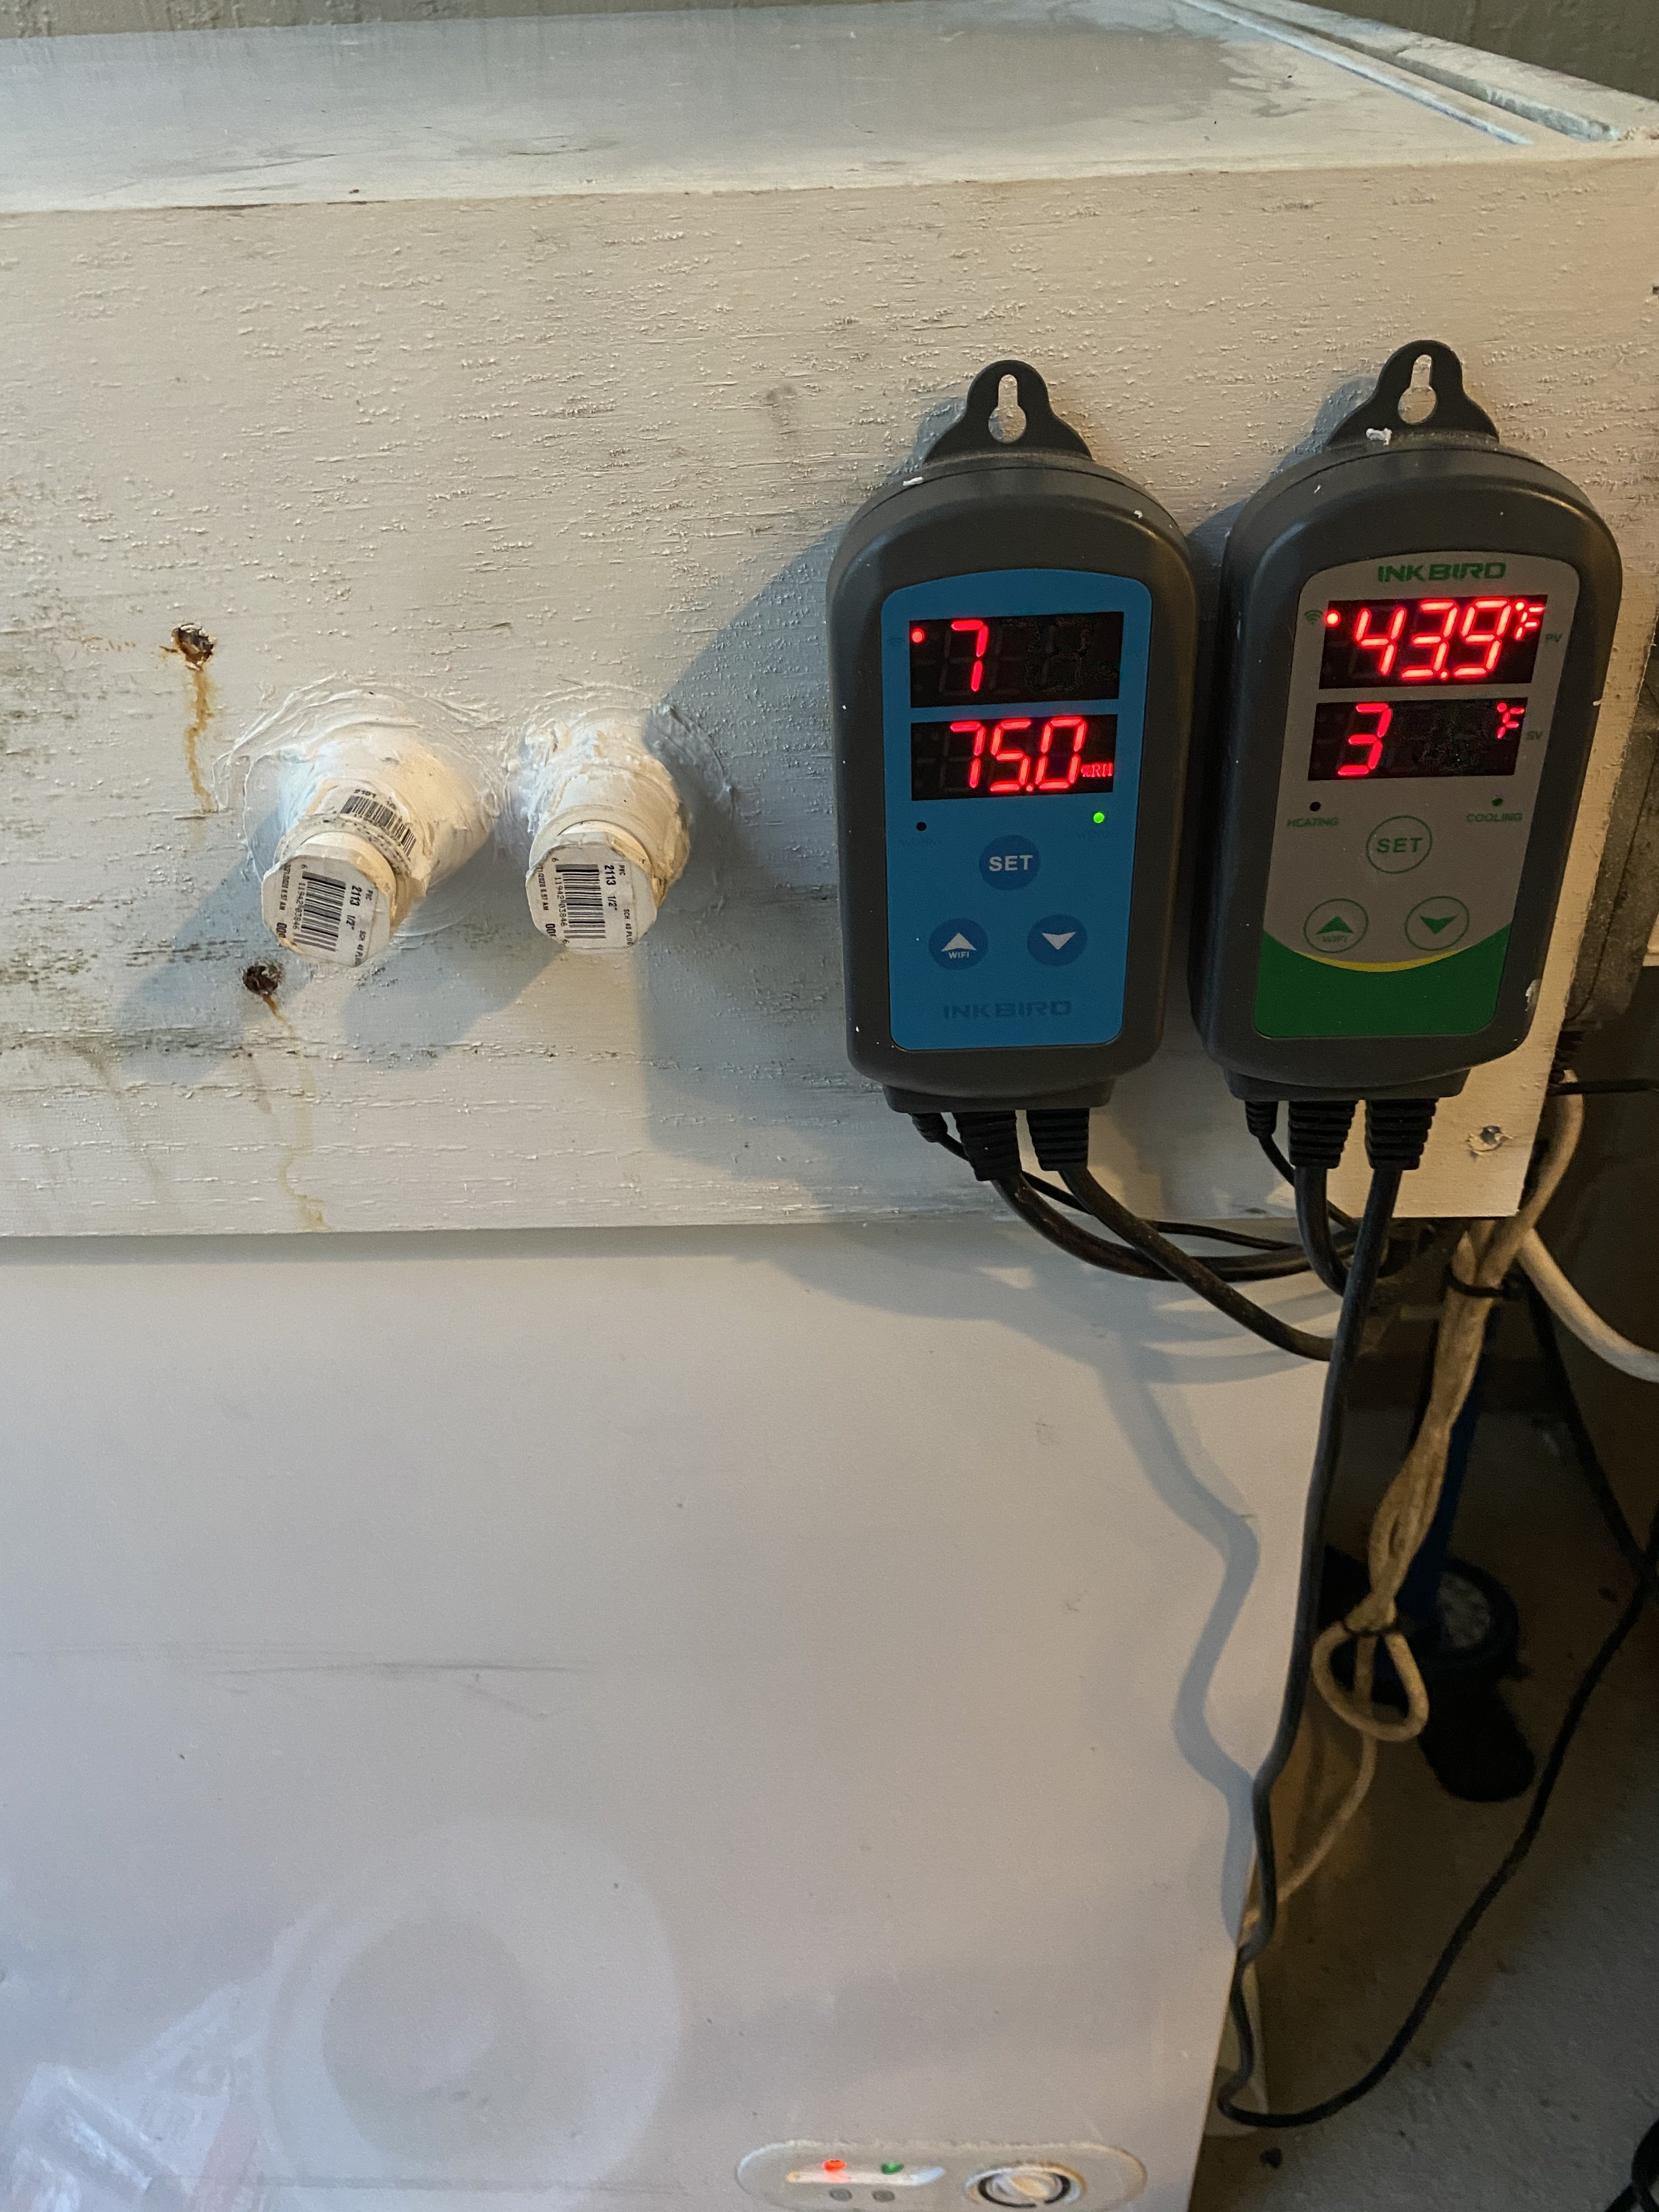
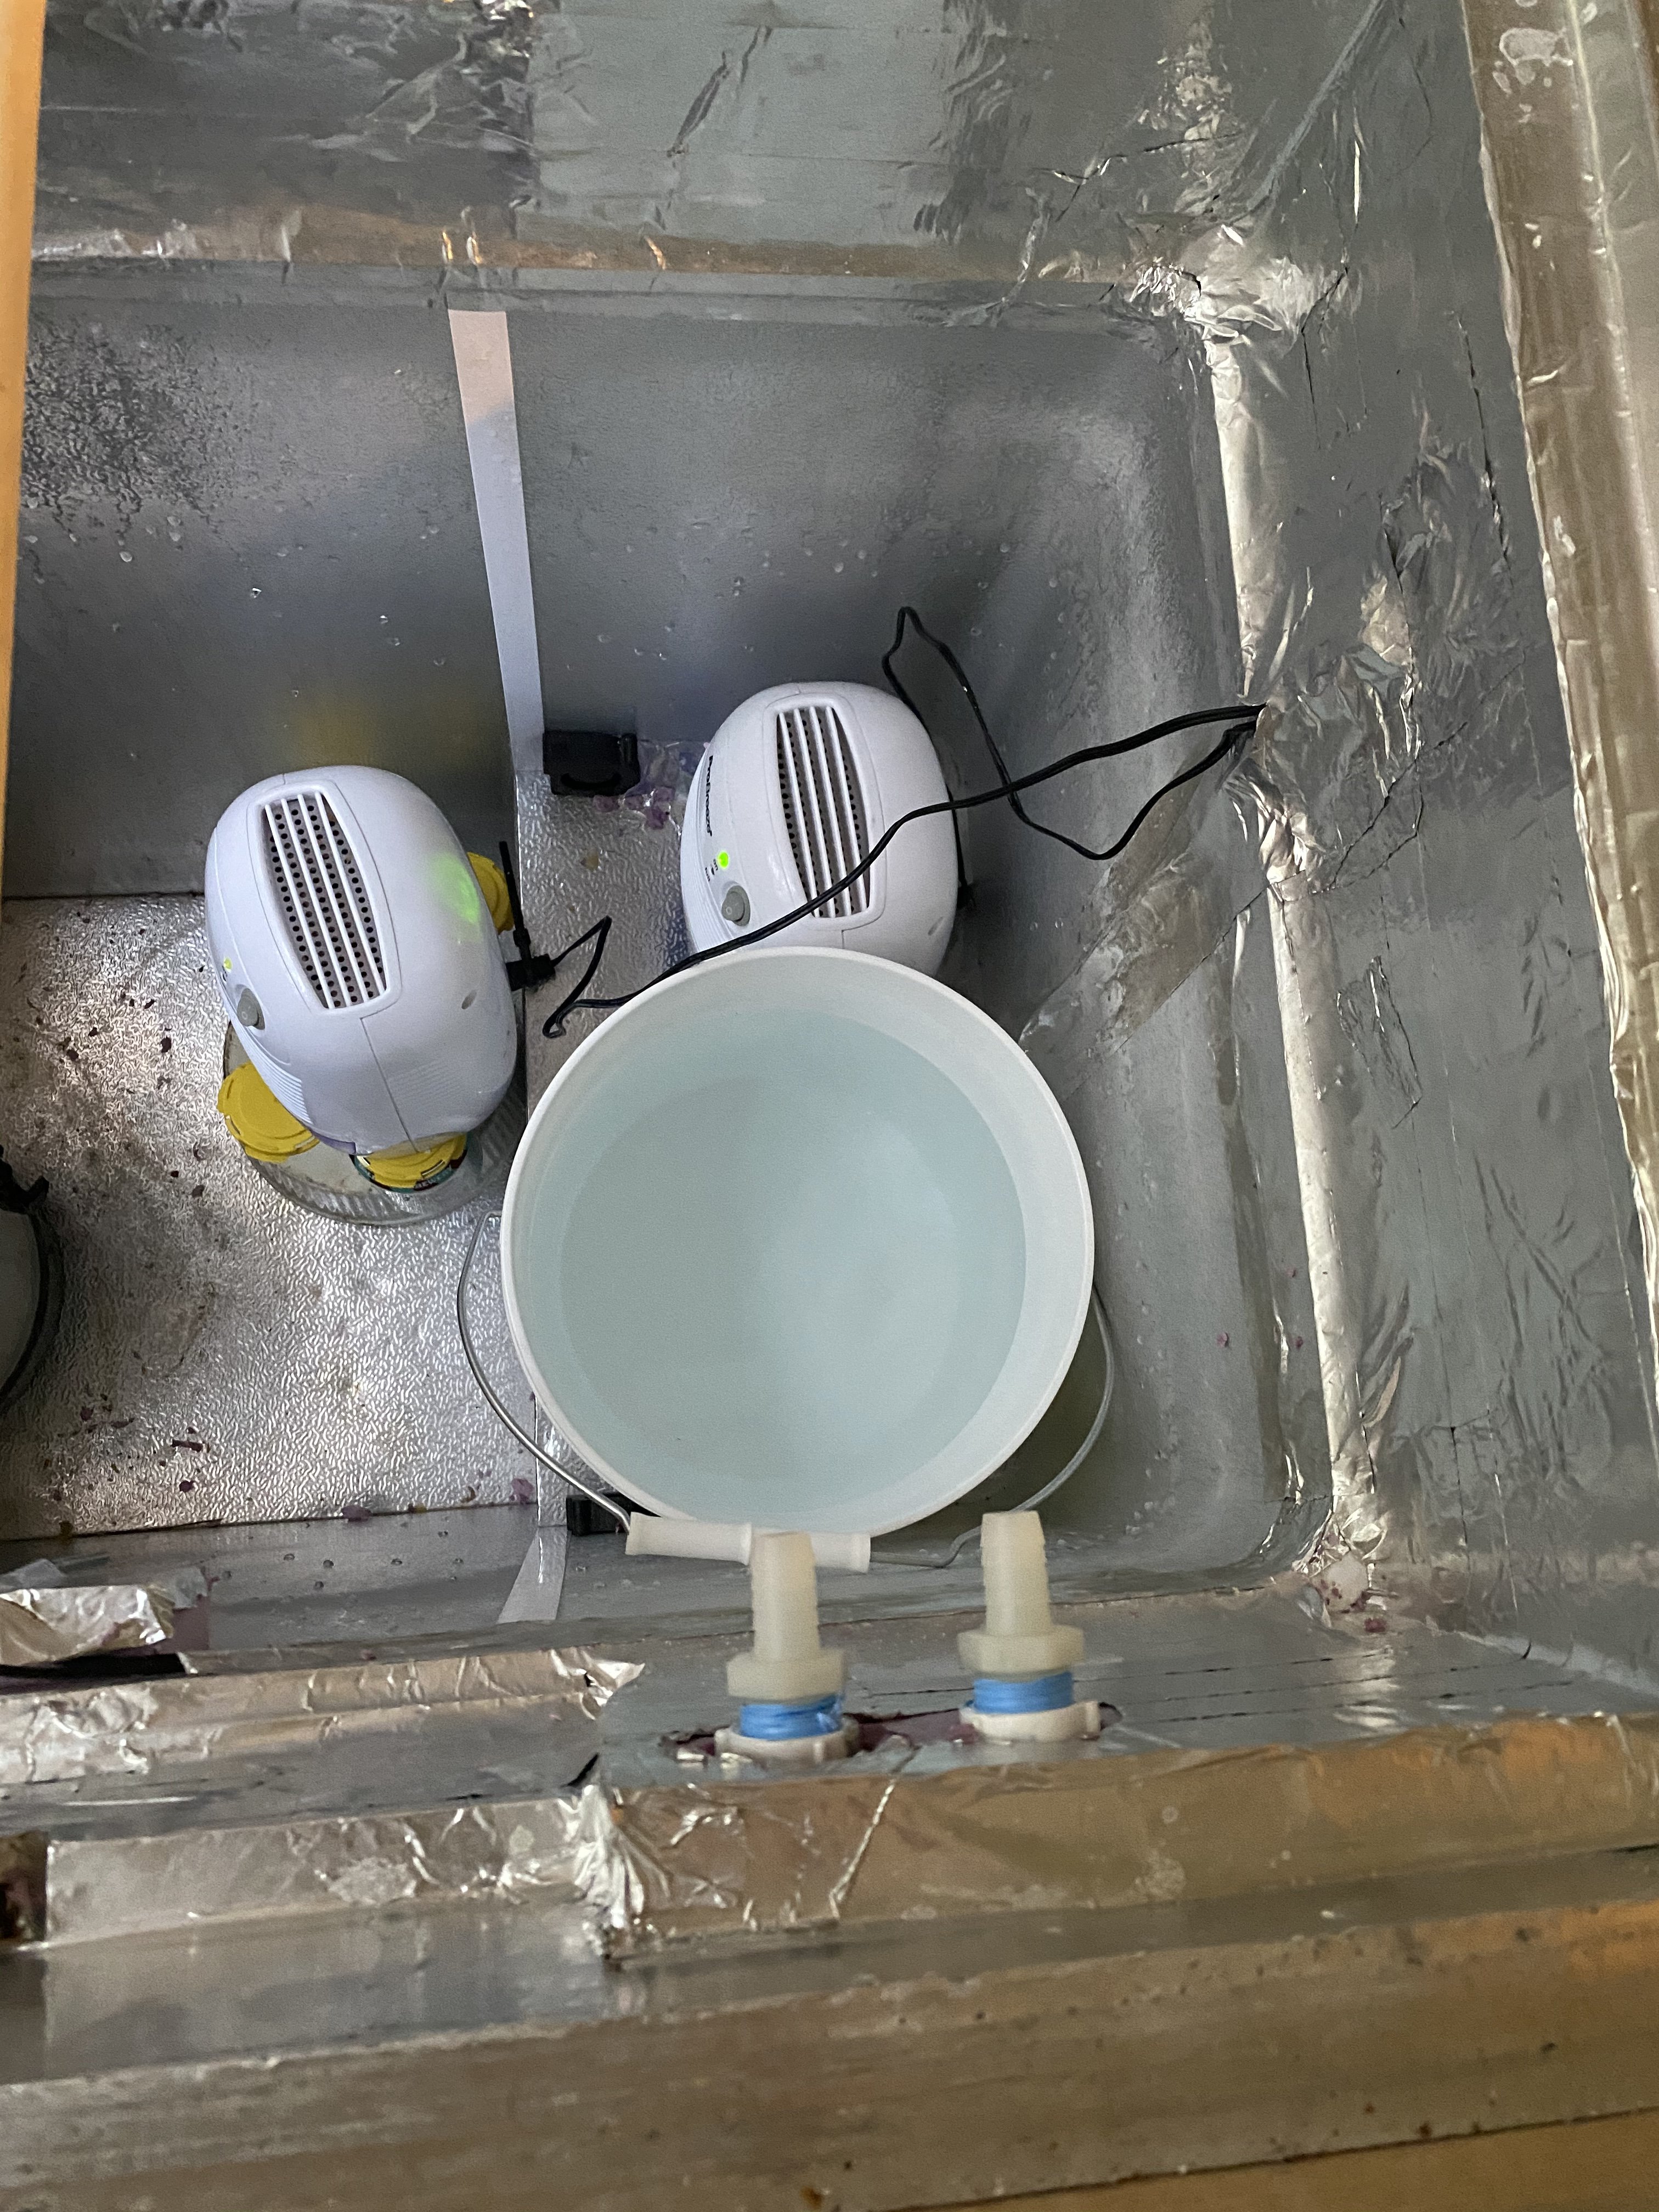
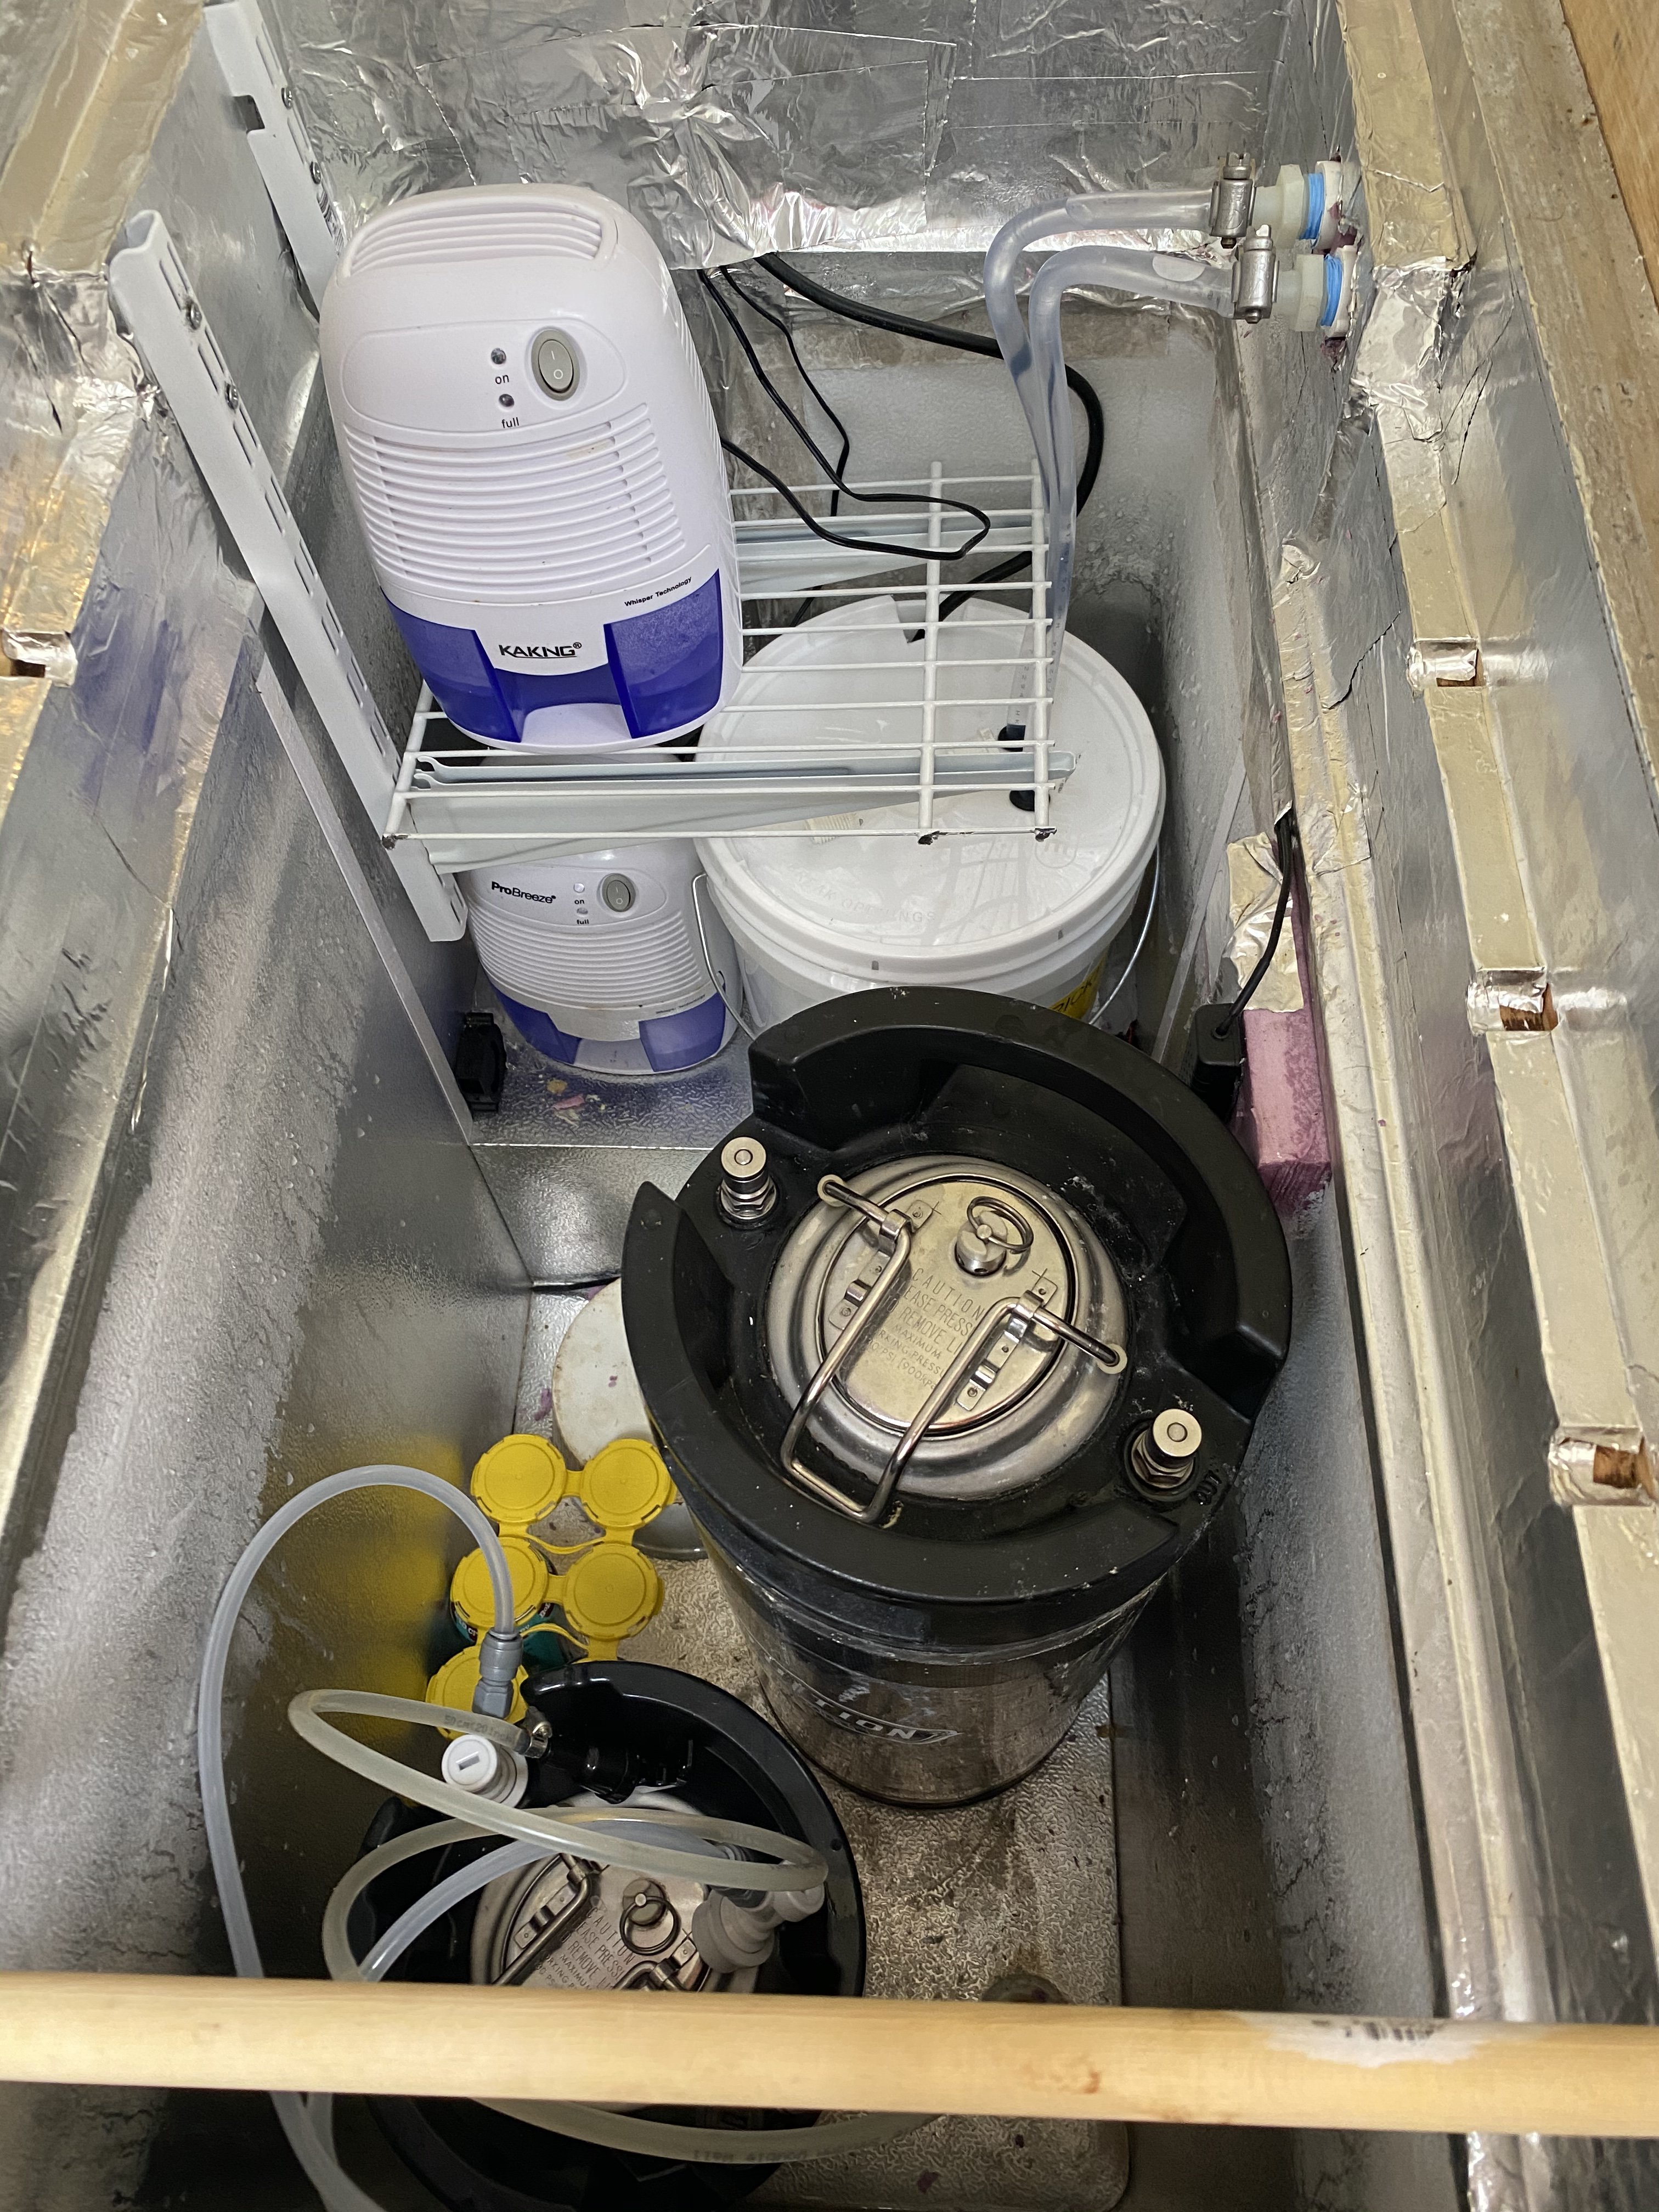
I am rearranging Inside of Keezer to hold 2 gal bucket of glycol/water mixture. I installed the below ports thru collar and will install lid on bucket with holes in top. Need drill hole and seal power cable for pump. One thing didnt think of is with bucket of water inside humidity will be high. May be able to manage with lid on bucket but we will see. Going to install shelf tomorrow so dehumidifier can be atacked. I also use these keezer for making sausage to need humidity control

C85BF182-728C-41E5-9D94-03F1804E5336.jpeg
6F798F44-429D-4A99-919A-7A8159A60CFE.jpeg
 
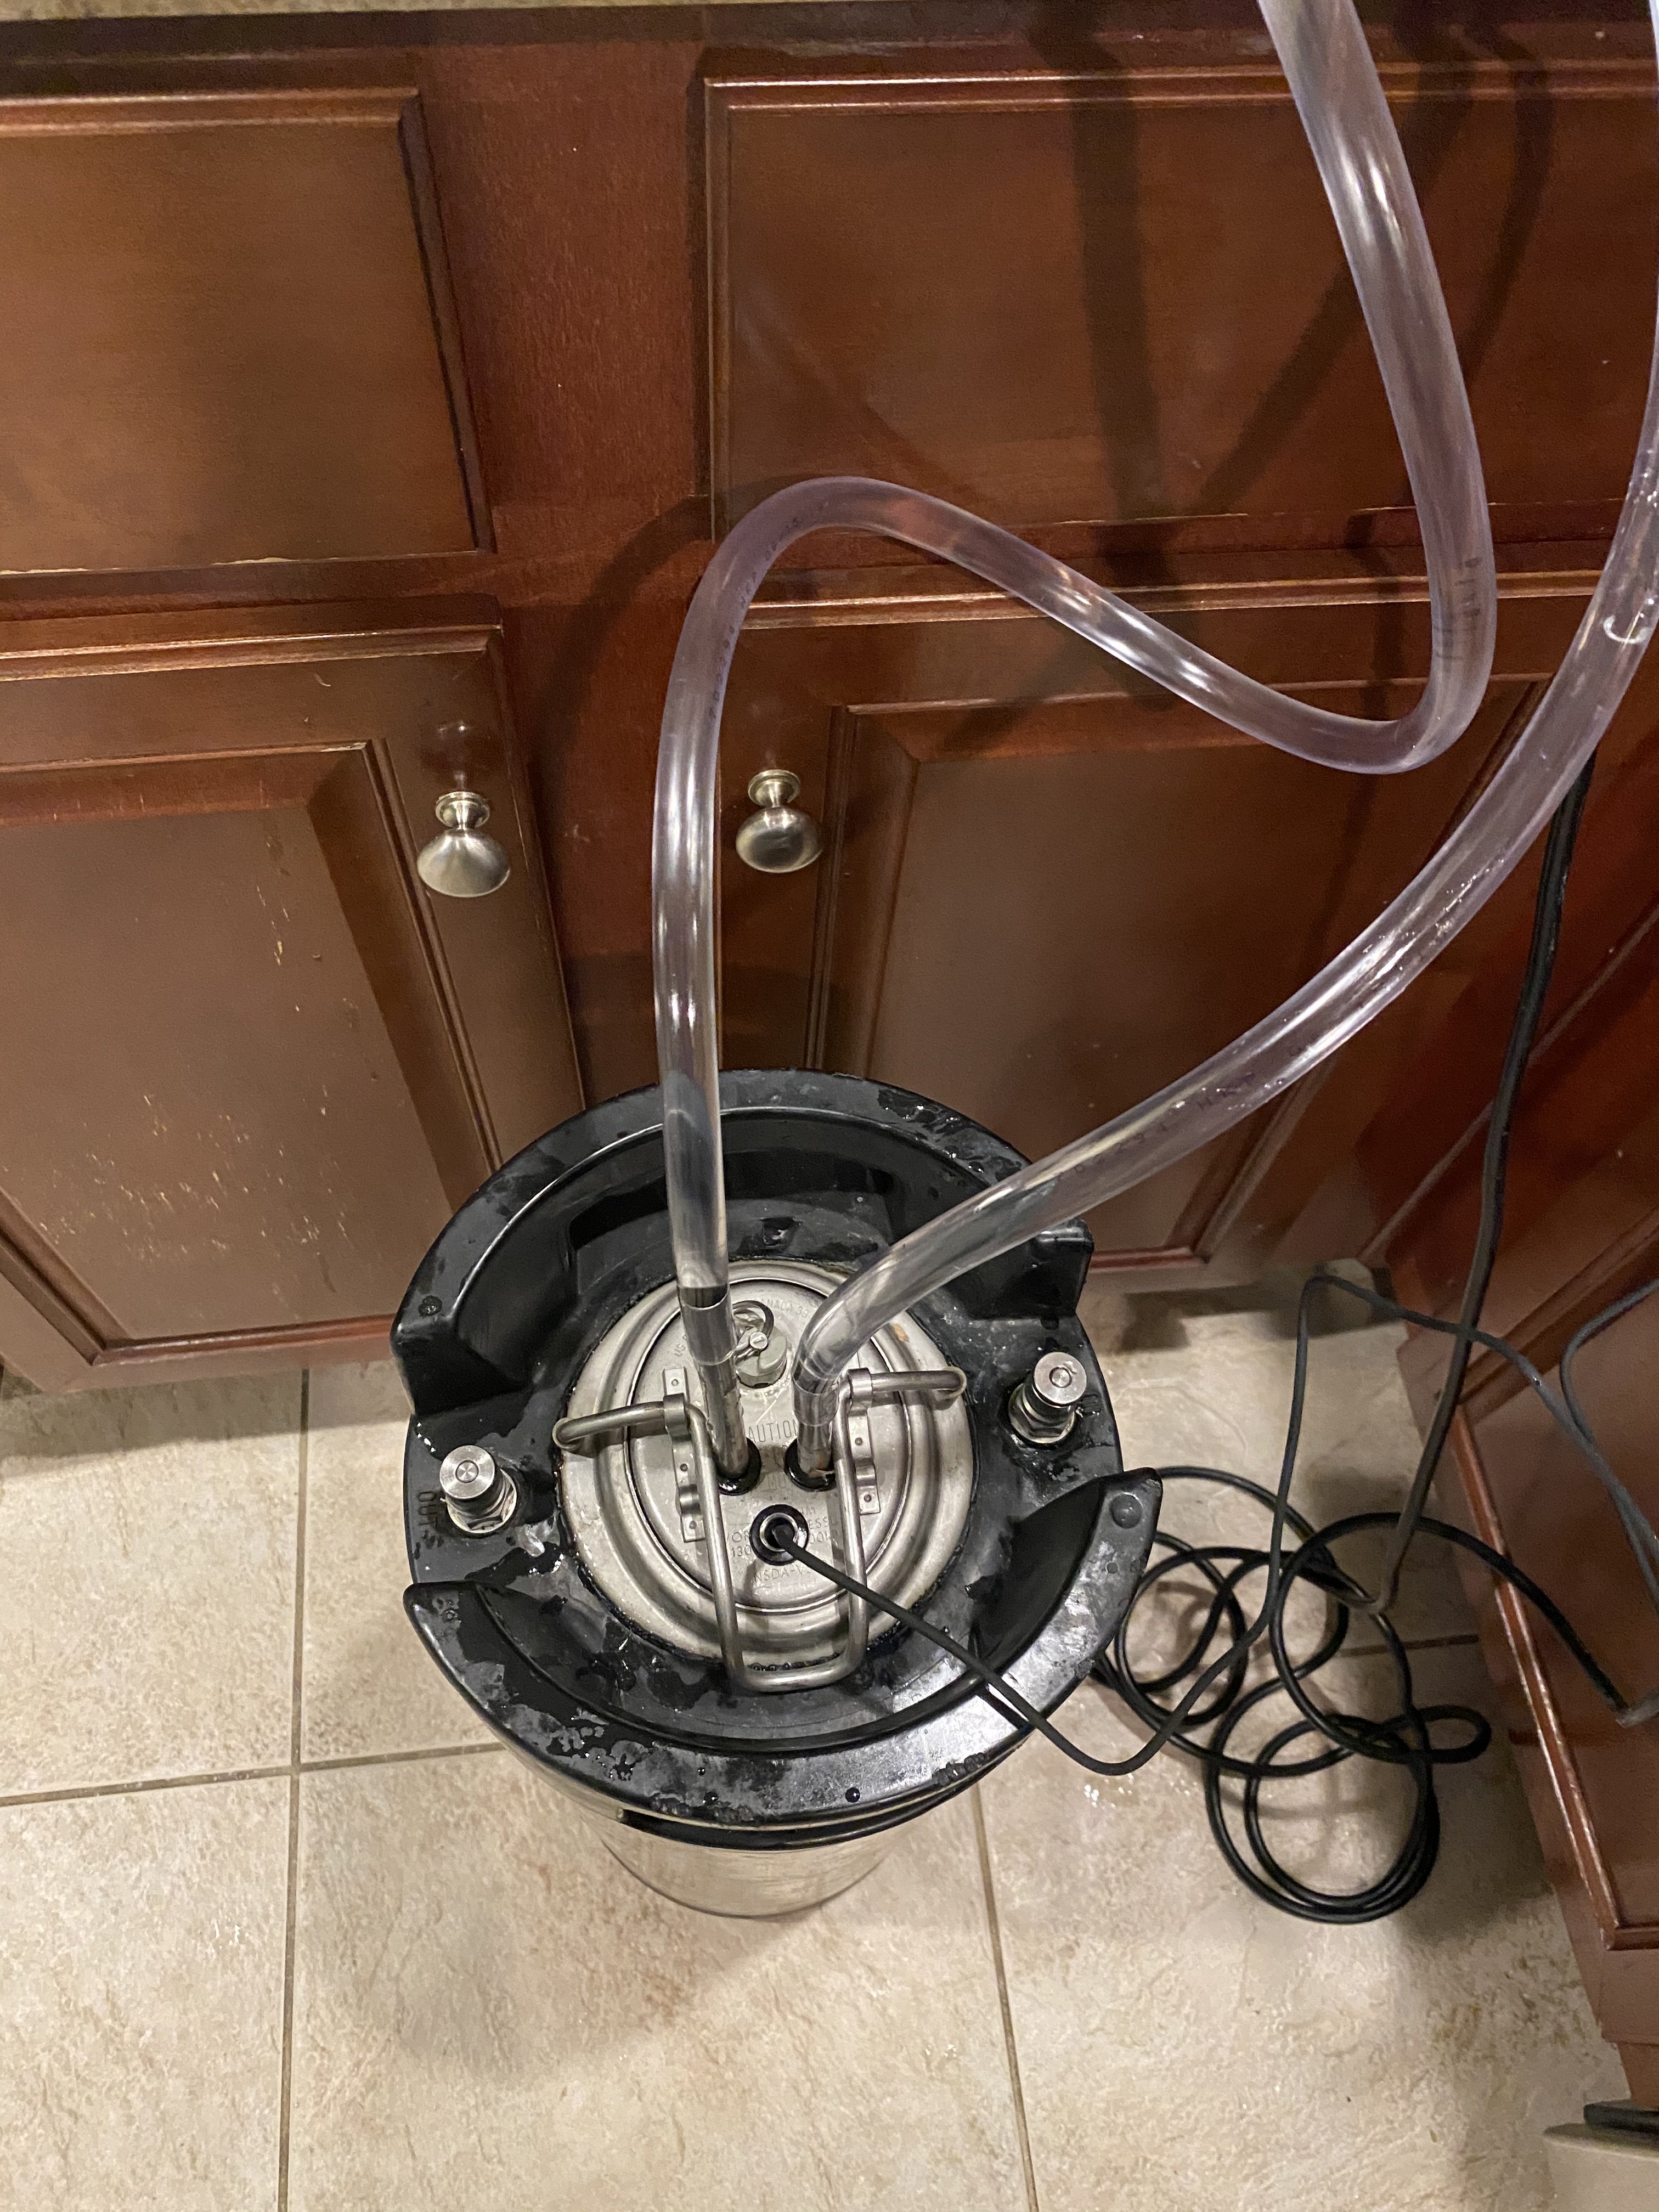
Was able get fermenter cooling complete today. Tried pressurizing keg for testing but one of the grommet was torn so didnt hold. Will retest some other time. Left keg outside with no insulation all day with temps mid 80s. Water in fermenter stayed between 67.1-68.2 all day. Im happy with this.
8B4BC885-B721-440B-82B5-004A507F785C.jpeg
D79101E7-A593-4EAC-9385-71E399BC4439.jpeg
 
You're motivating me to work on my fermenters. I made a neoprene koozie. It is a bit snug. I am not sure if that is a good thing because it will stretch or if I should make the next one a little looser.

16029378934574241914455367575475.jpg
 
Im not an expert but I would keep it snug. Imagine will loosen slightly over time

received fermzilla container in mail and much larger than expected. Due to size I am going to router out a circle and adhere funnel to the opening. Also looking at getting compression fittings for cooling coil and thermowell. Cant find any reasonably proced SS options. May go brass since it is up in lid and wont be in contact with the beer
Hope to get everything complete over weekend. Want to brew a coconut IPA beginning next week
 
You could also look into push connect/john guest fittings instead of brass.
 
Not sure push connect would work as it has to be a pass thru. Having hard time find reasonably price fittings. Homebrew site can get for around $20 each

was able to finish up no oxygen pellet/flavor drop today. When I get it back home will make sure holds pressure.
0119AEED-292C-472D-B6FE-EB345D818D63.jpeg
3A5AA9C1-F3E6-475E-8DA6-E89D2ABC6120.jpeg
760B2CB3-1B01-4B56-9854-656A7B76B909.jpeg
FC10558F-3C5B-42A2-9C18-A4006111CA06.jpeg
 
Able to do dry run today which allowed me to see issues

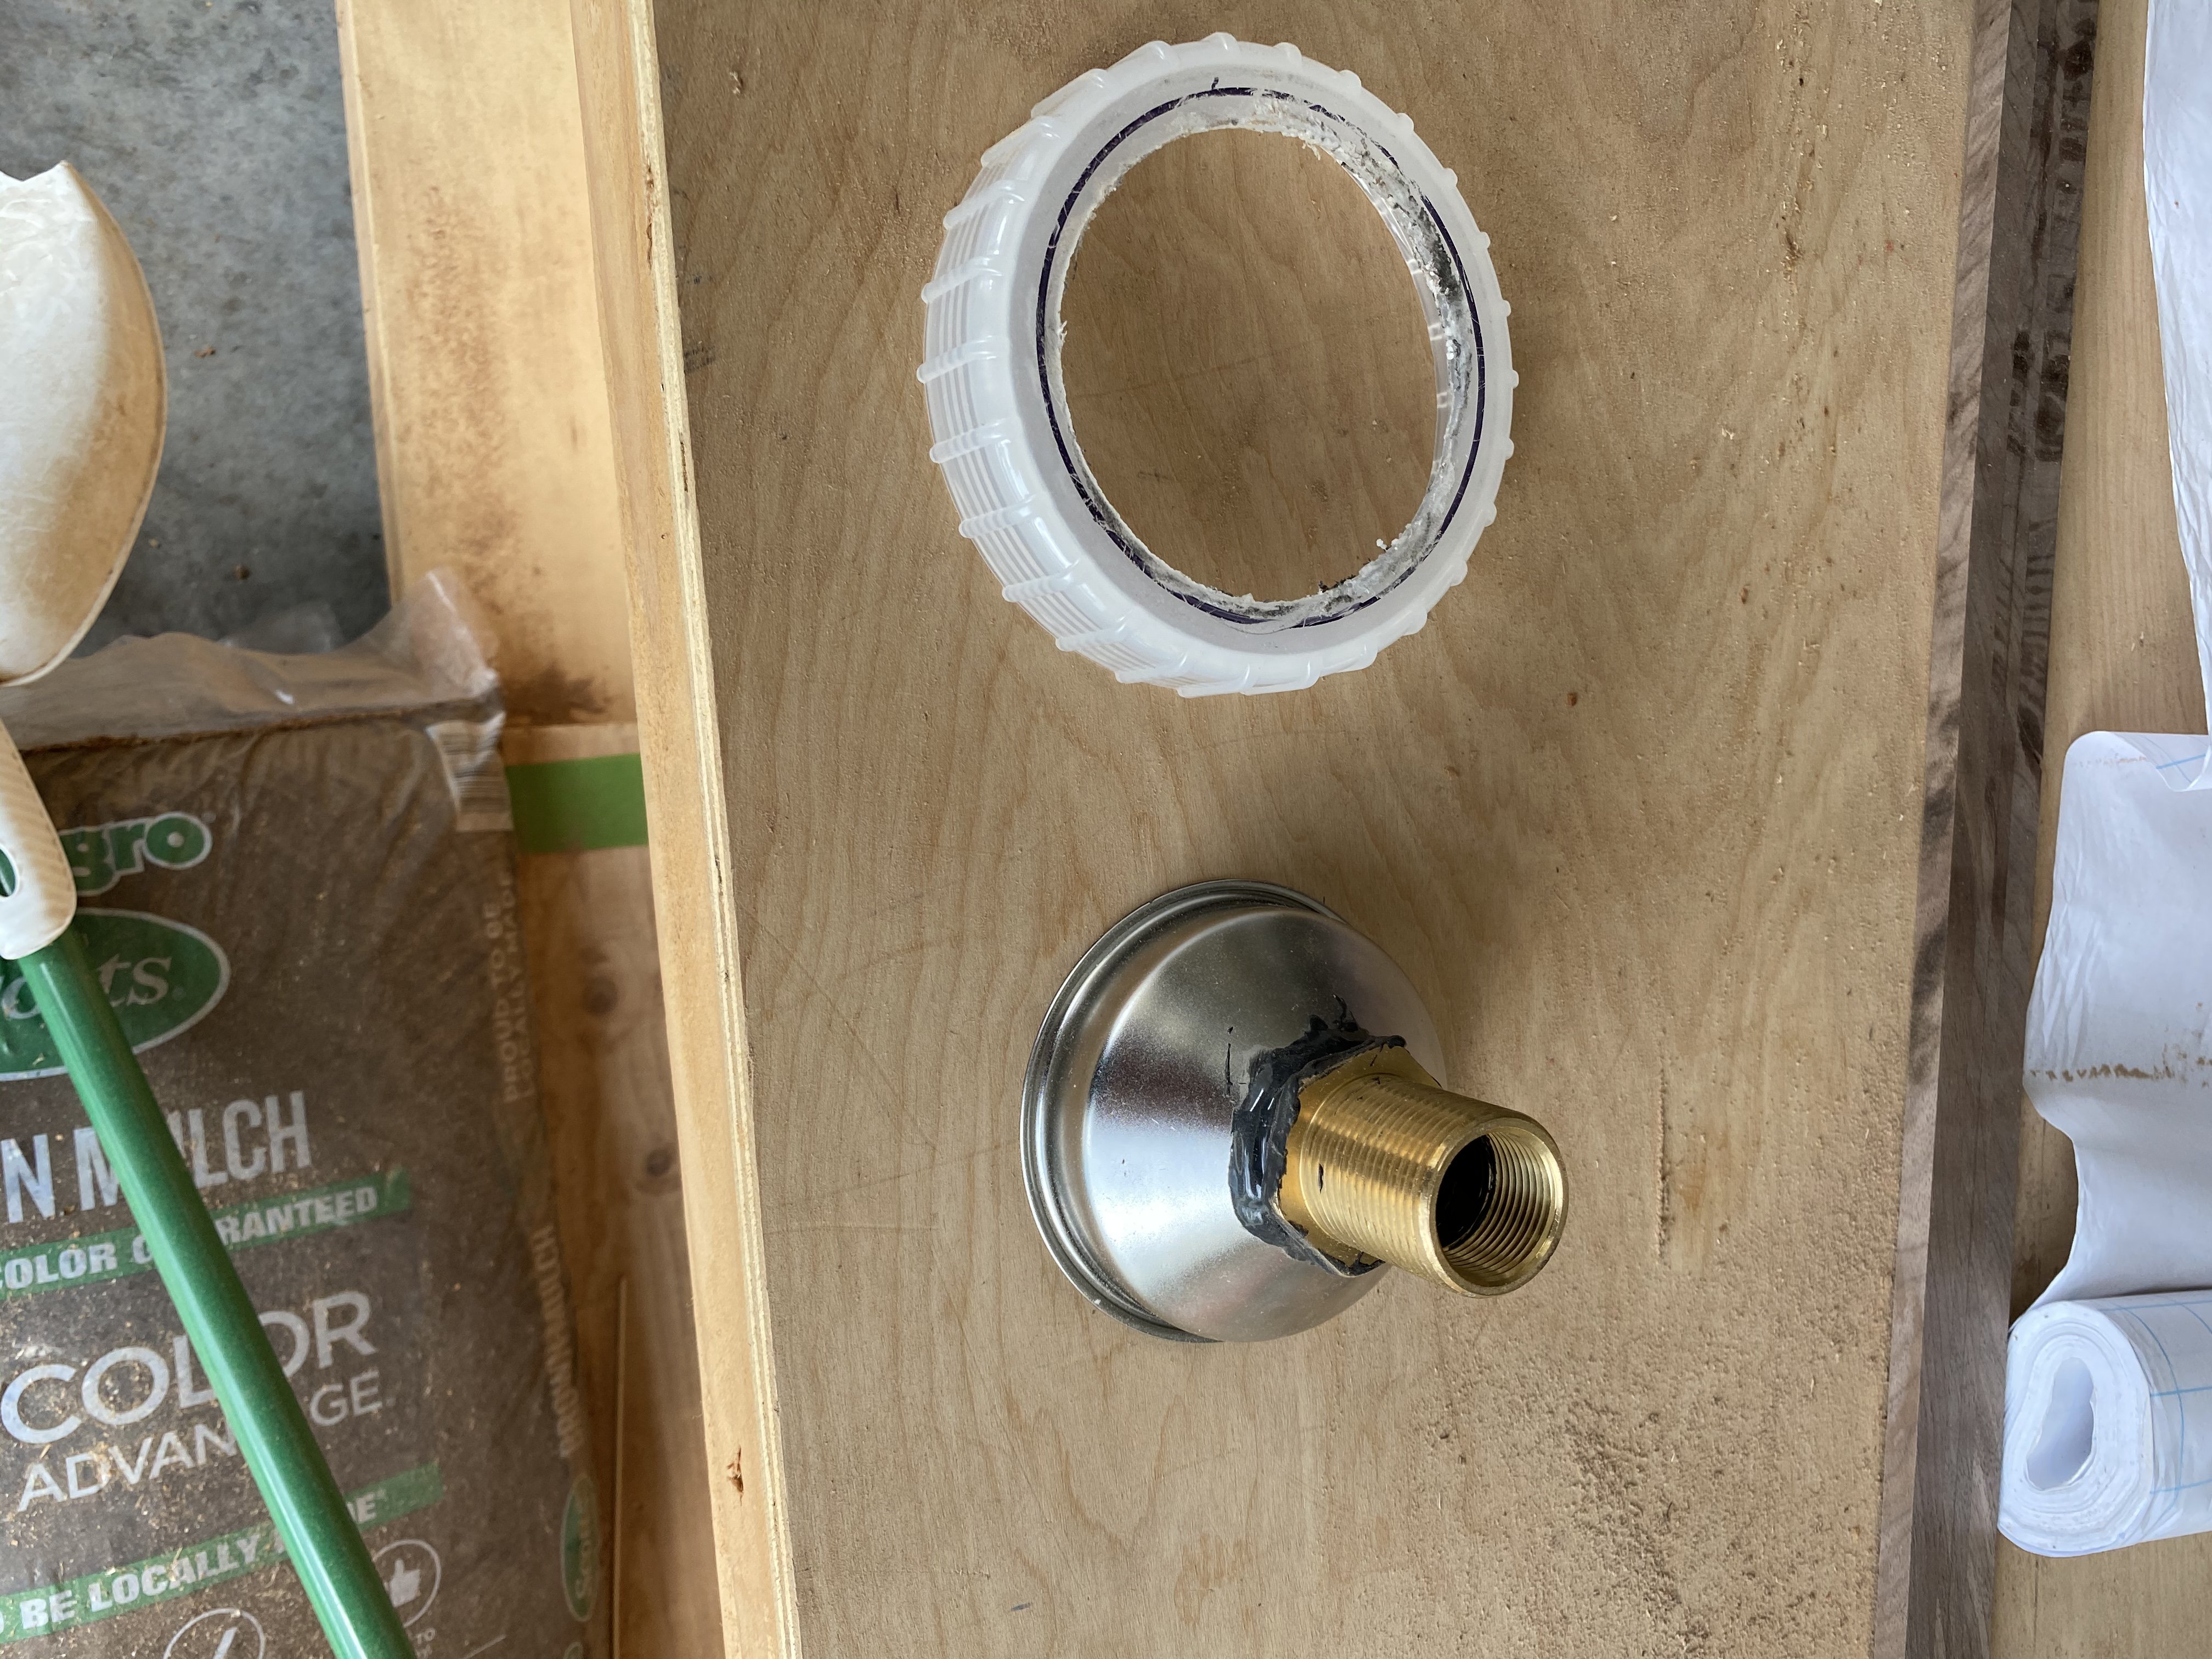
1. the 1in bulkhead for dump valve frees up when I screw on pellet hopper. Due to this will need to permanently attach under side with jb weld.
2. Lid for fermzilla leakes co2. Doesnt suprise me as not pressure rated. Will try and find an additional oring to use to see if that helps.
3. Pressurized keg to 15psi the. Dialed in spundit valve to 12psi. No audible signs of leaks anywhere. Came back 1.5 hours later and noticed 1psi drop. Monitored throughout morning and continued to drop 1psi every 1-1.5 hours. I am assuming this leak is around grommets. If I push laterally enough on cooling coil stems you can hear gas escaping. I have the compression fitting on order for coul which will prevent leak there but I will always have to use grommet for thermowell. Due to it located close to edge of lid I do not think I can install with compression fitting sticking up
 
Trying to fit this all on a corny keg lid is a major PIA. Unable to get a 3rd push connect fitting on lid due to lack of room. Its not pretty buts its functional. I pressurized to 15psi and it has dropped around .5psi in 3 hours. Imagine fermentation will be able to keep it up.

going to buy new keg lid and move the dry hop dump to go thru side of keg at top. This will leave a lot more room for thermowell and cooling coil in lid. Plan to roll with what I have for brew day tomorrow. Doing coconut cream IPA

have to tape down thermowell as pressure pushes it out of grommet
249E7A8C-D0F6-46ED-80A0-E7A942DD263D.jpeg
 
Try these lids. The clamp is spaced out further than the lid you have. Perhaps that will give you more to work with? I like the concept you have and tried working with @Jaybird for a stainless option to weld in but we couldn’t fit it.
 
I actually ordered that lid after sending last update

thinking about going with 1/4”stainless tubing and making new cooling coil. This will save space on lid. Will 3/8 ID hose work on 1/4OD tubing with a tube clamp?
 
I don’t see why not or you could go with these or these depending on the OD of your tubing. They also make in-line versions if you are using different lines running to the coil. Duotight is very good quality and I don’t have any that leak.
 
for god sake man, KISS!!!

stop trying to force the coils into your setup. not worth the trouble. get yourself some blue discharge hose and wrap the corny lower half with it. slip the temp probe under the wrap and cover it with bit of insulation. the difference between wort and keg wall temps will be negligible. blue hose works perfectly fine and will be way less hassle to move around, no need to clean, etc. etc. you wont need a thermowell.

gas port is for adding finings, co2, using spund valve, etc. liquid port is for samples if you need them, and transfer. you can also buy a keg lid with another dip tube in the middle of it that is supposed to be for carbing, and swap the carb stone assy for a floating dip tube if you want to serve right out of the same keg.

as for the dry hops, dont have a good answer for you. its just not something that fits in corny design easily. since you seem relatively handy, my suggestion would be to add 1" TC fittings. one of the vendors here sells a kit to silver solder a TC flange onto kettles, mash tuns, etc. shouldnt be any different for adding to corny lid. lot more likely to hold pressure than a bunch of grommets, threads, etc. then you can add some sort of container for holding hops, (say a concenrtric 1" to 3" adapter) let the co2 purge the container, and drop em like they hot once you ready to DH.

in that case you free up your gas port since you can put the spunding valve or blow off tube on top the hop chamber. or not. but you gotta get co2 flowing through the hop chamber to get an actual purge.

you can ferment with blow off, purging the hops. you have simple and easy glycol cooling with pretty damn accurate temp readings from the insulated probe. you can spund. you can dry hop without opening. you can transfer using the liquid dip tube or the floating dip tube.

your only real "project" is to get the lid into shape with a TC flange. everything else is pretty much plug and play.
 
That was my main focus when discussion with Jaybird. The only thing I needed was a TC port in the lid for dry hopping.

I added a “CO2” lid to my keg and used that post as a floating dip tube. Kept the liquid post as a way to clear out some trub and yeast. Gas post I added a spunding valve. I put the keg in the temp controlled freezer with a tilt. 10 gallon kegs hold enough volume for 5 gallon batches.

I don’t want to discourage the OP as I’m interested in seeing what he can come up with for a dry hopping port. Someone else on this forum welded on a TC to the top of a 10 gallon keg dome. Pretty slick and the best option I’ve seen. But I agree with SanPancho in that a lot of the keg ports can remain to keep it simple.
 
That was my main focus when discussion with Jaybird. The only thing I needed was a TC port in the lid for dry hopping.

did you end up doing the TC fitting in the lid, or no? i assume no if you used a co2/carbing lid...
 
No we ultimately decided that there was no room to work the lid open and close with a TC in it and still have a functioning prv. Jaybird said he’s worked on it before and just couldn’t do it with current lid dimensions.
 
makes sense. not alot of real estate there and it would stick up quite a bit.

the only other thing i could think of for dry hopping would be to add something smaller to the lid, maybe a 1/2 to 3/4 hole, and then make your dry hops into a slurry with some boiled /deaerated water and get it in. the idea of trying to get pellets in there through a small hole sounds like its just asking for clogs.....
 
Although trying to figure this out is a PIA it is a little fun. I had a spare 3/8" 20' copper coil laying around that I rotated around the keg and taped in place. I then put keg inside a keg cooler and hooked up to my pump. Didnt chill temp down near as quick as internal coil but it is slowly dropping. I think in one hours it has gone from 73.5F to 70F in an hour. Going to wrap a large towel around the coil to prevent any dead space to see if it is more efficient. If this works I will drill only a thermowell port and a dry hop port on new lid.

I have a spare keg and a buddy that tig welds. Next project is to cut corny keg right below the rubber at the top then tig weld in an 8" TC flange. I will then have more than enough room on an 8" TC lid to install everything. Problem with this is flange and lid are around $150.
 
I actually ordered that lid after sending last update

thinking about going with 1/4”stainless tubing and making new cooling coil. This will save space on lid. Will 3/8 ID hose work on 1/4OD tubing with a tube clamp?

I am going from 1/4 tube to a compression/NPT fitting to a NPT/barb (3/8) fitting.

I still think you should bring the beer to hops with a diaphragm pump and hop rocket.
 
get a 5gal sanke keg with screw in spear. they come right out and you're left with essentially a 2" TC flange. add a 3 port TC manifold vertically and you've got one port for floating diptube connection, one for gas/spunding, one for PRV and the top/4th port can be where you put your hop chamber, above a butterfly so it can be purged.

glycol and temp probe on the exterior.

done.

hell, id give you one of our old ones if you were local
 
Well got some bad,good,and great news

bad news is drilled new lid and everything fit perfectly but didnt hold pressure.Was a little pissed off and wife asked why cant you just buy what you need. I told her I could but they are all costly

good news she said just get whatever

great news is I have a spike flex plus with cooling coil and other accessories coming now

Next I think I may need to have some “issues” with brew kettle and may have to get upset with it when she is around
 
Back
Top