Competition bottling NEIPA from Keezer

Homebrew Talk - Beer, Wine, Mead, & Cider Brewing Discussion Forum

Help Support Homebrew Talk - Beer, Wine, Mead, & Cider Brewing Discussion Forum:

This site may earn a commission from merchant affiliate links, including eBay, Amazon, and others.

sicktght311

Well-Known Member
Joined
Oct 16, 2018
Messages
684
Reaction score
303
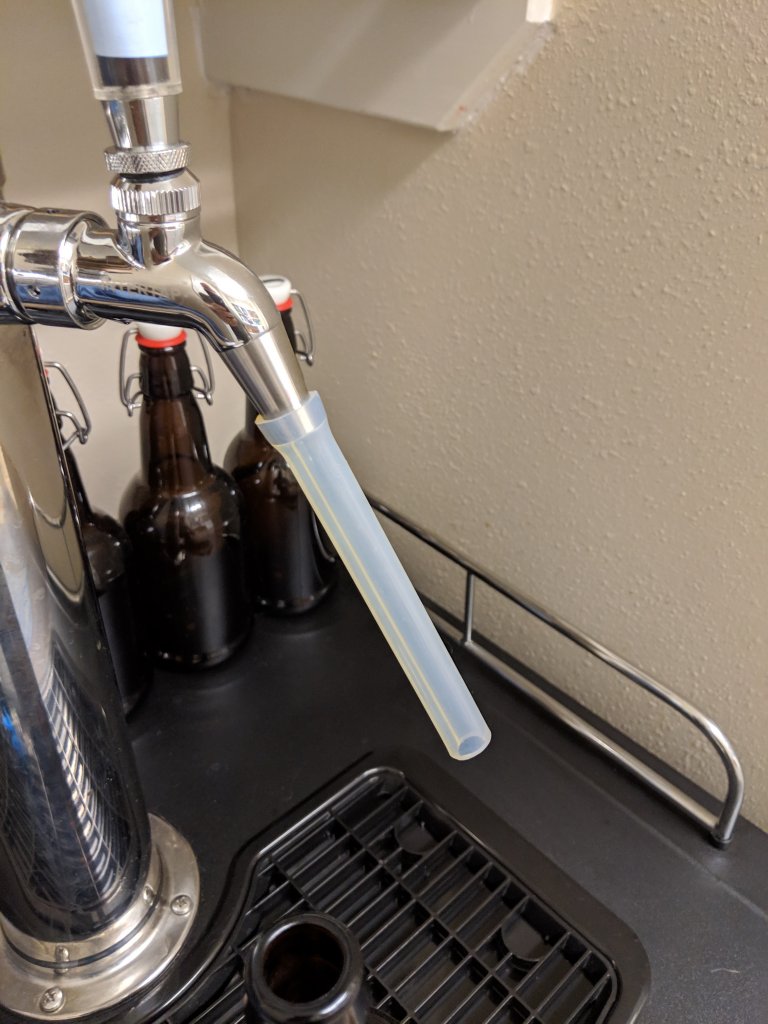
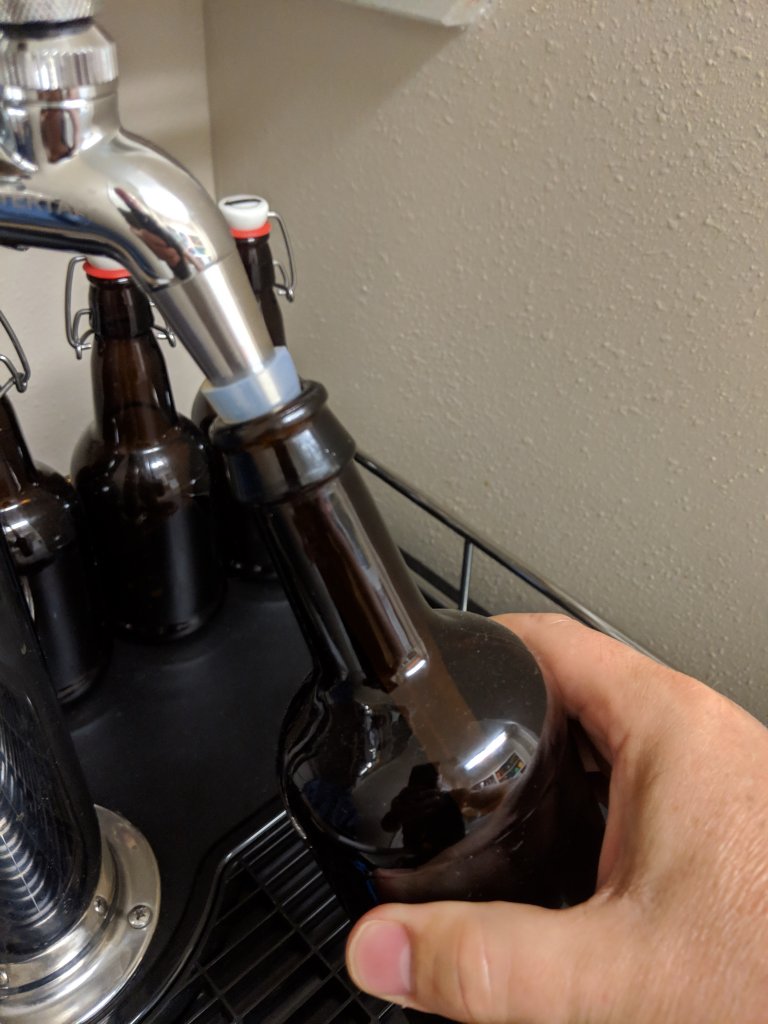
Without a Blichmann beer gun, got any tips/tricks for bottling a fully carbed and delicious NEIPA from my keezer into 12oz bottles in advance of a homebrew competition? I will have about 2 weeks from bottling date to when they get opened for judging. Typically i would drop the bottle temp down to just about freezing, sanitize, purge the bottle excessively with co2 from one of my open valves/hose barbs on my co2 distribution block, then drop the pressure down to 3psi on the keezer, pour about 4-6oz out to clear the line, fill the bottle until foam is pouring out of the top, then quickly cap it on the foam. Usually leaves a little bit of headspace but nothing out of the ordinary.

My only concern is just oxidation being that its 2 weeks until they get opened, and i know oxidation post fermentation with NEIPAs is just god awful and so easy to get
 
Sounds like you've got it figured out. That's what I would do too.
You're using a bottle filler tube, right?

Have you done a simulation? Do you have time for one?
Fill a few, let them be at room temps for 2 weeks, or higher during some of the time, depending how they're being shipped and prevailing temps along the route. Shake them up well periodically, or lie them horizontally in a box in the car, for good measure. Then chilled and tasted?

Unfortunately i dont have the time, as i was kinda late to the sign up for the competition, and decided to just bottle up the only beer i have left on tap since i havent brewed in a couple months. So no chance to test it. Good thing though is no need to ship. I can drop it off locally
 
Yeah i have a growler filler tube, but its pretty tight around a standard 12oz bottle
 
process sounds good but make SURE you are filling witha pc of tubing, to fill from bottom up
Use a bottling wand so it fills from the bottom for less splashing and foaming, but remove the spring loaded tippy, so you get a straight clear tube going down to the bottom. Or cut the bend off an acrylic racking cane, or a piece of hose.

I prefer filling under counter pressure with a drilled #2 rubber stopper to keep the beer better carbonated. But when using counterpressure, you do need to clamp everything down or you'll get showered.

Now when you pull the filling tube out, you'll pull air into the headspace. Maybe give that a puff of CO2 before capping.

How are you connecting your bottling wand to your tap
 
How are you connecting your bottling wand to your tap
A short piece (~3-4") of 1/2" ID silicone over the tap spout, clamped down.
A short piece (~1") of vinyl tubing over the top of the bottling wand to fatten it up to about 1/2" OD, so it fits inside the 1/2" silicone.
Clamp down.
Try to get the top of the bottling wand close to the bottom end of the spout, so there is less turbulence due to widening. Say within 1/4-1/2". That also gives you some flexibility.

I've been doing that for years.

Dug out my bottling wand last night, and did some test fitting and this seems to work. I am going to try a bottle tonight or tomorrow with this method, just need new o-rings on my growler fill tube fitting.
 
Well i had a hell of a time bottling last night, but i got it done. I found even on 3psi, i had foaming issues and i think next time i need to put the growler filler tube in the freezer/fridge before hand. I found the easiest way to get it done was to barely open the tap so the beer dribbled in, and just kept sliding the filler tube out of the bottle keeping it submerged as i filled. Once i got to the top of the neck and it started foaming, i would blip the faucet lightly, rest for a second, fill, rest, fill, rest, until it was almost to the top and just foam on top. I then capped on the foam.

I chilled, sanitized, and co2 purged the bottles before hand so we shall see how they turn out. The first bottle i filled got about 3/4 of the way filled and the rest was foam so i capped it and put it in the fridge assumign it will lose some carbonation but i can test it on the day before the competition judging to ensure that the beer didnt oxidize. Heres to hoping! Definitely looking into canning in the future
 
I have used the "poor man's beer gun" with some success, had read about it on this forum but cannot find the thread now.

-Shove some silicone tubing over your tap nozzle.
-Slide the bottle up over the tubing and press upward hard enough on the tubing 'skirt' to create a pressure seal.
-Turn on the tap and you are now filling under counter pressure. Notice very little foaming if doing it right.
-When flow slows down (due to pressure in the bottle), tilt the bottle very slightly to break the seal, so some pressure can escape
-Reseal and repeat until full, then slide the bottle down off the tubing
-Should have a little foam after sliding off the tube. Cap on top of the foam to prevent oxygen ingress.

It may take a few attempts to master the technique but it is not difficult.

 
Back
Top