- Joined
- Feb 13, 2014
- Messages
- 173
- Reaction score
- 180
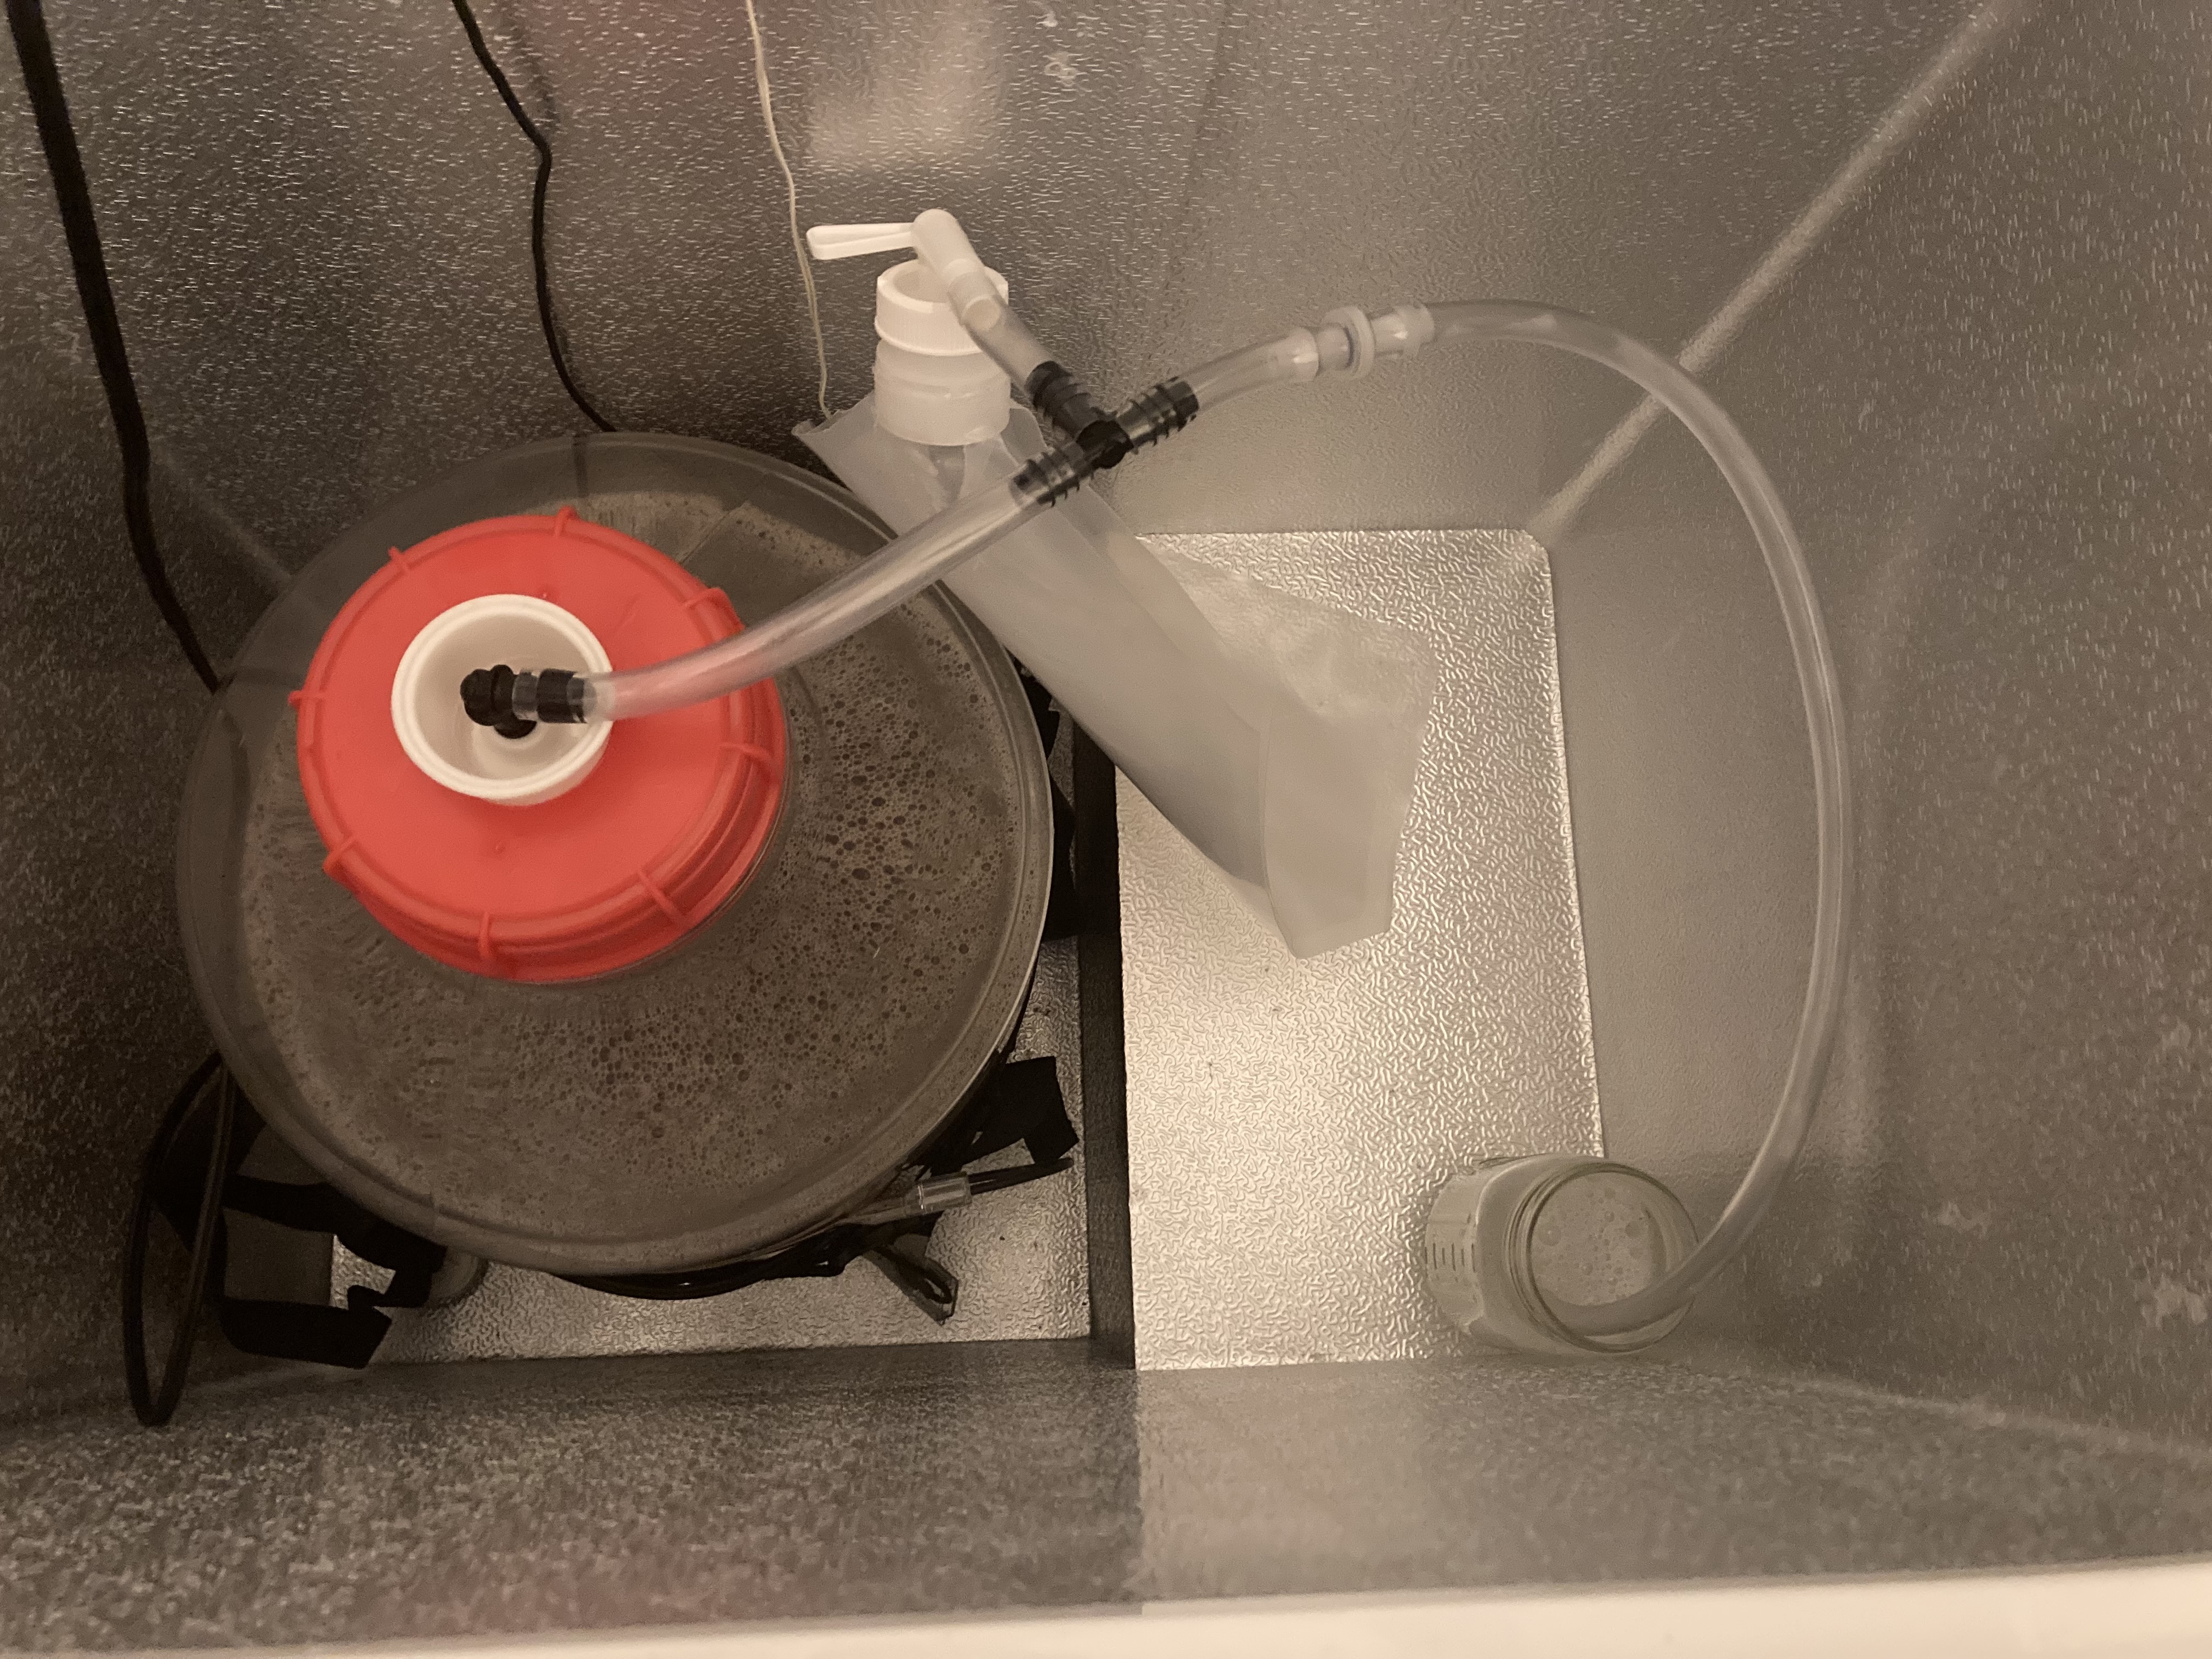
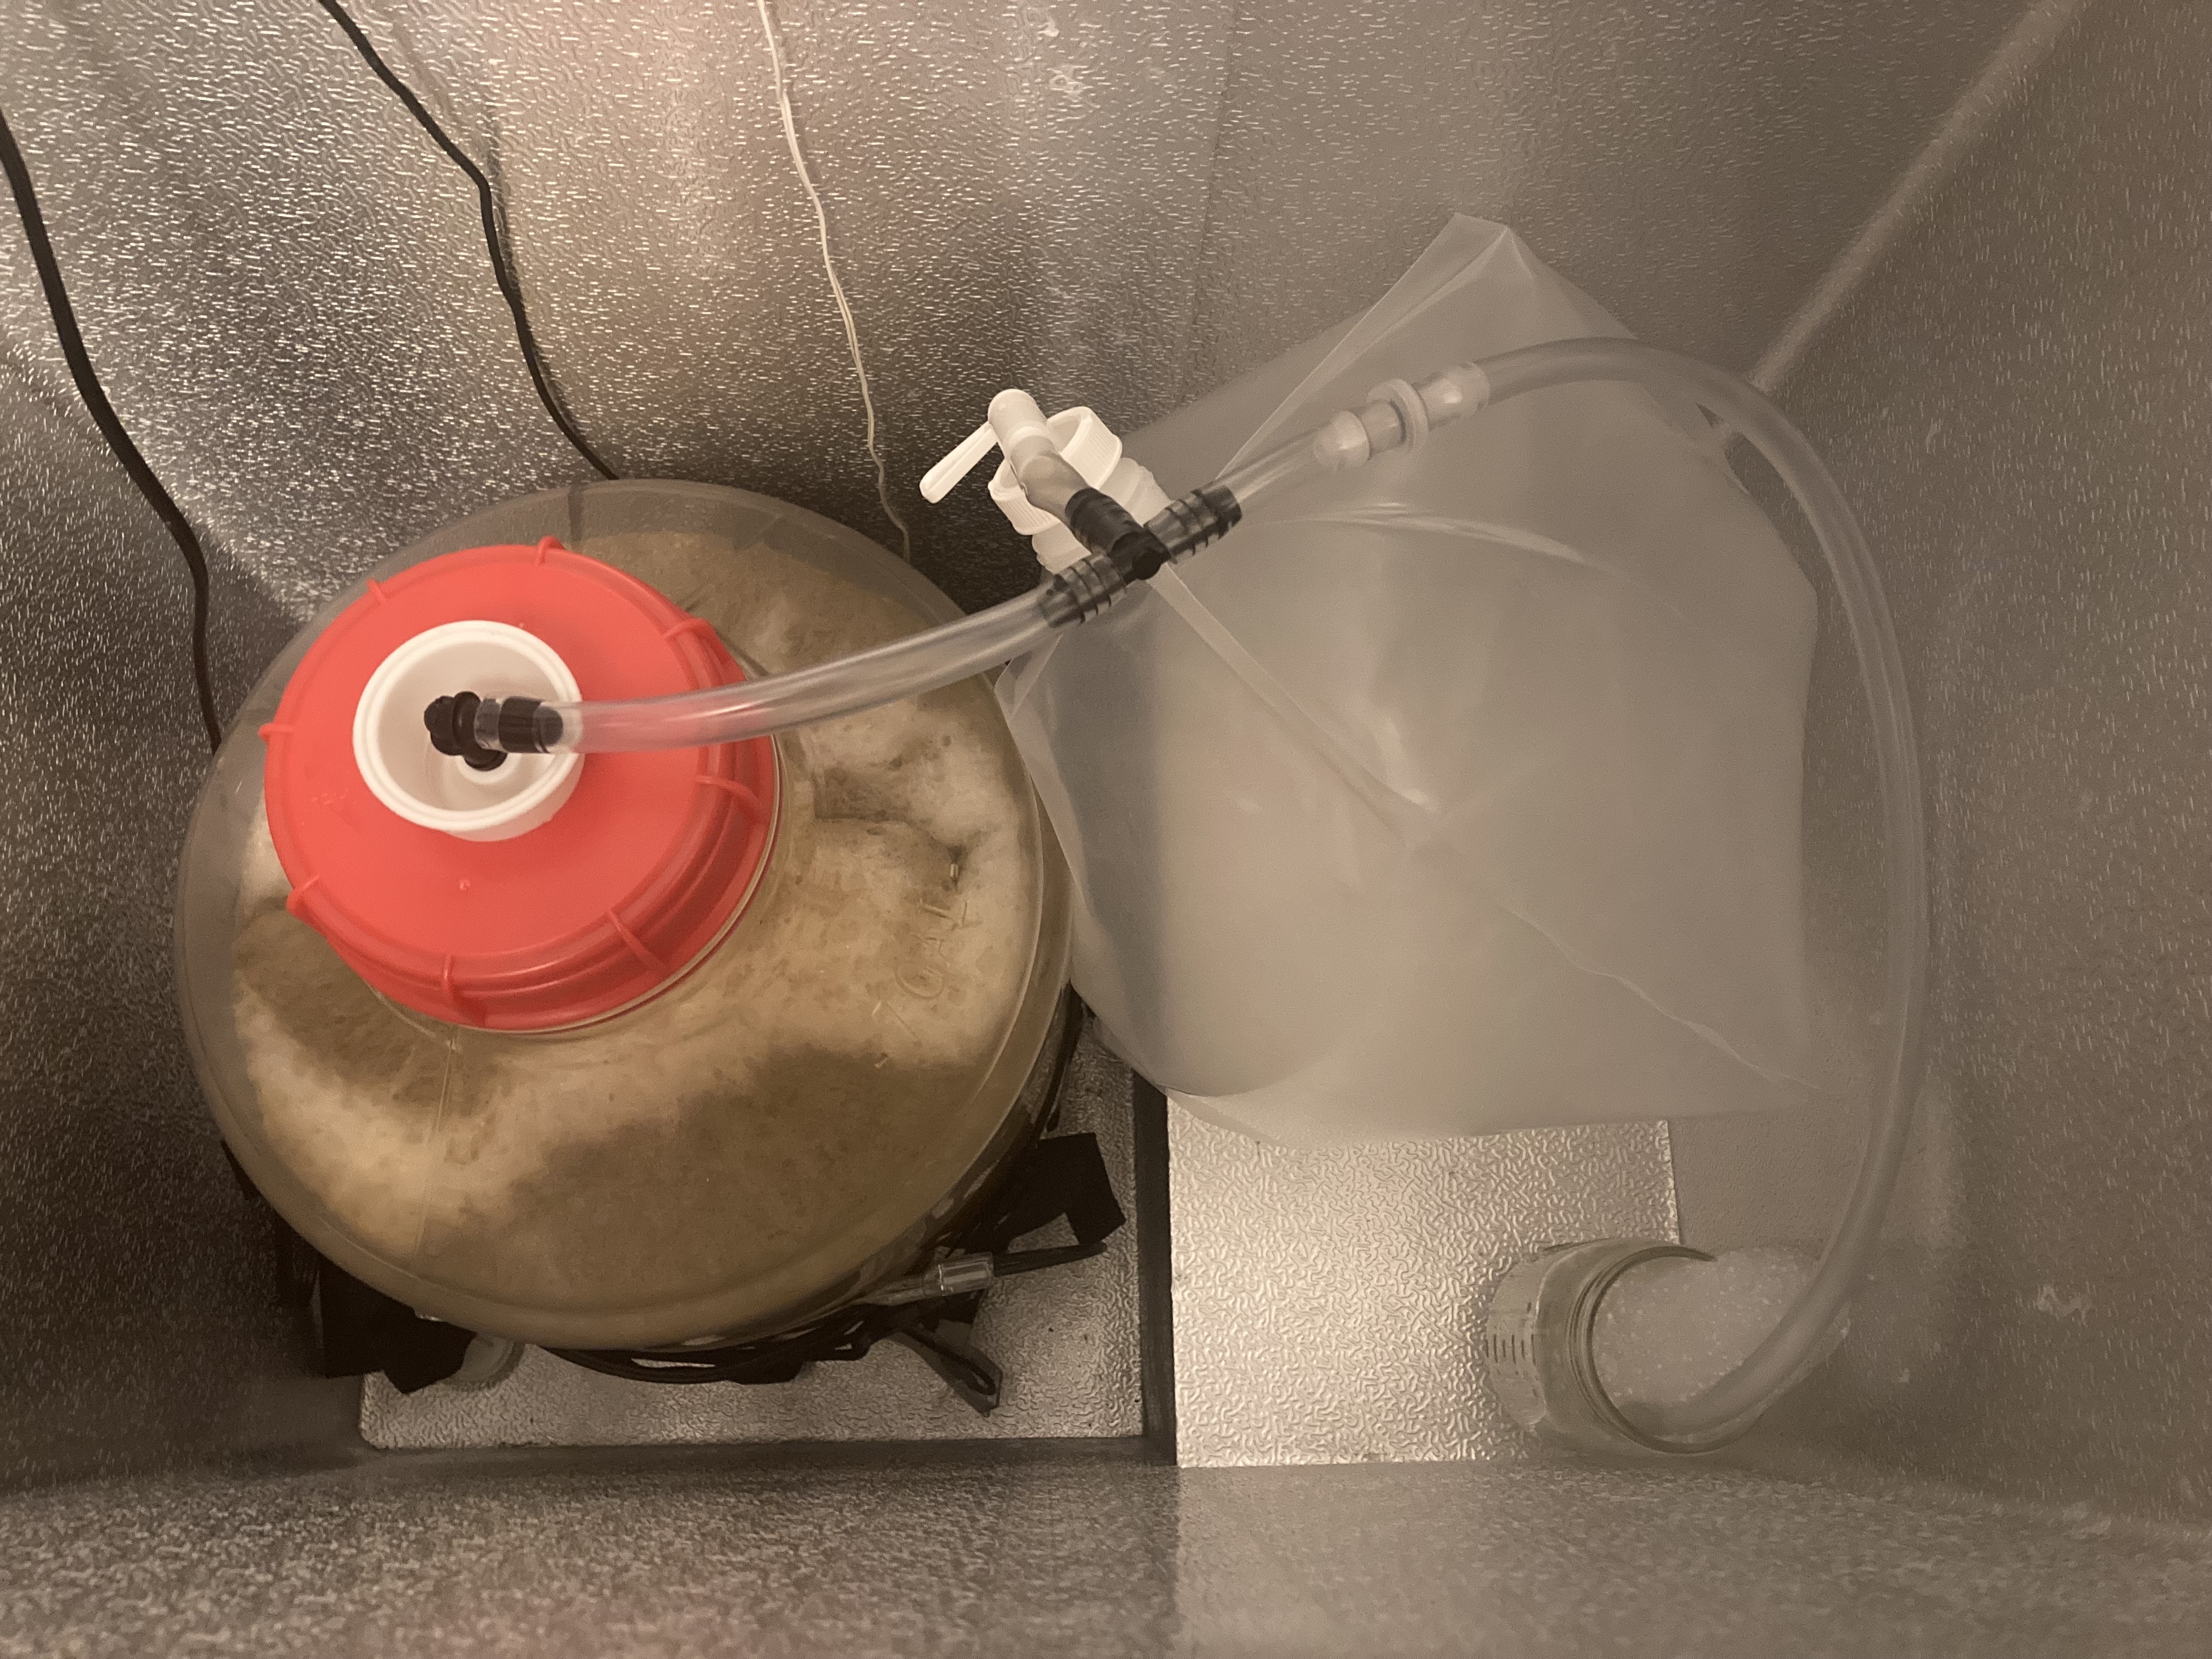
I picked up a cold crash guardian to try out, this thing is pretty cool. Setup was easy, appears to be working good so far. I’m looking forward to crashing to see what it can do. It’s pretty neat.


That’s interesting. So you use a racking cane with a bottling wand attached and prime the bottles individually? Using the CCG to prevent oxidation during bottling is clever.I use mine for closed transferring/bottling from a carboy. Fill it with CO2 & attach the hose to a 2-hole carboy cap. Allows the carboy to back-fill with CO2 instead of ambient air at a very low pressure that I can't get from a regulator. Helps prevent oxygen entering the carboy as I siphon it to another vessel.


![Craft A Brew - Safale S-04 Dry Yeast - Fermentis - English Ale Dry Yeast - For English and American Ales and Hard Apple Ciders - Ingredients for Home Brewing - Beer Making Supplies - [1 Pack]](https://m.media-amazon.com/images/I/41fVGNh6JfL._SL500_.jpg)


Could you add some links for anyone that may find this and want to get a CCG?I've had great results from my CCG. I opted for the 2.5 gallon bag, as better to have too much CO2 than not enough. Best $25 you can spend.
I did switch out the 3/8" tubing for 1/2" ID tubing, with a stainless tee from Amazon. Less chance of clogs with fatter pipes if you get blowoff.
The check valve is a little wonky but you don't really need it for the branch that feeds into the blowoff container. When cold crashing, it will draw in CO2 from the bag without siphoning up from the blowoff container.
Could you add some links for anyone that may find this and want to get a CCG?
Also curious, what did you find wonky about the valve? As I've had zero issues with it so far, but if there's something not right, then it'd be good to know and also to maybe let @Bobby_M know, since he's the one who sells them.
Good to know.We've discontinued the check valve. Its only purpose was to stop starsan from getting sucked back in the rare case where the user left the cold crashed vessel sitting around for way too long. What I really didn't like about it was that at the discount price points, the PRVs had inconsistent cracking pressures. They are rated at half a PSI but I found some of them took 3 psi to push through. There are too many scenarios where that would pop a drilled stopper or whatever...
As long as you have the vent hose in even a 1" depth of starsan, it's going to provide enough back pressure to inflate the bladder bag nearly drum tight.
Cool, I hadn’t considered using some tubing through the hole.Yeah, the depth of the universal can be a problem. You can just run a piece of the tubing through the hole. You can also use a standard drilled #10 stopper.