BrewingGunner
Well-Known Member
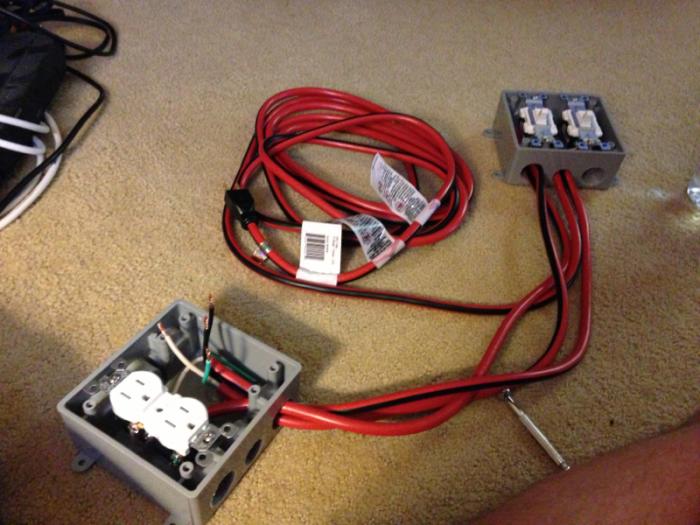
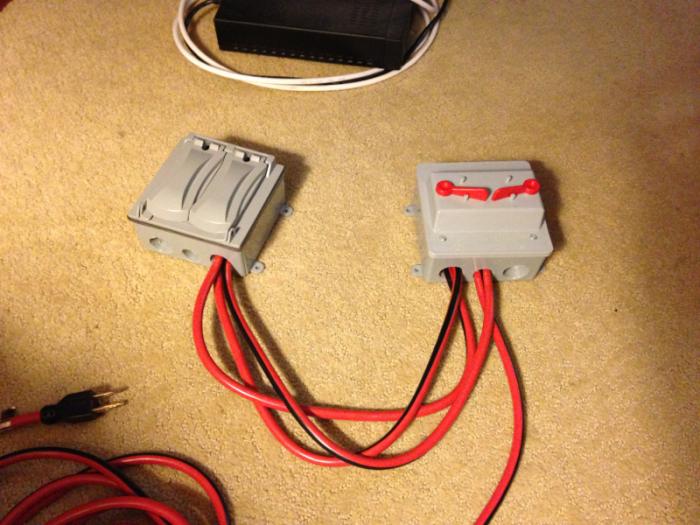
Got power rigged. Top outlets are switched and the bottom outlets are constantly live.


Hi I'm new to brewing, only two kit brews under my belt. but was wondering where you got the welder and how much it cost. I would love to learn how to weld, and I think the practice would be fun. Your stands looks fantastic. All "Brewinggunner, Rivein, And Tanstaafb".

Got power rigged. Top outlets are switched and the bottom outlets are constantly live.


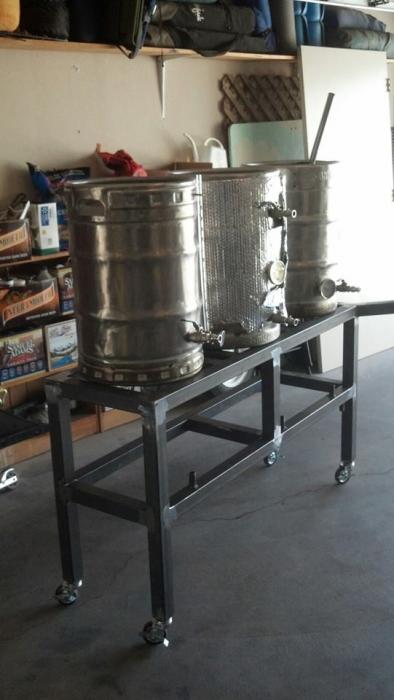
Looking good man can't wait to brew on my sculpture
It was fun to build but more fun to brew on. Let me know if you want plans.

If you're willing to share your plans, I'd love to get them. I'm planning to have a buddy do the welding for the cost of some homebrews. Fair trade. If you're willing, you can PM me- I totally understand if you'd rather keep it private.
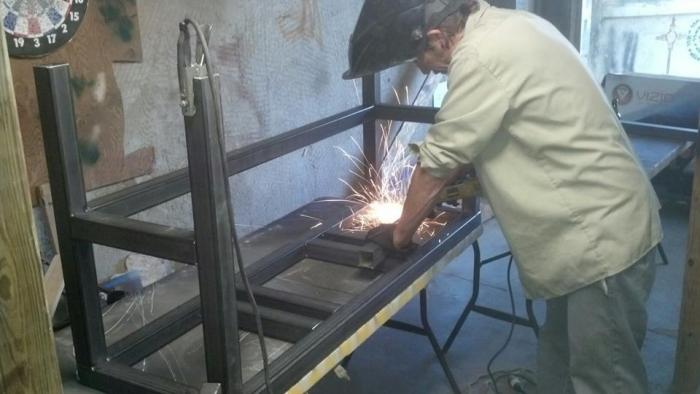
Let me put them together. You should try the welding yourself though. Believe it or not this was my first time welding ever.
 i would not hesitate to get one.
Let me put them together. You should try the welding yourself though. Believe it or not this was my first time welding ever.
 Turned out great!
Currently planning out my current build as well. I think I may use a burner for the mash tun to do step mashes with, but I would love to see your plans for this build if possibleTurned out great!
Mine is very similar but with a 3 burner setup if you need that information.
I'd happily take your plan as well. Every little bit helps, and I too plan to do a three burner.
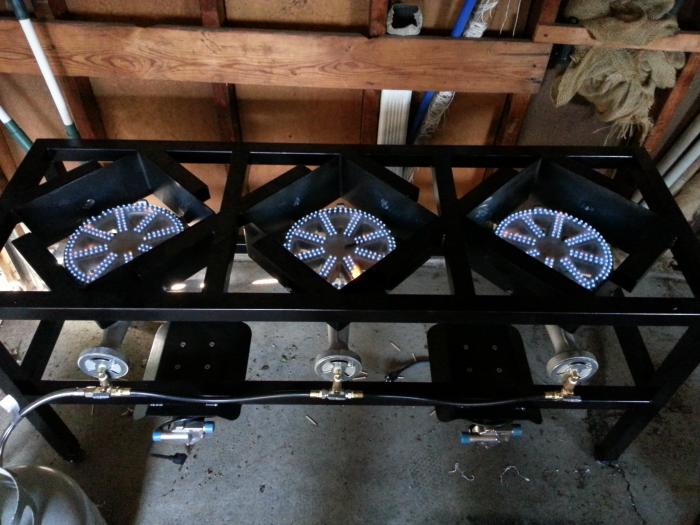

I'll have to take actual measurements since the shop modified the design a bit, but here is the jist of it.
BrokenDog said:I'll have to take actual measurements since the shop modified the design a bit, but here is the jist of it.
This is what I used (modified): http://xa.yimg.com/kq/groups/14085118/1257679793/name/Brutus.pdf
I lowered the bottom braces, removed the bottom middle cross support, and made the burner openings 13"x13" (instead of 12"x13"). I also ran a BWP gas manifold as my completely novice welding skills were not up to the rail-type shown.
Plans are perfect otherwise, and having the cut list is awesome. I actually sent this to the steel company and he cut from it (again, with my mods).
When I had been pricing out having someone build for me this was invaluable.
This is what I used (modified): http://xa.yimg.com/kq/groups/14085118/1257679793/name/Brutus.pdf
This is what I used (modified): http://xa.yimg.com/kq/groups/14085118/1257679793/name/Brutus.pdf
I lowered the bottom braces, removed the bottom middle cross support, and made the burner openings 13"x13" (instead of 12"x13"). I also ran a BWP gas manifold as my completely novice welding skills were not up to the rail-type shown.
Plans are perfect otherwise, and having the cut list is awesome. I actually sent this to the steel company and he cut from it (again, with my mods).
When I had been pricing out having someone build for me this was invaluable.
...I also ran a BWP gas manifold as my completely novice welding skills were not up to the rail-type shown...
Wow! This is far more than I could have hoped for! This will go a long way. I'll keep you guys posted as this project evolves. Still a ways out, got a wedding to pay for. What a sucker- wedding or Brutus build???? She wins every time.
BrewingGunner said:These are the same dimensions as mine.
BTW, BrewingGunner, didn't mean to sidetrack, derail, or otherwise steal the thunder of your posts. Besides some pretty sketchy rip offs of the old BYO plans this was the best I found. Doesn't appear to be copyrighted, either, so no need to feel bad about using them.
Practice weld. I start the fabrication tomorrow. :rockin:
NICE BEAD! that is surpisingly good for a beginner
