
builderguy
Well-Known Member
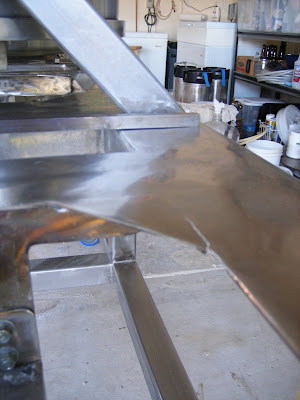
Unbelievable....very nice Chris.
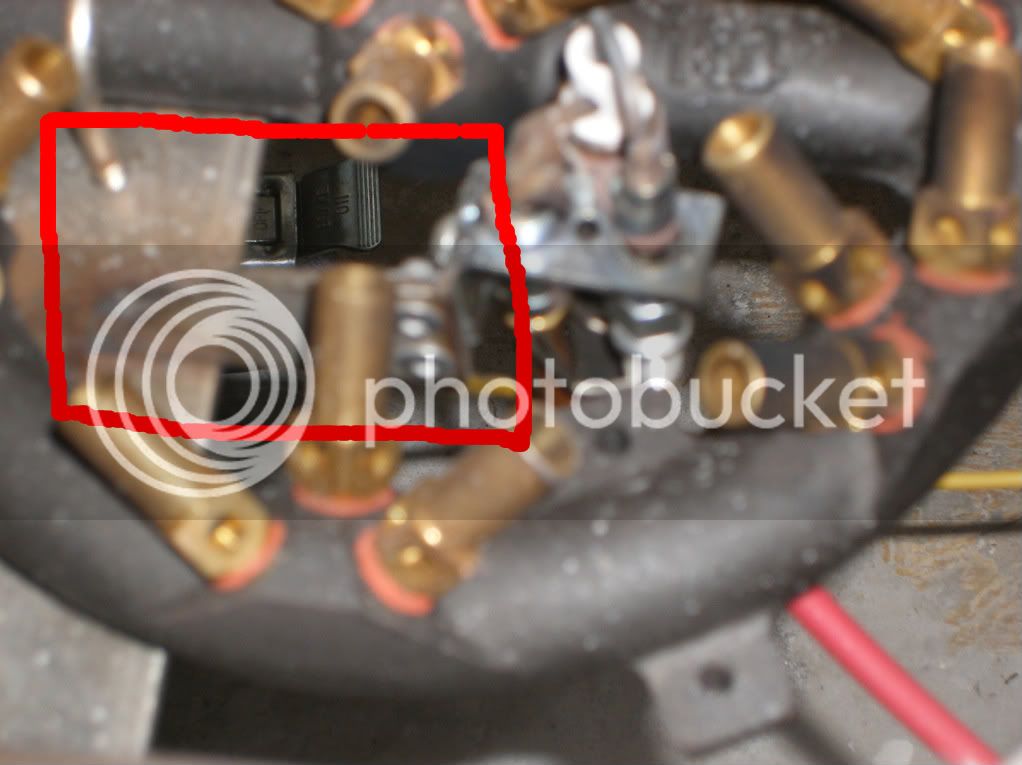
My buddy and I are starting the design process for a stand and plan on using HERMS. We are also planning to have a burner under the mash tun, but just for more complicated brewing or if we want two boils for a Parti-Gyle style brew day. Are you using the burner under the mash tun to control temps during mash? If not, what are you using that burner for since your using the HERMS coil in the HLT.
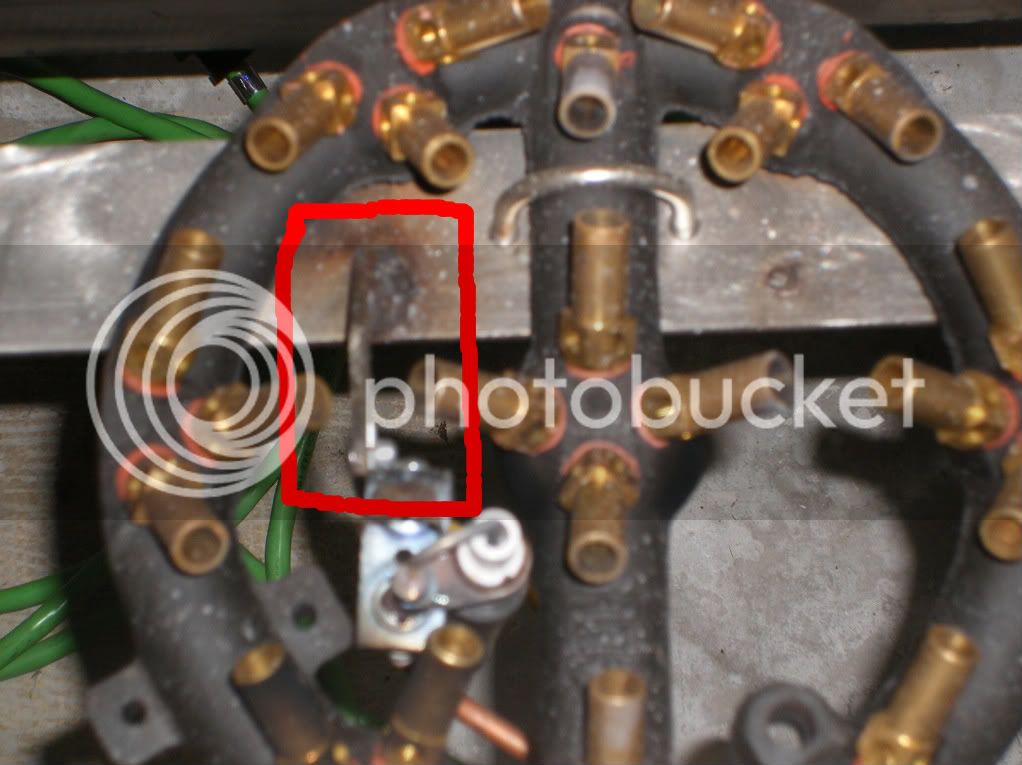
My buddy and I are starting the design process for a stand and plan on using HERMS. We are also planning to have a burner under the mash tun, but just for more complicated brewing or if we want two boils for a Parti-Gyle style brew day. Are you using the burner under the mash tun to control temps during mash? If not, what are you using that burner for since your using the HERMS coil in the HLT.


![Craft A Brew - Safale S-04 Dry Yeast - Fermentis - English Ale Dry Yeast - For English and American Ales and Hard Apple Ciders - Ingredients for Home Brewing - Beer Making Supplies - [1 Pack]](https://m.media-amazon.com/images/I/41fVGNh6JfL._SL500_.jpg)


")
