rtstrider
Well-Known Member
- Joined
- Dec 12, 2016
- Messages
- 1,310
- Reaction score
- 847
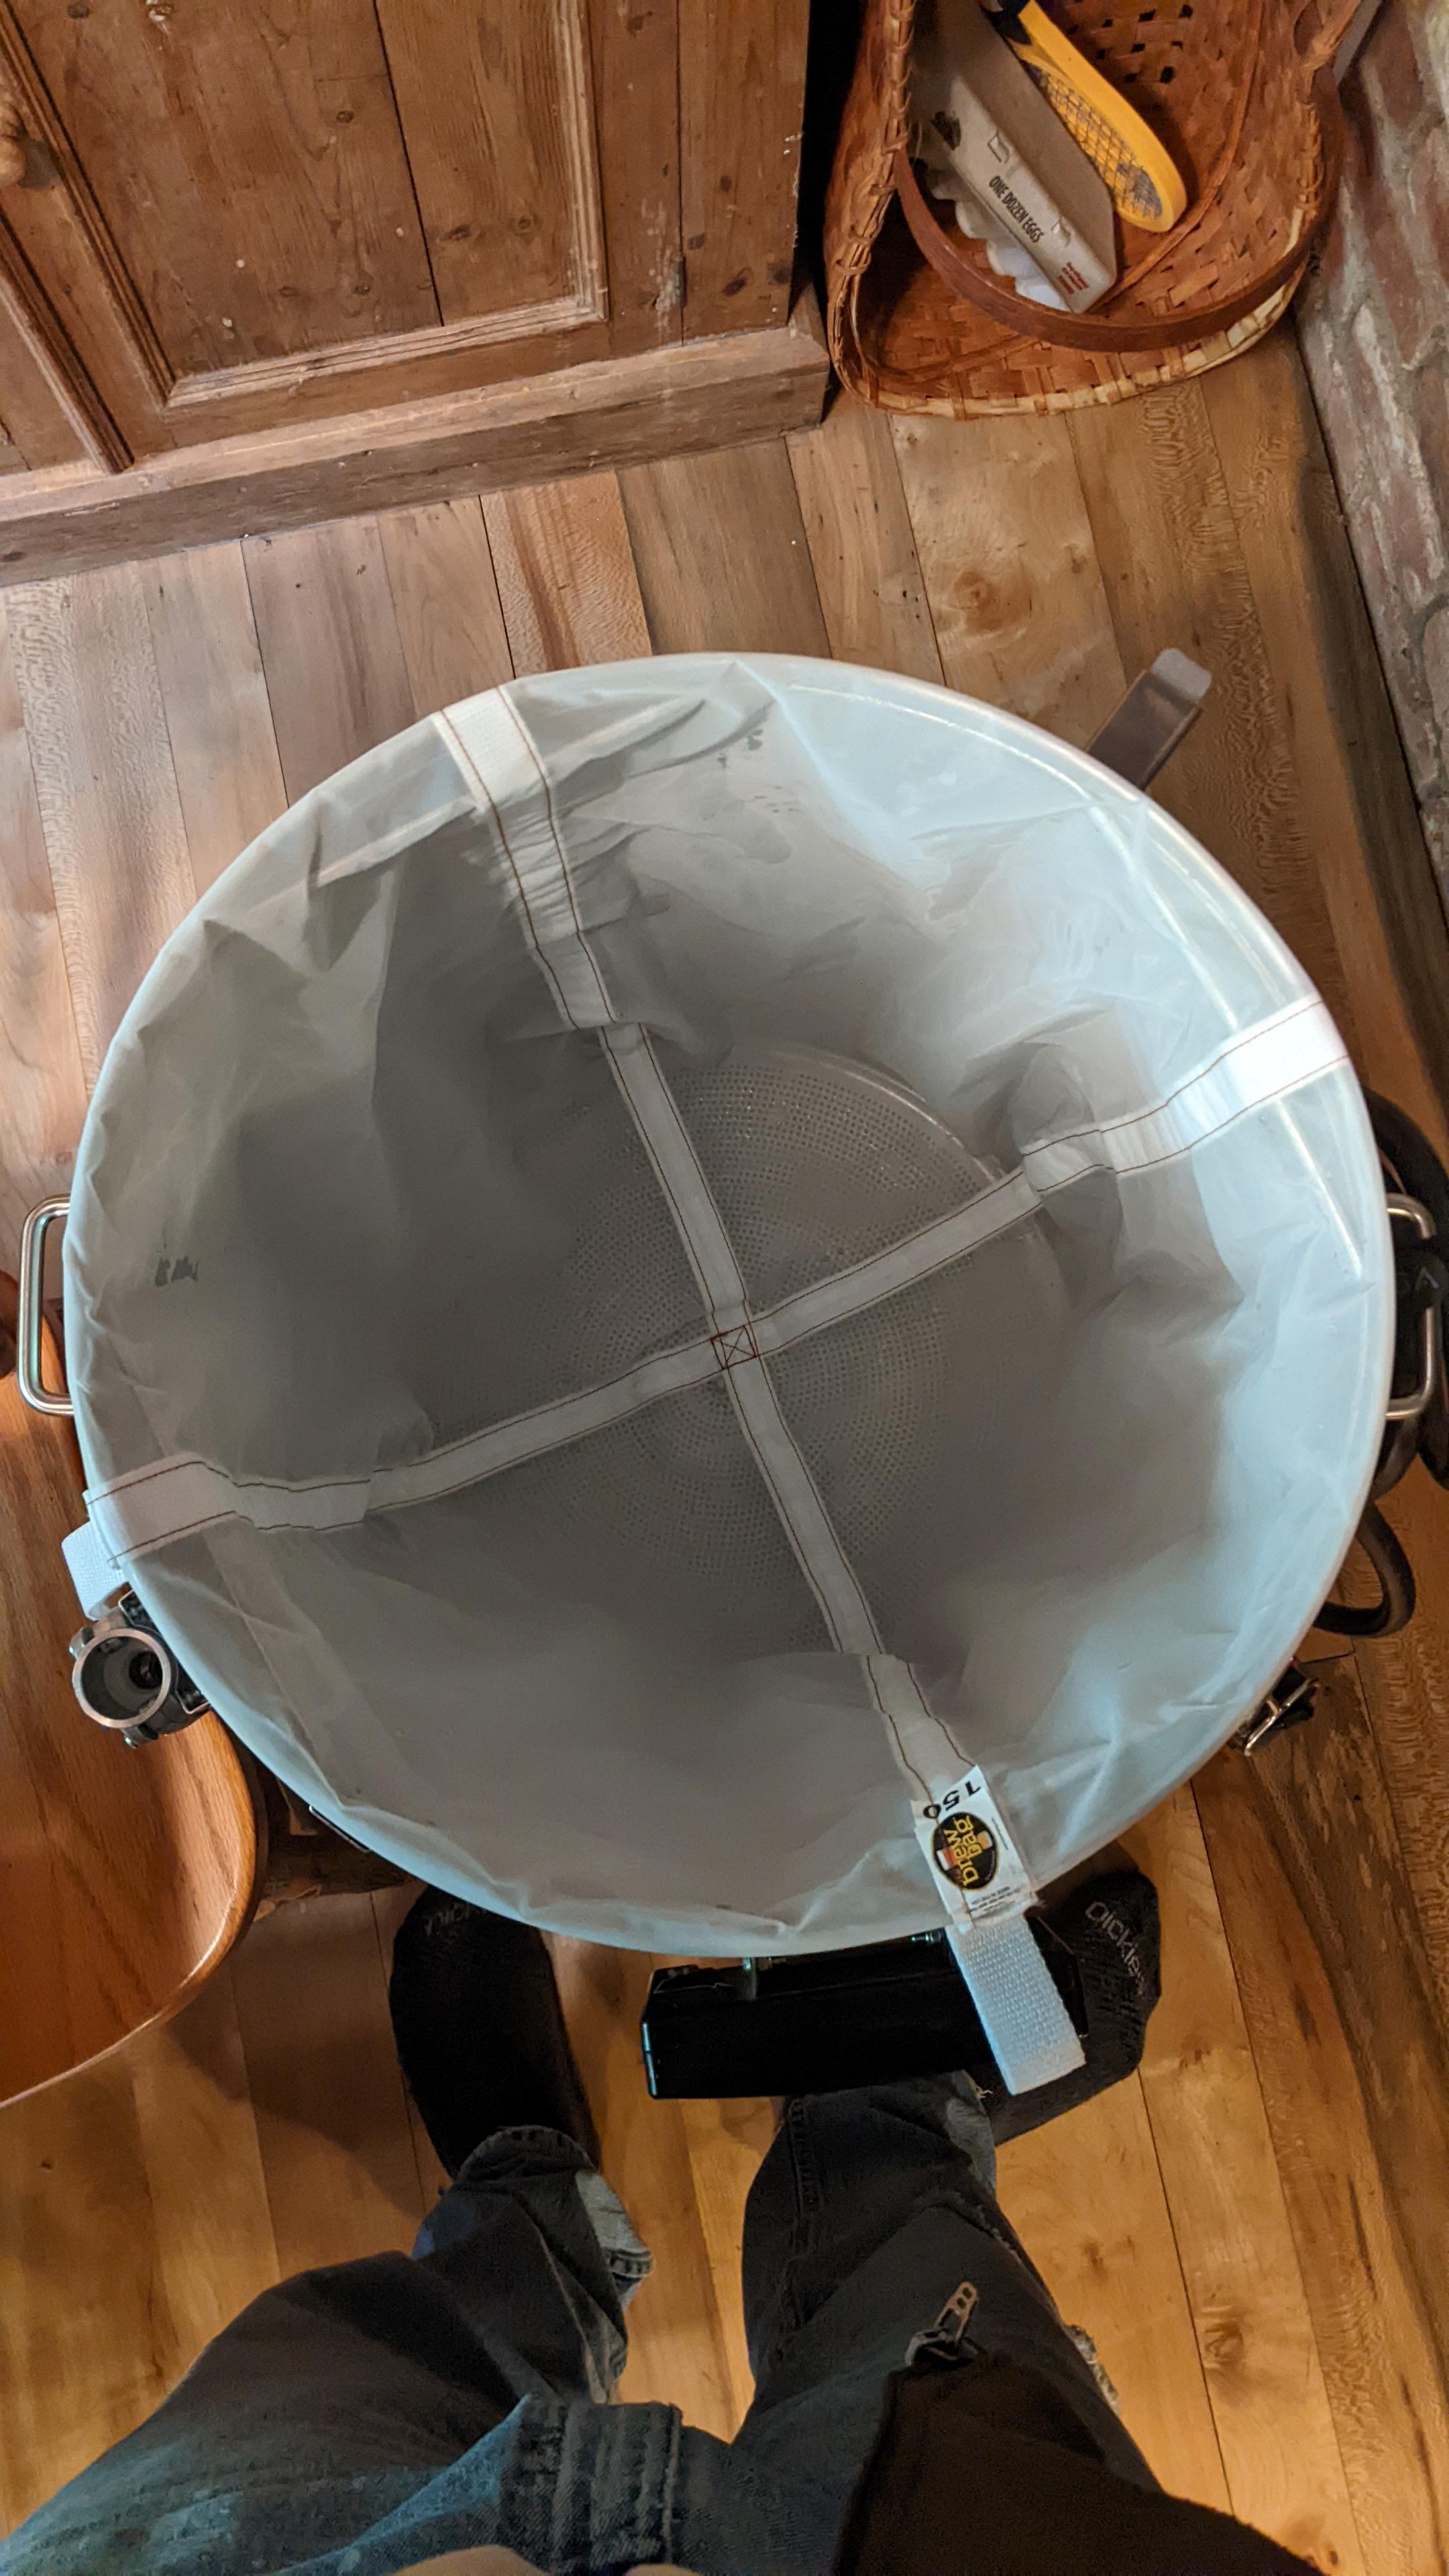
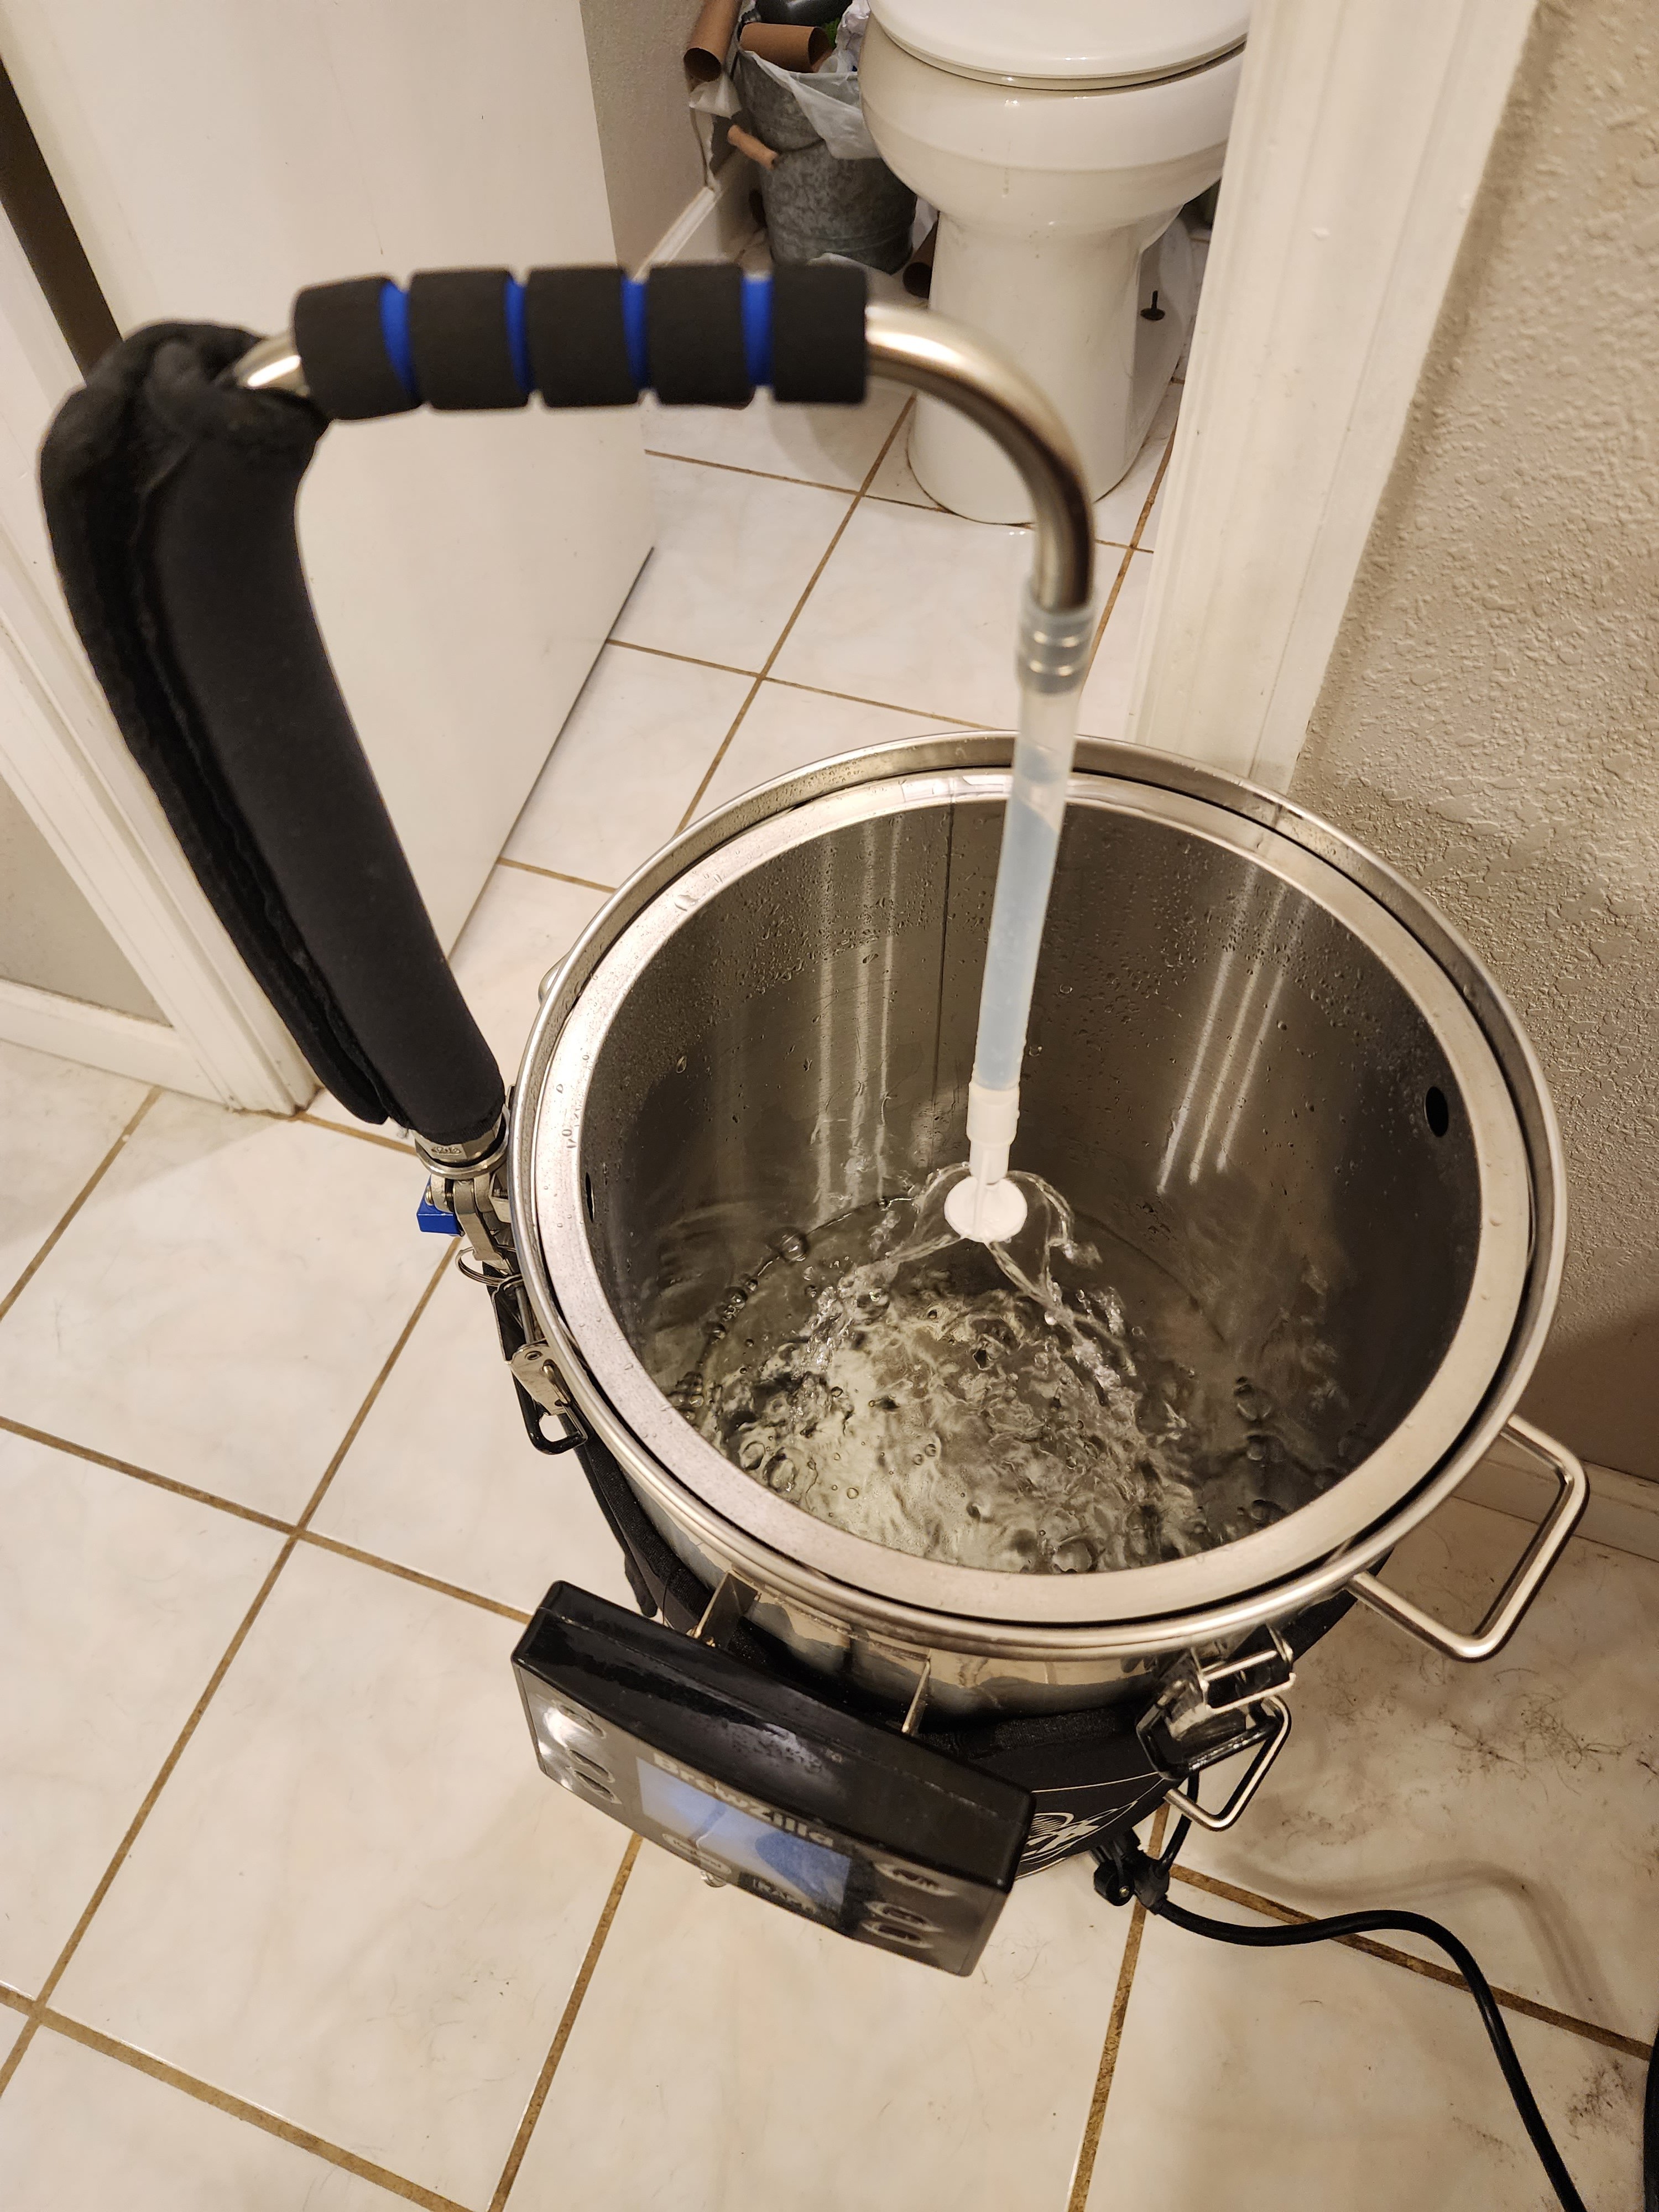
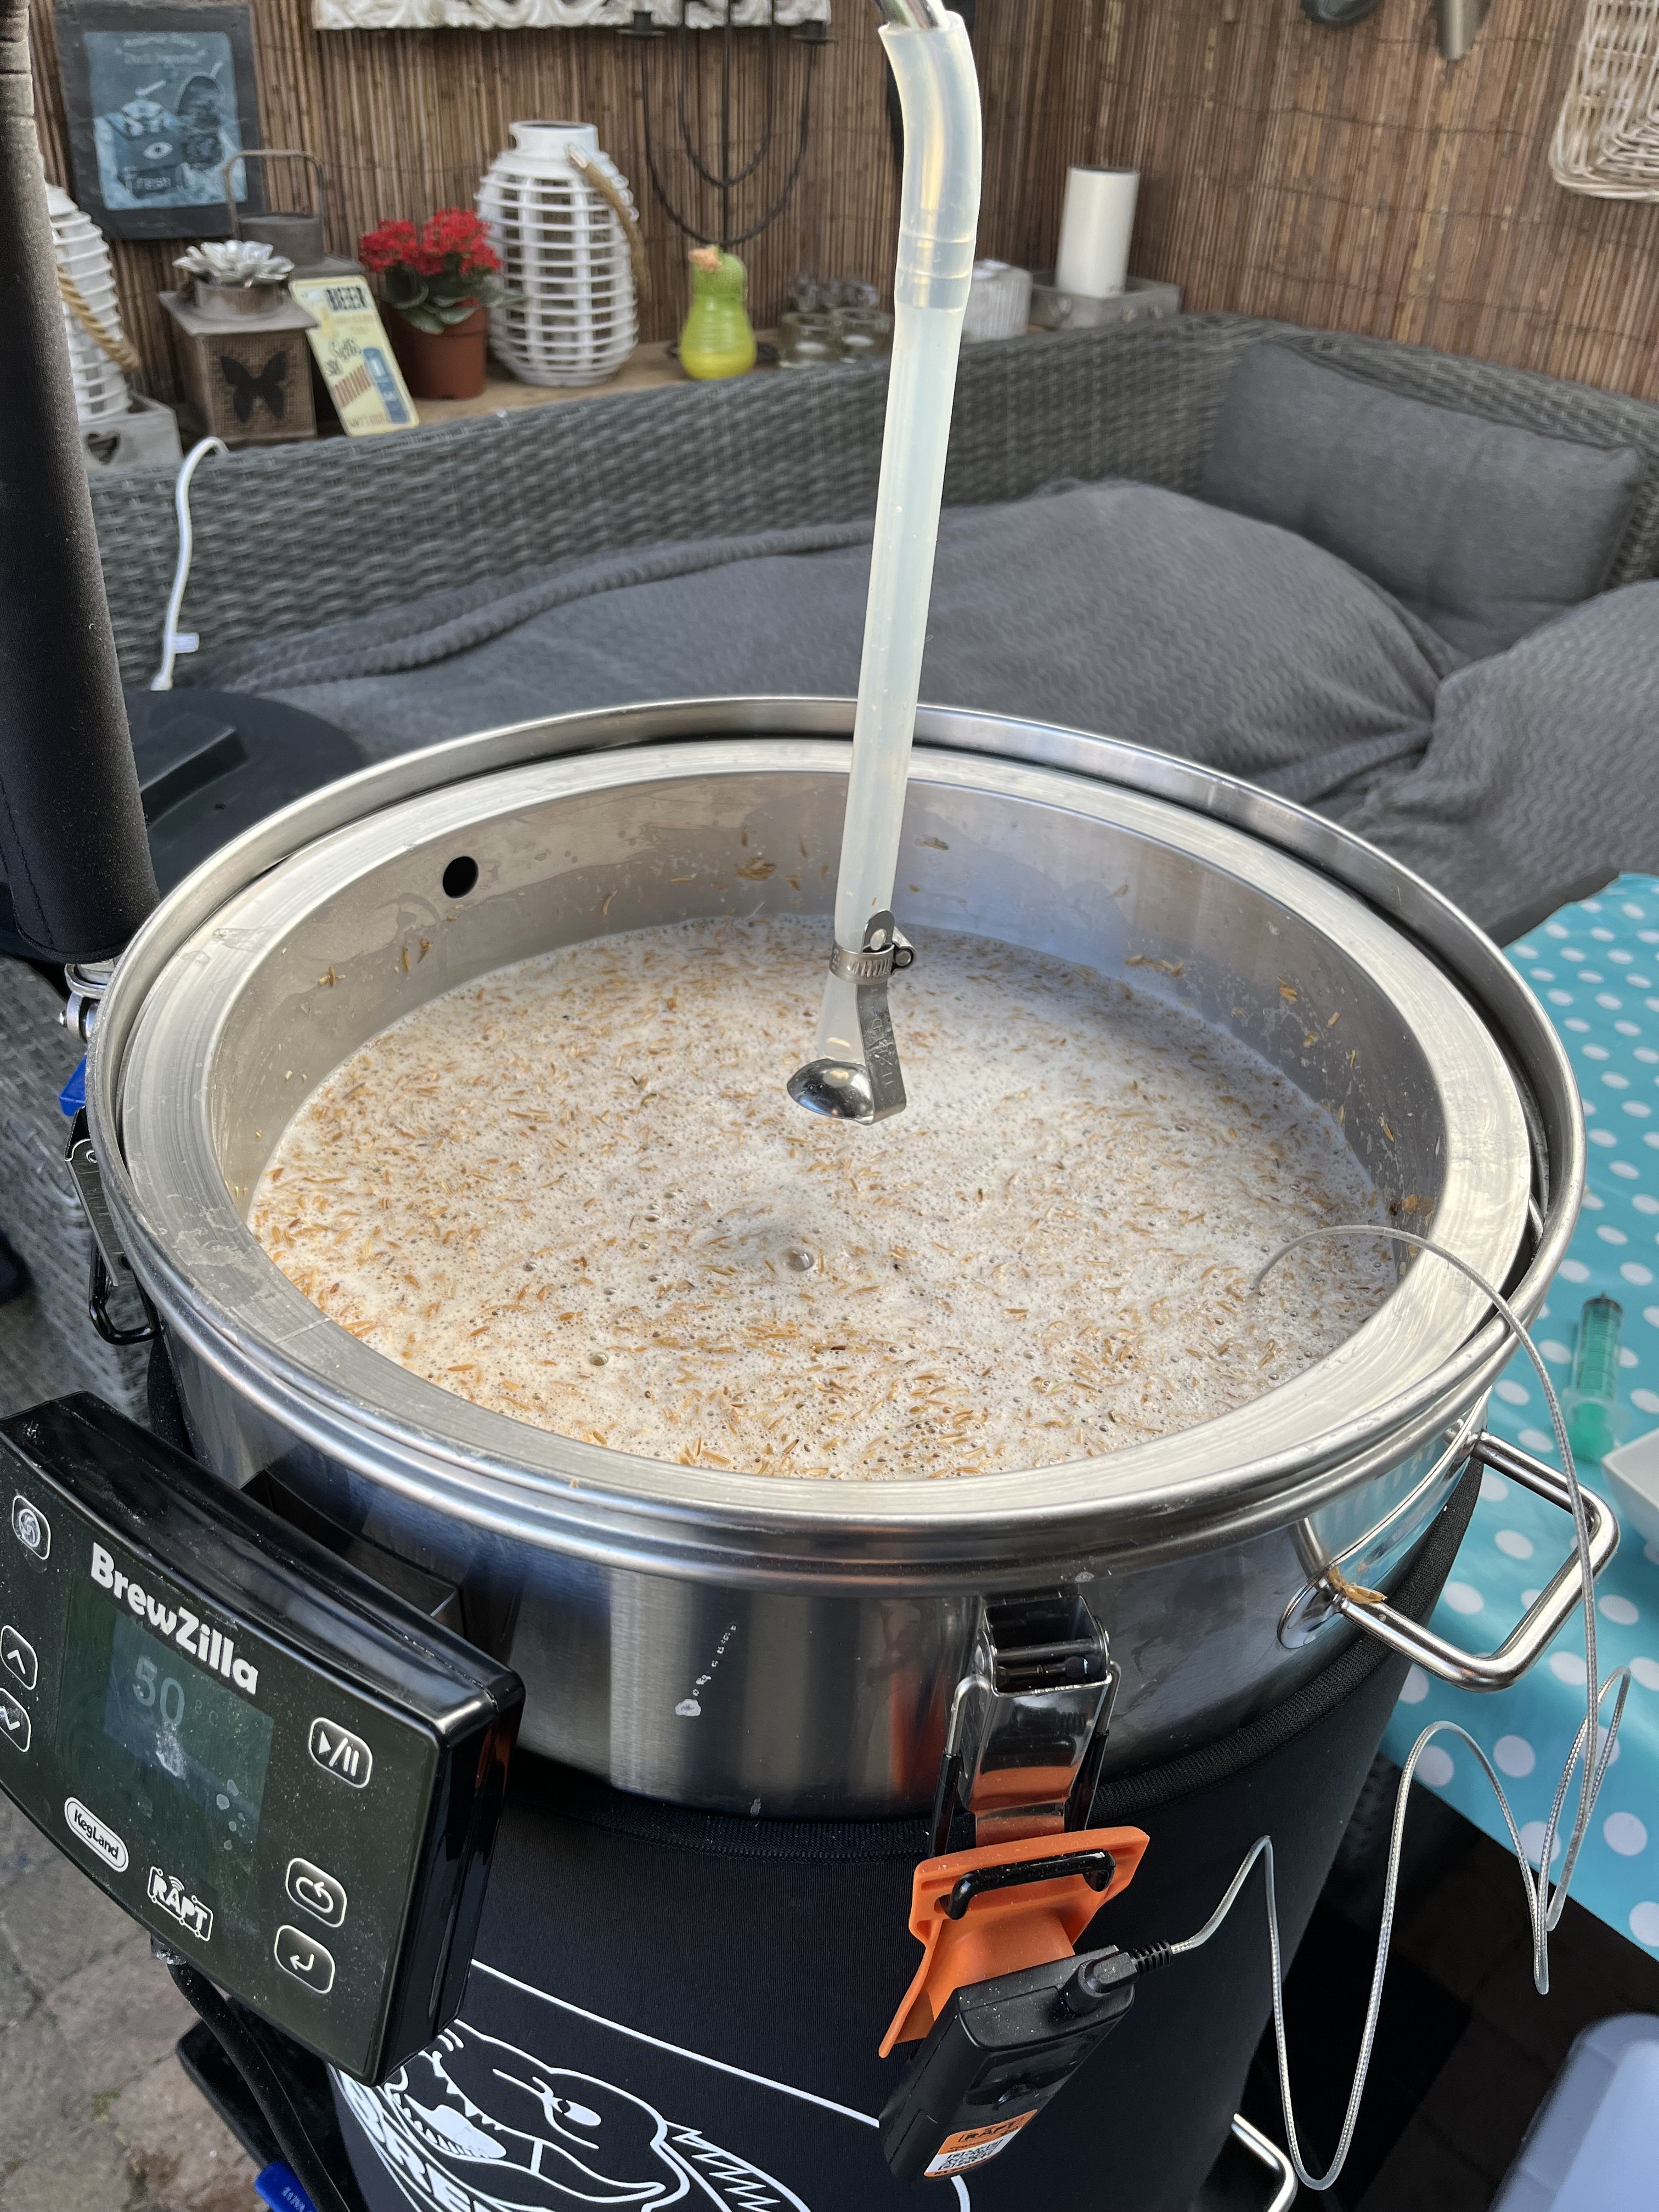
Ran a brew through the system yesterday and it's pretty much dialed in. Tried using the top filter plate and that compressed the grain bed setting up for a stuck recirculation. Ended up removing that, stirring the grains to loosen up the bed and that fixed it. Hit all my numbers right on the mark at 75% efficiency! Won't be using the top filter plate again. SO so so close to having a perfect brew day ")


![Craft A Brew - Safale S-04 Dry Yeast - Fermentis - English Ale Dry Yeast - For English and American Ales and Hard Apple Ciders - Ingredients for Home Brewing - Beer Making Supplies - [1 Pack]](https://m.media-amazon.com/images/I/41fVGNh6JfL._SL500_.jpg)