Brewtius Maximus/The Braxton 10 – Complete Single Tier Build

Homebrew Talk - Beer, Wine, Mead, & Cider Brewing Discussion Forum

Help Support Homebrew Talk - Beer, Wine, Mead, & Cider Brewing Discussion Forum:

This site may earn a commission from merchant affiliate links, including eBay, Amazon, and others.

BraxtonBrewery

Well-Known Member
Joined
Sep 6, 2008
Messages
104
Reaction score
7
Brewtius Maximus/The Braxton 10 – Complete Single Tier Build

I’m going to try to document this whole build, but there may be some time between posts. I’ll keep it updated as much as I can. I’ve scoured the forums for different ideas, and I’ve taken what I like and plan on building a combination of the things I like. Now it’s my time to post.
I brew on a simple wooden 3 tier gravity stand, very simple, but very tall:

344rt3a.jpg


I made some pretty good beers on it, but it is time for a change. So I hopped on a few different design programs, and what I ended with can be seen here:
2howioh.jpg

Front View

15485xy.jpg

Angle view

ouzi44.jpg

The Back

b8l9uv.jpg

Water Plumbing

1g62hv.jpg

The Bottom, with propane plumbing

2howioh.jpg

With Kegs

A single tier, 3 burner, 2 pump keggle stand. The propane and water will be hard plumbed, and the “control” panel will be a simple build, not much automation. A couple switches for pumps, igniters for the various burners and maybe a timer or two. I also thought that it would be nice to have a drawer and shelf for various things as well – plus diamond plate looks sweet.

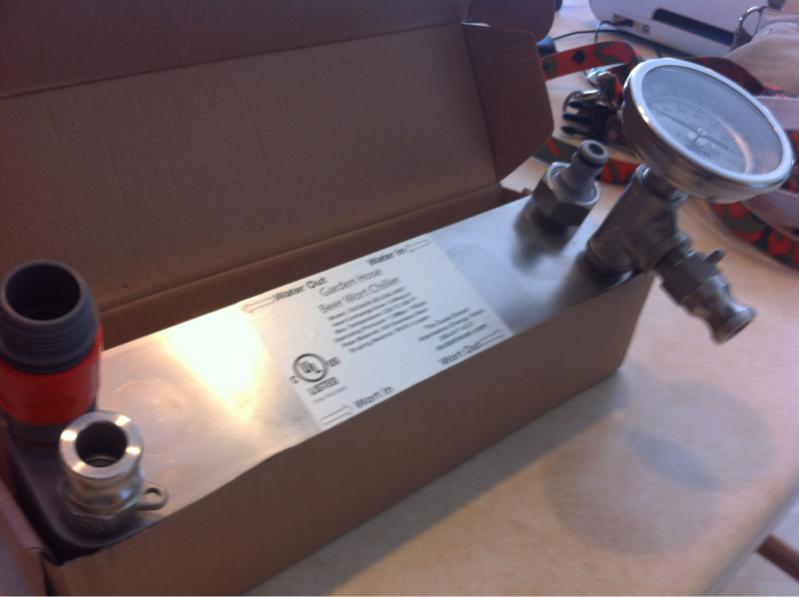
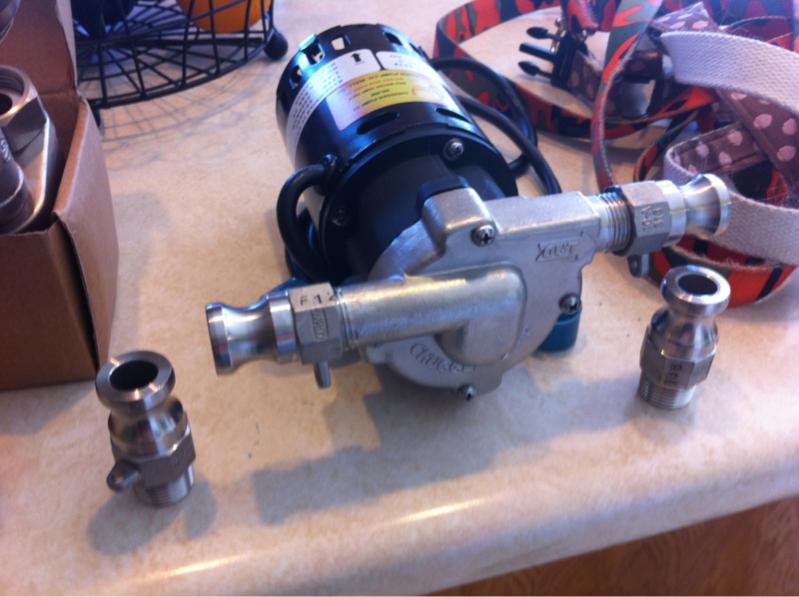
I have already ordered my pumps: 2 stainless steel inline Chuggers, and the plate chiller that BobbyM sells 30 plate long. These should arrive sometime this week, pictures upon arrival.I plan on ordering the steel within the next week, and my buddy and I are going to weld it.

Please feel free to give me your advice or ask any questions.

:mug:
 
Is that SketchUp or something else? SketchUp makes me cry, I'm trying to find a better app to model my DIY projects in. (No talent whatsoever with this stuff...)

Also, I'm subscribed and watching for your progress, best luck to you on your build!
 
i want to build something just like this too but would like the keggels to be stored under the burners when not in use. Good Luck on the build!Love the drawer idea...
 
Thanks for the feedback so far! Those pictures where taken from Sketchup, but the design started in ACADD and pro/ENGINEER. It was just a lot easier for me to take a couple snap shots from Sketchup and finish customizing the build, i.e. the diamond plate. It's not all that hard to use - it just takes practice. With being a full time student - majoring in mechanical engineering, and working 2 jobs it gets a little hectic, but these programs are what I utilize the most. But the one nice thing about sketchup is most of the short cuts are the same as ACADD.
 
I'll have all sorts of updates coming next week(Steel, and other misc parts ordered)

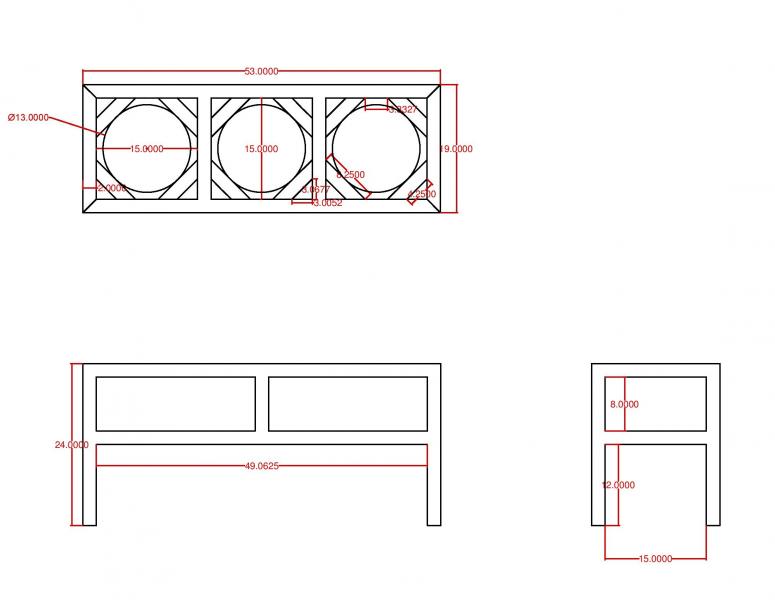
Later tonight I'll post up the dimensions of the top I reworked. This way you can tell me if I've done anything wrong. I wanted 1" on all sides and in between kegs. I just rounded the keg size up to 17".
 
Looks great, might need to borrow the design.

What is the purpose of the hard plumbed supply water to all 3 pots?
 
Looks great, might need to borrow the design.

What is the purpose of the hard plumbed supply water to all 3 pots?

Not really sure yet. It will just be nice, I may adjust the water plumbing when I get to that step. I want to have 1 inlet from the hose leading to all the plumbing. filter in/out, cleaning etc. Maybe chiller as well, but i'm not sure how I'm going to run my "cool down" phase yet. Either going to be A) Pre chiller or B) fill the HLT with ice water and recirculate with one of the pumps.
 
Here are the dimensions that I have reworked. This should give me plenty of space, and make a very clean, nice looking, compact rig.

My next post will be my cut list. Hopefully very soon after this one.

New Correct Dimensons-page-001.jpg
 
Burner Shrounds - 40.8407"X8" (X3)

Diamond Plate - 53" X 19" + 18" X 6"

Steel Tubing Cuts

(12) 8.25" (45 degree cuts) =99"
(2) 53" (45 degree cuts) =106"
(2) 19" (45 degree cuts) =38"
(5) 15" cuts =75"
(4) 24" cuts =96"
(2) 49.0625" cuts =98.053"
(2) 8" cuts =16"
__________________________________________
(29) Cuts =528.053"
=44.1'
 
I'm betting that it is so he doesn't have to use push in fittings that always pop loose and spray down other guys in his brew club during a brew-outs.

Just a hunch (& maybe an inside joke!)

That's good reasoning to start with, that's for sure!
 
Picked up the majority of the raw materials today before work. 48' of 2X2 11gauge (1/8") thick square tube and the diamond plate shelf. Now it's time to get cutting and welding to get this thing built!

image-2685476029.jpg


image-2402118829.jpg
 
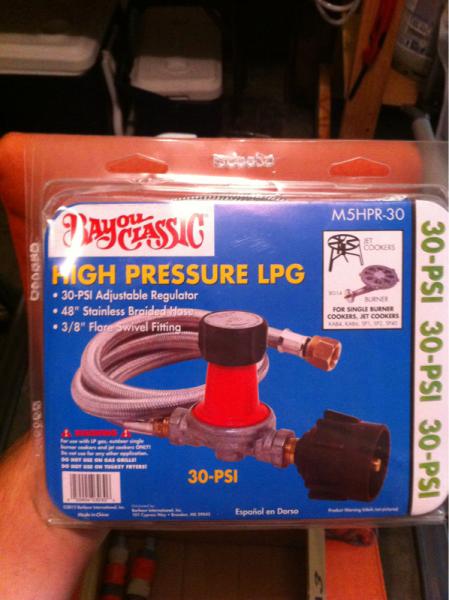
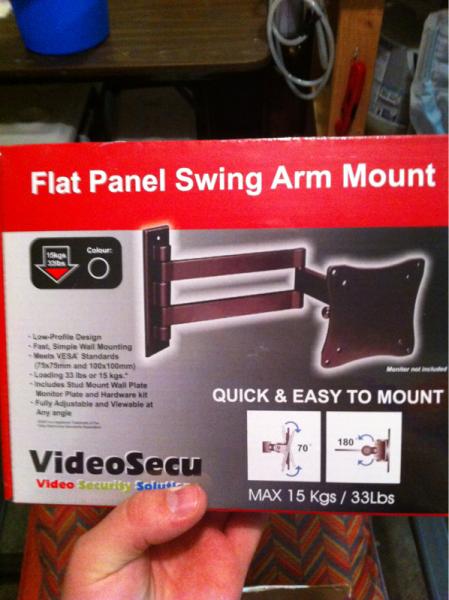
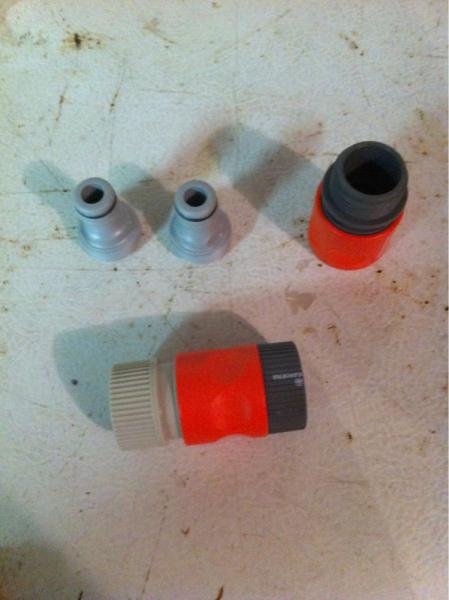
The UPS man is getting me warmed up for the stuff I'll be getting next week. The first picture is how I'm going to mount my control panel, followed by my regulator, and one of the 3 sets of garden hose quick disconnects for ease of connectivity when chilling or moving the garden hoses around.

Ordered but not yet here: 3 banjo burners, 2 SS chuggers, 30 plate chiller, fittings, cams, control panel enclosure, and the drawers.

image-17126391.jpg


image-3630218940.jpg


image-4065743126.jpg


image-1285412748.jpg
 
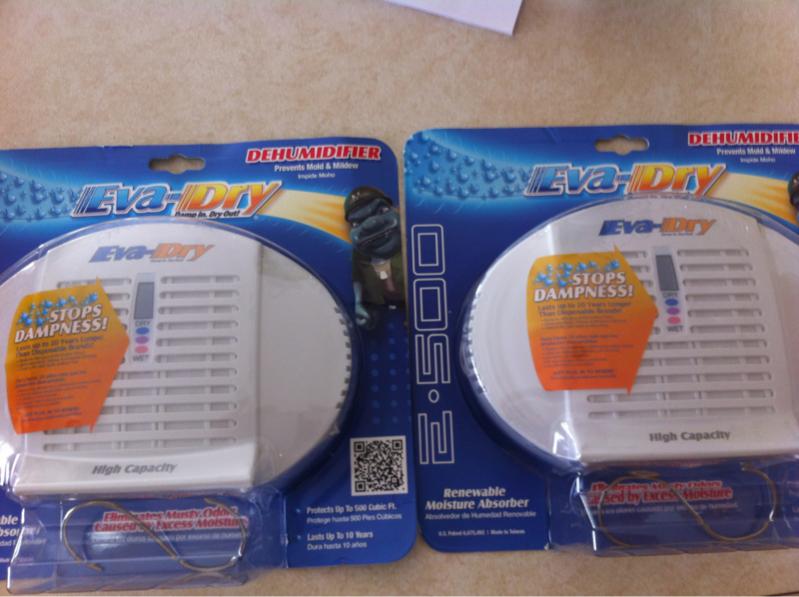
Yesterday I got a couple more packages. Got my 3 banjo burners and my 2 Eva drys for my Keezer.

Tomorrow I'm cutting all my steel and hope to have it welded by next weekend. We will see how that goes!

image-2786418641.jpg


image-748382971.jpg
 
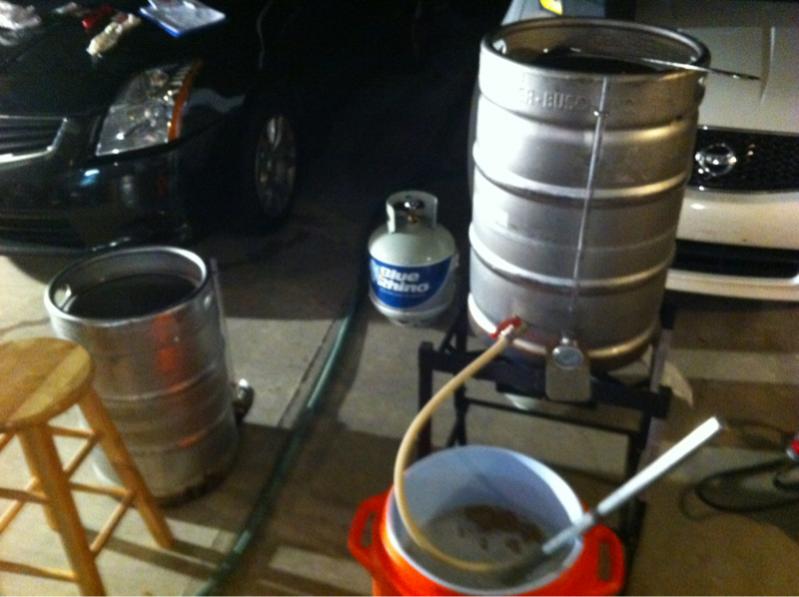
Got a lot done today. Last night I was up until about 12:30 for an Impromptu brew night. My garage was taken over with "stuff" Between getting a new patio poured and brewing stuff, I couln't get my stand out. So I didn't use it. Everything went well.

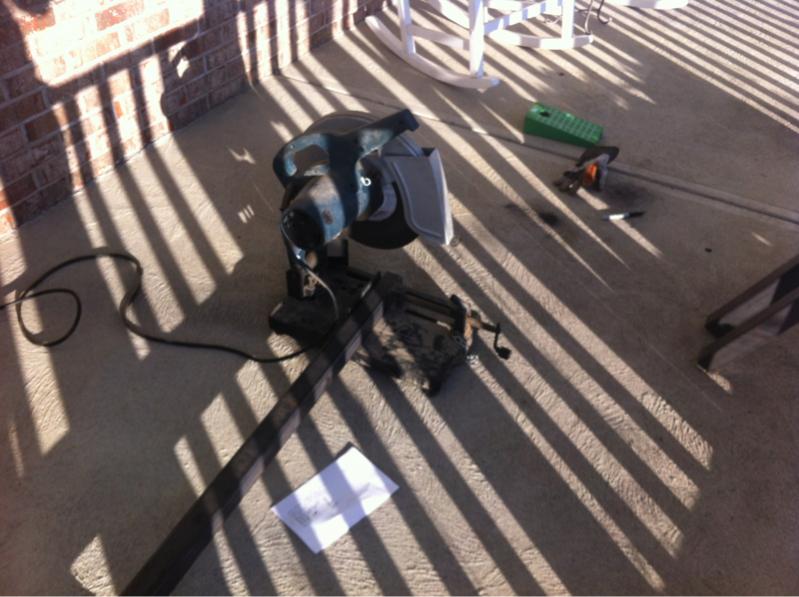
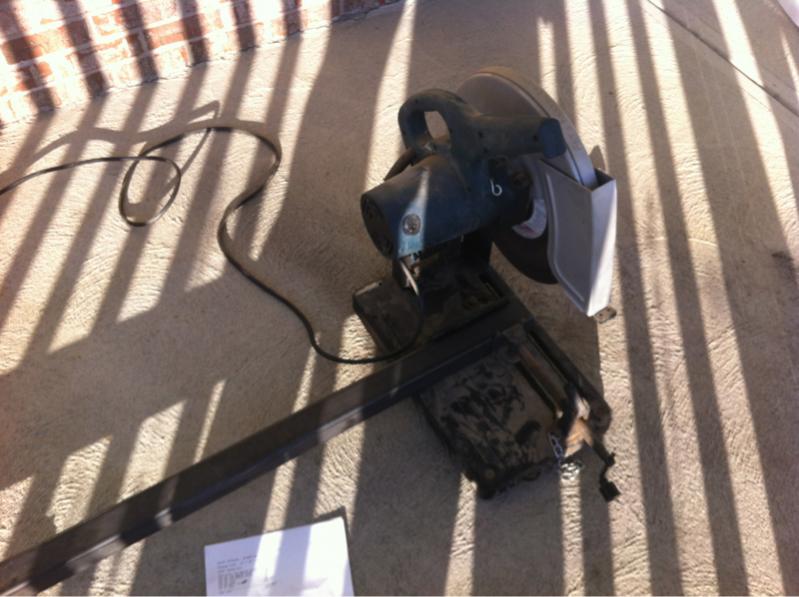
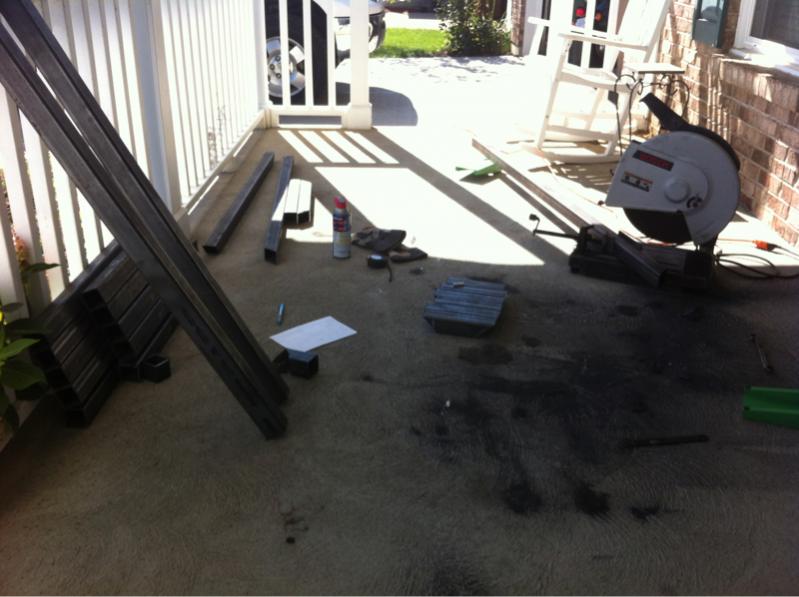
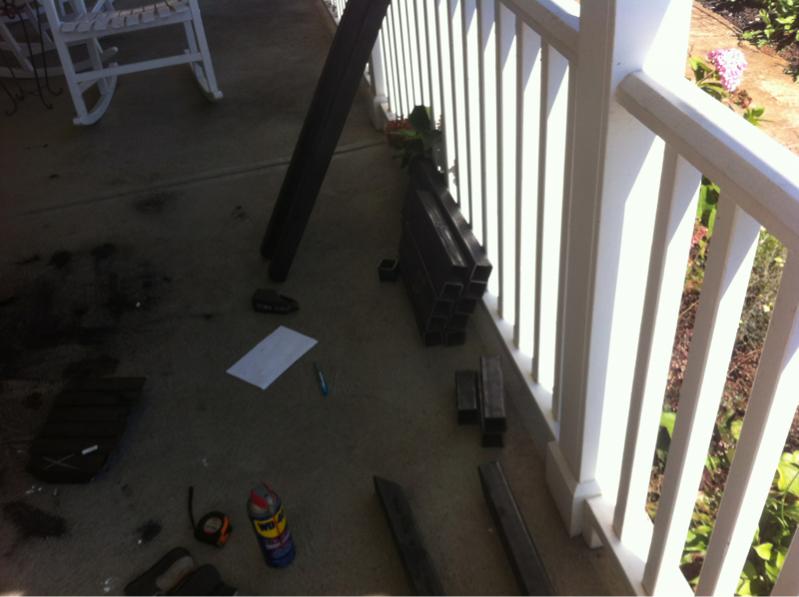
On the progress, I went to my local tool rental place and rented a chop saw for $23 for the day. It came with a blade on it and I bought an extra one for $12. So for $35 plus tax, i was able to get all my steel cut.

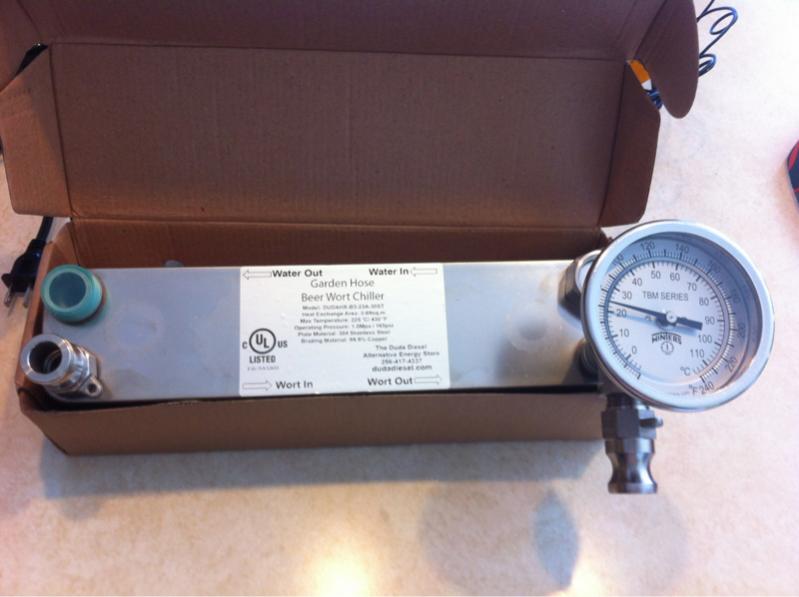
Then... Half way through the steel cutting my postman delivered the first box of my goodies! My pumps and plate chillers. I was pumped. Can't wait to start welding and get it all put together.

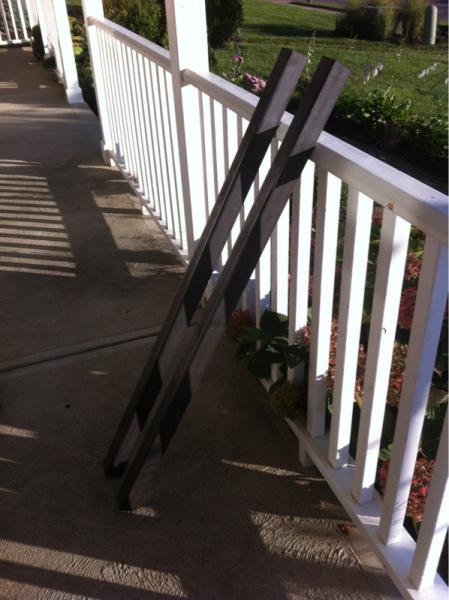
Lastly is the rough.. and I mean very rough lay out of how the top shelf where the kegs sit will look. I'll square everything up and make sure its a tight fit before I weld it. All those 45 degree cuts were tough, the saw guide kept changing it self on me.

Let me know what you think, and I'll keep you posted as I make progress - I'm not sure when I will be able to get it all welded.

image-3534582568.jpg


image-77851305.jpg


image-3195050716.jpg


image-3579695500.jpg


image-3354017253.jpg


image-2390718048.jpg


image-1594937377.jpg


image-4051516292.jpg


image-3752531082.jpg


image-3628217489.jpg


image-1156632434.jpg
 
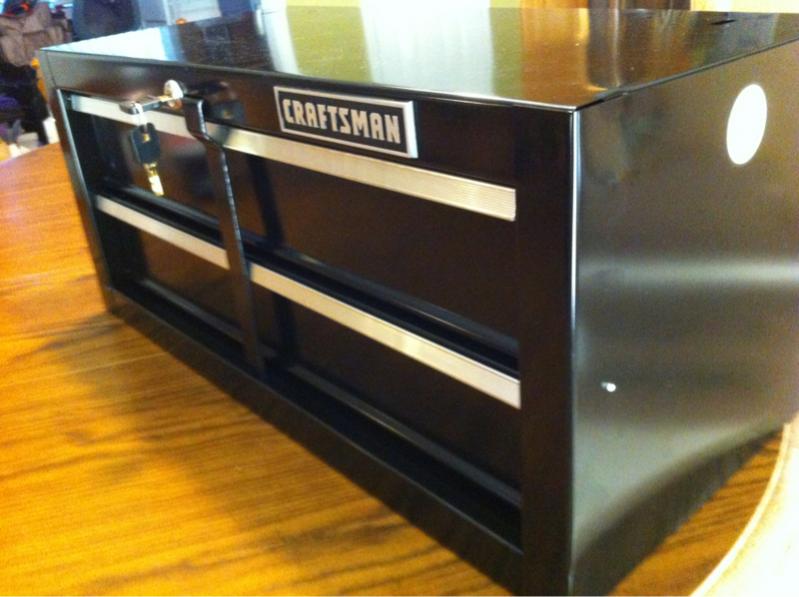
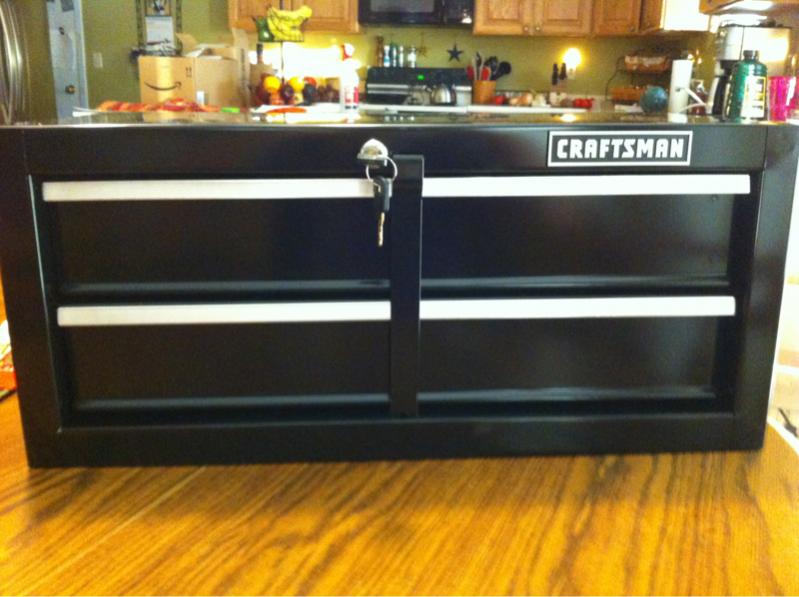
I probably got the best deal of all on the set of
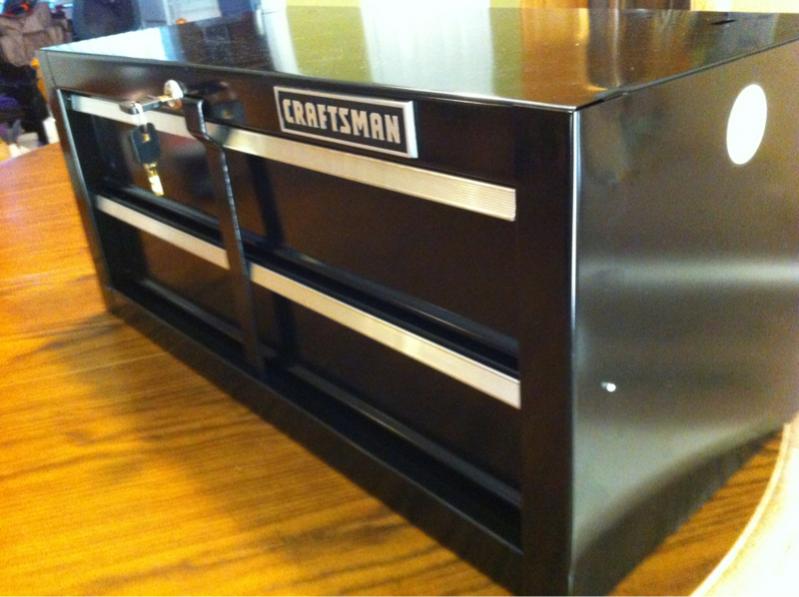
Drawers I purchased. I found them by accident at Sears on clearance, and they were $40 shipped, originally $120. I love a good deal. Not only where they on clearance, they fit the dimensions I needed them to fit just about perfectly. Also they are a "sub box" part to a full Craftsman tool Chest assembly. So if anything is going to be able to take a beating - its these draws.

I can't wait to get the whole thing built and brew on it.

image-78414660.jpg


image-3742625895.jpg


image-3617870923.jpg
 
you probably will want a ball valve on the output of that pump to be able to manage the flow. helps with sparging, fly sparging, recirculation, etc.
75235d1347322099-brewtius-maximus-braxton-10-complete-single-tier-build-image-3752531082.jpg
 
you probably will want a ball valve on the output of that pump to be able to manage the flow. helps with sparging, fly sparging, recirculation, etc.

Absolutely, they just haven't came in yet - I have all new fittings, valves, dip tubes/etc. on the way! (including the pump valves). Thanks for the tip!
 
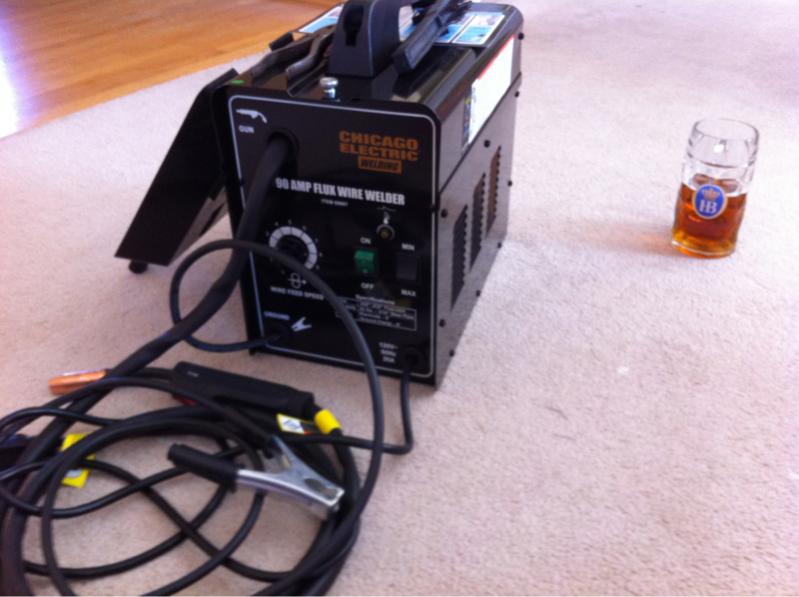
Had a change in plans on how it's going to be welded. So I went to harbor freight and picked up a cheap welder. Hopefully the stand will be erected by this weekend!

I also picked up a few more things from BobbyM at brew hardware including the mash tube and poly edging. Pictures soon!

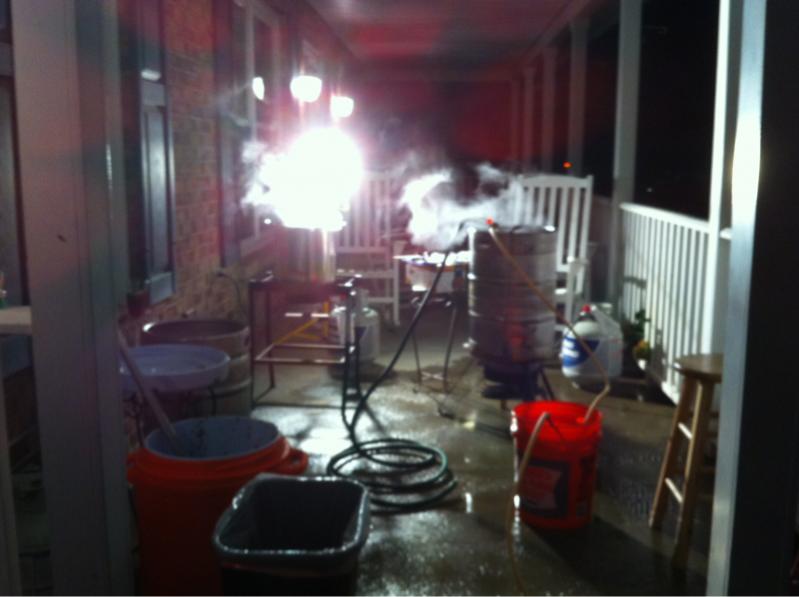
Also had another no stand impromptu brew session on Friday. Trying to make sure I has enough beer to last while the brewery will be down for a few weeks.

image-1223997253.jpg


image-362884106.jpg
 
By all the water on the ground, can I assume you popped another push in fitting?

You mentioned dip tubes, what other changes or additions are you going to make to your keggle?
 
By all the water on the ground, can I assume you popped another push in fitting?

You mentioned dip tubes, what other changes or additions are you going to make to your keggle?

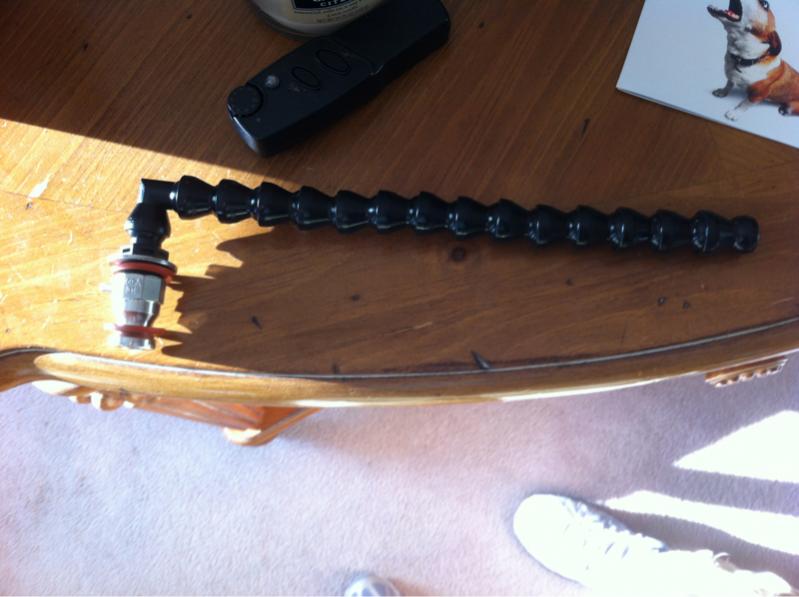
Well Dip tubes on all, false bottom on the third (mash tun) and a mash tube, two angle tubes for the BK for whirlpooling and all will have cams. Eventually I'll add some thermocouples. But other than that some thermometers and I'll be set.

image-1336806044.jpg
 
ooooh. Loc-Line for a dip tube. I've seen or thought of that before. I like it. Where are you getting your loc-line?
 
ooooh. Loc-Line for a dip tube. I've seen or thought of that before. I like it. Where are you getting your loc-line?

brewhardware.com he has different kits for it. This one came with the Loc-Line and the Cam Lock A. He has a cooler outfit as well.
 
Thanks for all the kind words everyone! I will begin welding this week, as I made some adjustment cuts at school (I'm a Mechanical and Manufacturing Engineering Student). It's a sweet band saw and I should have used it from the start.

image-179894321.jpg
 
Thanks for all the kind words everyone! I will begin welding this week, as I made some adjustment cuts at school (I'm a Mechanical and Manufacturing Engineering Student). It's a sweet band saw and I should have used it from the start.

Props for the ME choice. I graduate '10 with an ME degree. Love my career field!
 
Thanks, the stuff I learn is really cool, but I am not sure what I plan on doing when I get out. I have 2 jobs as well - one in the brewery at Hofbrauhaus and my LHBS. If I do make it in the brewing industry I told my self I wanted a degree and a back up plan just in case. Plus it helps get a better job in brewing.
 
How thick is the steel you are using? Not sure if you already said....
 
How thick is the steel you are using? Not sure if you already said....

It's 11ga, which is 1/8" wall. Definitely going to be over built, but It would stand up to the job with no issues. Welding begins tomorrow morning around 6 or 7 am.
:rockin:
 
The post you have all been waiting for! I got started on welding this morning and got pretty far. You can see the progess I made, almost done with the top. All I have to do is finish welding the corner braces and clean up some of the other welds. All I can say is that it ways a ton! Hopefully I can finish welding and cleaning the welds on Monday and prep it for painting.

I have a little welding experience but not much, I think they are okay.

Let me know what you think!

image-2411170466.jpg


image-2541395460.jpg


image-2154830201.jpg


image-3126127900.jpg


image-697752162.jpg


image-487737784.jpg


image-2079610855.jpg


image-3176768349.jpg


image-2994782164.jpg


image-3153937544.jpg
 
Back
Top