• Please visit and share your knowledge at our sister communities:
  • If you have not, please join our official Homebrewing Facebook Group!

    Homebrewing Facebook Group

Brewie

Homebrew Talk

Help Support Homebrew Talk:

This site may earn a commission from merchant affiliate links, including eBay, Amazon, and others.
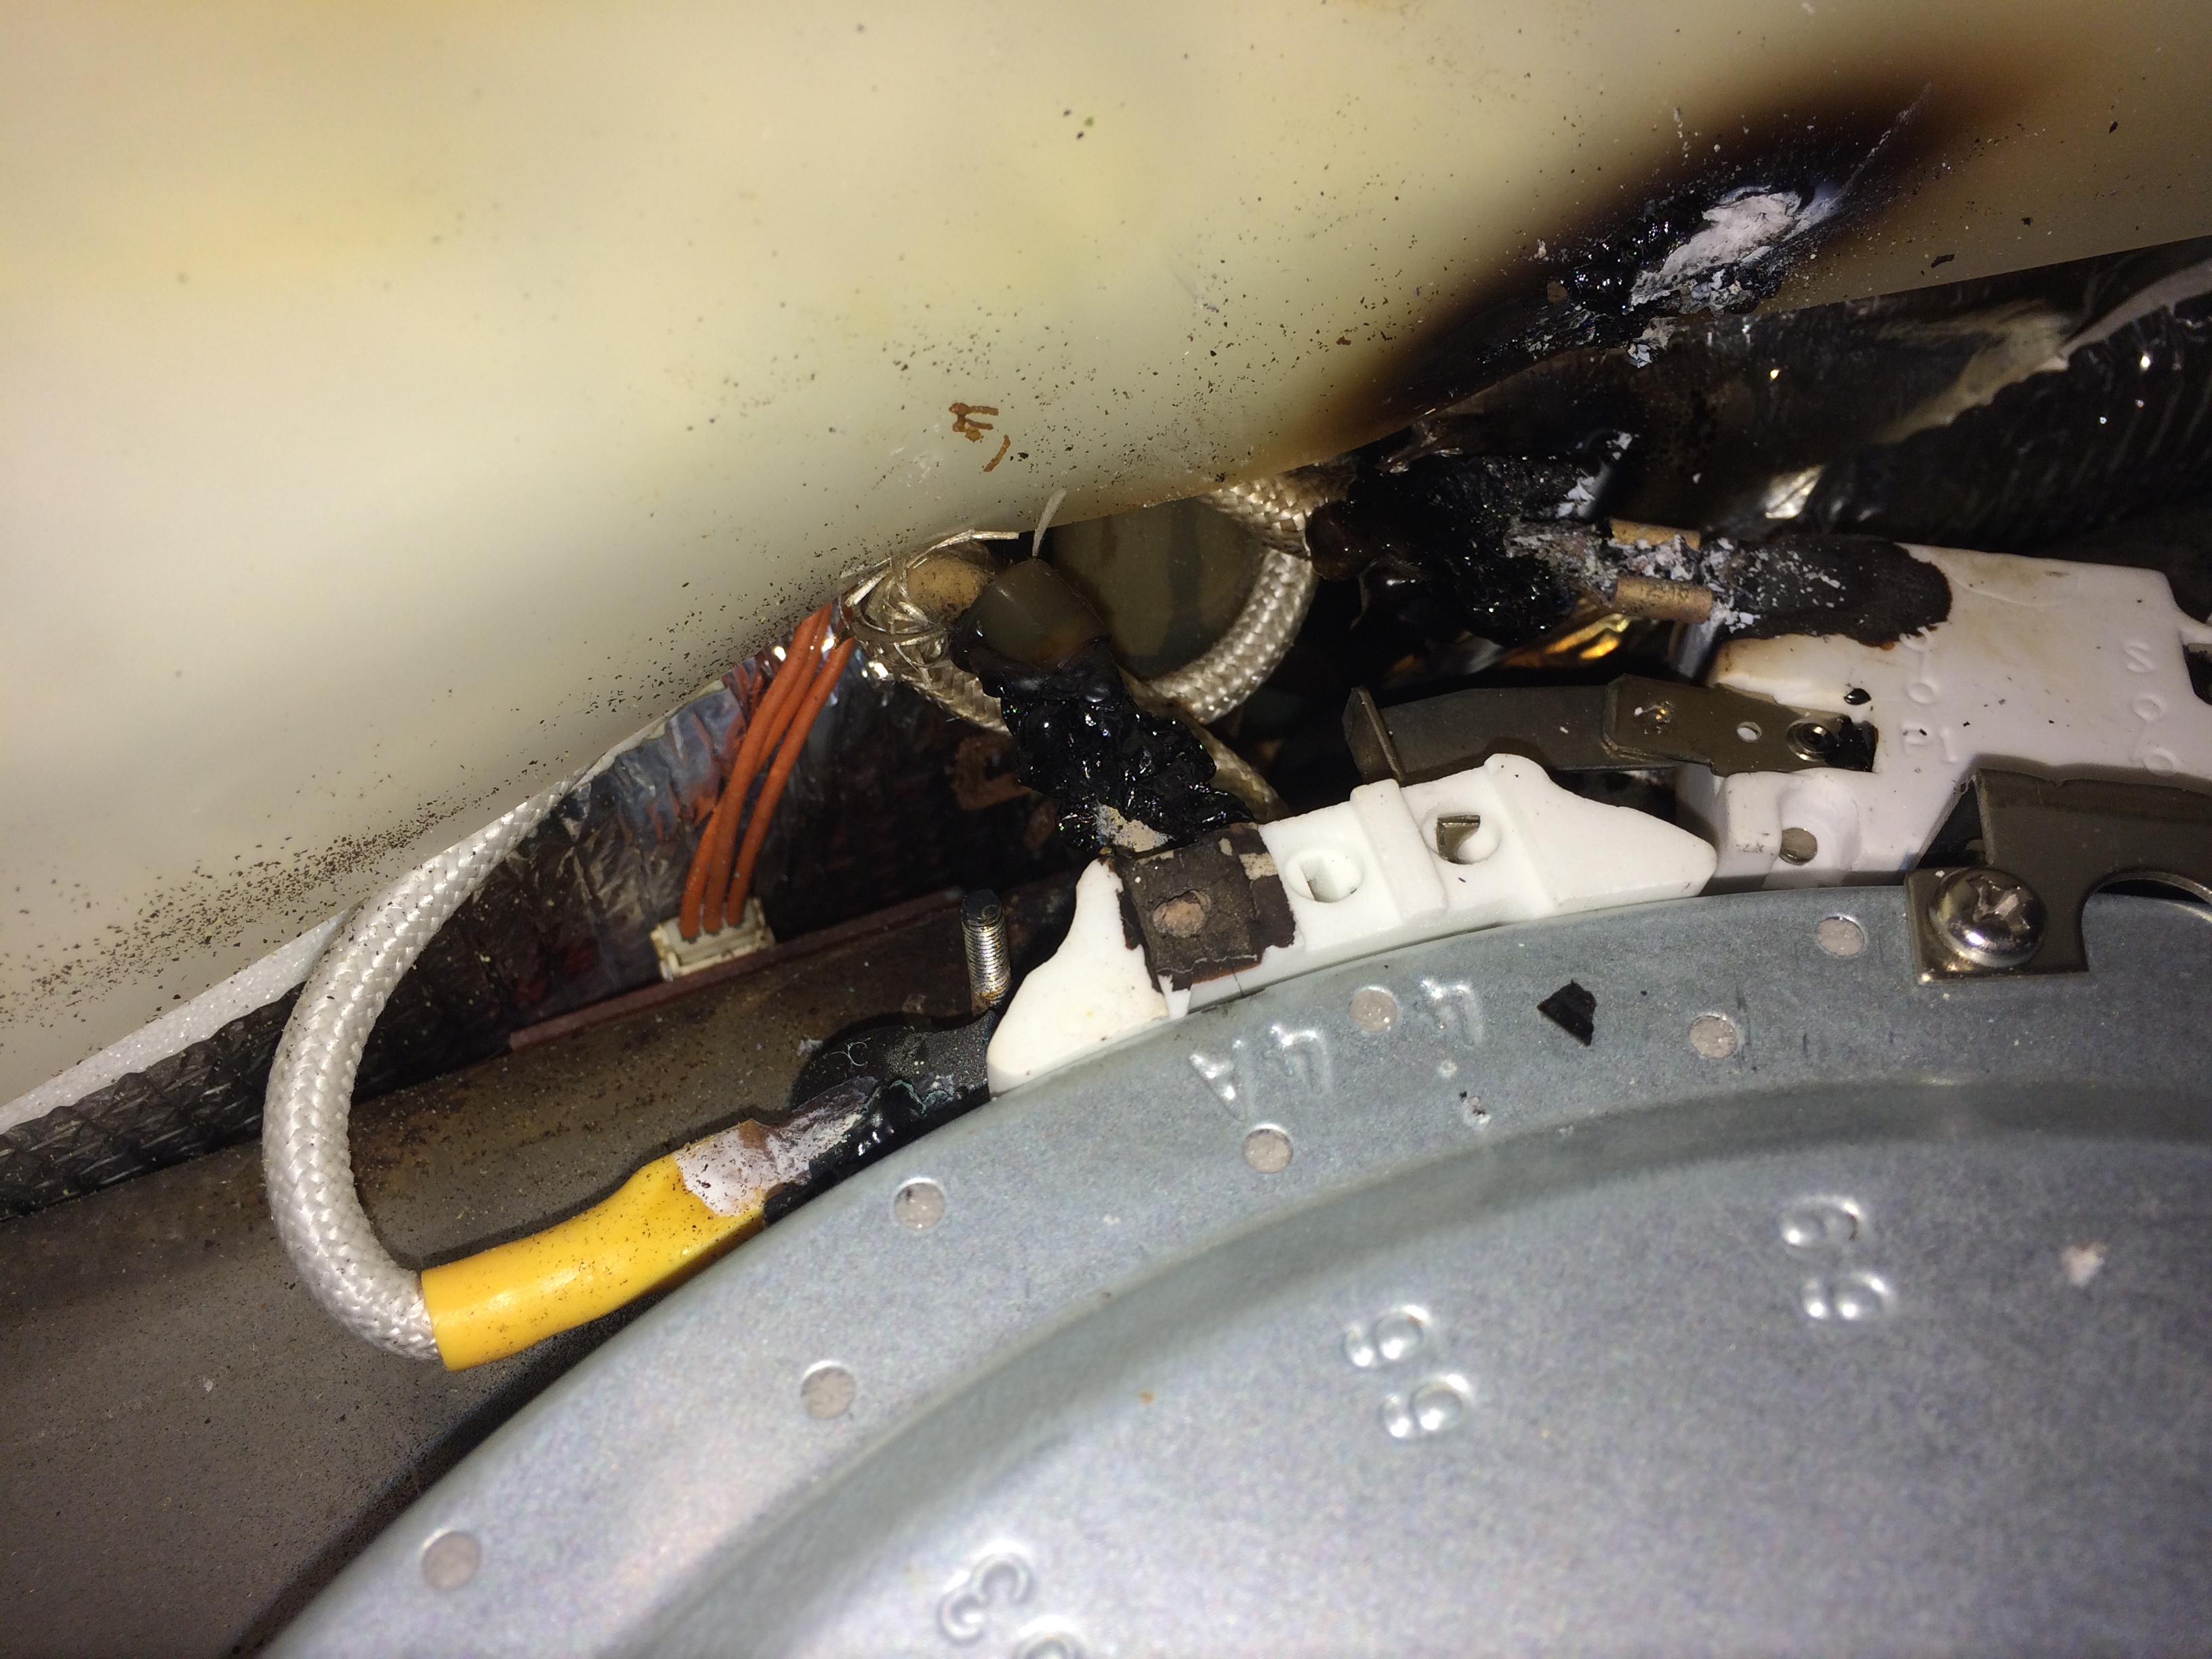
I took my Brewie+ apart today to see what was going on with the last brew and to install the new wires I had received. All wires to the heating element are completely disintegrated. One of the connection tabs on the heating element is completely melted away. The silicone sheet on top of the connectors has a hole burned into it.
I asked Mate to send me instructions on how to send my unit back for repair and a permanent fix to the overheating problem. I believe in its current for it is a fire hazard. This will be a real test on how well their customer support really works when it involves a returned unit. I will keep you posted. Some pictures attached.
IMG_0745.JPG
IMG_0748.JPG
IMG_0749.JPG
 
@volx

I know you want a permanent fix, but without adding fans, there is no permanent fix to cool this area. Mate sent me a kit with two new heating elements, two new thermal switches and new wires. This will "fix" your problem so to speak but will not reduce the heat in that area. Otherwise, I think you will be stuck asking for a refund.
 
There is another connection that is probably melted that I'm not seeing in the pictures also. Should be on the thermal switch. I also don't see a terminal melted away. That's bad, don't get me wrong, far worse than mine got before I fixed it but I don't think so bad that it can't be fixed. Maybe my willingness to "take it", so to speak, is enhanced by the fact that I have been unable to brew on my own for so long and I finally found something that works for me.
 
I have 2 wires and 1 thermal switch, which won't do. When I tried to clean the tab on the heating element, it crumbled and is now gone. Mate said they have adopted the fan solution for new instruments, so hopefully they can retrofit mine. My patience is running out.
 
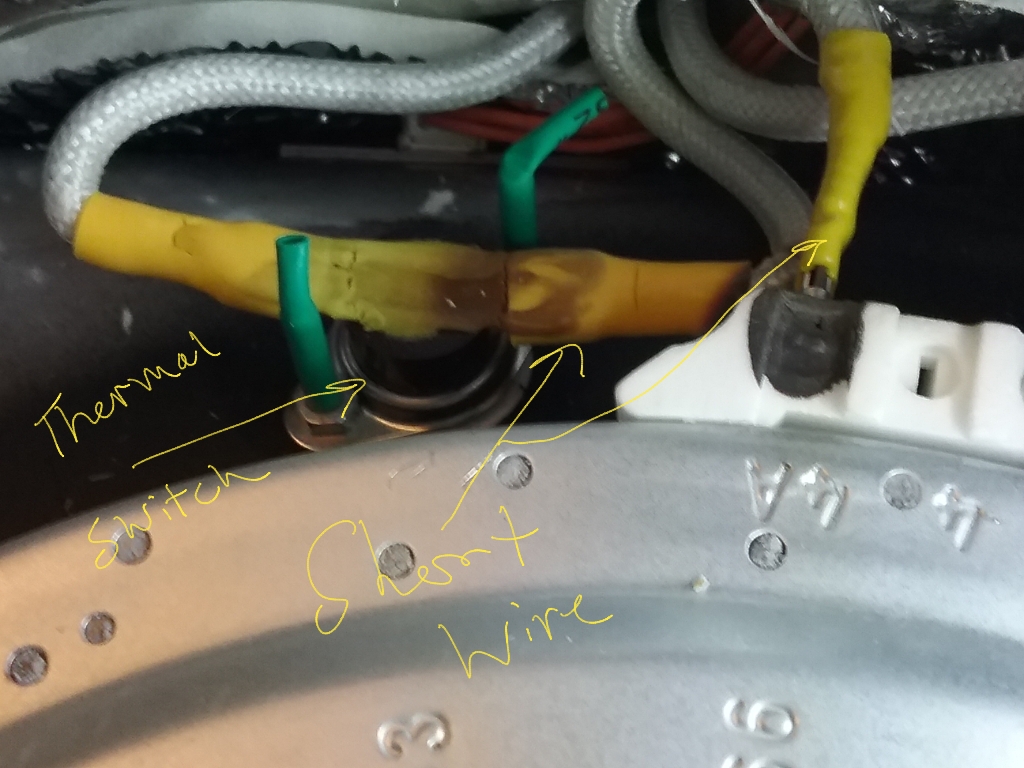
I stand corrected: what crumbled away was a piece of melted silicone, the terminal below is still intact. Does anyone have a good picture of the wiring to the thermal switch and the heating element? Thanks!
 
I stand corrected: what crumbled away was a piece of melted silicone, the terminal below is still intact. Does anyone have a good picture of the wiring to the thermal switch and the heating element? Thanks!

It is pretty simple, power comes into the thermal switch with the one long wire on the left of your pic, then use the short wire from the thermal switch to the element connection shown in the middle of your pic, then the other side of the element connection with the other long wire back to complete the circuit. The thermal switch is just there to cut off power to the element if it overheats.
 
I don't have pictures of the other 2 from end to end but it is obvious where they need to go because of the other ends... one goes to the high power pcb and the other goes to the relay. You may have to unplug a ground wire to get to the screw on the relay.
Screenshot_20190208-144854.jpg
 
On your new wire? Should be good.... make sure you polish up those terminals. You don't want any oxidized metal in there causing resistance on your new connections
 
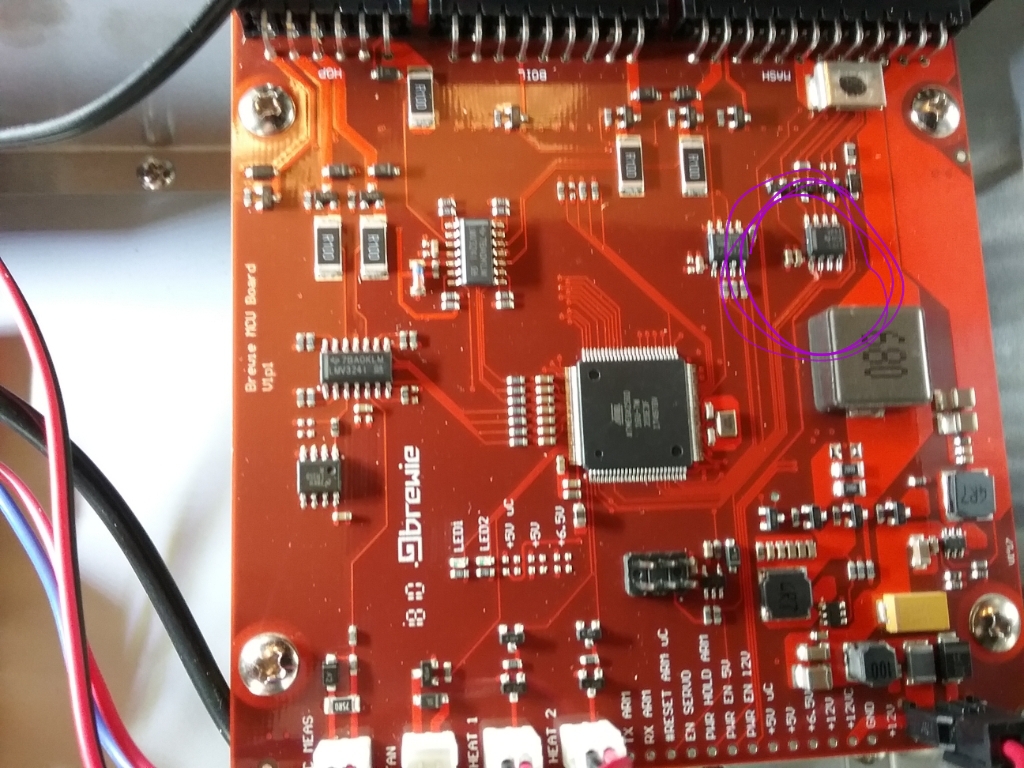
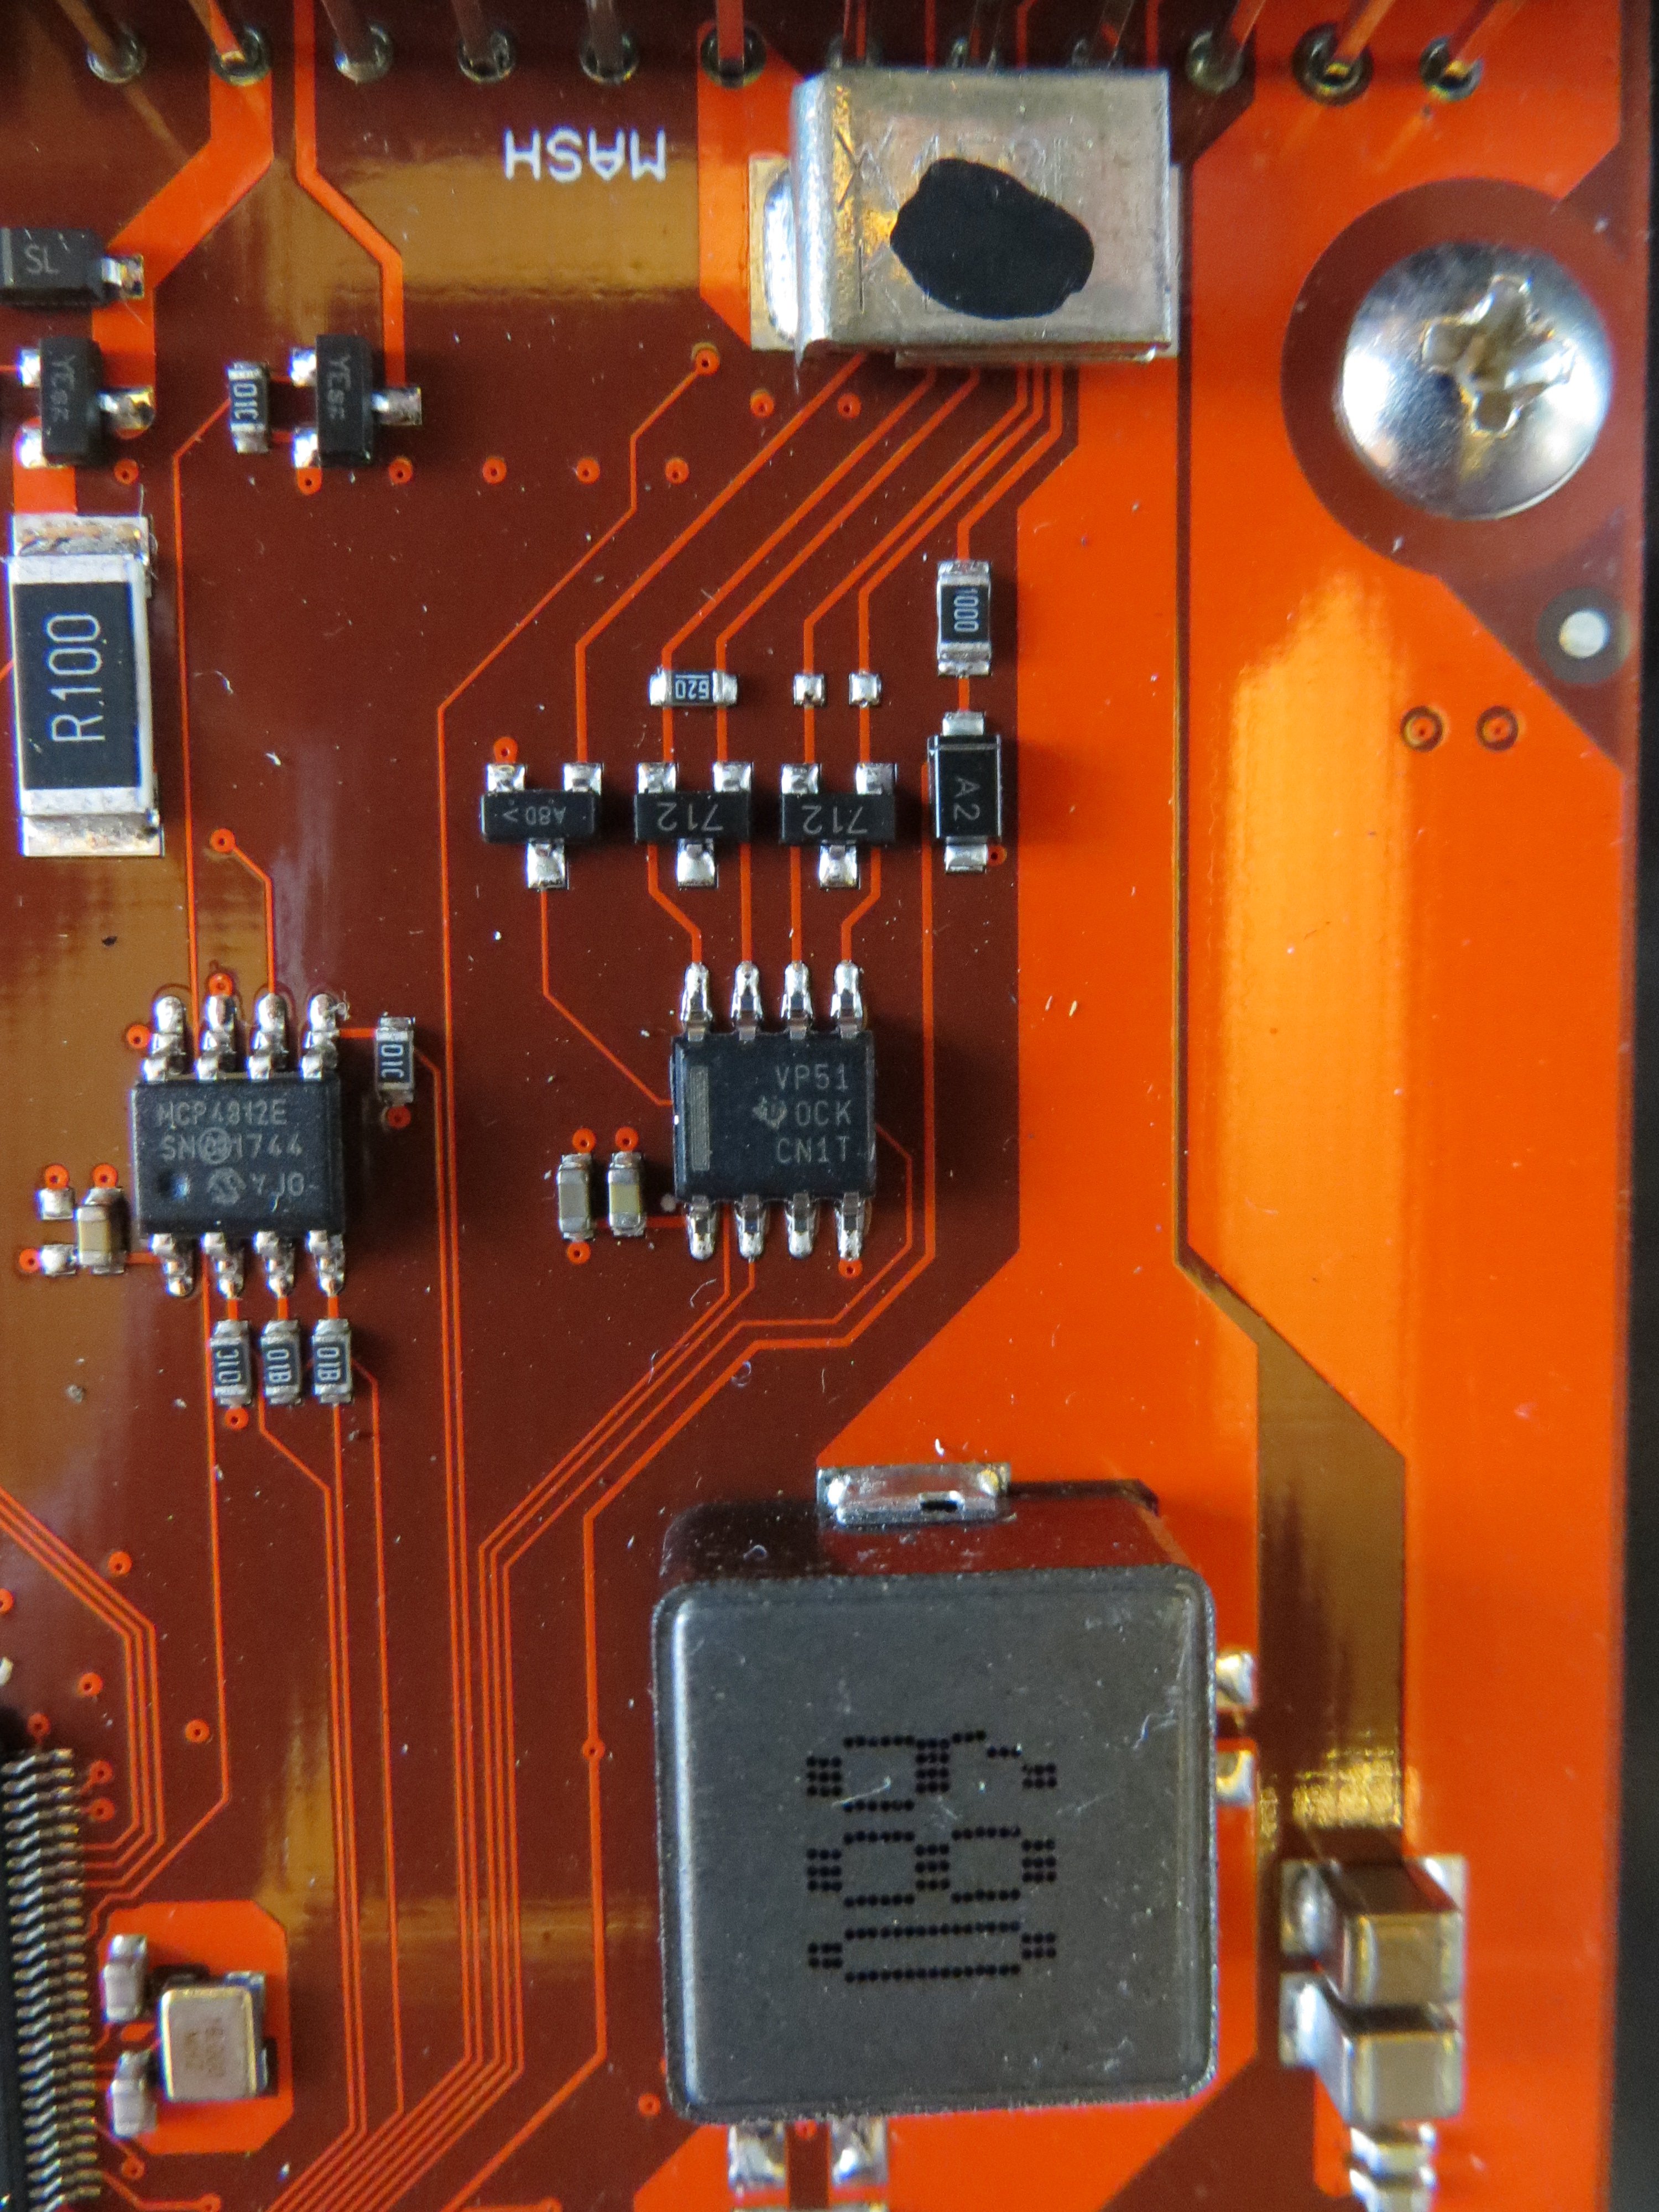
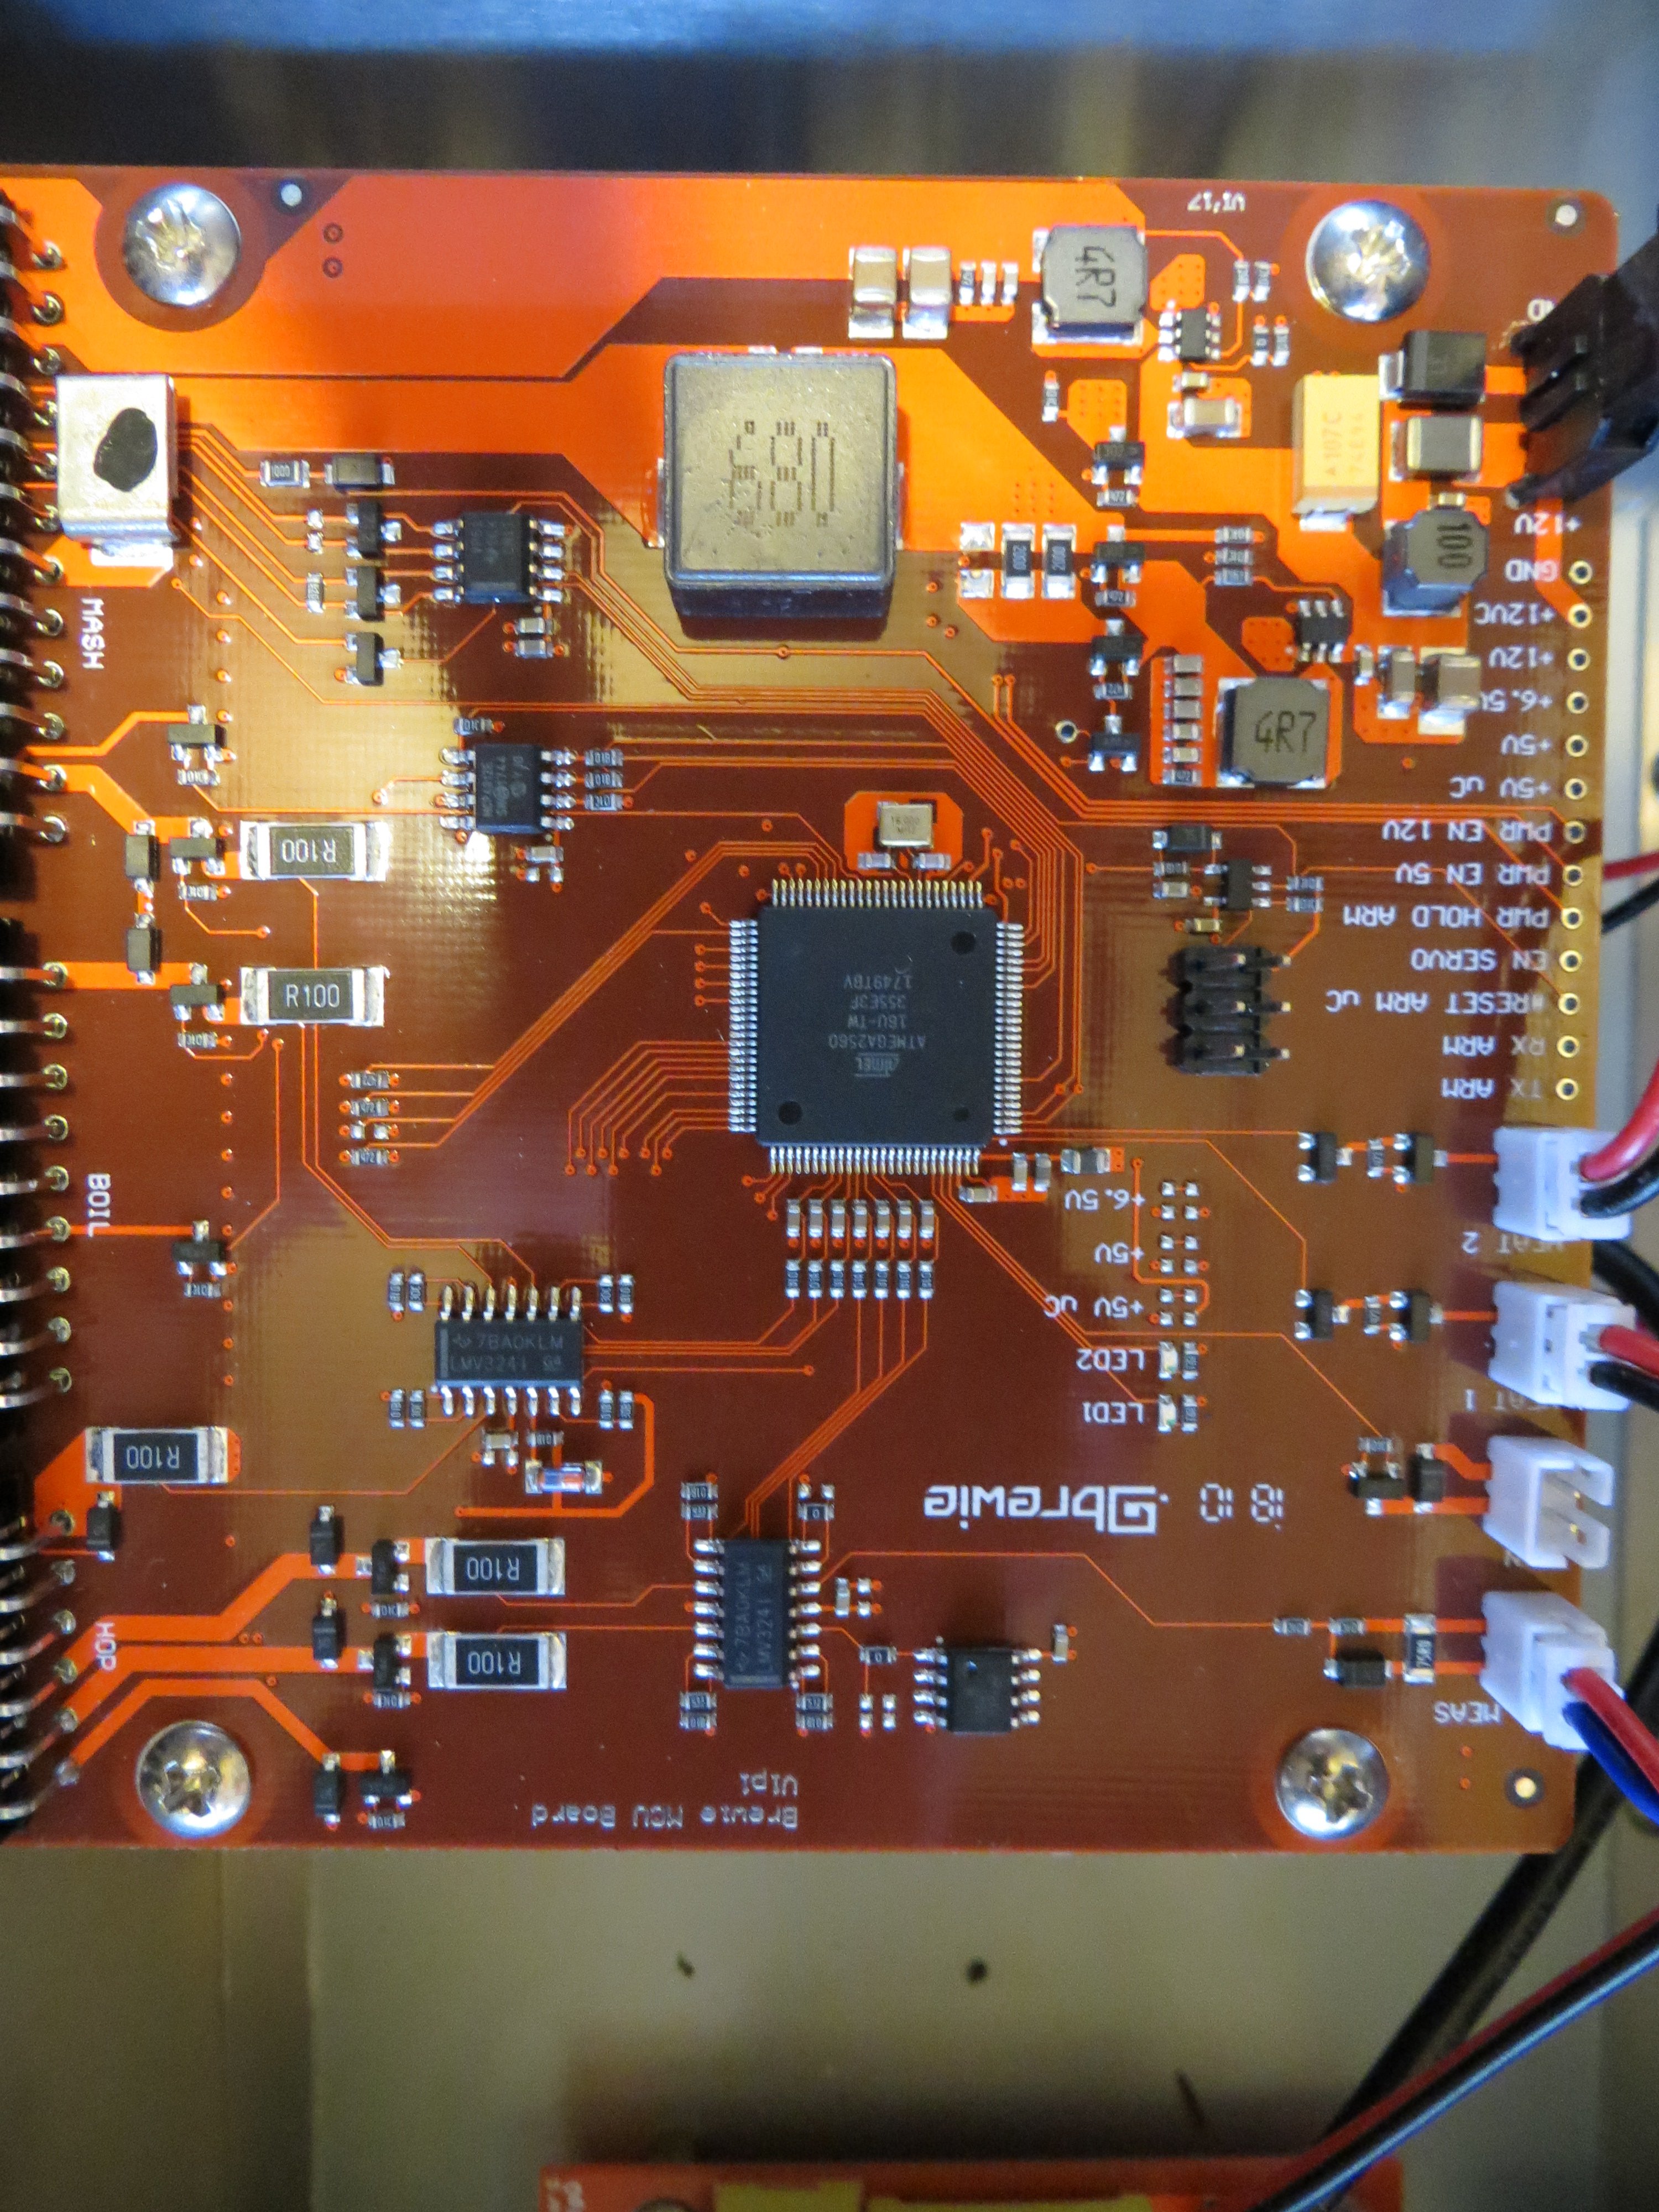
While you have that apart can you take a close up picture of the board to the right in that last picture. I think I found the issue I'm having after talking to Máté but I need a picture to compare to to.
 
After examining the board with a microscope I think I have a nick in the etching that is causing my problem..... manufacturing again. I also think there is solder where it shouldn't be.
 
Thank you this helps! I need to put new crimp connections on my short wire.
It is important to cut the wire till you find a unaffected by heat section. Please read conversations Harkin and I had a month ago, maybe around page 30, I explain everything about this mod. Nice to see Brewie are putting fans on new machine, this is the only way to keep terminals above maximum spec temperature.
 
After examining the board with a microscope I think I have a nick in the etching that is causing my problem..... manufacturing again. I also think there is solder where it shouldn't be.
This chip looks like driving 3 mosfet, so it is an output chip, probably driving valves or something else, unlikly to cause your software issue
 
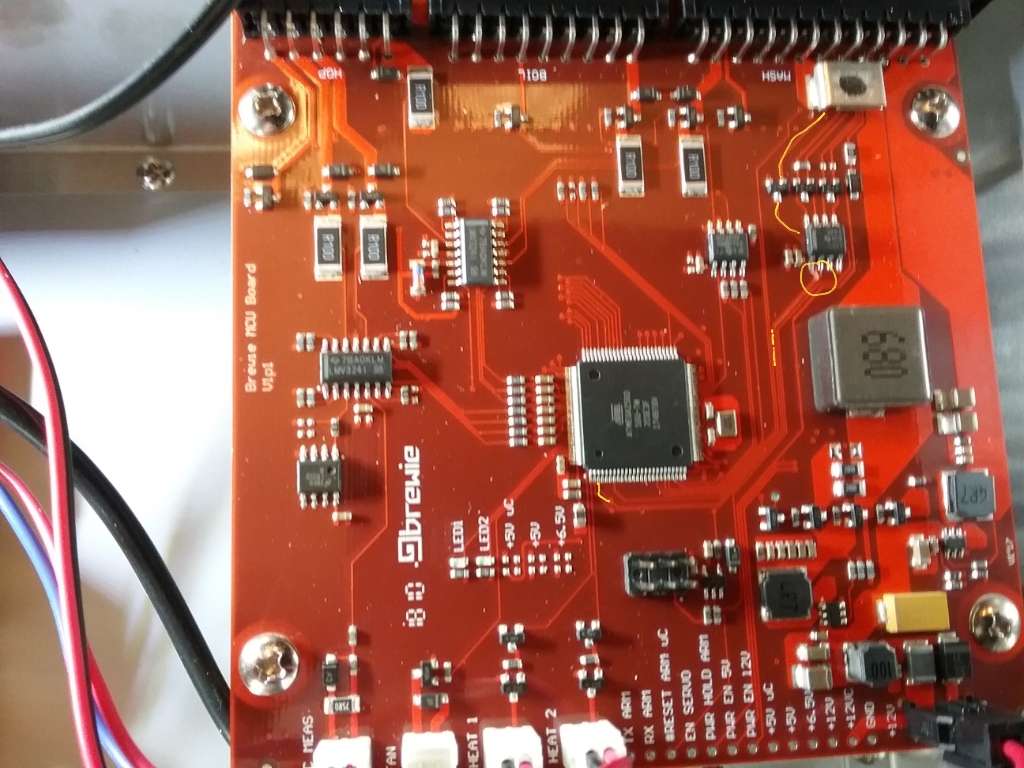
The conversation went ..... The machine is not able to overwrite the firmware ... The nick I think im seeing goes to another chip but I can't tell if it also goes to the first pin on the chip next to the nick
Screenshot_20190208-152850.jpg
. The wire in question comes out from between the first two pins.
 
Goes to pin 3 on the audrino chip and the chip in question also goes to the reset arm jumper
15496629312341049391513.jpg
1549663304831619809375.jpg


I just can't tell if pin 1 is also connected to the nicked layout in the last picture
 

Attachments

  • 1549663089608912744286.jpg
    1549663089608912744286.jpg
    1.8 MB
It is important to cut the wire till you find a unaffected by heat section. Please read conversations Harkin and I had a month ago, maybe around page 30, I explain everything about this mod. Nice to see Brewie are putting fans on new machine, this is the only way to keep terminals above maximum spec temperature.

Where did you see about fans?
And I thought he said he got new wires?....
 
Nevermind I see about the fans a wire ... I had to go back and read. Well that's awesome. Glad to see something came of this. I wonder when they will be rolling that out.
 
Thank you all for all the help! I am trying myself on the fan solution. In addition to the silver insulation, do I cut a hole in the silicone sheet underneath as well? Thanks!
 
Thanks guys! That was the problem ! I soldered it up and it works now. I figured out how to use my phone as a microscope so I could see what I was doing. It is now fixed and of course asking me to do the first clean... lol. At least I can brew tonight, after I put it all back together.
Thanks again.
20190128_232319.jpg


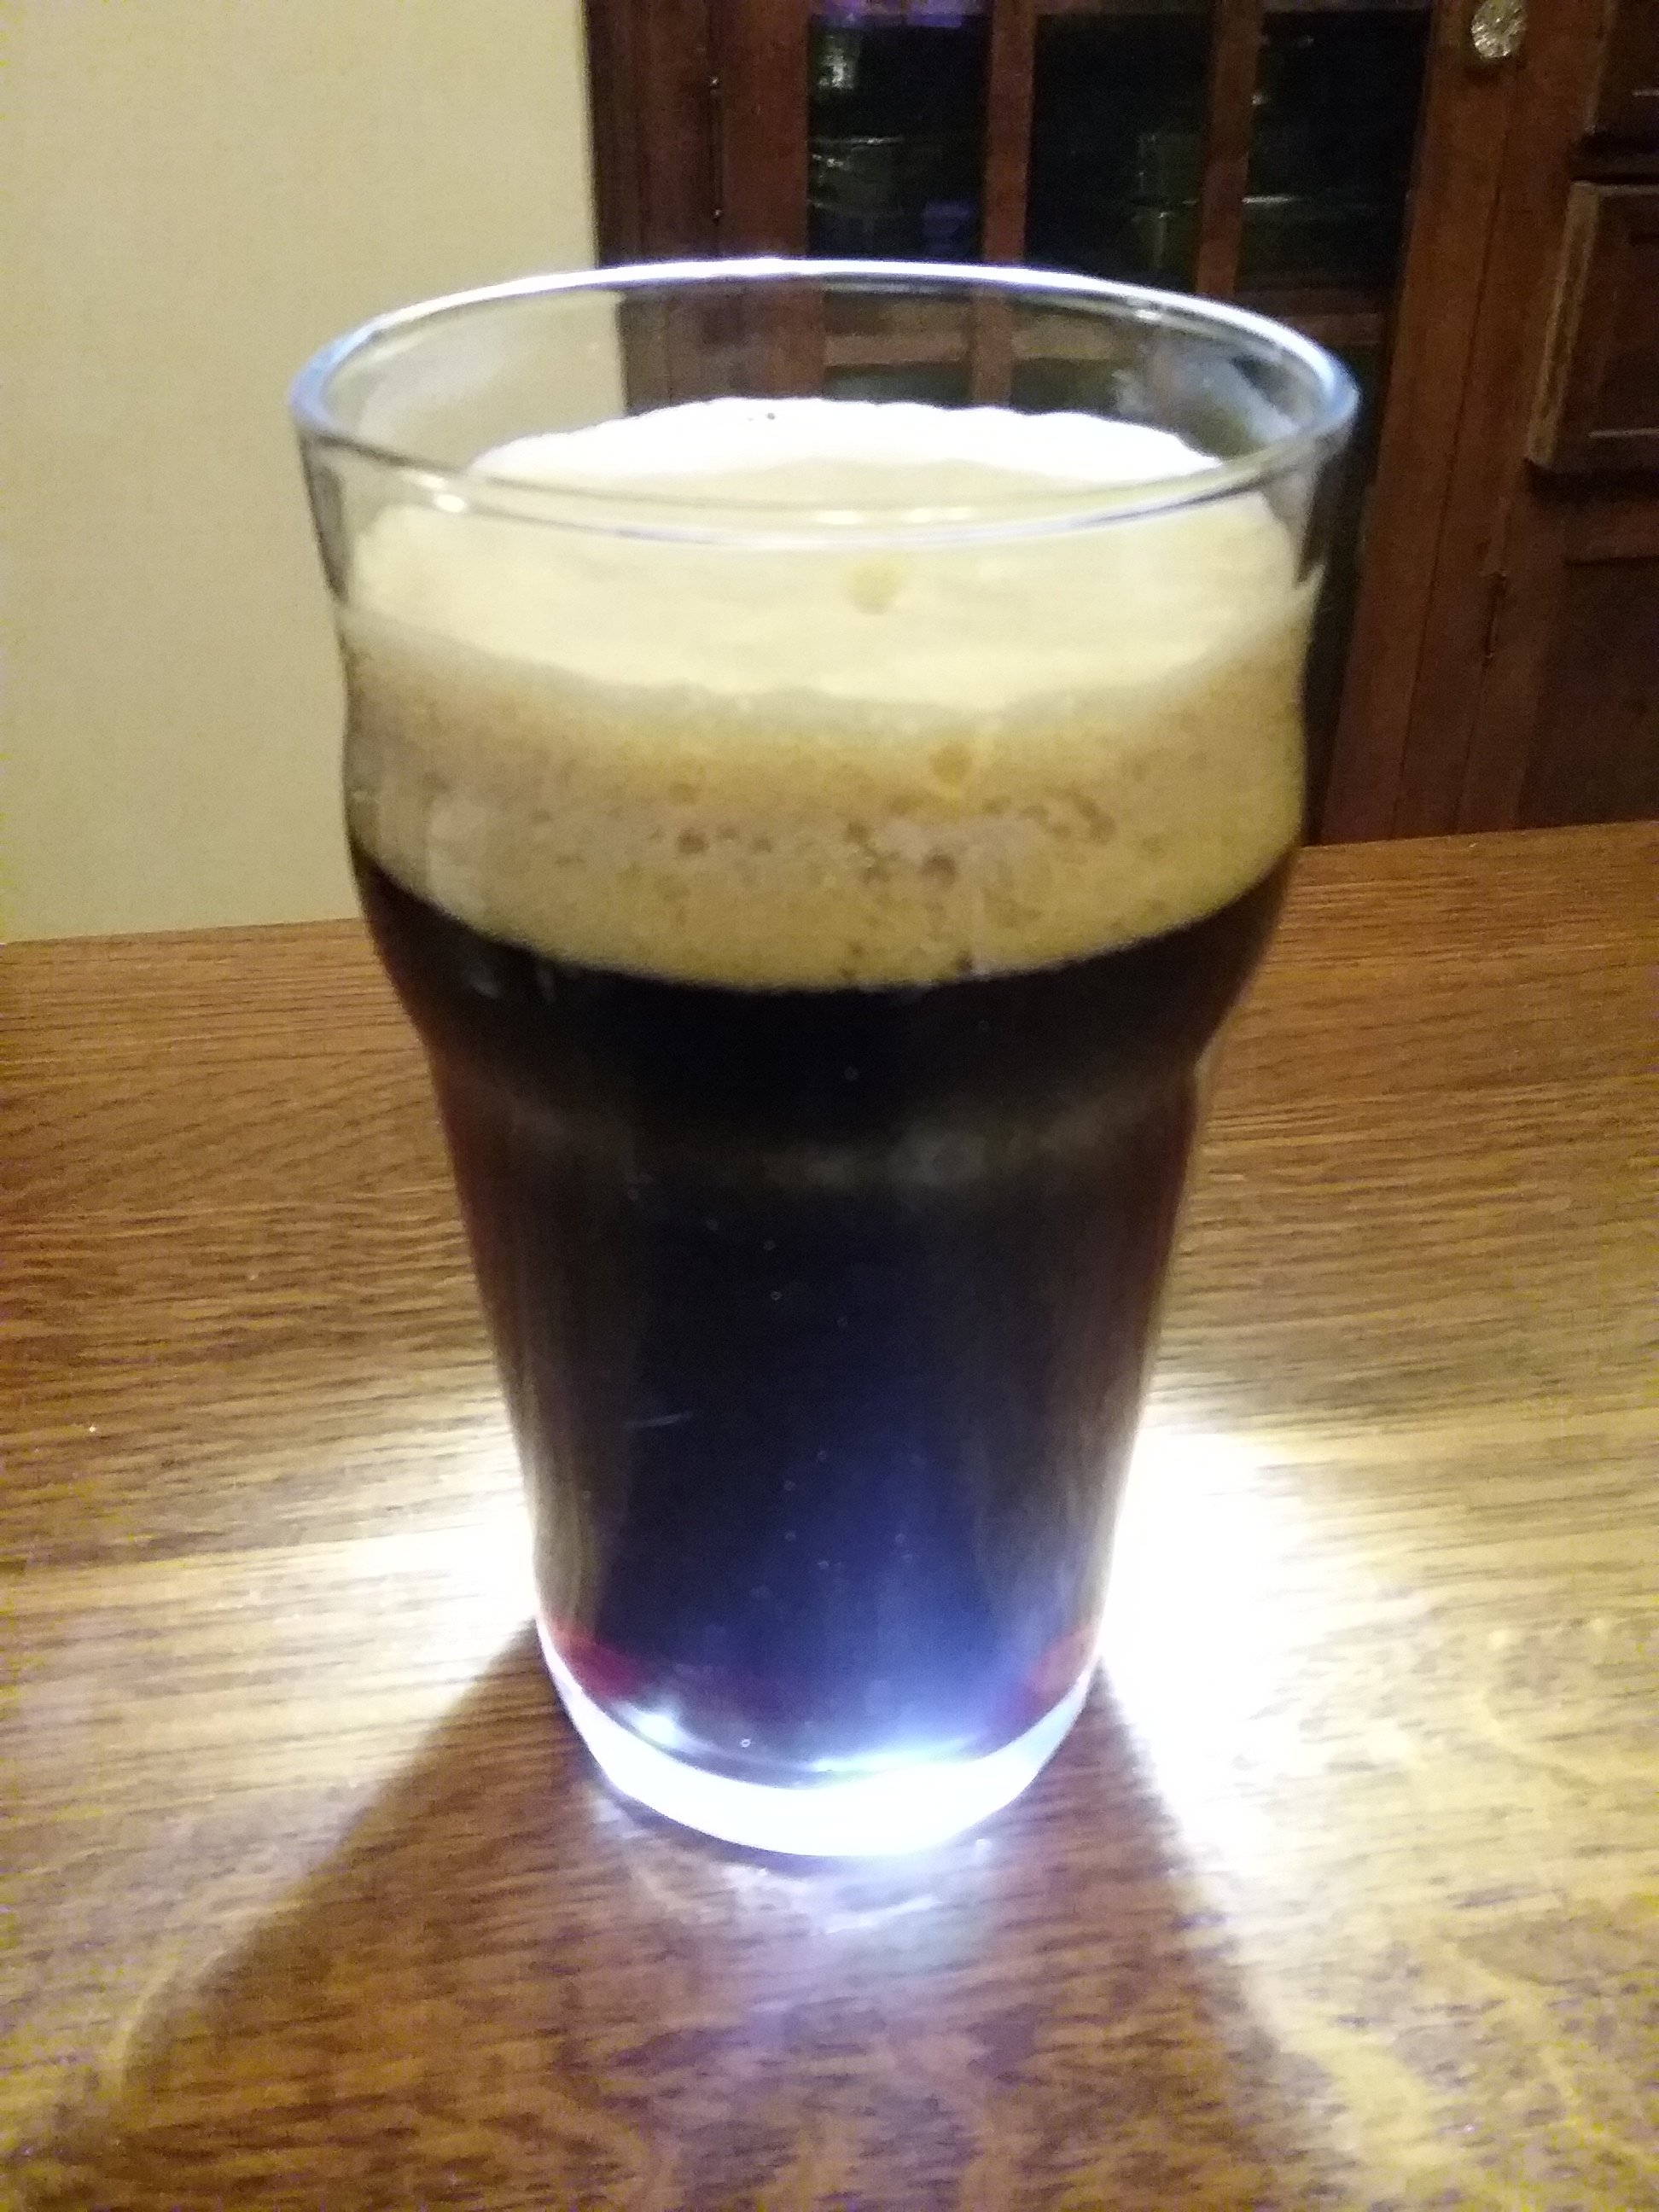
Time for one of these! The whole purpose of all of this!
 
Thank you all for all the help! I am trying myself on the fan solution. In addition to the silver insulation, do I cut a hole in the silicone sheet underneath as well? Thanks!

Yes. Trace it with a pen while the mounting plate is down and then use an exacto knife to cut the piece out.
 
Thanks guys! That was the problem ! I soldered it up and it works now. I figured out how to use my phone as a microscope so I could see what I was doing. It is now fixed and of course asking me to do the first clean... lol. At least I can brew tonight, after I put it all back together.
Thanks again.View attachment 611492

Time for one of these! The whole purpose of all of this!

Dude super impressive. I never would have thought to trace a connection on the board, let alone try to re-solder something! Awesome job man.
 
Last edited:
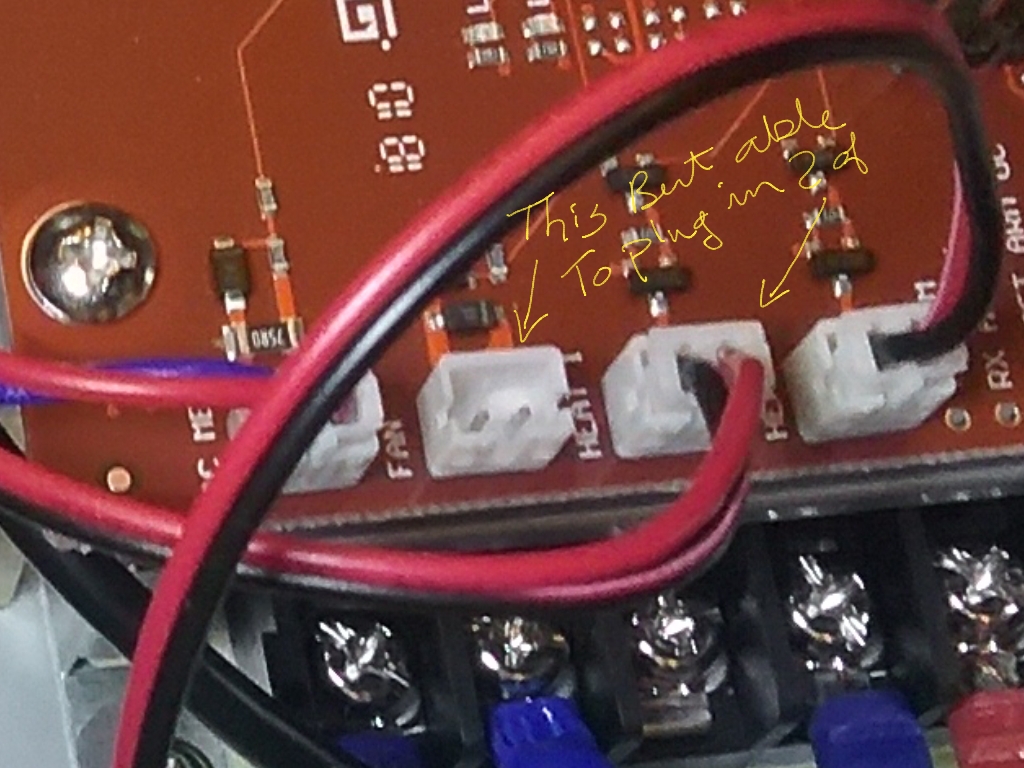
Now if anyone knows where to get a splitter or stacking plug used on the fan connections I would be golden so I can disconnect my new fans from the 12v power supply and connect them to the switched fan supply...
Screenshot_20190208-200542.jpg
 
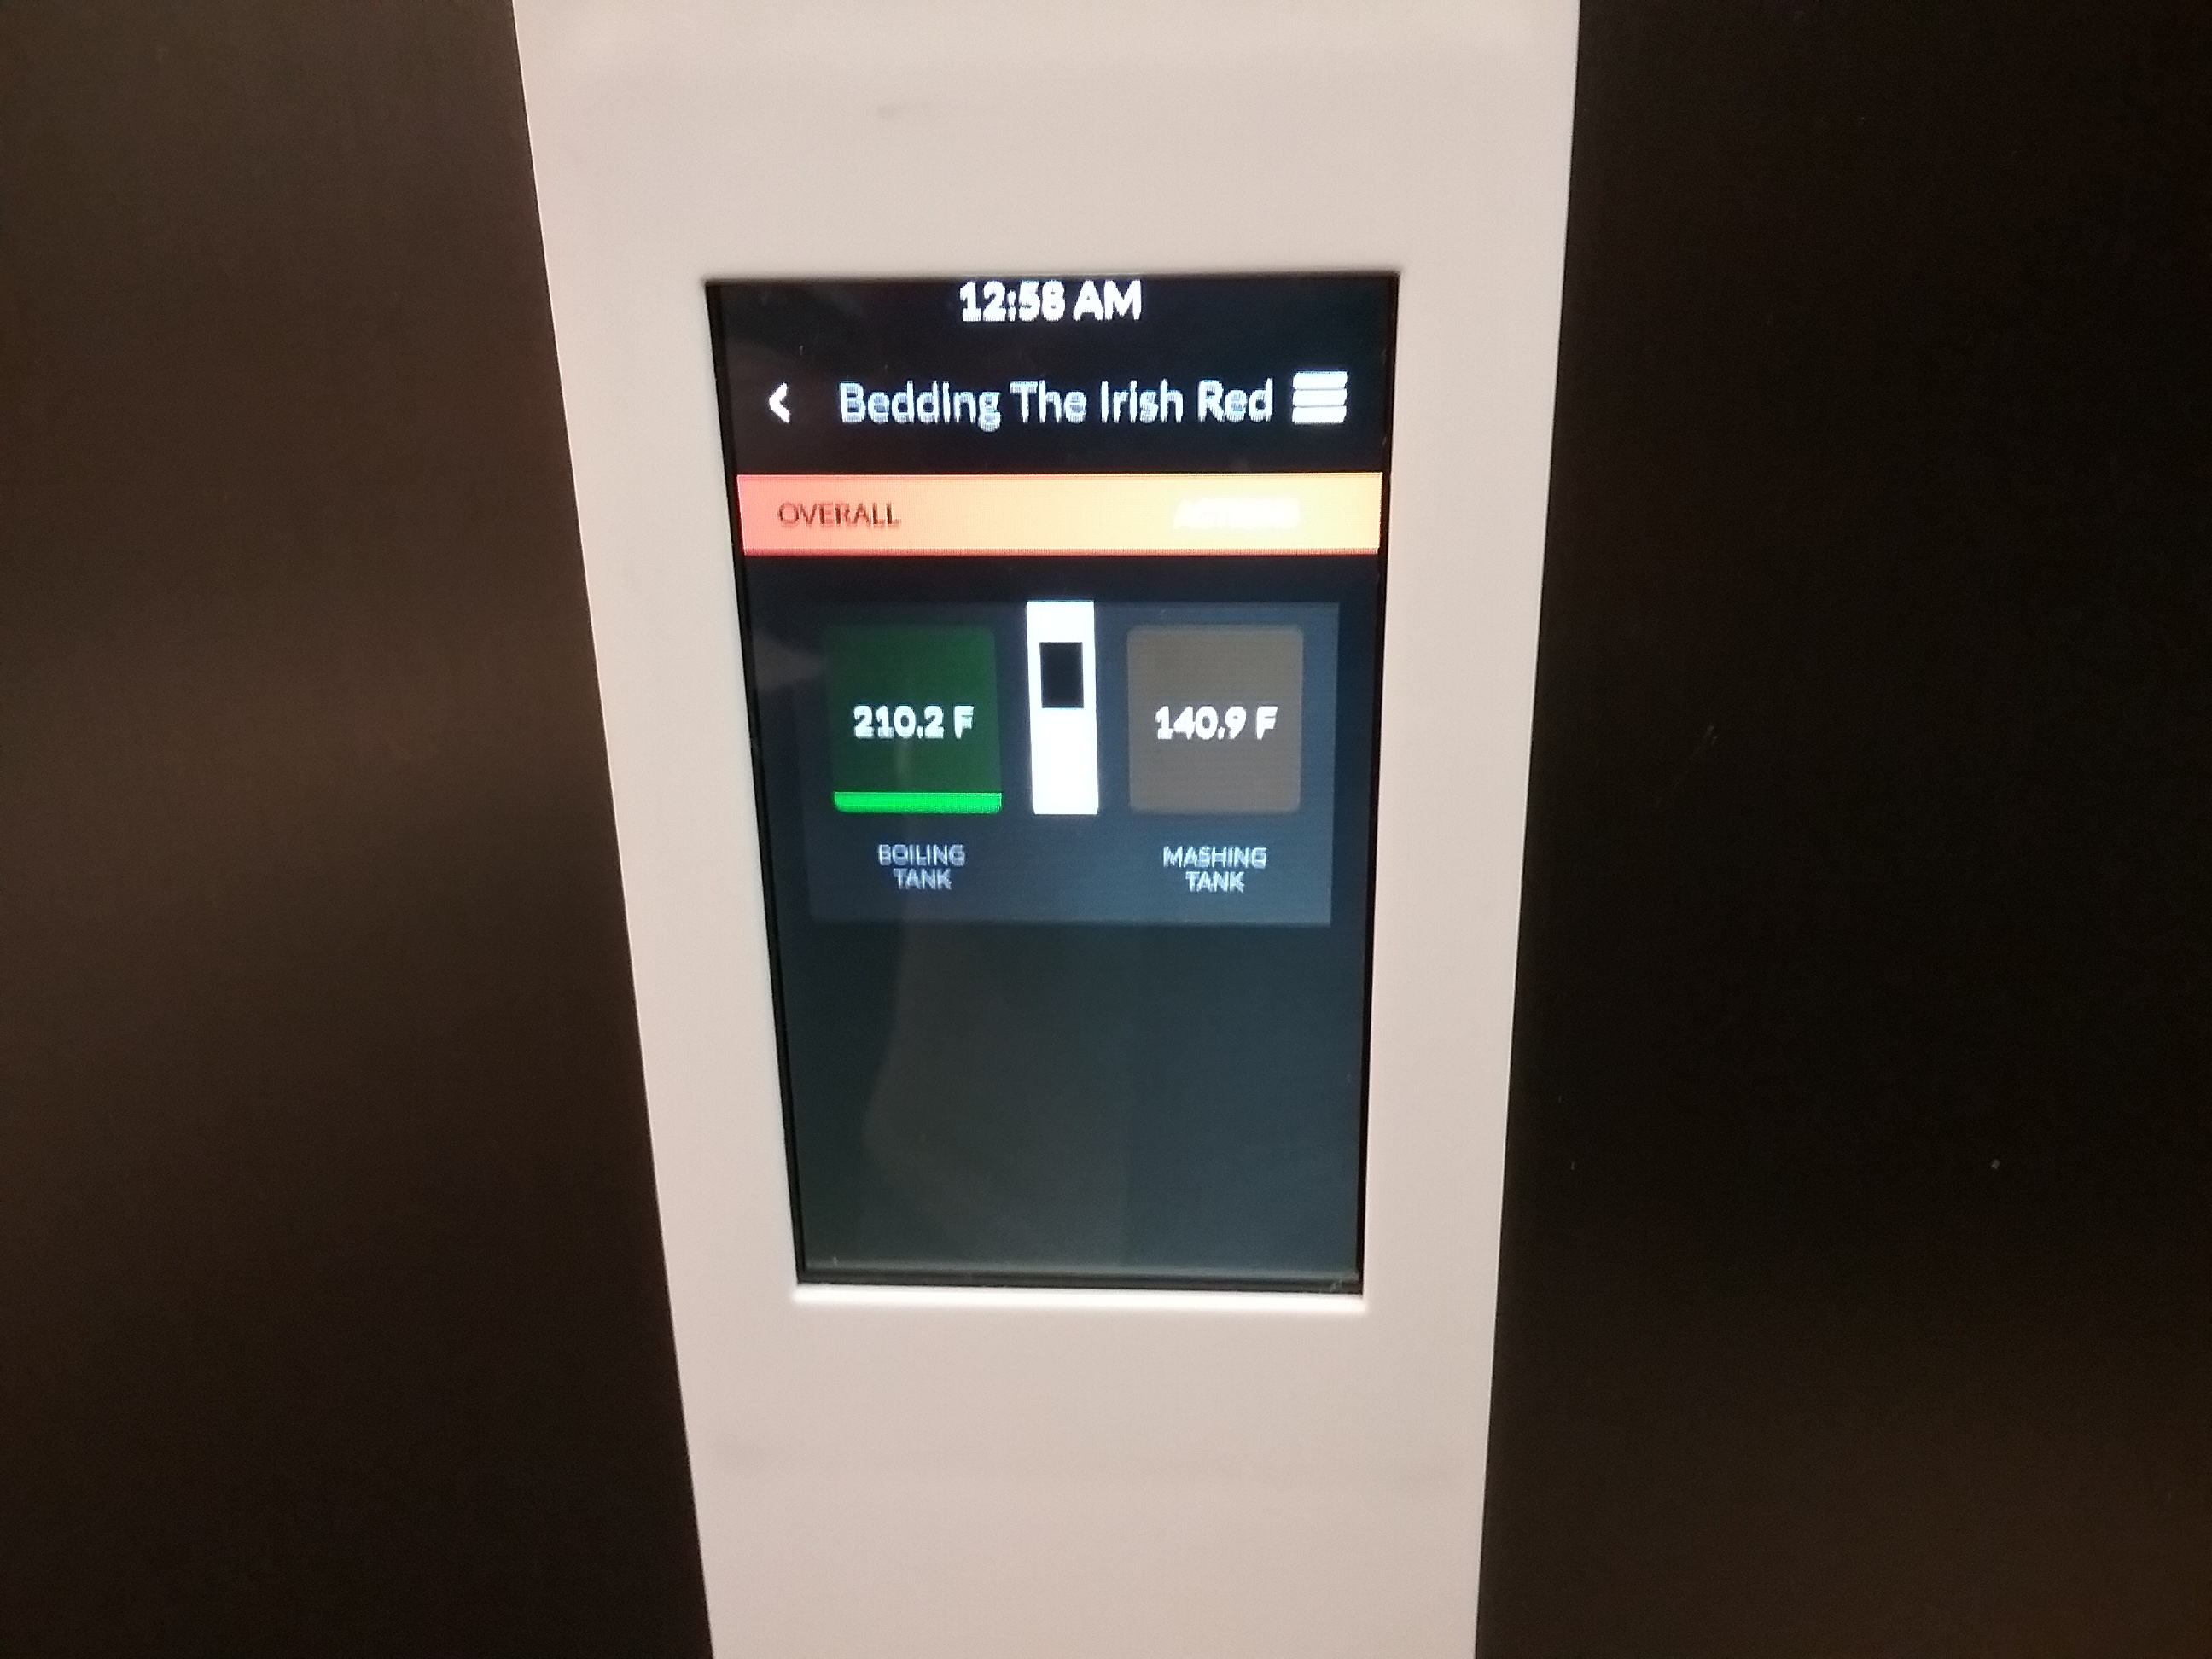
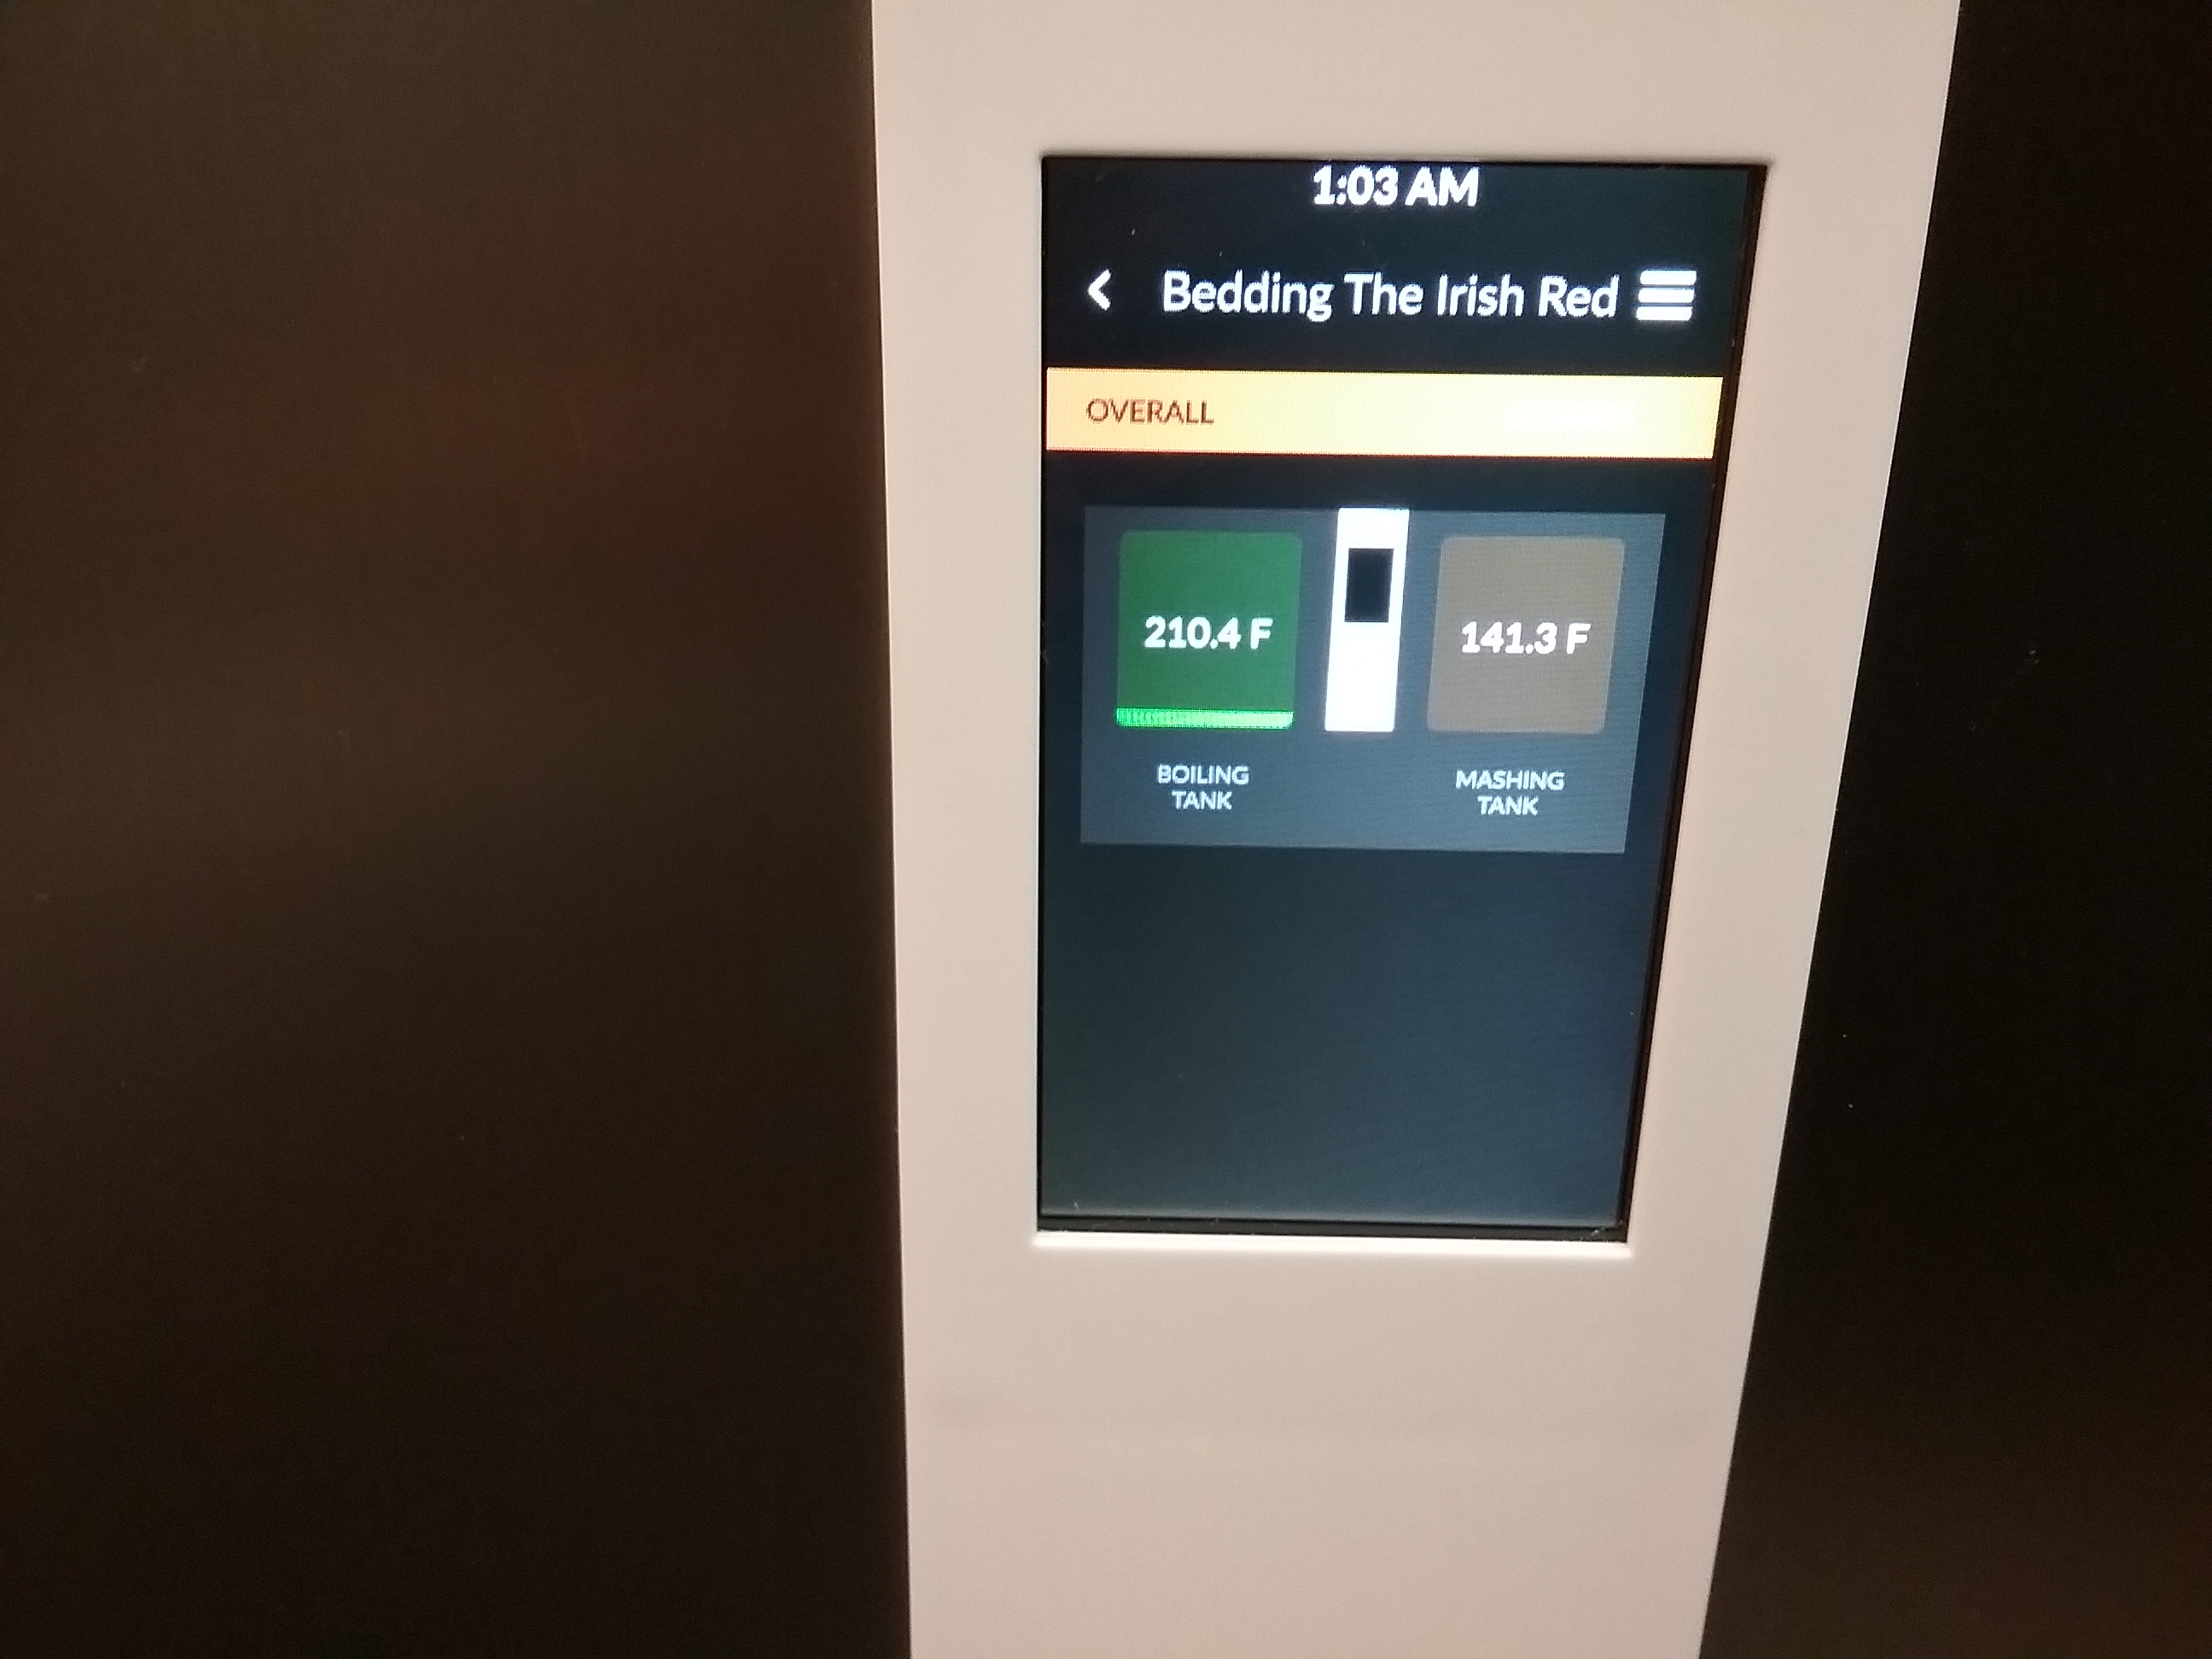
Finished! Brewed my "Bedding The Irish Red". Didn't hit my numbers but I think I may have screwed up. I got everything ready 2 weeks ago and may have forgot something tonight. The machine got up to 210.6° during the boil so it is working great. Time for one last beer before SWMBO gets home.
 
Back
Top