Bonzai Brew Bus - Ride with me....

Homebrew Talk - Beer, Wine, Mead, & Cider Brewing Discussion Forum

Help Support Homebrew Talk - Beer, Wine, Mead, & Cider Brewing Discussion Forum:

This site may earn a commission from merchant affiliate links, including eBay, Amazon, and others.

Hydreliox

Member
Joined
Jul 6, 2015
Messages
23
Reaction score
1
And if we make this a success I will name the brew that.

Updates.
1. Stir Plate removed from equipment requirements - RM-MN advice in post 6
2. Potential temp controller added to equipment
3. Updated and changed the recipe reasonably significantly
4. Updated ingredients
5. Updated recipe - removed CaraPils and Maple Syrup
6. Updated brew day procedure
7. Concerned about water volumes....
8. Equipment Updates
------------------------------------------------------------
The Prologue
------------------------------------------------------------

Right, after doing a lot of research over the last week - already learning so much and kicking myself for some huge errors :ban: I'm about to receive grain and give this whole thing ago.

I decided to go for BIAB methodology mainly due to limited space, and for the time being, this Mrs T doesn't mind with my plans for kitchen access, equipment purchases and me piddling about with a new hobby. As you follow, I hope you gain a further understanding as of my reasons for all grain BIAB as a complete novice.

In case you haven't heard from me yet I am in the tropics - problem number 1!
I have limited supplies to ingredients - problem number 2.

And I have limited supplies to brewing equipment so I will have to 'make do' with what I have in my limited arsenal - problem number 3.

I also have zero experience - but I will give anything my best. Of course, eager, frivolous and in dire need of gaining experience.

So, if you wish - jump along, in what we will call the 'Banzai Brew Bus' - a diary of sorts, and help me get the first beer off to a flyer.

I would prefer to keep this thread to constructive feed back, and where possible keep it a upbeat as we can.

So, with that in mind, join me and raise your glasses,kick back, open a cold one, feet up and come along for the ride.

------------------------------------------------------------
Mile 1 in the Bonzai Brew Bus
------------------------------------------------------------

Ingredients...

Right then. Sleeves rolled up - let's see where it is at.

Grains and ingredients are ordered and on their way. Cost of shipping high. Many gross errors made (5kg roasted barley anyone?)

*****
Weyermann® Carabohemian® - 2lbs
Weyermann® Carahell® Malt - 2lbs
Weyermann® Carapils® - 2lbs
Weyermann® Caramunich® Type 3 - 2lbs
Weyermann® CaraRed® - 2lbs
Weyermann® Premium Pilsner Malt Extra Pale - 12lbs
Weyermann® Roasted Barley- 12lbs (over ordered by a long shot by novice error - don't do this!)
Weyermann® Barke Pilsner Malt - 50lbs HBS is running out of various stocks quickly and I am worried it is going to shut down so ordered this unmilled - I am gonna be brewing for a while!

Fermentis® Safbrew Abbaye
Fermentis® Safale US-05
Fermentis® Safale S-04
Fermentis® Saflager W-34/70

Golding (UK East Kent) Hop Pellets
German Tradition Hop Pellets
Cascade Pellets HBS is running out of various stocks quickly and I am worried it is going to shut down

Conditioning tablets
*****

All of the grains are milled for me - two reasons, one I don't have a grain mill, two I can't buy a grain mill easily of an appropriate size for home use.

There are some clearly blinding errors in here. For starters, storage. Not to mentioned the over orders and underestimates in various things. A new order will be placed over the next week for another batch. This time with sensible ideas in mind.

*****


Happy Brewing
Jim
 
Last edited:
------------------------------------------------------------
Mile 2 in the Bonzai Brew Bus
------------------------------------------------------------

Equipment...

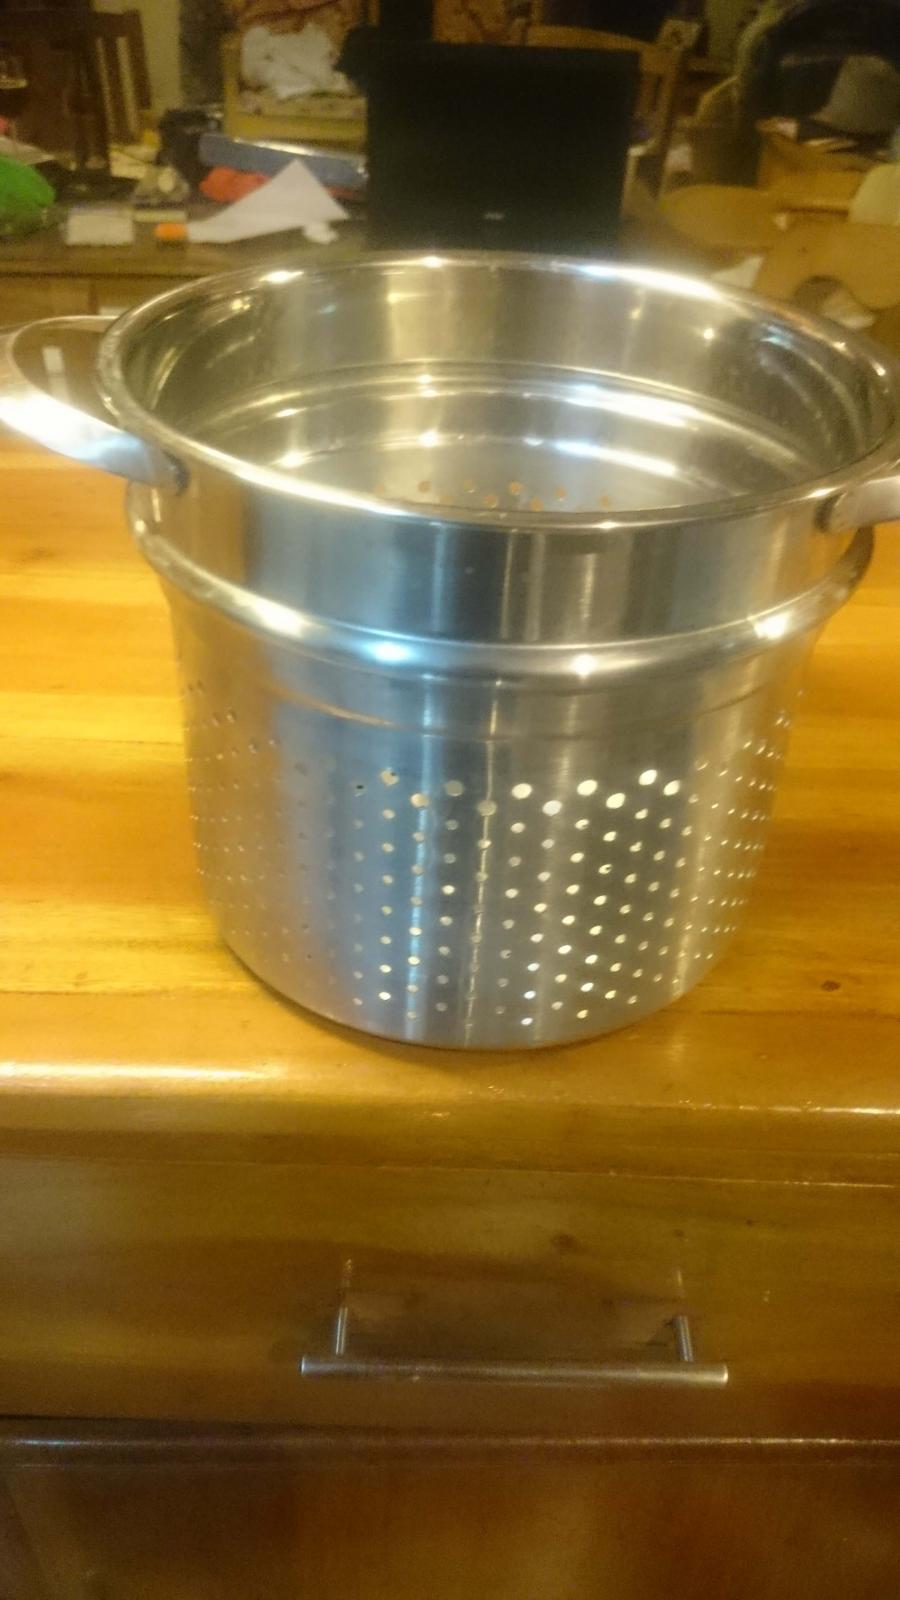
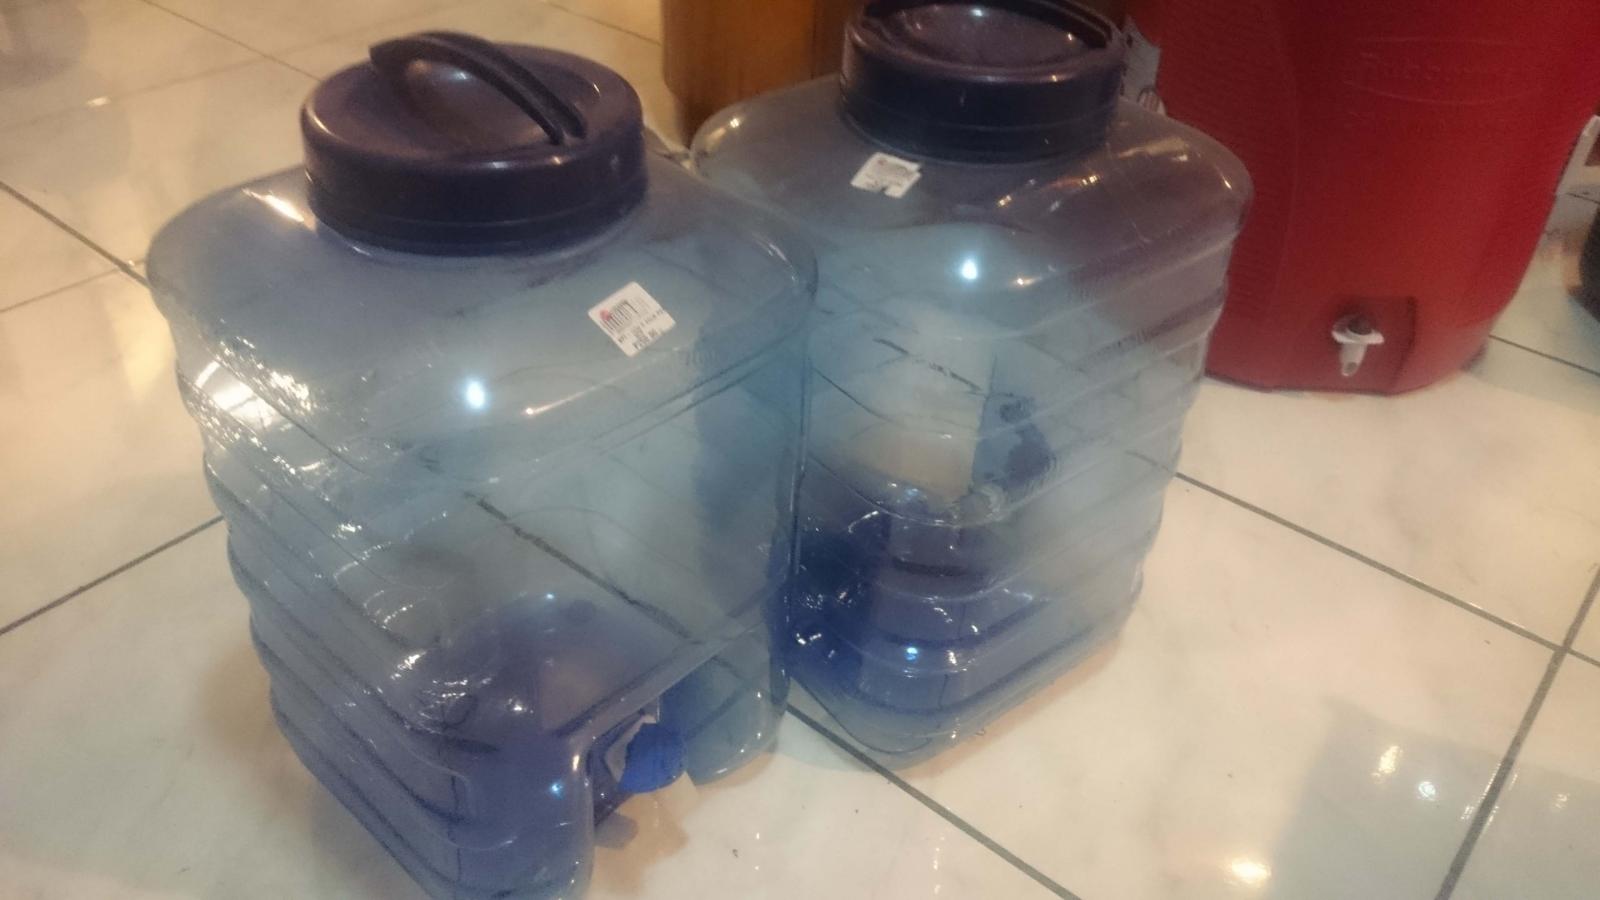
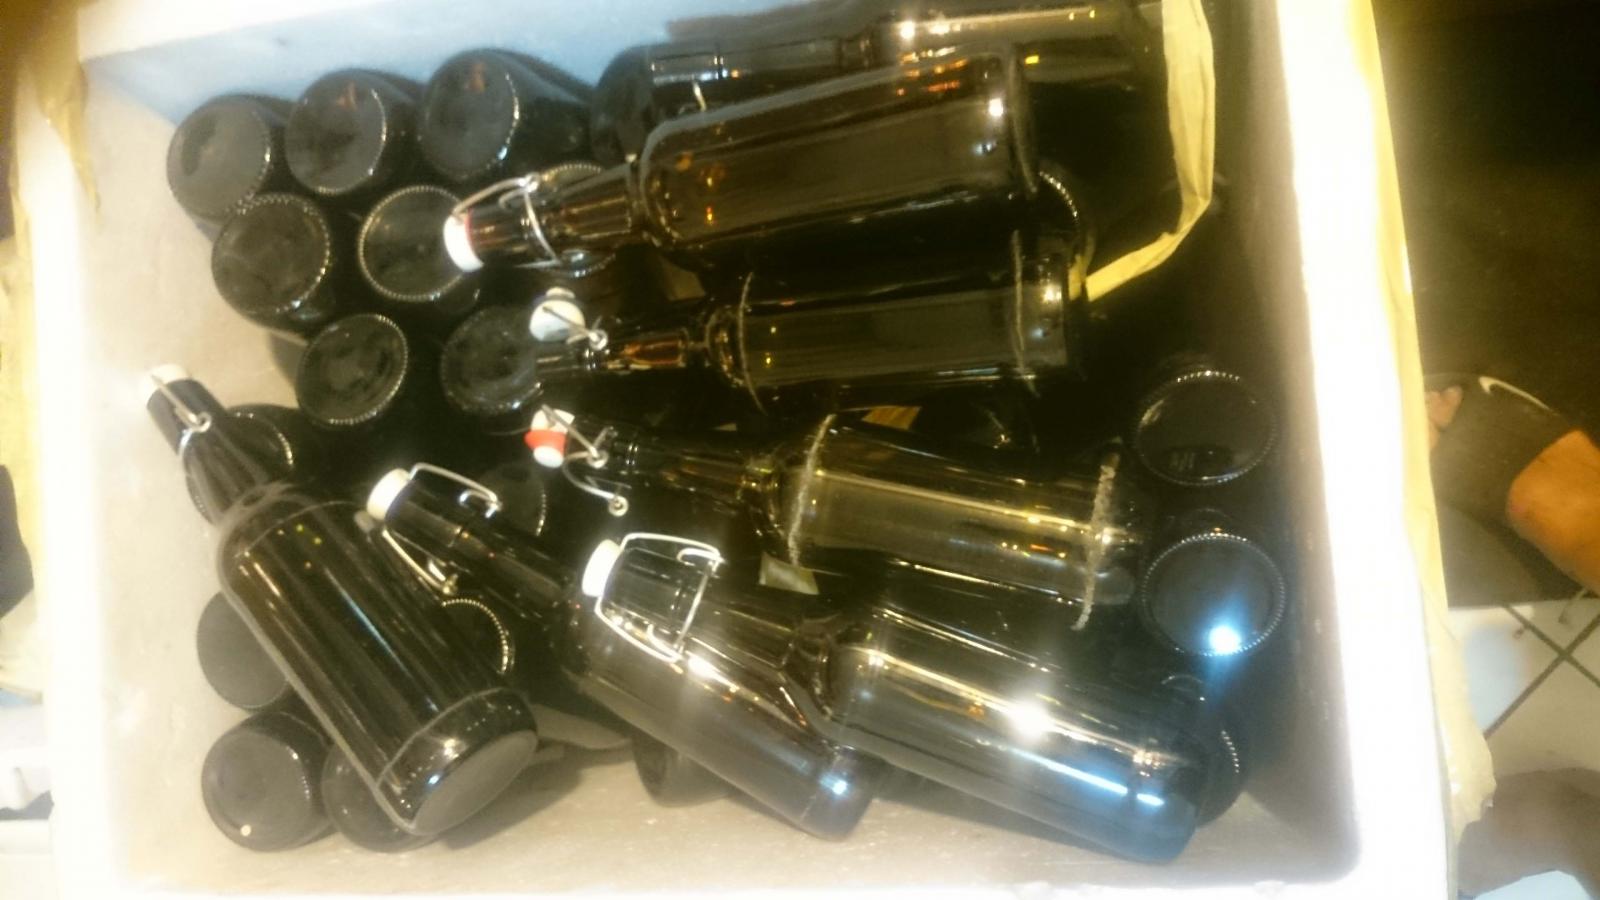
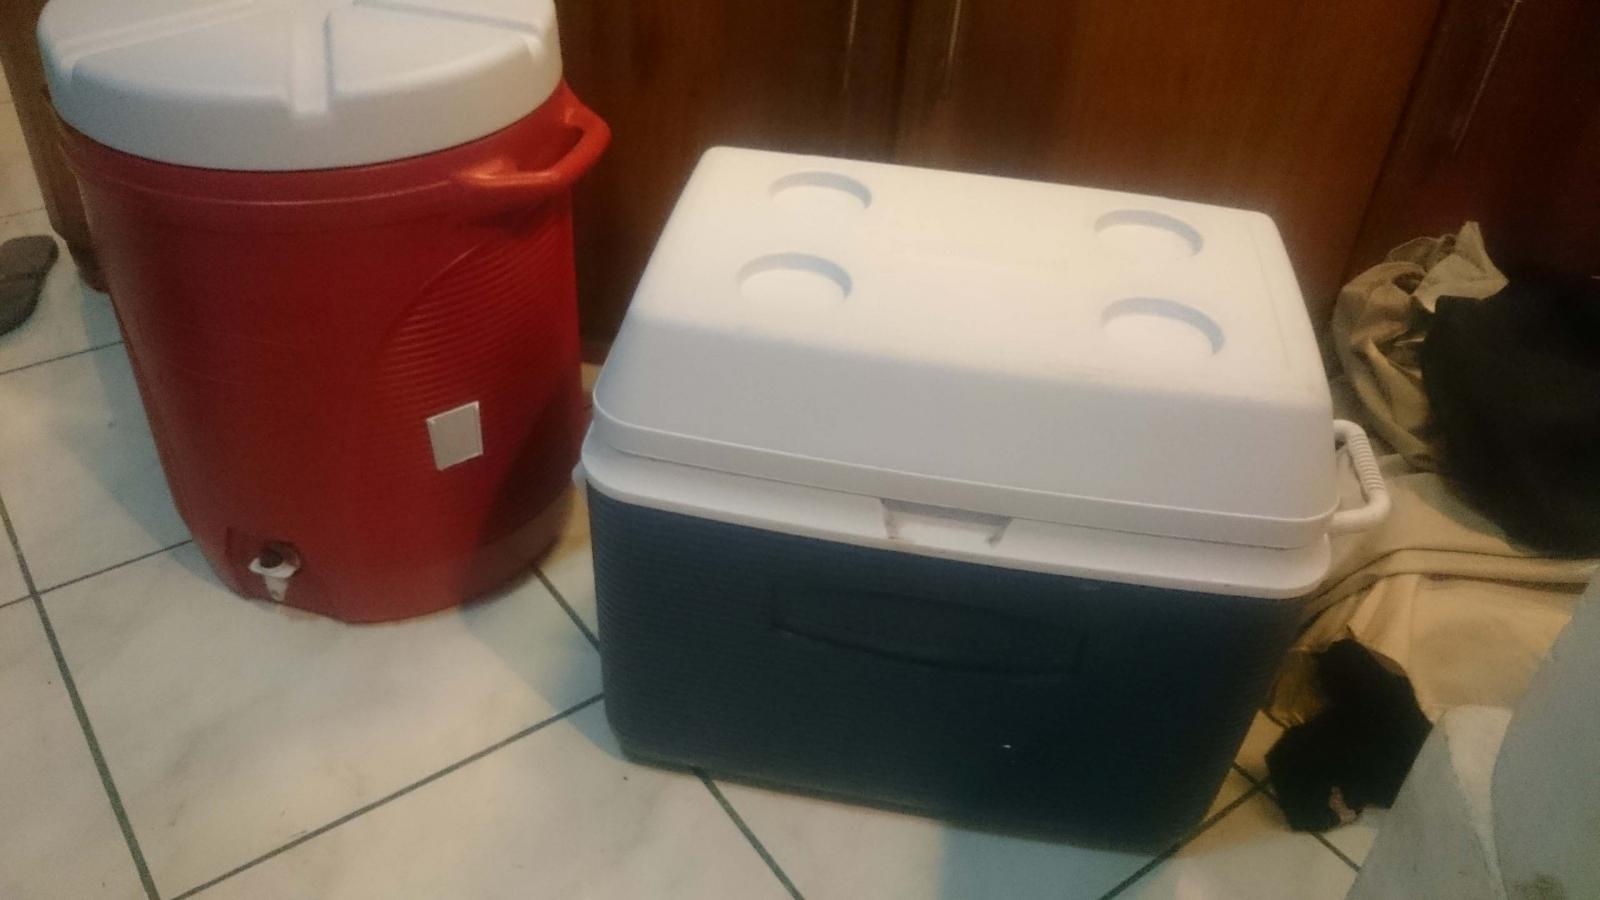
Right then, I have been piecing together a few things and have put some pictures below or the more concerning, or maybe useful :) items that I have.

I realise there are things obviously missing from this that are near critical - however, we may just have to accept that is the joy of this journey.

Items I have
*****
1x Rubbermaid 37.9 Round cooler with dispenser tap
1x Rubbermaid - other size square cooler
1x 29l stainless kettle
1x candy/sugar thermometer
1x meat probe analog thermometer
1x 20l plastic carboy
2x 5l plastic fermenting vessels - clear blue with dispenser tap on the bottom
120x 500ml amber glass bottles - WITH swing tops (for the costly price of $65/45GBP)
Various bits of Mrs T's kitchen equipment to tamper with - I mean borrow....
Siphoning equipment
BIAB Bag
Sanitising stuff - baby bottle cleaner wash and hot water rinse
*****

Items I require
*****
Hydrometer
Refrigerator (with temp controller) - will this do it? Temp Controller Possibility
*****

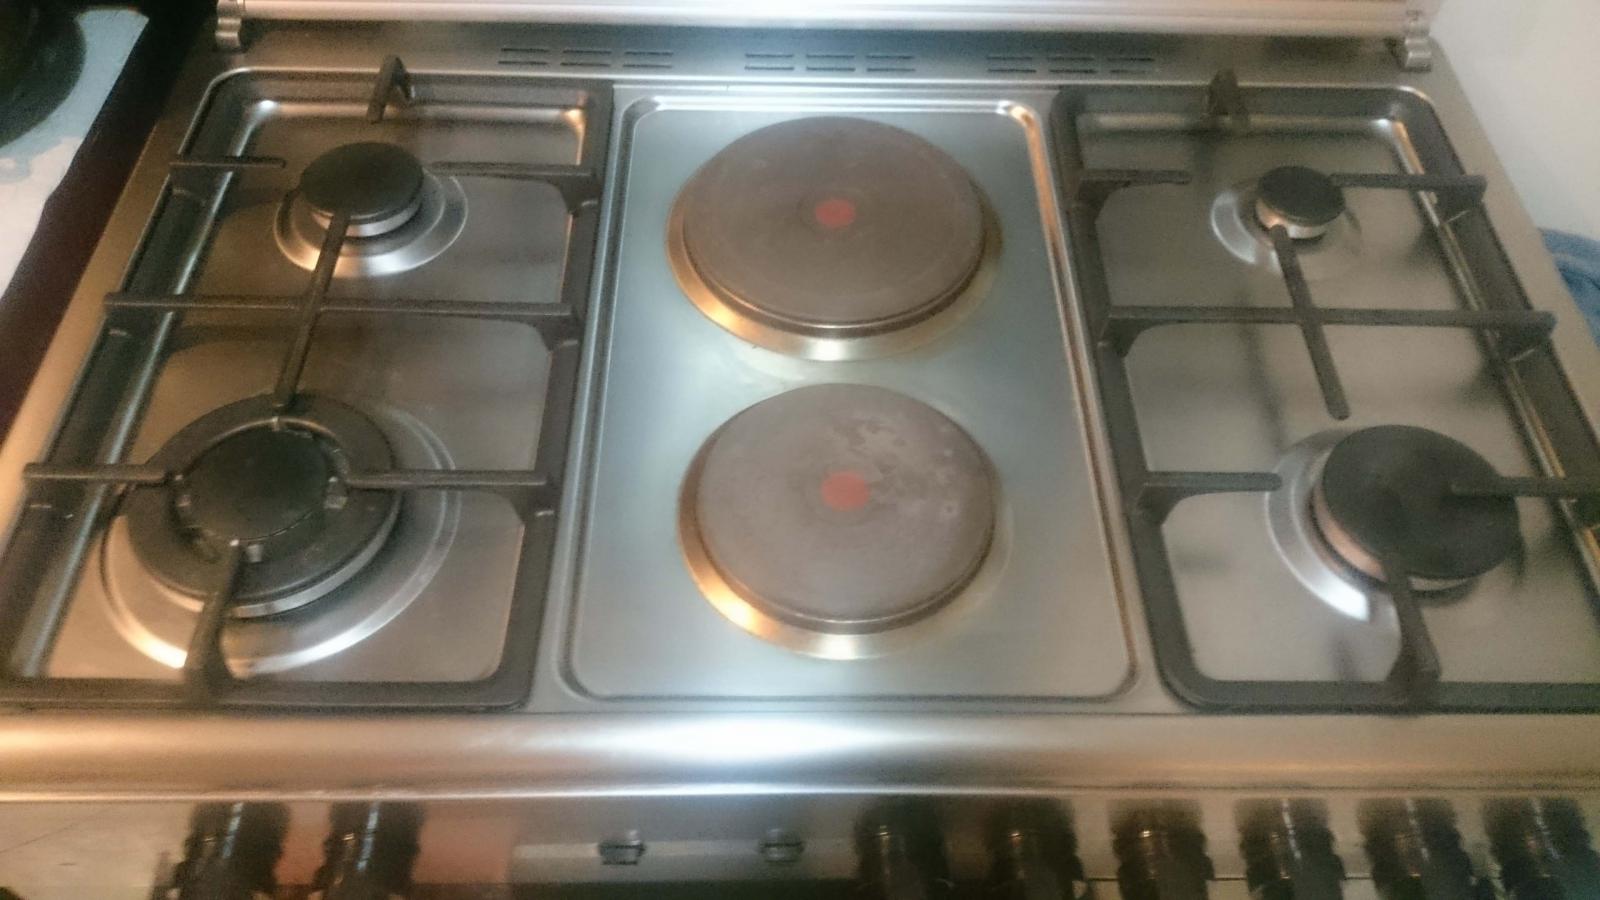
I have her lovely new gas oven to make messy too.


Pictures below for reference....request more if you wish to see something in my kit.

Happy Brewing

HBkit1.jpg


HBkit2.jpg


HBkit3.jpg


HBkit4.jpg


HBkit5.jpg


HBkit6.jpg


HBkit7.jpg


HBkit8.jpg
 
------------------------------------------------------------
Mile 3 in the Bonzai Brew Bus
------------------------------------------------------------

Recipe...

Okay - so a bit of research, help and just pure desire I would like to attempt a creamy, rich, chocolatey flavoured porter veering stout (I guess it depends how it goes).

This recipe is fully open to tweaks, suggestions and design ideas to hit those chocolate notes first suggested to me by a Yellow Belly beer when I last made it out of the country and into a modern world again (over a year ago).

I have tried to lay it out in the forum format but have used a design sheet some of you may be familiar with from a site and source I have joined out of this realm. I don't know if either forum with appreciate me posting it here in it's current form - however it is my recipe and I will post it here under this sites guise.

*****
Starting Volume: 21.9
Boil Volume: 19 litres
Post Boil Volume: 15 litres Do these 3 rows seem correct or any adjustments to make?
Bottling Volume: 14 litres


Original Gravity (OG): 1.064
Estimated Final Gravity: 1.019
IBU's (Tinseth): 34.5
Bitterness to Gravity Ratio: 0.542
Colour: 54.6 EBC
Estimated ABV%:5.9


Note: This is a Pure BIAB (Full Volume Mash)

Times and Temperatures
Mash: 90 mins at 69c
Boil: 60 min
Ferment: 21 days at 18c

Volumes & Gravitiy

Total Water Needed: 22 L
Volume into Kettle: 19.5 L = @ 1.049
End of Boil Volume: 16.6 L = G @ 1.063
Volume into Packaging: 14 L = @ 1.019 assuming efficiency 80%


Grains
71% Wayerman Premium Pilsner Malt Extra Pale 3Kg
13% Flaked Oats 0.55Kg
10% Wayerman Roasted Barley 0.42Kg
6% CaraRed 0.25Kg

At the moment 5% is made up of maple syrup (BeerSmith adds this as 'Grain') - although it is not going in the mash - either boil or fermentation vessel. Hence why the grain bill only equals 95%.

Hops
Goldings, East Kent Pellets 30g - Boil 60mins
German Tradition 20g - Boil 20mins

Miscellaneous Ingredients
50g Cocoa Nibs 1 week in primary
3 Vanilla Pods 1 week in primary

Fermentation

Fermention: S-04 - 21 days @ 18c

Condition for 21 days.
*****

And we have reached our destination for today. Ask some questions, have a chat at this rest stop over what we have seen so far and of course, pour another one. I am eagerly awaiting your feedback!

All the best and happy brewing
Jim
 
One tweak to the recipe that I would make would be adding a little of the Carared for a bit of sweetness and complexity to the beer. I'd also reduce the amount of roasted barley. That stuff is pretty potent. Suppose you added Carared to about 5% of the grain bill while reducing the roasted barley to about 2 or 3%?

If you keep it dry the roasted barley will keep for a long time so your exuberance in ordering it is only a little misplaced.

I'd be surprised if you can't get a grain mill like one of these. I've used mine for the past ~6 years and it works great for BIAB. http://www.discounttommy.com/p-189-...er-for-wheat-grains-or-use-as-a-nut-mill.aspx In its box, it takes up a space of only about 6in by 6in by 14in (15X15X35 cm).

I noticed the basket for the boiling pot. I'd suggest you not use this as it isn't needed, may reduce the sugars you can extract from the grains by limiting the flow of water to the grains, and is one more item that needs to be washed up. I also noticed that you are wishing for a stir plate. It isn't needed for dry yeast and may be counterproductive as the dry yeast already has more cells than liquid yeast and contains the necessary nutrients to make more yeast while in the fermenter.

The temperature range for successful conversion in the mash is pretty small so try to choose the thermometer that is the most accurate at that range which roughly is 145 to 160F. You should have a hydrometer to be assured that the fermentation is done but that will give you another 3 weeks to arrange. At three weeks the fermentation is nearly certain to be over so if you can't get one before that I would probably just bottle.
 
------------------------------------------------------------
Mile 4 in the Bonzai Brew Bus
------------------------------------------------------------

Questions to be answered for RM-NM....

*****
Thanks RM-NM - I will try adding some carared to the recipe and see where I can take it. I think I had it in before but removed as I was over complicating things (it is my FIRST brew :))

I will ask around and have a look for a grain mill - there may be a feed store somewhere that has one - Philippines is generally of limited supply for most things unfortunately.

The basket for the pot was with the idea of resting the grain on top post mash/pre boil to let any remaining waters and sugar out. What do you think. I have no other method other than my grip of securing it over the mash tun for this.

As for the yeast - I have not yet done much research but I was looking at securing some yeast off the back of the first batch and save it for future use. Again, I haven't even started looking at this but heard it is somehow possible??! Layman here :D

I will have a look around for a digital probe thermometer - at worst I have my meat probe which is very accurate in that range (use it for a lot of pork ;) ). I will also probably use the cooler as a mash tun - should hold temperate pretty well. Otherwise cooling to pitching temperature is a bigger issue. I believe ambient water temperature here is around 75-80F. Will be looking at the swamp fermenter style or even better a keezer w/temp controller (want it to do lower temps for lagers :) ).

Otherwise, 21 days and I am bottling regardless of hydrometer or not - don't have a huge choice but let it go for longer.
*****

Time for another rest stop :) Keep it coming in please - everything is appreciated.

All the best,
Jim
 
------------------------------------------------------------
Mile 4 in the Bonzai Brew Bus
------------------------------------------------------------

Questions to be answered for RM-NM....

*****
Thanks RM-NM - I will try adding some carared to the recipe and see where I can take it. I think I had it in before but removed as I was over complicating things (it is my FIRST brew :))

I will ask around and have a look for a grain mill - there may be a feed store somewhere that has one - Philippines is generally of limited supply for most things unfortunately.

The basket for the pot was with the idea of resting the grain on top post mash/pre boil to let any remaining waters and sugar out. What do you think. I have no other method other than my grip of securing it over the mash tun for this.

As for the yeast - I have not yet done much research but I was looking at securing some yeast off the back of the first batch and save it for future use. Again, I haven't even started looking at this but heard it is somehow possible??! Layman here :D

I will have a look around for a digital probe thermometer - at worst I have my meat probe which is very accurate in that range (use it for a lot of pork ;) ). I will also probably use the cooler as a mash tun - should hold temperate pretty well. Otherwise cooling to pitching temperature is a bigger issue. I believe ambient water temperature here is around 75-80F. Will be looking at the swamp fermenter style or even better a keezer w/temp controller (want it to do lower temps for lagers :) ).

Otherwise, 21 days and I am bottling regardless of hydrometer or not - don't have a huge choice but let it go for longer.
*****

Time for another rest stop :) Keep it coming in please - everything is appreciated.

All the best,
Jim

Your basket should do the same as my colander then, a place to hold the bag to drain and so I could pour water through it as a sparge to rinse more sugars off the grain.

Once you have yeast for your batch, you have yeast for many similar batches. When you bottle the beer there will be a layer of yeast and trub left in the bottom of the fermenter. Heat some water to pasteurize it, let it cool to room temp, and pour it into the fermenter. Swirl it up good, then pour it off into jars that have been pasteurized. You will then have enough yeast to make 4 more batches. If you divide the yeast into 4 separate jars, you can take one out of the refrigerator and either pour off most of the liquid and dispose of it or just swirl it all up and pitch it into your wort. That would leave you with enough yeast for 3 more batches while you wait for the one in the fermenter to complete. You can then repeat the process with the yeast in the bottom of this fermenter and get 4 more jars of yeast and .... Yes you end up with lots of yeast. It will gradually mutate so it will be best to eventually discard it and start fresh. I've read that 3 to 5 generations is the limit.

Since your cooling water is so warm you probably want to use another method for cooling more than your chiller will do so you can bring the temperature of the wort down more before pitching the yeast. It will be much easier to do this before the yeast is pitched as once the yeast get started you would need to fight the heat generated by the yeast as well as struggling to cool the beer. With cooler starts, the heat the yeast give off will be lower as they won't be as vigorous in the fermentation.
 
------------------------------------------------------------
Mile 5 in the Bonzai Brew Bus
------------------------------------------------------------

Yeast Harvesting 101 - courtesy of RM-MN.

*****
Once you have yeast for your batch, you have yeast for many similar batches. When you bottle the beer there will be a layer of yeast and trub left in the bottom of the fermenter. Heat some water to pasteurize it, let it cool to room temp, and pour it into the fermenter. Swirl it up good, then pour it off into jars that have been pasteurized. You will then have enough yeast to make 4 more batches. If you divide the yeast into 4 separate jars, you can take one out of the refrigerator and either pour off most of the liquid and dispose of it or just swirl it all up and pitch it into your wort. That would leave you with enough yeast for 3 more batches while you wait for the one in the fermenter to complete. You can then repeat the process with the yeast in the bottom of this fermenter and get 4 more jars of yeast and .... Yes you end up with lots of yeast. It will gradually mutate so it will be best to eventually discard it and start fresh. I've read that 3 to 5 generations is the limit.

I will follow this process at the end of brew day and post pictures and results over time.
*****

Recipe?!

*****
Modifications to grain bill and overall brew. So, I am thinking about modifying the recipe. Why? Is this because I don't trust it - no. Is it because I want to over complicate it - not really? Probably because I just want to create the richest and most delicious beer I can.

I am trying to weight up various pros and cons of these modifications.

Grains - not too worried about re balancing this but people in other places have suggested adding CaraRed or adding CaraMunich III and/or removing or keeping the CaraPils - overall what would be the best idea to keep this 'in style'.

Initial thoughts are CaraPils for some lovely head retention. CaraMunich for some depth and body. CaraRed - as mentioned above in post 4 by RM-MN for sweetness and complexity. Might be worth saving for an ale at a later date although I will have a good amount left.

Also, thinking of adding in some maple syrup OR (and stop me if I have gone nuts) using some pecans. This could make things too sickly sweet. Maybe this is best in the fermentation process after 4-7days once the yeast has settled, at the same time as the cocoa nibs and vanilla. Or just stick with the original plan.

After I have reviewed any suggestions and made any changes I will start to change post 1 to reflect any alterations.
*****

Incoming mail....

*****
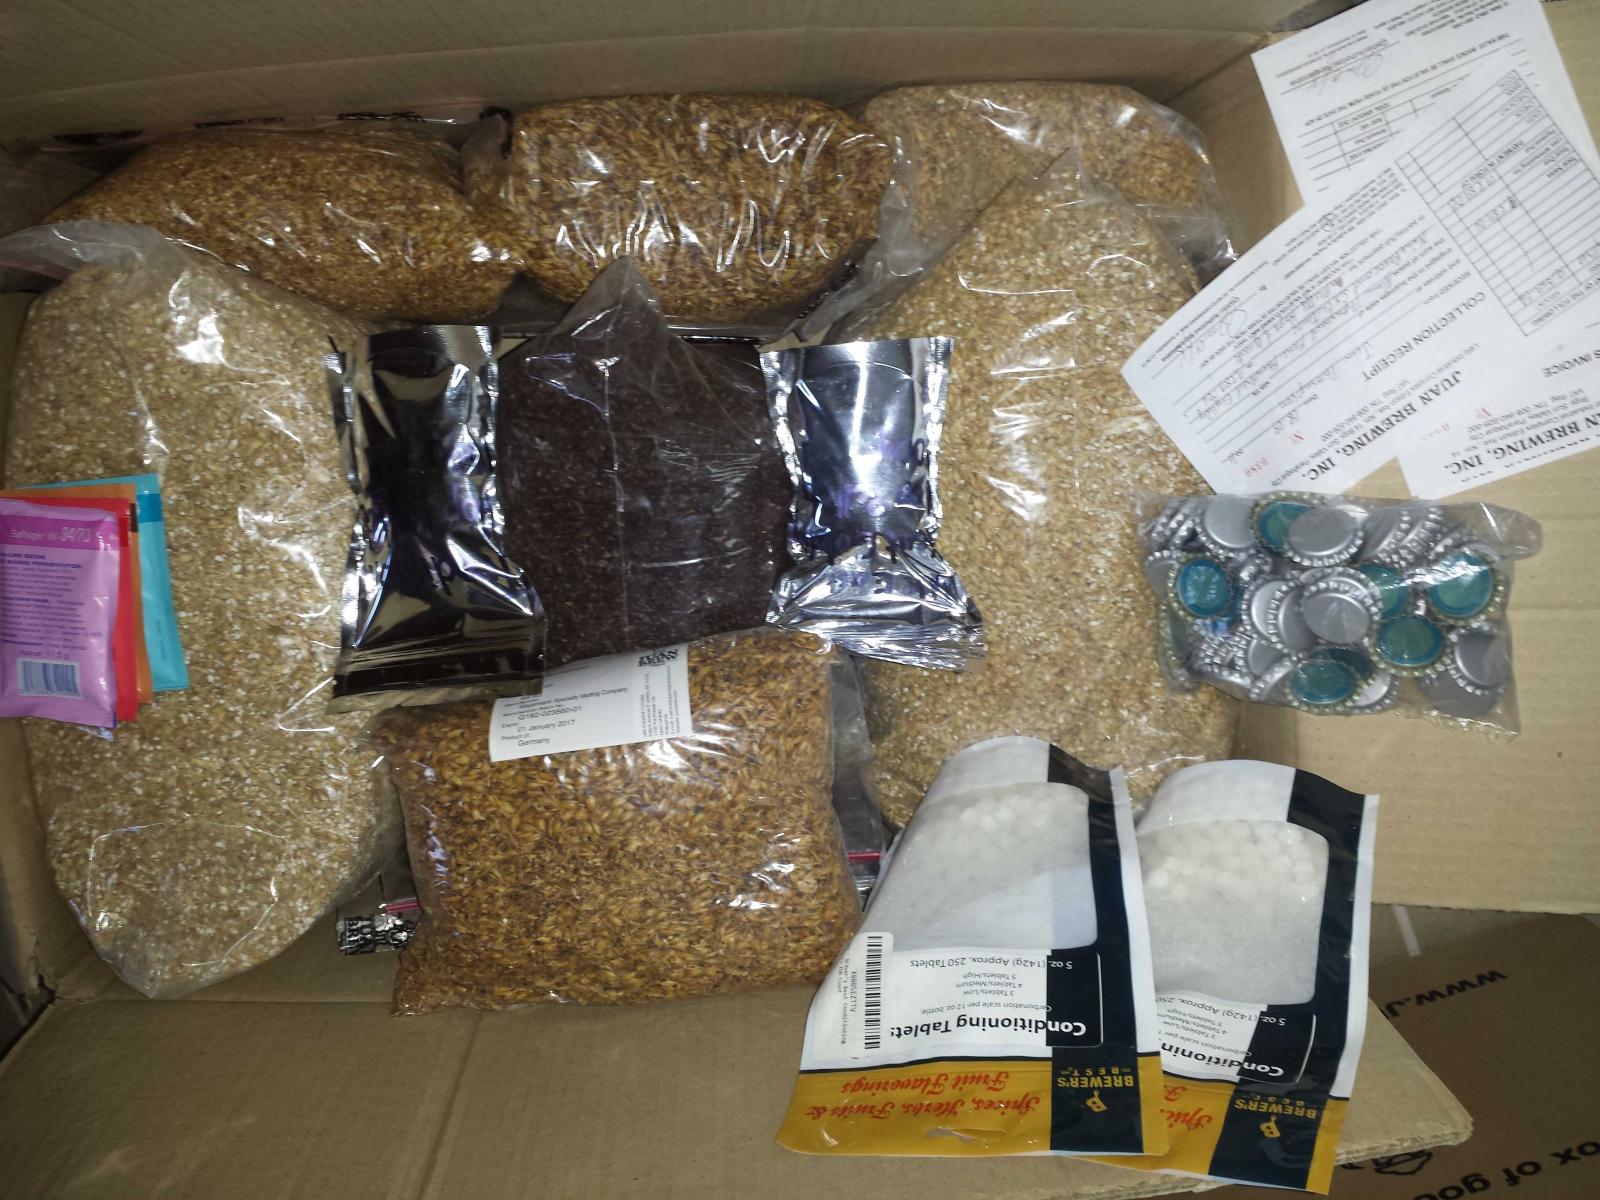
Today is a good day. My ingredients have been shipped down. Unfortunately this also means that I need to get my proverbial together sooner rather than later. Brew day looks like Thursday or Friday assuming things have arrived. I am fortunate in being able to arrange my day off around this rather than having to wait. It looks like, and this is only a potential and not confirmed, the HBS has vacuum packed my milled grains. Makes things much easier for storage for a while.

See the picture below
*****

Time to take a break for refreshments

Happy brewing!
Jim

20160408_154028.jpg
 
------------------------------------------------------------
Mile 6 in the Bonzai Brew Bus
------------------------------------------------------------

Brew day approaching...

*****
With brew day approaching - hopefully this week - it is time I got myself sorted out and decided on a game plan for brew day - as well as everything else. I am still awaiting recipe feedback from 'Mile 5', however I am rolling out my new ideas until someone tells me otherwise. Think it might be a bit OTT - but we will see.

Ok, here are my steps.

1. Add 22l of water to 29l kettle. Bring temp to 73.5C
2. Add the mash bag while awaiting temp of water.
3. At striking temp put grain in bag. Stir to avoid clumping. Settle mash temp to 69C
4. Mash for 90mins
5. Sterilise 125ml water for hydrating yeast. Sit in the refrigerator until needed.
6. Remove grain and let strain through large strainer over mash tun.
7. Check volume of pre boil wort. Top up and rinse grain if below target.
8. Remove the stuff in 6 outta my way.
9. Increase wort to boil. Watch out for hot break. Let foaminess subside before adding hops!
10. Boil for 40 mins.
11. Add second hops.
12. Boil for 20 mins.
13. Sanitise the following for post boil; hydrometer, fermentation vessel, siphoning equipment and airlock
14. Remove wort and get it cooling in a swamp cooler.
15. While waiting, hydrate dry yeast sachet.
16. When wort has reached 16C transfer to fermenting vessel
17. Check OG (if hydrometer available)
18. Pitch yeast and sort out the airlock
19. Get into a very cool place before fermentation starts going nuts.
20. Wait 10-14 days.
21. Soak 50g cacao nibs in 100ml vodka
22. Soak 3 vanilla pods (split and seeded) in 100ml vodka
23. Wait 2 days
24. Add vanilla pods vodka extract and cacao nibs vodka extract to fermenting vessel.
25. Wait 7 days.
26. Check FG
27. Sanitise bottles and siphoning equipment
28. Add 75g to 100g (??) corn sugar to boiled water. Dissolve.
29. Transfer corn sugar to bottling keg
30. Transfer wort from fermenting vessel to bottling vessel (10gal cooler?) - Remove cacao nibs/vanilla pods before this or during this?!
31. Bottle the brew and seal ASAP.
32. Store at ambient temps (tropics so 25C min temp) to condition for 3-4 weeks.
33. Test one after 1st week of conditioning. Test after 3 weeks conditioning.
34. Drink and eat pecans! :D
35. See step 1.
*****

What have I missed? What should I change? Any crucial errors in this?

Probably time to update the recipe section :)

Bus stop....

Happy brewing
Jim
 
Move step 1 down to step 15. If you sanitize first and let stuff sit for the 2 hours of brewing, it isn't sanitized anymore. I sanitize just before using.
Steps 3 and 4. When you add the grains to the water they will tend to clump up with wet grains on the outside and dry grains in the middle. Dry grains don't convert. Make sure to break up any of the clumps. I like to use a wire whisk for this. I usually put the bag into the pot first and then stir in the grains to avoid as much of the clumping as I can.
Step 6. Not much. Perhaps 125ml would work fine for rehydrating. If you forget this step and end up just adding the dry yeast to the wort you still get beer.
Step 7 and 8. Check the amount of wort collected and if it is below your expected pre-boil amount (about 25 liters) pour water through the bag of grains to rinse out more sugars and bring the amount to what you need.
Skip step 9. It won't do what you think and will just complicate your day. You'll have plenty of complications without this.
Step 11. Watch the pot carefully as the wort approaches the boil. There will be a large amount of foamy stuff (hot break proteins) and the pot will want to boil over. Let the hot break subside before adding hops or it will boil over.
Move step 16 to below step 18. You need the wort fully cooled before using the hydrometer. You might want to put a lid on the fermenter and put it into the chiller and not pitch the yeast until it gets fully chilled. It's much easier to control the fermentation temperature if the yeast isn't pitched when it is too warm.
Step 21. Don't sweat the amount of days. Somewhere between 10 and 30 will be fine.
Step 26. Forget about adding maple syrup. You won't be able to taste the maple flavor and it will kick off another round of fermentation. Remember the part about complications. This is one you don't need. Also skip the pecans you mentioned above. You wanted to add carapils (not needed as the other cara malts will do this) for more heading. The oils in the pecans will kill the heading. Save the pecans and eat them while drinking the beer. You'll appreciate them better that way.
Step 29. Sanitize, not sterilize. Sterilization requires high temperature and your bottling equipment won't survive it.
Steps 30 and 31. You won't need a lot of water to dissolve the priming sugar so don't worry about cooling it. Dump it into the bottling bucket and siphon the beer on top of it. The 5 gallons of beer will cool that cup or so of priming sugar solution just fine.
Step 34. Room temp. That would be about 22 to 30C.
Step 35. Try a bottle (just one!!!!) at a week. That will be your baseline to notice the changes and improvements in the beer over time and it will change. Try a second bottle after the third week. Notice the change. Keep sampling once a week. If you keep this regimen you will have at least one left at Christmas. Try hard to save one or more bottles to sample at the next Christmas. I think you will still notice a change. Of course the only way you will be able to make this happen is if you brew another batch or 2. Waiting for the bottles to carbonate is easier if you have another batch in the fermenter to worry over so start the next batch soon.
 
------------------------------------------------------------
Mile 7 in the Bonzai Brew Bus
------------------------------------------------------------

RM-MN - You are a legend. I am going to sit and update 'Mile 6' right now. I hugely appreciate all that effort you have taken to really give me sound help and advice. Unbelievable community support over here guys - loving it. I hope that my grain might arrive today - will be heading into the city later to look for a brewing bag


A few areas of concern and question.....

*****
So, with brew day fast approaching this week a few bits left which are cause for concern.

I have had a thermometer in an old refrigerator I may be able to utilise. It is maintaining a 10C temperature range at the moment on Maximum (old and struggling to keep up with ambient here in the tropics). I am wondering if I reduce it to medium or low output I maybe be able to have a 15C refrigerator temp - aiming for a 16-18C exothermic fermenting temperature. Anyone think this may work? Right now it is my cheapest, easiest and fastest solution.

Secondly sanitising. Best product to use - bearing in mind starsan and oxy clean products just aren't available. Right now I am considering the baby bottle cleaner. Good for babies good for me. Anything else recommended?

Thirdly, I am slightly confused about volumes of water needed. I am quite happy to 'settle' for around 15l. It is going to be easier for me to store this in the fermenting bucket I have - only 20l - and not have to worry too much. Also means I can probably squeeze it into the refrigerator until SWMBO decides to kick me out of it. If I can do this then the above recipe seems to work. Otherwise I may need to up the grain bill.
*****

Happy brewing!
 
If you can't find a nylon or polyester bag, a "Swiss Voile" curtain will suffice. It will have the nice fine mesh to keep the grains in while letting the wort out.

If your refrigerator can keep the beer between 15 and 18 it should work well. It only needs to be in there for about 4 days as by then the fermetation will have slowed and higher temperature shouldn't give you off flavors. A little longer won't hurt if you can spare the space. While the activity of the yeast tends to raise the beer temp, at the cooler end the activity is slower and doesn't raise the temperature as much.

99% of sanitizing is cleanliness. Washing with dish soap and then rinsing well will be pretty good. Your baby bottle cleaner should be all the sanitizing it needs. It may not even need more than just good washing.

Most recipes are aimed at the person who makes a 5 gallon (20 liter) batch but the can be scaled either way. My bigger fermenters are made for this size batch but I also have some that are 20L that I use for a 10L batch. You need to have some space above the beer as it will produce a head of krausen and you don't want that to touch the lid and come out the airlock. You can probably expect to boil off somewhere between 2 and 4L so you need to start with that much more than your expected outcome. The grain itself will absorb some too but I don't worry much about that as I just sparge and squeeze the bag until I get the amount I want. A little variation won't be a problem, just beer with a little more or a little less alcohol and maybe one or two bottles different when it is done.
 
------------------------------------------------------------
Mile 8 in the Bonzai Brew Bus
------------------------------------------------------------

I will add various updates to post 1 and the relative milestones.

Been a good day or two here. Firstly, package arrived :) - Although unopened to keep it as fresh as I can for now I have been sniffing at various bags of grain. Can certainly pick up on a few differences. Roasted barley smells lovely with hints of coffee and chocolate already.

I bought some variety of nylon material yesterday in town and a couple of different sizes of clear tubing for siphoning off.

The fabric is a nylon and looks like it should do the job. Not had a sow job yet so I will pick up some of the big binder clips to hold it onto the side of the kettle for the first run and work on it from here in. I figured if I can cut two big enough squares of fabric then I will double bag. At the end of the mash I will twizzle the ends together to form a tight bag and use the strainer pot for draining any wort and top ups. Not with out the risk but it is a short term solution. Worst case is it all falls into the mash and I have to filter everything before the boil. It is about 2.5msq of fabric and came in at a princely sum of 25 Great British pence equivalent :) I will try to update the pictures in the equipment section for other peoples reference later today.

Good to know the baby bottle cleaner will do the trick too. I figured it should be 'ayl-reet' for the job at hand on my ok for babies ok for me.

Refrigerator will fit a 20l plastic carboy that I can get from the water suppliers here. Firstly, it will be pretty darn clean inside as I will use their water for brewing and put wort back into that carboy after a baby bottle rinse. Basically, had to kick Mrs T. and her chinese herbs outta the fridge for 5 days but SWMBO has given me the green light on it. Currently eating as much cheese as I can ;) To keep brew batches going I may move this first one into a secondary so I can free up space, or to avoid that risk/headache pick up a fermenting refrigerator in the meantime before the next brew.

Got a big stainless stirring stick - will need to also invert this and mark it for water volumes.

Minor set back on my second order of grain - no stock and it will arrive in about 3 months. Might try to order some MO base grain in the mean time and import it. Need to check best options for somewhere kind enough to send it to me out here.

Hydrometer - still not yet - trying hard to find one.

Sunday is a big day - Formula 1 and brew day - can't complain and I am slowly starting to feel prepared.

Exciting times - ready for a brew and can't wait to get off this San Mig onto a proper beer :D

Happy Brewing and kind regards to all.
 
------------------------------------------------------------
Mile 9 in the Bonzai Brew Bus
------------------------------------------------------------

Brew day...well, that was a tough one. Lots of lessons learnt here.

Generally speaking the list that was used as the method worked well but I certainly ran into a few issues that I hadn't accounted for, or that will need to be changed for next time.

****
Things I done and gone learned....

My grain bag (note - clipped sheet of nylon fabric) has too small of a mesh size. When I hand lifted (next issue) the grain out of the bag it took FOREVER to drain the wort from the bag. Basically I ended up standing on the kitchen counter with a big hot heavy bag in my hands (for obvious reasons, DO NOT DO THIS) in slight panic asking Mrs T (she denies I 'asked') to put something under it so I could rest it and allow to drain. Also, I feel this probably left a lot of sugars in the bag so I hand to do extra rinsing to top off. On the plus side the wort was REALLY clean. I mean brown liquid silk. Taste - sweet (very sweet) but not unpleasant. Tough to put my finger on a flavour profile first time around.

Need to add a VERY big colander onto my equipment list as well as a new bag (will keep the original for lagering a lighter beer as a small batch for Mrs T.

Second issue was cooling the wort. I filled the sink with ice water - placed the wort on top (my fault, didn't think to check it actually fit in the sink well) and ran water down the side. Packed with towels to stop it toppling over and then had a great sound across the house of it slipping in the sink. Clearly, a wort cooler is needed. I have no bath and I am struggling to find another method of cooling quick....This meant (oh you know it is coming....).....

That that it took several hours to cool the wort in the refrigerator (oh this isn't looking good anymore). Unfortunately by following my list it meant I had hydrated the yeast WAY too early. Had to sit it in the refrigerator whilst waiting for the wort to cool.

Which also means that (hahaha, you can see this one coming too) I am a little concerned about fermentation. I pitched the yeast which I had brought to about 65F into the wort at about 75F (Mrs T. was ready for bed by then. Patience of the two of us was running low).

Right, now the situation is - 39 hours into fermentation (hopefully) - refrigerator ambient temp is around 64F. At the moment, and this is where my concern really is - small bubbles on the sides of the carboy (I mean tiny bubbles) up until this morning when bubbles where starting to appear in the center of the carboy. I 'assume' (mother of all ....) that this means fermentation has started (not really paying too much attention to the airlock, not convinced of a tight seal on the lid). No signs of any krausen yet.

I keep popping my head in the fridge and sniffing the airlock hose - Mrs T isn't convinced this helps things but I keep assuring her it most definitely maybe, might (or might not) - be helping.
*****

Any words of encouragement? RTIEAHAHB I believe is the expression for people in my postition ;)

In other news I love my label design - quite inappropriate and will always make me chuckle. Censorship may stop me posting it here....PM me if you have a dark and bad taste in humor and want to check it out - takes a certain type.

Hopefully - first brew down.
 
Great read so far. First brewdays are often like that - lots of unexpected obstacles and adjusting on the fly. It looks like you've done enough research that you were able to keep up with everything.

I wouldn't worry about the time it took to chill. Plenty of brewers wait a day or more between brewday and pitching yeast without any trouble. Making your own immersion chiller should be easy for the next brewday, or you could look into no-chill if you can find an adequate vessel to seal up the cooling wort.

Bubbles in the carboy means you've got gases forming in the wort, which means you're fermenting. The yeast went to sleep in the fridge so there's a longer lag time before they take off, but they'll still do their job; really the lag time is probably going to help you because it's given your wort time to get down to a better temperature for fermentation.

For ingredients and equipment, there are a number of homebrewers who post here from the Phillipines who might be able to point you in the right direction, if you haven't already been in contact with them. The one I always seem to remember is @HB_in_Subic, but there are others as well. @badlee in Thailand is another good resource for tropical brewing in places with limited supplies, both in terms of working with the weather and getting creative about techniques and ingredients to make quality brews with some local flavor.
 
------------------------------------------------------------
Mile 9 in the Bonzai Brew Bus
------------------------------------------------------------

Brew day...well, that was a tough one. Lots of lessons learnt here.

Generally speaking the list that was used as the method worked well but I certainly ran into a few issues that I hadn't accounted for, or that will need to be changed for next time.

****
Things I done and gone learned....

My grain bag (note - clipped sheet of nylon fabric) has too small of a mesh size. When I hand lifted (next issue) the grain out of the bag it took FOREVER to drain the wort from the bag. Basically I ended up standing on the kitchen counter with a big hot heavy bag in my hands (for obvious reasons, DO NOT DO THIS) in slight panic asking Mrs T (she denies I 'asked') to put something under it so I could rest it and allow to drain. Also, I feel this probably left a lot of sugars in the bag so I hand to do extra rinsing to top off. On the plus side the wort was REALLY clean. I mean brown liquid silk. Taste - sweet (very sweet) but not unpleasant. Tough to put my finger on a flavour profile first time around.

Need to add a VERY big colander onto my equipment list as well as a new bag (will keep the original for lagering a lighter beer as a small batch for Mrs T.

Second issue was cooling the wort. I filled the sink with ice water - placed the wort on top (my fault, didn't think to check it actually fit in the sink well) and ran water down the side. Packed with towels to stop it toppling over and then had a great sound across the house of it slipping in the sink. Clearly, a wort cooler is needed. I have no bath and I am struggling to find another method of cooling quick....This meant (oh you know it is coming....).....

That that it took several hours to cool the wort in the refrigerator (oh this isn't looking good anymore). Unfortunately by following my list it meant I had hydrated the yeast WAY too early. Had to sit it in the refrigerator whilst waiting for the wort to cool.

Which also means that (hahaha, you can see this one coming too) I am a little concerned about fermentation. I pitched the yeast which I had brought to about 65F into the wort at about 75F (Mrs T. was ready for bed by then. Patience of the two of us was running low).

Right, now the situation is - 39 hours into fermentation (hopefully) - refrigerator ambient temp is around 64F. At the moment, and this is where my concern really is - small bubbles on the sides of the carboy (I mean tiny bubbles) up until this morning when bubbles where starting to appear in the center of the carboy. I 'assume' (mother of all ....) that this means fermentation has started (not really paying too much attention to the airlock, not convinced of a tight seal on the lid). No signs of any krausen yet.

I keep popping my head in the fridge and sniffing the airlock hose - Mrs T isn't convinced this helps things but I keep assuring her it most definitely maybe, might (or might not) - be helping.
*****

Any words of encouragement? RTIEAHAHB I believe is the expression for people in my postition ;)

In other news I love my label design - quite inappropriate and will always make me chuckle. Censorship may stop me posting it here....PM me if you have a dark and bad taste in humor and want to check it out - takes a certain type.

Hopefully - first brew down.

Don't replace that nice bag. With its fine mesh it is doing the right job for you. None of them will drain really quickly, the grains themselves prevent that. Rinsing the bag of grains is called sparging and it is a good thing. It rinses off the sugars from the grain that would otherwise be discarded and those sugars are what the yeast eat to make alcohol. The collected wort should be very sweet, that is the point of mashing. The enzymes in the malted barley convert the starches in the grain to sugars.

You could get a big round tub or a square plastic box that your pot will fit into with some extra space, pour in some water and set the pot into that. The water will absorb a lot of the heat from the wort and get pretty warm. Remove the pot and dump the water out and refill the tub once or twice, then add the ice to it to get the temperature down to where you want to pitch the yeast. Putting ice in immediately will chill it faster but will take a lot of ice.

You can quit worrying about the slow start to fermentation. My beers usually don't show signs for 24 to 36 hours. Yours shouldn't either because you have the temperature of the beer down where it should be. If you want to see yeast action sooner you can put the yeast in when the wort is much warmer but I don't think you will like the results of that (bad taste, hot alcohol, hangovers).

Now that you have the beginning signs of fermantation, leave the refrigerator door closed. You're adding heat that you don't need and not helping the yeast either.:rockin:
 
Thanks for the replies good people. Alleviated some of my concerns :) Definitely a few more equipment requirements in there but I am pretty happy. Sparging definitely was worth it, however by the end some super tacky bits were coming off the sides of the bag - certainly harder and harder to get it into the pre-boil.

Am I to assert from your comments (well, not mentioning it really (hopefully a good thing)) that no krausen is no issue? I have read many, many, many threads where it never appeared for various brewers.

I am still a little concerned because of course I am running blind without a hydrometer. Only other thing I could think of is a DIY job. It will certainly NOT give me a OG or FG in actual terms however it may show me when fermentation has ceased. Base lines stop shifting then it is done - regardless of getting an accurate ABV.

Other thing I am thinking - what is the difference between OG and g/ml? I understand various sugars, particulate matter and even water quality would change this, however, as a diver I am of the understanding that weight/density have a correlation. I am aware 1l of fresh water (maybe distilled?) weighs 1kg. I am also aware that 1kg of saltwater weights 1.027kg (approx depending on geographic location). So, would 1 litre of wort at starting gravity weigh 1.060kg (depending on brew) and 1 litre of fermented beer weight 1.012kg (again, dependent).

Does anyone know how density and weight differ besides the above mentioned variables such as particulate etc etc. Or, am I barking up the wrong coconut tree??

Thank you for various words of encouragement. Alas, final updates seem that after 12 hours at work - still no closer to krausen, and bubbling seems to have slowed slightly around the edges. Someone please let me know if I should pitch another dried pack just for peace of mind.

Happy brewing days!

E2A - Just looked at the thermometer in the fridge at a whoopingly low 50F - this will probably explain the slow down in fermentation? Adjusted the fridge already and pulled the carboy out for a few hours before I head for bed. Leave it out overnight or throw it back in for morning.....that is the question?!
 
50F is too cold for ale yeasts - it'll knock em out for sure. They're not dead though, so when you're back around 60-65 they should pick back up. You can also give the fermenter a little swirl to get some of them back up in suspension to get them back to work faster.

No comment on the density vs. weight thing because I don't know. Generally, a hydrometer works so effectively because the other dissolved (or floating) solids in beer or wort don't impact the density of the wort or beer so a turbid sample will read the same as a clear sample. A homemade hydrometer could definitely be achieved, but it might be a bit of an engineering project. You need something that will half-sink half-float in water with a measuring stick that will always stay vertical while floating. If you could rig something like that up, you could even mark it with proper gravity markings by testing it against distilled water and various calculated sugar solutions. However, it's probably a lot easier to just find somewhere to buy a hydrometer, even if you have to order it (get a few - they're fragile) from abroad.
 
Fingers crossed. I'll have a proper check when I get home later today. At a guess I would hope to get it back up to high 60s or low 70s. Took it out the fridge this morning and throw a wet towel over it, also did a minor aeration swirl on the carboy. Ambient temps are down a little bit today so we'll see if it is bubbling or not.

Thanks again!

I know the feeling. I pitched my latest batch on Monday morning and still saw no bubbles this morning. I use an opaque bucket so I can't check for krausen without opening the lid, so I've just got to trust that everything is working out alright thus far. Even after 40-50 brews, it's nerve-racking when you have to wait a couple days to see activity in a new brew. Fortunately, it pretty much always works itself out in the end.
 
------------------------------------------------------------
Mile 10 in the Bonzai Brew Bus
------------------------------------------------------------

Yeah, right....pffft to patience ;)

*****
So, after being worried and nervous and anxious (been there anyone?) I did some thorough investigating after arriving home.

Having shone a strong light down the side of the carboy (dark blue so making life harder) I discovered some pretty reasonable bubble actions, and I believe a thin-ish layer of krausen forming on top - all good news.

However, there are a few small white bits of particulate matter floating around which may be on of several things. It could be yeast, krausen-y type stuff that is normal, it could be mold, or it could be some silicone caulk which has dropped off the top of my lid.

All are causing me reasonable worry. Without the ability to pull a sample for a hydrometer reading I decided, well, just to pull a sample. There is a reasonably hot alcohol smell at the beginning, but after airing for a few minutes that dissipates quite quickly. After several minutes of sniffing and asking for second opinion from Mrs T I decided to swill a bit around my mouth. Although obviously not the greatest flavour profile I have certainly regained some confidence that this brew may actually be on its way. Certainly got a great chocolatey nose and taste to it, and on the tongue I am finding it quite salivating.

Don't panic and tell me off just yet - given this recent confidence boost I am now packaging it up and leaving it well alone for the next 2 weeks (maybe total 3) in the primary to let it age and let the yeast settle and do it's thing. Also, reasonably confident too that this will clear and settle pretty well. Needless to say, I can now join the club of 'leave it well alone' and ignore it.

Quite frankly, I should remember my friends saying of.....worry about it when it becomes a problem. Which is what I am doing from here on in.
*****

Keep you posted when I add the vodka which has been infused with cacao and vanilla. As things look, and if I can get my process refined, this recipe may well be a keeper!

All the best - happy brewing!
 
Good news on the clear signs of fermentation. My lagging IPA was bubbling and showing signs of krausen (by shining a light on the bucket lid I can get a silhouette of the krausen on the sides) yesterday evening when I got back from work as well; just to show that you can worry about lagging fermentation all you want but as long as there's not an actual problem (like your 50 degree temperature), it'll take care of itself.

As @RM-MN suggested, have you got a plan for your next brew? With that much roasted barley and limited hops (how much do you actually have of each variety?) the obvious answer would be another stout or porter, but you're not going to want to exclusively make black beers so a saison with Abbaye yeast would be an idea. I'd look up other brewers' experiences with Abbaye before committing to it, but if it can handle warmer fermentation temps like many Belgian strains you might even be able to brew a saison without temperature control. Saisons are nice in that the style is very flexible and you can use lots of different kinds of adjuncts (fruit, spices, flowers) to make unique and tasty brews that might not work all that well in different style categories, or you can go super simple with pils, a bit of wheat, 20 IBUs of bittering hops, and a Belgian/saison yeast and end up with something just as good.
 
I agree with FatDragon, you should be entertaining Saisons as you only have to keep the temps between 18-28C using either Mangrove Jack's M27 Belgian Abbaye or Lallemande's Abbaye yeast. Both of them respond well in warm temps. I have used both and they frequently will ferment dry (at 1.00 believe it or not) and they ferment quick.
 
Back
Top