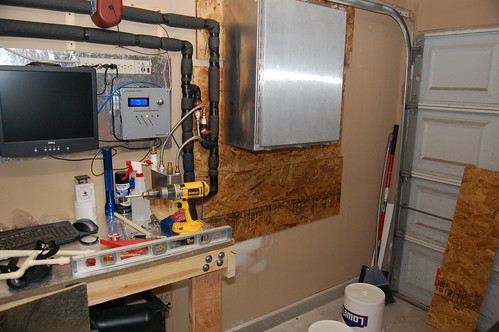
Getting closer.
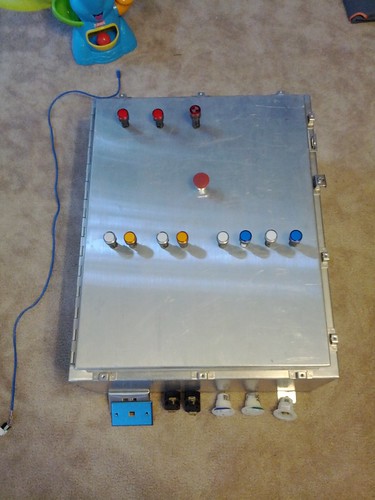
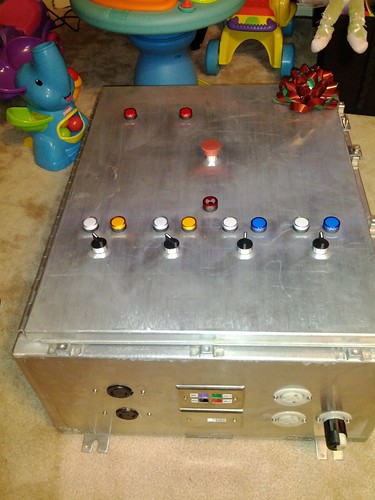
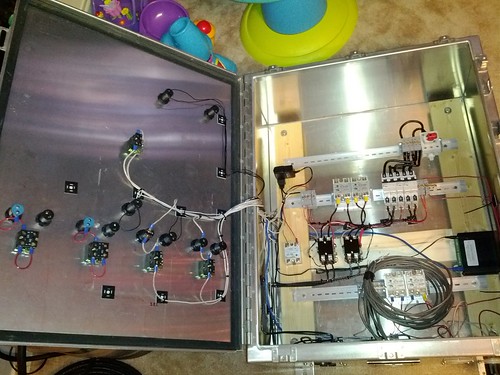
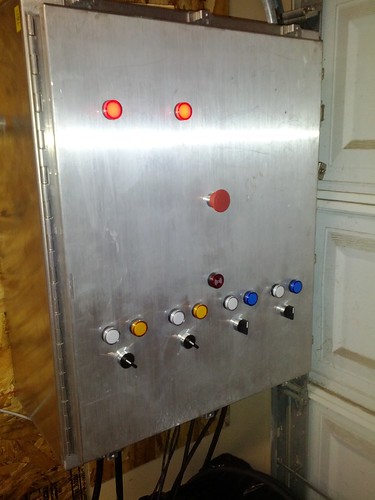
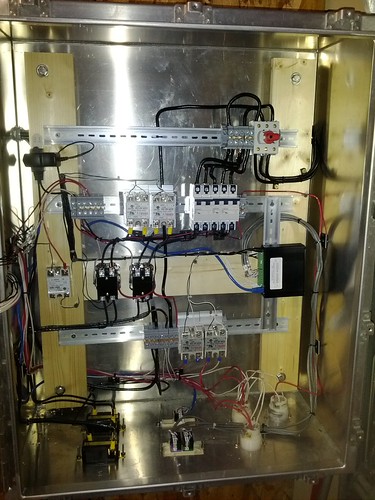
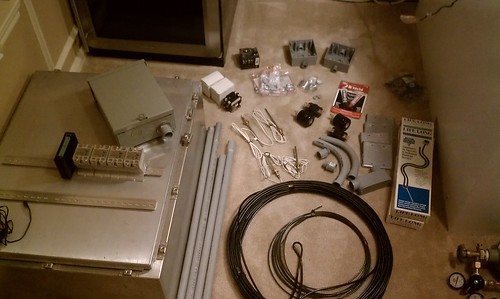
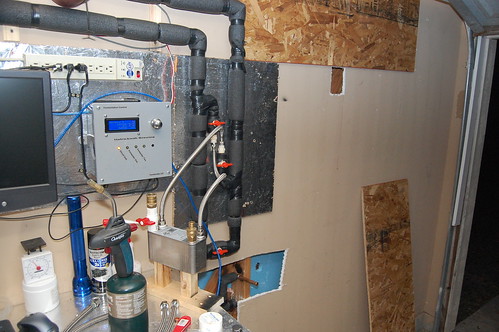
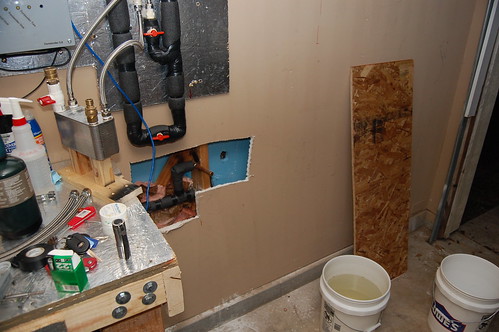
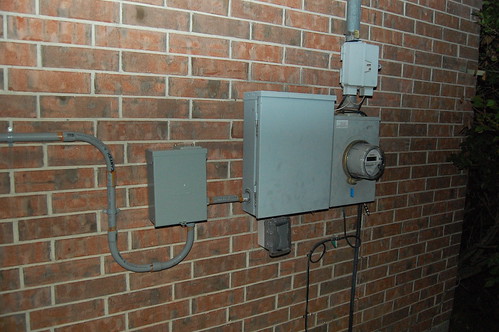
All my necessary parts are in, SSRs, contacts, etc. Now I'm waiting on LEDs, switches, and DIN rail terminal blocks. Should have everything before the long weekend.
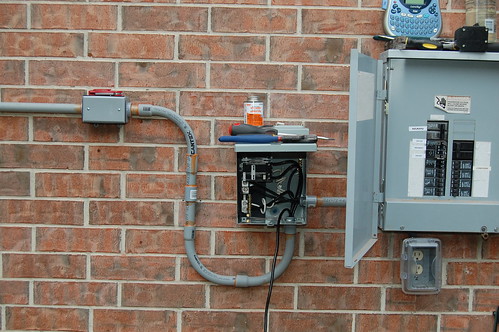
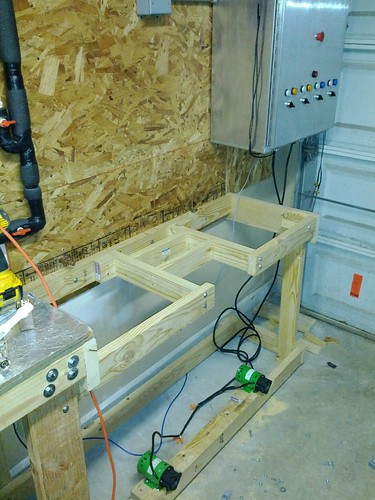
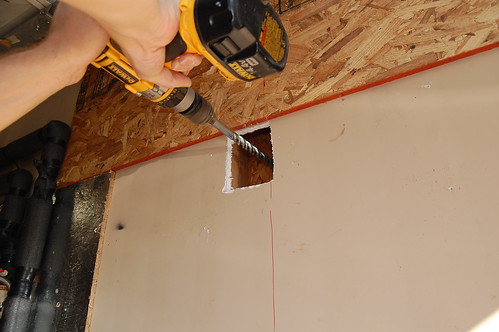
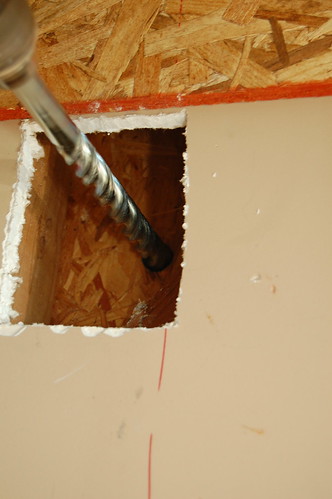
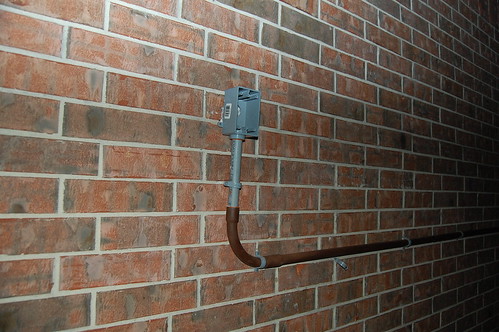
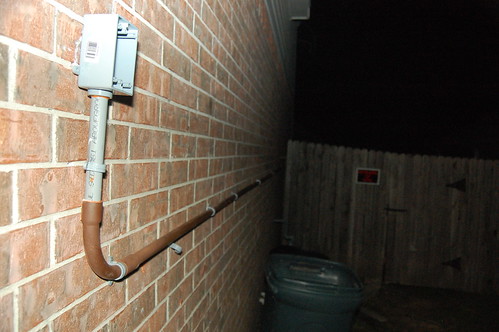
Tomorrow though, time to pull out the hammer drill and makes a hole in the brick exterior.
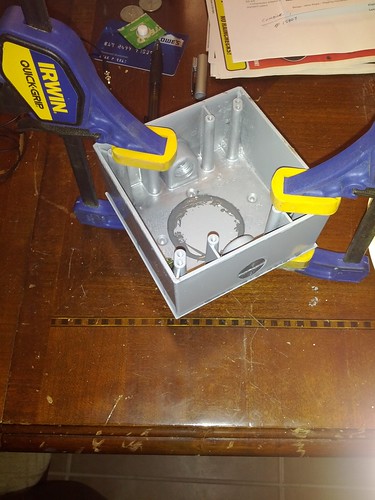
What size is that box and were did you get it? Thanks looking good so far, I am just behind you on gathering the stuff for my build as well. Good luck.
")


![Craft A Brew - Safale S-04 Dry Yeast - Fermentis - English Ale Dry Yeast - For English and American Ales and Hard Apple Ciders - Ingredients for Home Brewing - Beer Making Supplies - [1 Pack]](https://m.media-amazon.com/images/I/41fVGNh6JfL._SL500_.jpg)