• Please visit and share your knowledge at our sister communities:
  • If you have not, please join our official Homebrewing Facebook Group!

    Homebrewing Facebook Group

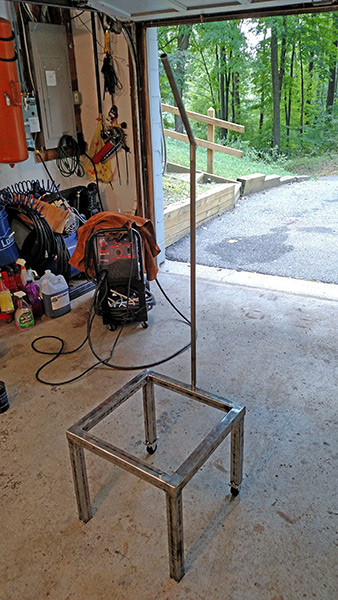
BIAB stand under construction.

Homebrew Talk

Help Support Homebrew Talk:

This site may earn a commission from merchant affiliate links, including eBay, Amazon, and others.

The_Bishop

Well-Known Member
Joined
Dec 8, 2013
Messages
2,100
Reaction score
676
I've decided to finally build a brew stand. After much deliberation, and accounting for the lack of space for storage, I decided to make a return to BIAB, since I can build a BIAB stand that's pretty compact.

This is today's progress. I still need to design the overhead boom to support the bag for draining.
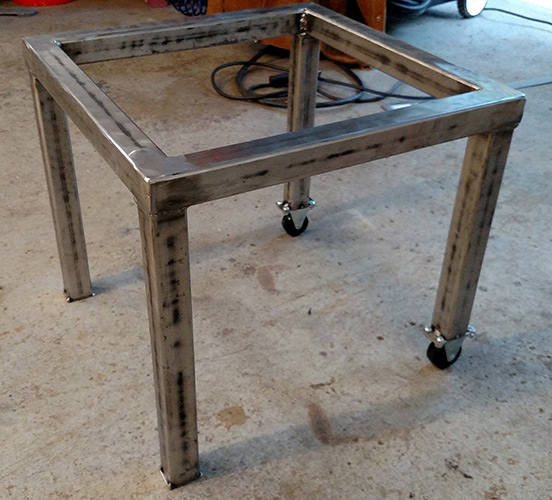
stand.jpg
 
Ok, so after a few delays, I finally get a chance to get back to this.

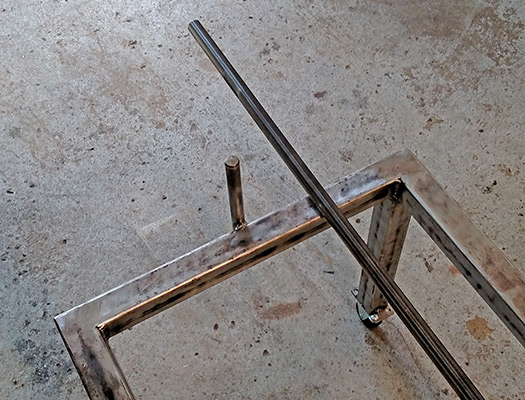
The nice things about the boom is it pivots out of the way, and is easily removable for transport.

The primer is drying as I type.

I'm happy with how it turned out. All I need to do is make the top for it.

stand2.jpg


mount.jpg
 
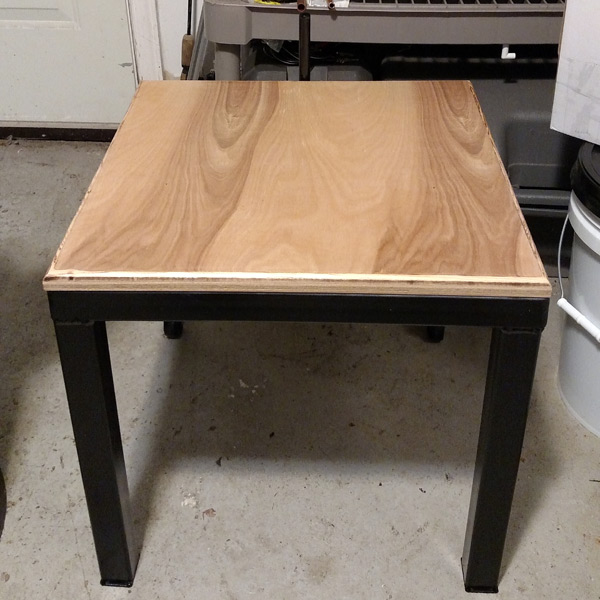
Here's the base of the stand. Just finished the top, birch plywood with routed edges and 4 coats of polyacrylic satin finish. Top should be cured enough to attach come morning.

stand3.jpg
 
Nice work. It that solely for draining or will you put a burner under it?
 
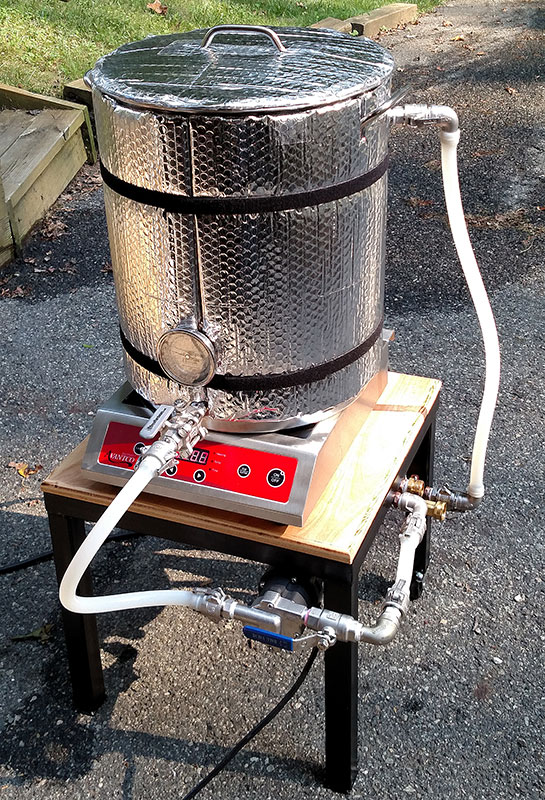
It's going to be an electric BIAB stand, using an induction burner. The post you see at the back of it is the attachment point for the 'crane' I'll hang the bag from for draining.
 
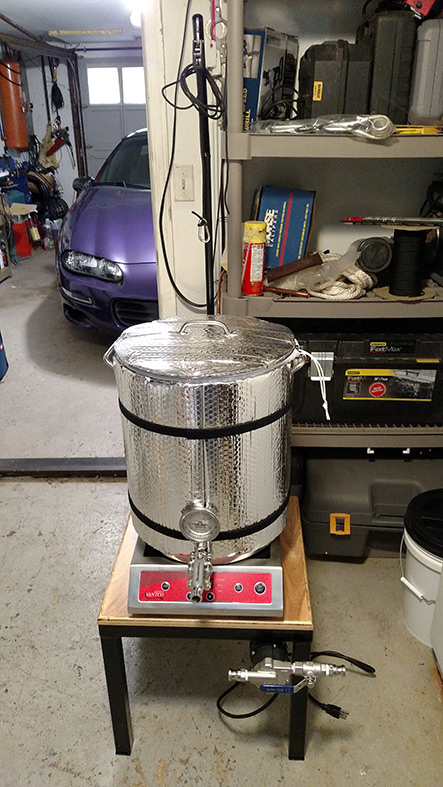
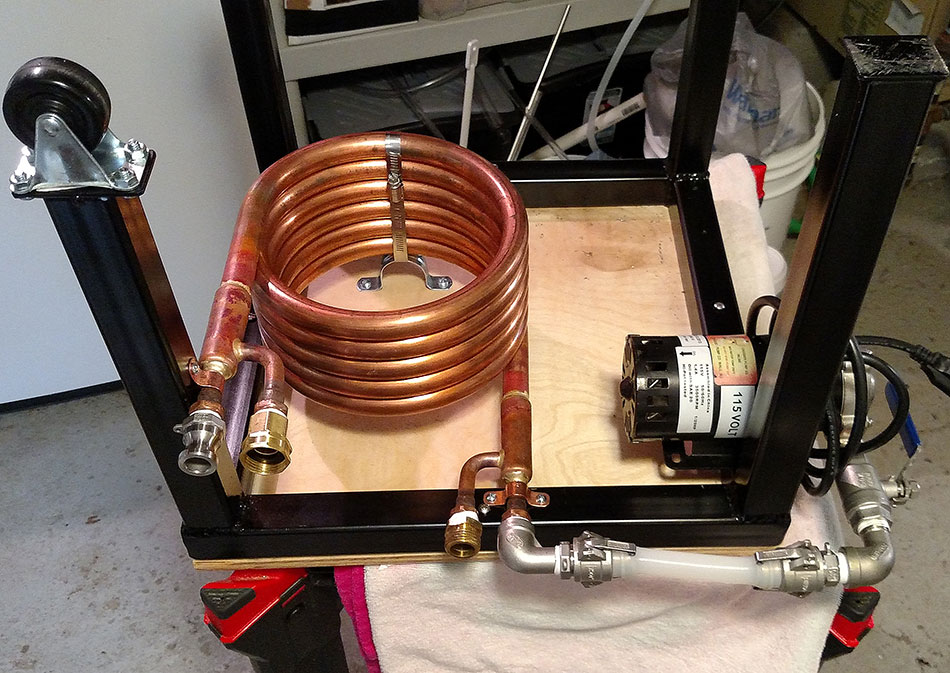
Here's a quick mockup of the semi-finished stand. Waiting on the chiller and need to see what fittings I'm going to need to finish it off. Plumbing it all with silicone hose and camlocks, makes it easy to clean/backflush/etc.

stand4.jpg
 
Advantco 3500 burner, Chugger stainless pump.

Trying to get the footprint down as far as I can with this setup. My brewing hardware has gotten a little out of control, space wise.
 
It's not currently in the plan, no. The recirculation loop is strictly for cooling.

However, I do change my mind from time to time, so who knows.
 
Looks pretty damn awesome. I want to do something like this but still can't make up my mind on what I want.
 
Well, if all goes as I want it to, tomorrow is the inaugural brew on the new stand. It's an American Amber Ale, forgiving enough in case my efficiency isn't what I expect.
 
First brew went well, aside from scorching my wilserbrewer bag. Tried to ramp temps a bit to fast and got slow on stirring. Live and learn; patched the bag and ordered another.

Noticed something. A lot of folks talk about milling fine and grainbed doesn't matter in BIAB. I'll agree with the milling fine but in my experience, the grainbed does matter!

I conditioned my grain prior to milling. Mill gap was set to .032. Nice, fine crush but the husks stayed largely in one piece. The grain in the milling bucket was very, very fluffy which is normal for my milling process.

The real telling moment was on lifting the bag out. It drained as quickly as the voile would allow. Within a minute or two I only had a small trickle of wort draining from the bag. I didn't let it drain as long as I'd liked to as I needed to drain my boil kettle into buckets through a paint strainer to remove the grain that escaped the small hole I put in the bag; annoyance and impatience got the better of me. Still hit 72-73% efficiency.

All in all, it went well. The chiller worked great. In fact, it works so well that I can recirculate until the kettle is down to around 100, then run full bore into the fermenter and still exit in the mid to high 60's. My ground water is around 60-62 degrees.

Rough guesstmate on water used for chilling is about 10 gallons and I saved the first 5 gallons of runoff for heated cleaning water.
 
Yeah, I was ramping the temp up to mash out on the high setting, and realized that my thermometer wasn't in arm's reach. Instead of shutting the heat off, I let go of my mash paddle and got the thermometer. The 5 seconds I left it sitting with the paddle on the bottom was enough to scorch the bag. My own fault.

On the other hand I found a bit of bag protection on Amazon. It's a round stainless grate that'll fit right in the bottom of the kettle and keep the bag from making contact.

41eyIOBtSDL._SX425_[1].jpg
 
Do you have a closeup of how the swivel works for lifting the bag out?:mug:
 
Oh, that's what you meant. Yes, I can. The arm is 5/8" ID tubing (here), it slides onto a 5/8" OD shaft welded to the stand, so it can rotate.
 
Back
Top