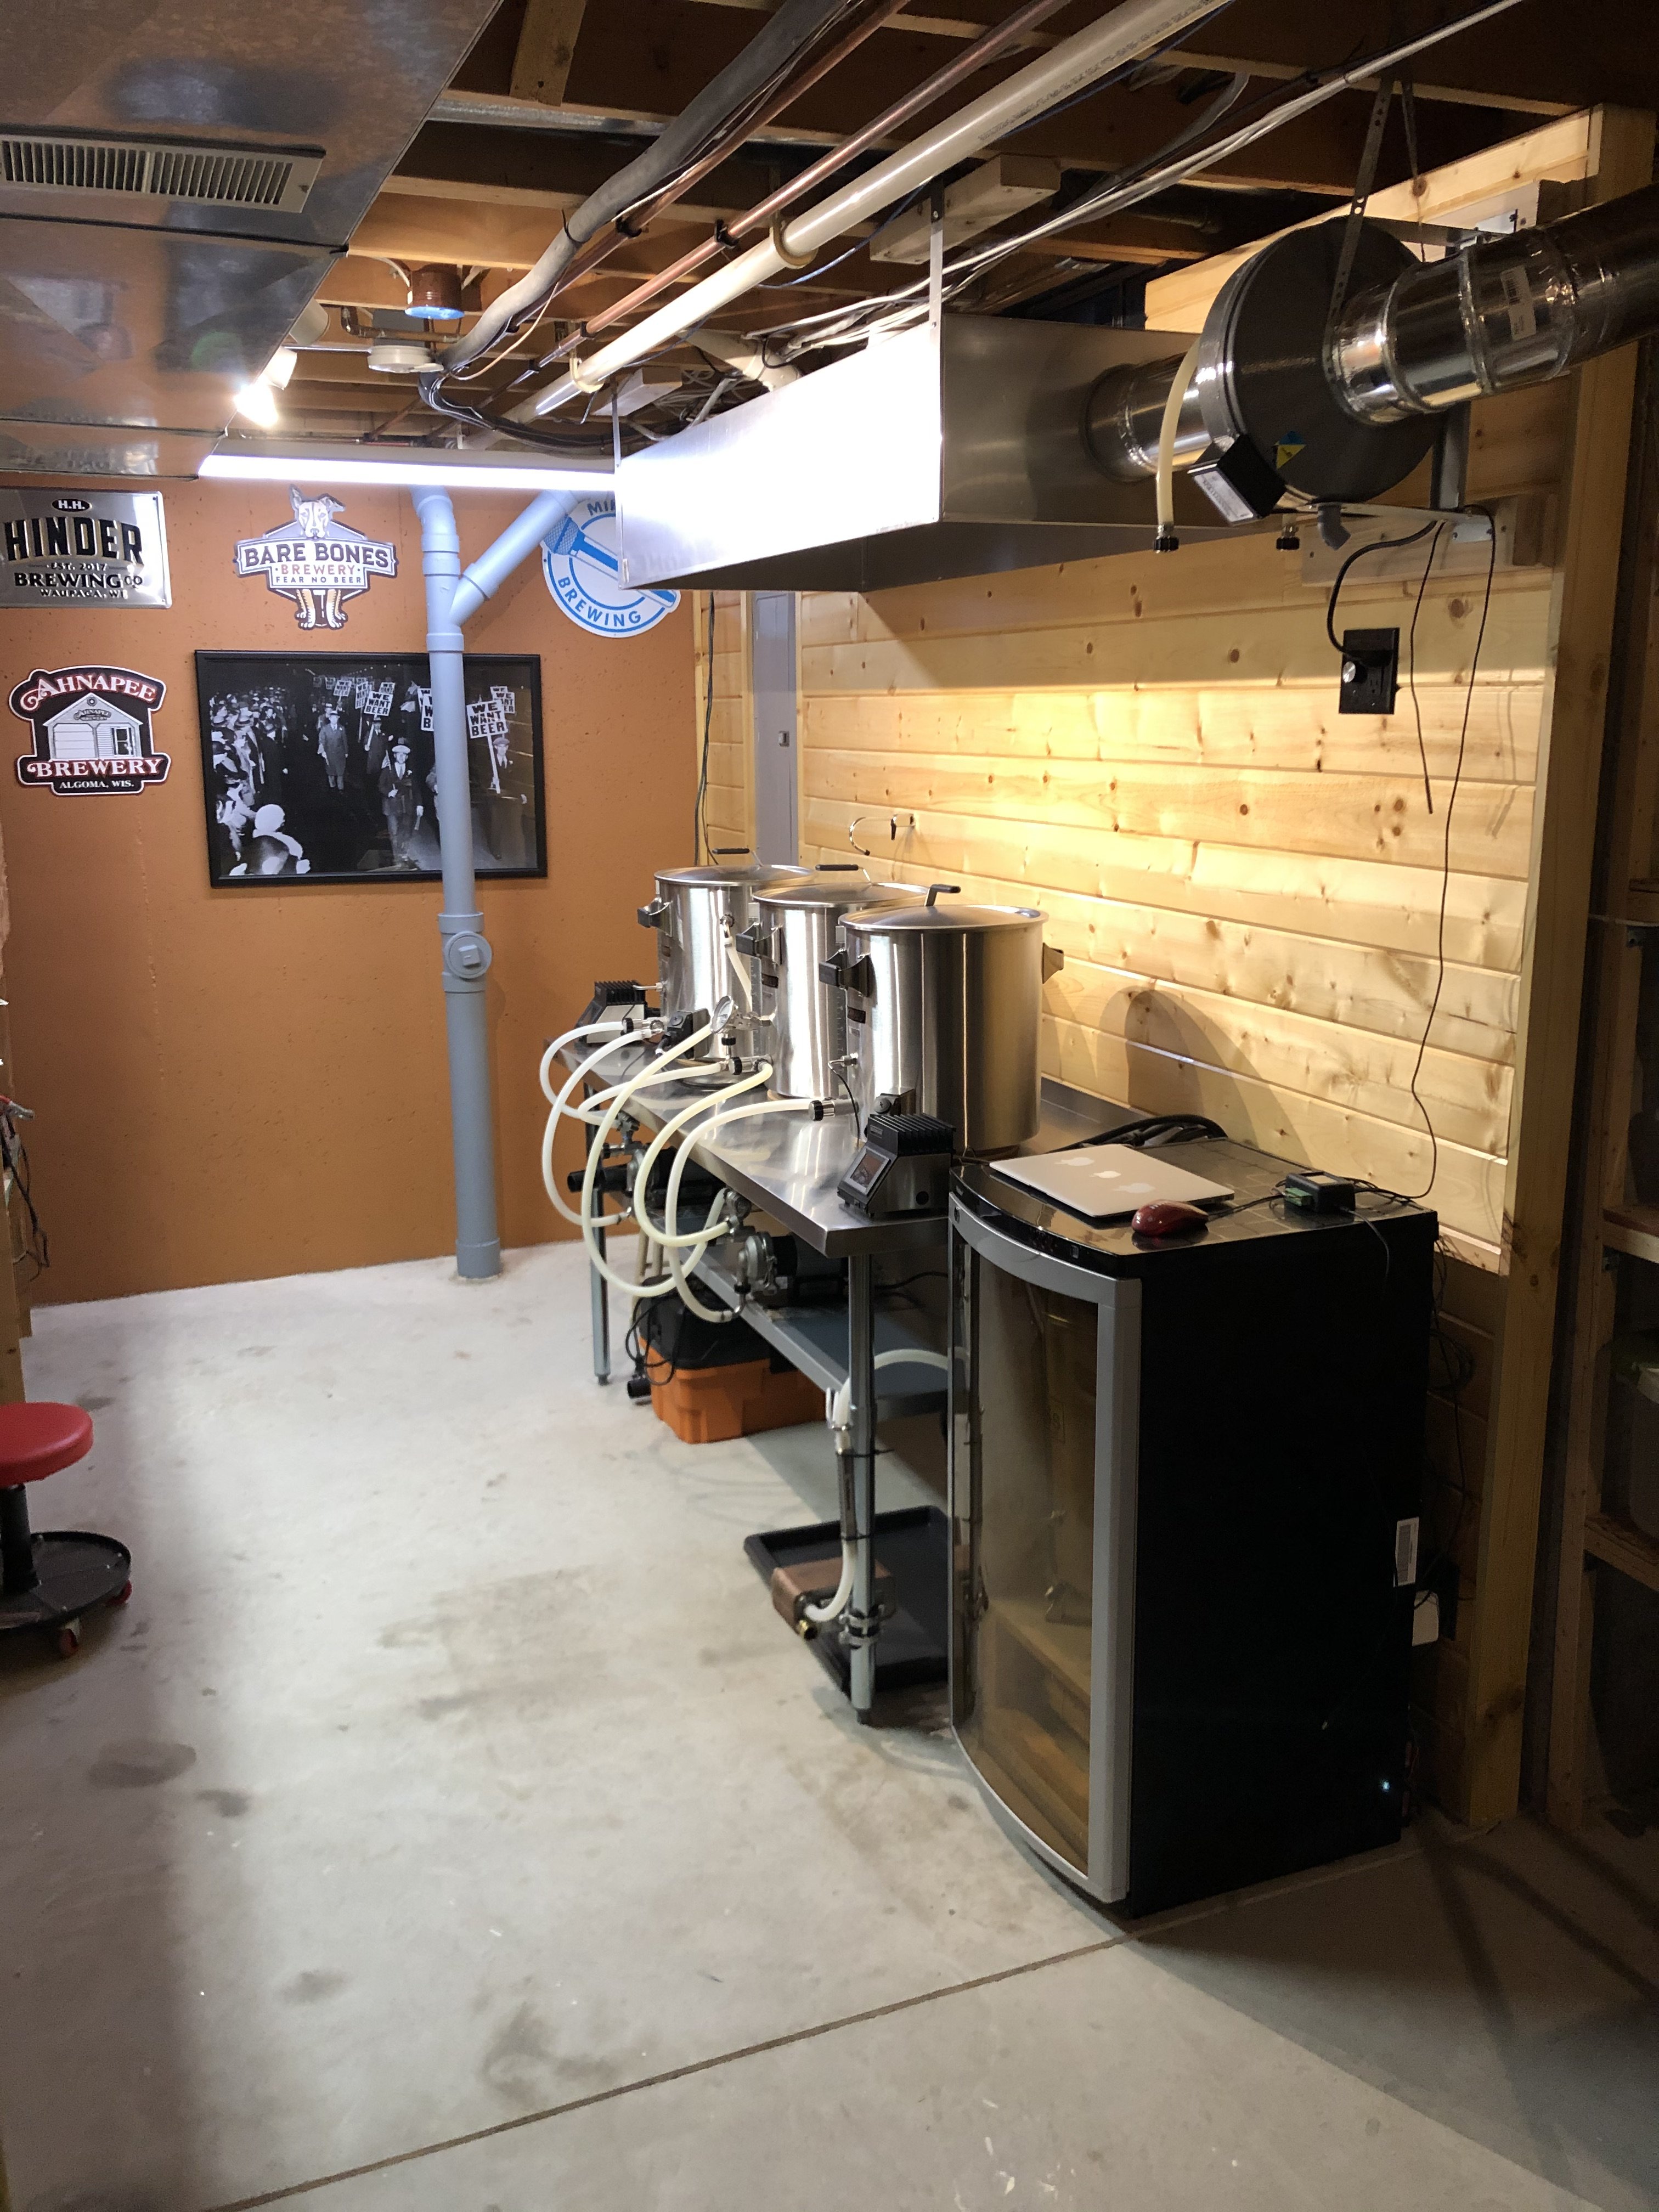
Basement Brewery Build

Homebrew Talk - Beer, Wine, Mead, & Cider Brewing Discussion Forum

Help Support Homebrew Talk - Beer, Wine, Mead, & Cider Brewing Discussion Forum:

This site may earn a commission from merchant affiliate links, including eBay, Amazon, and others.

YeastFeast

Supporting Member
HBT Supporter
Joined
Nov 9, 2013
Messages
400
Reaction score
251
Location
Bratwurst City, WI
About a year ago, I decided I was done hauling 5+ gallons of wort out of my garage, through my kitchen, down the stairs and across my basement to where my fermentation chamber was located. I probably spent a 1/2 year (on and off) cleaning and throwing away "stuff" in my basement in order to make room for a brewery area. There was only one spot it was going to work and that was about a 11' by 7" area in the back corner of the unfinished basement. This was my journey...


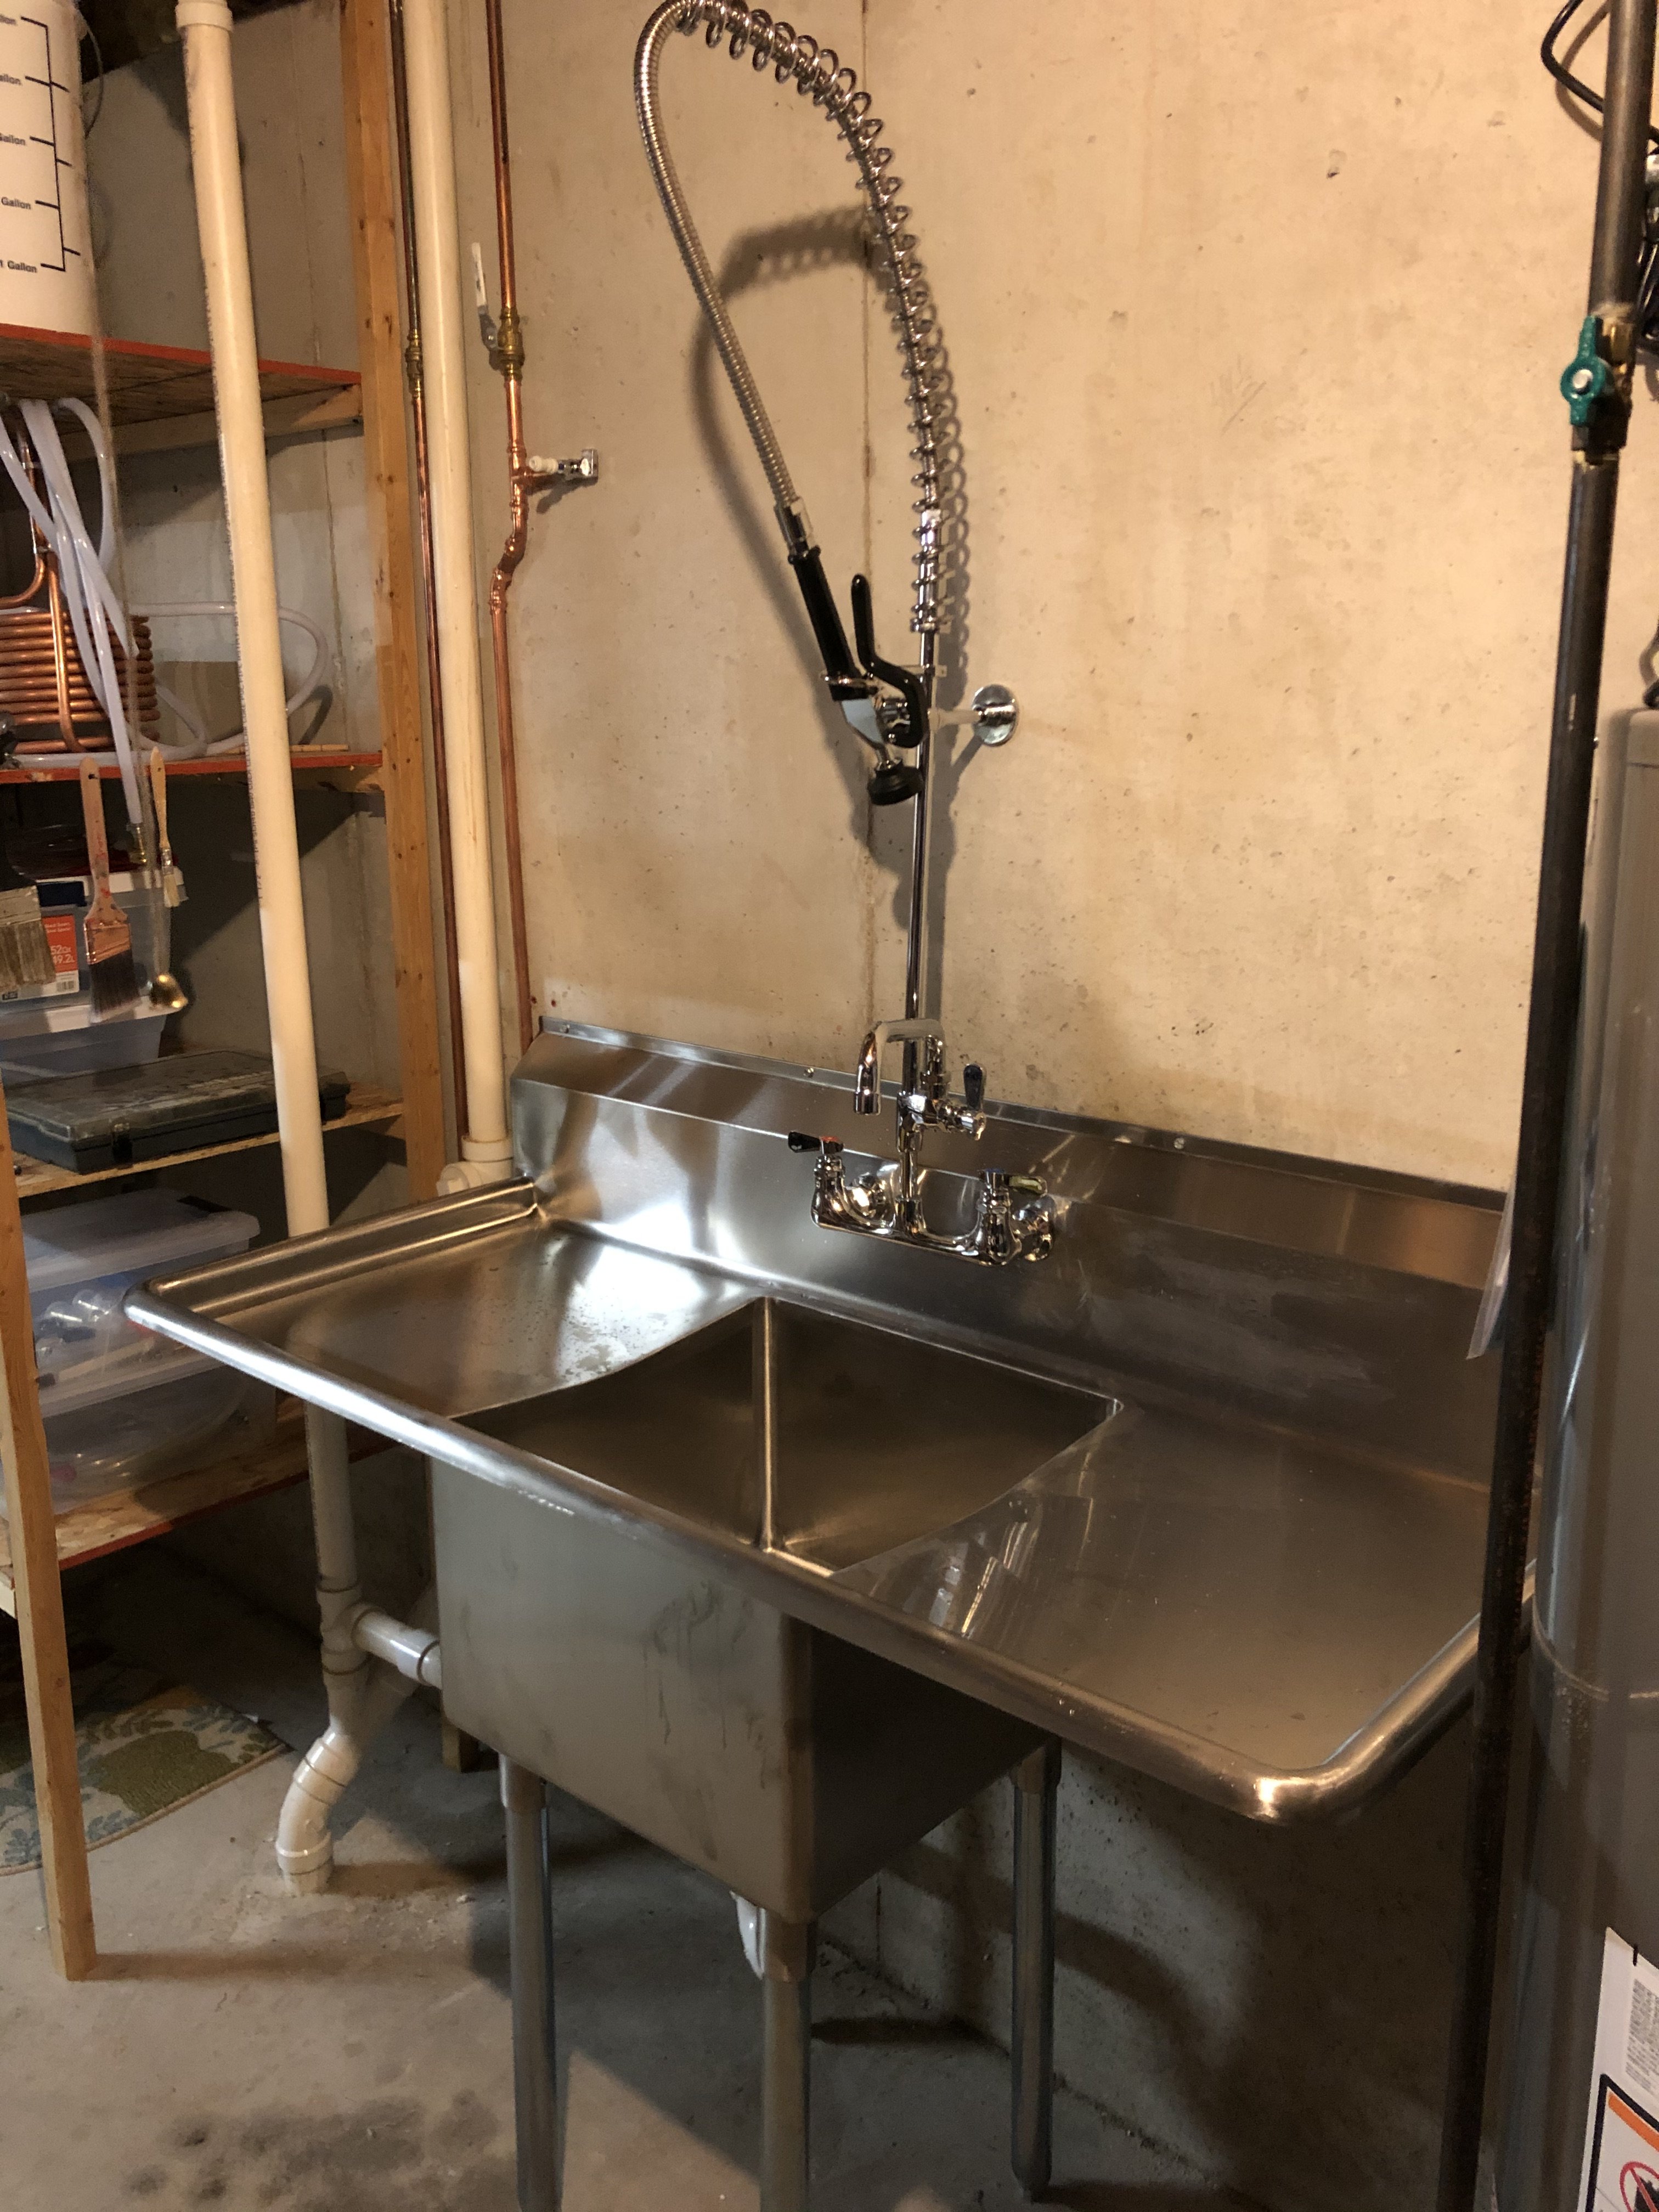
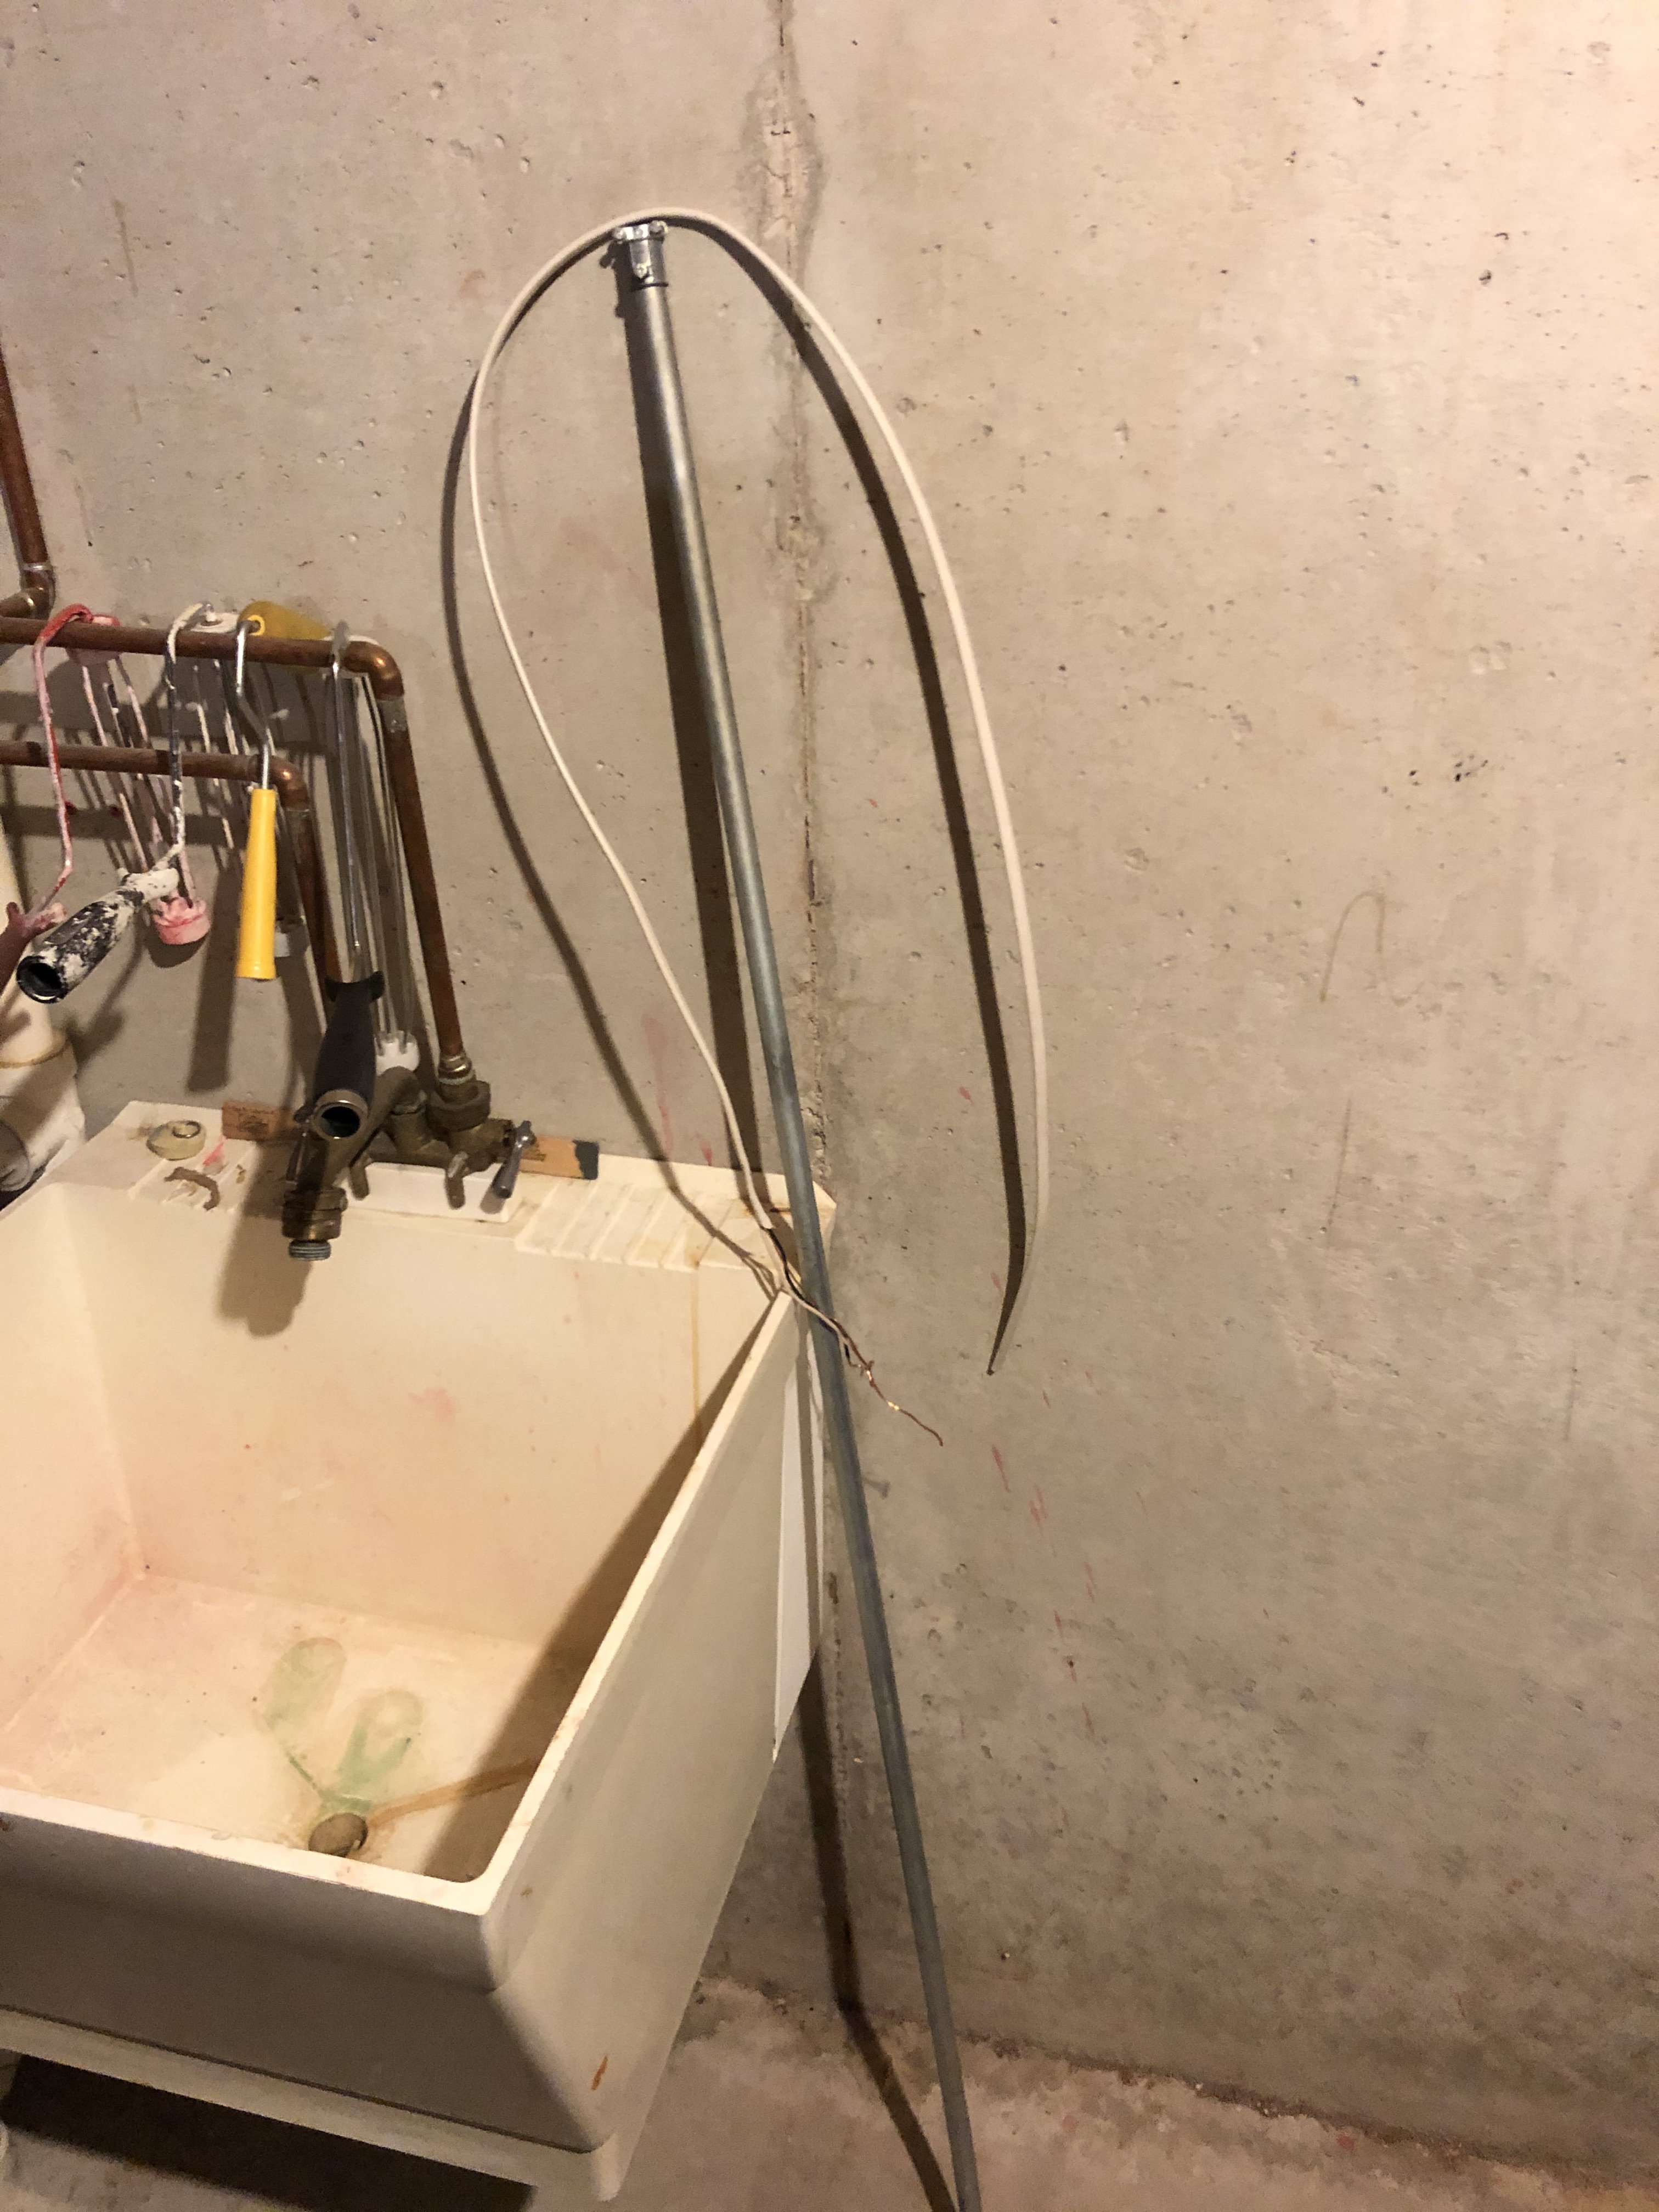
Replaced the old tired utility sink with with a stainless 4.5' x 2' (bin 18"x18") cleaning area...
tempImageMzUS8E.jpg

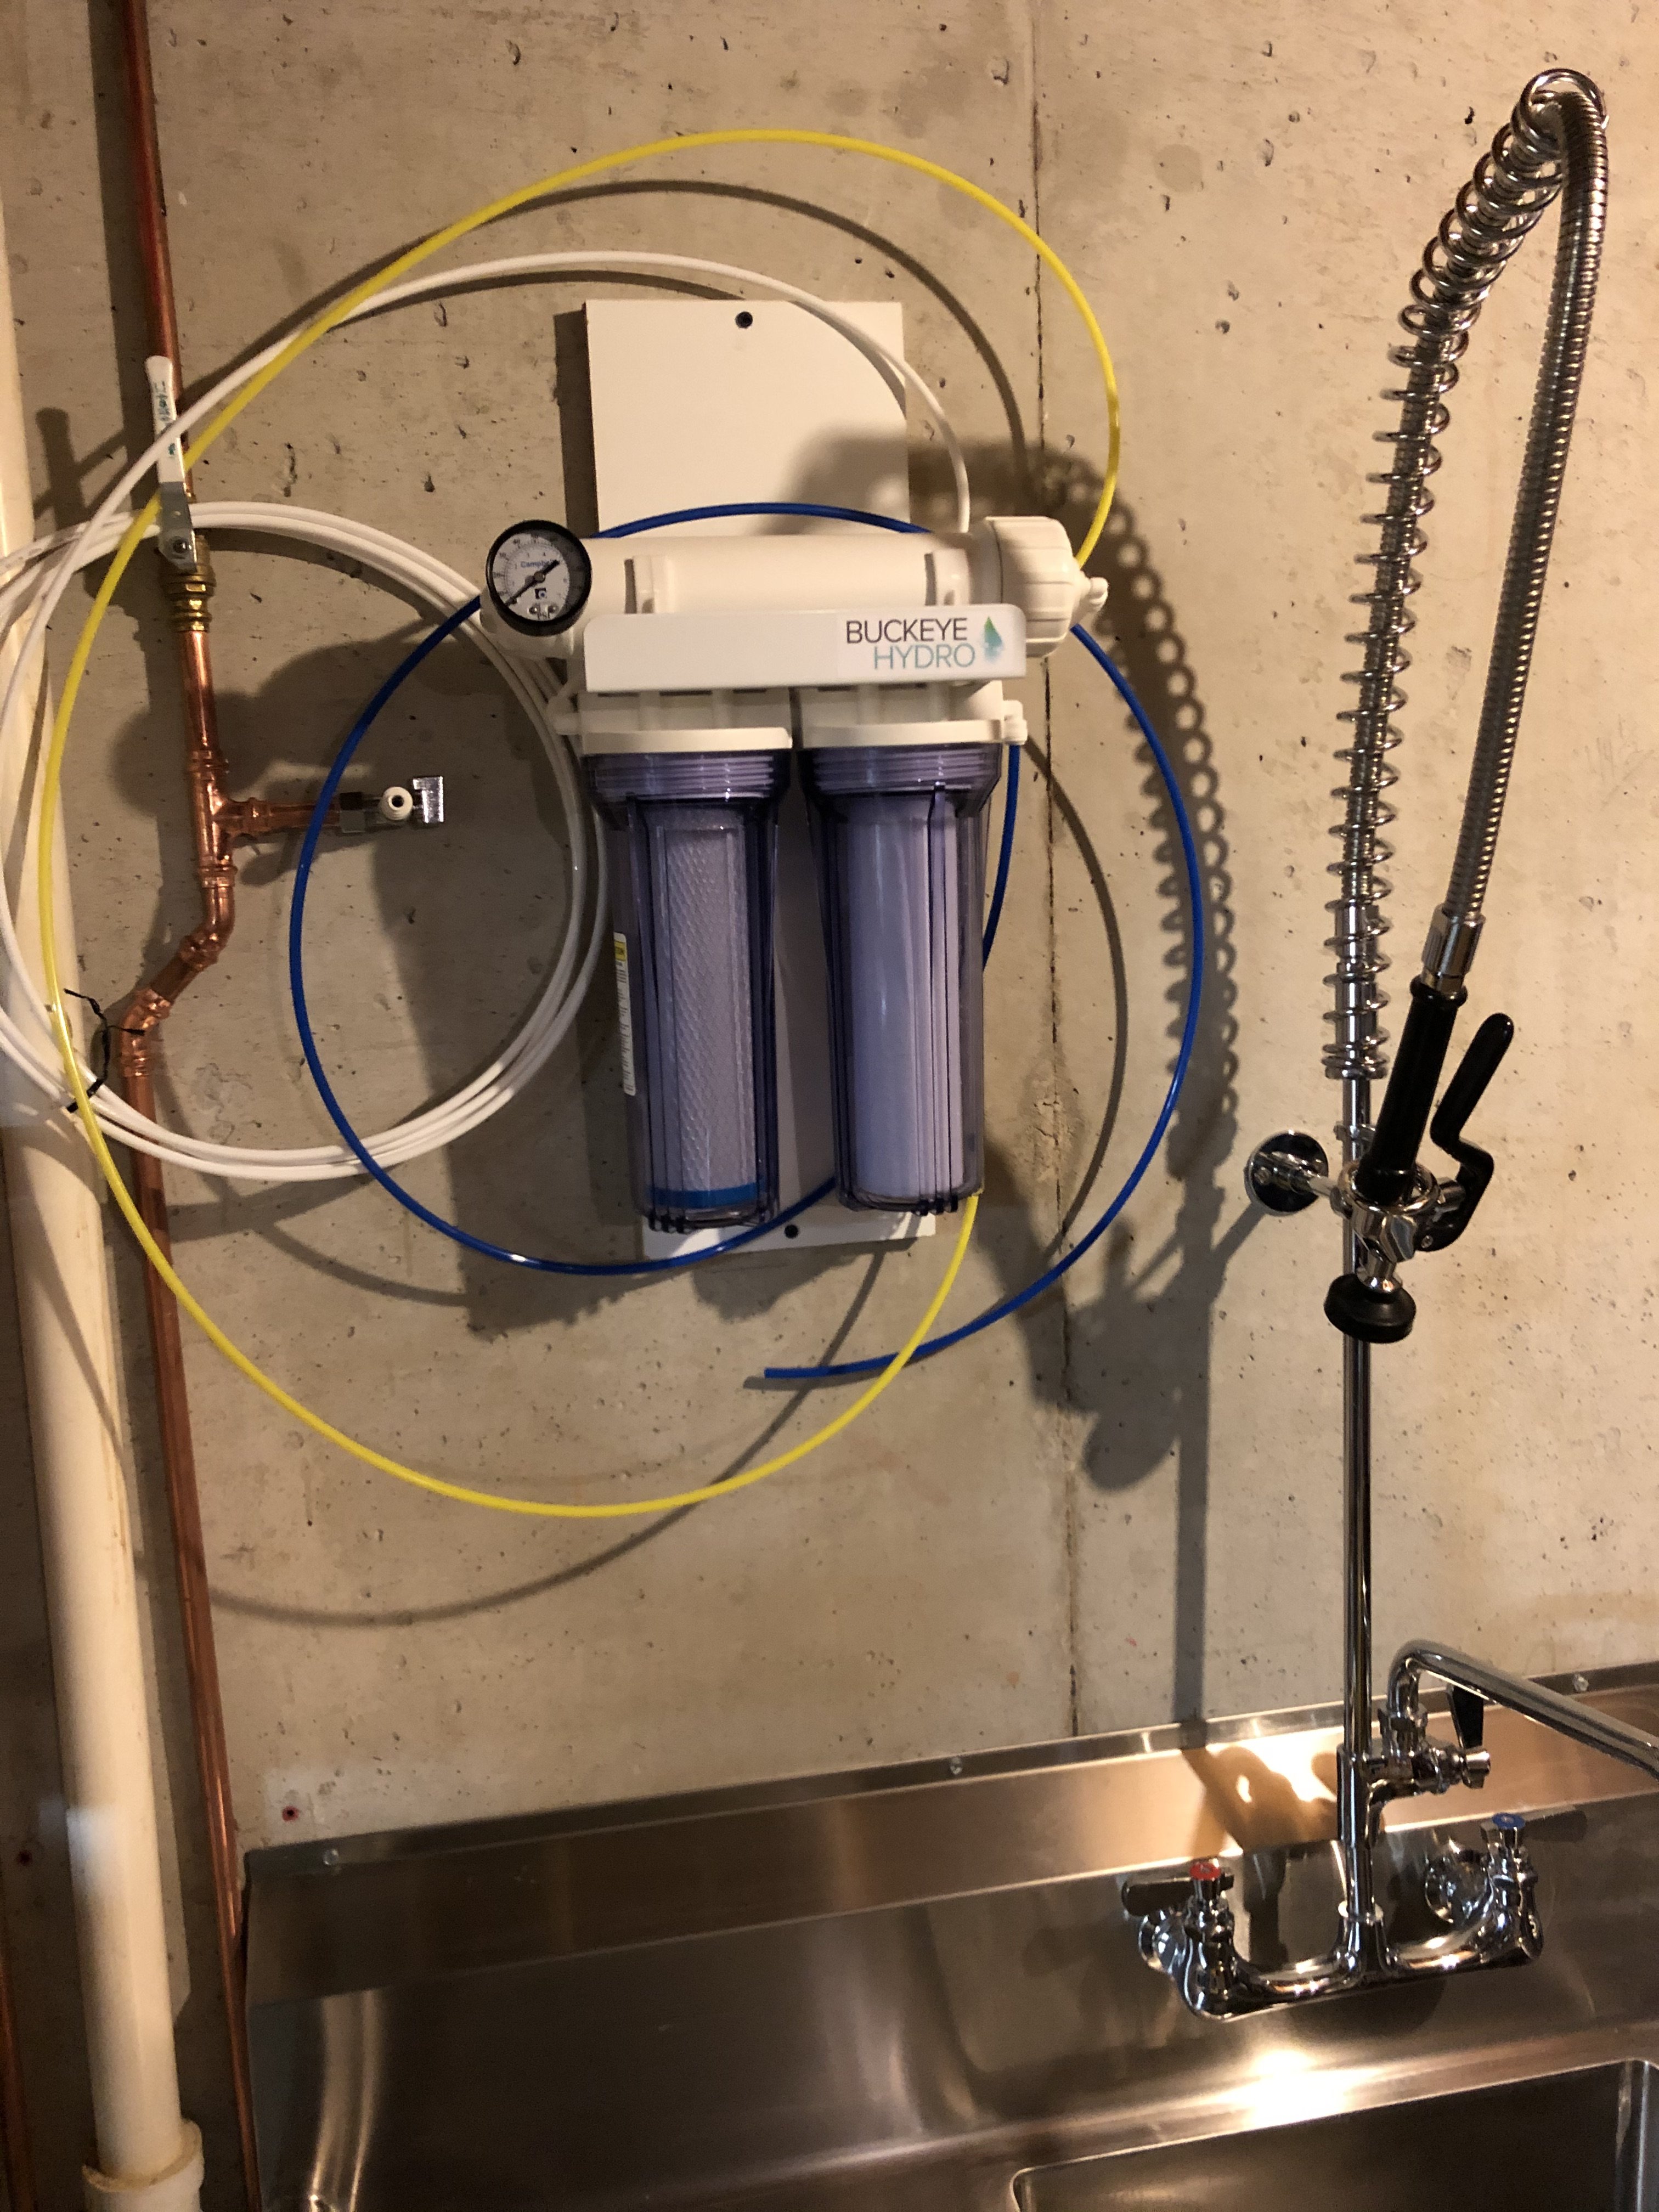
tempImage6AiPI0.jpg


Installed a RO System...
tempImage4FnYkc.jpg


Setup a 72"x30" stainless table in the recently cleaned up brewery space...
tempImage88CQgF.jpg


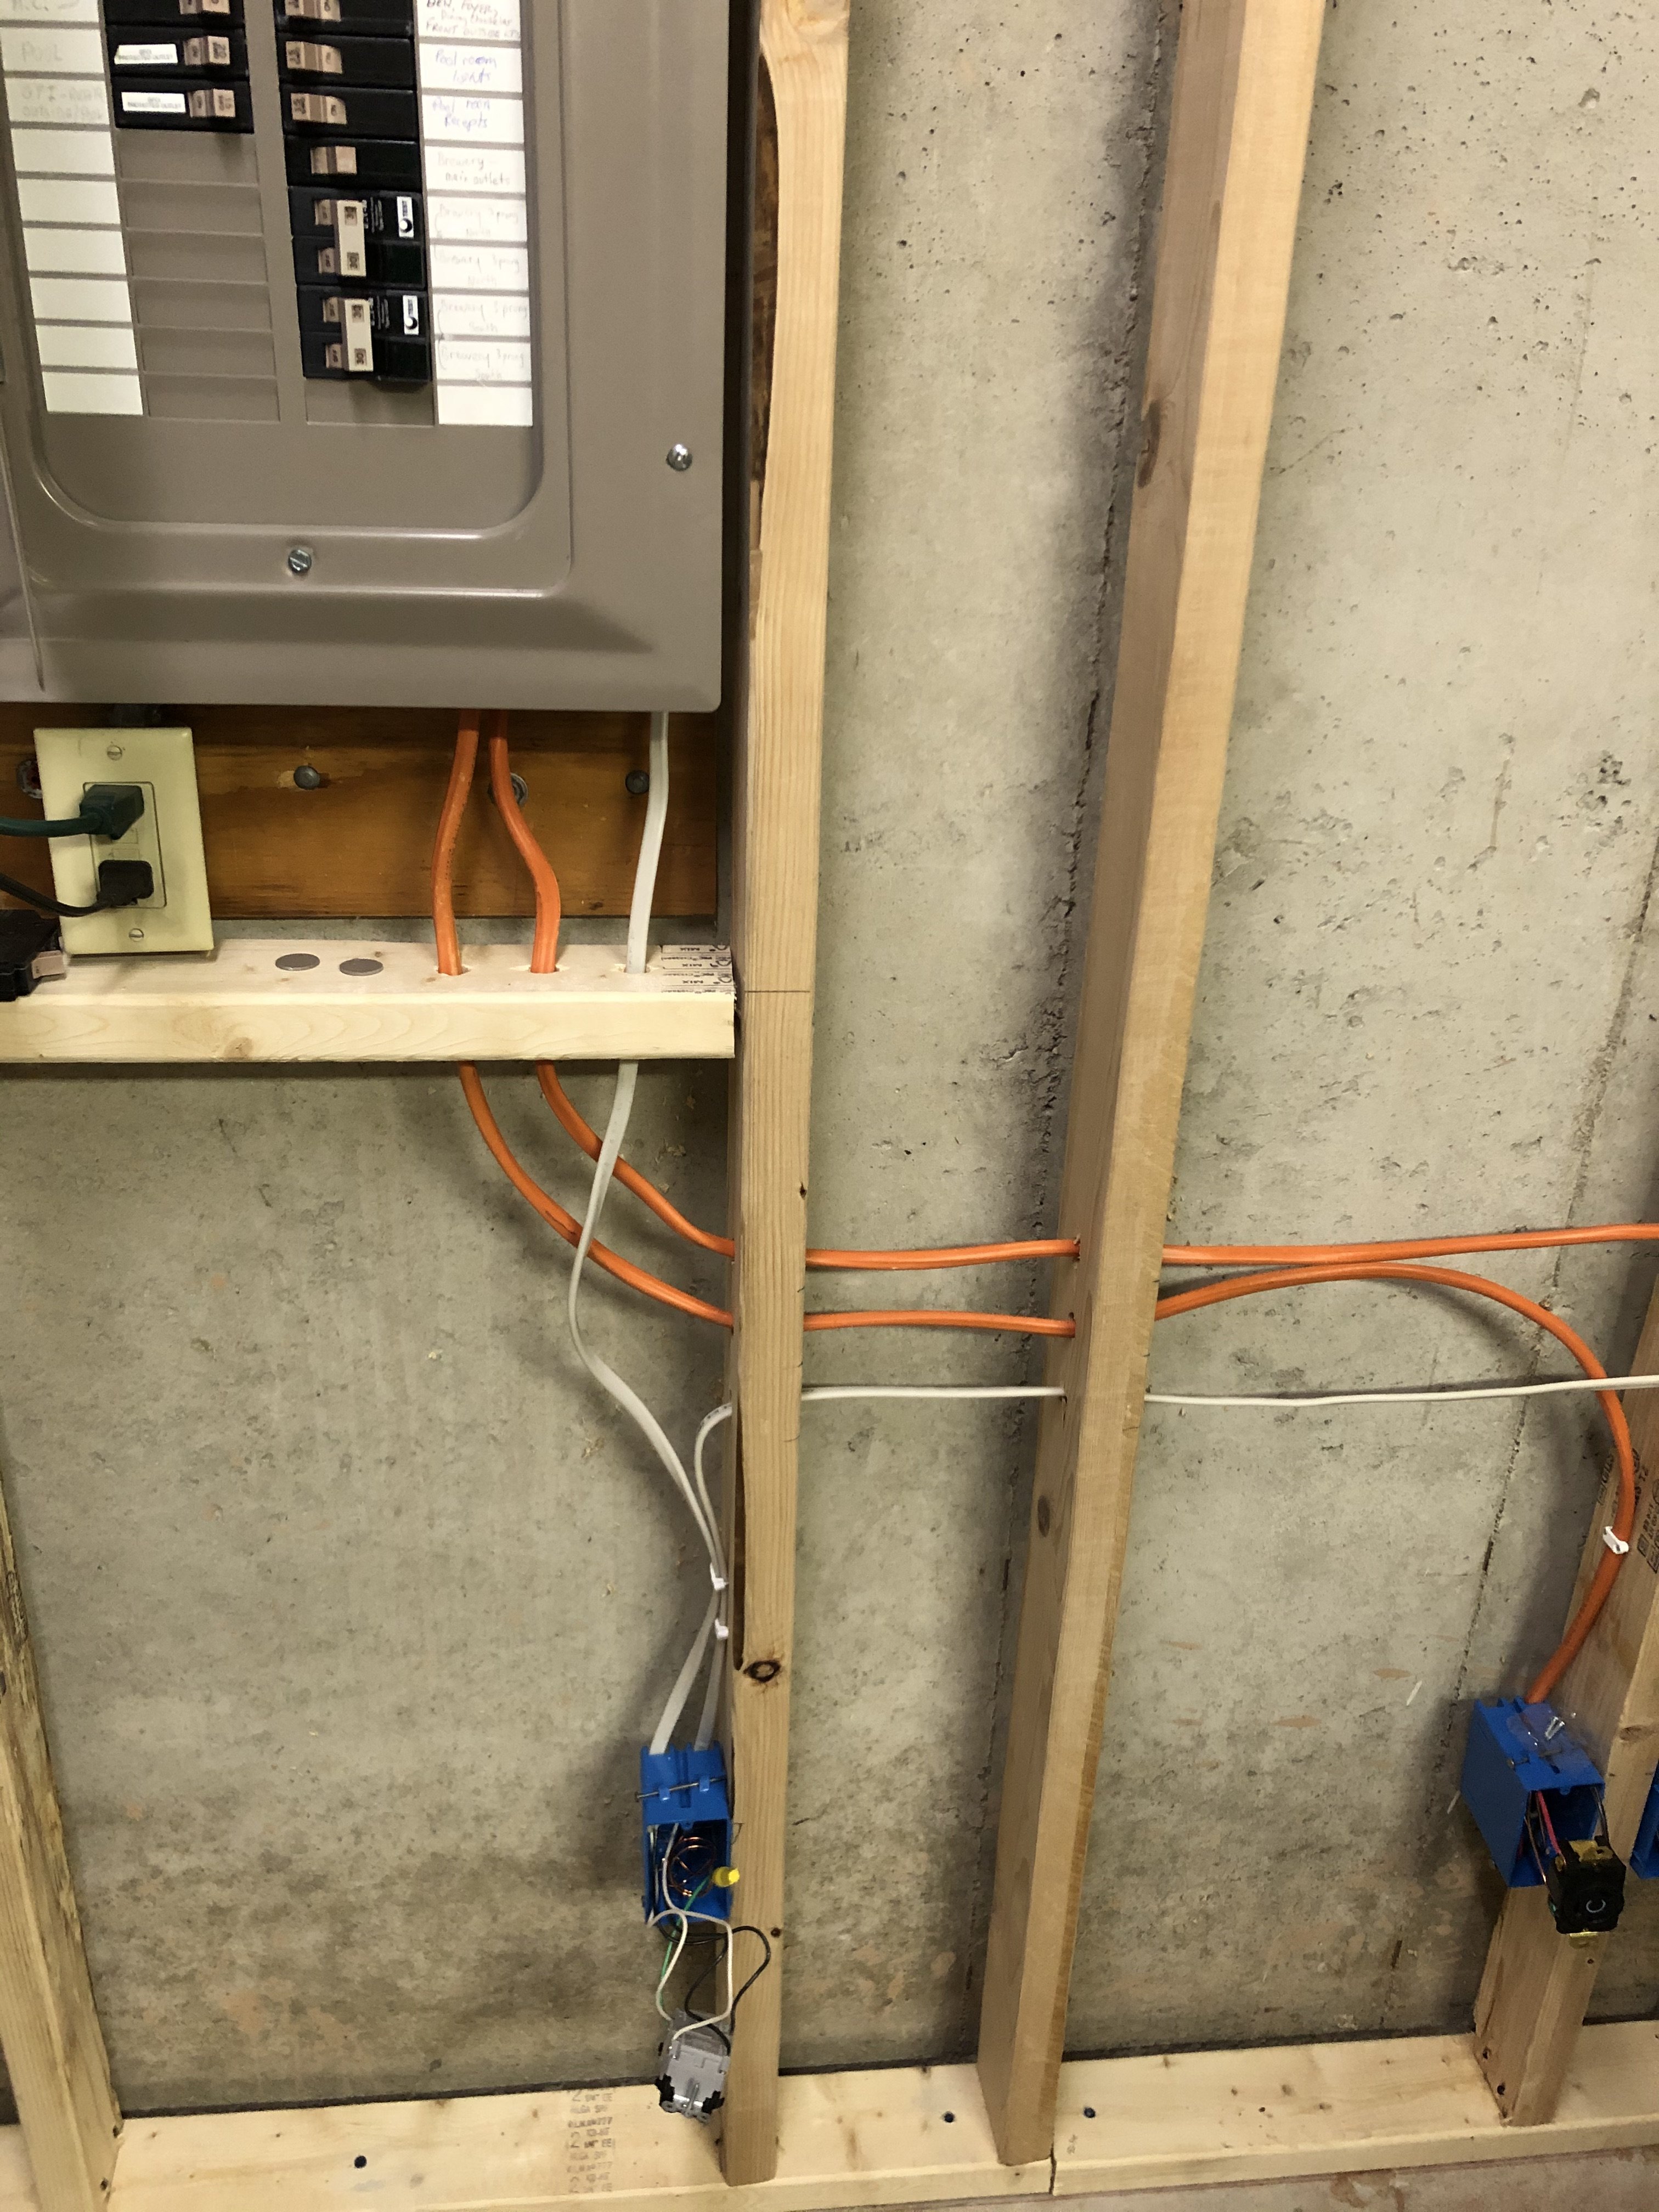
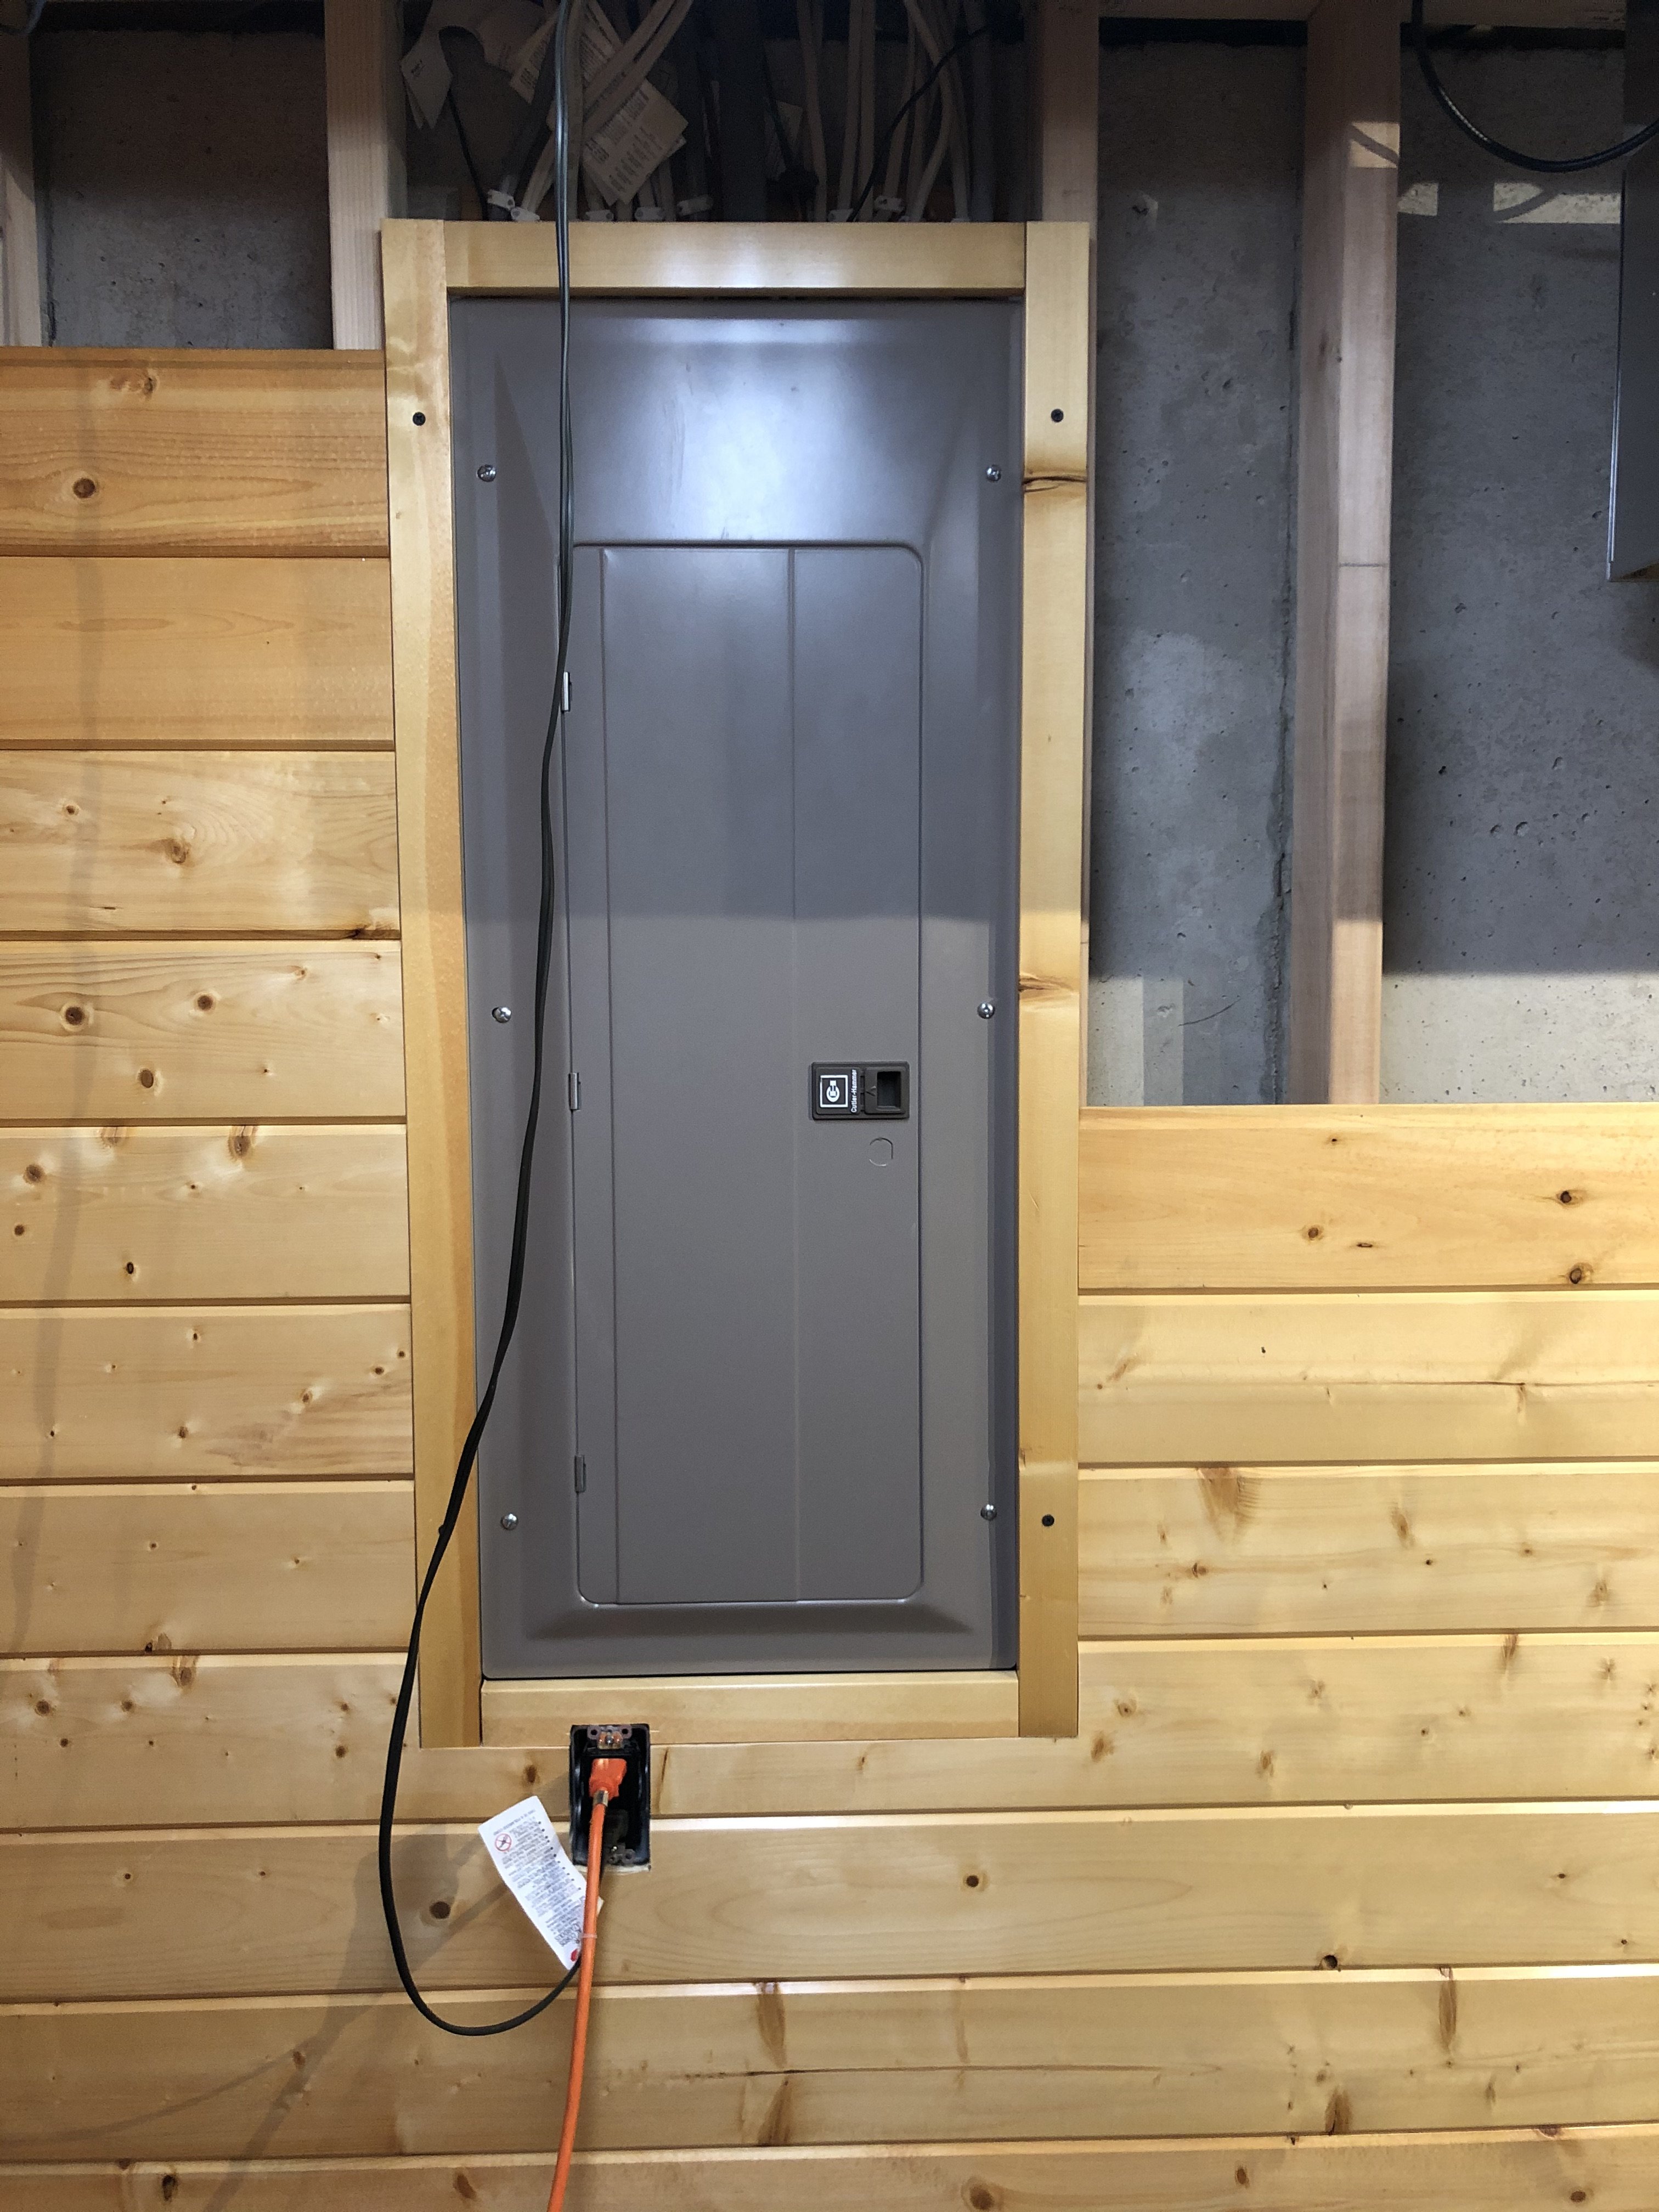
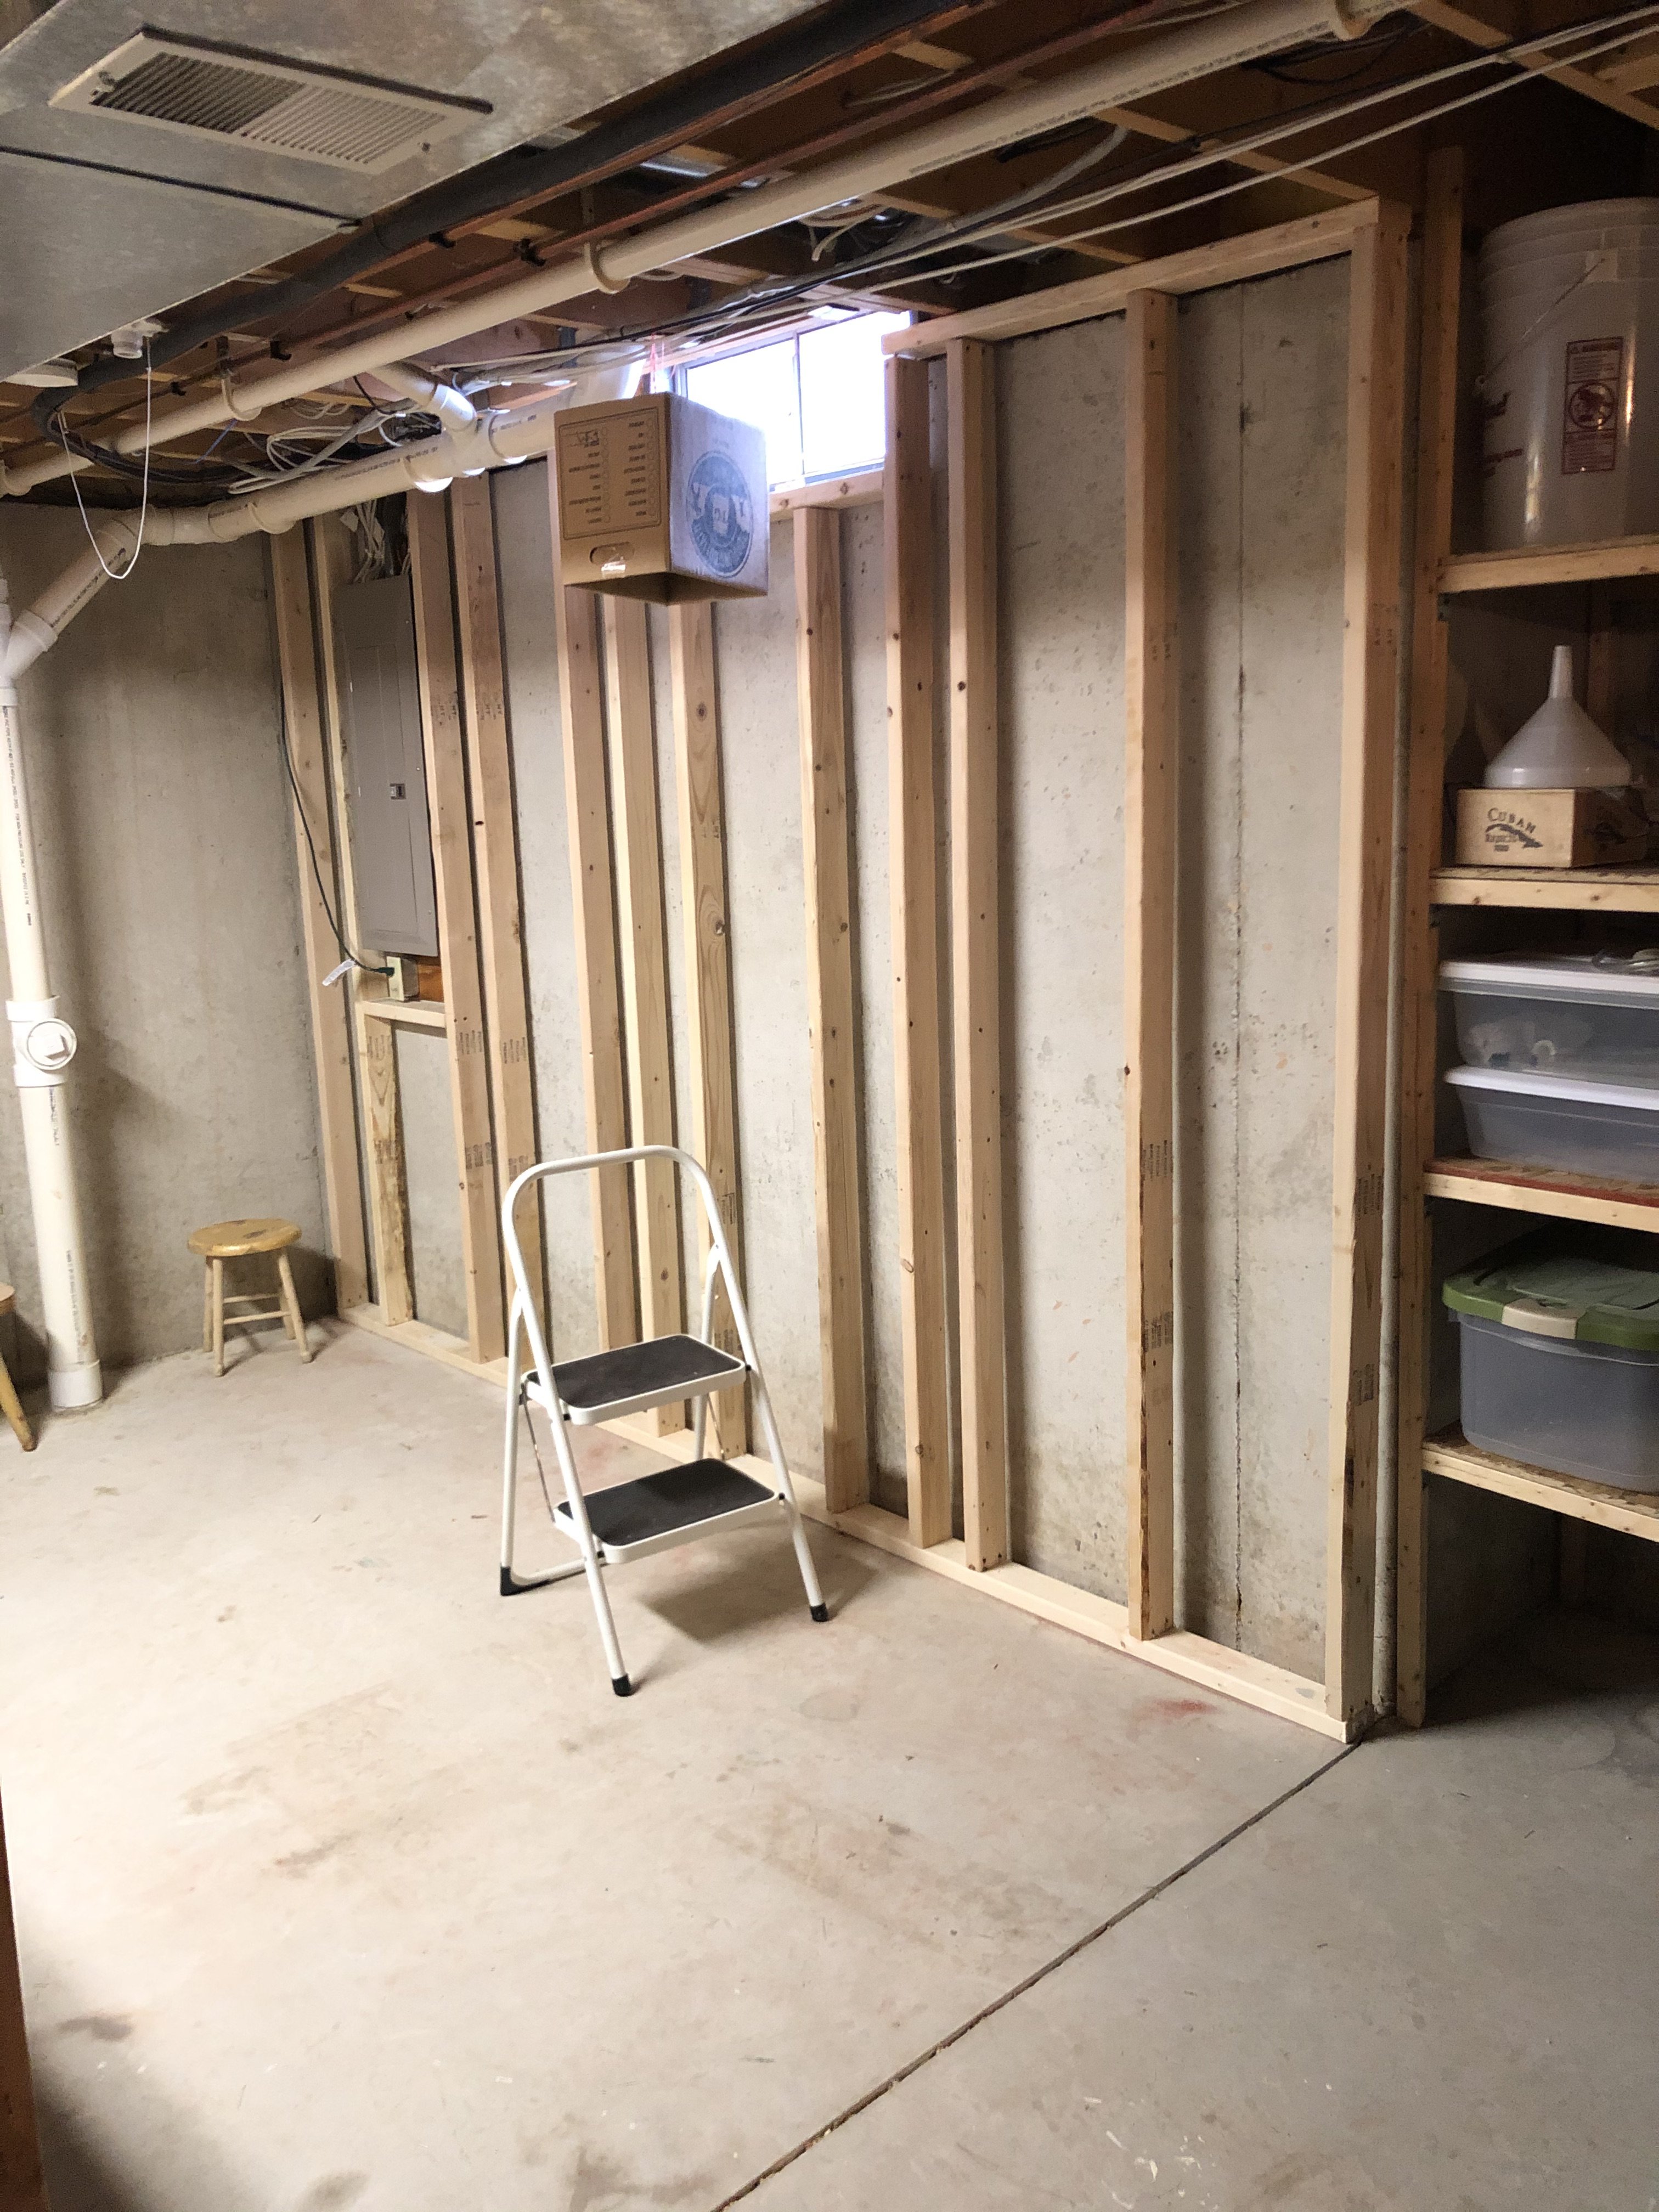
Framing complete for electrical, RO water hose and an eventual pine board finish...
tempImageHcdesp.jpg


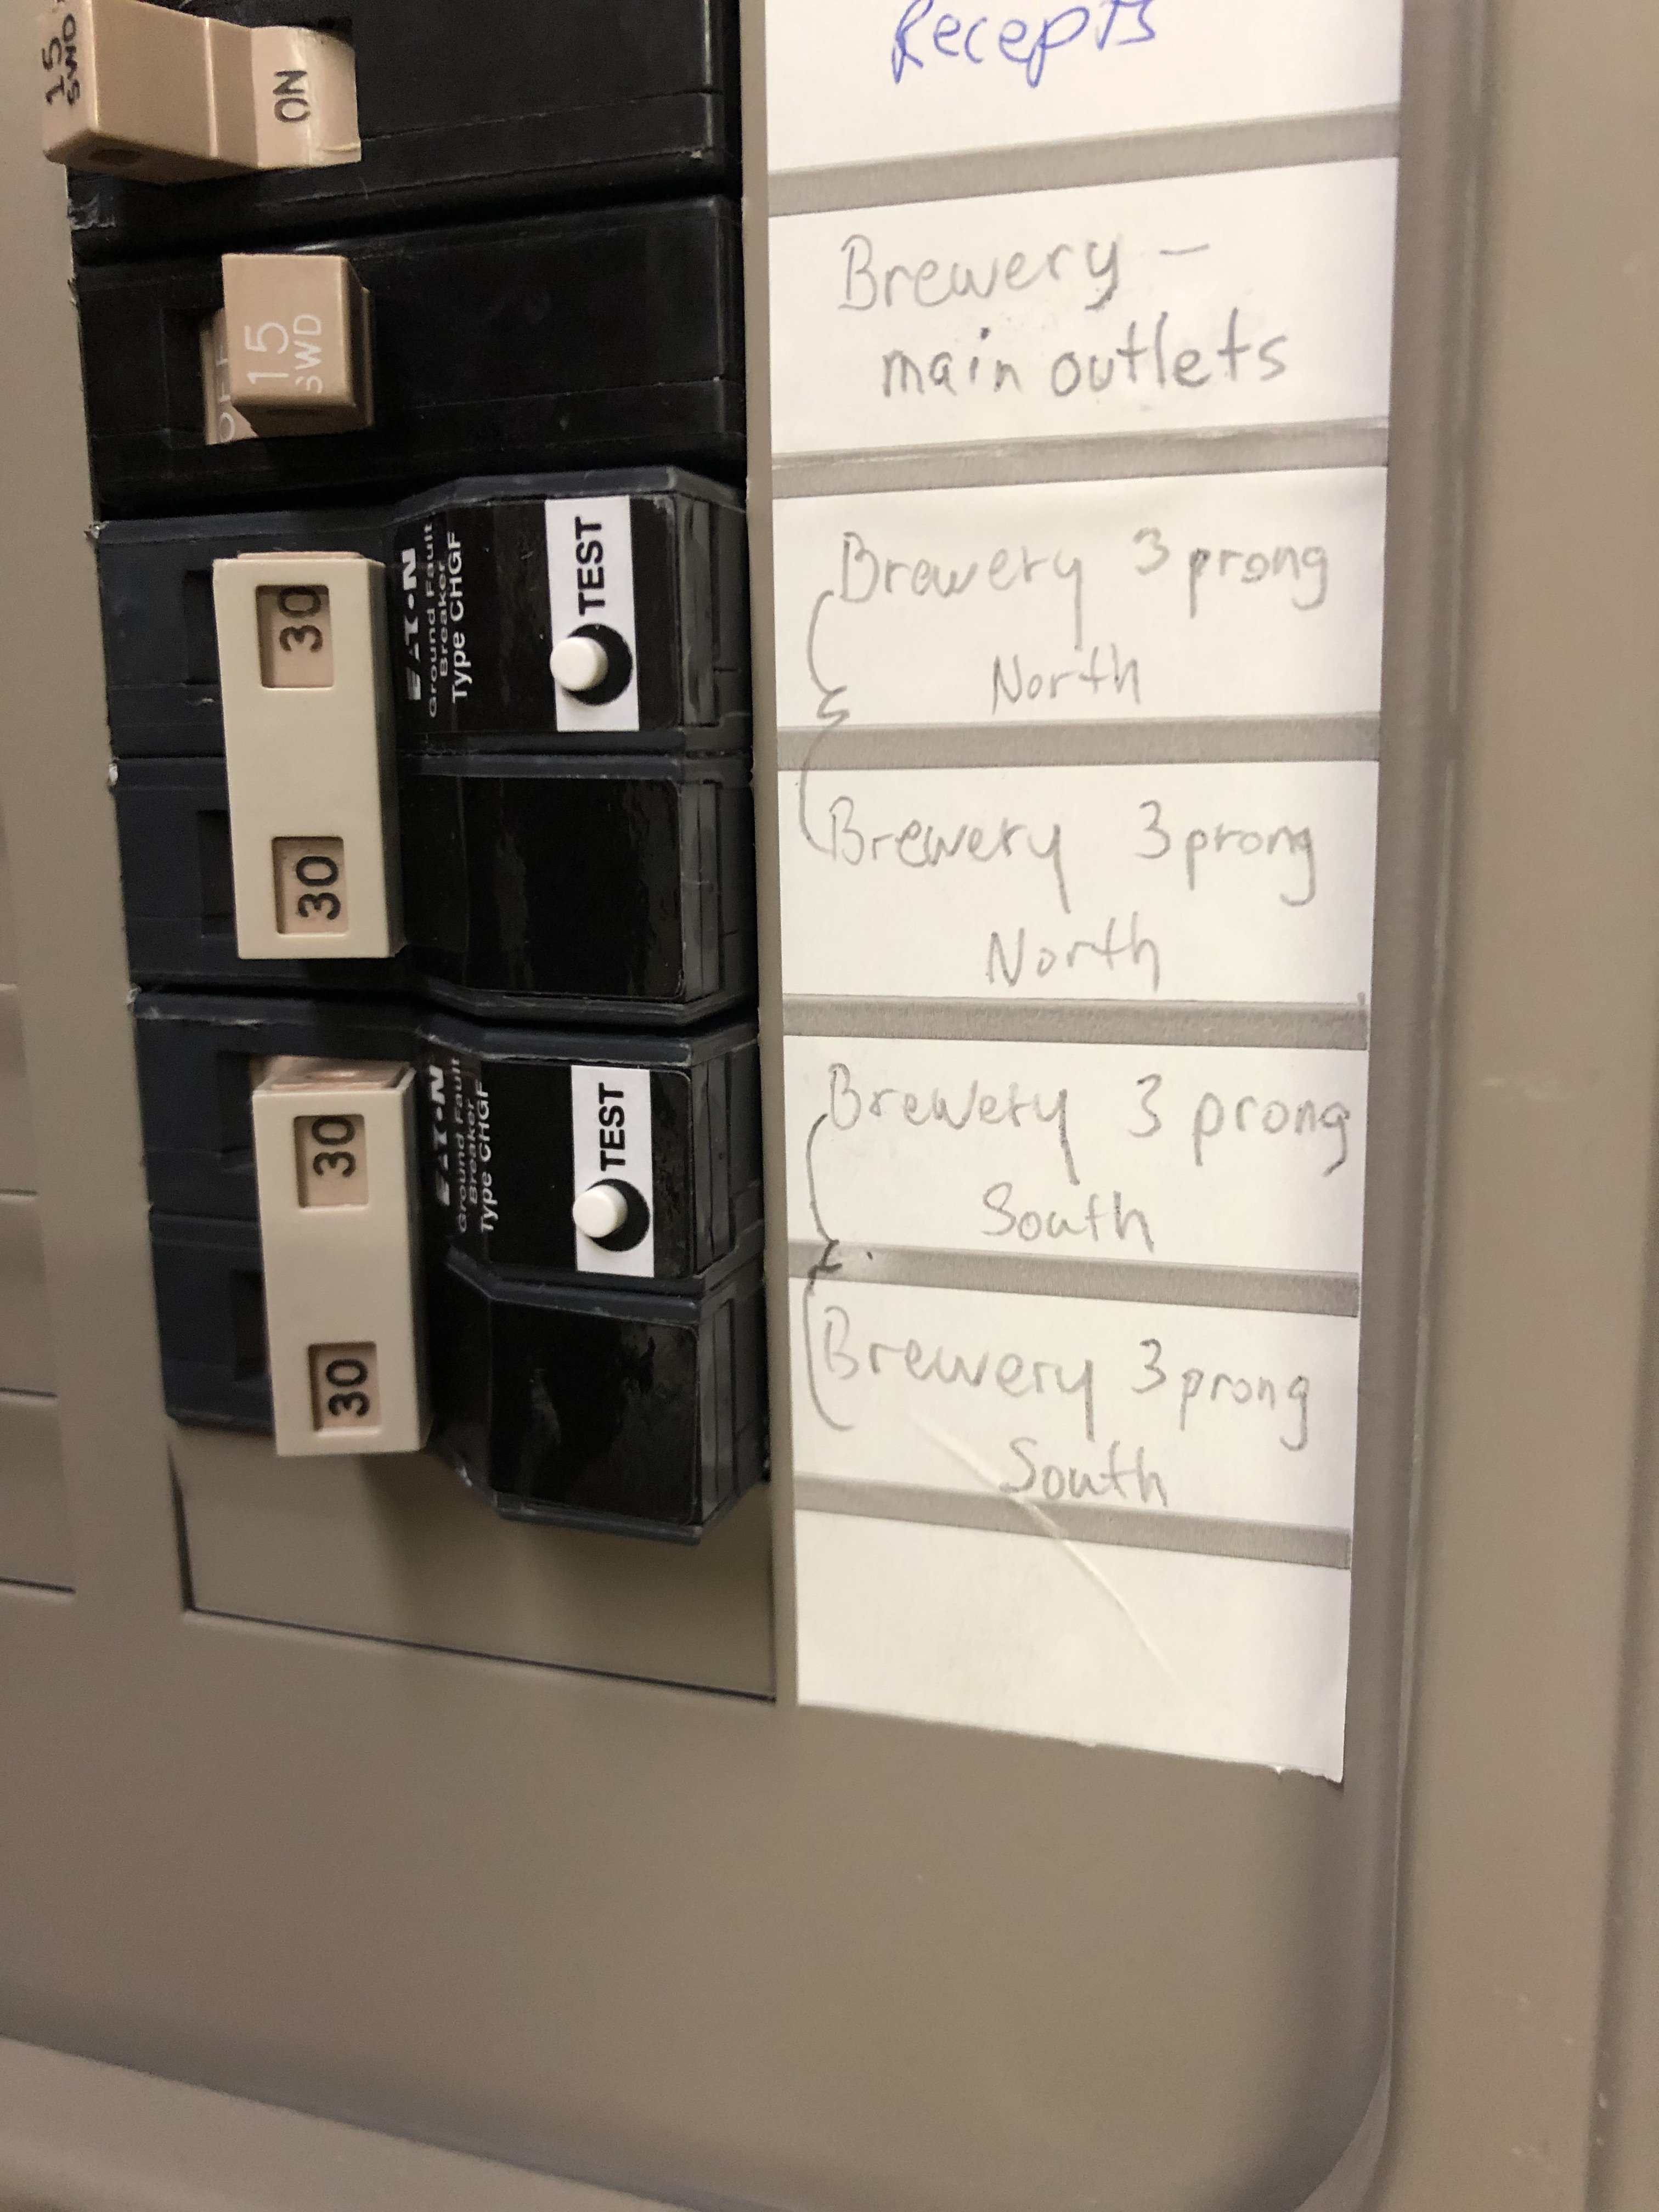
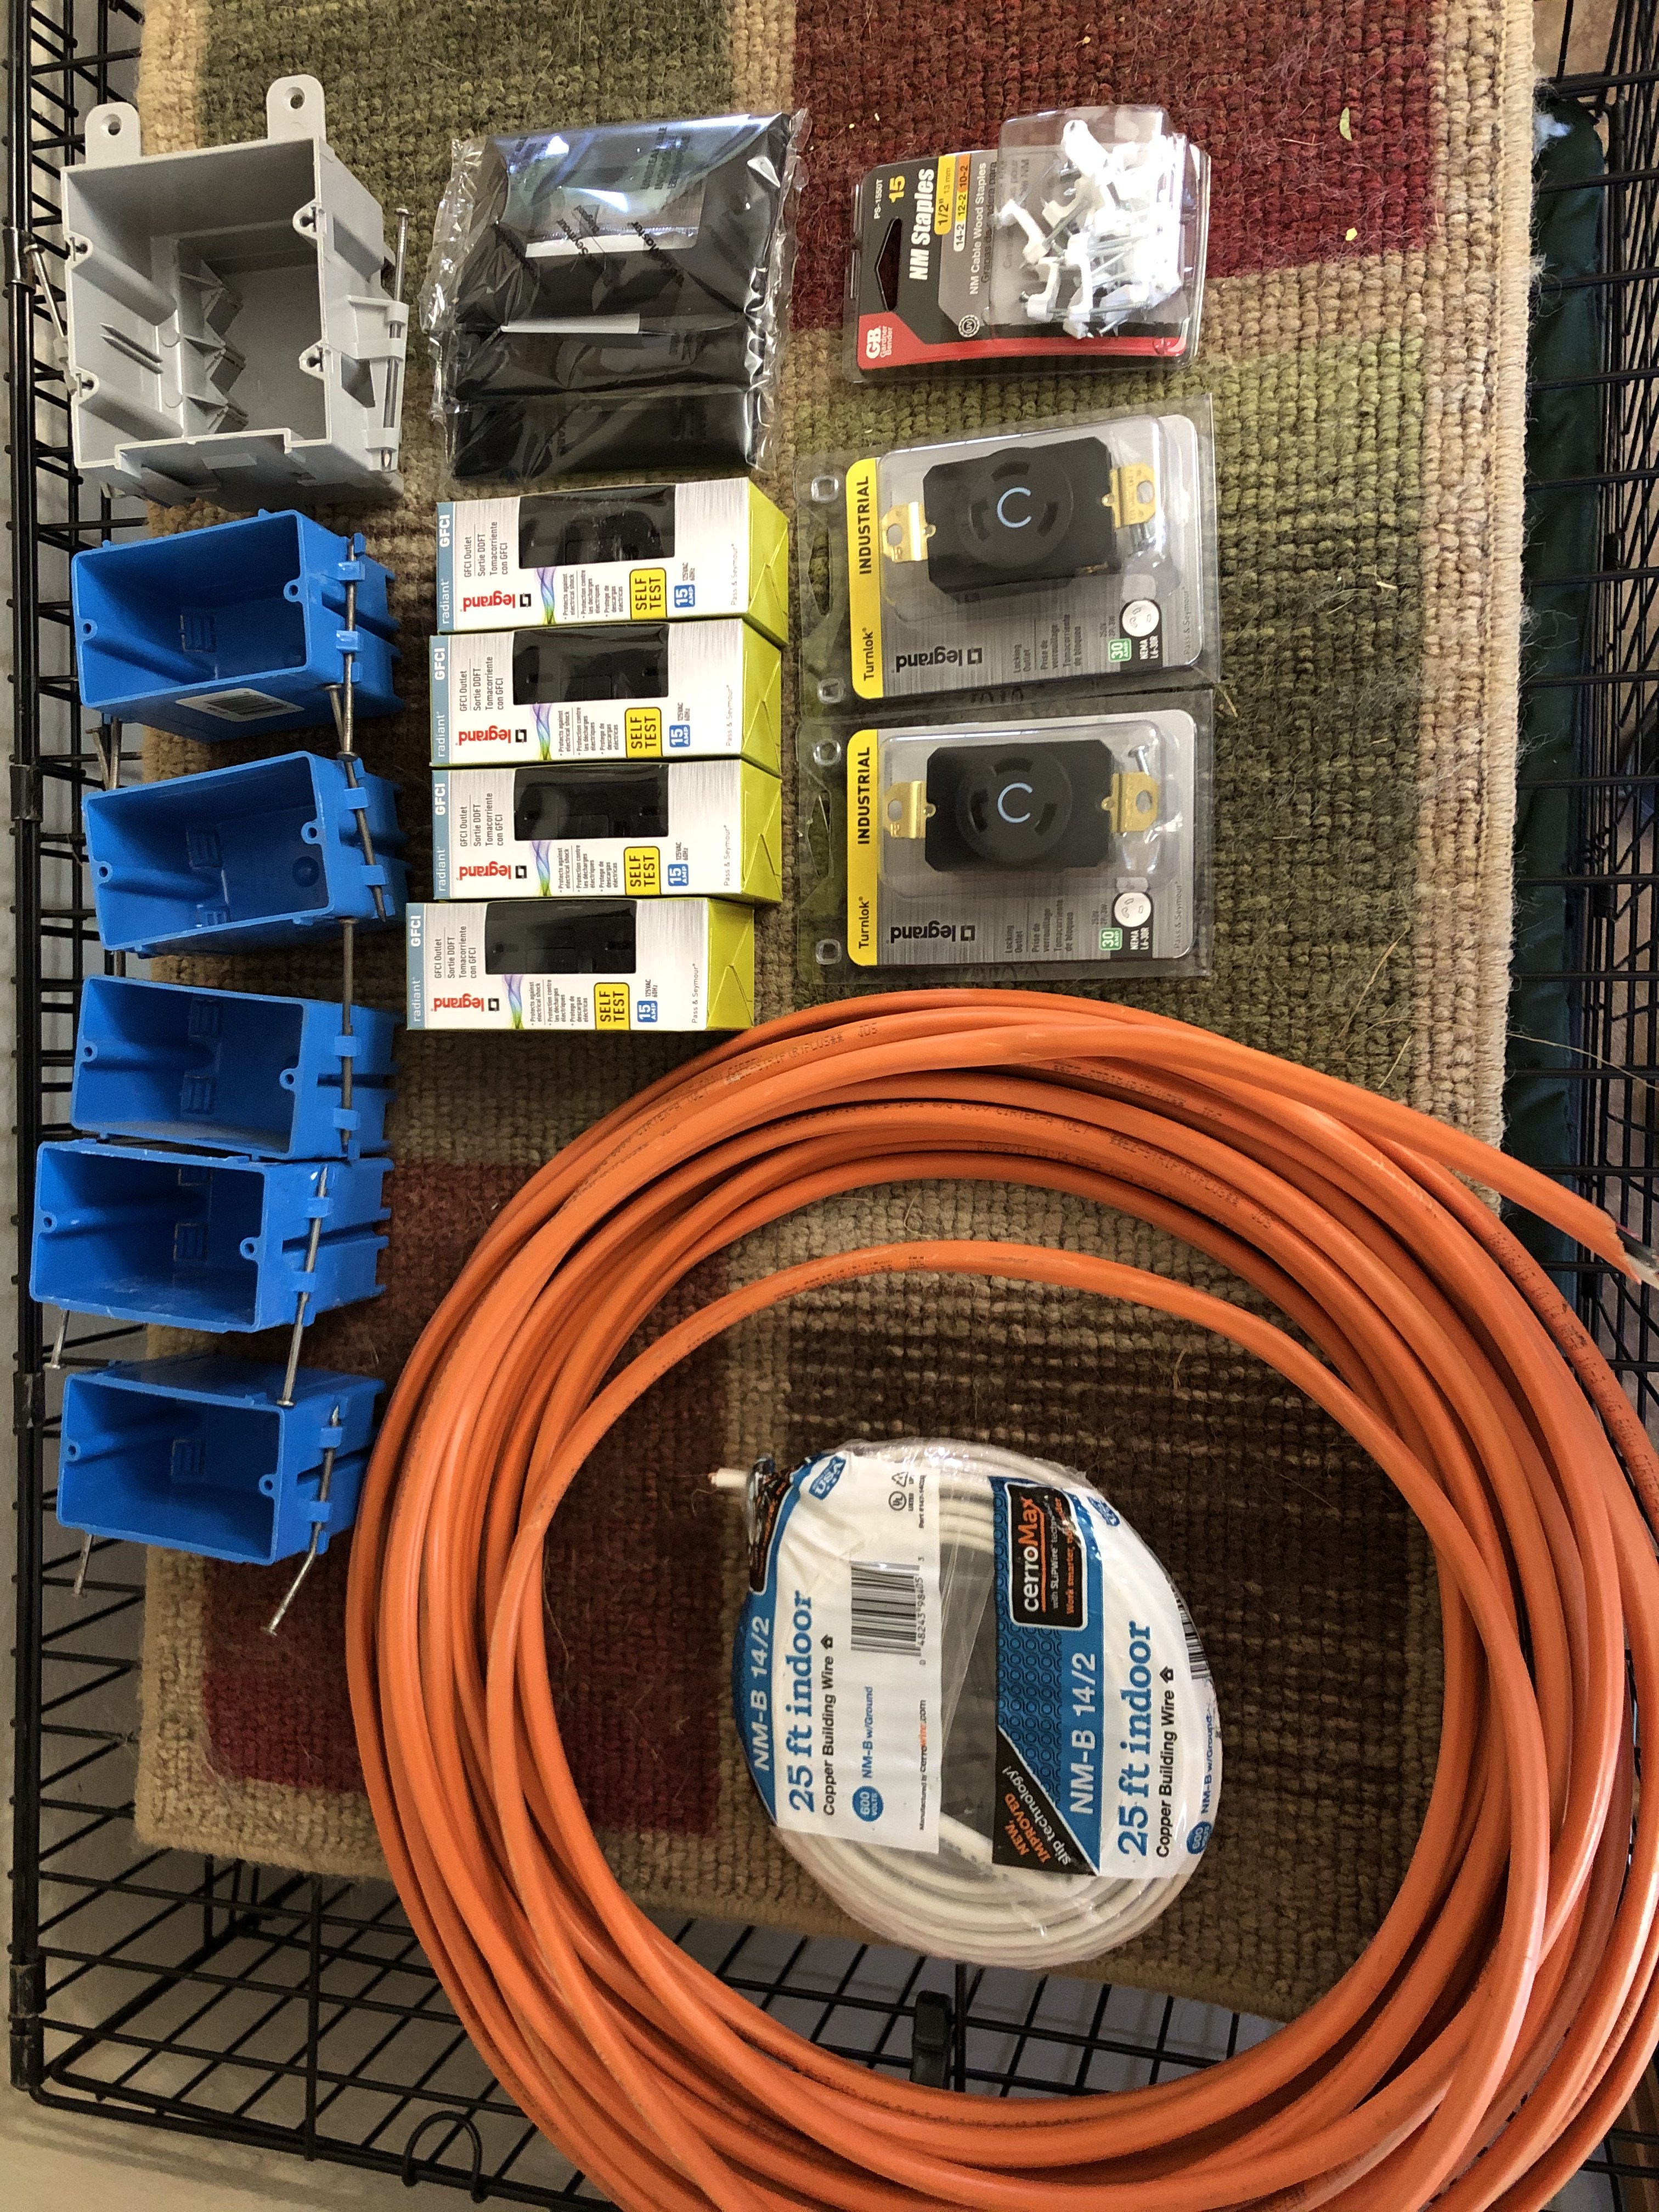
Required electrical purchased: (2) 30amp outlets, (1) GFCI 15amp outlet, (4) standard 15amp outlets, 10 & 14 gauge wire...
tempImageS3FWeP.jpg

tempImage0n9akj.jpg
tempImageuAuOTa.jpg

tempImage183fl2.jpg


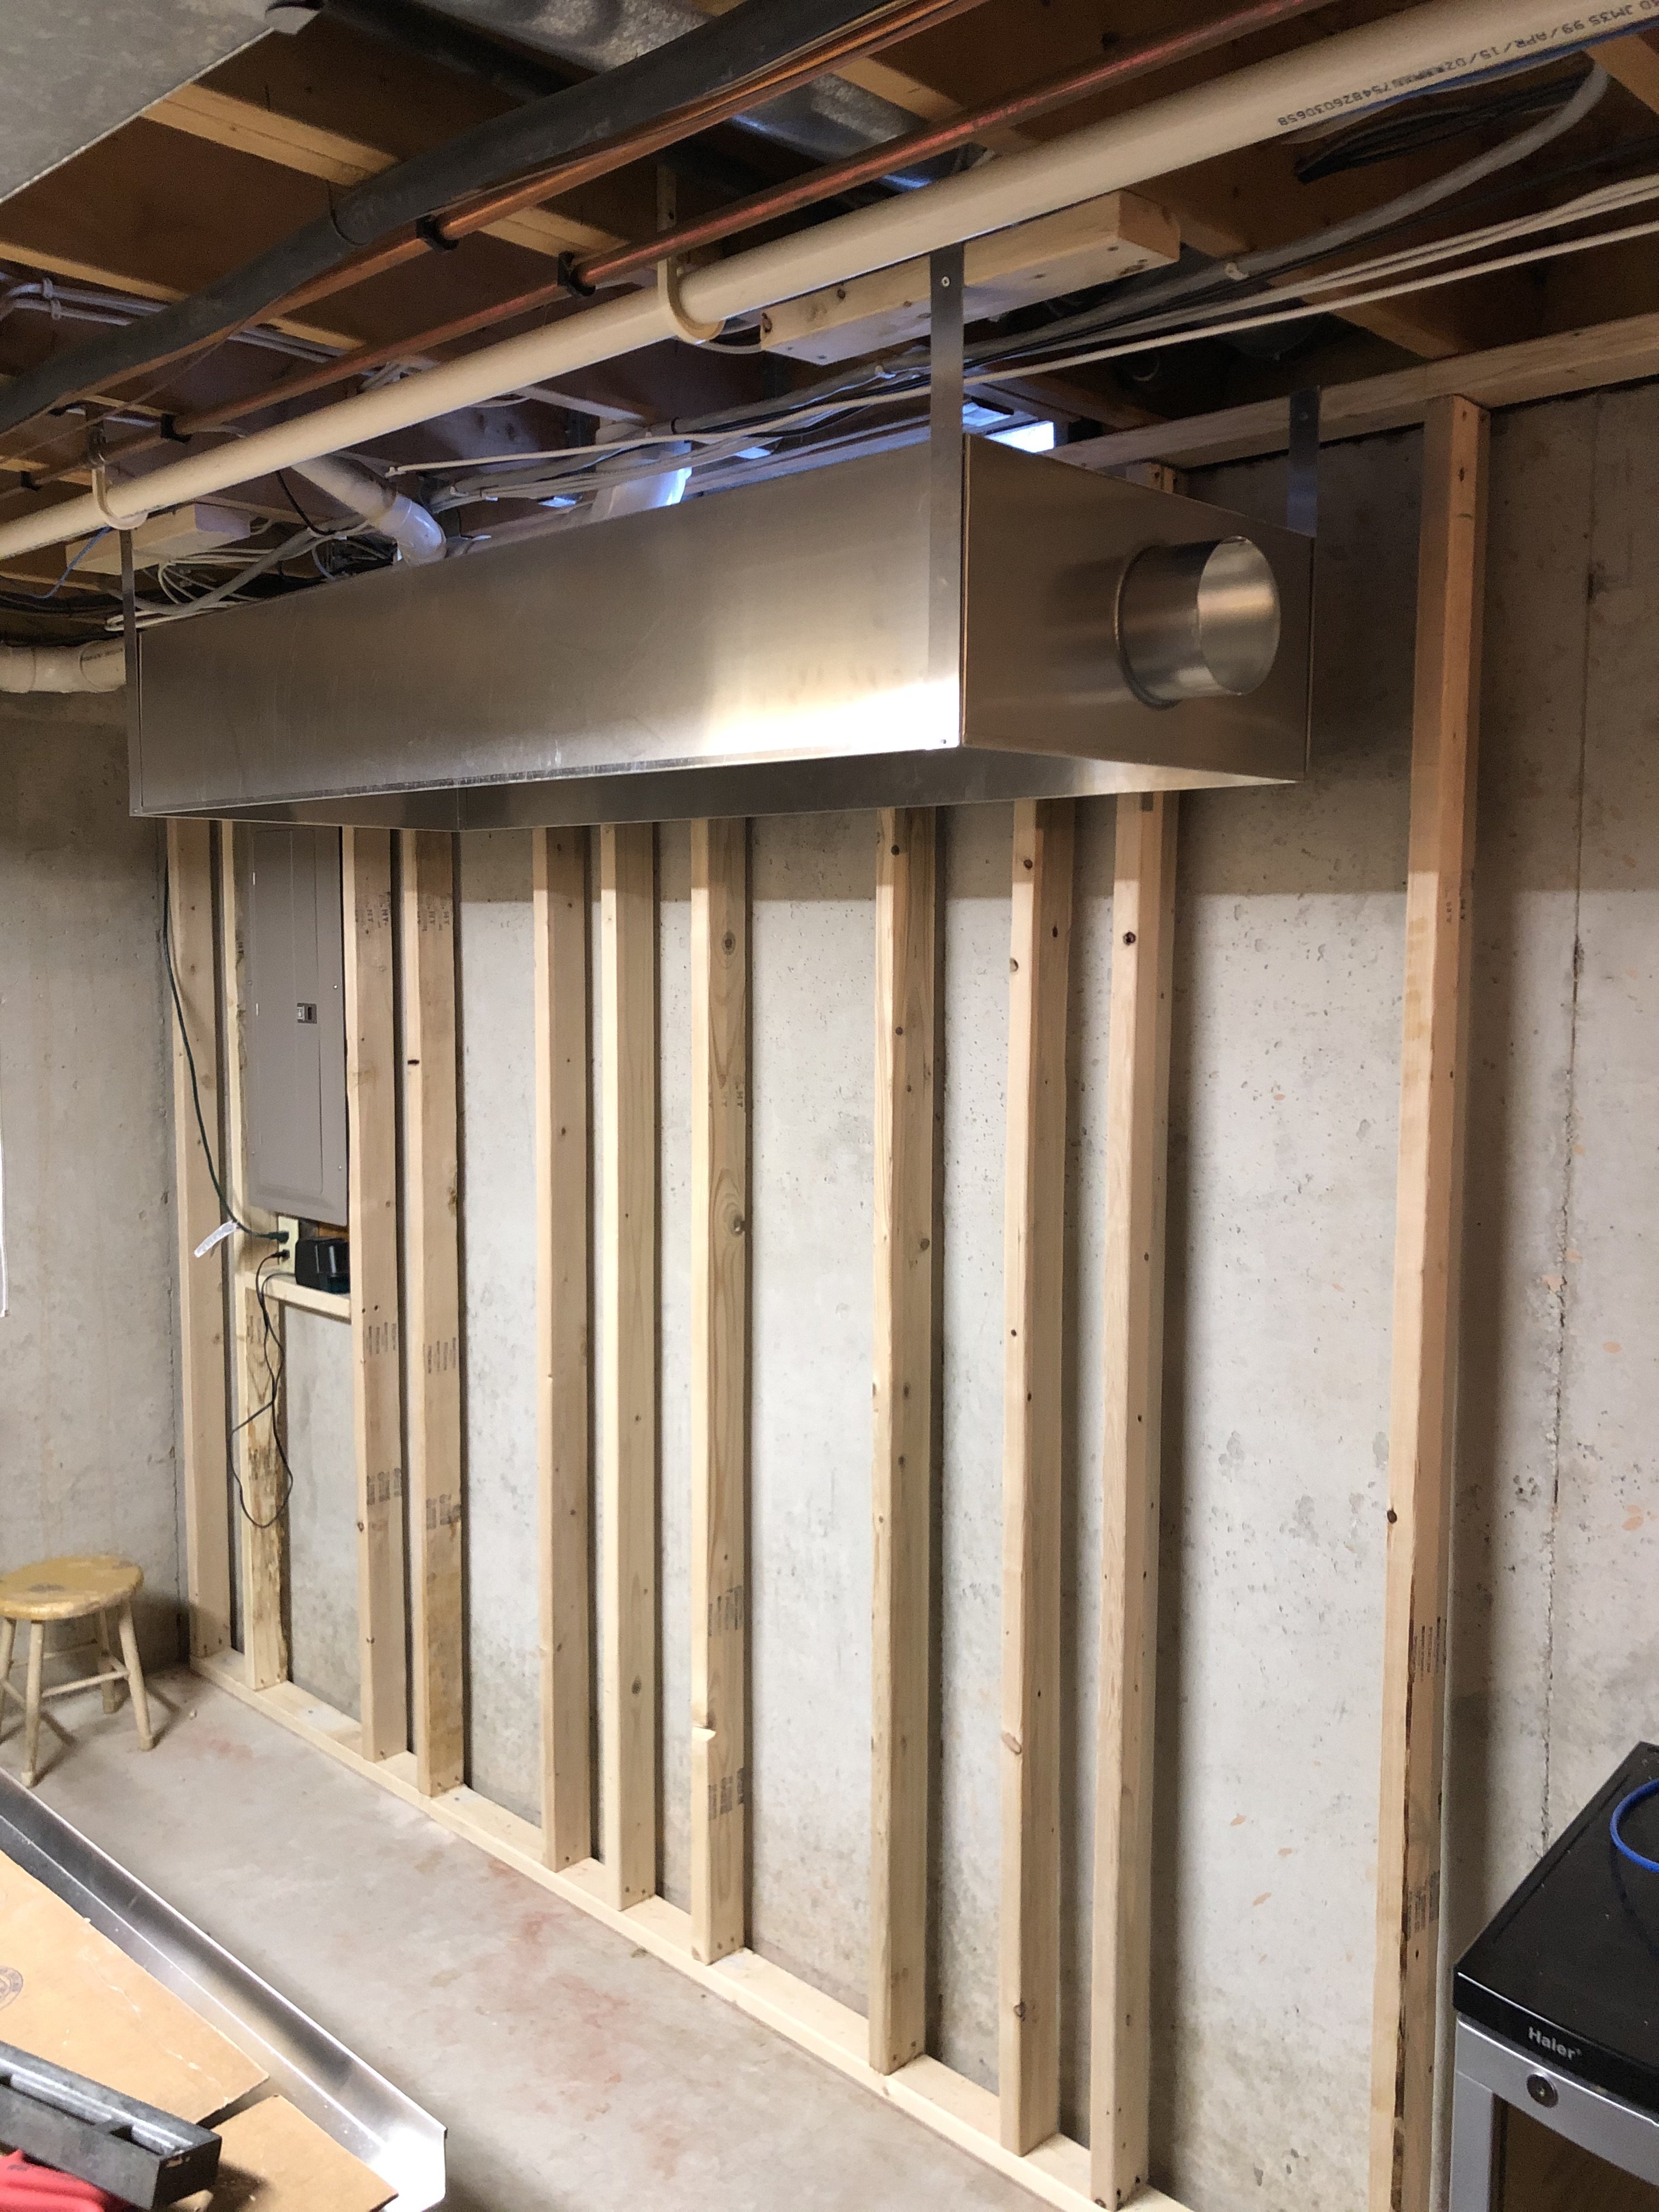
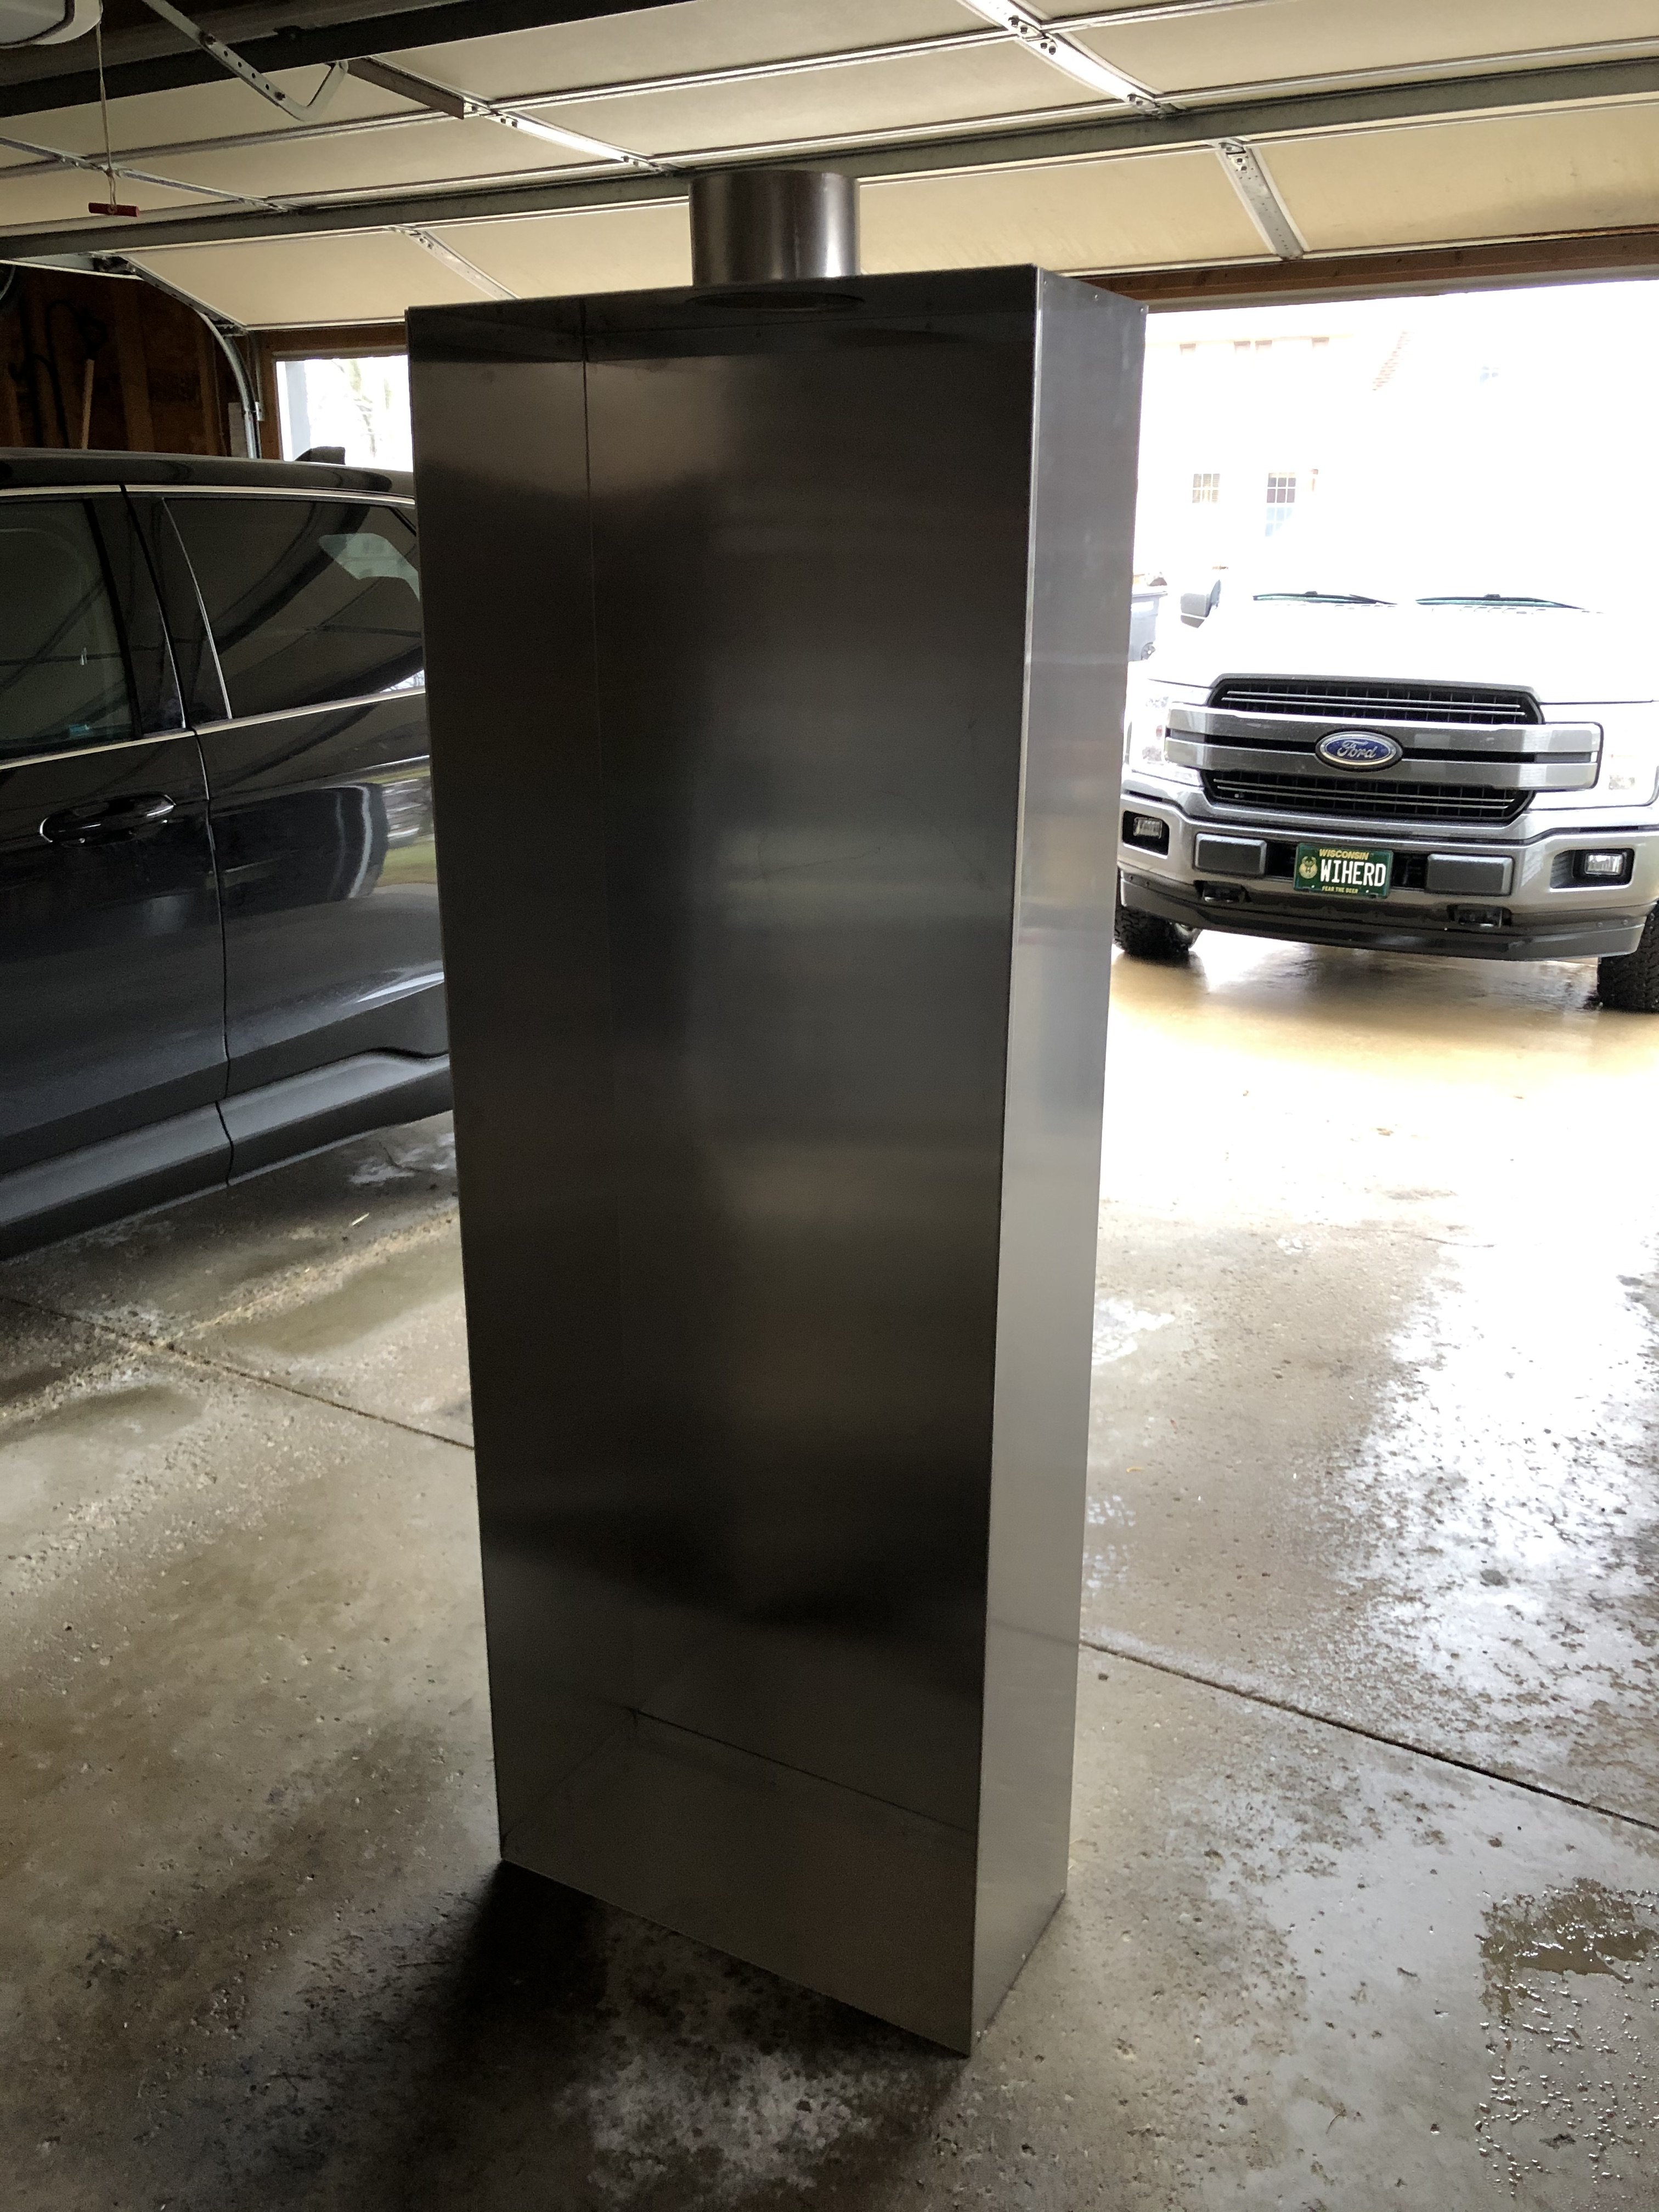
Aluminum vent hood arrives: It's approximately 6'x2'x1'. Had a local Mechanical shop bend it up for me...
tempImaged2H86M.jpg
 
Mounted the lightweight vent hood with Aluminum strips to ceiling boards...
tempImageobsilF.jpg


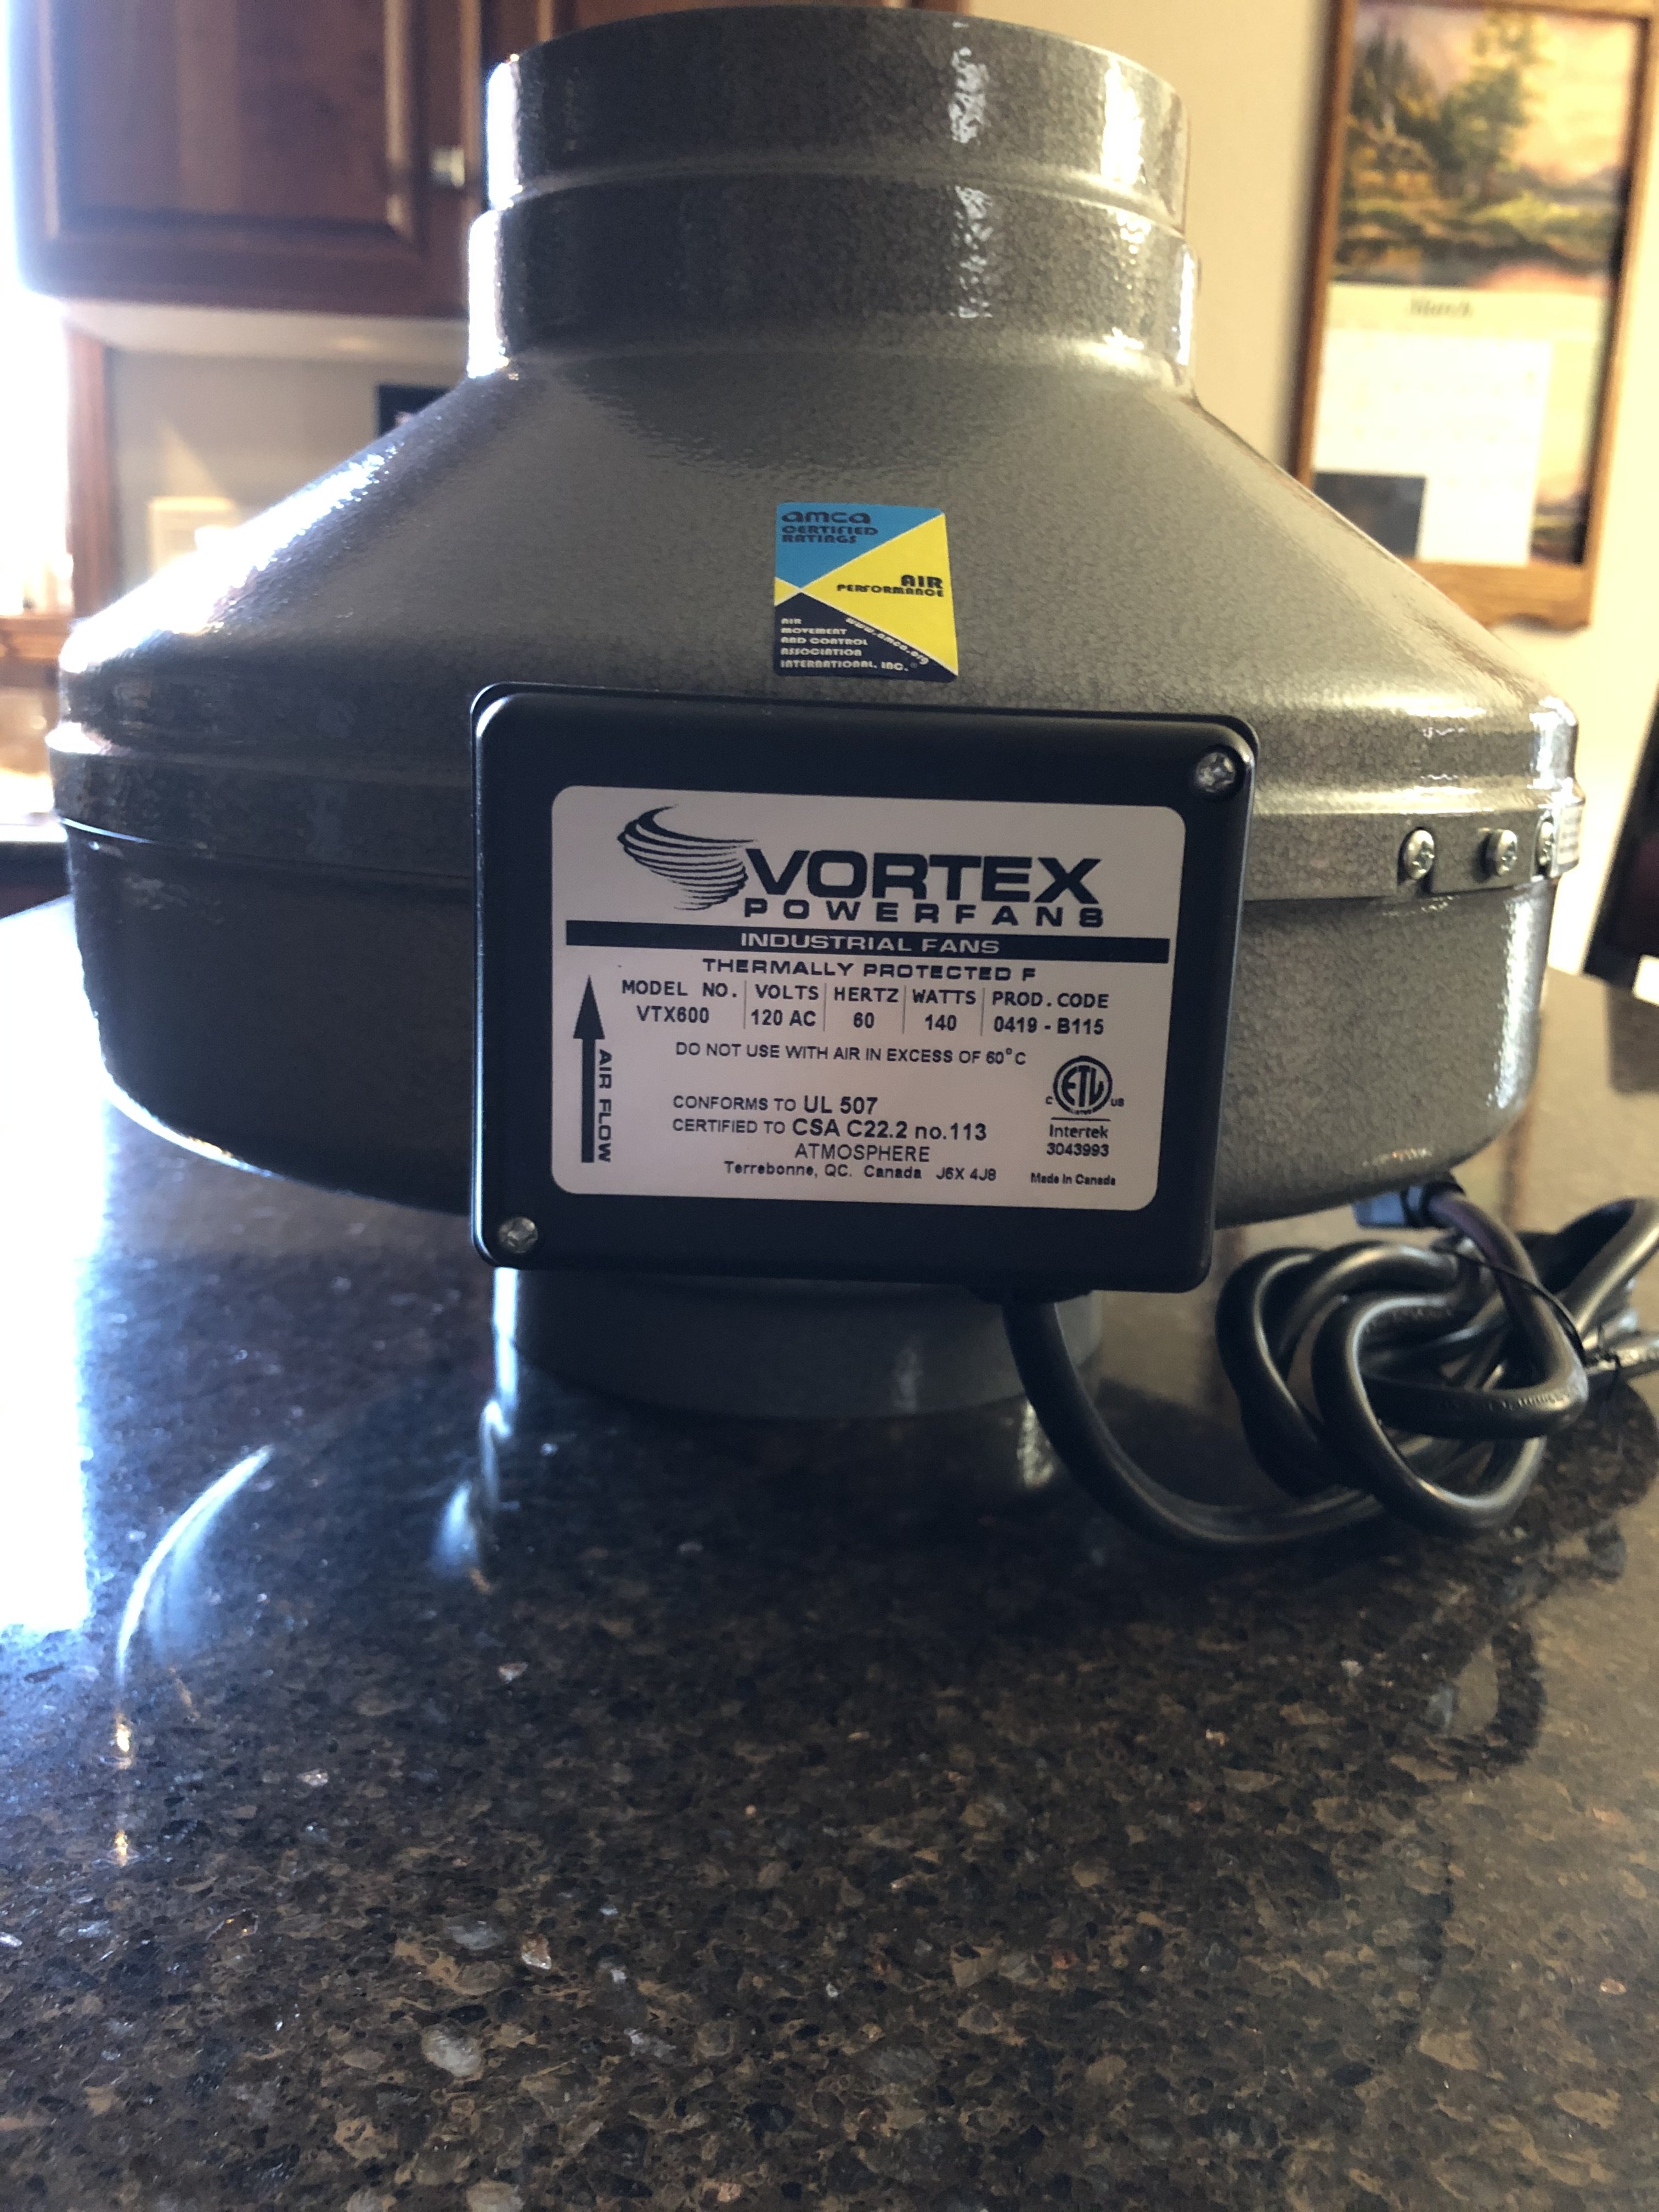
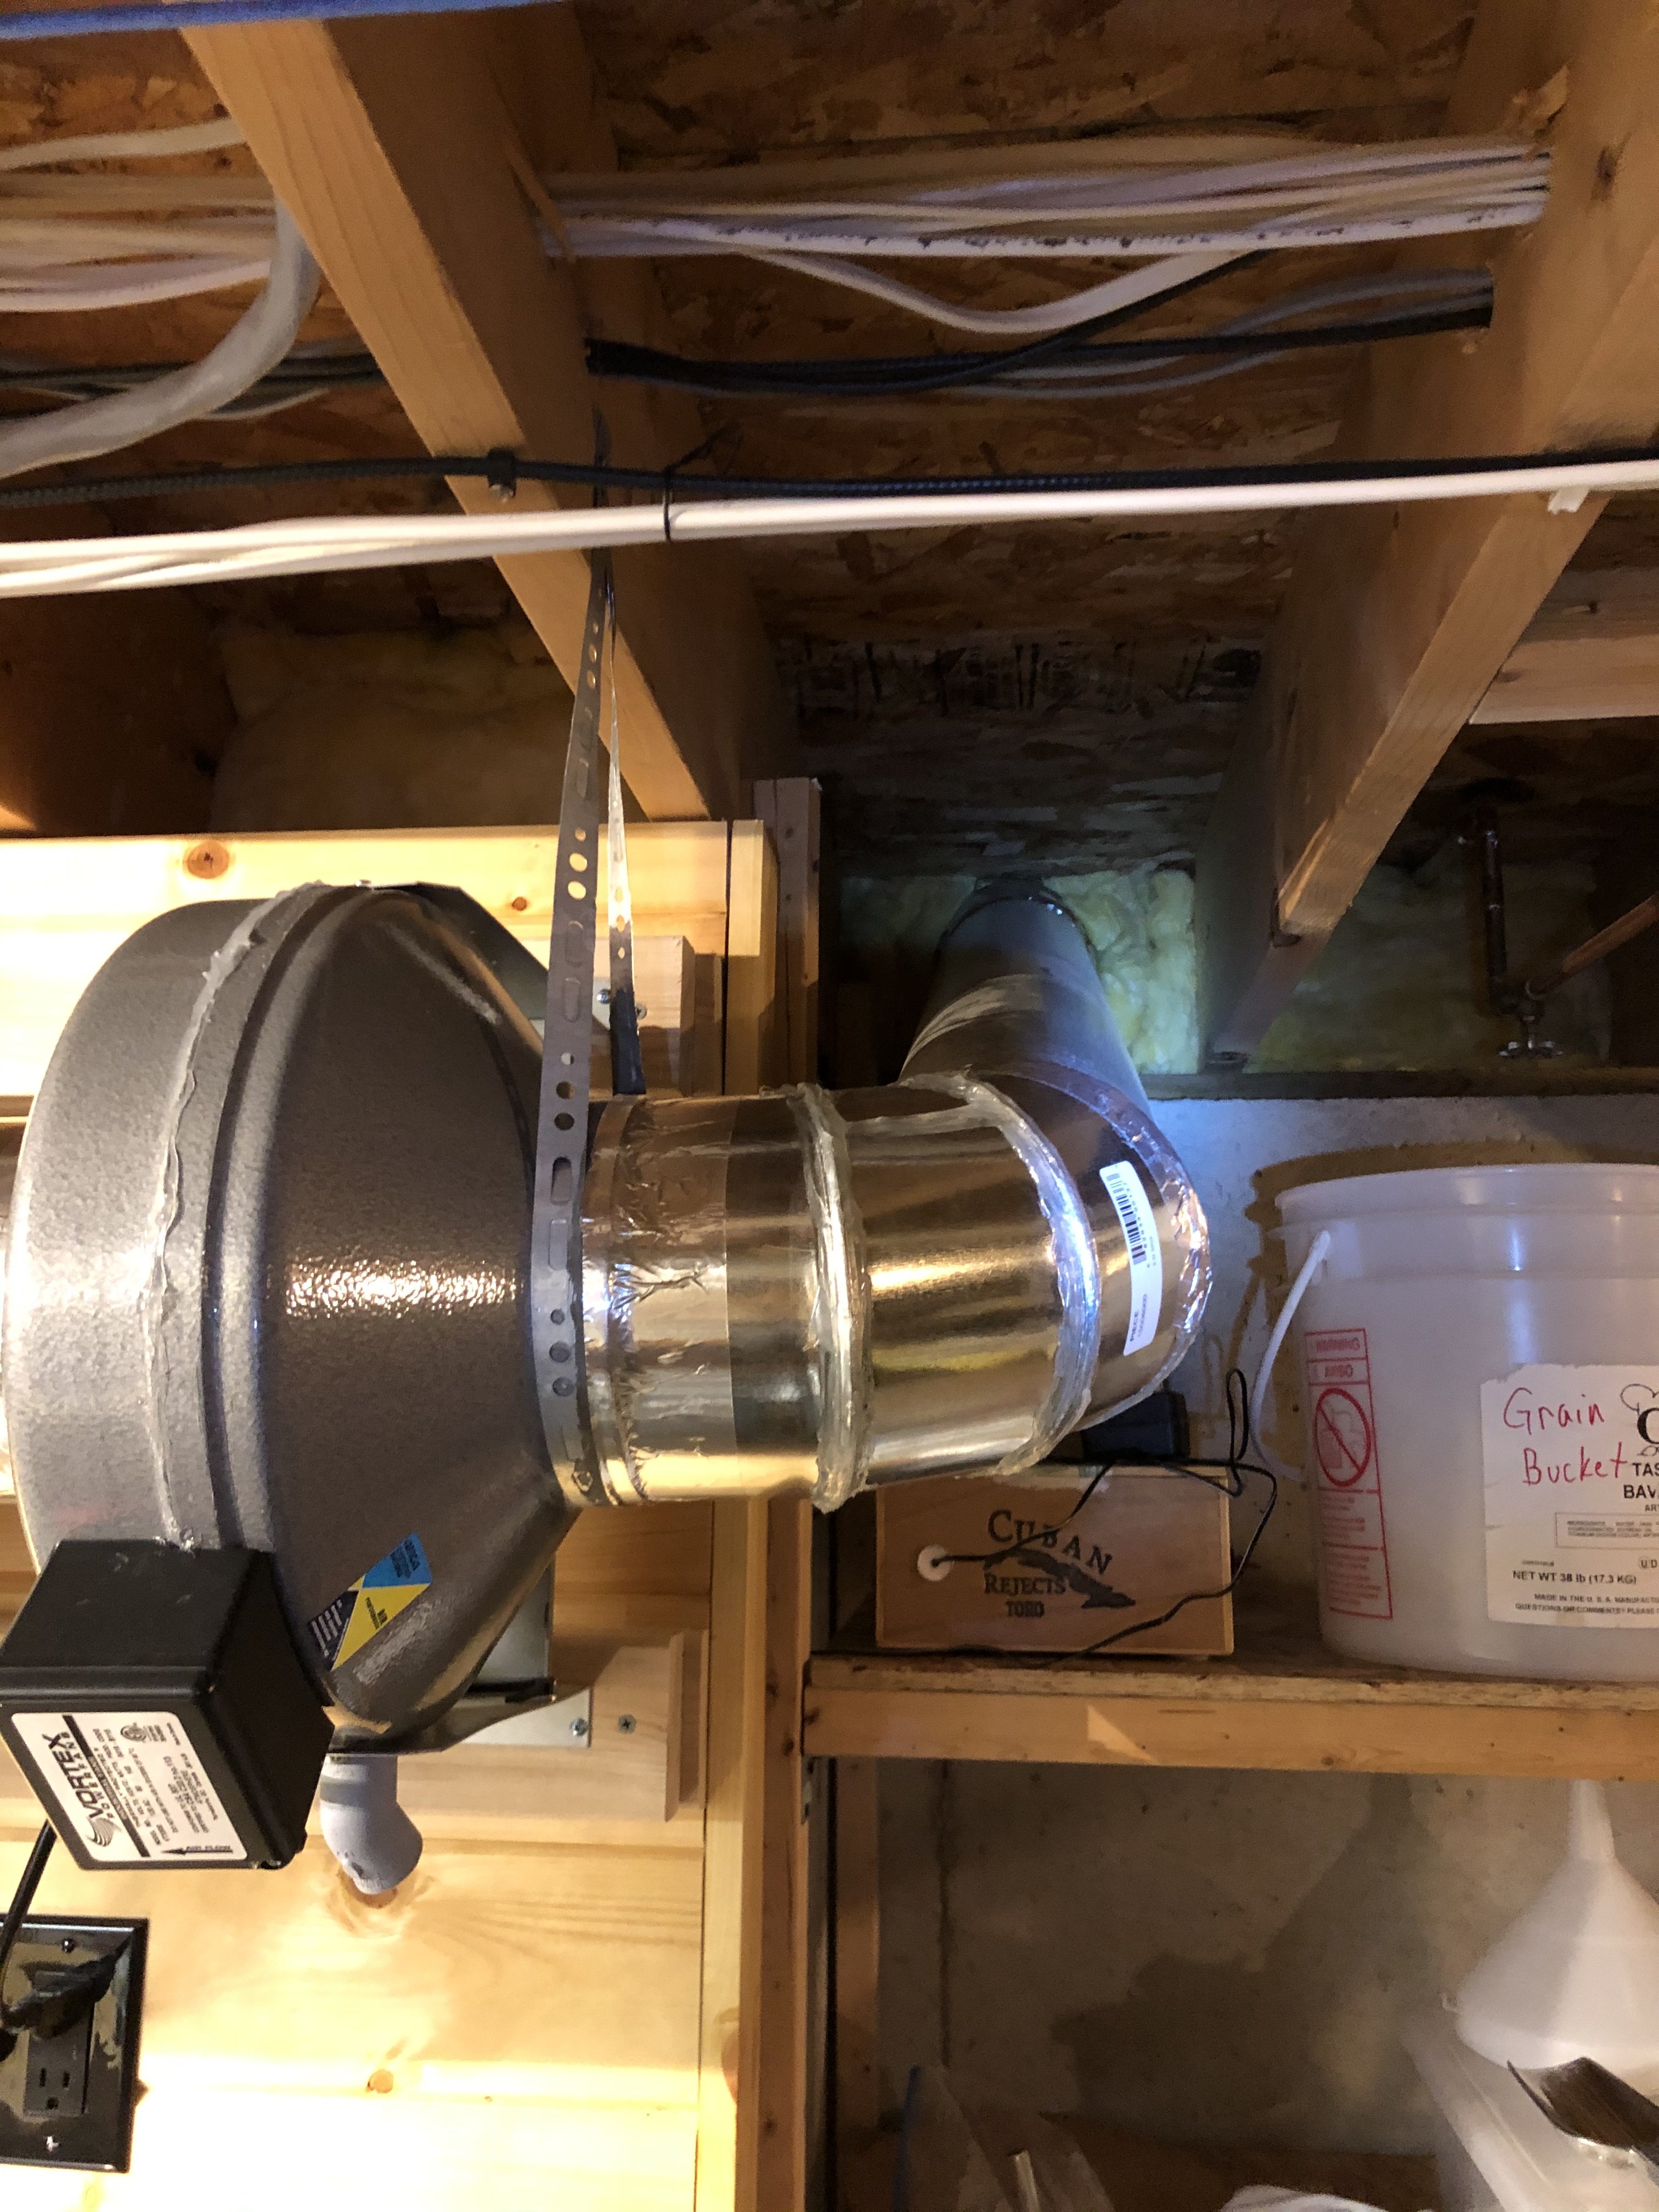
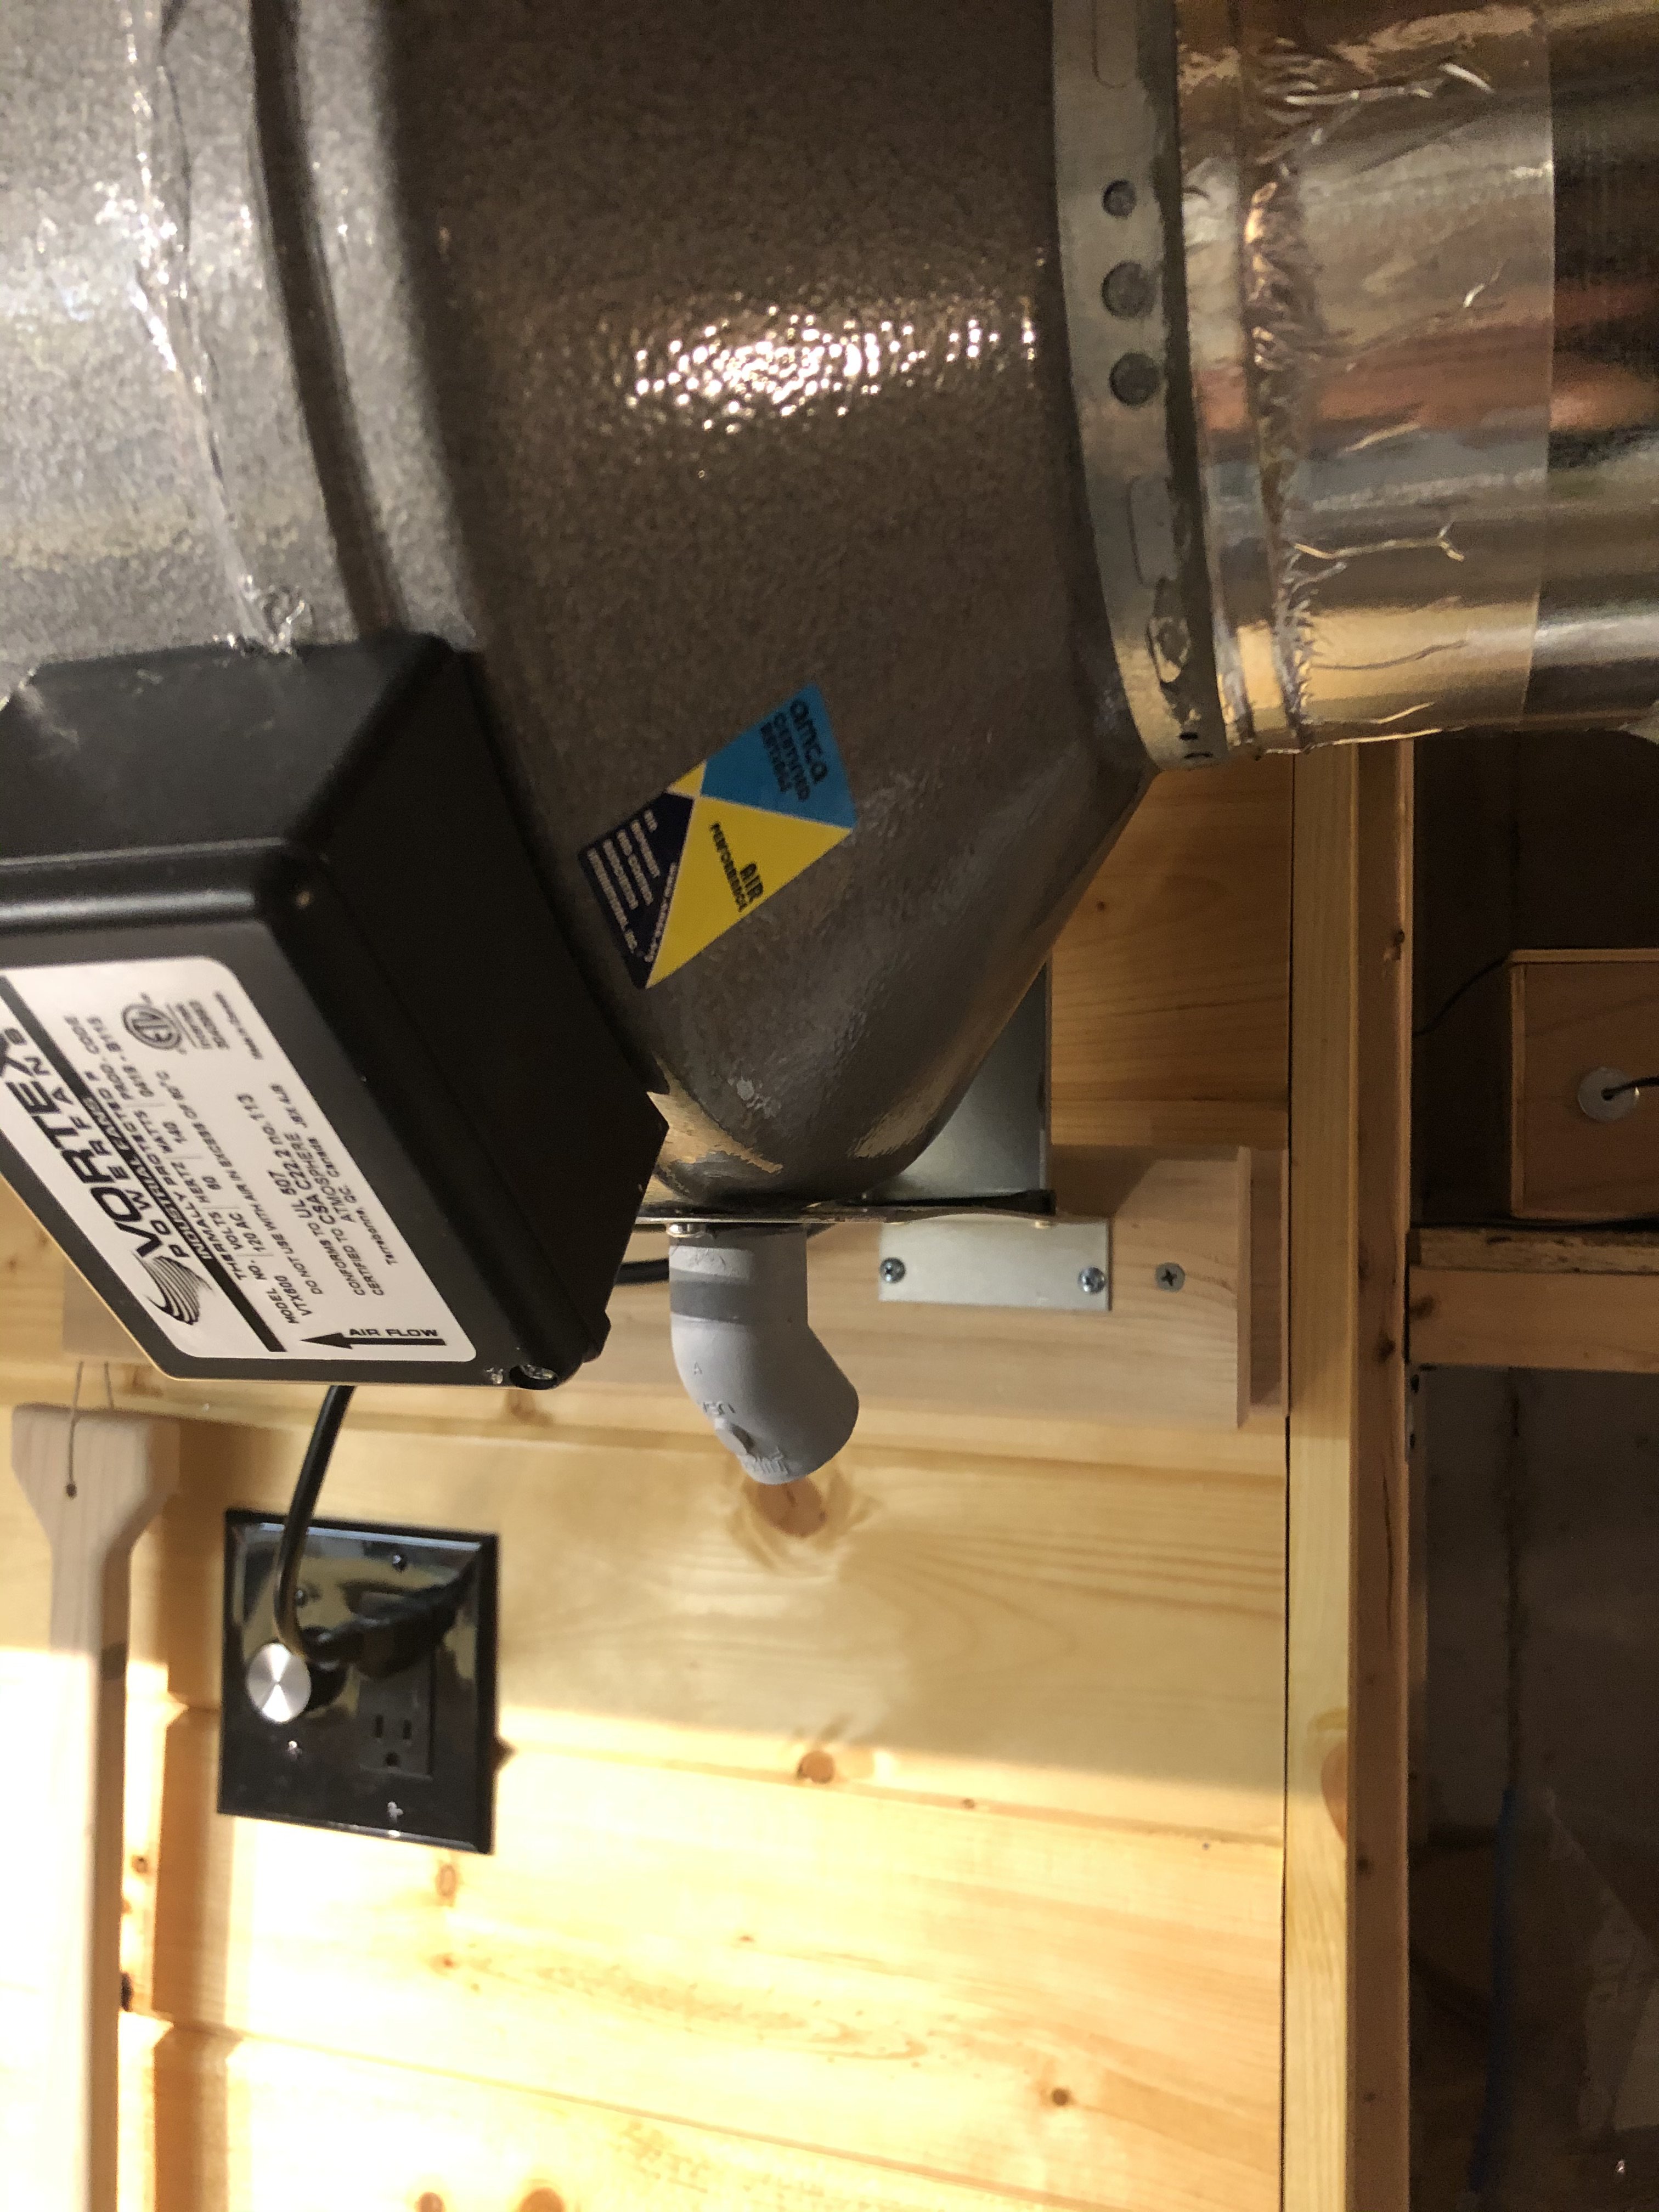
Fan arrives: Vortex VTX600 6" 497cfm
tempImage5beA5s.jpg


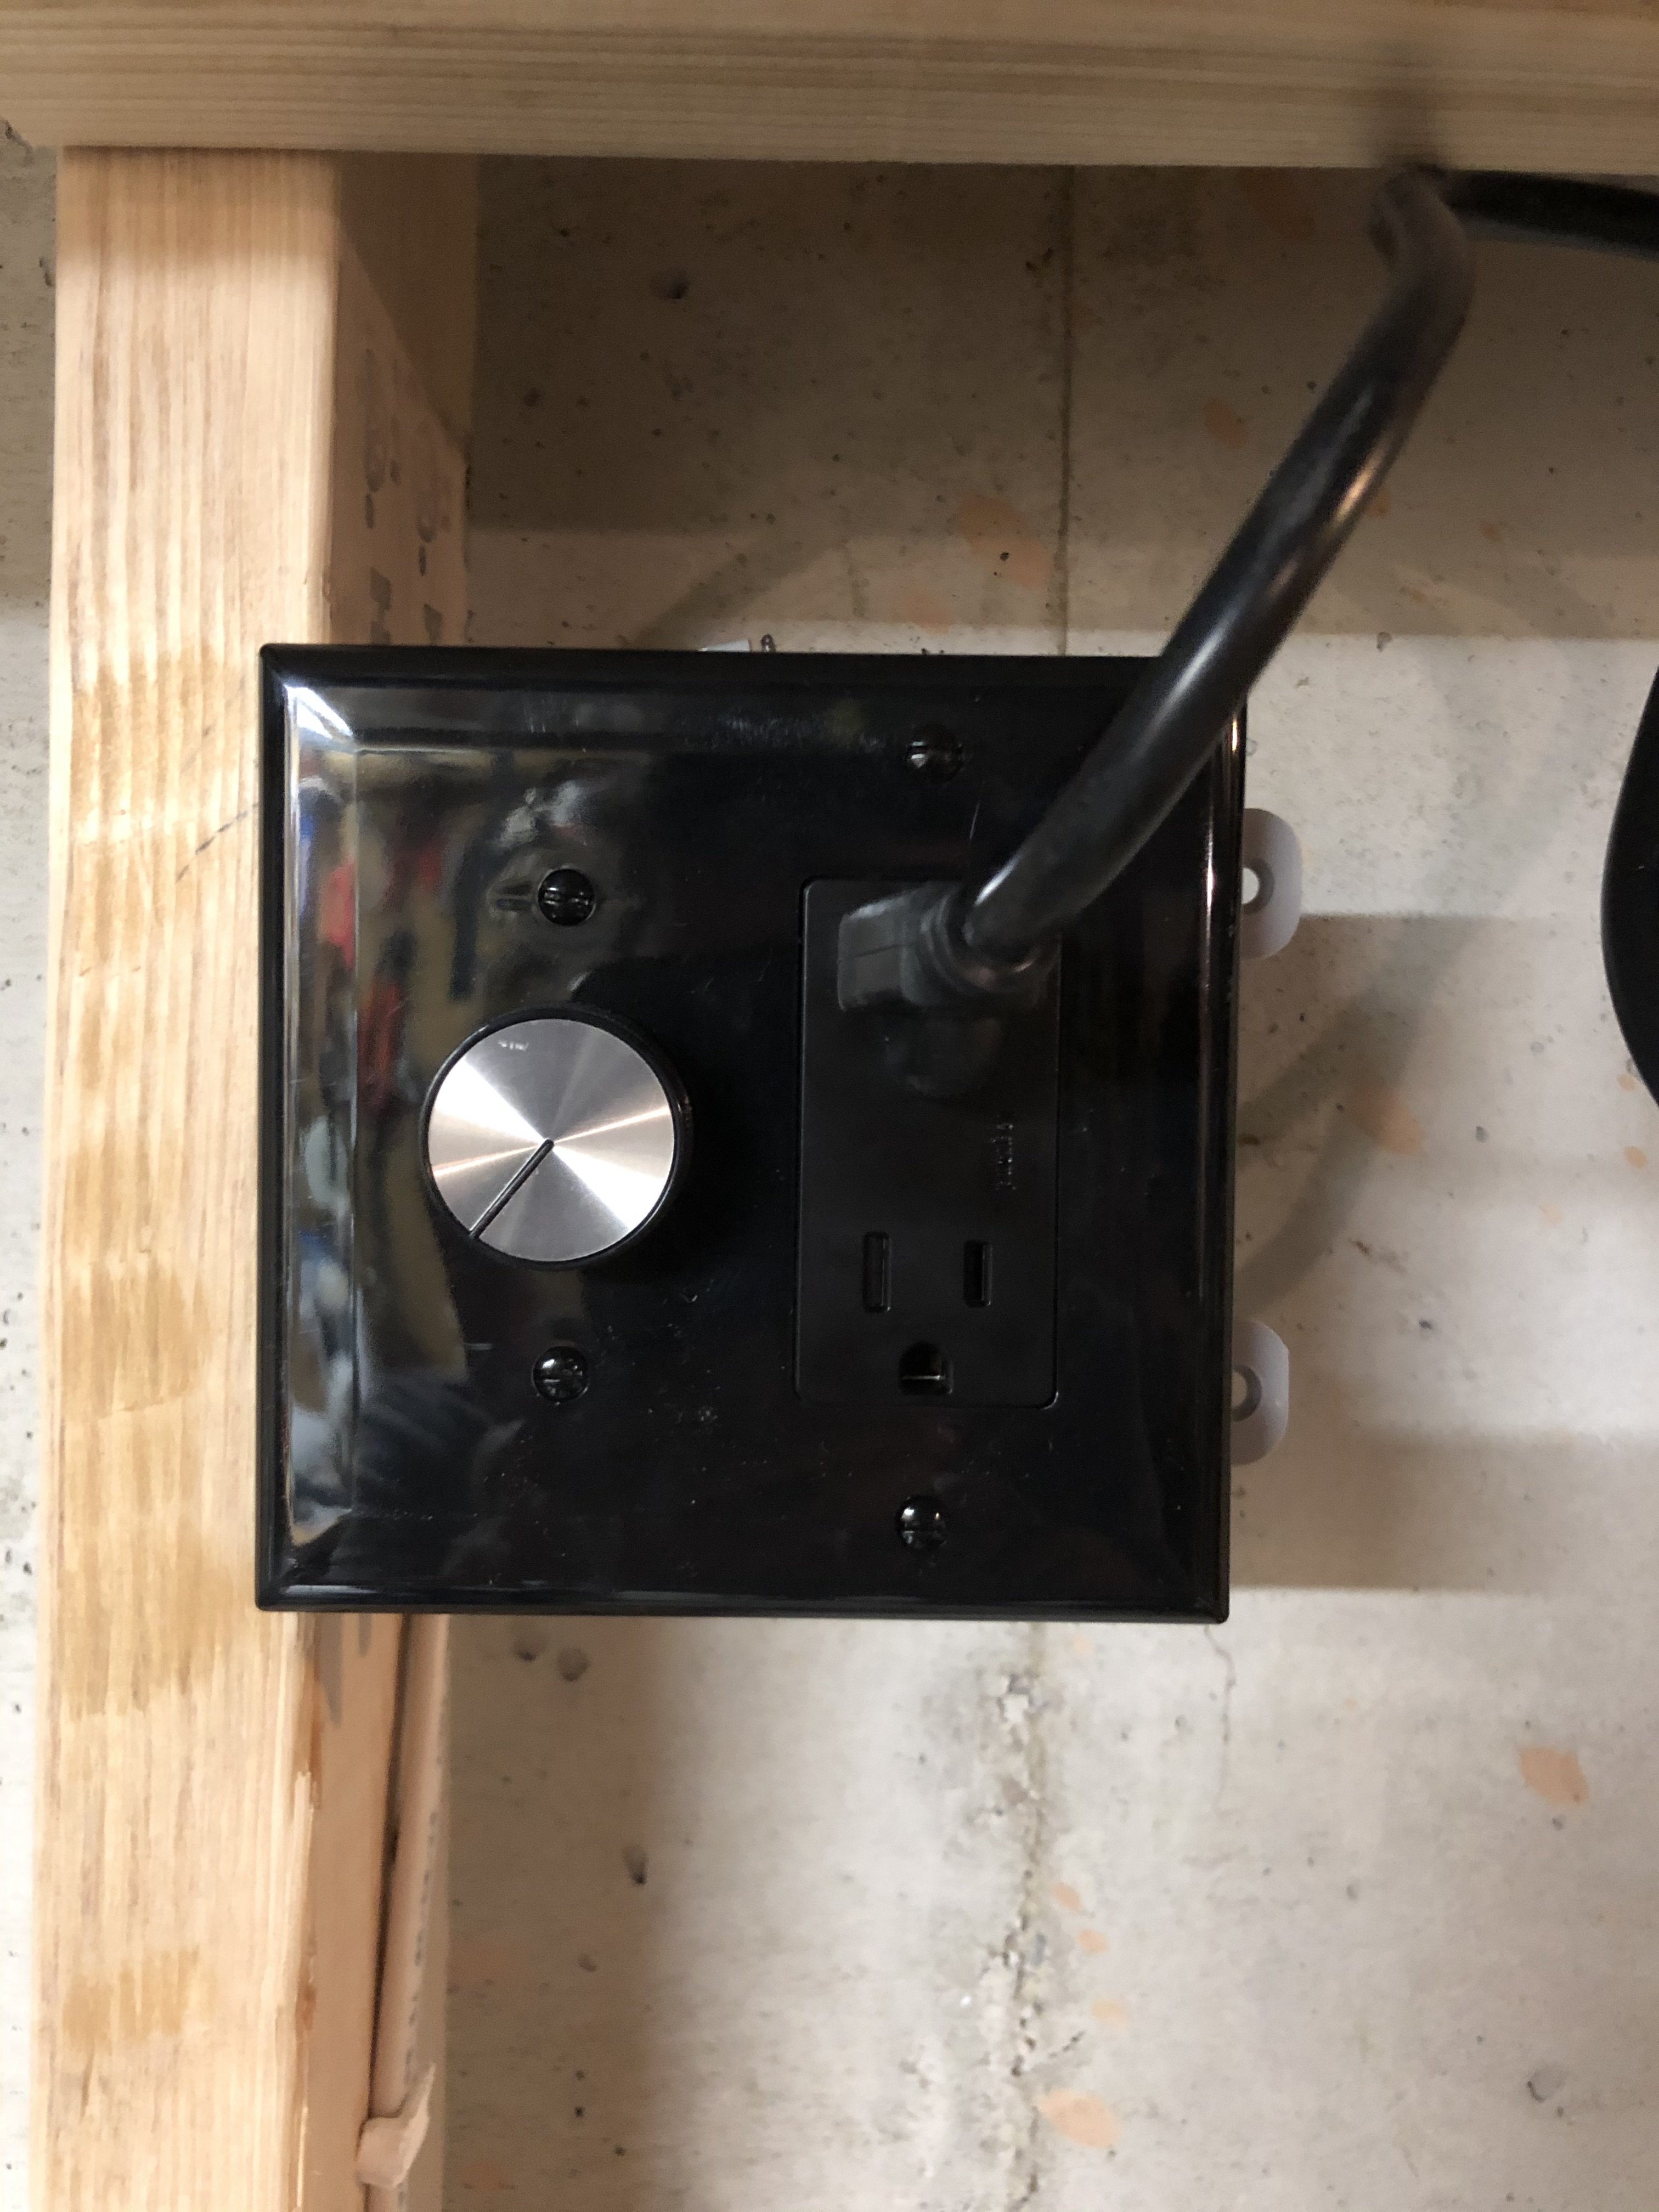
Adjustable control for fan...
tempImageSVi0lQ.jpg


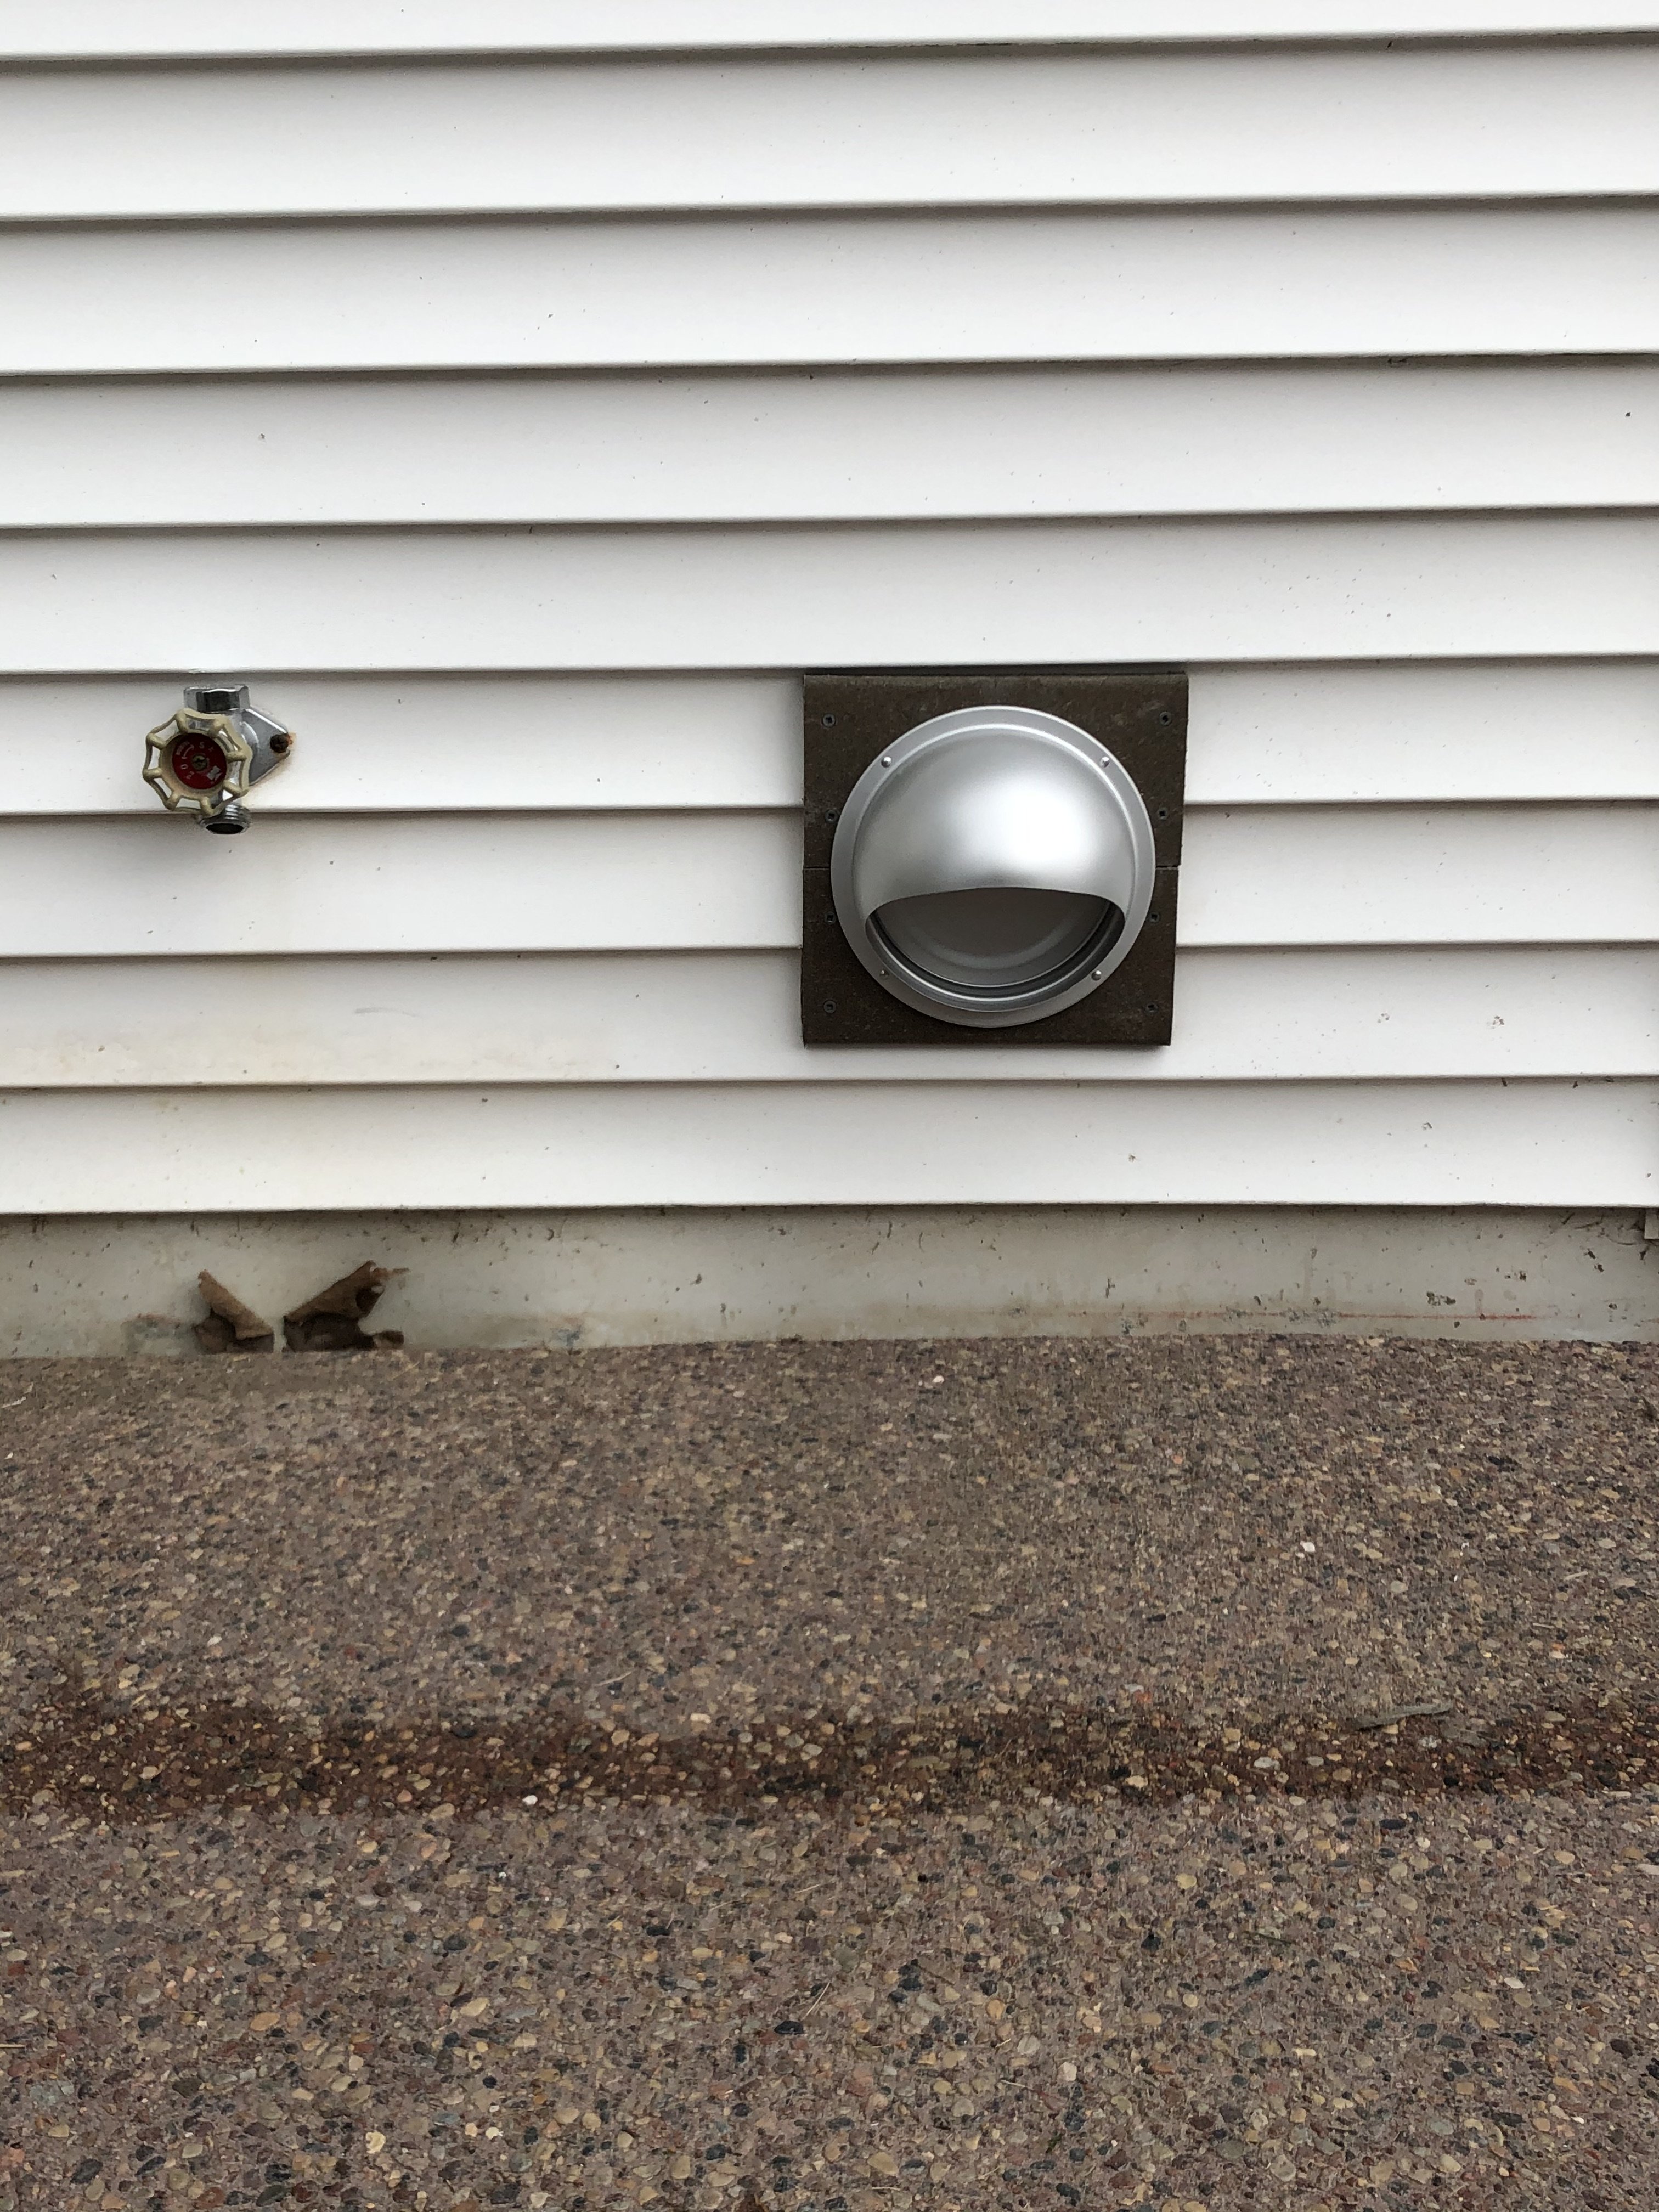
Drilled a 6" hole in the back of the house for the venting and put on a vent cover...
tempImageBFZfw7.jpg

tempImagexULvJh.jpg


Here's the 6" duct pipe run...
tempImageLs8dEc.jpg


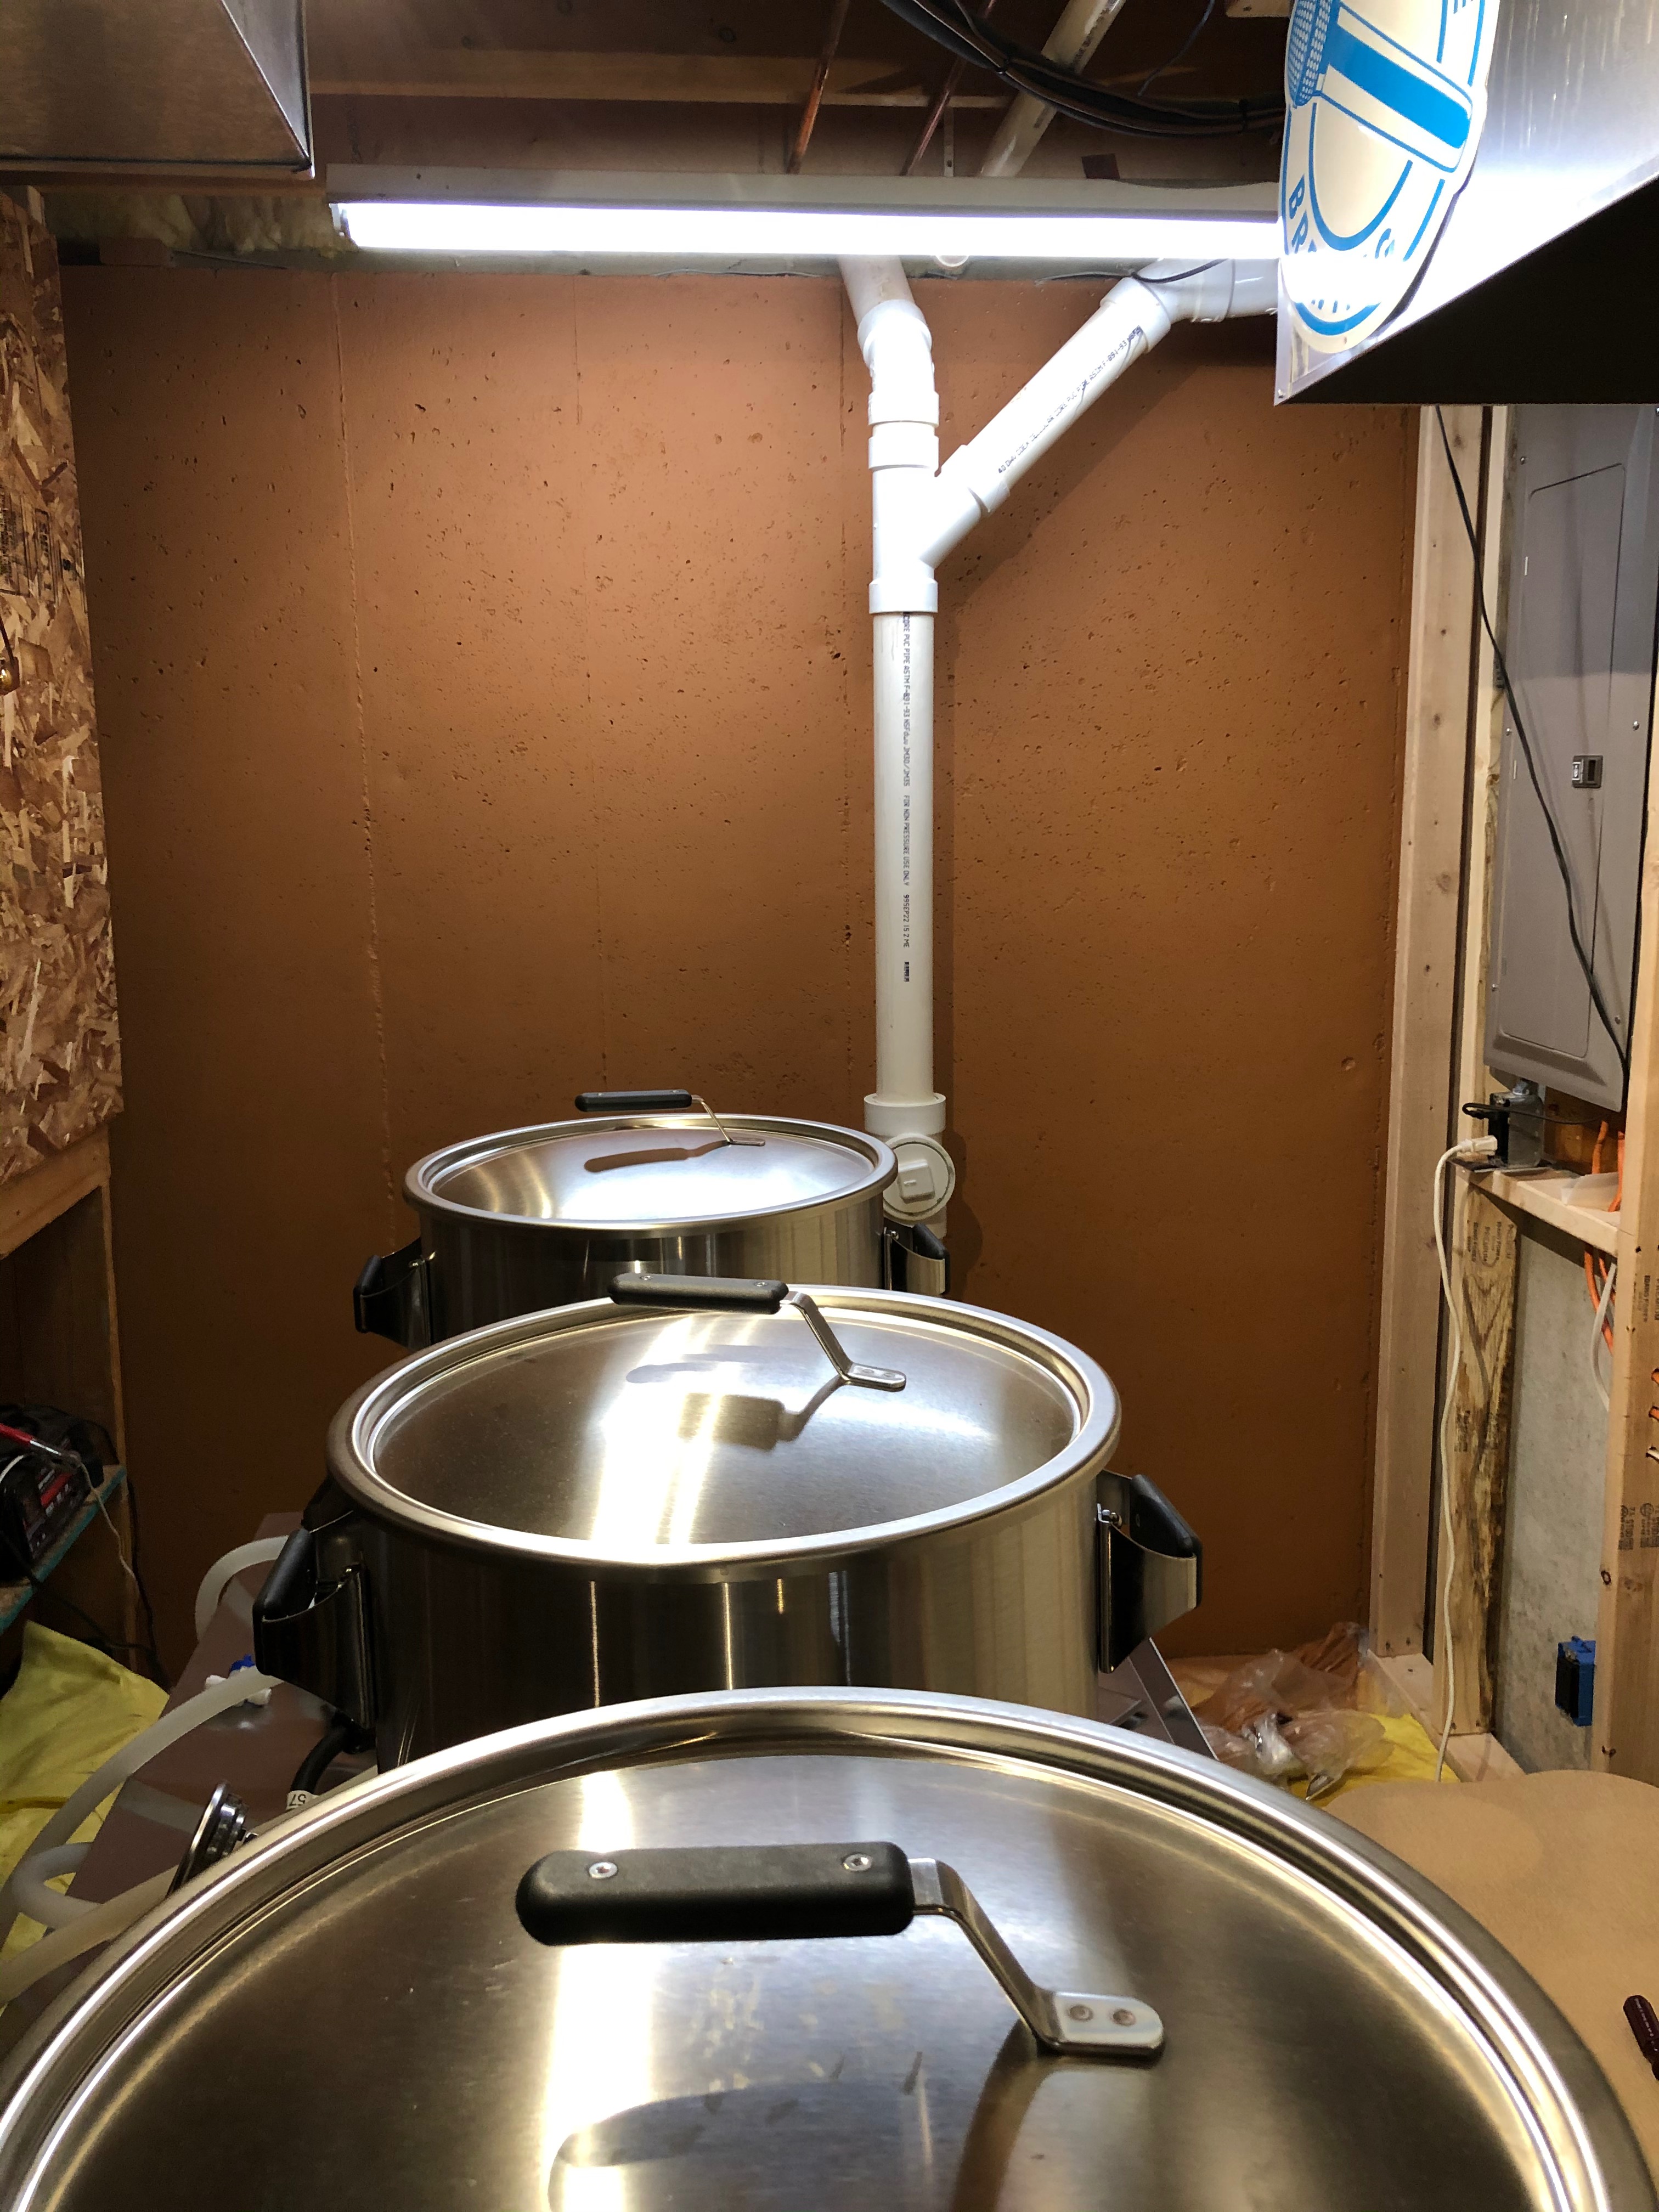
Added some additional LED lighting for the Kettle area...
tempImagehFhlRI.jpg


Primed the poured concrete side wall for paint...
tempImageWhuOPd.jpg


Final color on the side wall...
t_paintedWall.jpeg


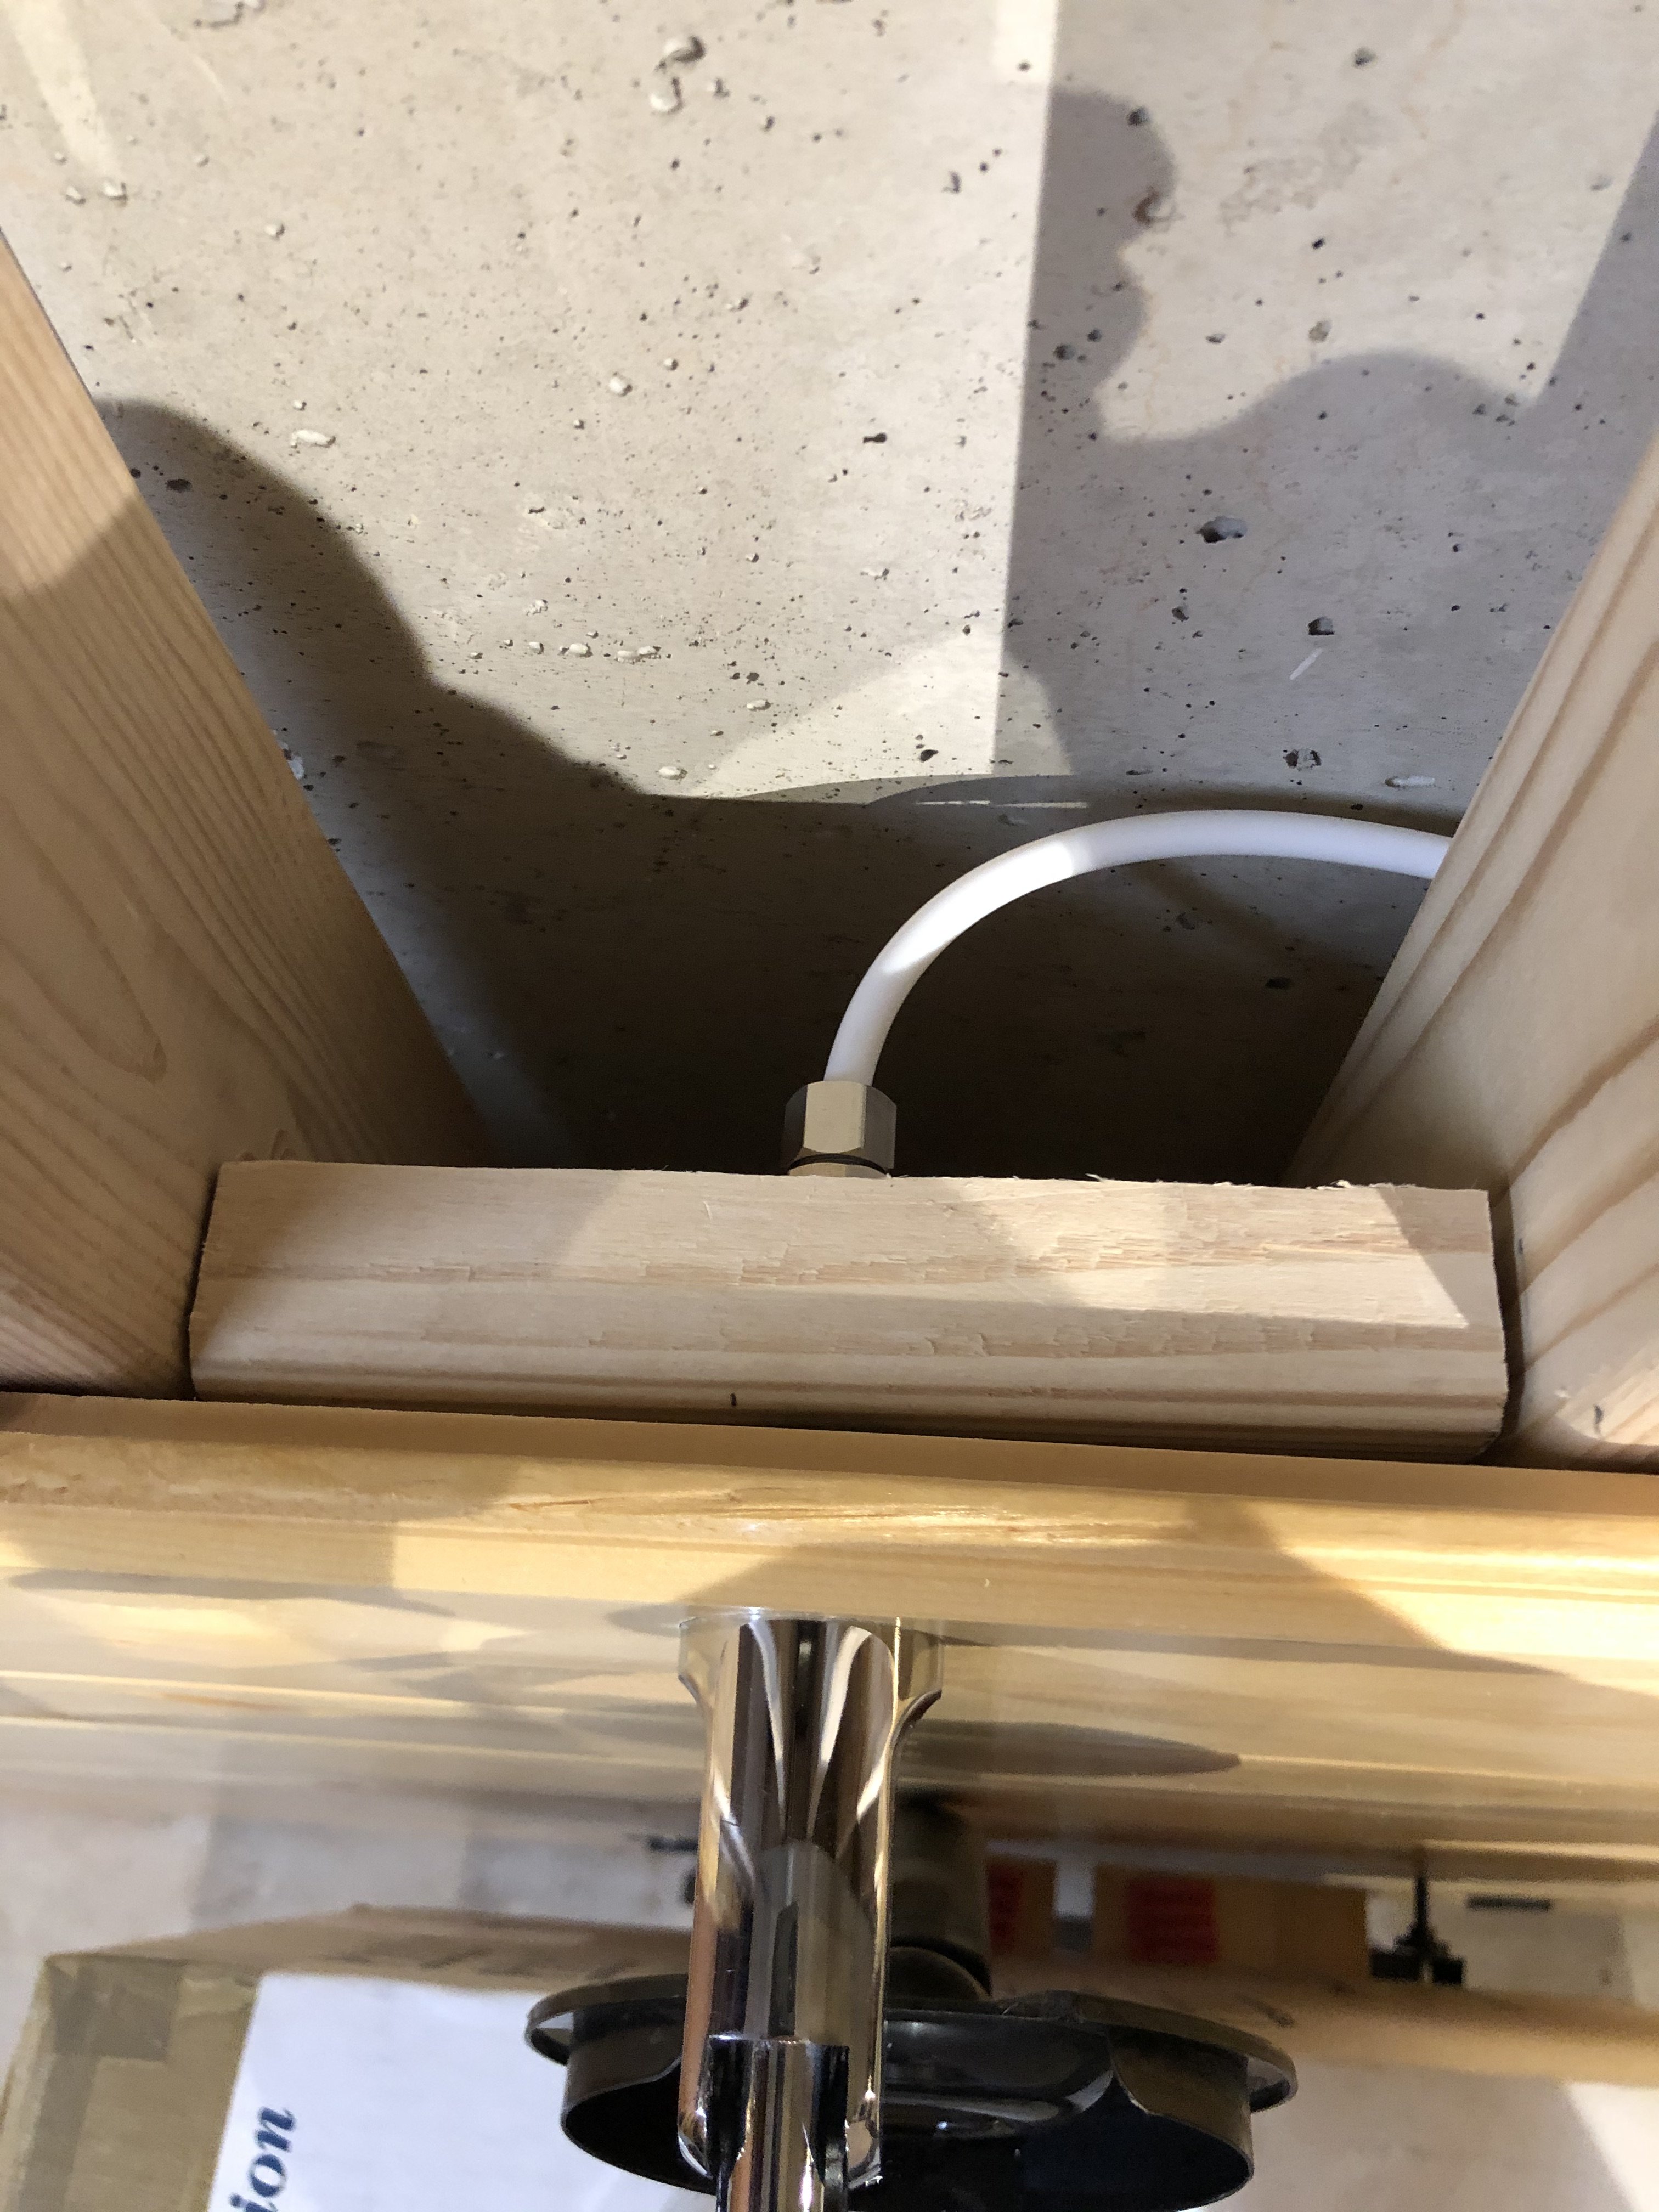
Got the RO connected to a small faucet behind where the HLT will go...
tempImageVMljMw.jpg
 
Last edited:
Ahnapee Brewing!? Only been to the Algoma tap room. Good beer, friendly staff. WIth the Von Stiehl Winery next door (for those who want to sample wine rather than beer), it's a fun stop.
 
Ahnapee Brewing!? Only been to the Algoma tap room. Good beer, friendly staff. WIth the Von Stiehl Winery next door (for those who want to sample wine rather than beer), it's a fun stop.
Went to the Algoma taproom over the summer on the way to Fish Creek in Door County. Ahnapee has a great spot to drink in the back down by the river. Glad I stopped there to check it out!
 
Please realize the vortex fans collect moisture and need a drip hole or 2 to drain.
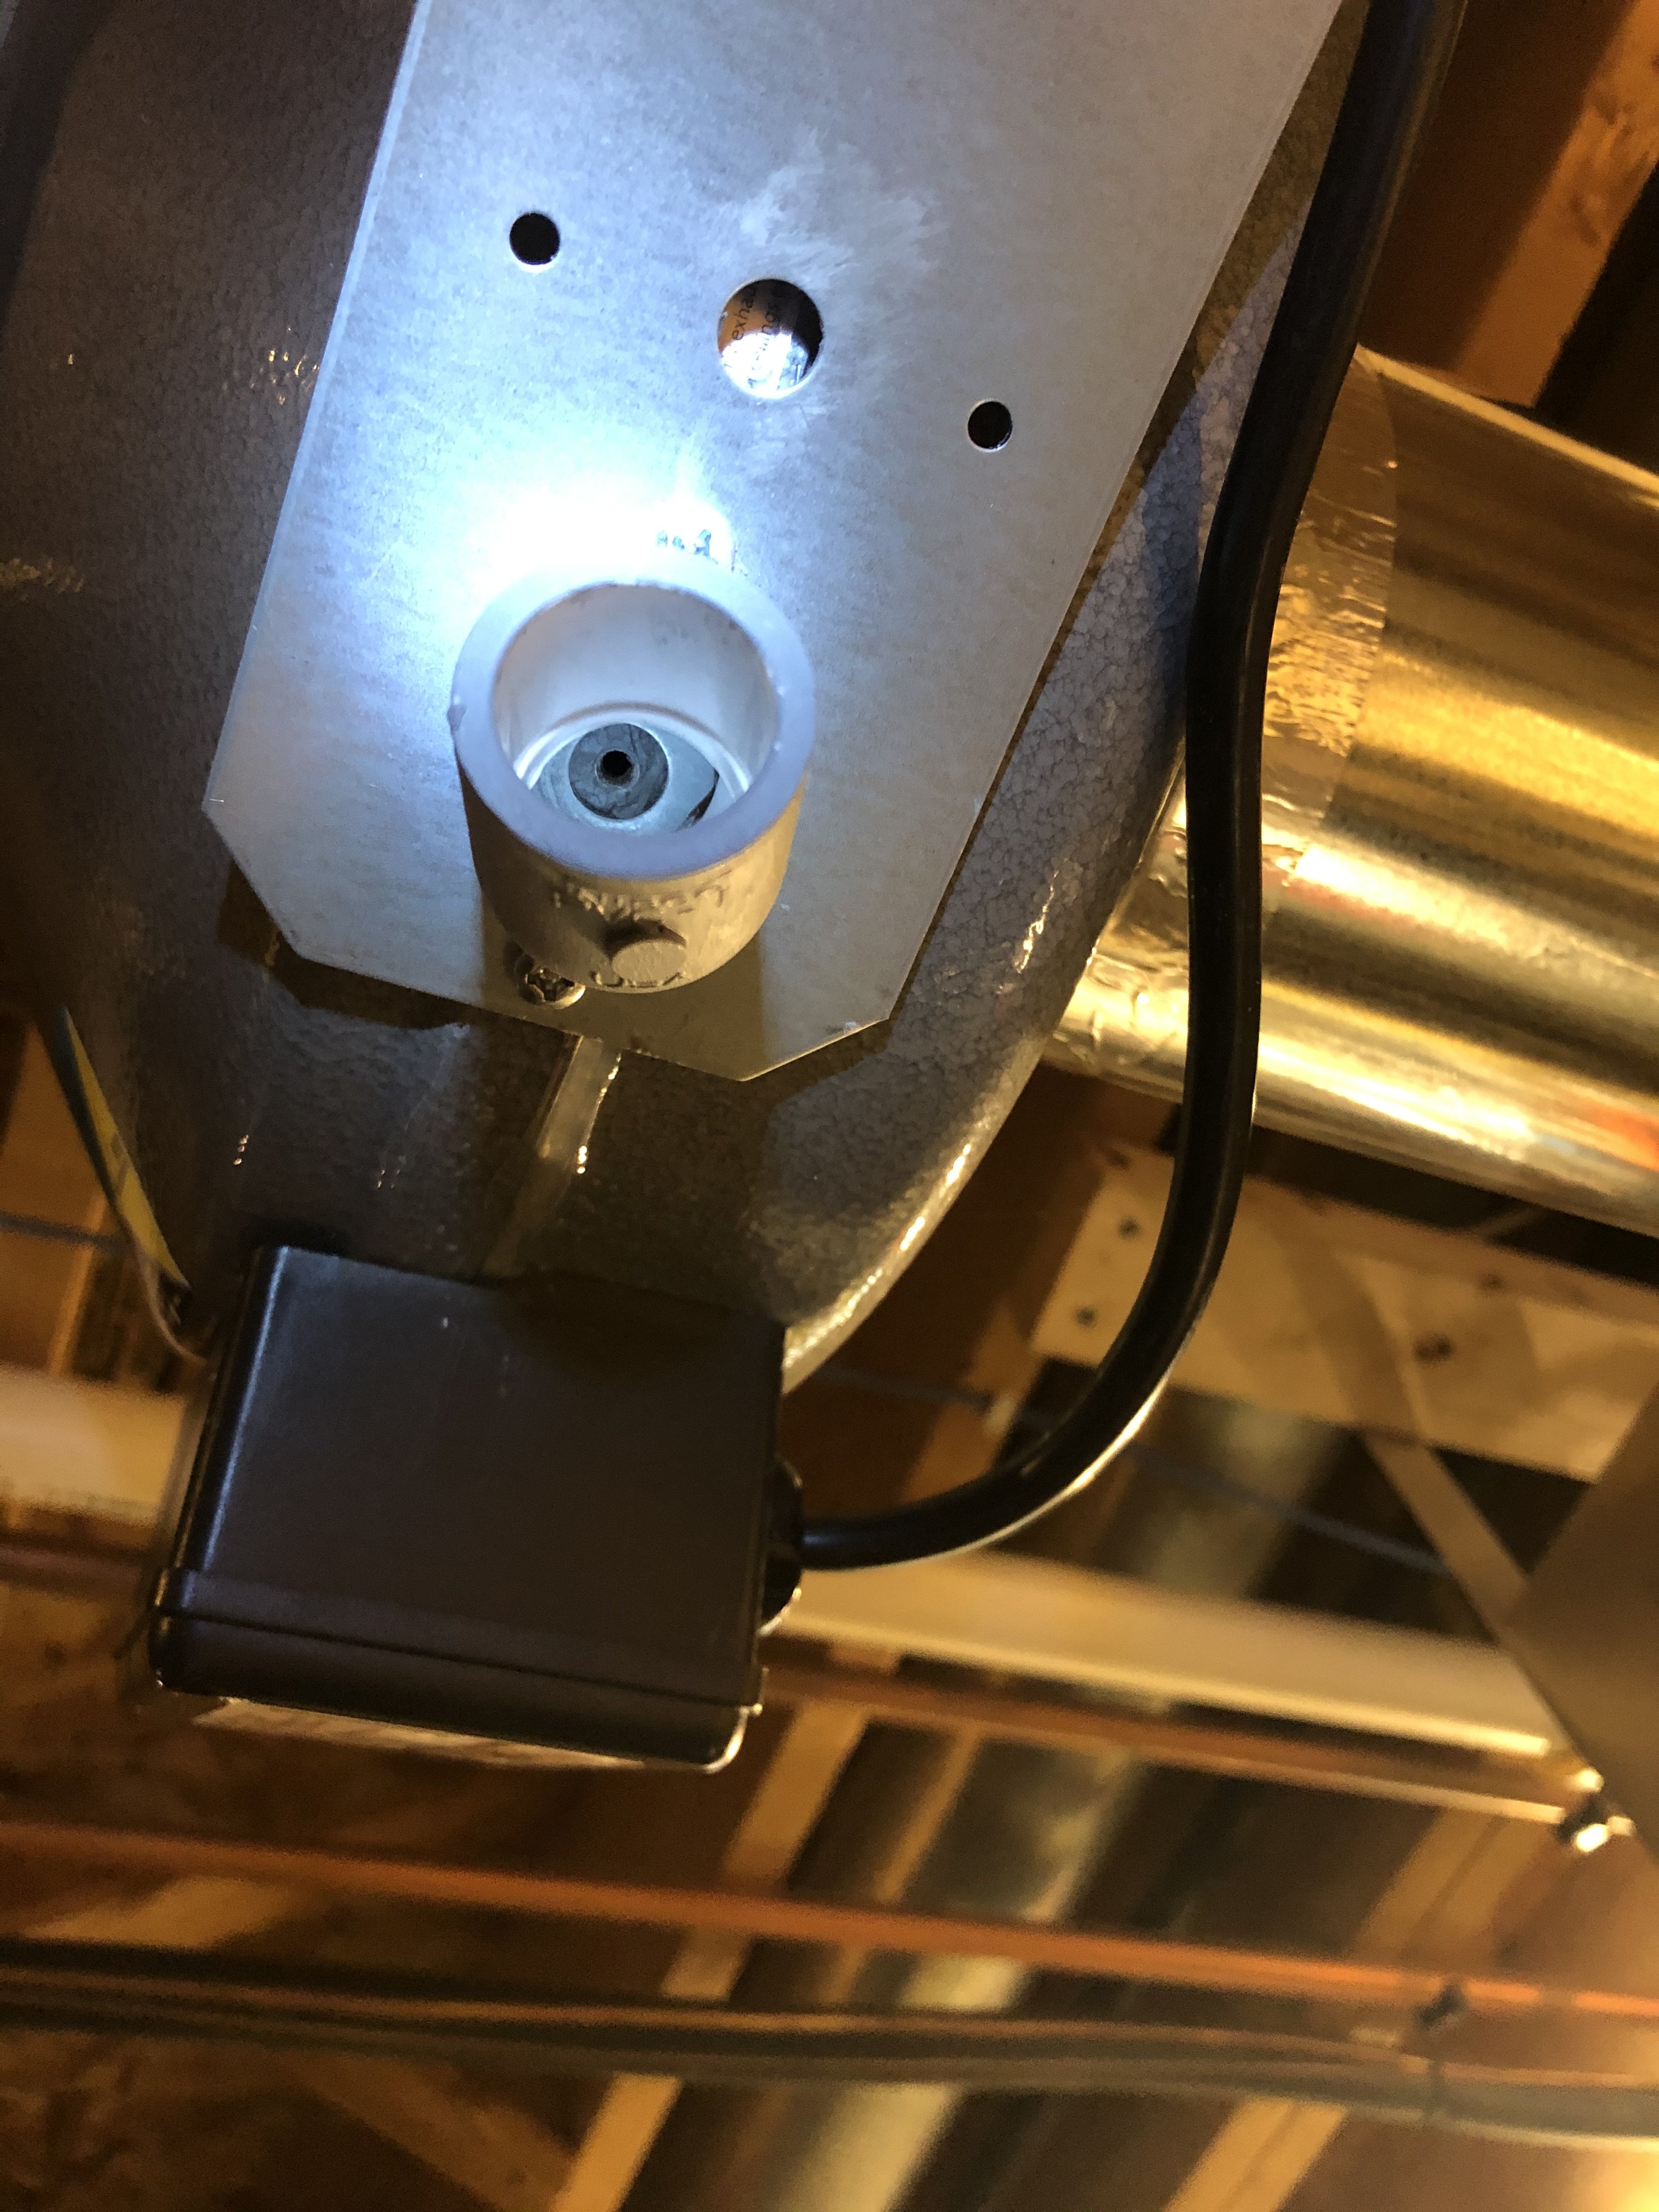
Thanks for taking the time to comment, I found that out the first time I tested it with water! I since mounted it with the "drain hole" down as described on the Electric Brewery website. I glued a piece of PVC under the hole and drain water off with a length of hose over to a glass when I'm brewing. I've only brewed on this setup twice so far so still learning best practices.
 
Oh, sorry, I didn't notice the drain hole. You are ahead of me as I wish I would have initially done the same.

Brewery looks very nice. Good job.
Thanks.
There's nothing I've spent more time on in this setup than the exhaust system! Getting that thing NOT to leak was a challenge. I re-taped every straight joint twice now and after the last leaky test I globbed silicone on every curved joint. Brewed 2 weeks ago and not a single leak! I was more excited about that then the actual brewing!!
 
Great job! Had a similar leaking problem with my setup but (mostly) figured it out last brew, definitely understand your elation!

Cheers!
 
Great job! Had a similar leaking problem with my setup but (mostly) figured it out last brew, definitely understand your elation!

Cheers!

For me a 1/2 tube of silicone fixed it. The seam all the way around the fan, all the gaps/holes inside and outside of the black electrical box on the fan and every seam in the duct work. Like I said, not a SINGLE leak (other than some moisture on the sides of the aluminum hood itself).
 
Very nice project! Looking at your pictures reminder me of when I outfitted a basement area for brewing. You won't be disappointed especially when winter gets here for us Wisconsin folks.
 
Vortex instructions indicate the need of a weep hole. If moisture isn't draining, then it's collecting. Also, due to the moisture the Vortex instruction manual indicates the proper placement of fan in regard to the fan's electrical box.

I should clarify, I sealed every seem on the duct work and every seem and hole on the fan EXCEPT the very bottom center screw hole. There I cemented a small piece of PVC over the hole so I could attach a tube for drainage. BUT, for whatever reason, I didn't get any water coming from the hole on the last brew and I don't know why as I expected quite a bit to find it's way through there? I did double check and that hole is open & clear.

A9CAC55E-A5A9-4DF7-A07C-8B338F5C4557.jpeg


FB9DAF56-29E0-45B2-B246-7D8026623053.jpeg
 
Really depends on the amount of steam from the brew kettle and, in my experience, the time of the year (meaning humidity in the air). There are times I get a puddle of moisture collecting, other times a few drops and then other times nothing.

After the fan and duct work were installed, ceiling closed up, work done by a remodeling company, only then did I discover the ducts really should be well insulated. Unfortunately, for me, too late now.
 
Nice work!

Looks like the work of a Plumber, especially with those crimp type copper connections. Glad to see that you didn't use saddle clamps for the RO water feed. For my RO water system I used a float valve in my brew kettle to avoid overfilling.

No floor drains or do you have a sump pit near by?

The slope of the exhuast duct to the outside may collect condensation toward the blower but you have that covered with your blower drain.

IMG_1472.JPG
 
For my RO water system I used a float valve in my brew kettle to avoid overfilling.

No floor drains or do you have a sump pit near by?

The slope of the exhuast duct to the outside may collect condensation toward the blower but you have that covered with your blower drain.

View attachment 711170

I like your float valve idea, I might have to steal that! Unfortunately no floor drains anywhere, there is a sump pit just to the right of the sink though.
 
Looks great! A couple ceiling options I’ve seen are covering the ceiling in a black fabric, like burlap, or suspending panels at different levels to hide the pipes and give it the industrial feel.
That is very nice work!
 
Looks great! A couple ceiling options I’ve seen are covering the ceiling in a black fabric, like burlap, or suspending panels at different levels to hide the pipes and give it the industrial feel.
That is very nice work!
Thanks for the comments. I've never worked with suspended panels but might be a decent option for that relatively small space.
 
Spray all of the pipework, wiring, ceiling, etc... everything in the ceiling space flat black. It literally just makes everything just "disappear" and actually makes the room feel larger. Seems counterintuitive to a degree, that painting it black would make it seem larger, but it truly does.
 
Great job!! This is inspiring me to put a wall behind my brewery to make it look a bit nicer!
 
Great job!! This is inspiring me to put a wall behind my brewery to make it look a bit nicer!
I mainly wanted the wall framing because I needed a crapload of outlets for everything...but once I got going, one thing leads to another and I wanted to fix everything up the best I could. Therefore, the pine board, the painted side wall and PVC, etc, etc.
 
Back
Top