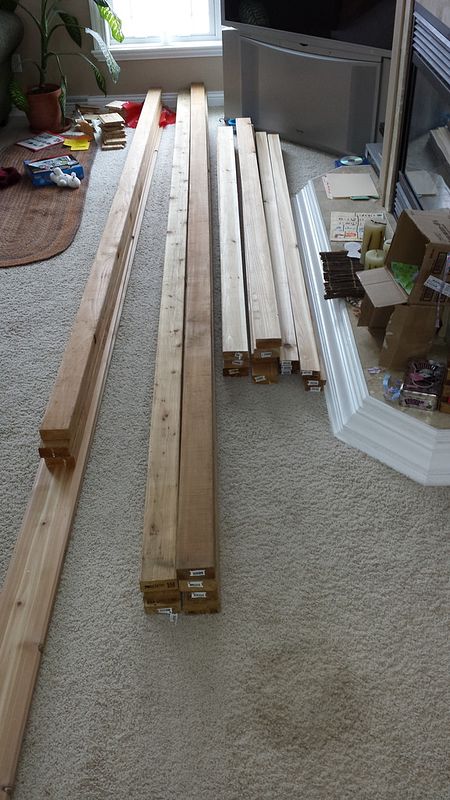
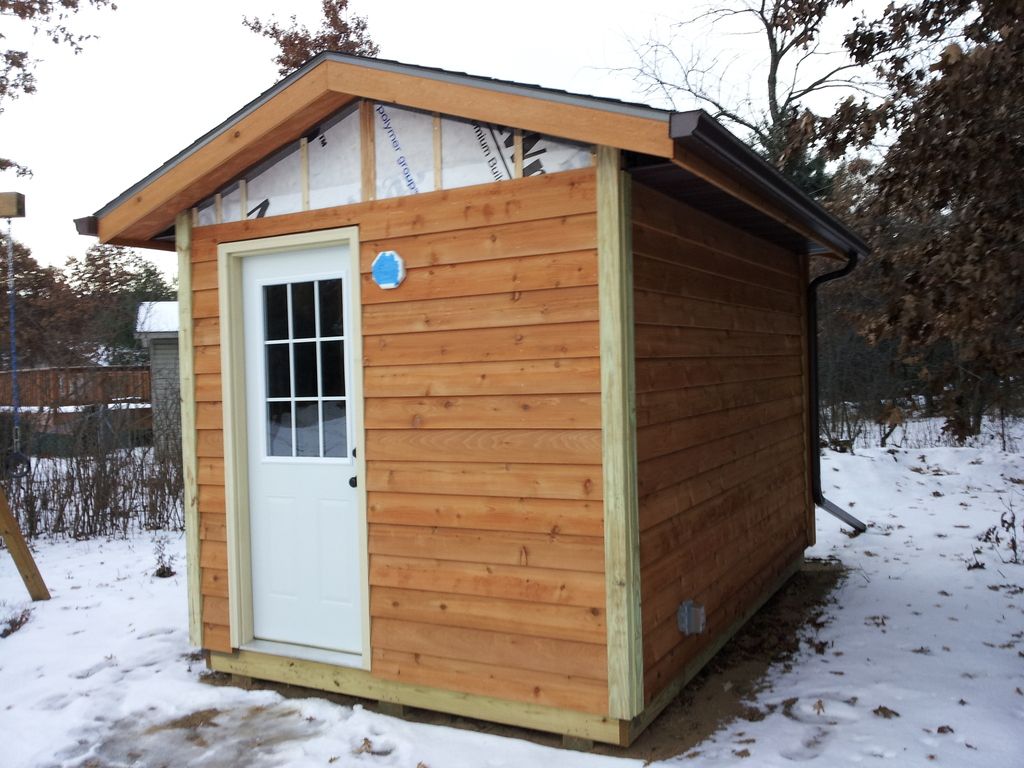
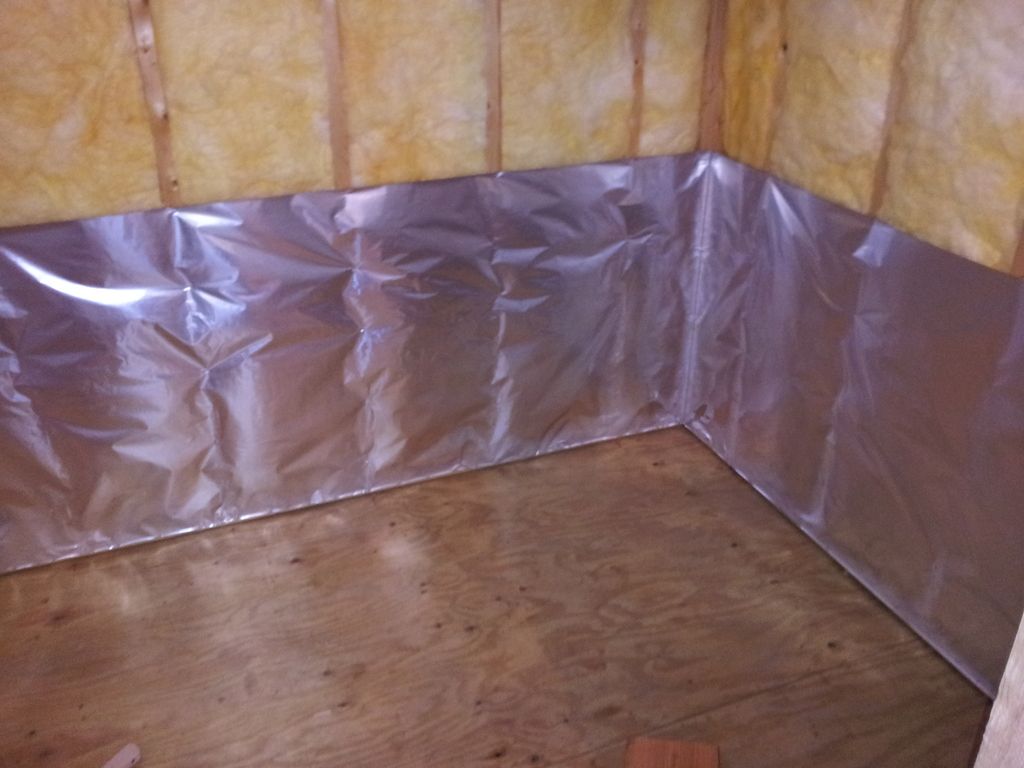
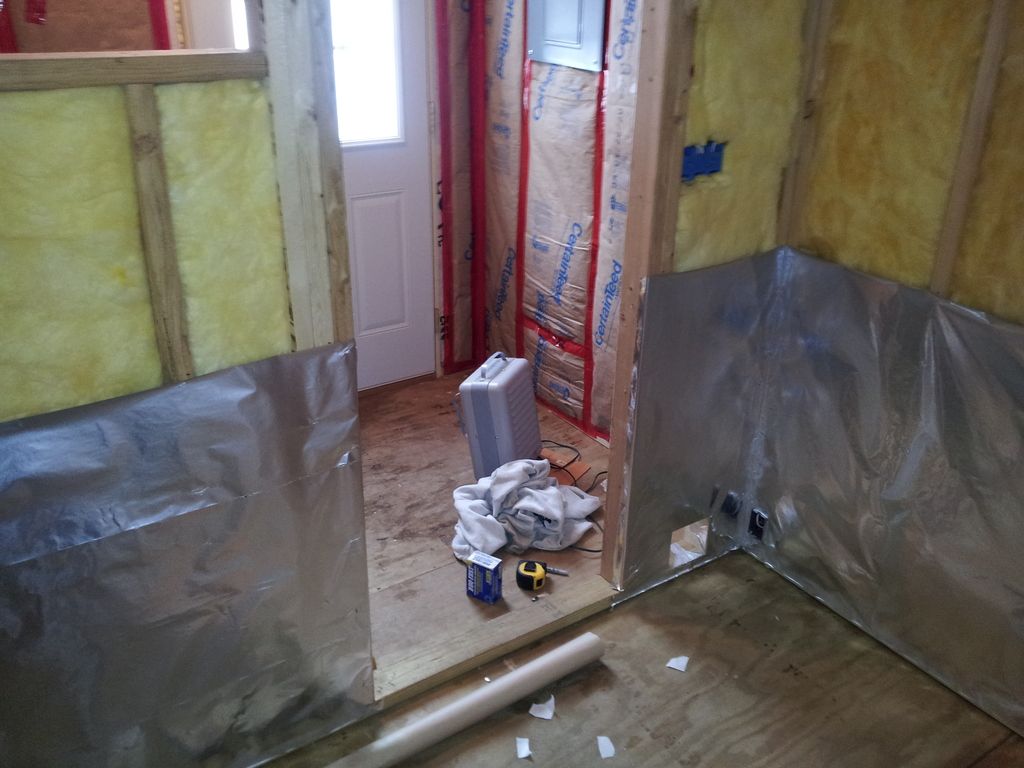
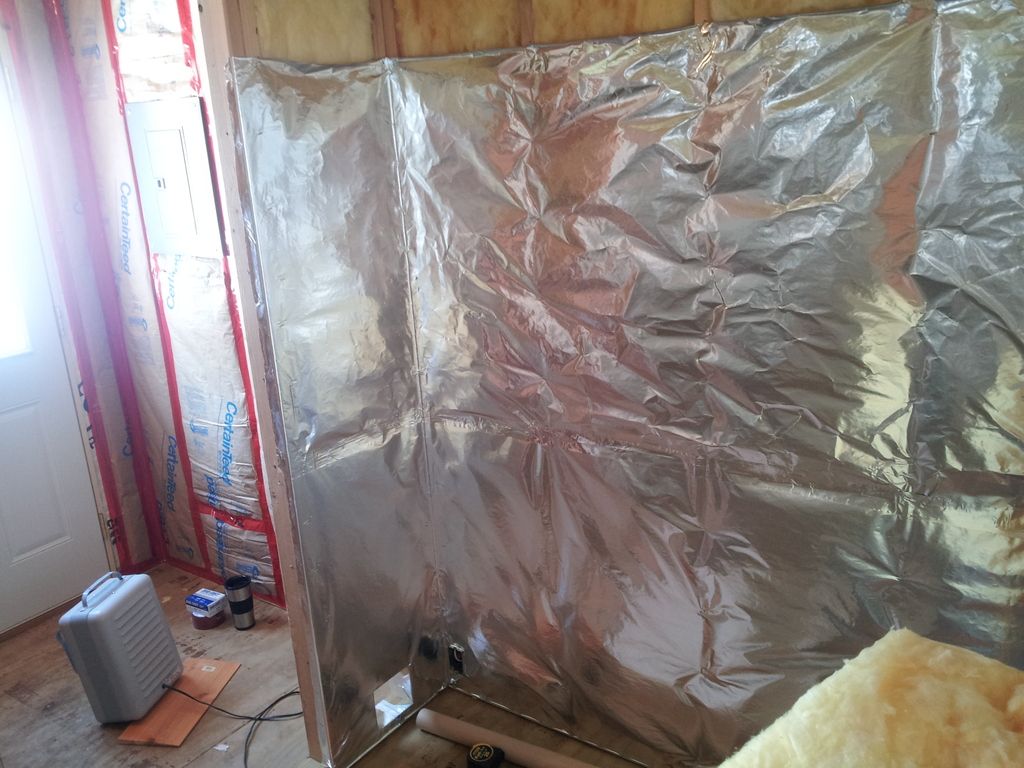
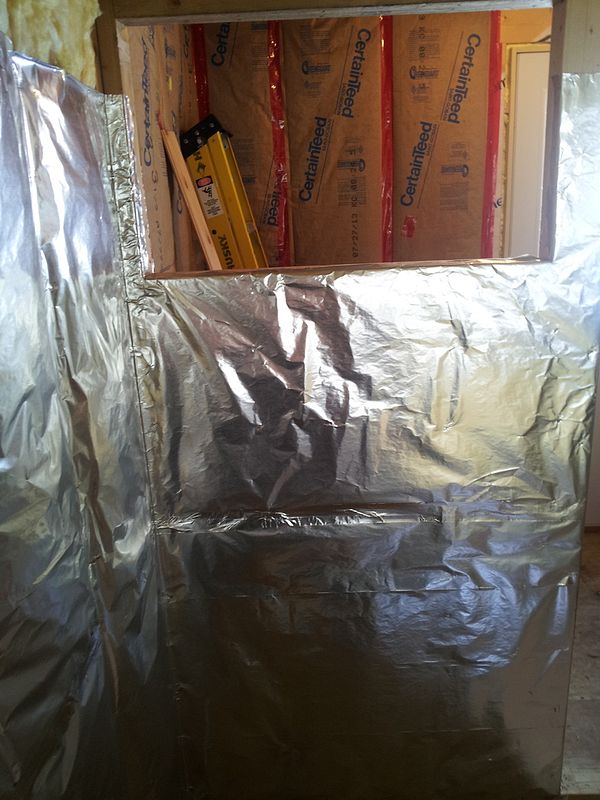
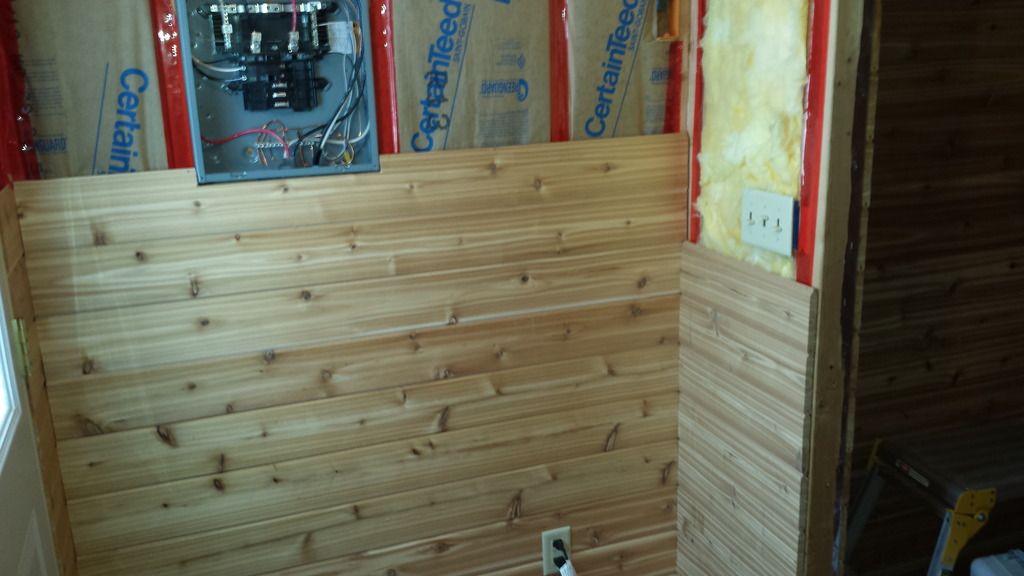
• Please visit and share your knowledge at our sister communities:
  • If you have not, please join our official Homebrewing Facebook Group!

    Homebrewing Facebook Group

backyard sauna build

Homebrew Talk

Help Support Homebrew Talk:

This site may earn a commission from merchant affiliate links, including eBay, Amazon, and others.
11/29/13 update

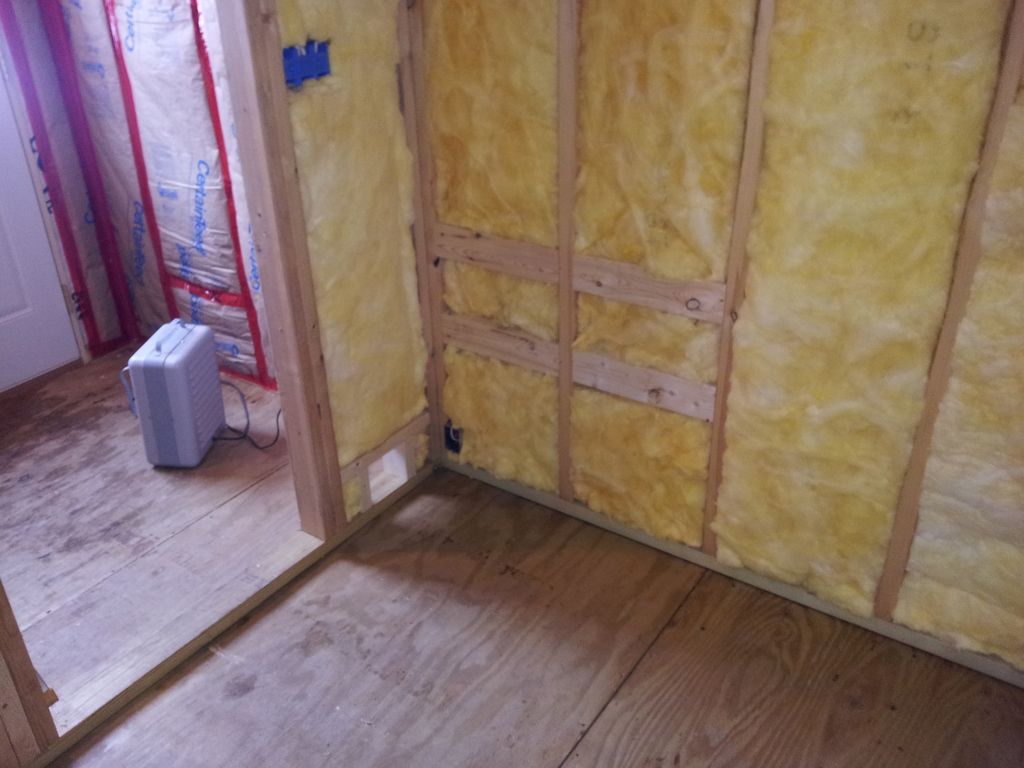
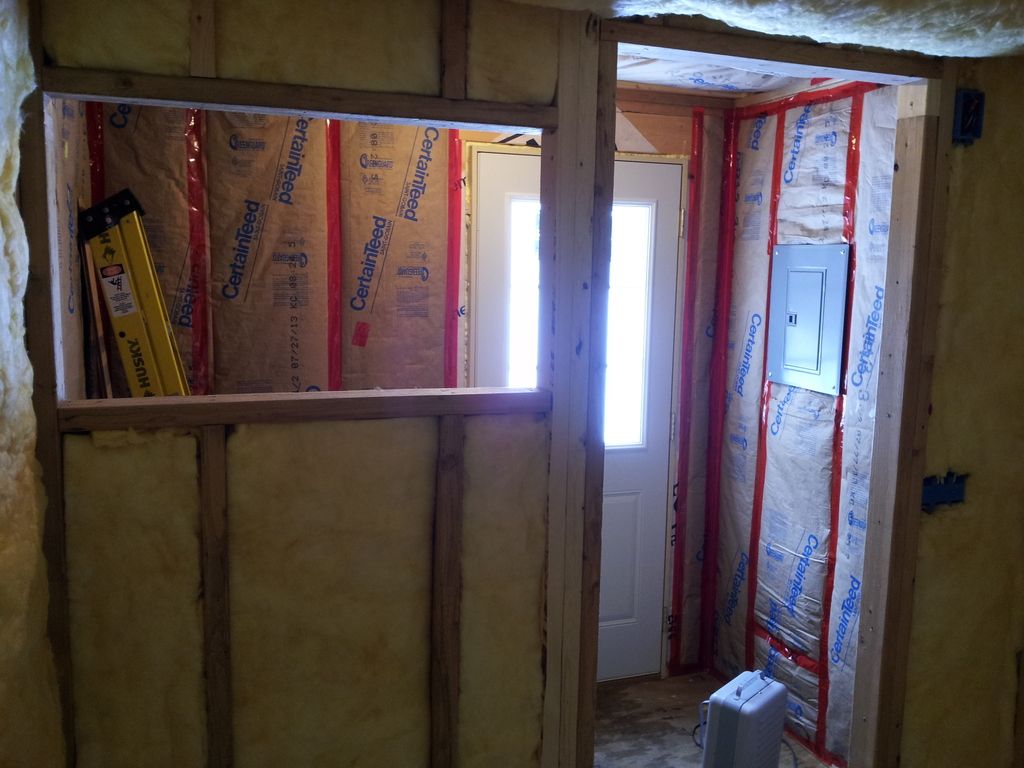
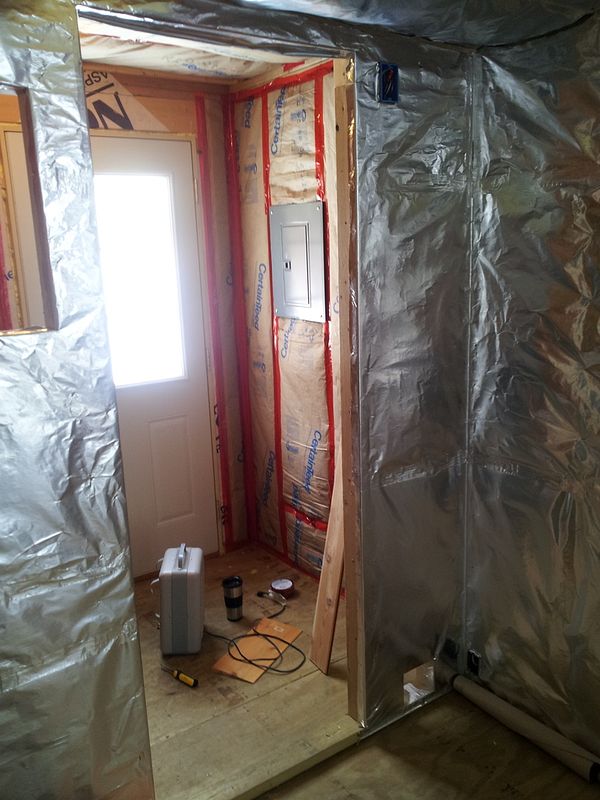
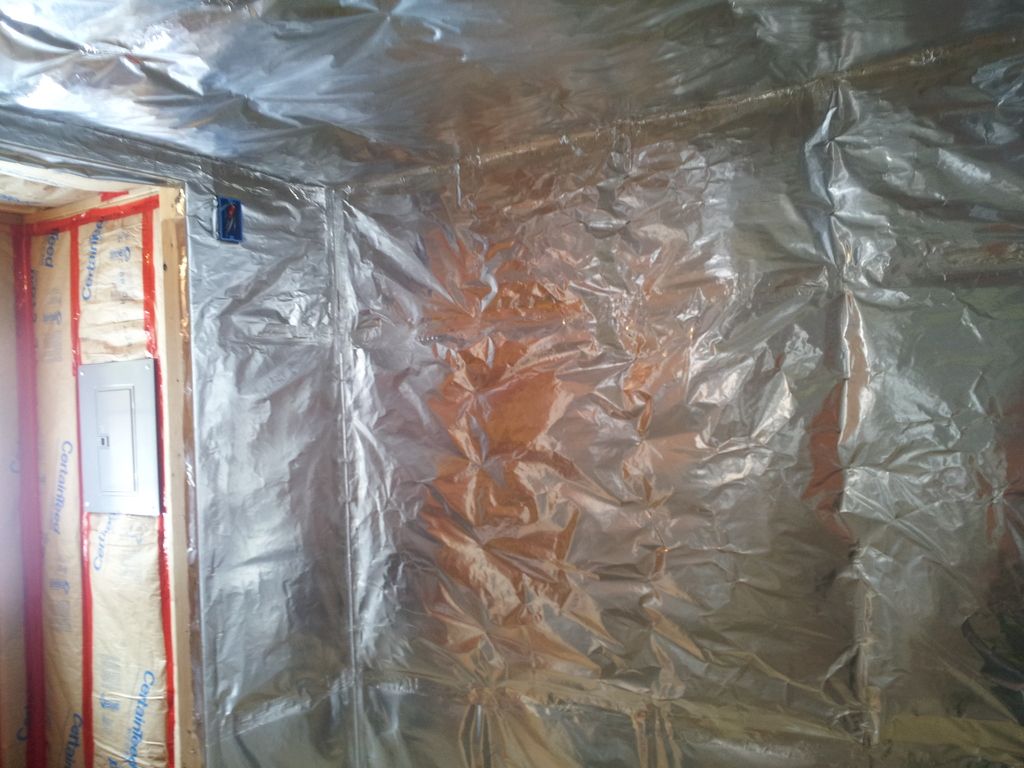
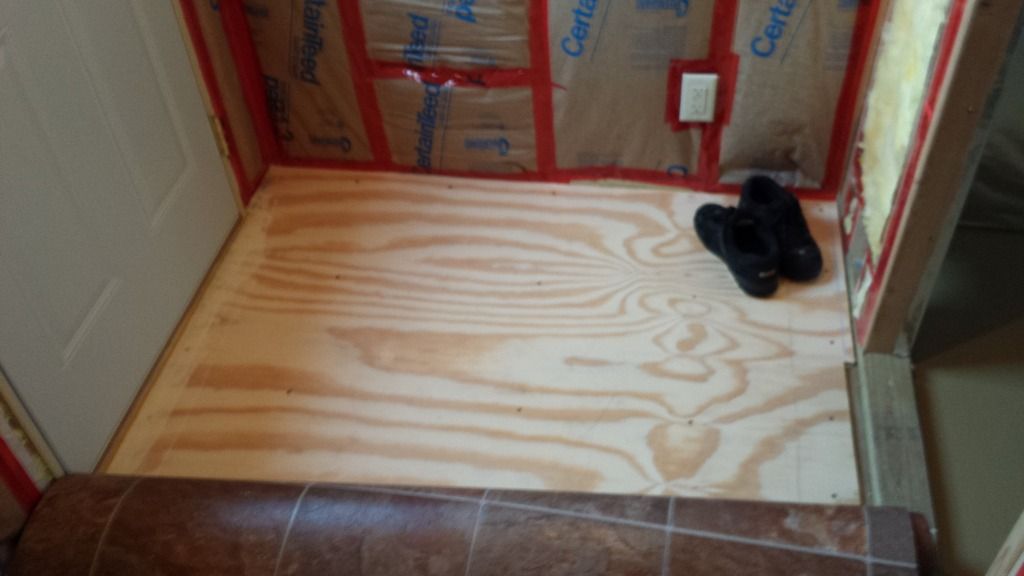
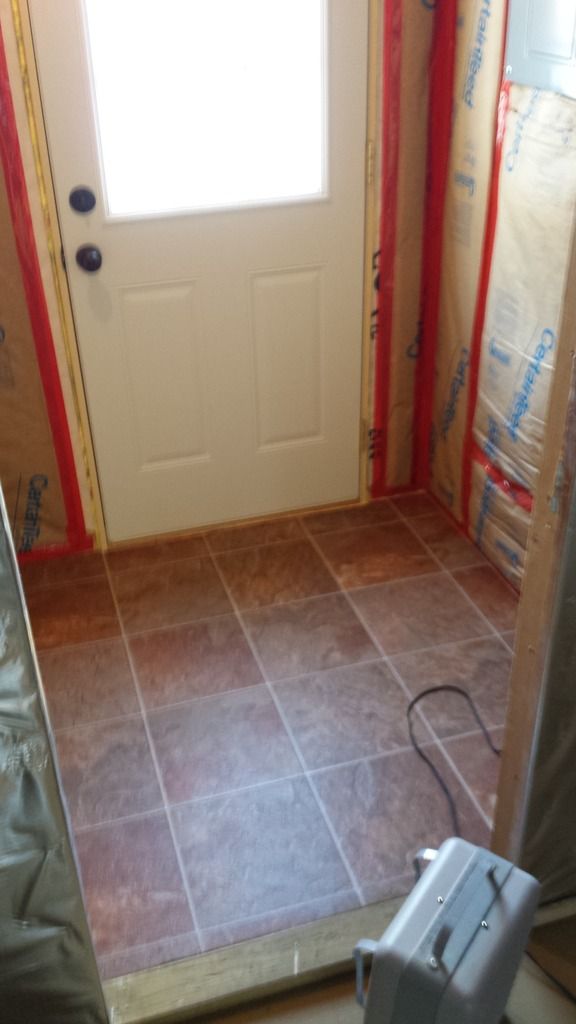
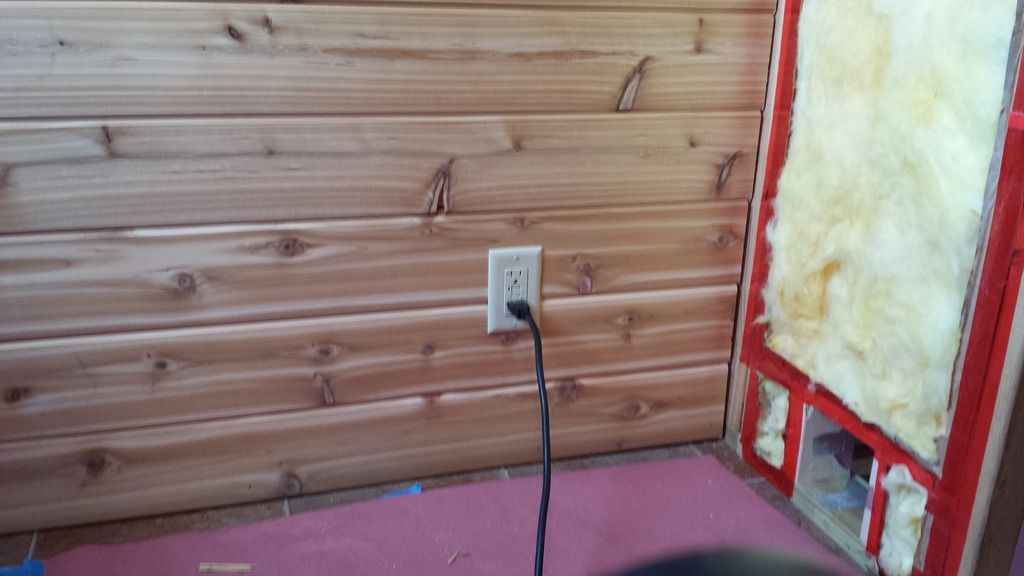
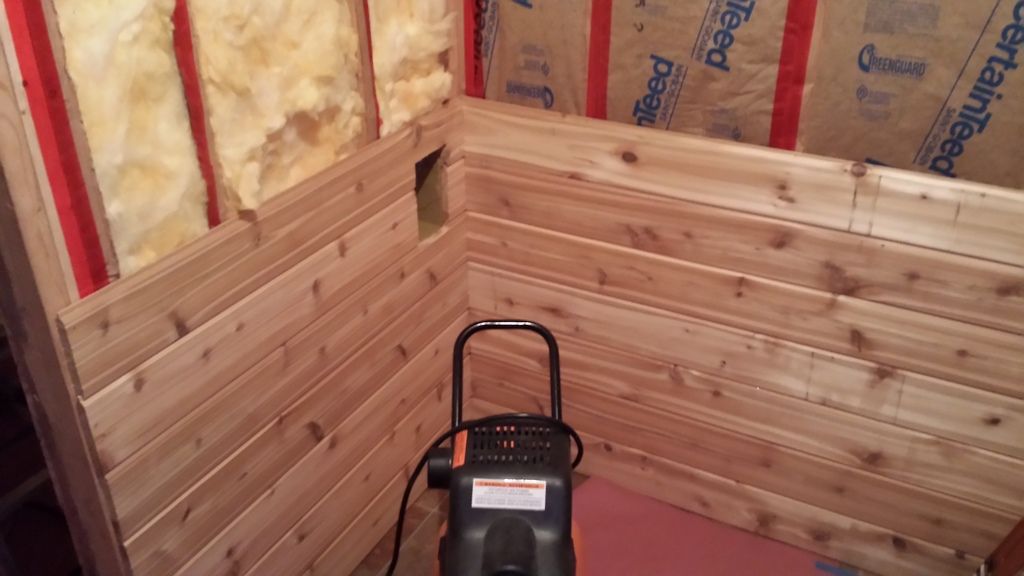
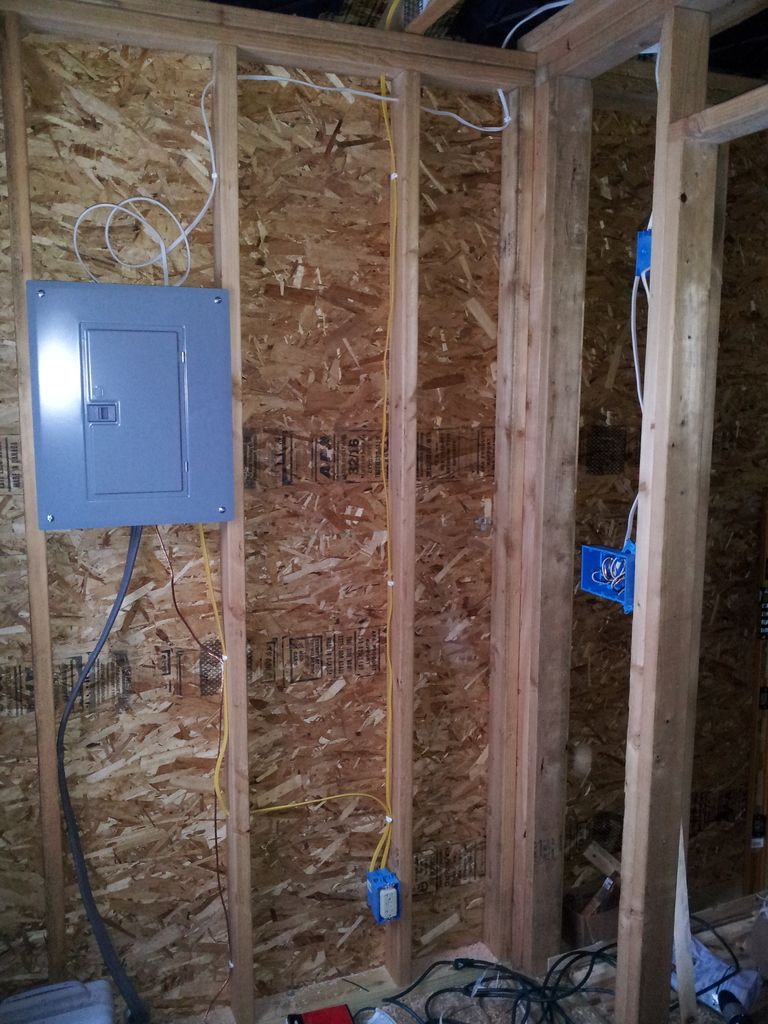
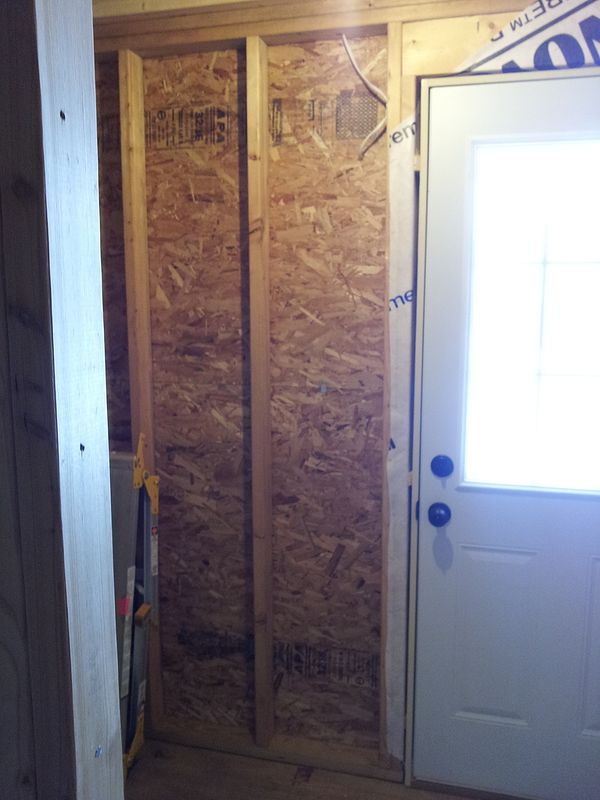
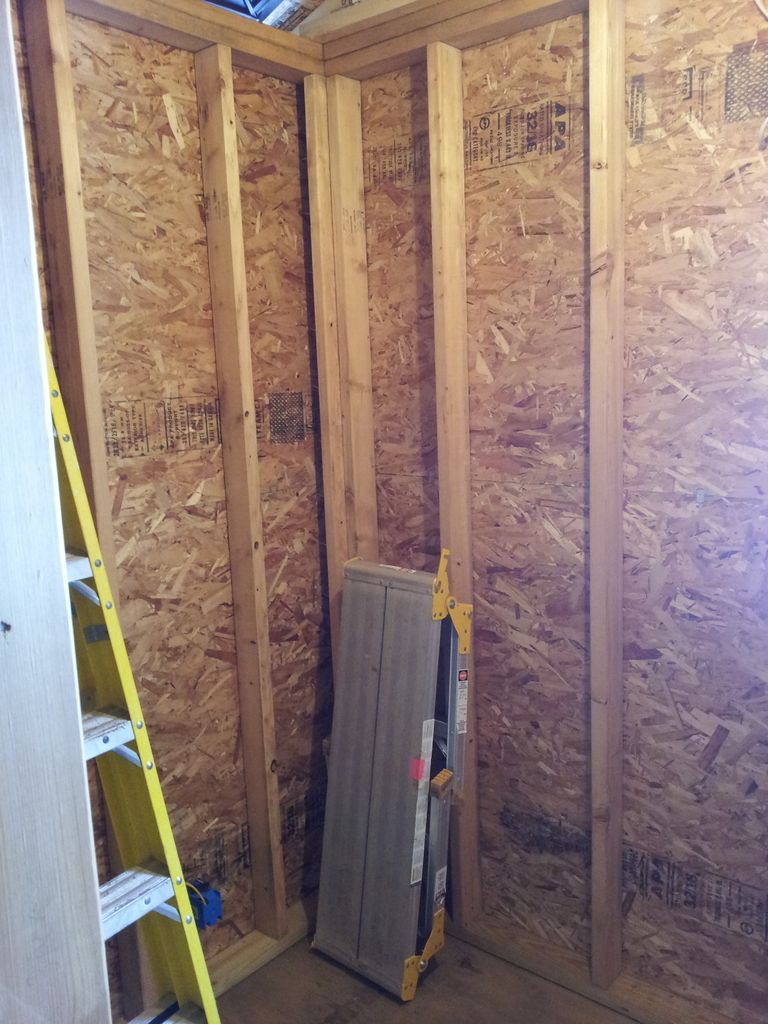
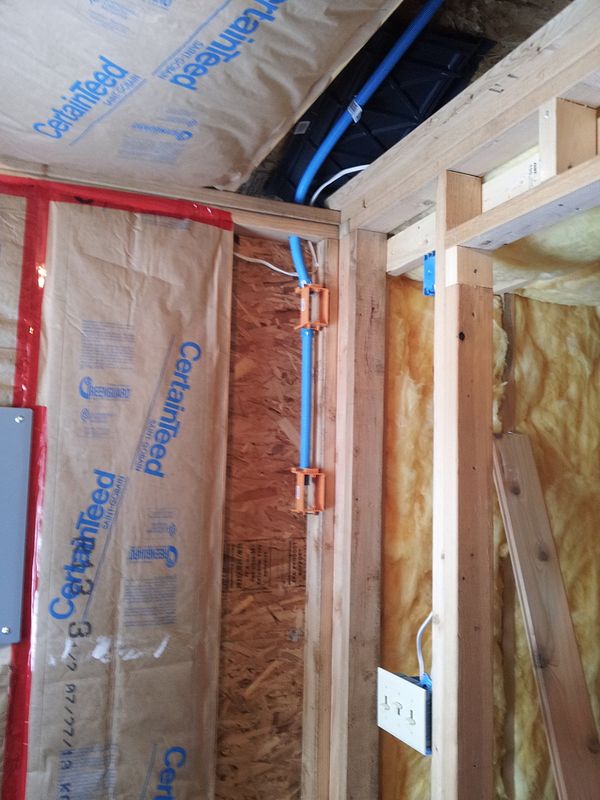
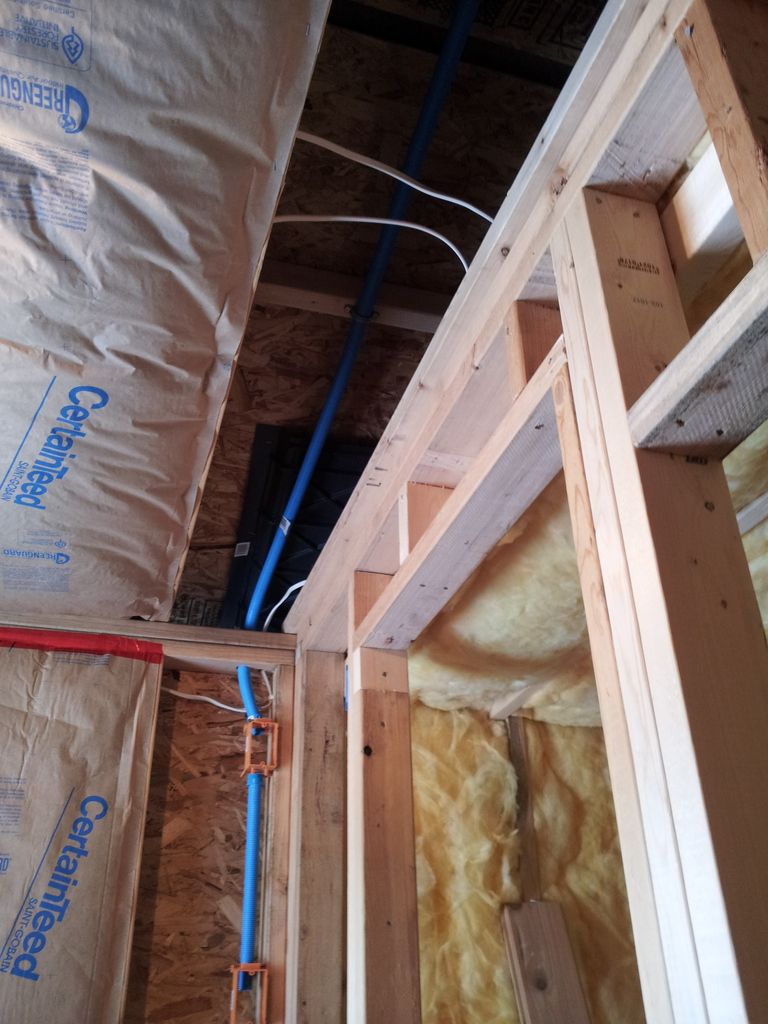
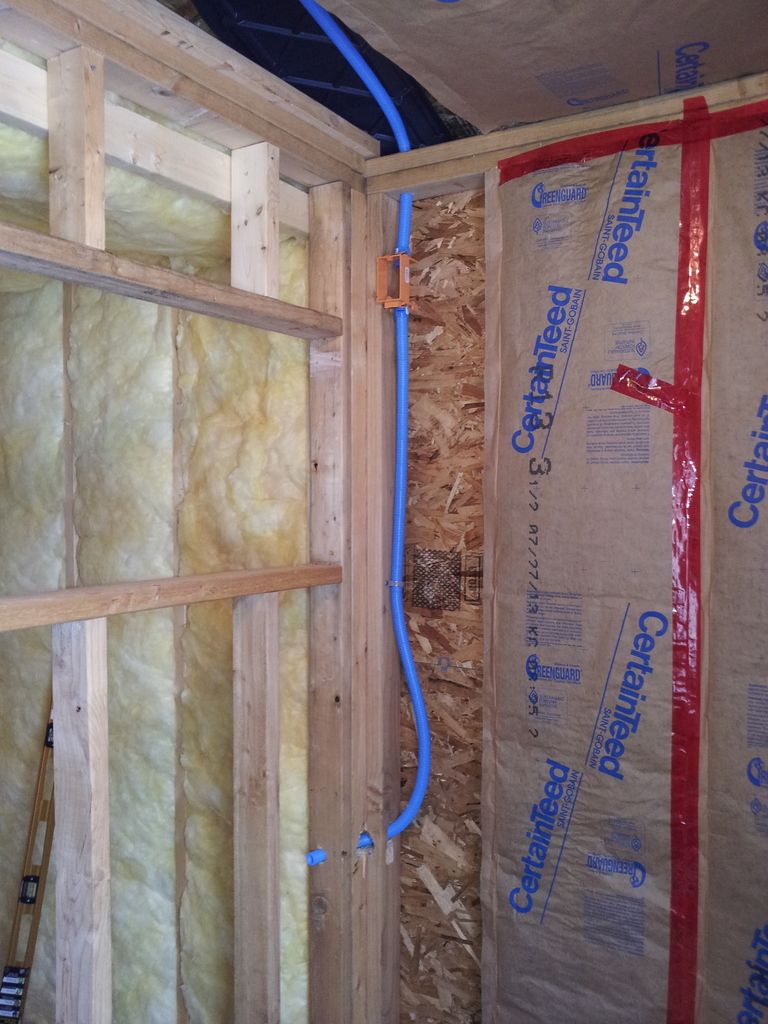
started interior electrical work. as you walk in the exterior door, the panel is on the left wall, such that it is 'covered' when the door is opened. i don't have any plans for expansion so i went with a flush mounting. at the bottom of the panel, you can see the incoming uf feeder. adjacent to that is the bare grounding electrode conductor connected to the ground rods outside. the yellow cable on the right is the 20 amp circuit for the convenience receptacles. there is one receptacle in the changing room (bottom of photo) and the cable continues up over the changing room to the wall opposite the photo, where it connects to the exterior receptacle.

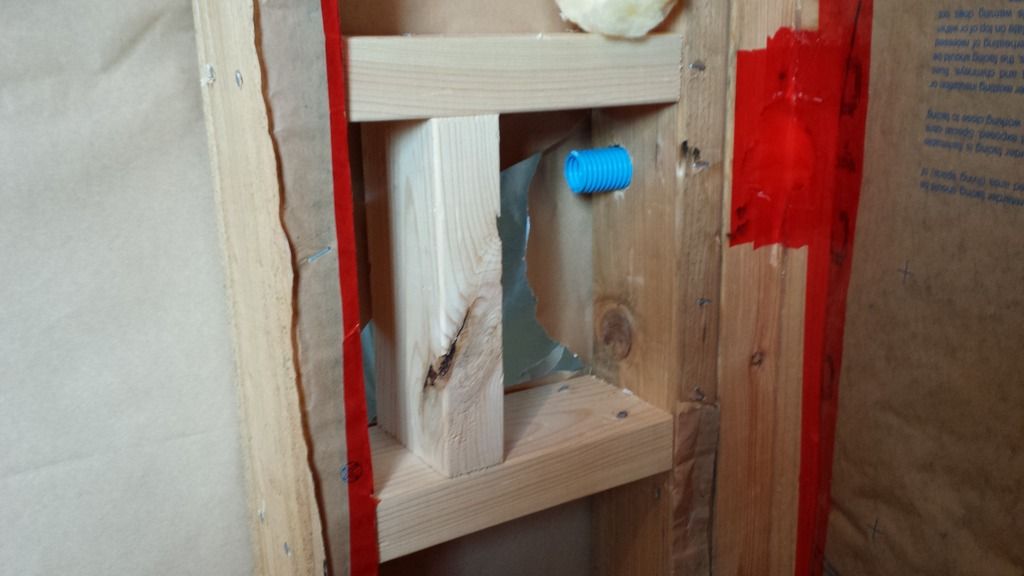
the white cable coming out the top is a 15 amp circuit for lighting. the two blue boxes on the right are in the shared wall with the hot room (that's the hot room door opening on the far right). the upper box is to serve the light in the hot room. the lower box is a three-gang box in the changing room for the the lights: hot room, changing room and exterior:

20131129_155611_zpscjomdbmg.jpg
 
12/05/13 update

a little more exterior work. i finished off the front facing, up to where i need to start cutting angled siding pieces. also got a mount for the exterior light. i went back and forth on styles and finally opted for a vinyl mount, specifically for beveled siding:

20131205_072733_zpsluwtmmam.jpg


20131205_072743_zps5qo2khty.jpg
 
12/08/13 update

some interior shots, its hard to take decent photos in such a tight space. first is looking through where the hot room door will be, into the changing room. note the house wrap wrapped around the door framing into the interior. the white cable adjacent to it is for the exterior light by the door:

20131208_084743_zpsqgabtkci.jpg


to the left of the photo above:

20131208_084749_zpsmz9ynfqe.jpg


and even further to the left, the side of the changing room. the blue box and yellow cable near the bottom is for the exterior convenience receptacle:

20131208_084804_zpsvnvwcbom.jpg


inside the hot room, insulation starting on the walls. i wanted to drop the hot room ceiling down so installed some 'rafters' below the top plates:

20131208_122431_zpsgibipuvv.jpg


there is a 2x4 on edge along the center of the room. i placed another 2x4 in the horizontal, with the long side flush against the bottom edge of the vertical 2x4. i drilled into the short edge of the vertical 2x4 to counter-sink some screws into the roof trusses above. the horizontal 2x4 is nailed into the vertical spine 2x4. then i screwed 2x4s on the vertical and parallel with the trusses. same deal, countersunk the screws since i didn't have screws that were, like, 6" long that could go through the entire 2x4 and into the one above. then i nailed the ends of the 'rafter's into the 2x6 stud walls. also note the black baffles up against the roof. these maintain a clear air channel against the roof, from the soffit to above the insulation. without this, the ceiling insulation would butt tight up against the roof sheathing and prevent air from transferring up through the soffit and the lathed siding to the ridge vent above. super-critical for a structure like this? maybe not but i'm only doing this once:

20131208_122437_zps9zfmx6ja.jpg


shot from the exterior door into the hot room, best angle i could get. hot room exterior walls and ceiling insulation installed. it was amazing how much warmer that room felt with the insulation up:

20131208_161234_zpsij9umy5c.jpg
 
12/21/13 update

insulation work in the changing room. i used faced insulation in here, with taped seams. i also put in some low voltage boxes and raceway for an audio system with speakers. lower orange box would have a shelf for equipment to sit on and be the location where speaker wire enters the walls. upper box would be one of the speakers in the changing room, near the ceiling. you may also notice the stud for the door opening, looks like it was 'extended' in height. and it was! my original plan was to build my own door between the hot room and changing room and i framed the opening as such. but after some thought, i didn't have enough faith in my woodworking skills to make a door that would be tight and insulated so i opted for a pre-hung cedar sauna door. it has a larger rough opening than i planned so i had to make some modifications to that shared wall between the hot/changing rooms:

20131221_125601_zpsvrjpmcwj.jpg


looking up in the changing room, raceway routed overhead to the opposite side of the changing room, for the other speaker. the two white cables are the lights for the changing room and exterior:

20131221_125609_zpshqwmt2ji.jpg


overhead shot. i secured the raceway periodically so it will be 'stiffer' and easier to pull cables through. the raceway is called 'electrical nonmetallic tubing' (ENT) but is also commonly referred to as 'smurf tube':

20131221_125618_zpsooceptqg.jpg


and the opposite end of the changing room, upper orange box is for a speaker. the ent continues down the wall and terminates. idea here is to have the tubing enter the hot room, below the upper bench. the location on the shared wall will be for an exhaust grill, to help ventilate the hot room:

20131221_125627_zpscoslxfzl.jpg


the 'attic' above the hot room, with all the insulation installed. recall the earlier photo of the lowered ceiling framing installed in the hot room. i used r-11 batts, 3.5" thick by 15" wide, between the lowered 'rafters'. there was a 3.5" gap between the top of the lowered rafters and bottom of the roof trusses, created by the 2x4 on vertical in the middle of the room. so i put another layer of r-11 batts in that cavity, orientated in the opposite direction of the layer below. now the insulation is up to the bottom of the roof trusses. for those, i used r-19 batts, 6.25" thick by 23" wide, between the trusses. these batts are parallel with the lower layer of insulation and perpendicular to the middle layer, helps avoid gaps. so all told, i have an r-41 ceiling in the hot room with r-19 walls and an r-10 floor (from the xps foam board):

20131221_134147_zpsppm6r43d.jpg


all insulation in except the common wall:

20131221_140222_zpshozopogs.jpg


light in the changing room. this is just a cheapo base until the ceiling is finished. stud walls in changing room are 2x4s so i have r-13 faced insulation on the walls, with r-19 faced insulation on the ceiling, between the roof trusses (the changing room does not have a lowered ceiling like in the hot room). also note the exterior light fixture is installed but i don't have a full shot of it:

20131221_140226_zpsx24cibmo.jpg
 
01/07/14 update

happy new year! sauna stove is here. looks like a beauty. i went with the tylo sport 8 kw electric heater. it has a unique feature compared to other electric heaters, 'chimneys' on the sides where the heating element passes through but there are no rocks. rocks are in the center portion only. idea is that while heating, not all the heat goes into the rocks, a good portion heats the air directly, like an element in an electric oven. possibly just a marketing ply but it sounded good to me. i opted for the standard controls, built into the unit (note the temperature and timer dials in the lower right). there are fancier versions out there where the control box is remote from the heating unit but i couldn't justify the extra expense or wiring. there is some cool stuff out there, like the ability to fire up a heater over wifi, set a pre-timer to turn the unit on a half hour before you get home, etc. there are some really cool units available in the european market, real works of art. they are totally safe but many of them don't meet particular aspects of american safety codes so alas, many are not available for retail sale:

20140107_204626_zpsjq71yx0k.jpg
 
01/11/14 update

started insulating the common wall between the hot and changing room. the small 'window' in the wall is for a fresh air intake. idea is to locate it near the heater, so it draws in cool air from below and forces it up into the space. another common approach is to leave a gap under the hot room door. also added blocking for mounting the heater. and note the milkhouse heater. despite the insulation, this is still january in wisconsin and heat is a must:

20140111_135208_zpsywh87t9w.jpg


more of the shared wall between the hot and changing room. the walls really get defined once the insulation is in there:

20140111_135213_zpslr6ag2zt.jpg


a close up of the heater blocking. blocking spaced based upon the mounting bolt locations on the heater. there are also requirements for minimal clearance from side walls, etc. the outlet in the corner is the 40 amp, 240 volt connection for the heater:

20140111_135221_zpsf4sshkbn.jpg


first pieces of vapor barrier going up in the hot room. it is very common to use foil paper, it makes a good seal, is rated for high temp and has reflective properties which help direct heat back into the space. bottom layer goes on first, subsequent layers above will overlap to prevent any moisture from intentionally going into the insulation, sort of like putting up siding:

20140111_140840_zps8pl1qg3t.jpg


more foil work:

20140111_144221_zpscbbi6eay.jpg


first layer complete. the stuff is fairly fragile and susceptible to tearing, needed to take my time:

20140111_144229_zps1o8fc7ds.jpg
 
looking very nice so far.

It seems a lot of american car/electrical regulation is made specifically to keep european brands out of the market....

Too bad, harvia and narvi make the best stoves by a big margin.
 
It seems a lot of american car/electrical regulation is made specifically to keep european brands out of the market....

Too bad, harvia and narvi make the best stoves by a big margin.

i believe most of it has to do with listing agencies. some european equipment is built to standards/testing that isn't recognized here in the states. the equipment would likely pass the american standards/tests but would require the manufacturer to pay for the analysis, tests, etc. i suspect for many manufacturers that the costs just aren't worth it.

there are cheaper heaters out there than the tylo but i really liked the features of it and it is made in sweden.
 
01/12/14 update

more foil work, starting on the second layer:

20140112_112551_zpsmrzh9wo8.jpg


around the window. a little hard to see in the photo but i am using foil tape at the seems to keep everything tight:

20140112_112558_zpsszgdsjhn.jpg


from the changing room, looking in. not the faced insulation on the changing room side of the common wall, more on that later:

20140112_112611_zpsinefnpf3.jpg


top layer of the walls complete, moving on to the ceiling:

20140112_125946_zpsl1kfaqu3.jpg


small openings in the common wall for the electrical and vent:

20140112_125959_zpsotm5dtag.jpg


more ceiling work. note the left side, i had issues with the insulation sagging and causing problems getting the foil up so i used some tape to hold it in place:

20140112_130008_zpsqlvk0qsh.jpg


almost there. foil is held in place with staples:

20140112_135908_zpsb5wqtv3y.jpg


last piece:

20140112_135915_zpsuec9dusn.jpg


done! finally, some protection from those mind-reading satellites:

20140112_135933_zps9wfjn8oz.jpg
 
01/17/14 update

cedar tongue and groove, hanging out in my living room. like the siding, no real good spot to store it. i went with the 'nicer' 16' pieces and also got from a legit lumber yard. a bit better quality than the local big box stores. took a while to add up all the cuts i would need to determine how many pieces to get. this stuff is expensive and i didn't want any more scrap than was absolutely necessary:

20140117_081355_zps0y7e2qww.jpg
 
i believe most of it has to do with listing agencies. some european equipment is built to standards/testing that isn't recognized here in the states. the equipment would likely pass the american standards/tests but would require the manufacturer to pay for the analysis, tests, etc. i suspect for many manufacturers that the costs just aren't worth it.

there are cheaper heaters out there than the tylo but i really liked the features of it and it is made in sweden.

You are absolutely correct in assuming that's why they don't enter the marketplace.

Even for things such as RO water systems, there is a Canadian company who is just finally breaking into the US market as they could finally justify the permits and certifications to sell in the US, let alone setting up marketing and bases of operations. (Even though Canadian code sometimes is more stringent than US)..
 
01/18/14 update

framing out the grille for the sauna vent. the upper bench in the hot room is opposite this wall. idea is to have a wood 'duct' underneath that upper bench, with an intake at the end opposite this grille in the photos. the intake will be in the opposite corner of the hot room as the heater. air from the changing room will be drawn into the hot room through the vent below the heater. the heater will heat the air and push it up to the ceiling. as it cools, it will fall in the corner opposite the heater, go through the intake under the bench, through the duct under the bench and out through the grille into the changing room, sort of a natural convection. the blue conduit is for speaker wire, intent is to mount speakers under the bench and use the duct as a wireway:

20140118_085927_zpsduvcg4a8.jpg


underlayment in the changing room, no more walking on the crappy treated plywood. underlayment screwed into the floor joists below:

20140118_155540_zpsaxru68wz.jpg


i went with luxury vinyl sheeting in the changing room. i debated porcelain tile but it seemed like a lot of work for such a small area. test fitting for cutting:

20140118_155552_zpsvhkr6sdf.jpg
 
01/19/14 update

flooring glued down:

20140119_085649_zpsumbpmh3z.jpg


note the dairy heater in the foreground. even with the insulation up, it still gets cold in there:

20140119_085701_zpshlikvjnf.jpg


hot room work. for the hot room floor, i went with painted exterior vinyl. i didn't want vinyl sheeting due to the heat and none of the other products seemed worth it to me. no drain either, intent is to have a dry sauna, a little sweat/water won't hurt. so i painted the floor and then put down some heavy paper to protect it while i worked in the room. the wood strip you see is treated 1x2 that the tongue and groove will rest upon. my thoughts was that if any water does pool up for some reason, i didn't want it messing with the cedar:

20140119_094809_zpsih8b841m.jpg


20140119_094819_zps6pgyvjux.jpg


now the fun begins, first piece of t&g installed! i graded all the t&g, selected the knottier pieces to use under the benches:

20140119_100322_zps5mkg7sjl.jpg


blurry photo but the stuff goes up pretty quickly. time consuming effort is getting the damn wood out there. i didn't have a good way to set anything up outside (bunch of snow on the ground) so i cut a few pieces in the garage and carry them out there for nailing:

20140119_104942_zps4x83ilvj.jpg


some changing room progress:

20140119_112620_zpsq9yzjpid.jpg


corner of the changing room, a bench will go here. intent is to not have any corner trim on the walls, the t&g butts tight. actually not tight, there is a small gap for expansion. the bulk of the gap is covered up by the end of the piece that butts up against it:

20140119_115316_zpso21t3elw.jpg


small pieces fill in the short wall sections. i butted these ends tight against the door frame, with a slight gap at the corner that gets covered up by the piece on the adjacent wall:

20140119_150746_zpswnmsbbfc.jpg


wall in changing room opposite the bench, where the electrical panel is installed:

20140119_154529_zps5igeb48c.jpg


close up of a receptacle:

20140119_154541_zpsassqvf5o.jpg


where the grille will be installed for the air return. pieces on the left don't match up exactly, that will be covered with door trim. and note that the insulation facing has been removed. i didn't realize it at first but with foil vapor barrier on the hot room side and faced insulation on the changing room side, that common wall had become an 'insulation sandwich'. any moisture that finds its way into the wall cavity will have a hard time getting out. so i took off the facing in the changing room:

20140119_170245_zpsosa9rh6h.jpg


some corner work in the hot room, with intake vent installed:

20140119_170309_zpsqg9j89bw.jpg
 
01/25/14 update

wtf, broken window. came out this morning to find the exterior half-lite window spider-webbed. it is double pane glass and it was the inside pane that broke. made no sense, there were no tools that could have fallen against it, i didn't bump it, no idea. so i had to order a replacement:

20140125_085434_zpseyssjlki.jpg


undeterred by the broken window, i pressed on. paneling the ceiling:

20140125_103841_zpshzl6zurz.jpg
 
likely didn't have enough "play" between the window and the building when the water in the wood expanded during frost.


OP -- great thread!

Kharnynb has a good point. Did another window bust when temperatures warmed up?
 
likely didn't have enough "play" between the window and the building when the water in the wood expanded during frost.

Kharnynb has a good point. Did another window bust when temperatures warmed up?

door is not too tight, in my opinion. it operates smoothly, is level/square, i used low-expanding foam between the frame and rough openings (specific for doors/windows), etc. jumping ahead here a bit but i replaced this window in early 2014 and here it is 2017 with no issues. sauna has been used about 275 times in that period, from 70 degree f on a warm summer evening to -10 degree f in the middle of january. seems more like a manufacturing defect than anything else.
 
01/26/14 update

ceiling complete, getting ready for the last few rows on the walls:

20140126_114712_zpsg18ljkxp.jpg


my trusty tools. i used the piece of t&g to hold boards in place while nailing and used the 4' level to periodically check levelness. every once in a while i would get a slightly warped piece of wood and need to make a correction:

20140126_114734_zpsjqc7e4ic.jpg


more progress in the changing room:

20140126_152346_zpsop3uiq0u.jpg


the blasted broken window, getting replaced in my living room. as soon as it broke, i ordered a new one because i wanted to get it replaced asap. soon after, i reached out to the company to inquire about warranty issues. sure enough, glass breakage isn't covered but in a good faith effort, they offered to send me a replacement window. sweet! i told them i already ordered a replacement and asked if i could get a credit or a refund or whatever. they said sorry, 'we don't do that'. so now i figure i will be stuck with an extra replacement window whn it dawned on me: return the one i ordered. i said it didn't fit but because it was a special order, i was charged a $25 restocking fee. well, better than paying for a full window i didn't need:

20140130_184920_zpsyckkvhpn.jpg
 
why not grab a homebrew account, you can just put the pics here :D

i could but i would still need to edit all the posts. my thinking was homebrewtalk could shut down tomorrow and i'd have to reload everything so i went with one of the more popular hosting sites, one that has been around for 15 years. looks like the joke is on me!:fro:

this thread wouldn't be too bad to fix, i only have about 150 photos in it. my brewery build thread is another animal, about 800 photos in that one, would take forever to correct. i'm riding out the storm right now, with the hopes photobucket will go back to free or if pay, at least something more reasonable.
 
Can you just post a few pics of the finished project? That's what I was waiting for!
 
wow.. that's a huge work. I watched the process because such things inspire me deeply. I don't have an opportunity to build my own real sauna now, but I made my dream (part of it, actually) come true by building a near infrared portable sauna, a few years ago. Now I use it in our bathroom, which is very small. I prop it up against the bathroom door once it’s closed. I then sit on my Squatty Potty and face the lamps. I rotate every 5 minutes or so in an effort to get my whole torso exposed. I sweat quite a bit just this way, but if I really want to sweat, I will also plug in a space heater and heat the bathroom up more so I can get more sweating in. I also do infrared with my CEs, but I use my single lamp unit and clamp it on the drawer next to the sink and lay underneath it.. Portable saunas are cool, definitely recommend to everyone.
 
Last edited:
looks like photobucket allows hotlinking of photos again, albeit with a watermark on it. no matter, i'm finishing off this build thread!

02/01/14 update

with the interior walls/ceiling complete, time for benches. it took a while to pick through the piles at menards to find 2x4 pieces that didn't have knots in them. i couldn't find totally clear pieces but took it as far as i could. a pile of lumber in the living room:

20140201_154553_zpseacmg0v9.jpg


changing room bench constructed and resting against the wall:

20140201_174648_zps7f9fvxtc.jpg


and installed. note the 2x4 underneath supporting it. i debated making the bench able to slide for cleaning removal but decided to screw it to the wall anyway. support edges needed to extend beyond the edge of the bench to attach to a wall stud:

20140201_181848_zpsztynq06a.jpg
 
02/02/14 update

time for the hot room benches, same construction technique as the changing room bench. bench frame is 2x4s on edge and the bench seat is 2x4s flat. 2x4s were ripped down to 2" for the intermediate supports. my very professional kitchen assembly area (bench is upside down):

20140202_110436_zpskgfcrrjp.jpg


here it is resting on the support rails. this is the lower bench so having this one moveable for cleaning seems like a good idea:

20140202_135919_zpsjfgaehxz.jpg


top bench in place. i saved the best pieces for that one, no need to set your bare bottom on a hot knot! one of the pieces i got was super dark so i alternated that with lighter pieces, sort of created a butcher block effect:

20140202_142210_zpsf0yrcmgk.jpg
 

Latest posts

Back
Top