Yankeehillbrewer
Well-Known Member
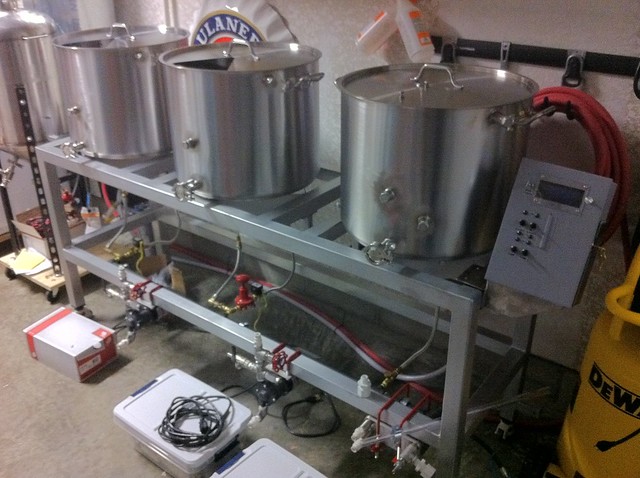
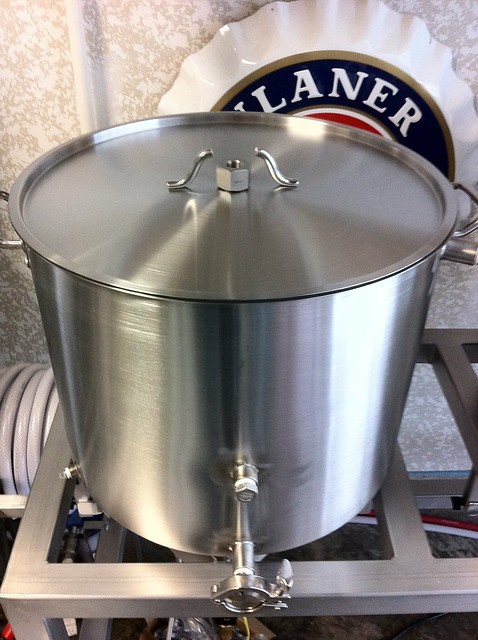
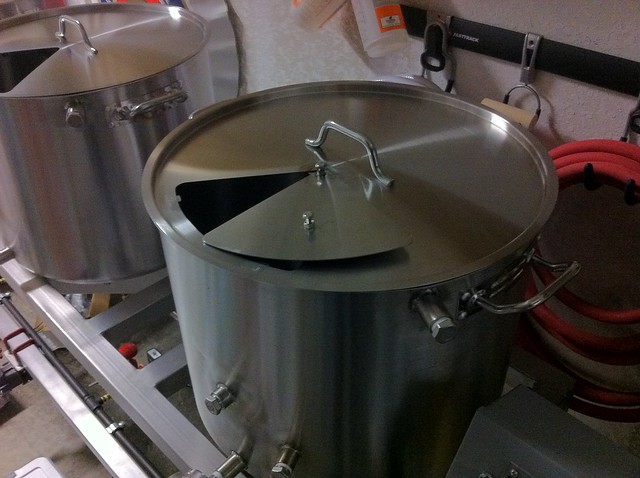
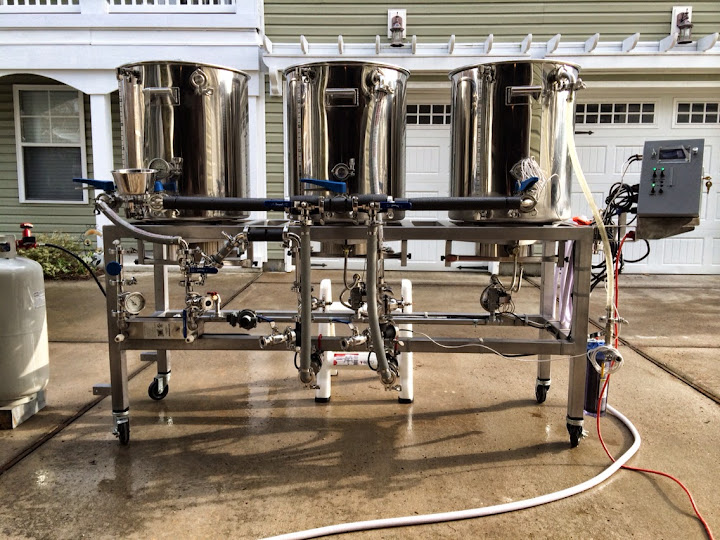
That's a thing of beauty. 
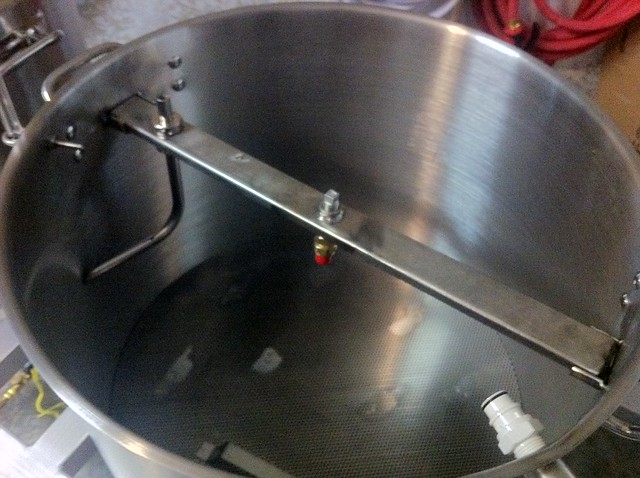
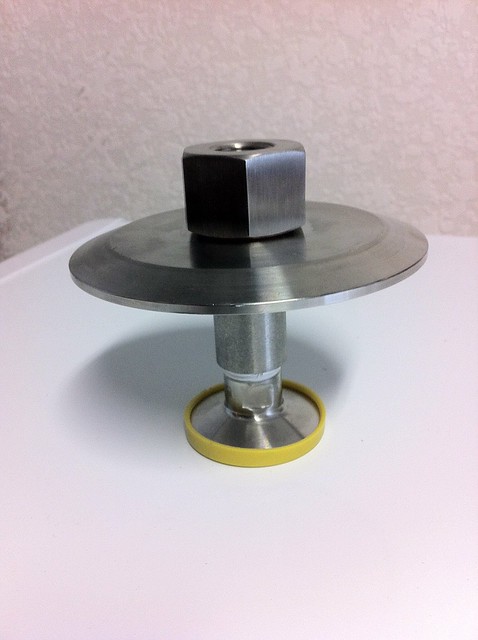
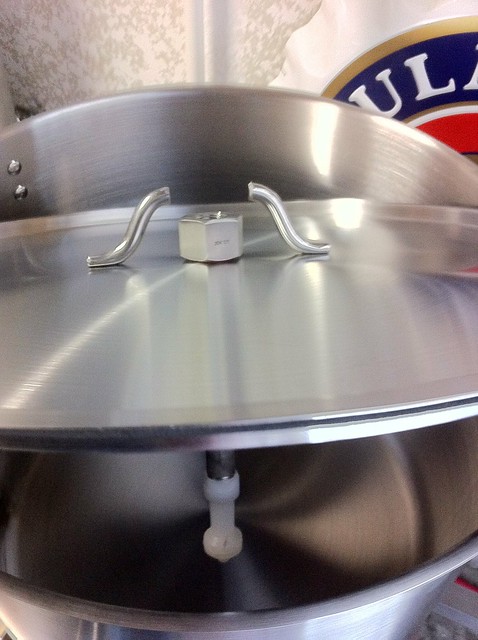
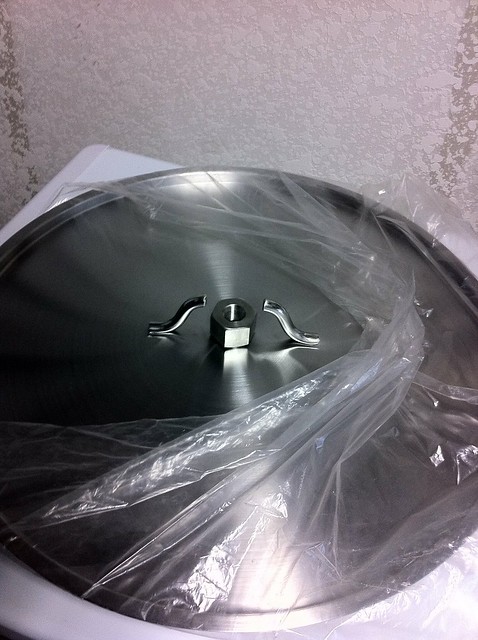
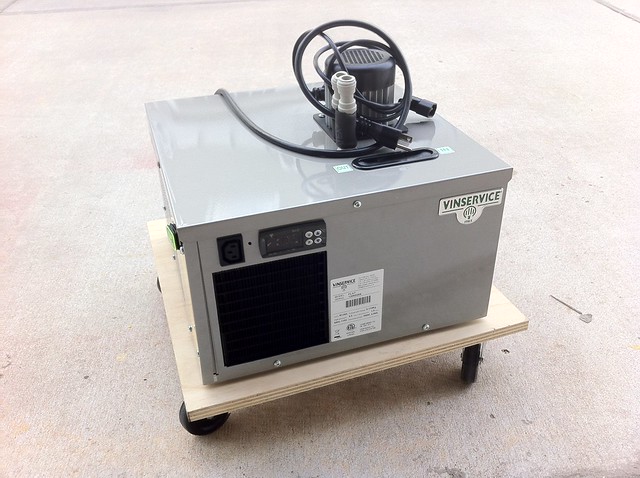
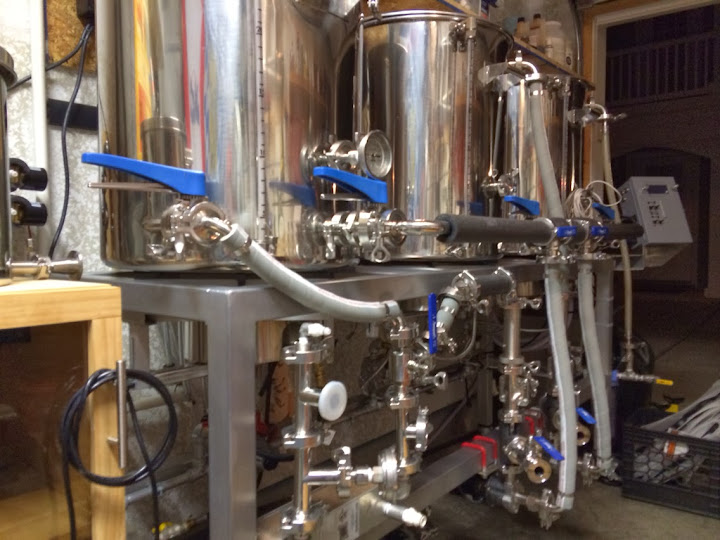
What size are those pots?
What size are those pots?

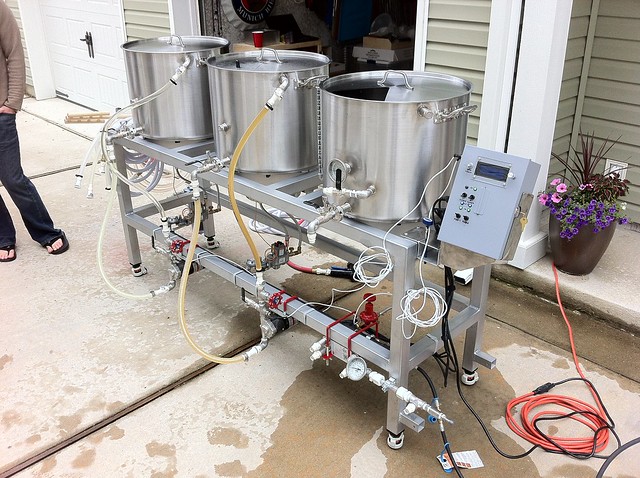
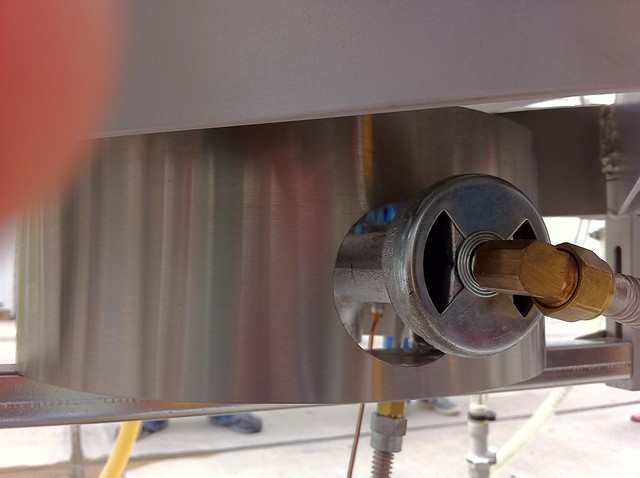
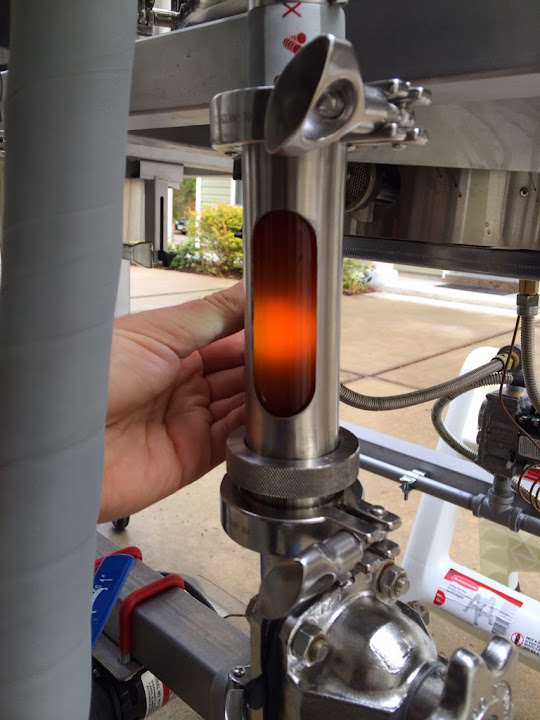
I like the burner adjustability. Smart thinking. I have the Sabco brew frame. Made my own controller. The sabco is sealed for wind blockage I guess, but it's difficult to get enough air in there.
I got it tuned in, but it wasn't easily adjustable like yours.
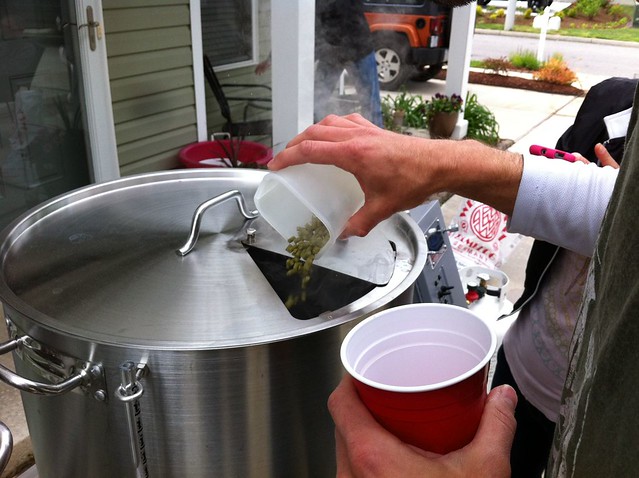
You'll get some heat patina, but won't worry much because you'll be relaxing and having a homebrew!
Nice job.
That's a thing of beauty.
What size are those pots?
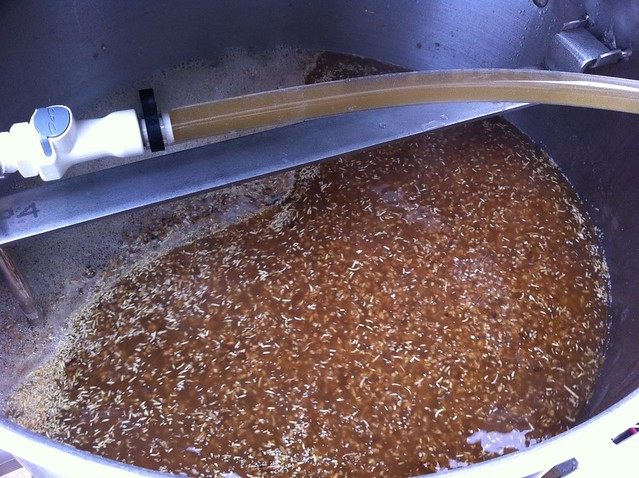
Ok, it looks awesome, but when are we going to see it in action? Keep us posted on the results.


Super impressive! I'll try to read through this thread later tonight.
Thanks for all the help on propane. I'm about ready to brew after a vacation and some warmer temps.
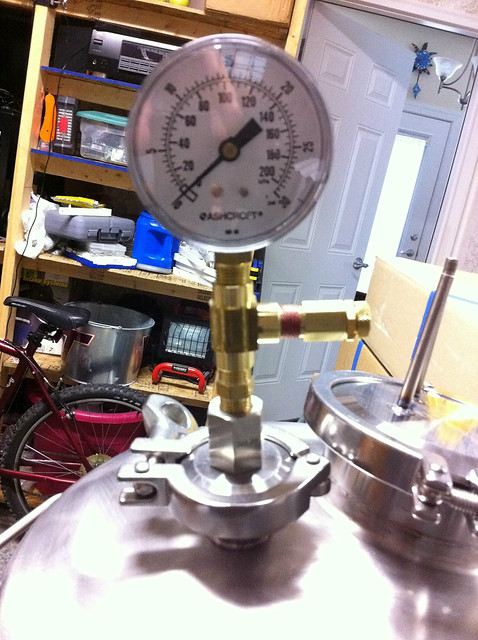
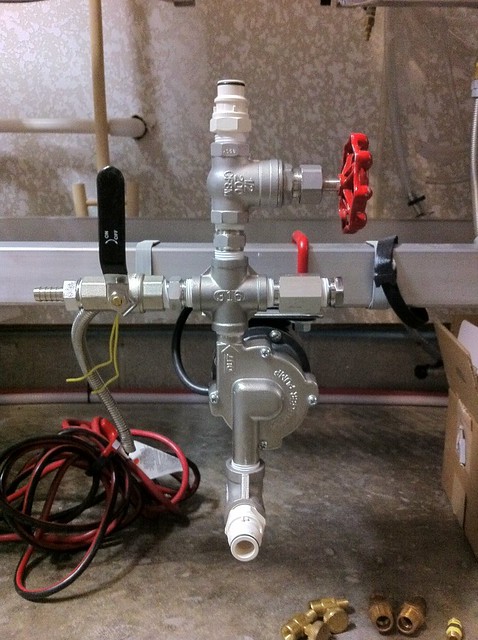
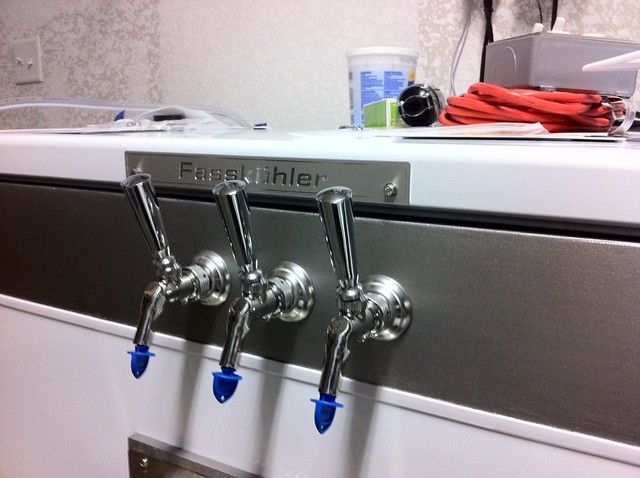
What do you mean by 4-way manifold? Do you mean you have separate pressure gauges you can set for each keg?
Just want to make sure I'm not missing out on anything. I have a 4 gang-valve manifold setup, but I'd need to spend $$$ to independently set each keg to a different pressure.
Awesome rig! You've done an amazing job. A quick question if you don't mind, I've been looking at upgrading my kettles with ones from brewers hardware. Would you mind giving your thoughts on them?
Sent from my iPhone using Home Brew


![Craft A Brew - Safale BE-256 Yeast - Fermentis - Belgian Ale Dry Yeast - For Belgian & Strong Ales - Ingredients for Home Brewing - Beer Making Supplies - [3 Pack]](https://m.media-amazon.com/images/I/51bcKEwQmWL._SL500_.jpg)


