JeffersonStateBrewing
Well-Known Member
- Joined
- May 23, 2021
- Messages
- 106
- Reaction score
- 50
My first build, so it is less than fantastic but will work for my needs, until it doesn't. I am already planning to build a twin to this unit but that will be a little ways down the road.
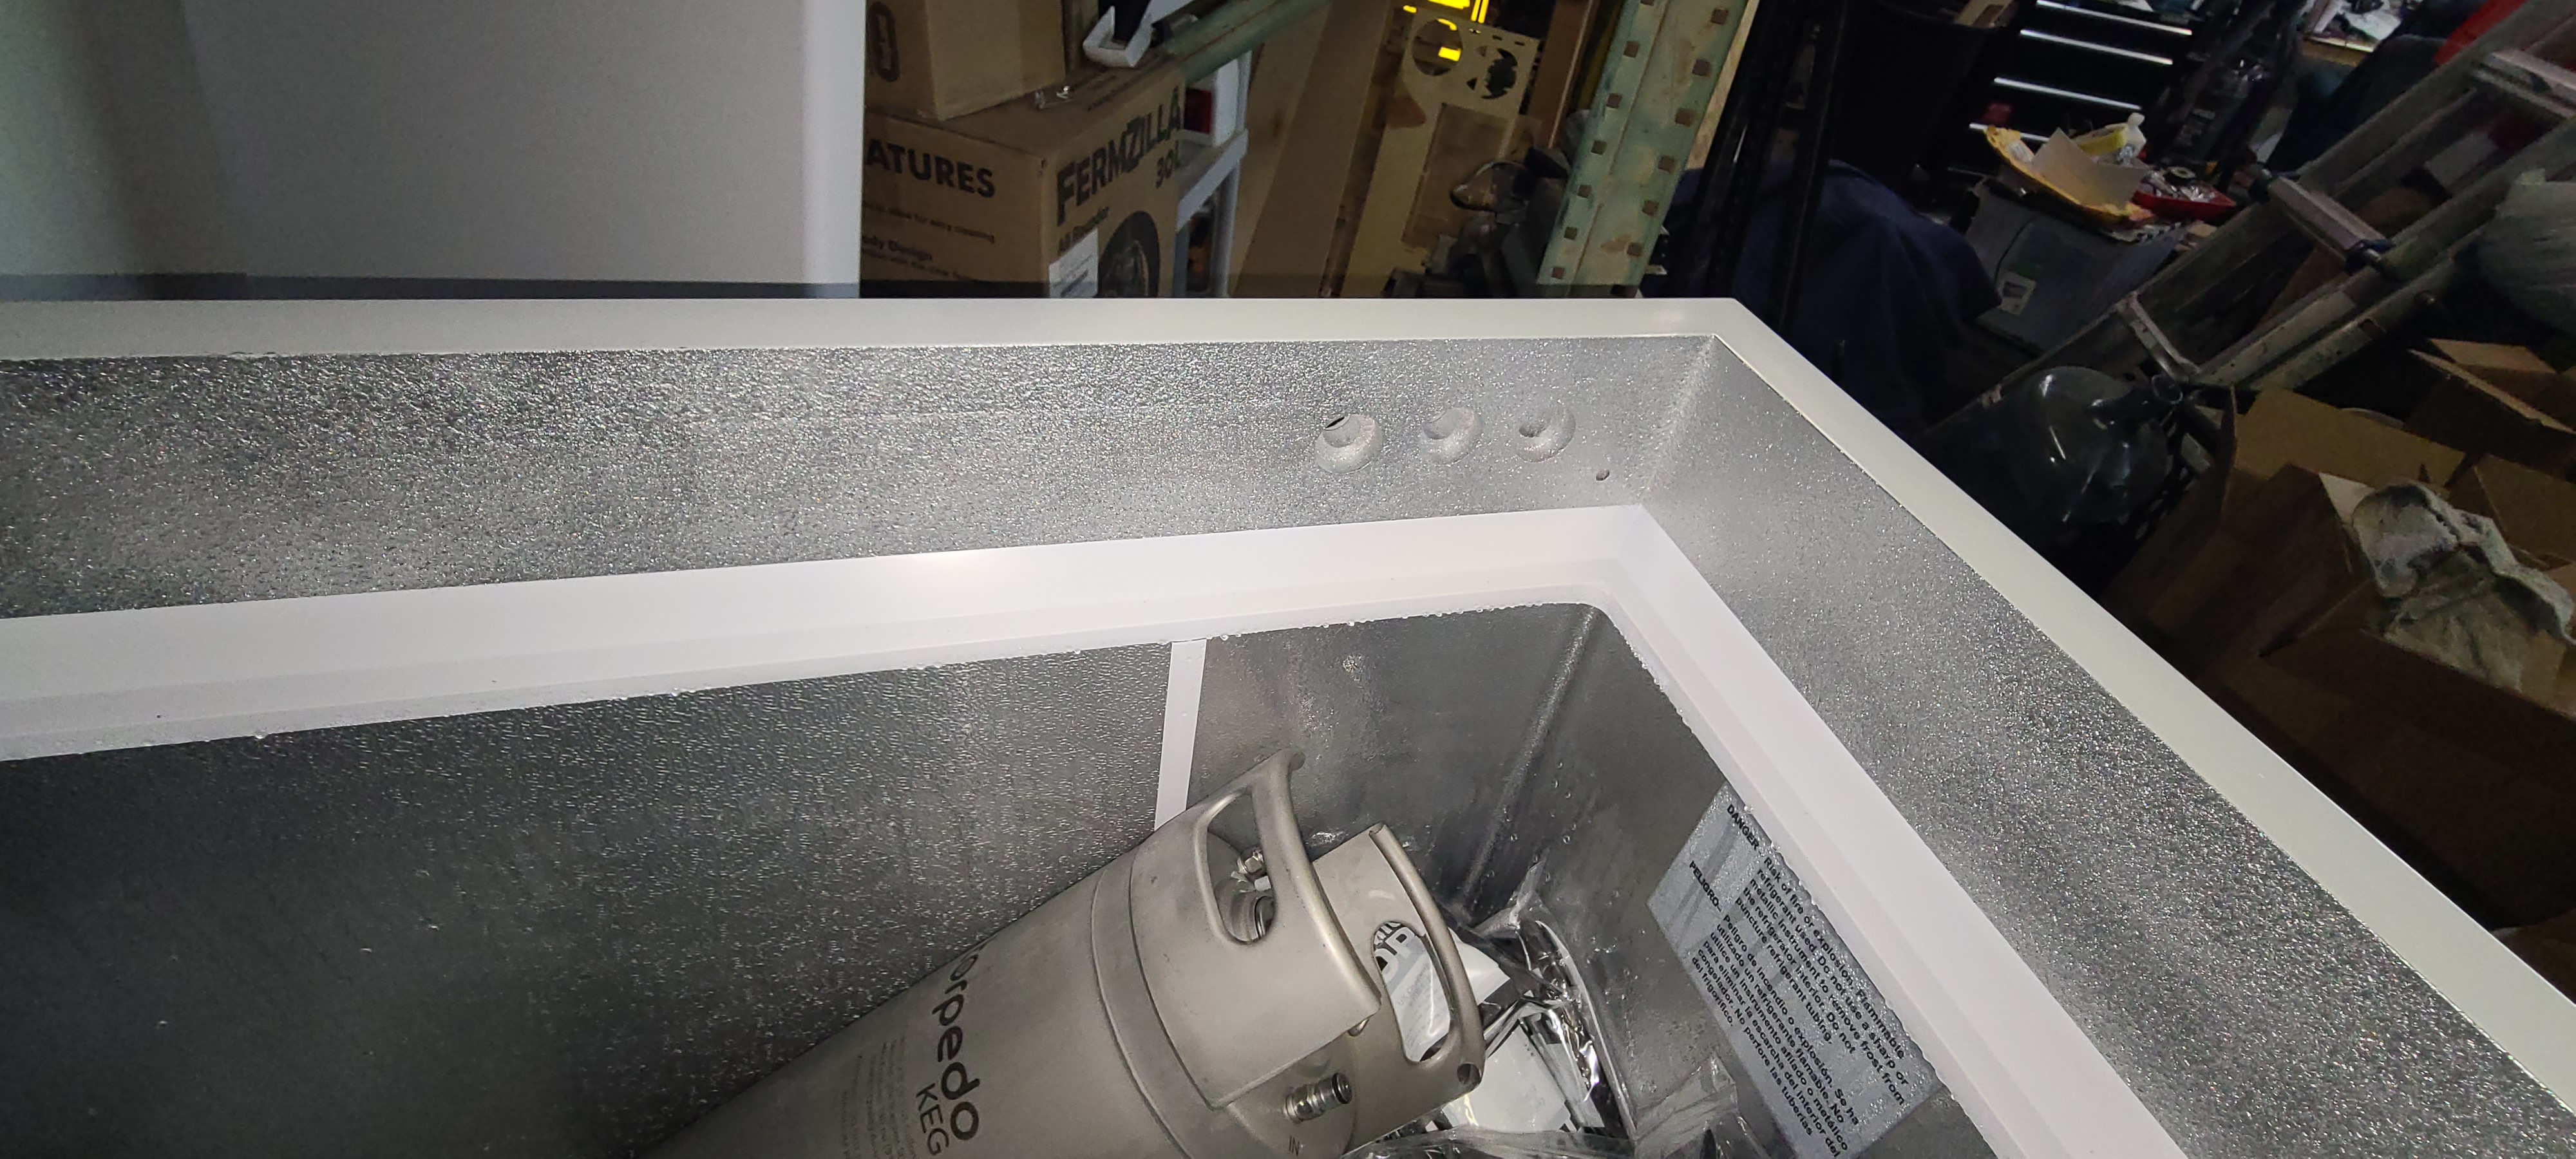
I started with a Frigidaire 14.7c.f. Freezer. I wanted 10 taps, just because, well, why not?
So I started this build a few months ago. I built a base that was 8 inches high with casters built in so I could move the thing if necessary once loaded. I took pictures but now I cannot find them. You will see pics of the base in the coming photos.
Everything is 8/4 Alder. I picked it up at the local hardwood supply store when lumber prices were out of hand. Because the hardwood supply sells their lumber based on the price they paid, the 8/4 Alder was actually cheaper by far than the big box store for 2x8 dimensional lumber. I bought Alder because it was cheap and in stock. The twin to this unit will be made from a harder hard wood, oak, poplar, maple, anything but Alder. Although it is nice, it is extremely soft.
Then right after I got the base finished and got the freezer onto the base I got called to go to work out of town with no break to come home. That took 7 weeks right out of the center of my project. Once home I had to play catchup for a couple weeks before I could continue on the keezer build.
I spent a couple weeks ordering misc parts for my brewing operation, as well as a bunch of not inexpensive parts for the keezer. Included in my shopping spree are:
10 stainless 3 inch shanks with associated hardware
10 Nukataps with self closing springs
30 beer nut - ball lock adapters
30 gas/beer stainless torpedo ball lock disconnects
8 6-gallon torpedo kegs
2 2.5-gallon torpedo kegs
A couple gas manifolds with gauges.
I still need to order beer and gas line, flare fittings for the beer and gas lines, 3 bulkhead fittings, and I am sure a mess of other parts.
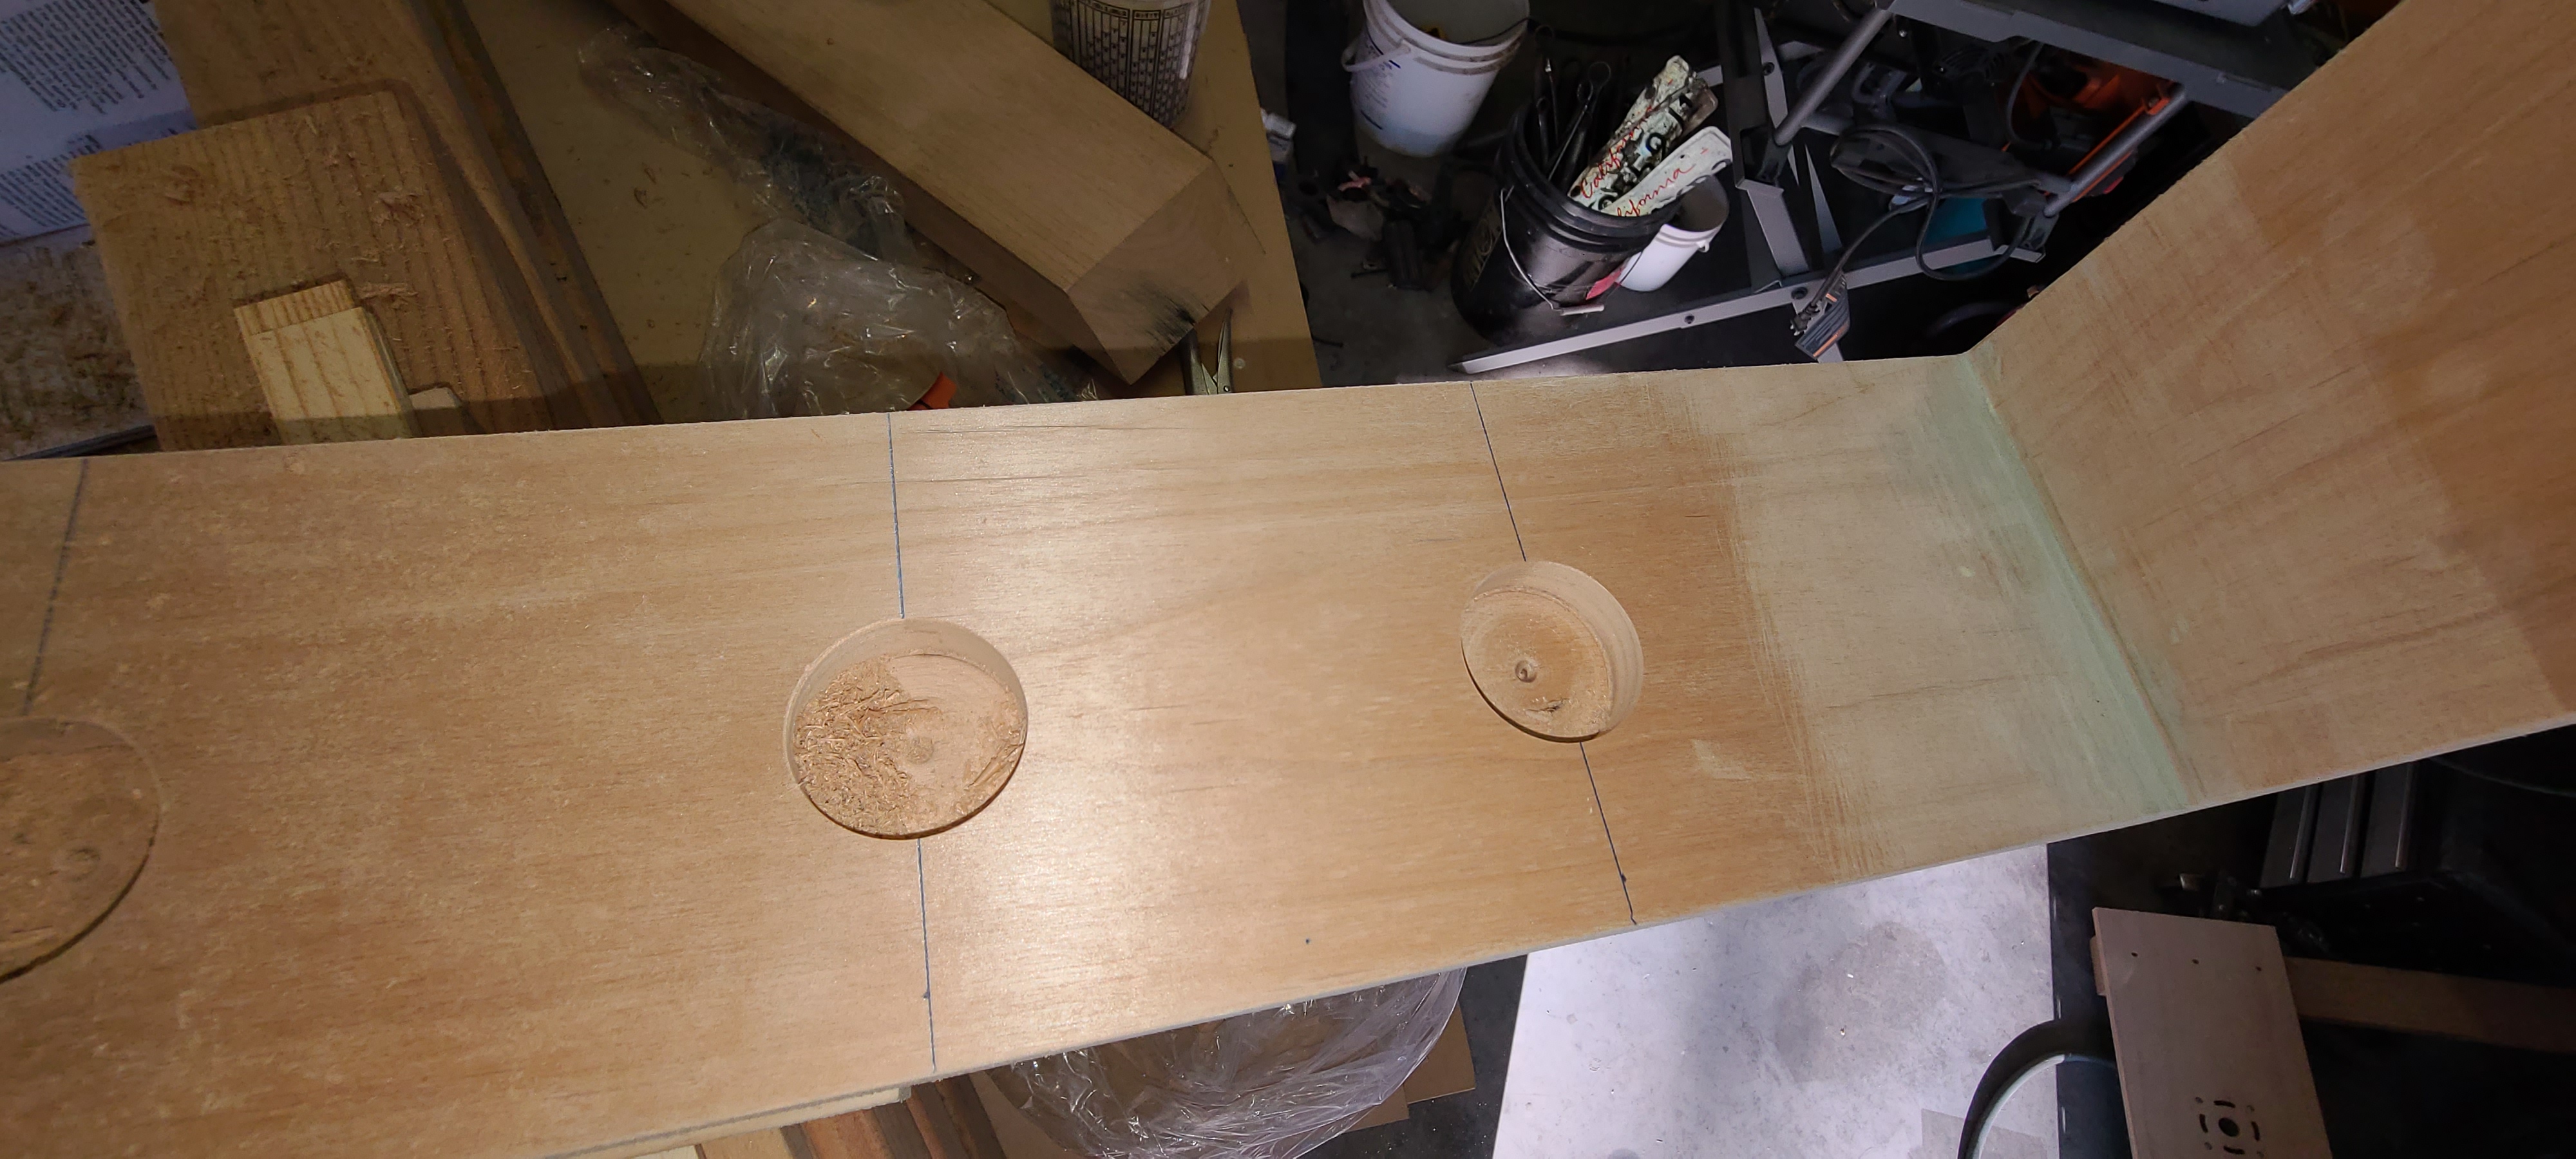
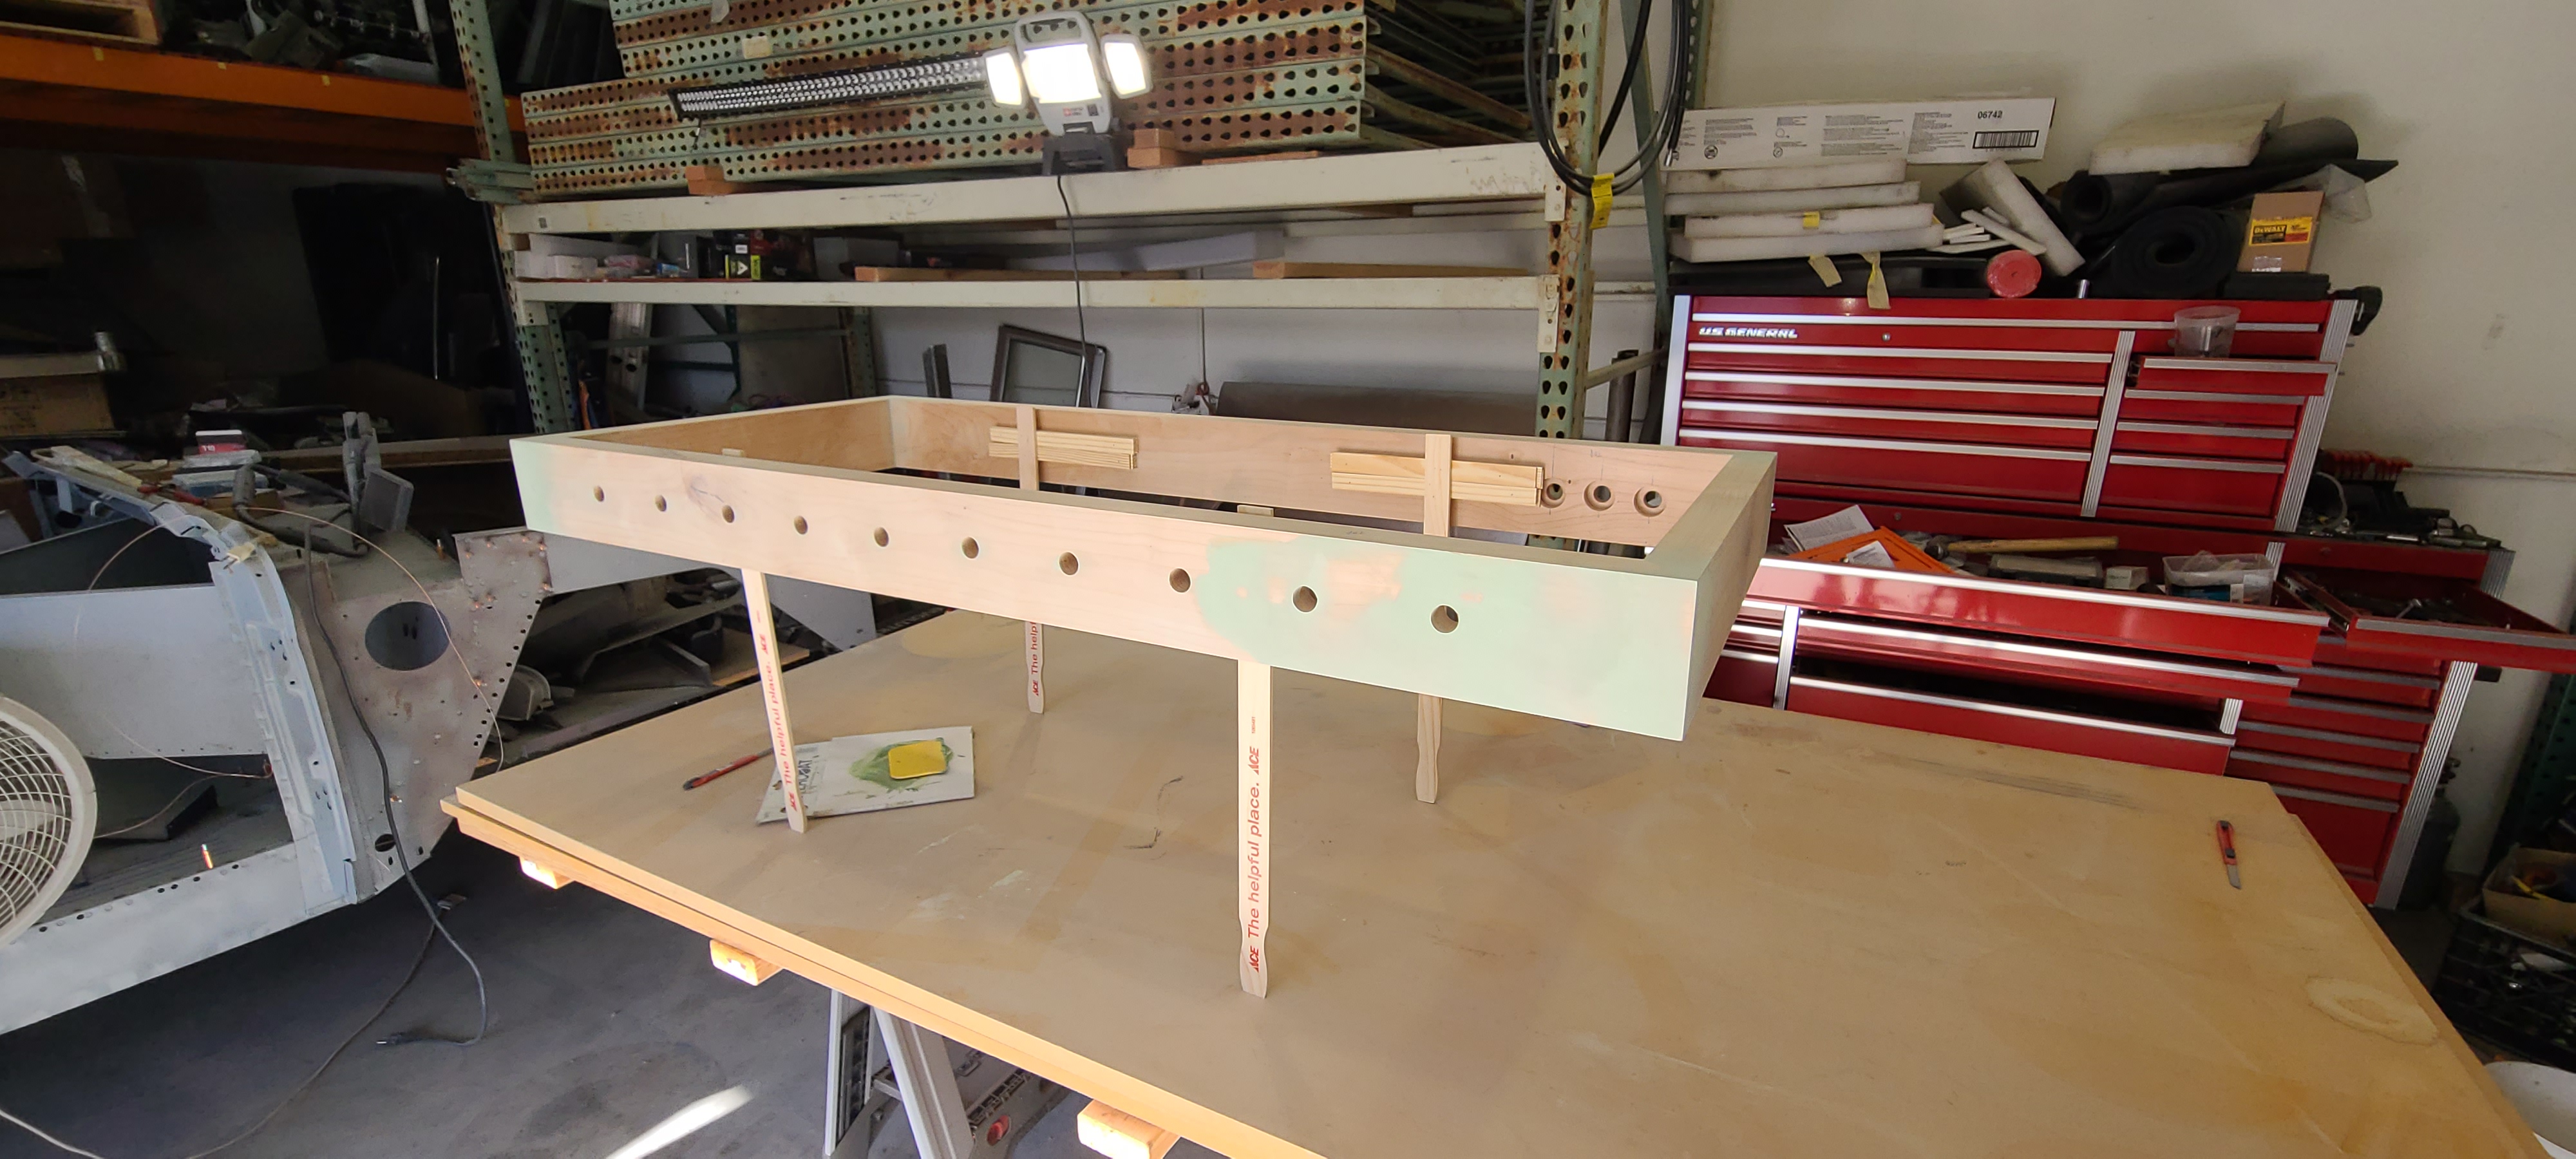
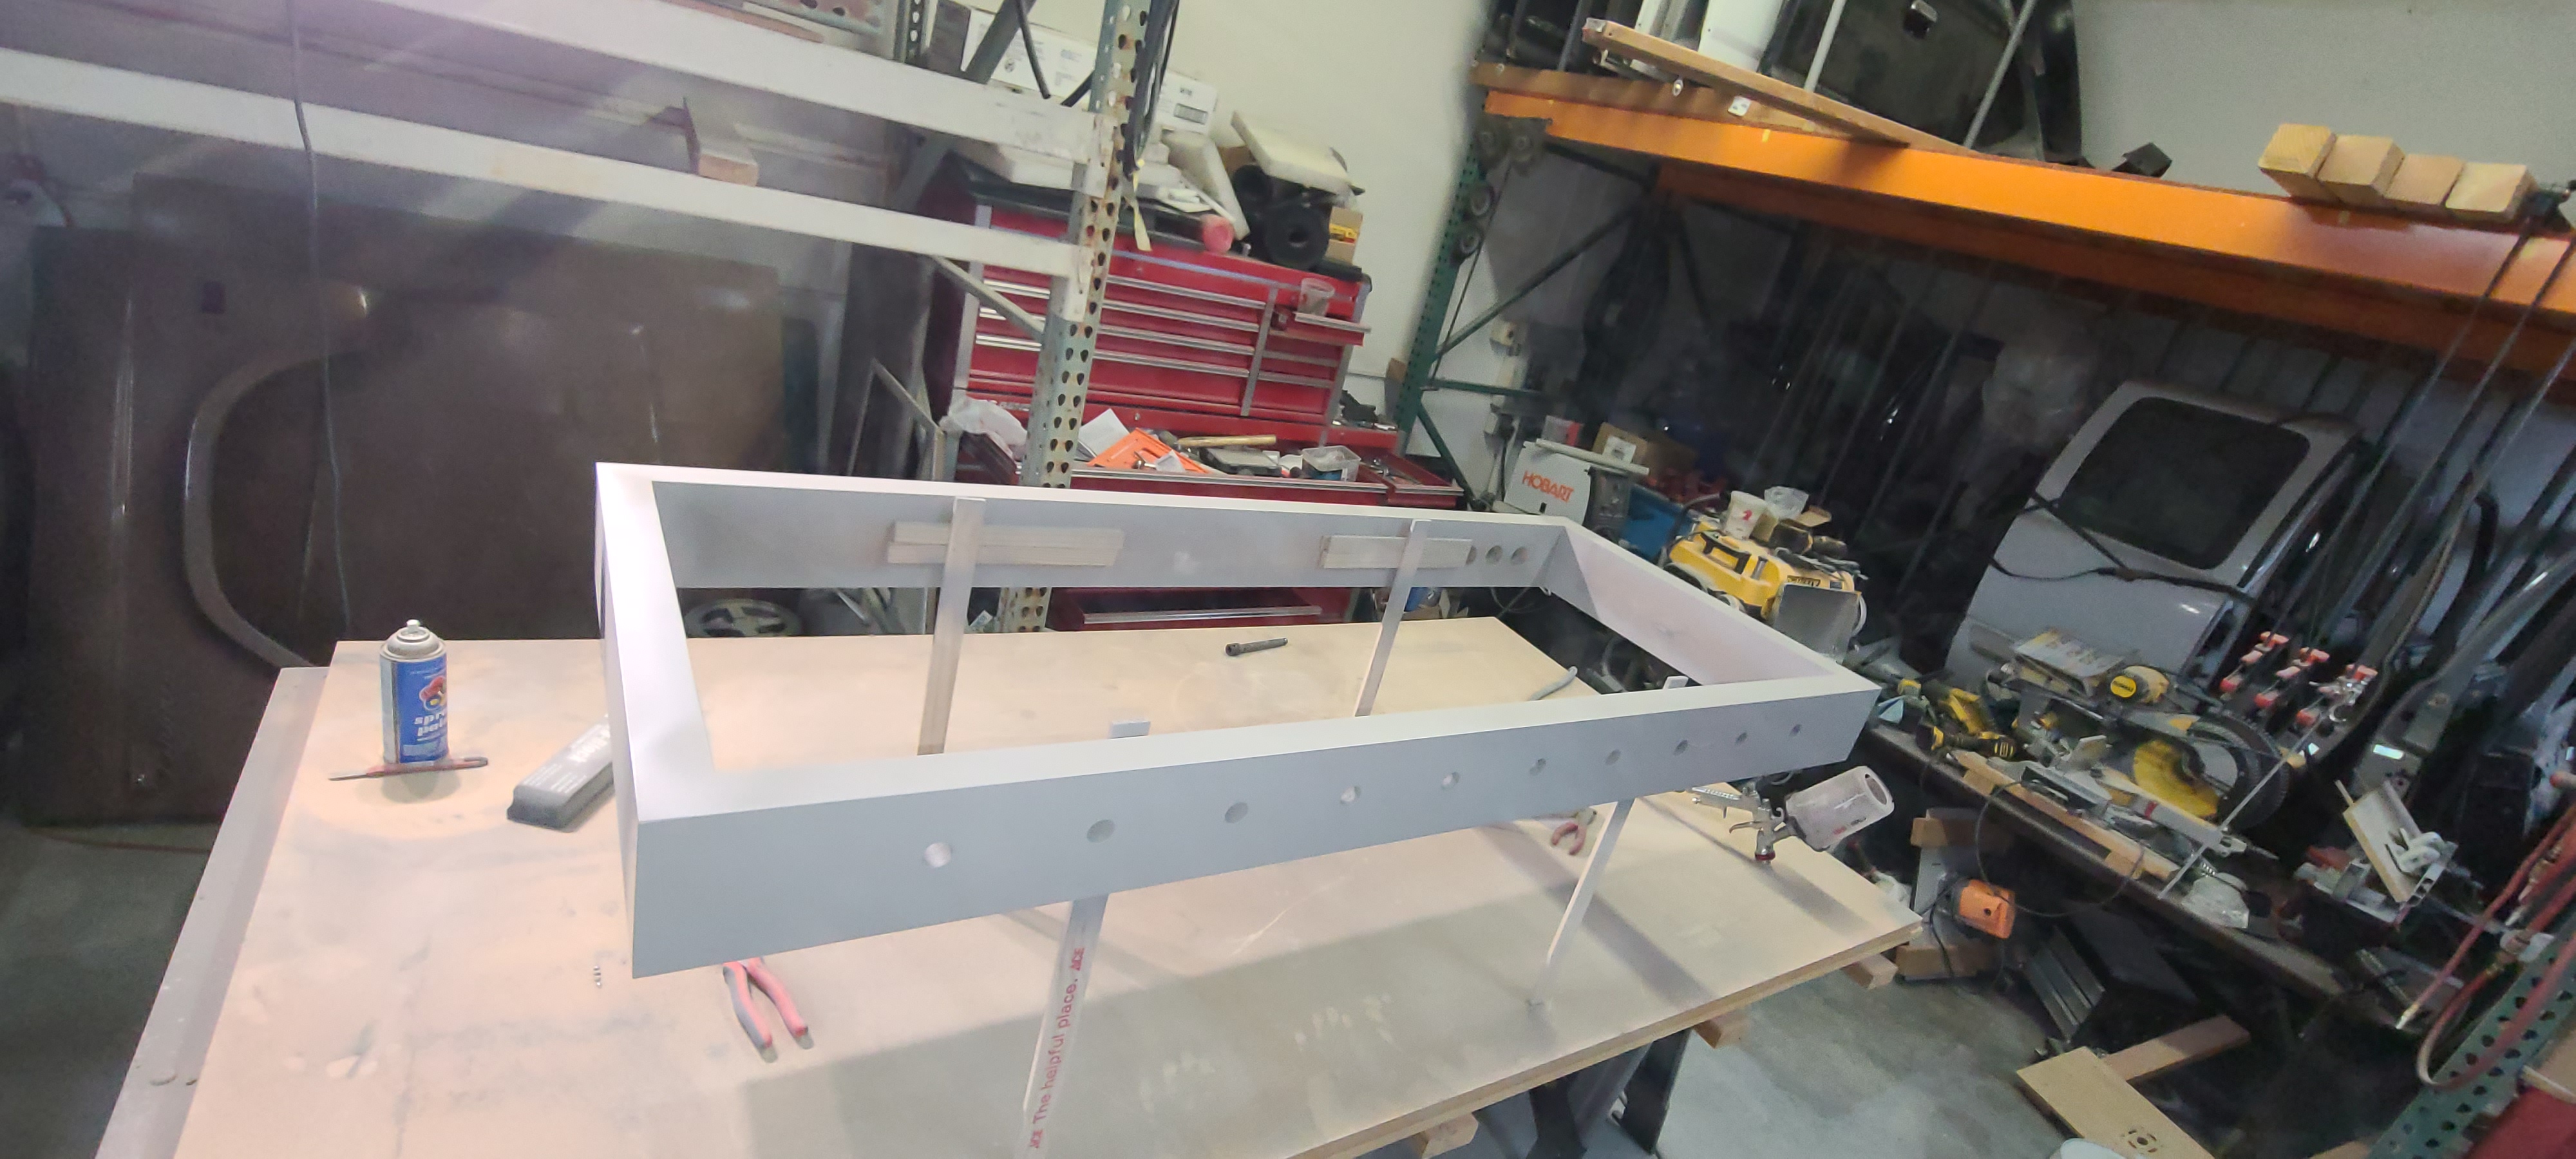
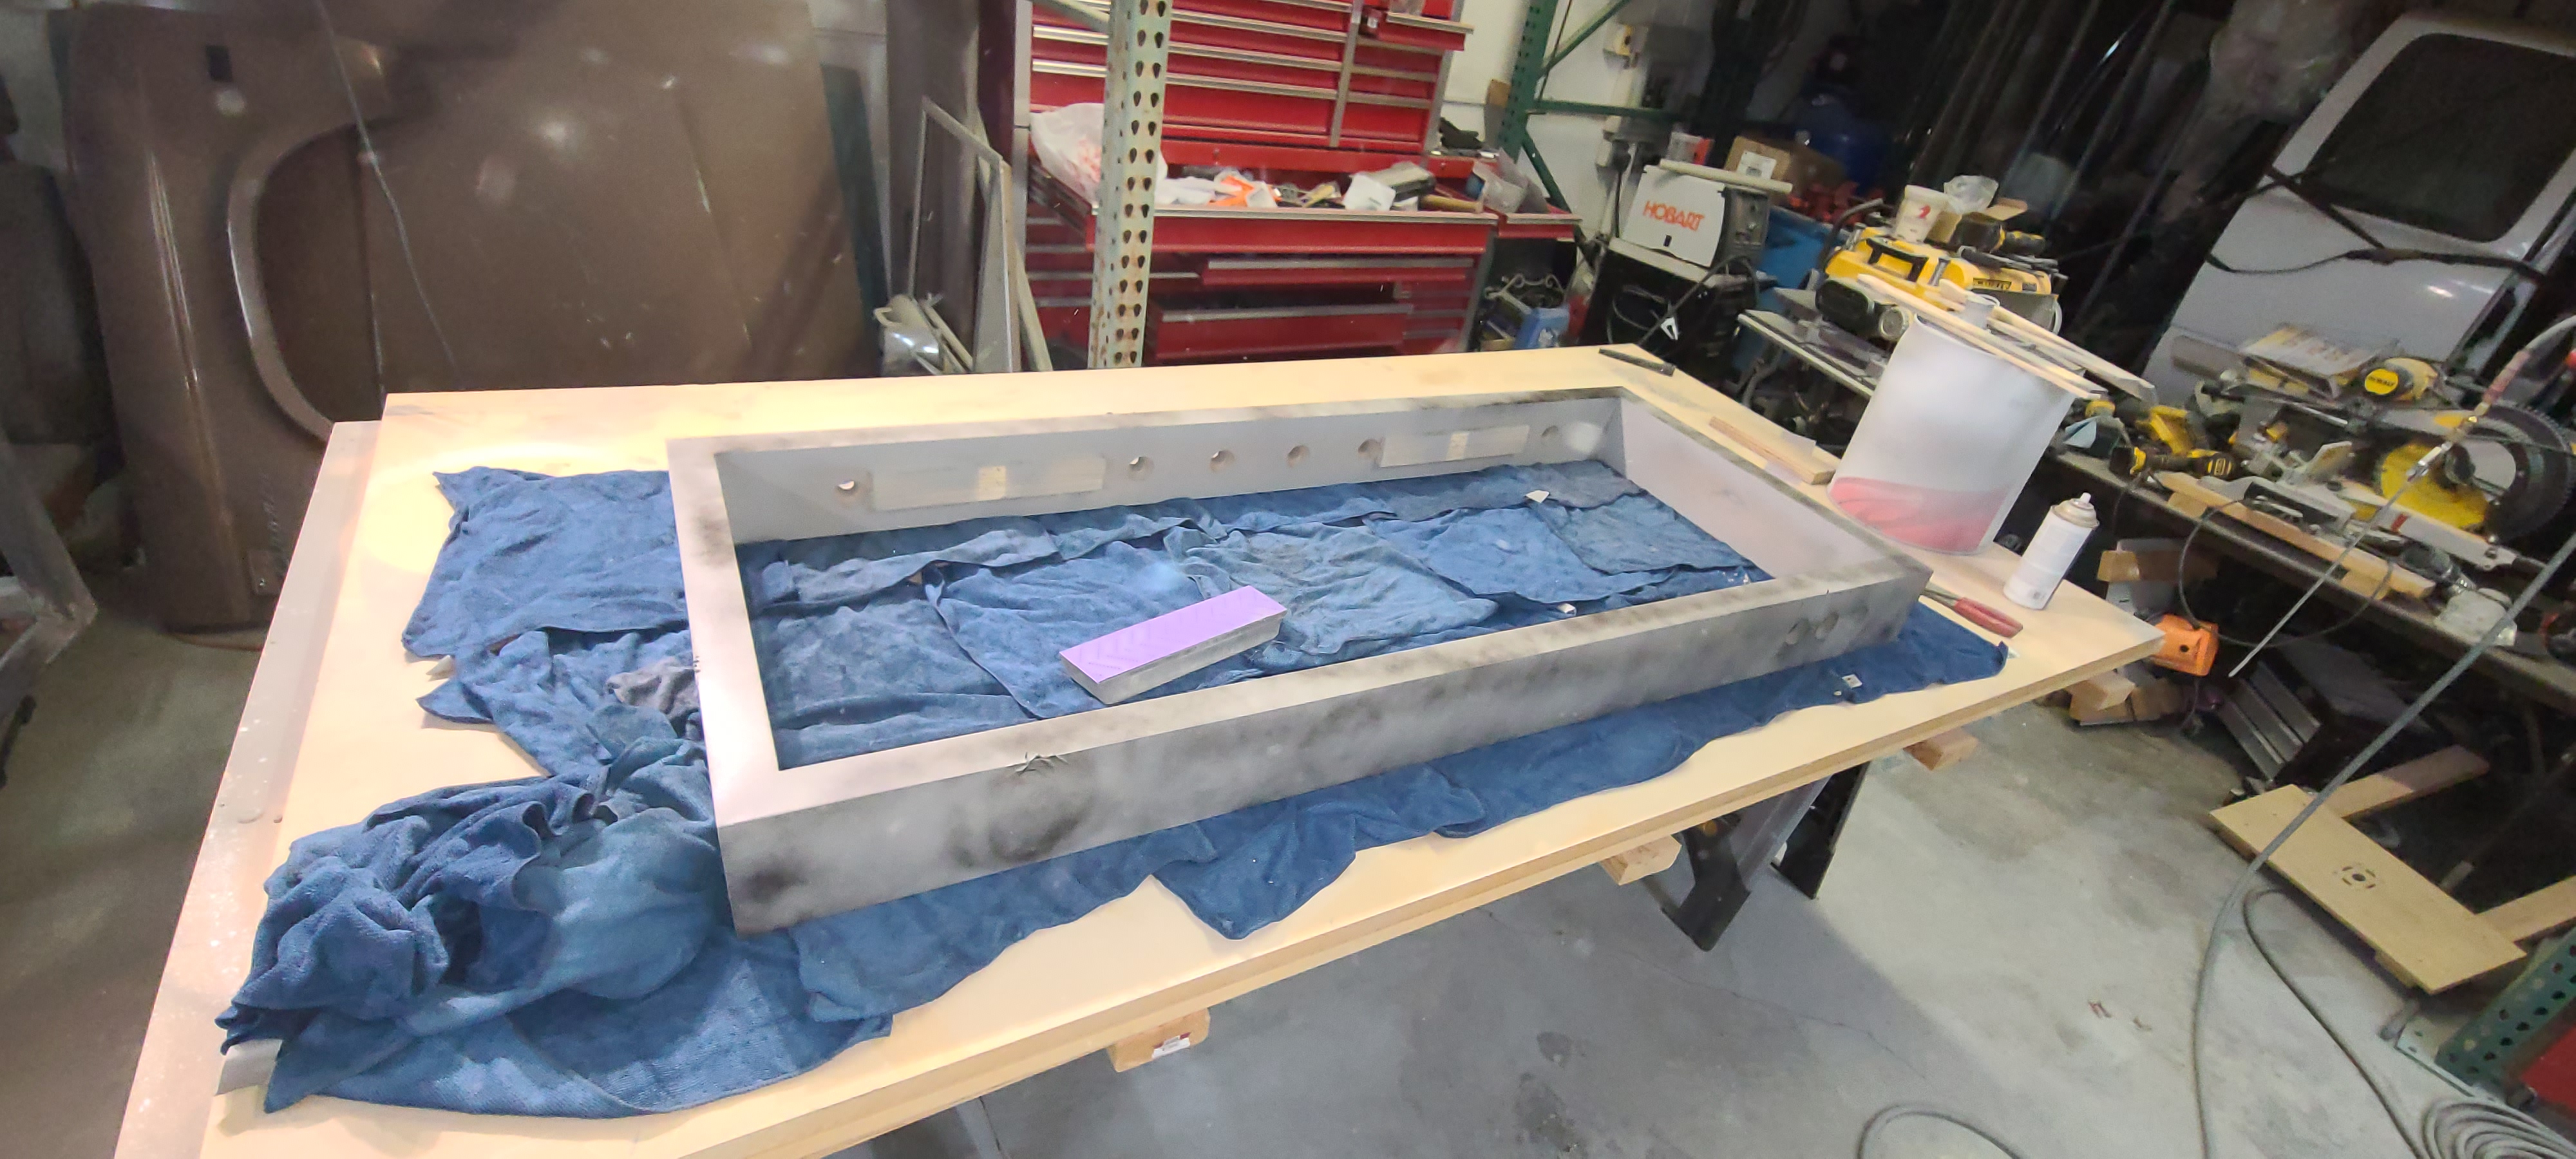
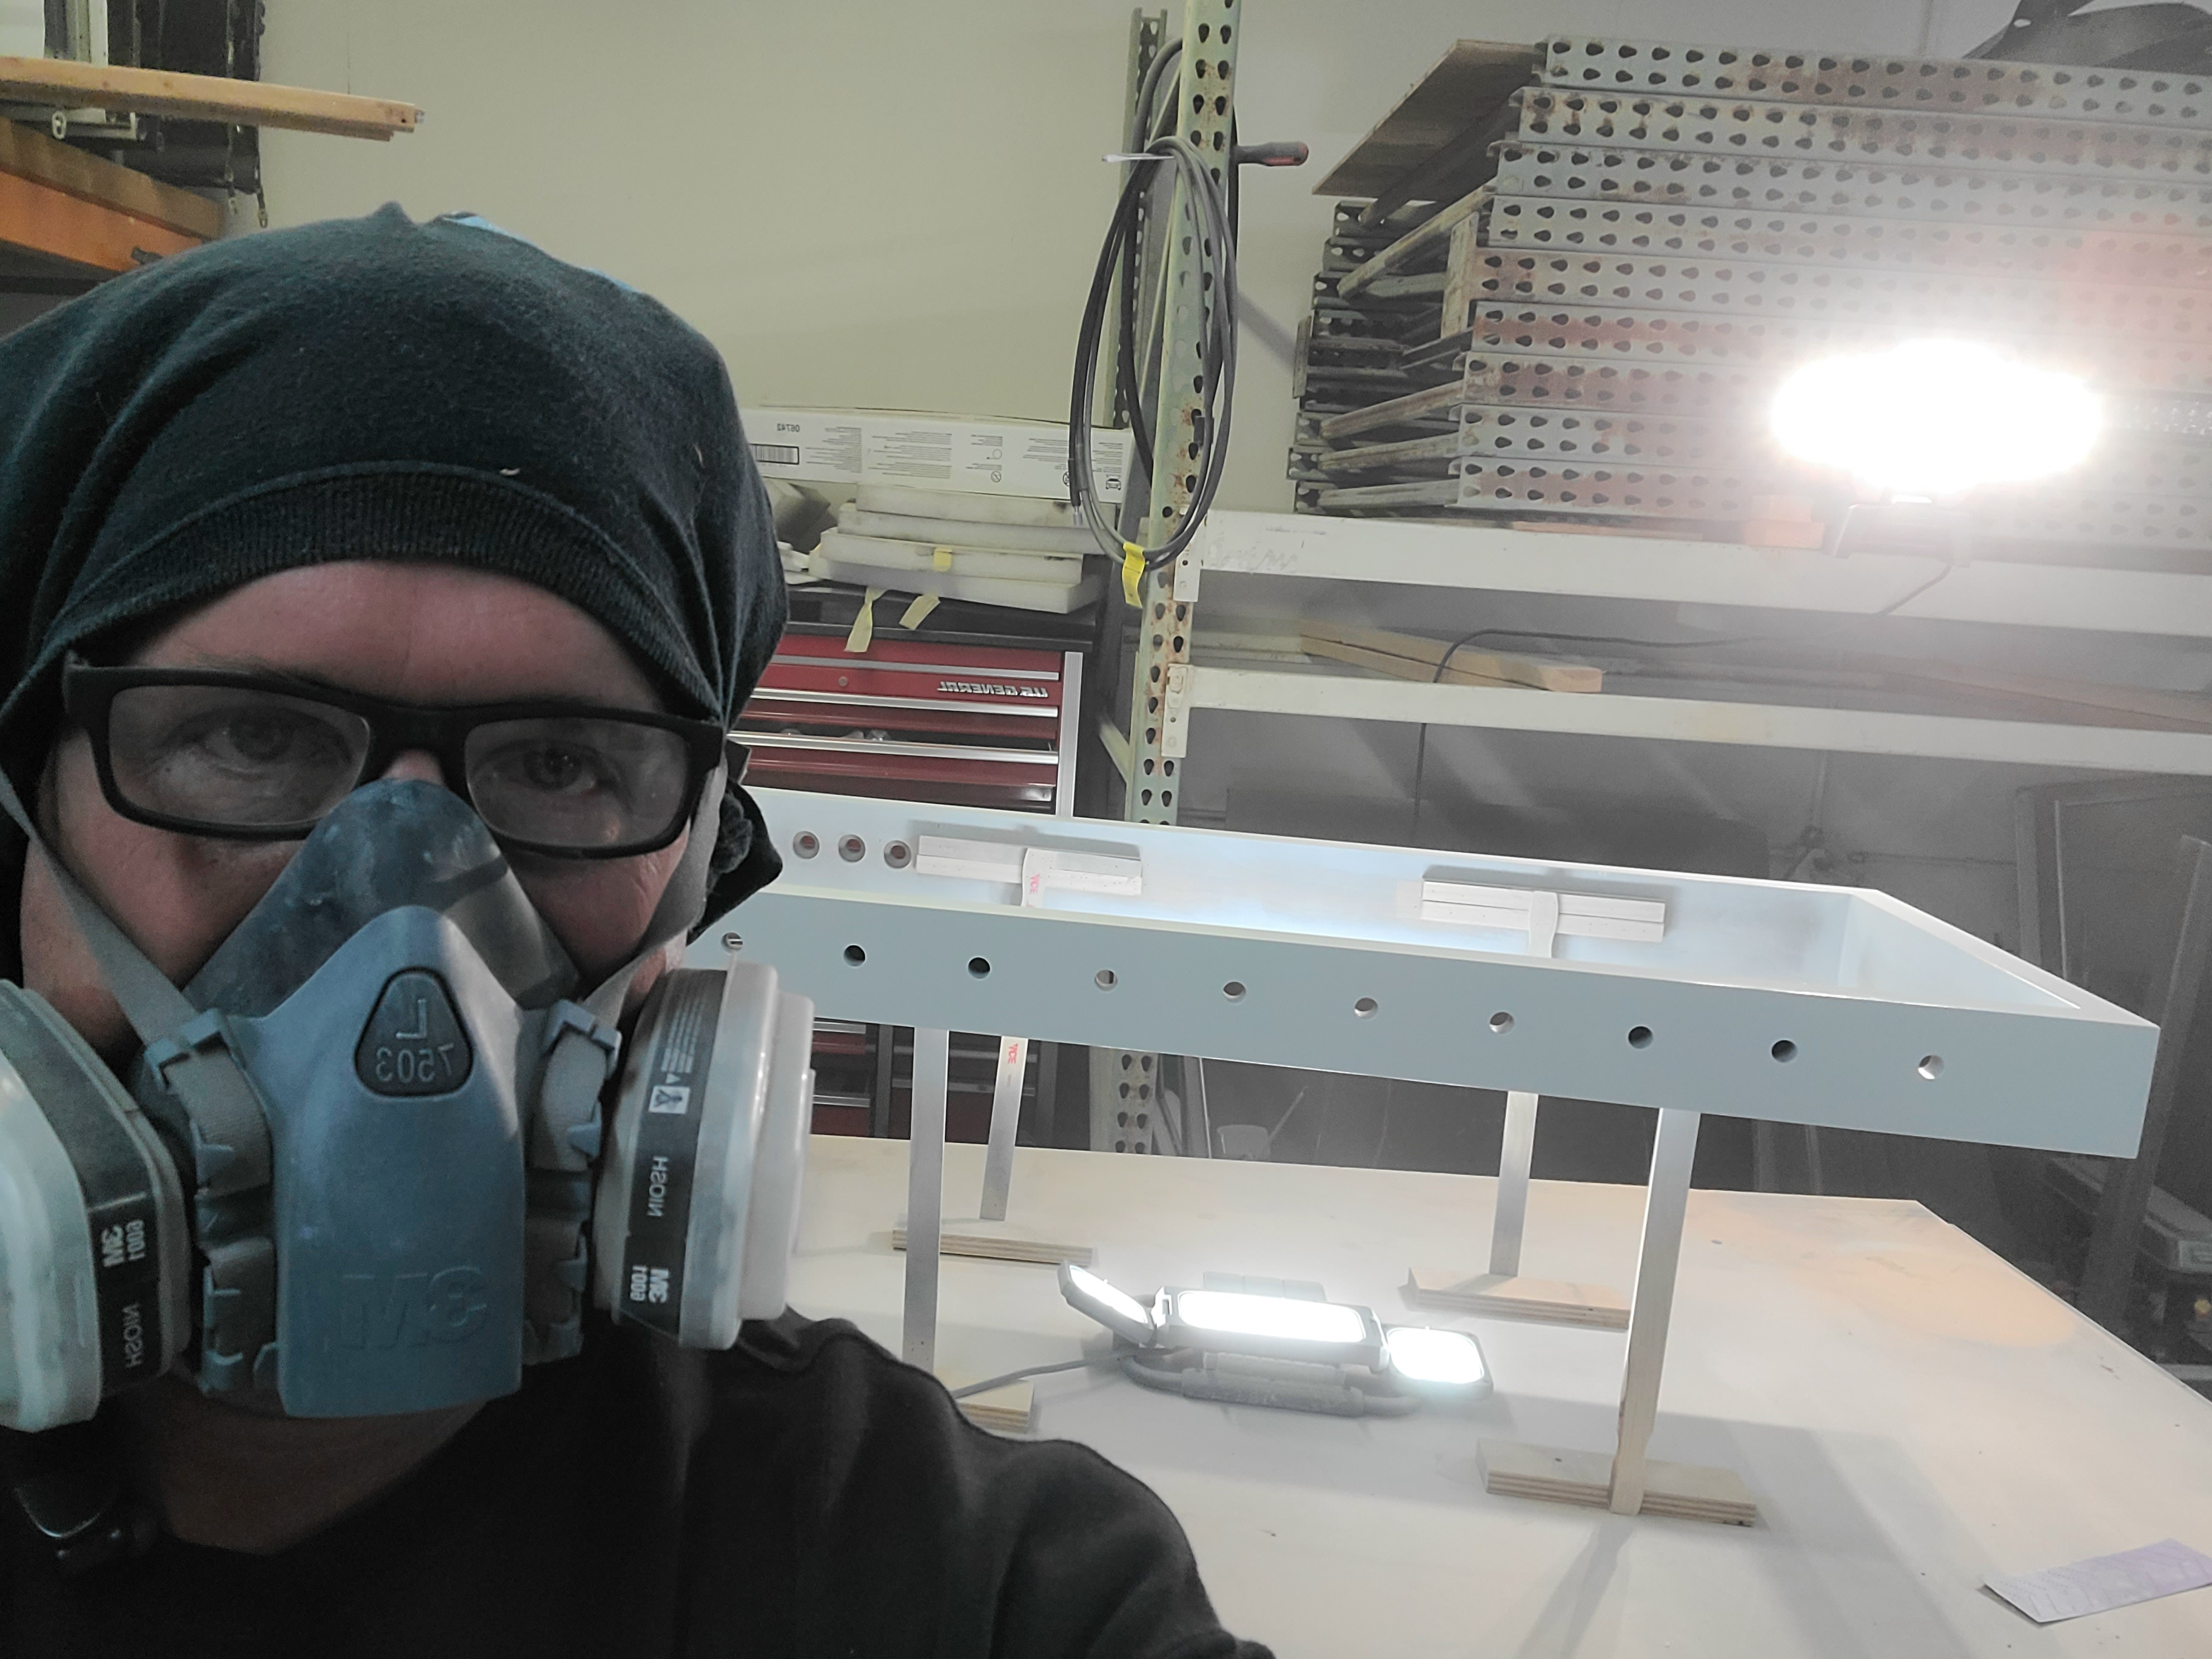
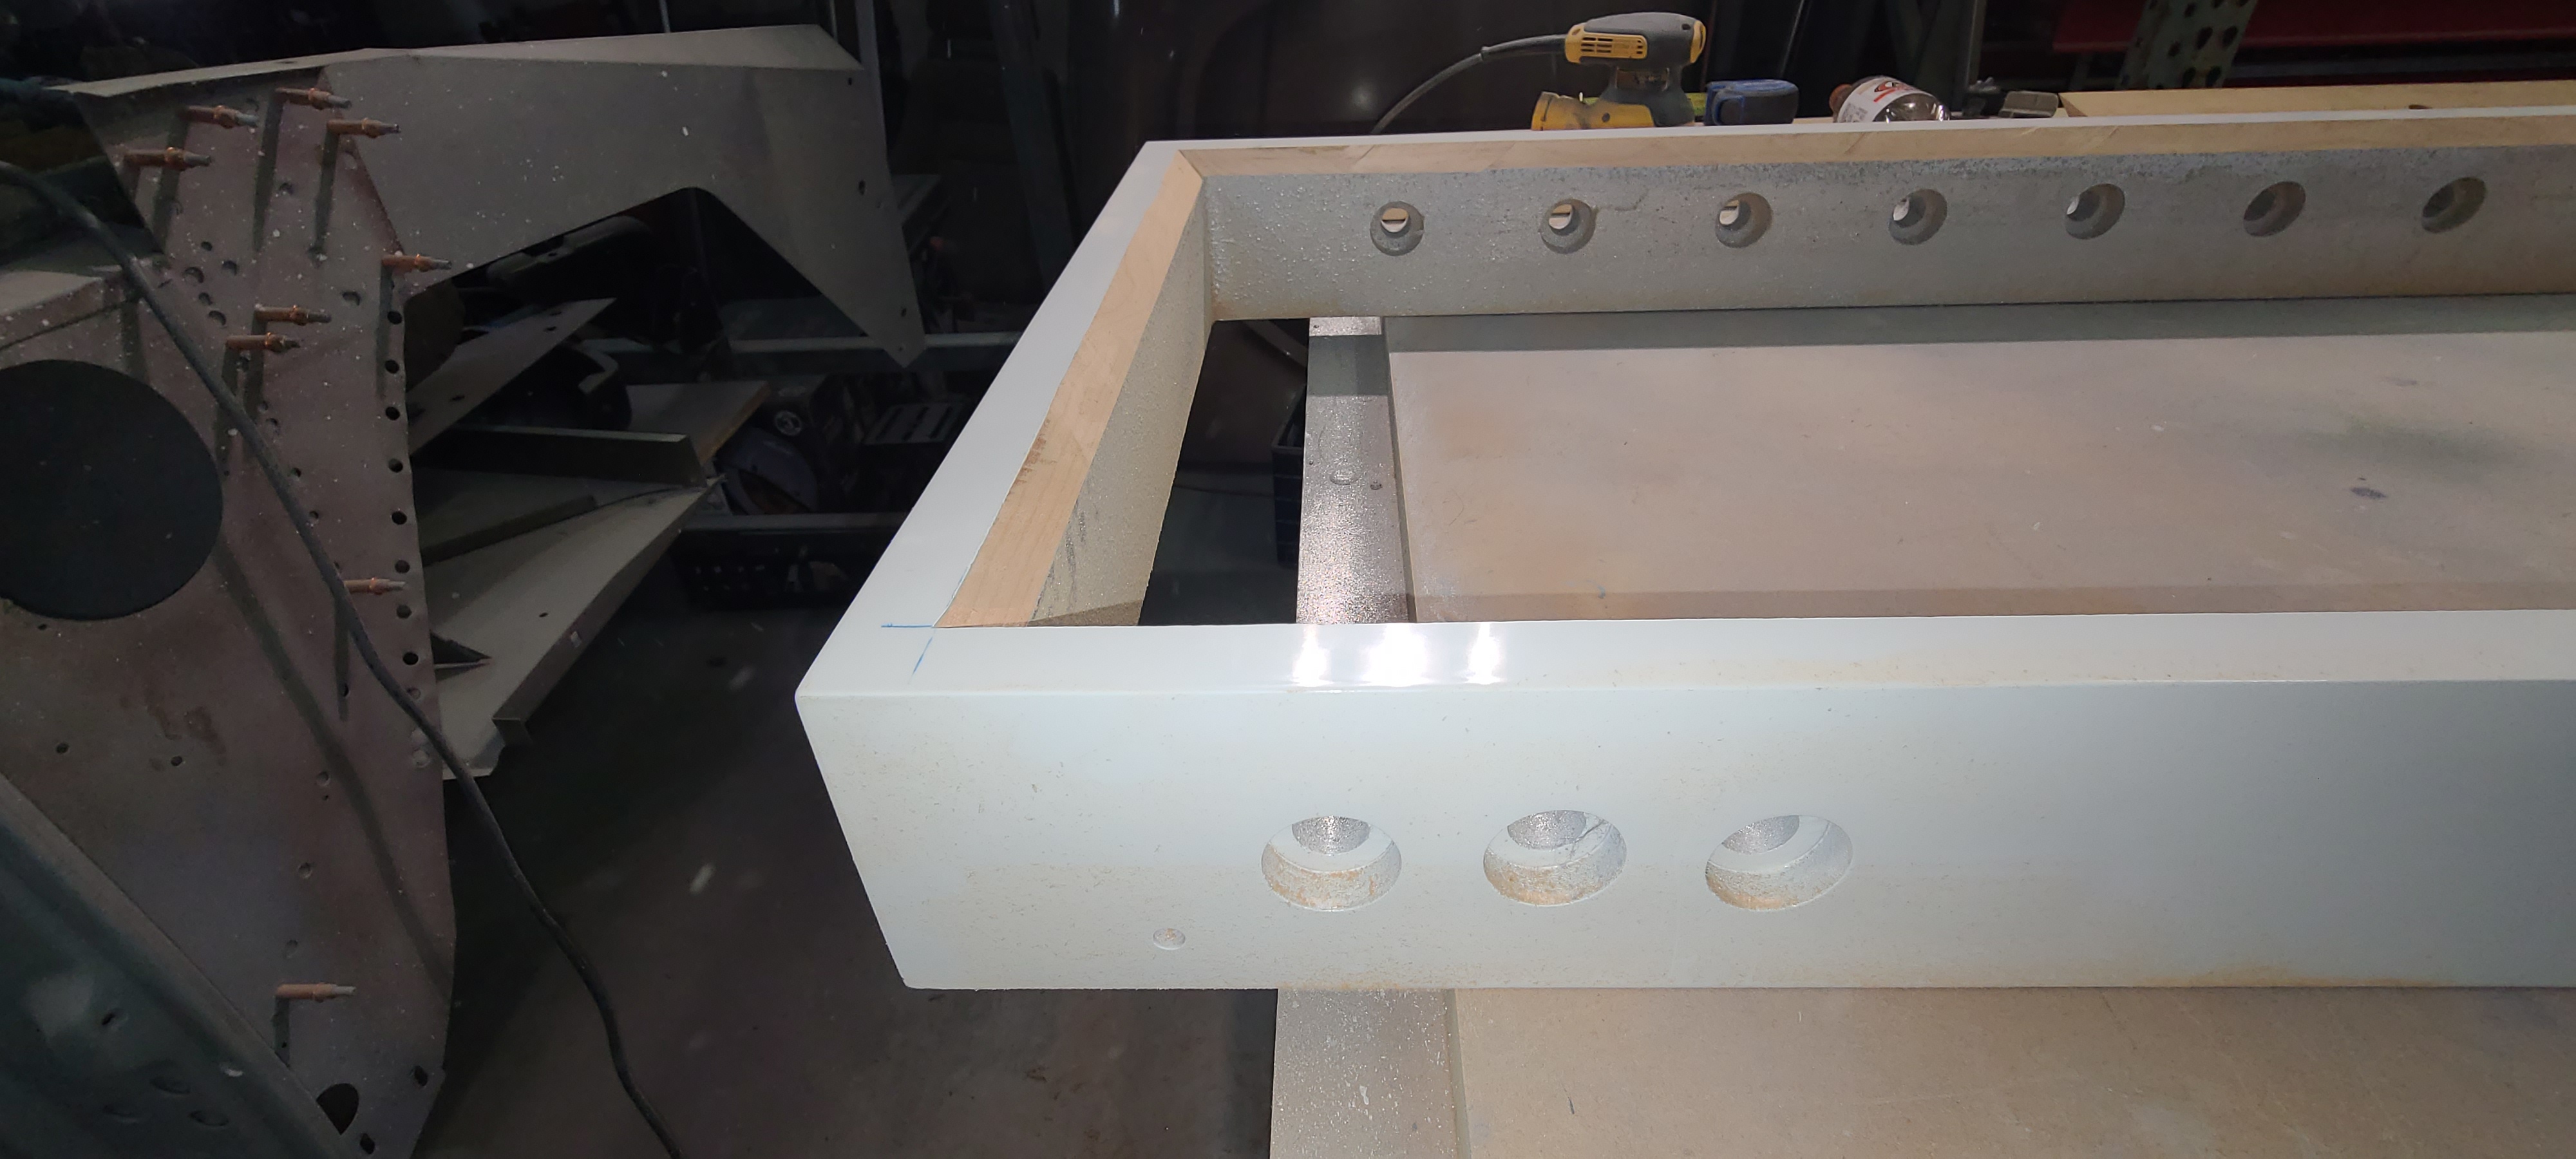
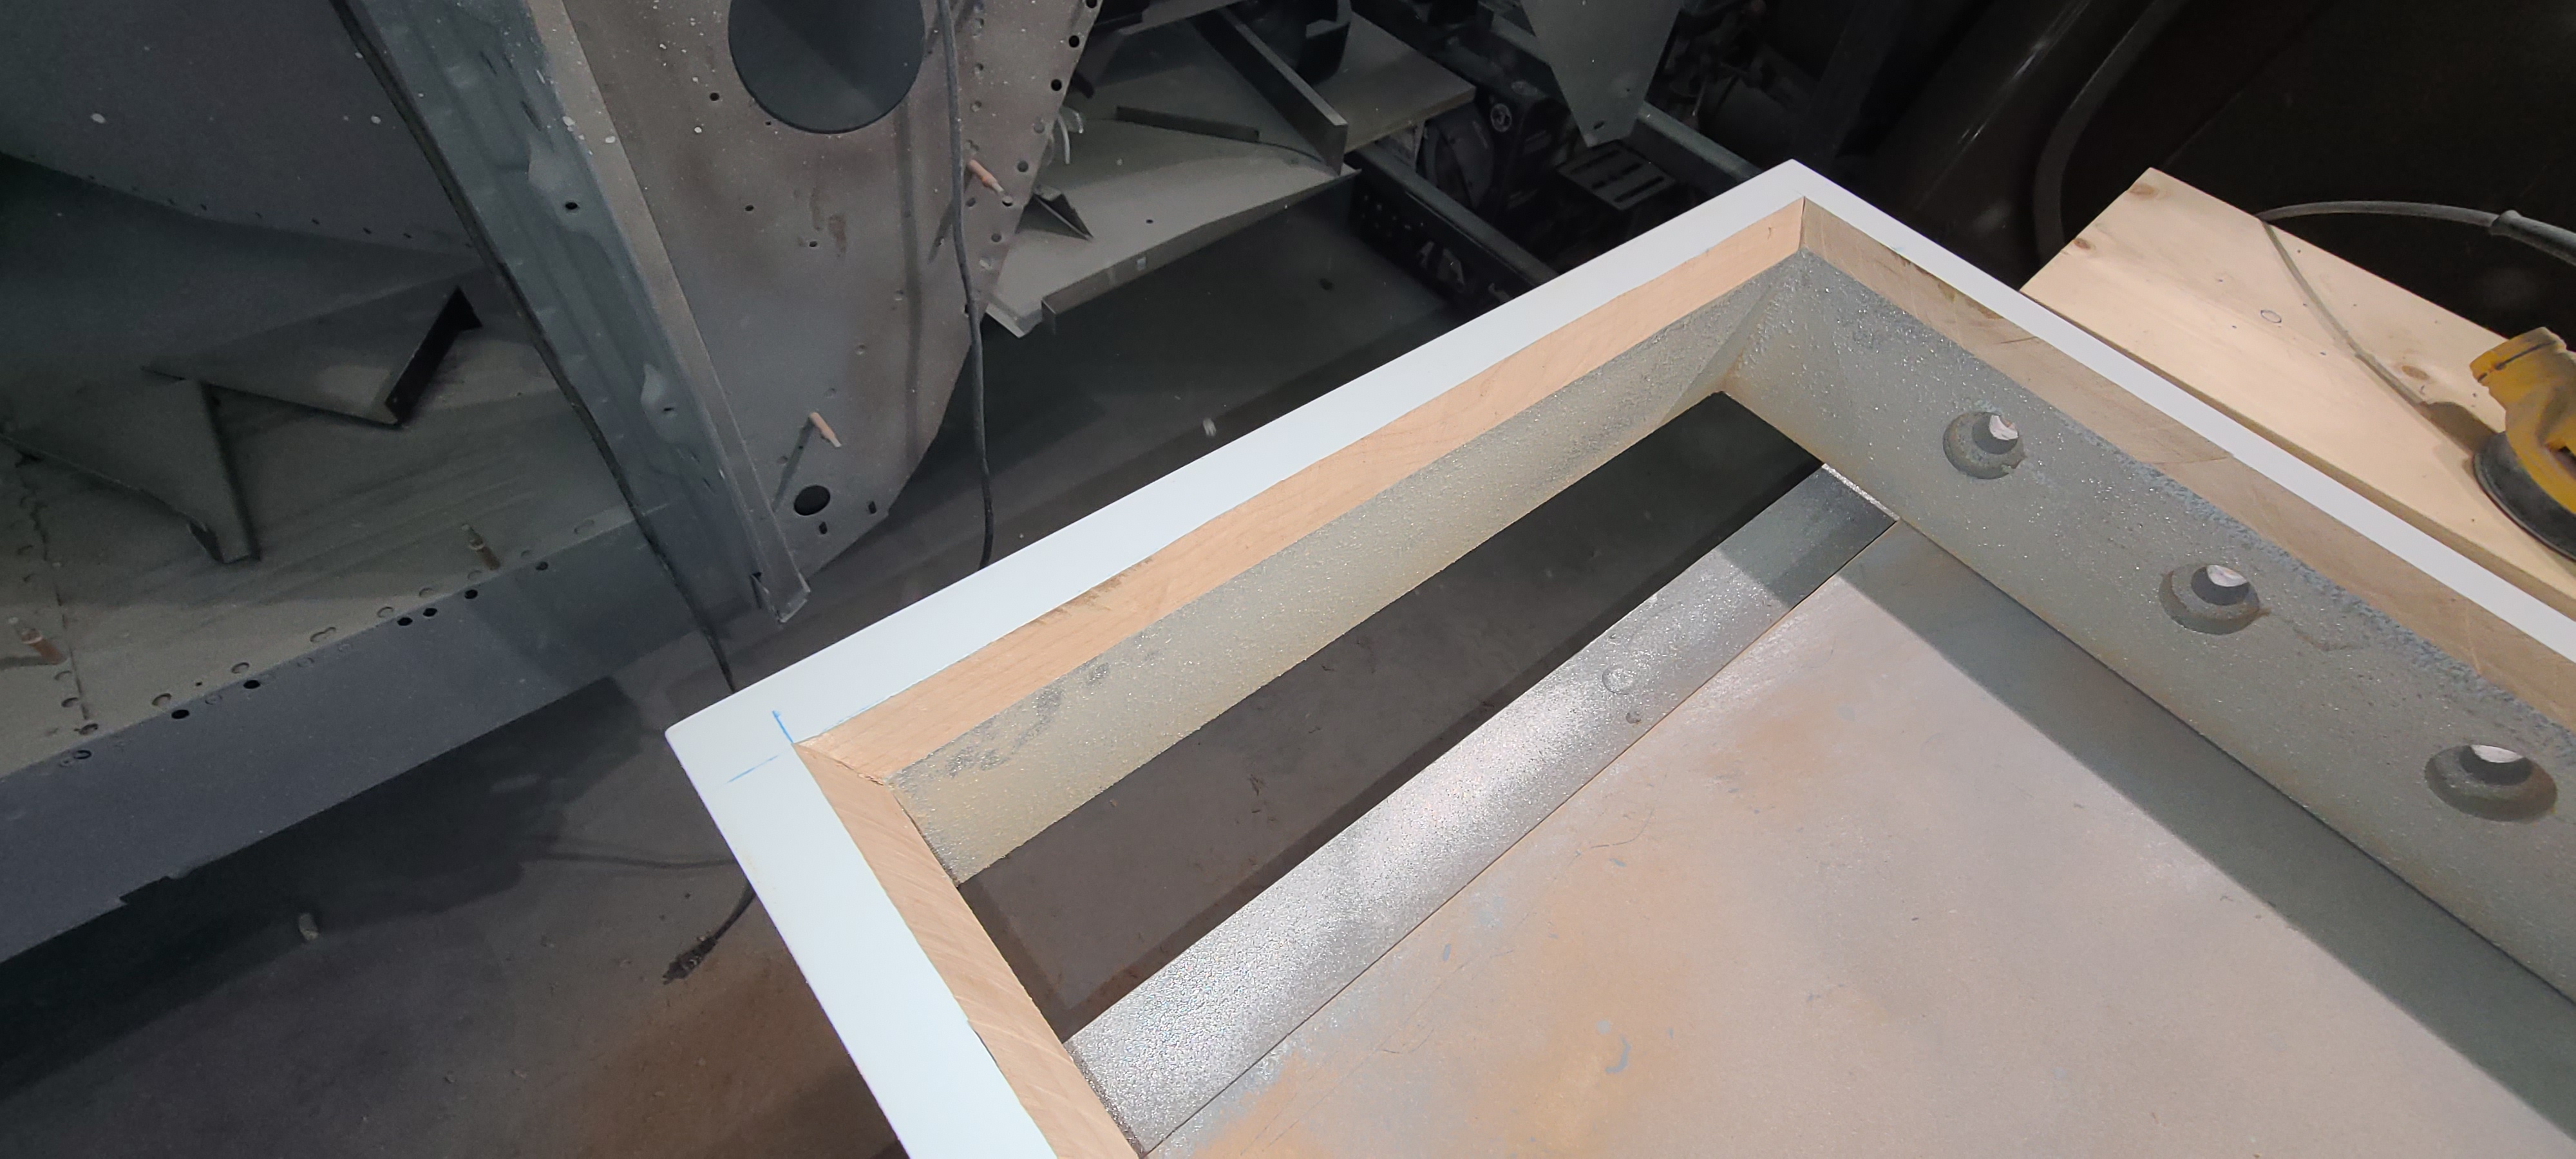
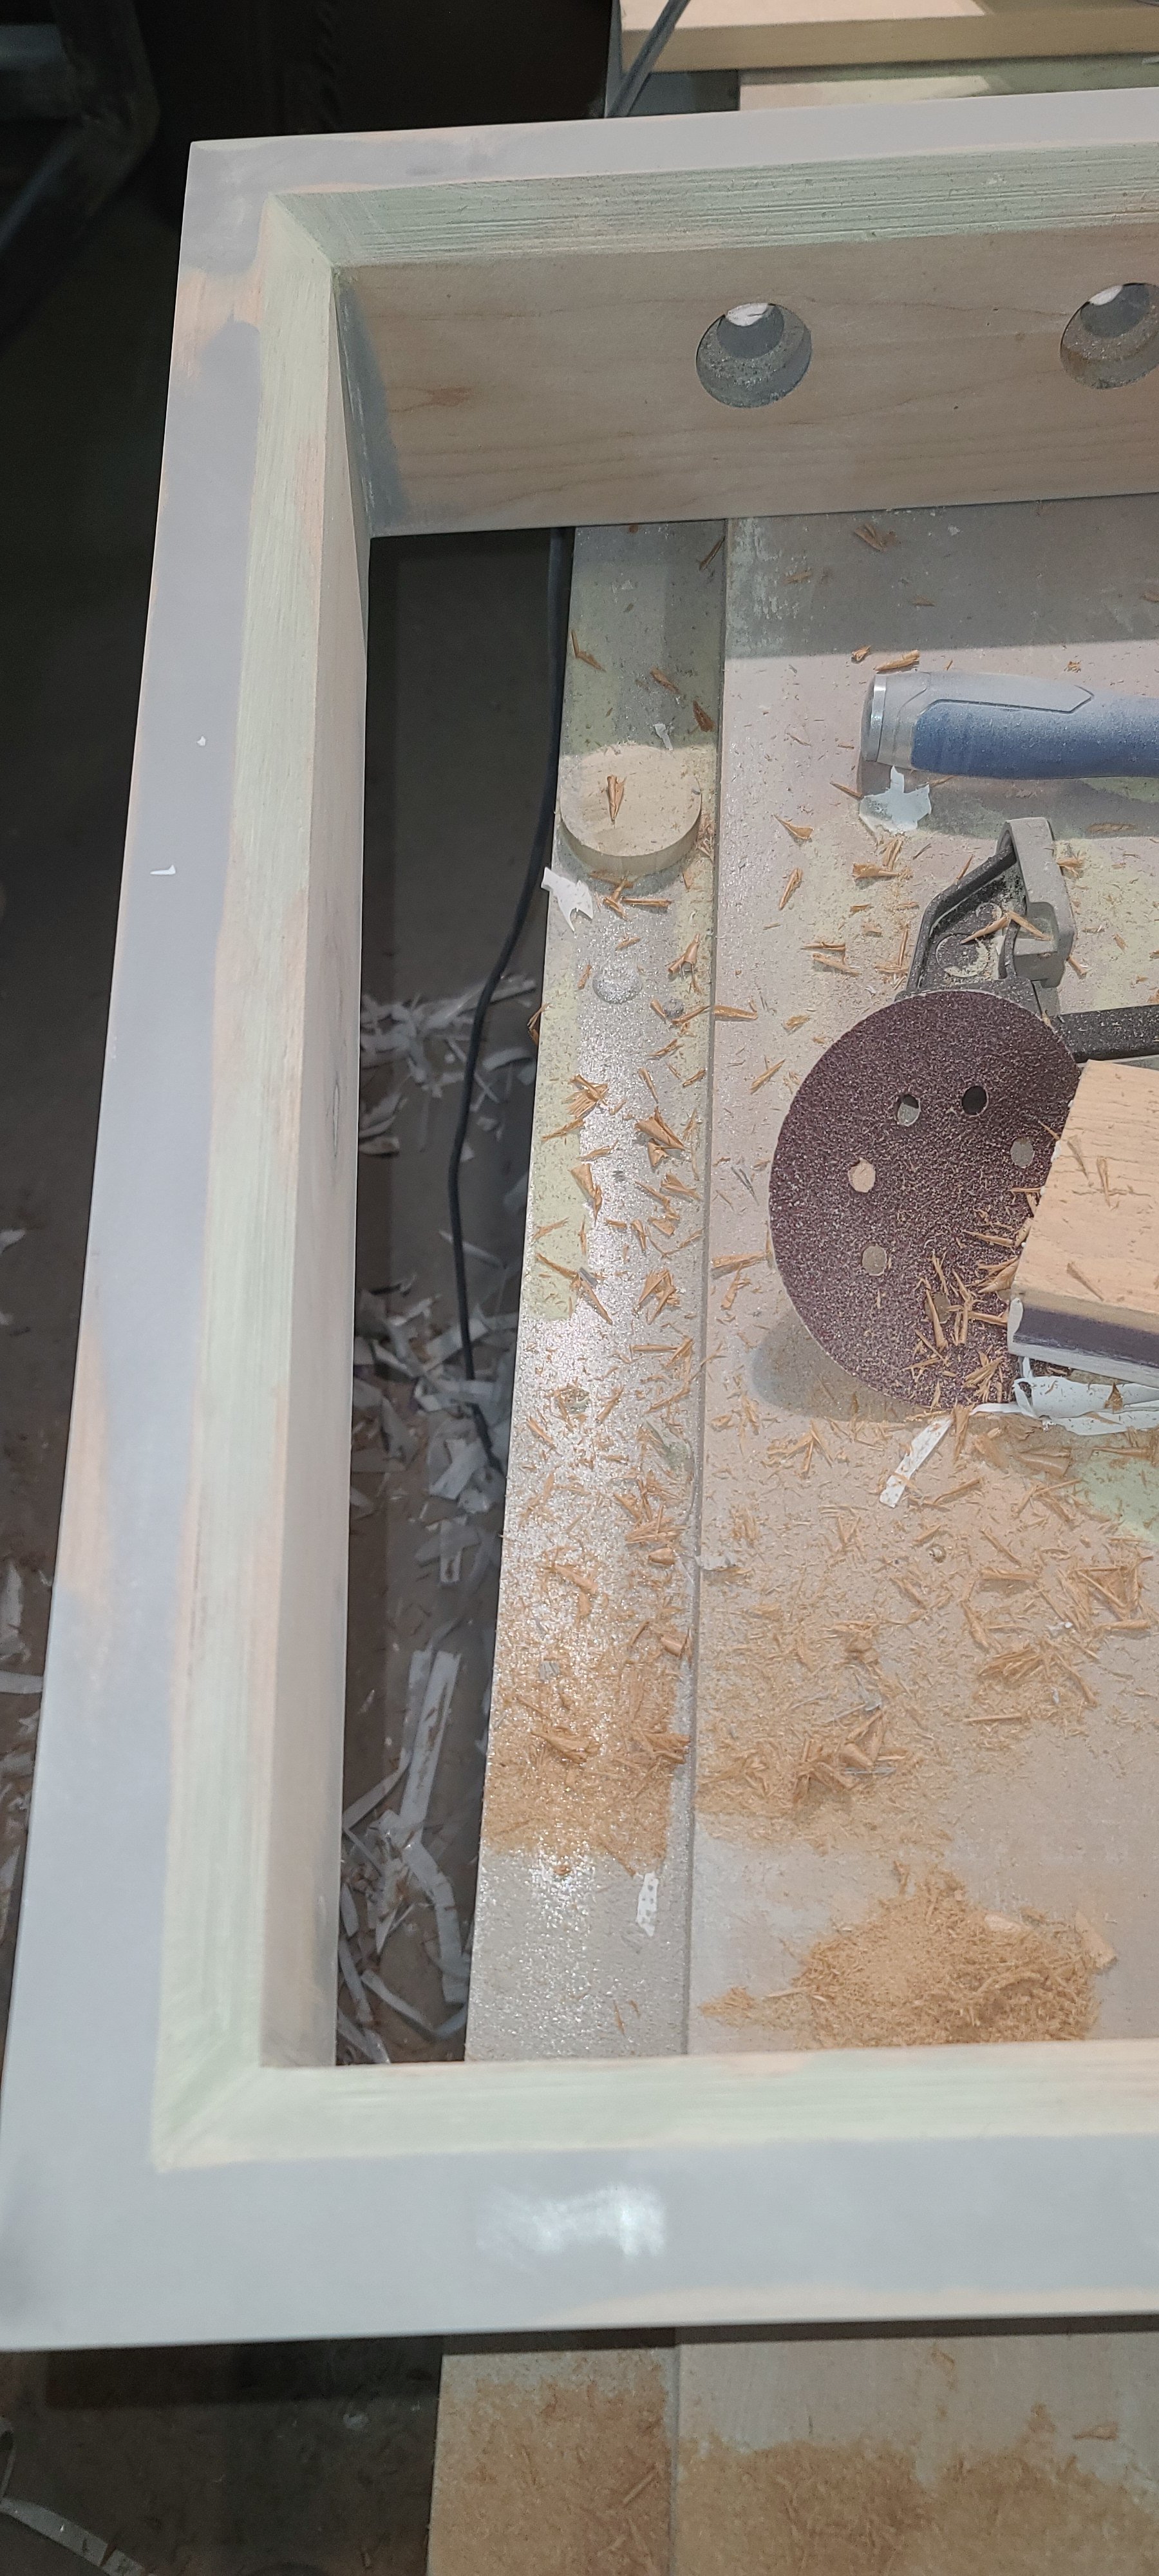
I stared my collar build. Milled the lumber, glued and screwed it all together. And started fixing and filling screw holes and other imperfections.

Last edited:





![Craft A Brew - Safale S-04 Dry Yeast - Fermentis - English Ale Dry Yeast - For English and American Ales and Hard Apple Ciders - Ingredients for Home Brewing - Beer Making Supplies - [1 Pack]](https://m.media-amazon.com/images/I/41fVGNh6JfL._SL500_.jpg)


