• Please visit and share your knowledge at our sister communities:
  • If you have not, please join our official Homebrewing Facebook Group!

    Homebrewing Facebook Group

All grain here I come!!

Homebrew Talk

Help Support Homebrew Talk:

This site may earn a commission from merchant affiliate links, including eBay, Amazon, and others.

SmokeyMcBong

Well-Known Member
Joined
Jan 1, 2014
Messages
1,002
Reaction score
260
Location
Smoking weed with your grandma...
Hey all,

I've never done an all grain batch before, only extract. I have used steeping grains before and on my last beer (an oatmeal stout), I had to steep some grains to convert the starch to sugar. With that being said, I found a 7 gallon gaterade cooler like this one:


26859.gif


on kijiji for not too much. I'm gonna turn it into a mash tun and I had a few questions about the whole deal.

I've watched a ton of tun videos on youtube and have seen manifolds made from copper pipe, plastic pipe and the outer sheath of a plumbing flex connector. What are the pros/cons of either of these systems?

Also, I've seen people using copper, brass, stainless steel and even what appeared to be galvanized on the inside of the tun (in contact with the mash). Does it matter what metal my washers, pipes, barbs, and ball valve are made from?

And lastly, how much grain will I be able to mash in my 7 gallon cooler? I've read that a 5 gallon tun can mash enough grain for a 5 gallon batch of 1.065 OG so what kinda gravities will I be able to accomplish with a 7 gallon tun?

Thanks in advance!!
 
I have used the screen tubes but now use a home made one from the large SS flex water hose. Works well and doesn't crush. With seven gallon, you can do all 5 gallon batches. Good Luck.
 
Don't use galavnized anything on the inside. Copper, brass and stainless steel are all acceptable. Steel braid vs bazooka screen vs manifold means a lot less if you are batch sparging, but it is quite important if you set up a fly sparge system. It is also worth it to get your drainage level as close to the bottom of the cooler as possible. More liquid left behind will translate to lower efficiency.
 
I too am about to convert a cooler to a mash tun. In my case it's a 48 qt rectangular cooler. I have it all figured out I believe, except for the manifold. I'm certainly no expert, but from what I have read it seems that the advantages of a manifold from copper or CPVC pipe is a more even flow through the grain bed (higher efficiency?). And since the pipes used are usually not glued or soldered, you can take it apart easily in order to clean it. I have not read how people are cleaning the braided stainless screen tubing covers, and am curious if that is something easy to accomplish or not?

Good luck with your first all grain effort! I will be watching for your lessons learned :mug:
 
I would also look around and try and find the lead free brass. Our local store looks like they carried both depending upon what the fitting was used for.
For fly sparging you would need to use a manifold approach and try and get even flow off the grain bed while batch sparging only needs a simple single braid or slit pipe.
I built my manifold for a 10 gallon round water cooler out of flexible copper that was slit on the bottom. I ran one ring inside of a second ring and tied the two rings together using copper tees. Since the slits go on the bottom it pulls almost all of the wort out of the mash tun.
To clean I back flush and soak the manifold in a cleaner.
 
Good thought on the lead free brass. The traditional stuff will work if you treat it first however. Look up pickling brass, its not difficult to do if that's what you choose to work with.
 
Thanks for all the replies peeps!! Some really great tips and advice going on.

I'm thinking that i'm just gonna go and get as much of my fittings from stainless as I can, just to be safe. My plan is to batch sparge (at least at first), although I'm not really sure of the benefits of one over the other. I will probably end up making a drainage manifold from copper pipe, in case I decide to fly sparge at some point. Again, depending on the benefits of one vs the other.

Again everyone, thanks a bunch for the great tips. Keep 'em coming lol.
 
Just thought of a question about the building a copper pipe manifold.....


I assume that more pipes with slits are better that less pipes slits? Is there such a thing as "too much manifold" lol? Or is it more of a "whatever I can cram in there" situation?
 
If you want to go all stainless for the bulkhead you can, check out brewhardware.com. I didn't buy any of my gear there because I'm in Canada, but lots of folks have had great experiences with them. Oh, and BobbyM's bulkhead design is the only one I've gotten to hold leak free, so I would start there if I was going to make another one.
 
I use pex tubing in my mash tun.
Pros:
Cheap tubing and fittings
Easy to cut slots with a hacksaw
Easy to assemble
Easy to take apart for cleaning
NSF rated
Designed for high temperatures

Cons:
Very light so the manifold has a tendency to float. You have to be strategic to initially keep it down and under the grain bed - at least until the grain as soaked up the water

If you want, I can post a picture of it when I get home from work.
 
thanks for the pics brother. how do you weigh the manifold down in the beginning of the mash?

no worries man! I just add the strike water, then hold the manifold down with the paddle and add the grain. Once the grain has soaked up the water it holds the manifold down.
It's a small price to pay for the ease of installation. It takes like 20 seconds for me to take the whole thing apart to clean - and that is after several home brews :drunk:
 
To answer the one questionable I would suggest buying borrowing or checking out a copy from the library of Palmer's book How to Brew since it goes over efficiency of multiple pipes and their spacing.
Only one flexhose required for batch. Fly sparging efficiency depends on cooler size. You want the draw from the grain bed to be as close to uniform as possible from the top to the closest inlets in fly sparging.
I have a mesh in the brew kettle and slit copper in the mad tun. You have a lot of openings in a mesh or screen and can draw wort off quick. Slits on my setup appear to get better efficiency if I draw down the wort slowly. .
 
Ok, so I think all my ducks are in a row!

Since I updated this last... I've gotten a 30 quart pot, to which I added a weldless ball valve kit. I also got another round cooler, the second was a 5 gallon to go along with the original 7 gallon that started the thread. Just today I converted the two coolers. I ended up going with the SS toilet braid for filtering. I also acquired a 1000w heat stick to heat mash and sparge water in the respective coolers. Also, last but not least. I got my two STC temp controllers built this morning!! The fridge and the freezer are happily at 19 degrees C as we speak.

The only thing thats stopping me from doing 5 gallon batches is my stove. I ran a tester today on my stove top, with the heat stick I could get 6 gallons of water to come to 210-11 degrees F but not break a good rolling boil (that wouldn't cut it right??). So I might just do 3-3.5 gallon batches till I can figure out a burner situation.

I'm thinking of banging out a batch of the "cream of three crops" to test out the new system!
 
Sounds like lots of progress! I'm interested in seeing what you got for a heat stick and how you are going to use it/mount it.

I ended up buying a KAB4 burner and really love it as is, but a lot of people modify it to bring the burner up closer to the bottom of the pot and/or extending the wind shield up closer to the bottom of the pot. I will likely do the later, but the burner is amazing to use compared to my kitchen stove and to my previous and ancient jet style propane burner.
 
I'm interested in seeing what you got for a heat stick and how you are going to use it/mount it.

The heatstick is here: https://www.homebrewtalk.com/f170/usable-heat-stick-493897/

As someone there mentioned, at boiling the heatstick cycles on and off so its useless to help my stove boil. Since its plastic safe, I'm hoping to use it with a temp controller to heat and hold my mash and sparge water in the coolers.

I tried earlier to get enough water for a 3.5 gallon batch to boil on my stove today and it was a no go as well. My stove bloody sucks! Since then, I've come across the Blichmann boilcoil. I'm thinking of getting one of them to install into my kettle. I think either the boil coil for the 7.5 gal boilermaker (2000w @ 120) or the one for the 10 gal boilermaker (2250w @ 120) would fit into my pot. Not sure on how much difference the extra 250 watt is but it seems to make it worth an extra $20.

Anyone know if a 2000w electric element will even boil 6 gallons of wort/water???
 
Here's mine:

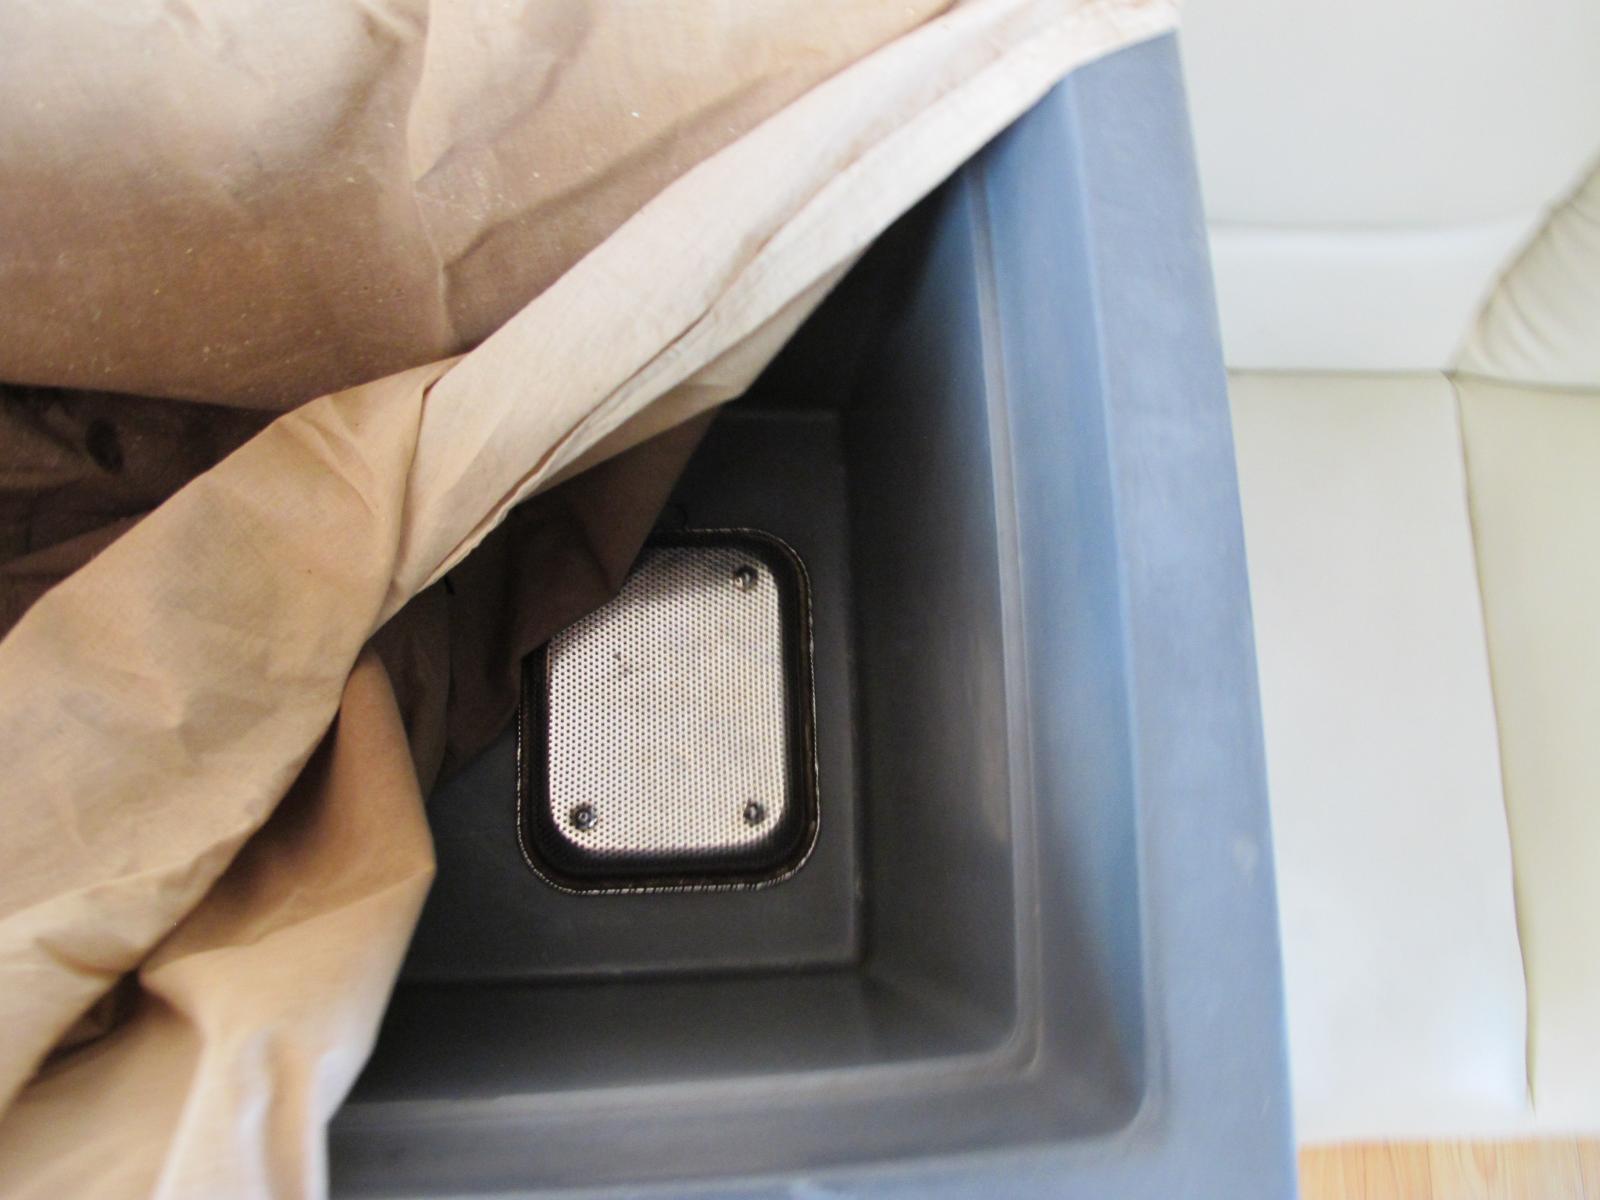
It's a hybrid. It's got a drilled stopper with a copper elbow under the stainless steel strainer. The muslin liner keeps me from worrying about a dedicated manifold or a stuck sparge.

IMG_0035.jpg
 

Latest posts

Back
Top