3 Kettle, 3 Pump Automated-Capable E-HERMS Build

Homebrew Talk - Beer, Wine, Mead, & Cider Brewing Discussion Forum

Help Support Homebrew Talk - Beer, Wine, Mead, & Cider Brewing Discussion Forum:

This site may earn a commission from merchant affiliate links, including eBay, Amazon, and others.
......Or, you could just pick them up for 26$ shipped from this link

I will probably end up paying more and waiting longer, which in my opinion is far better than supporting eBay / PayPal.

I used eBay & PayPal extensively up until about a year ago. Needless to say, I had a bad experience as a seller. I will never sell using eBay again, I refuse to purchase from eBay and will not use PP unless there is no other option. Details are beyond the scope of this thread /rant
 
Image 1: Mash Tun Dip Tube (to go into a Jaybird FB)

Image 2: BK Side Pickup Tube

Mash Tun Dip Tube V2.jpg


BK Out Tube.jpg
 
A short update:

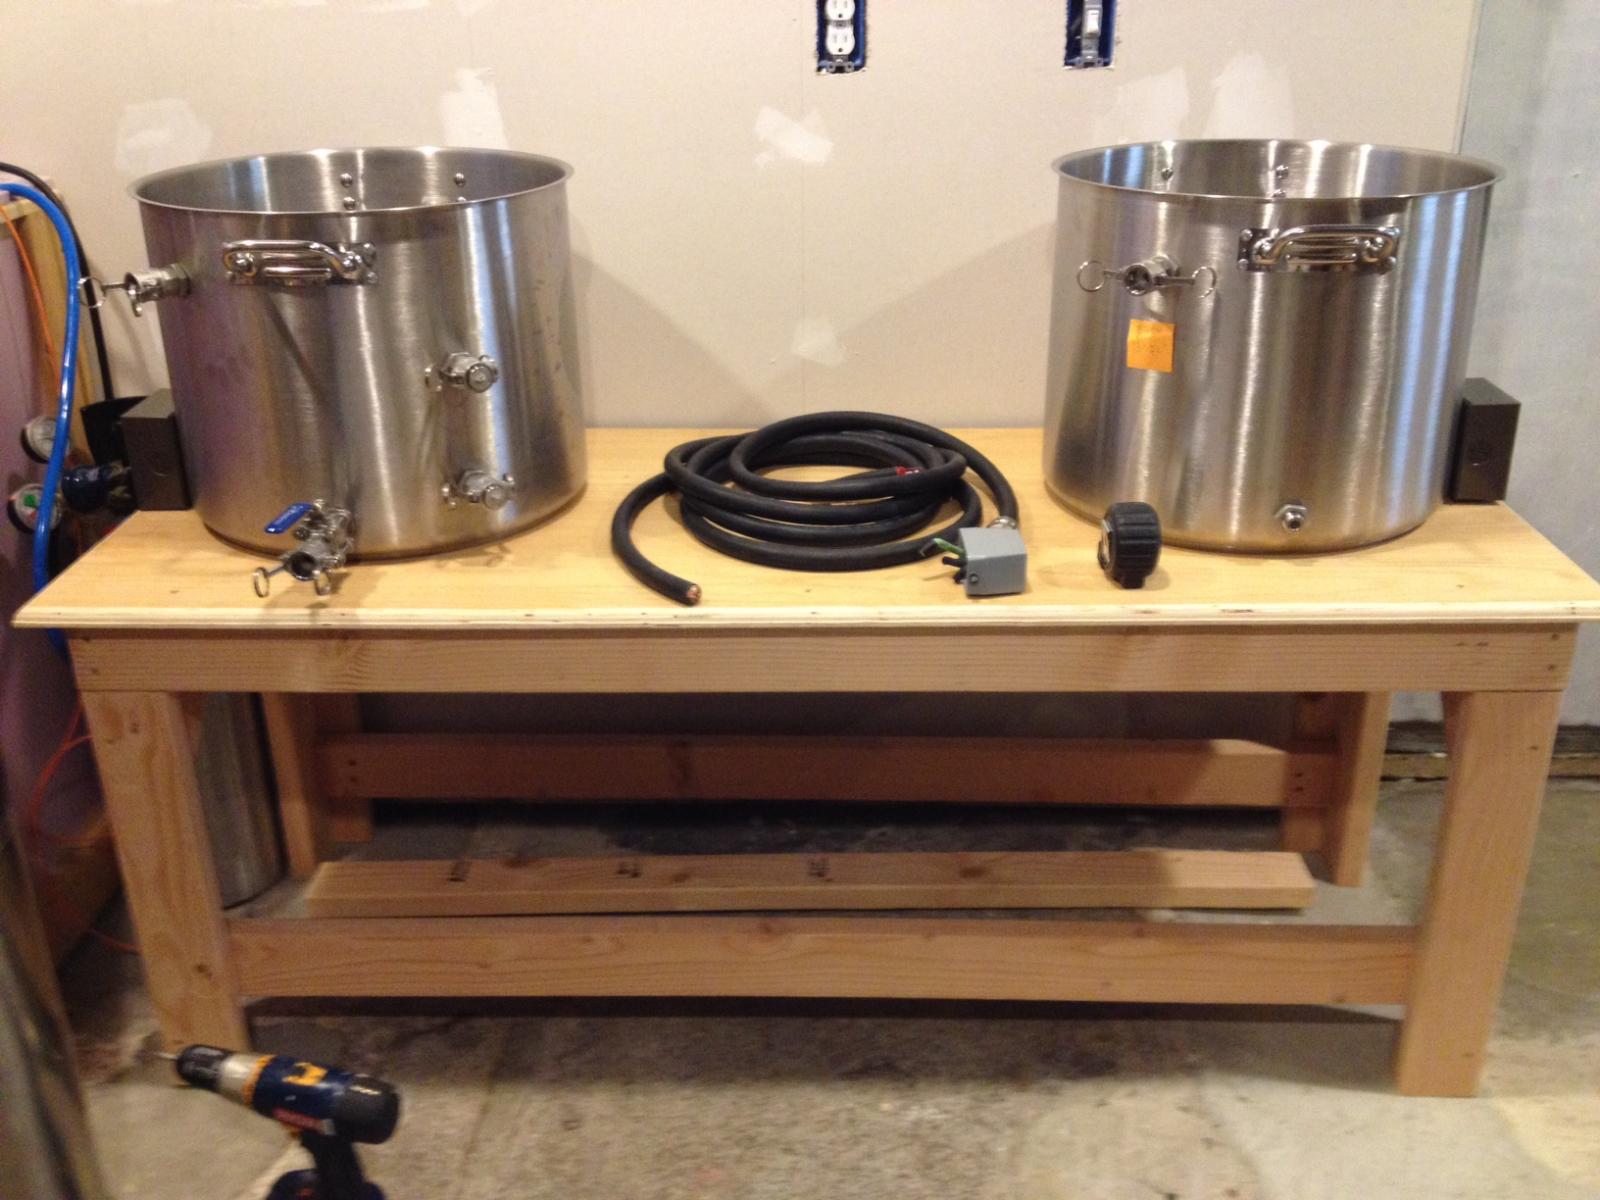
Saturday I built my brew stand. Went with wood out of simplicity. Long term goal is to weld something up, just need to buy a welder first.

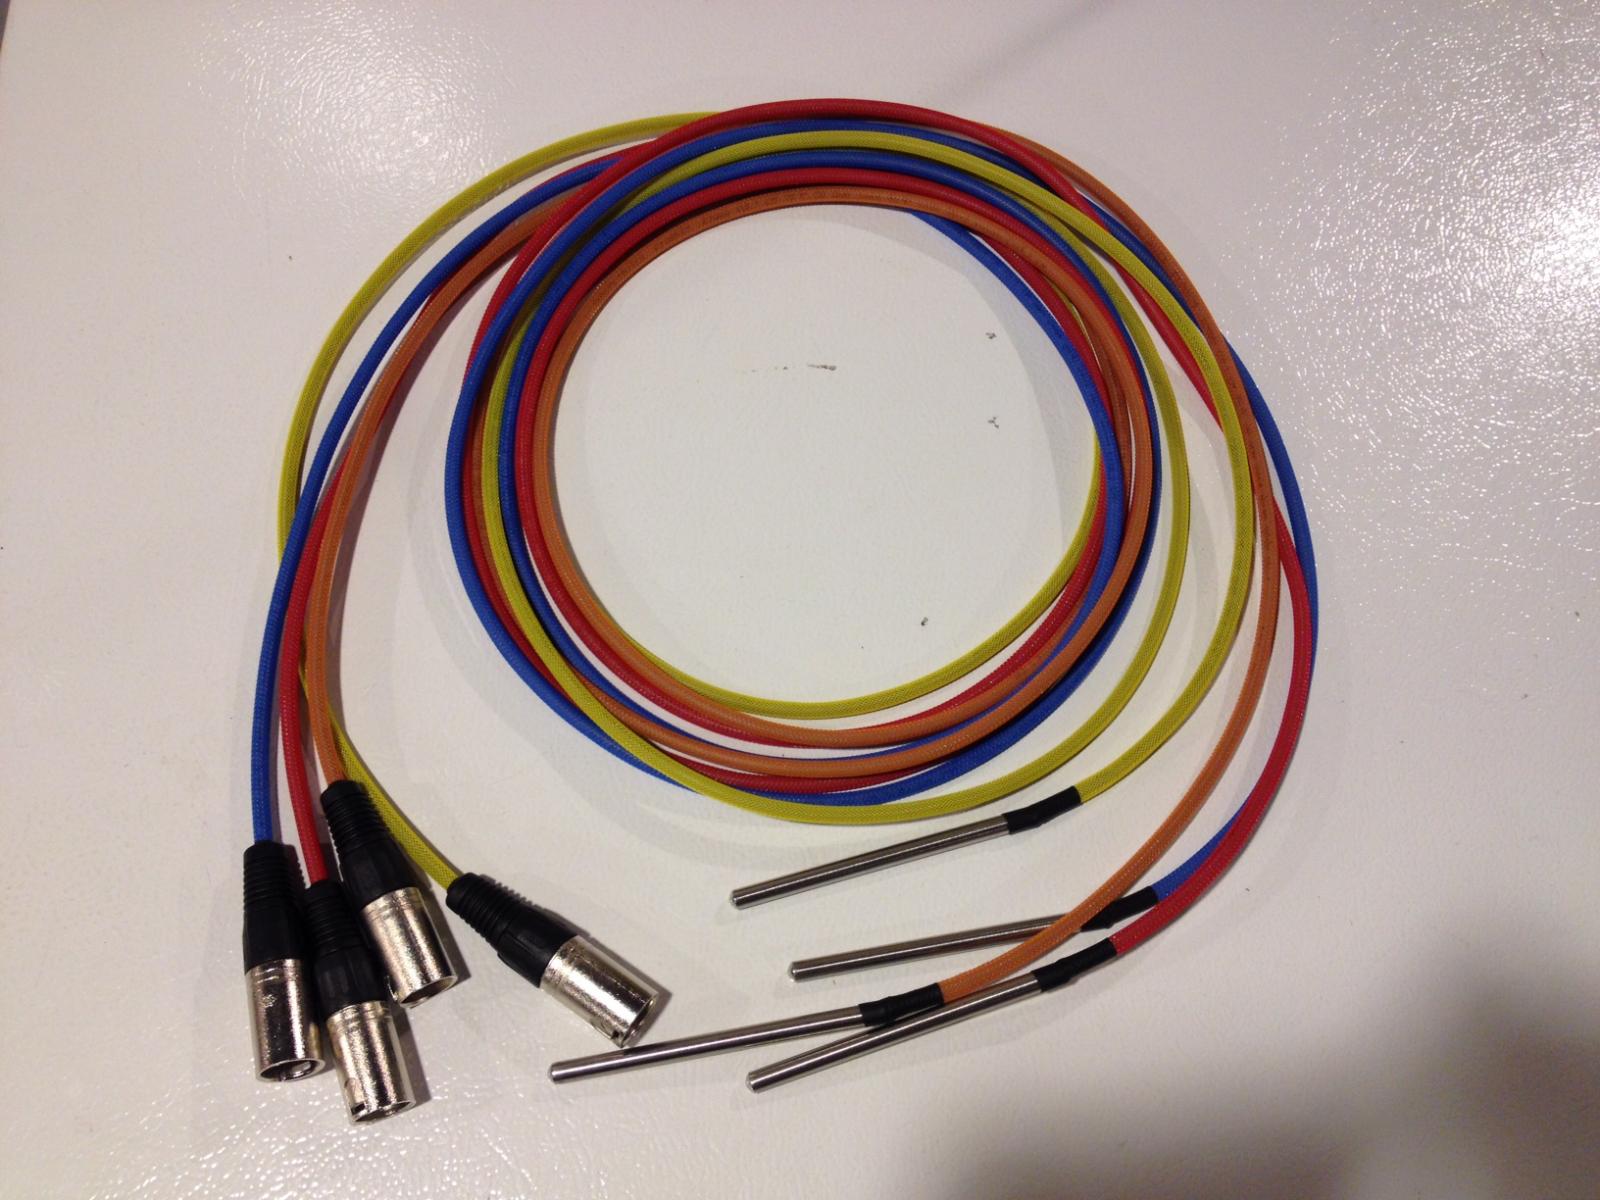
My wife and I put the temp probes together, color coded to keep everything visual.

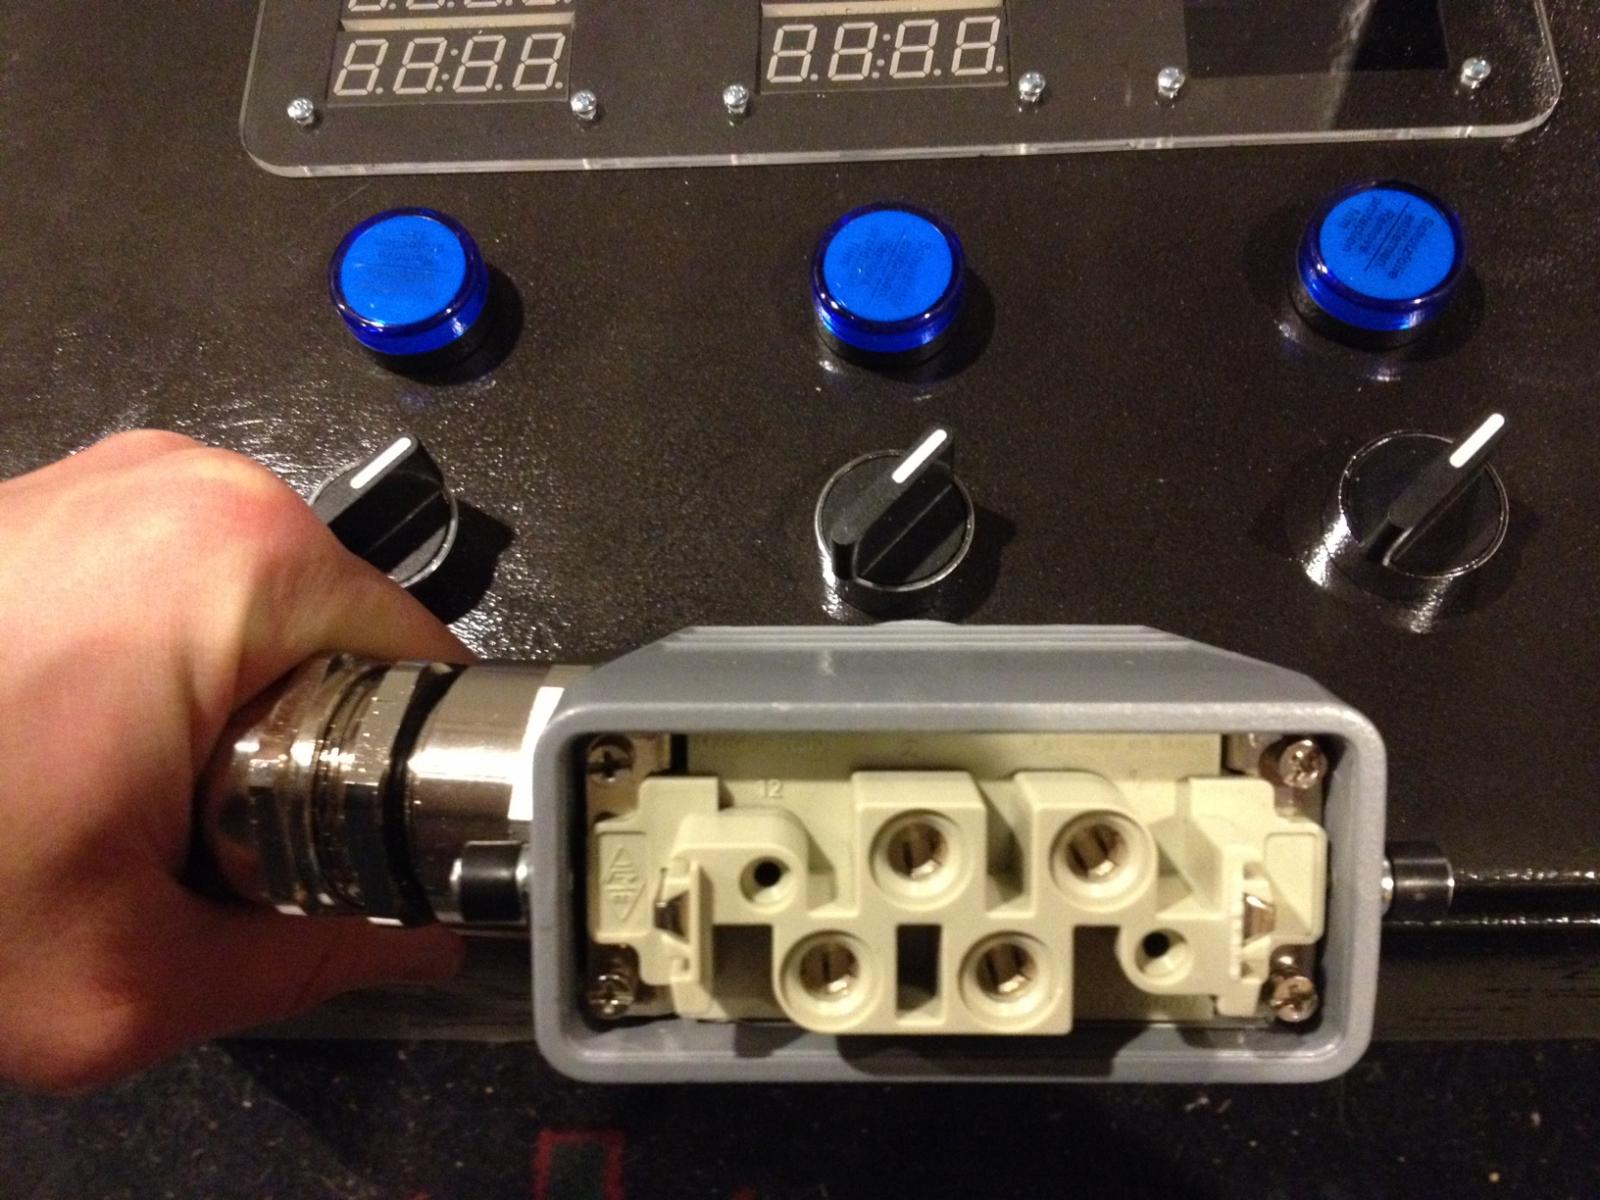
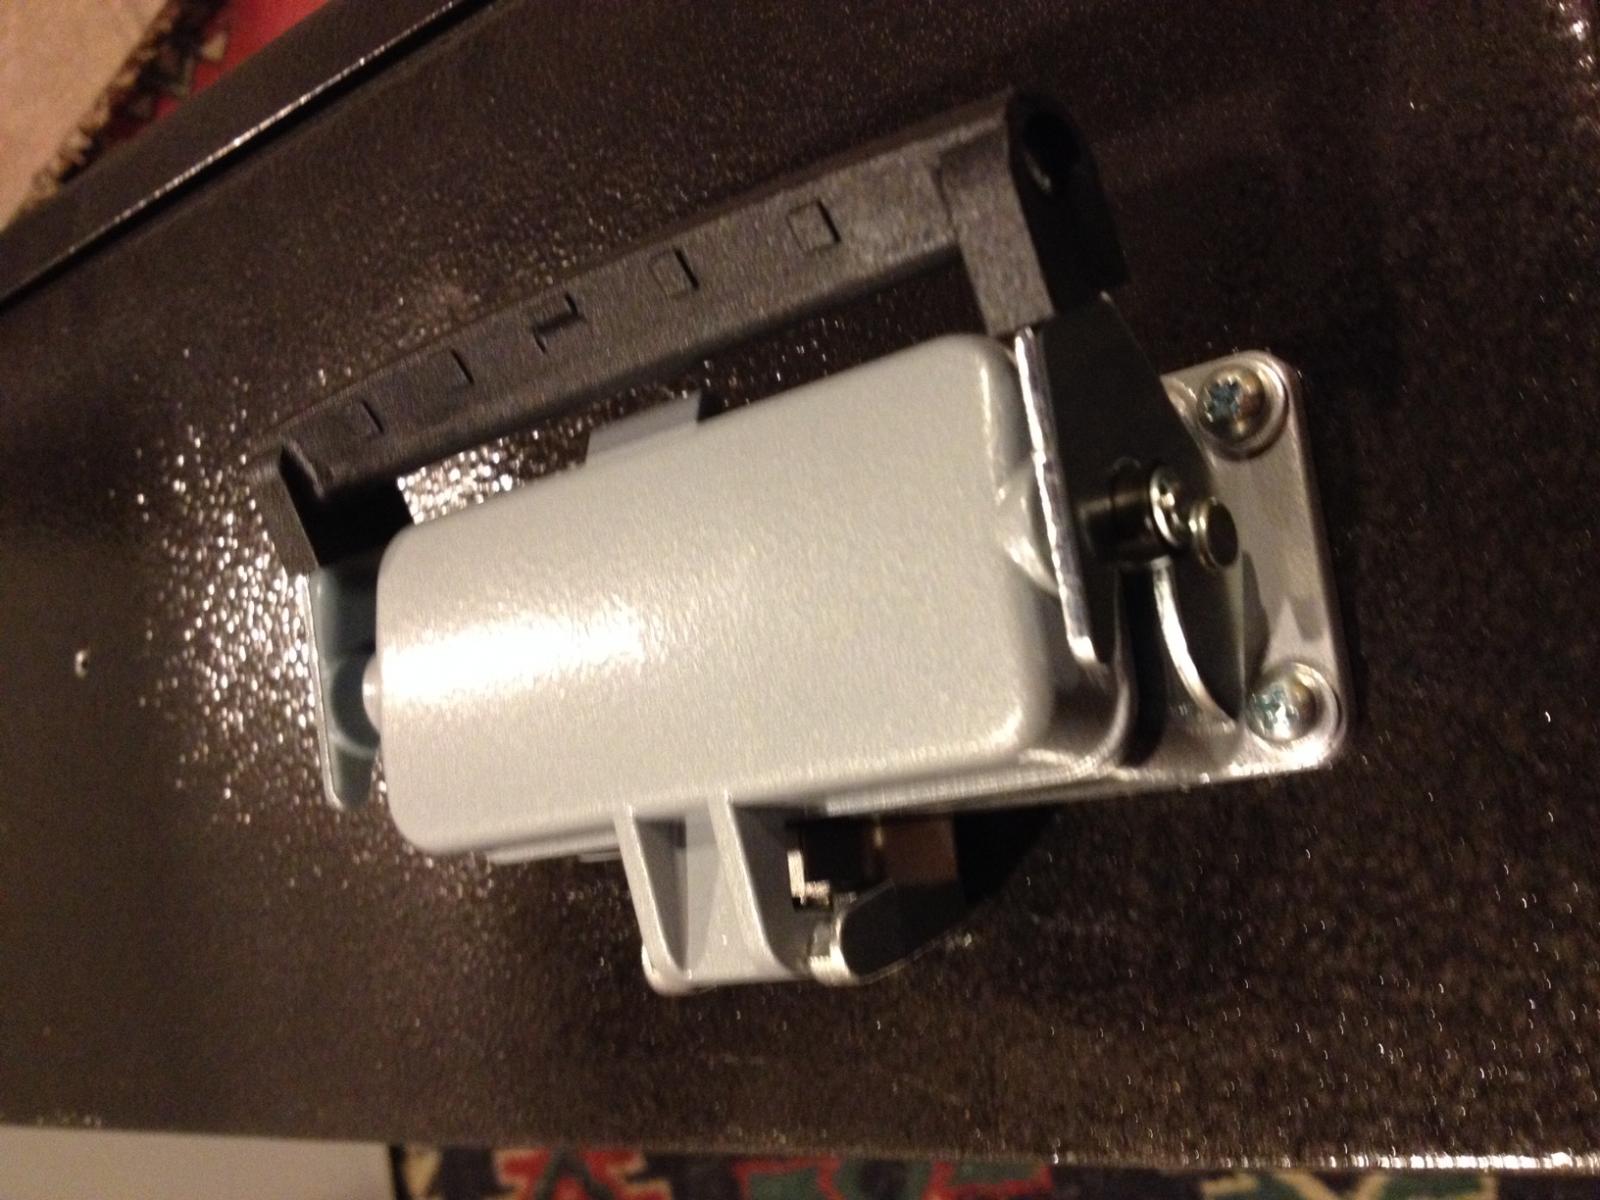
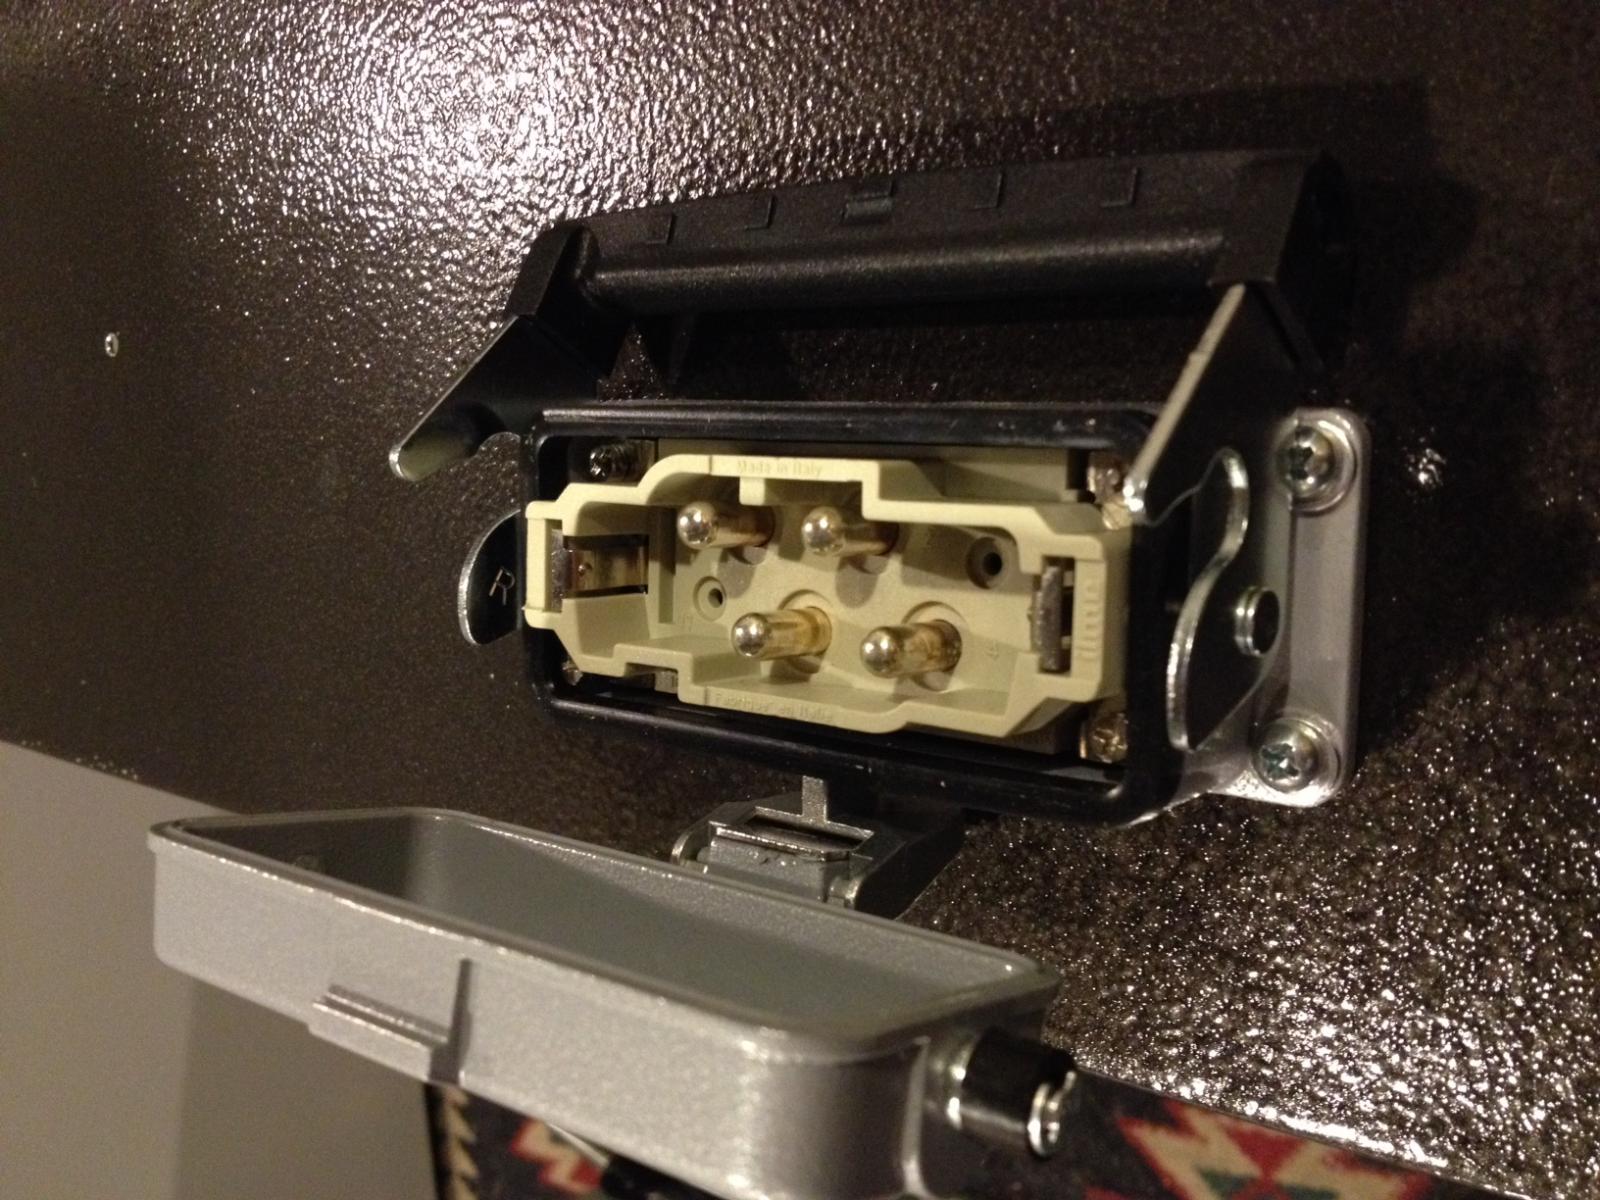
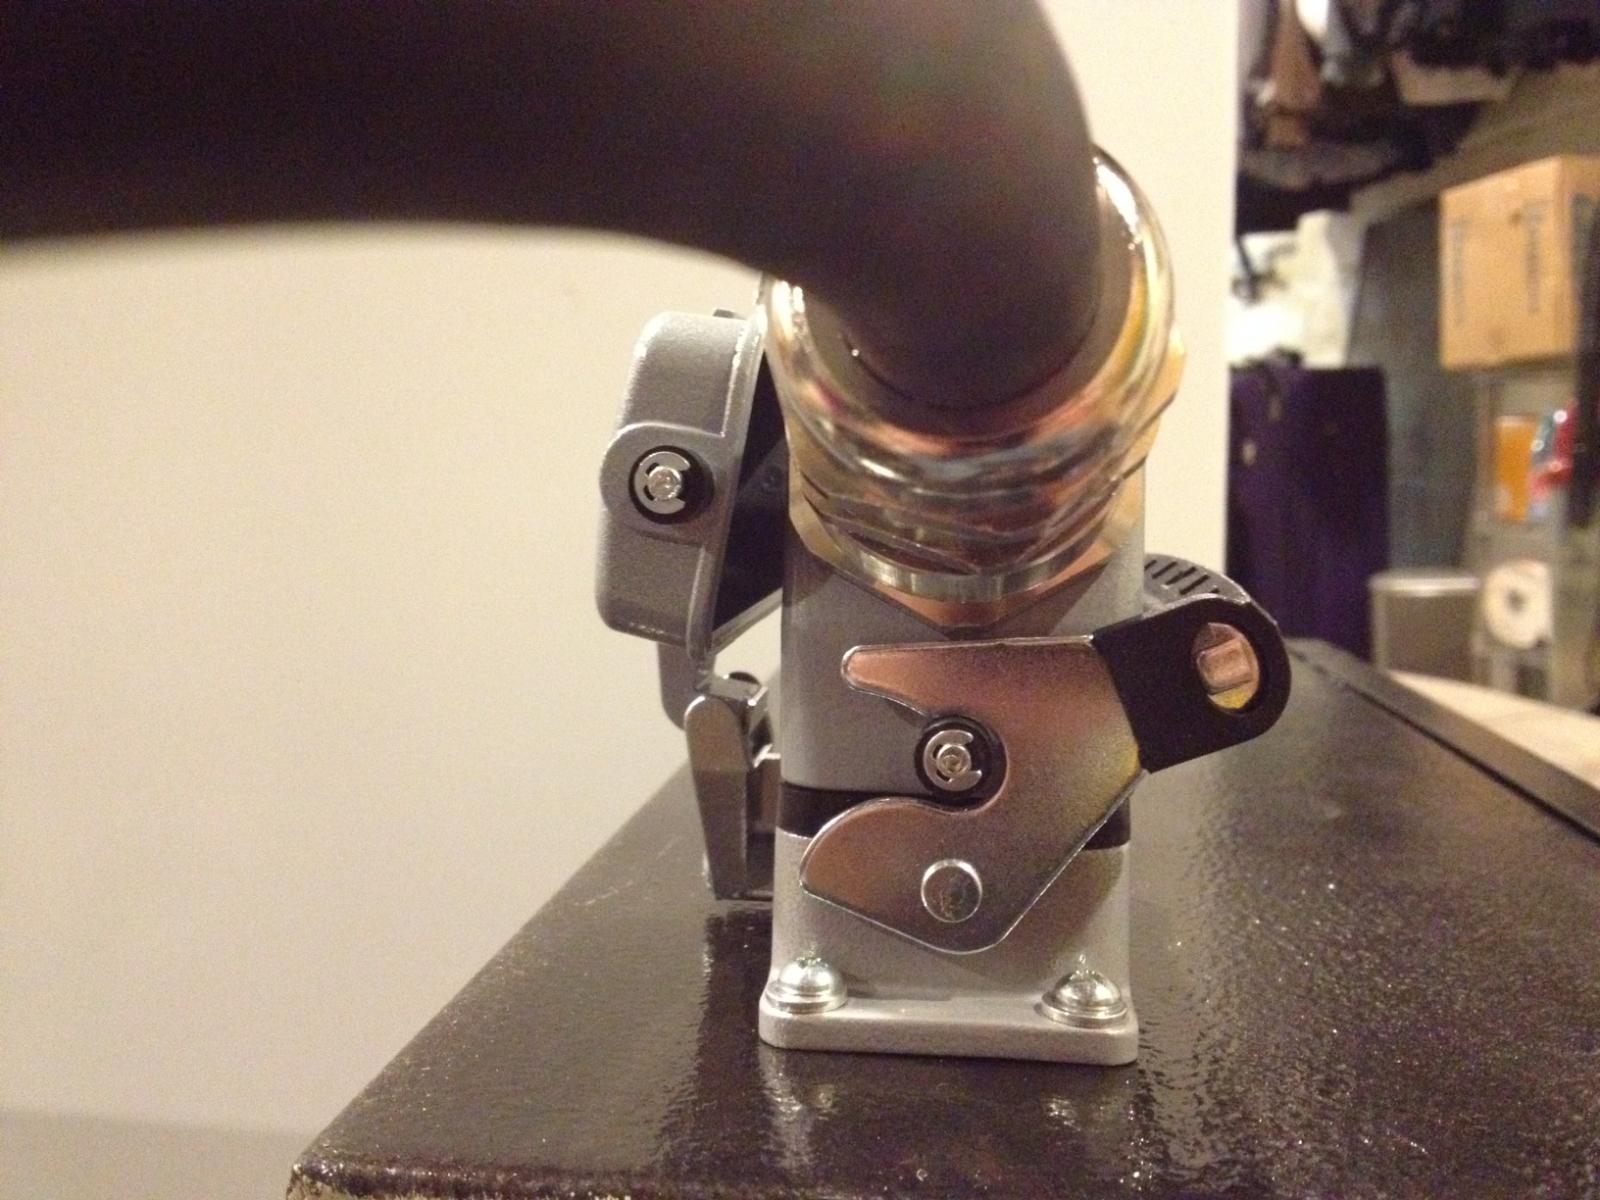
I also got in my power-in connector. This thing is a breeze to use, easy to install and is NEMA 4 when connected. It is pretty large, the connector is rated for 80amps, at most I should be pulling a little over half of that. The connector is from LAPP USA, it's their EPIC line of connectors. The size I used was their HB16 housing. This set up can get pricey, but IMO, worth every penny.


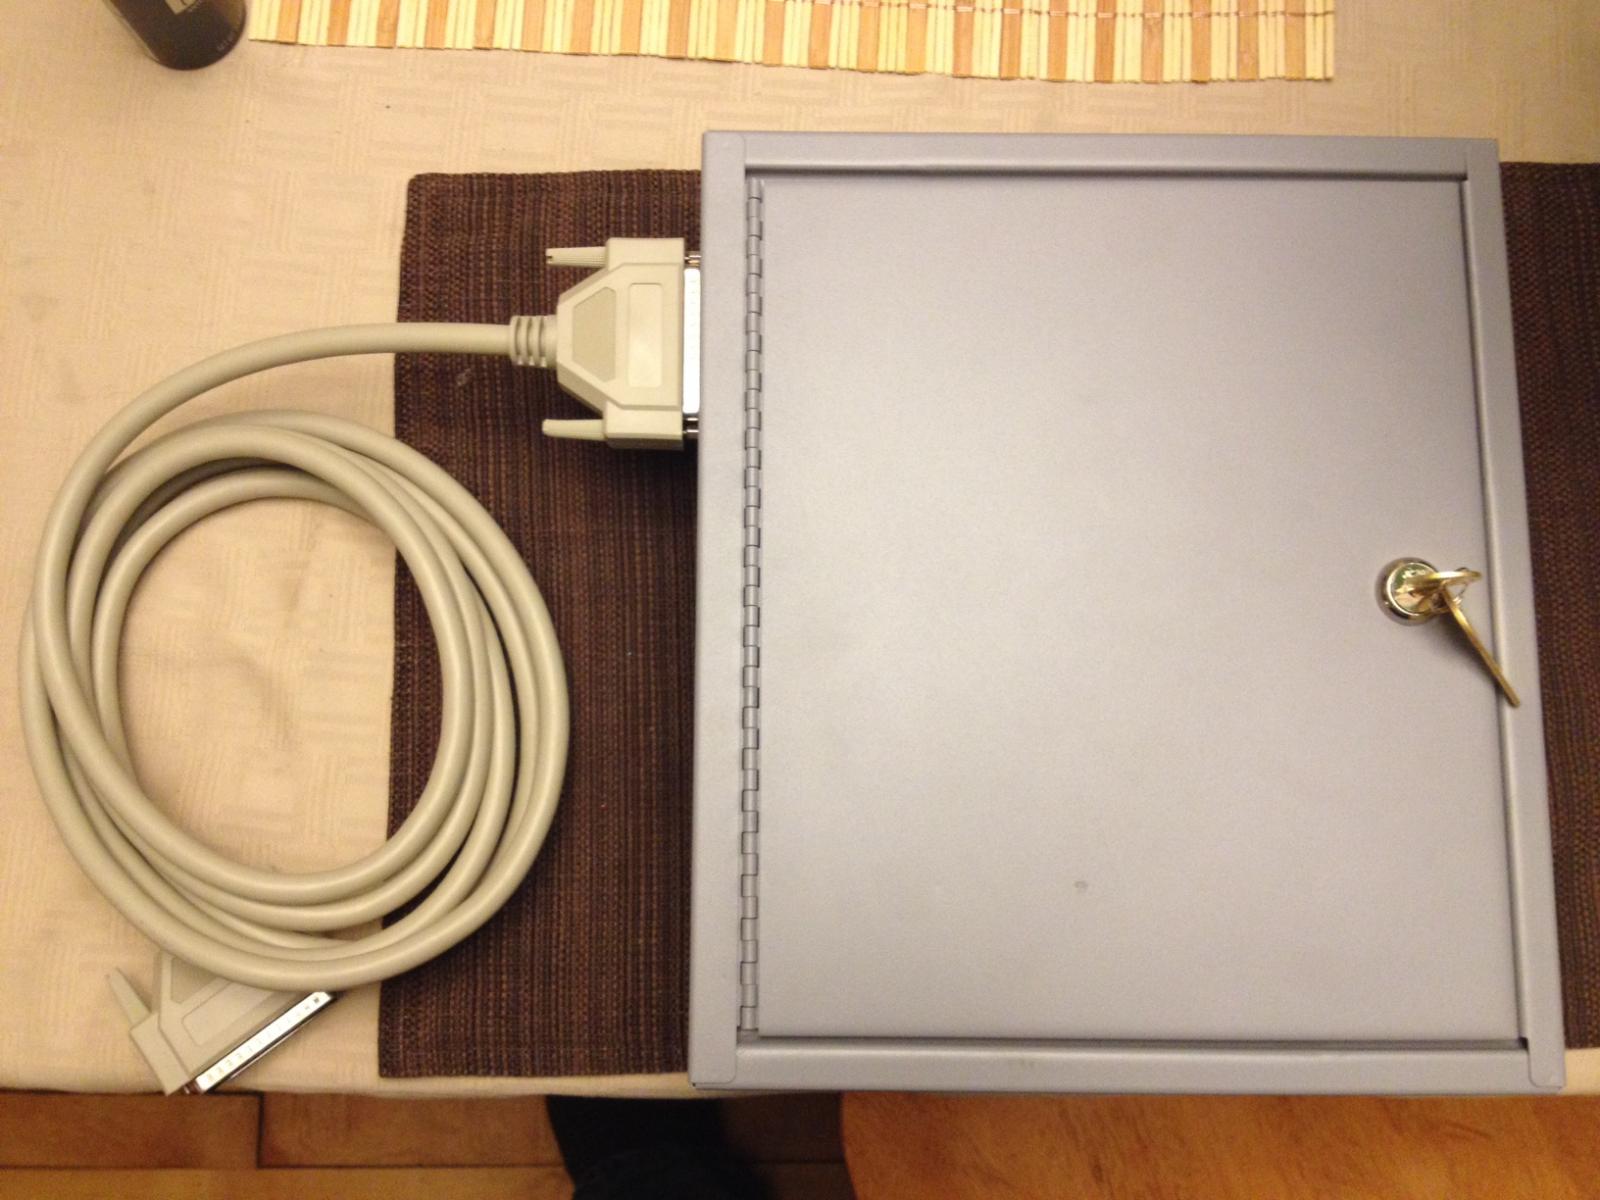
I decided I was going to make a sub-panel to reduce the amount of ins/outs on the control panel itself. For this I debated using the same EPIC connector with a 64 pin insert in it. But for the sake of simplicity I have decided against that and instead are going to be using a 50pin D-Sub connector. For the sub panel, I looked into other NEMA rated panels, but it was difficult to find one in the size I needed. Instead I purchased a $30 Key Box - I will just grind out the few spot welds on the inside that hold the key hanger and use this for all my low voltage connections (temp, valve, float, misc DIN)

I am in a bit of a holding pattern until I get my 24 & 30mm hole punches that currently have an estimated delivery of mid-march :mad:

Until next time.

Cheers!
Max

IMG_1225.jpg


IMG_1236.jpg


IMG_1241.jpg


IMG_1243.jpg


IMG_1244.jpg


IMG_1245.jpg


IMG_1246.jpg


IMG_1248.jpg
 
Very nice! Can't wait until I have my panel in my hands! Hopefully next week! 🙏

Kettles in my welders hands as we speak. It's been a long time waiting. Ready to brew!!!
 
I know the feeling. I bought these kettles/panel in early 2012. I brewed using one of them for the first time last summer - it will be nice to put that false bottom to use. And actually ditch the propane!
 
Small update -

Since the last update I got the following items in:
Chugger center inlet pump
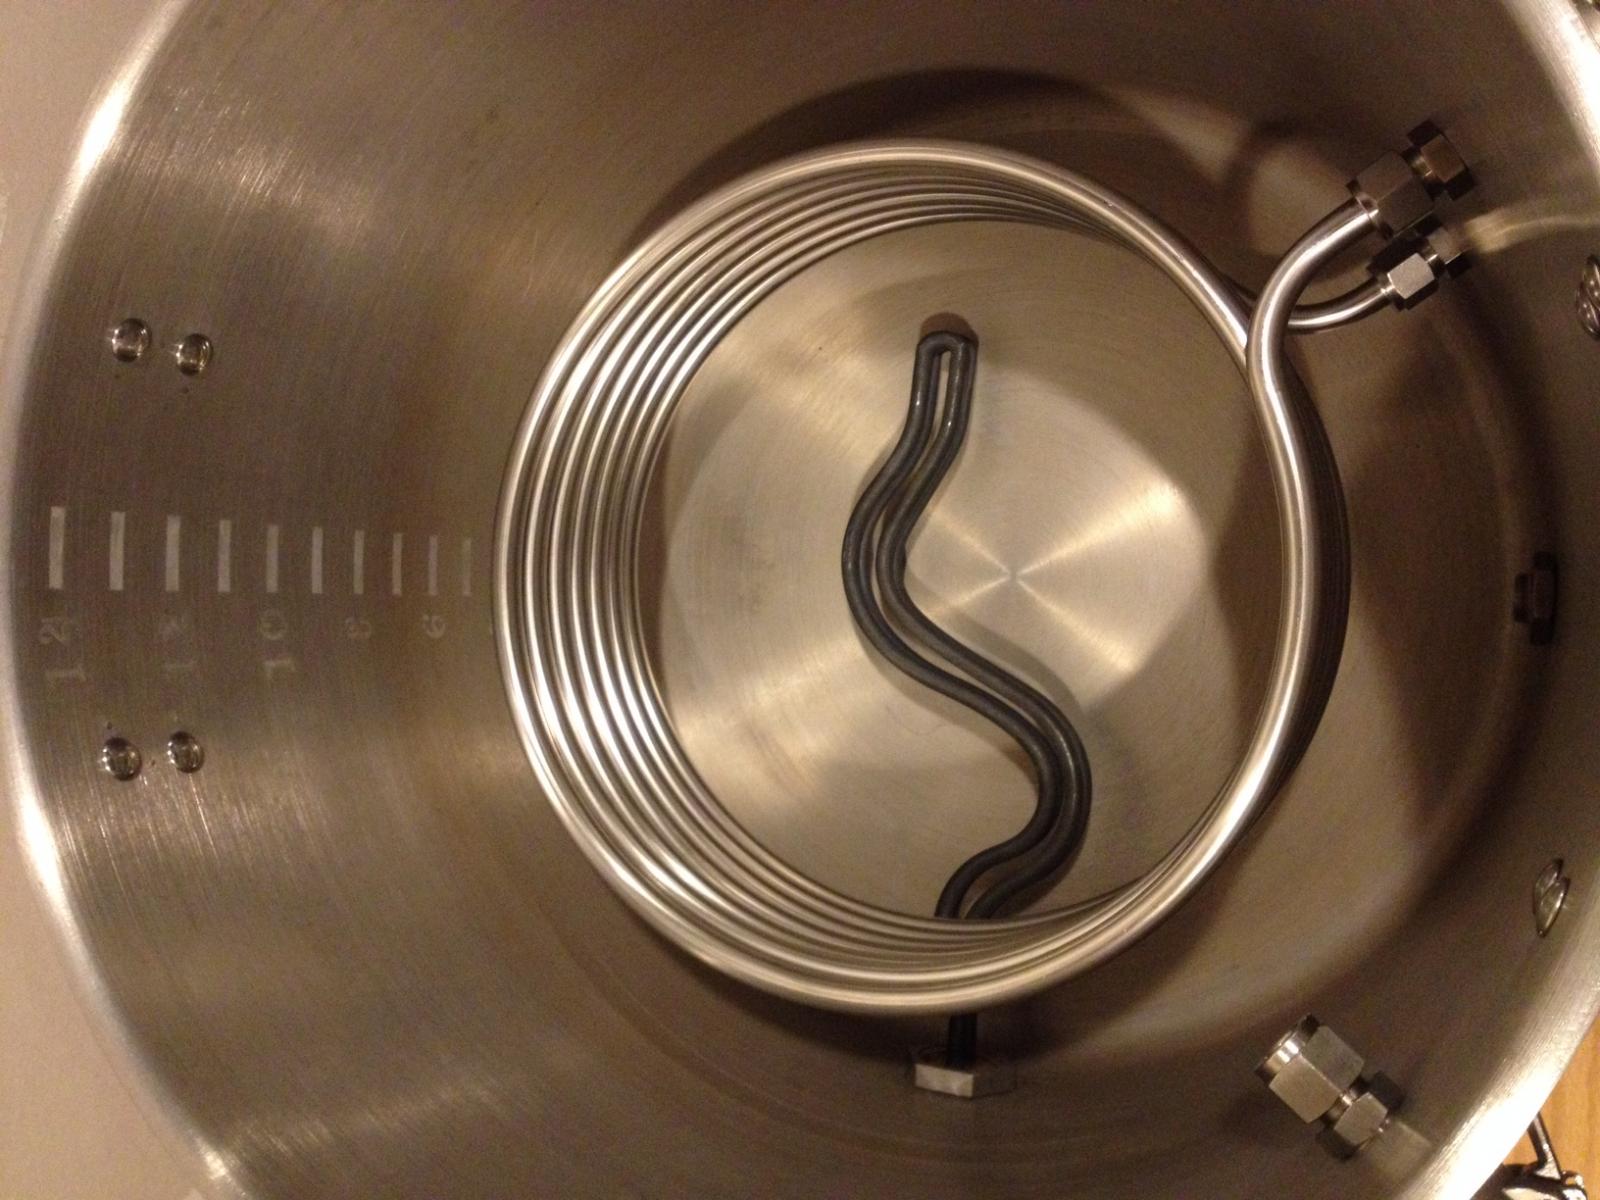
HERMS Coil
Mash Tun Dip Tube
Misc Stainless Hardware
Motorized Ball Valves
30 Plate Duda Chiller

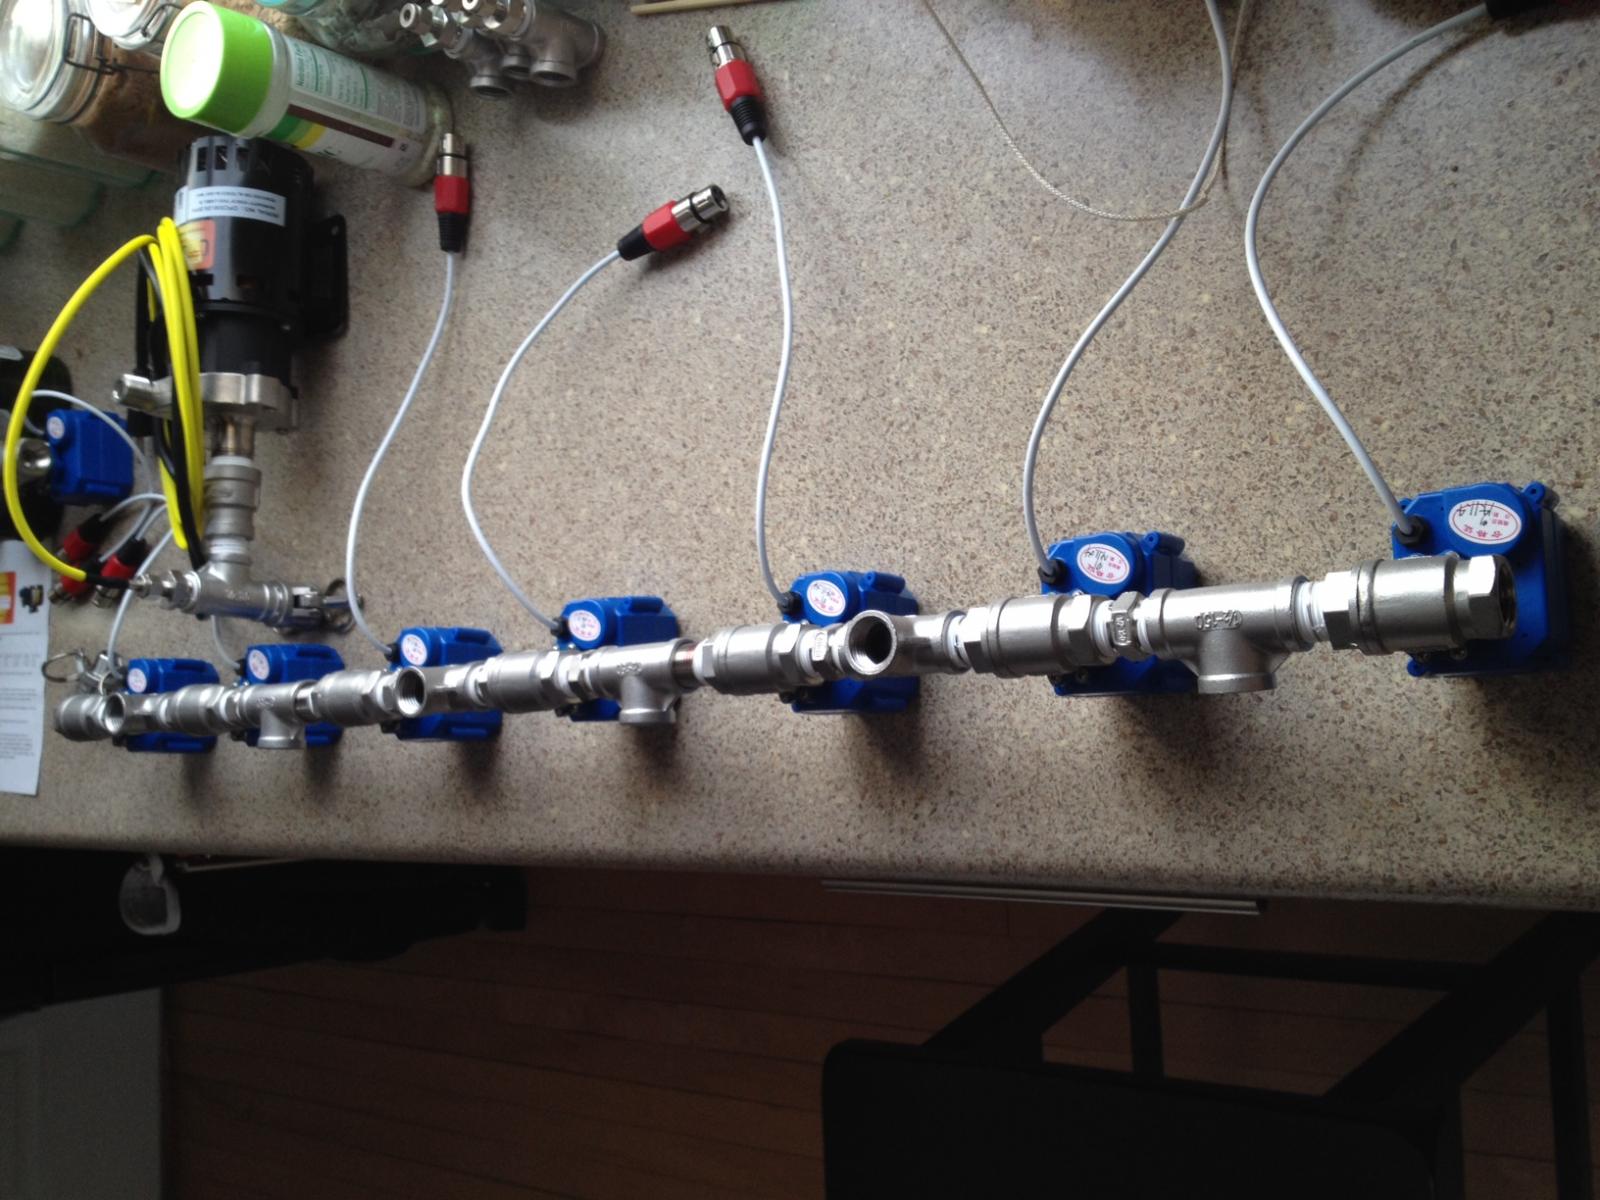
Yesterday I mocked up my valve manifold, trying out a few different ways to put it all together, and make it easy to take apart.

I installed XLR connectors on each of the valves.

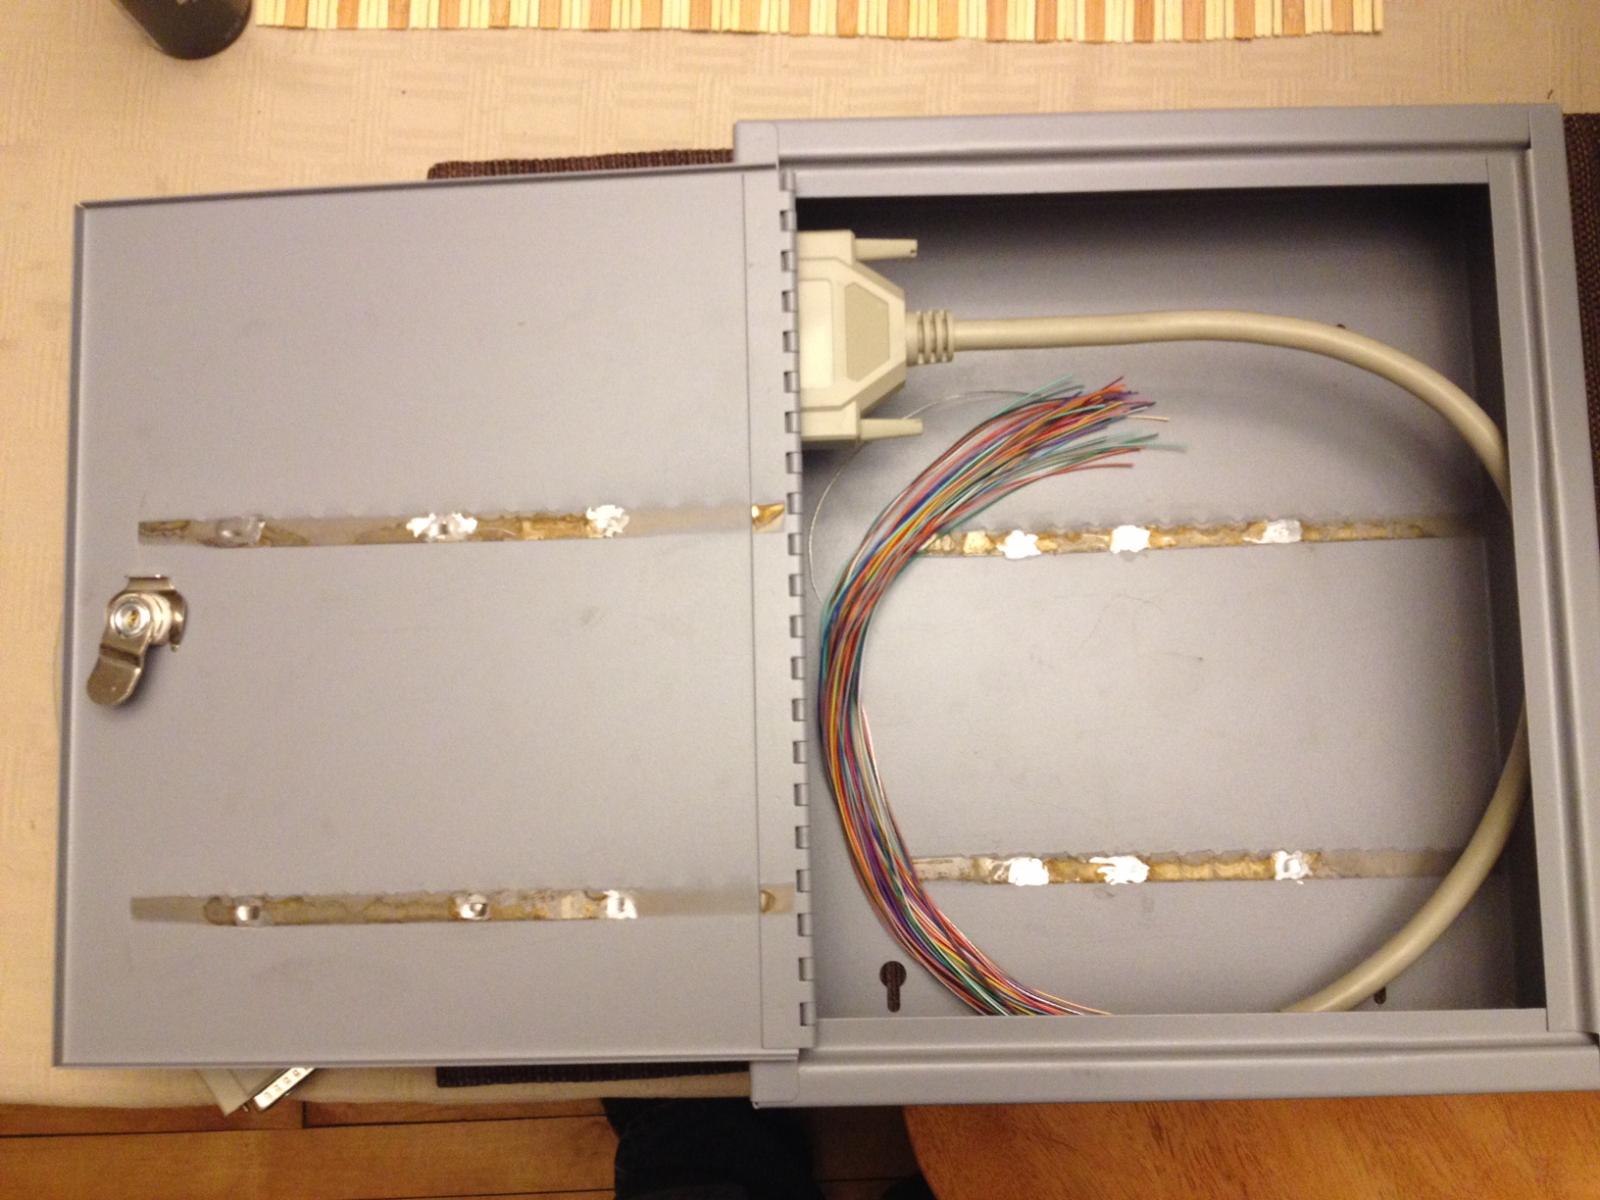
I pulled out the key tag holders from the key box. There were 3 spot welds that I had to grind out to remove the chunks of metal. I used JB weld to clean up rough areas and to fill in the mounting holes on the panel (not shown).

I installed the DB50 connectors on my panel and sub panel (had to get creative to mount the female to female gender changers without buying additional hardware). I was worried about using the small gauge wire with the valves (its 28 gauge wire in the DB cable I bought from Amazon which is enough for 0.2amp of power transmission, the ball valves are 80ma at 12v), but I was able to test the ball valves with the cable assembly and my worries were relieved.

I am planning on using 4ch audio snakes to help clean up all of the wiring, and its cheaper than doing individual small length cables - I picked up a few of these 4 Channel 3' XLR Snakes

Thats all I got for now. I brewed a RyePA yesterday. Put the plate chiller to use. I was able to chill 6.5-7 gallons of wort down to 52 (oops) in out ~6 minutes, this was gravity fed, I will put the pump to use next time...

IMG_1272.jpg


IMG_1274.jpg


IMG_1285.jpg


IMG_1323.jpg
 
Overall - I would call it a success

I don't have the BCS fully programmed yet so I made a bunch of notes and now have a good idea of all the parameters and exit conditions I would be looking for.

The way I have this designed the pumps need to be on to measure the temp. Because of this my mash temp dropped about 5 degrees before it started to correct it. (After mashing in there was an abundance of hot water under the false bottom so it would recognize a drop in temp, and turn on the pump long enough to pull a small amount of that hot water). I didn't want the mash to recirculate because it would have been heating up to my strike water temp from my HLT. Going forward I will program fresh water to go into the HLT to bring the temp down, while the MLT will recirc for at least 5 minutes until the mash temp stabilizes.

It was a long day. I started at 8am and pitched at 11:59pm. I was running tests all morning. It was actually the first day I turned on the pumps and heating elements. Since I hadn't brewed since early February I had the itch and needed to brew :)
 
Back
Top