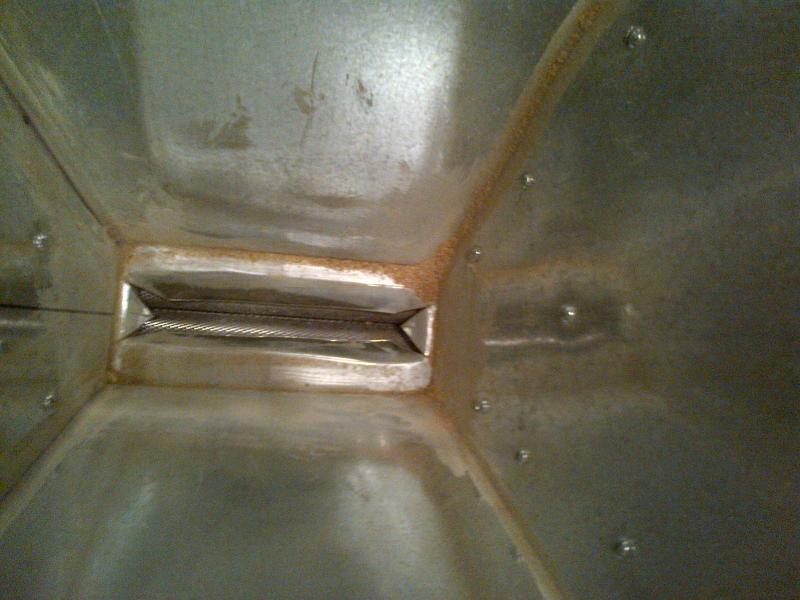
Sticking is caused by the idler (non driven) rollers not spinning freely. A couple different things can cause the idlers not to spin freely. First, take off the hopper. Loosen the four bolts holding the mill to the base. You need to make sure that all the rollers spin completely freely. When you run your hand across them quickly, they should spin with no binding, and keep spinning for a while. If they don't spin freely with the mill loosened from the base, then there could be gunk in the bushings. Clean it up. Next, push the frames together to minimize the endplay on the rollers, and then bolt one frame down completely. Next move the other end of the mill around and feel for the center of the freeplay. Put the other frame in the center of this freeplay, and snug down the bolts. Check your spinning again. It should spin as freely as before. Slowly tighten the frame, checking the spin of the rollers all along, making sure that they don't bind as you tighten them. When its bolted down, check your spin. NO binding, freewheeling is what you should see. Also check your endgap. If you slide all the rollers up against one frame, then the space between the end of the roller, and the other frame should be small. Think less than a small barley kernel. You don't want grain getting between the ends of the rollers, and the frames, as this is another cause of binding. If grain gets down in there when you're milling, it will bind up the rollers. Make sure the little triangles are installed in the corners of the hopper, as this will assist in keeping the grain away from the ends of the rollers.
Next check your gap. On the 3-roller mills, the gap needs to be set such that the area between all the rollers is MAXimized. If you think about it, you can set the same gap with the knobs in two different positions. Think of two circles that intersect, there are two points where they cross. Put the bottom adjustable roller in the lowest most position, 6, o'clock, on both ends. Looking at the mill from the drive shaft end, the drive shaft should be on the left side of the mill. You need to turn the knob on that end from the 6 o'clock position clockwise to set the gap you want. From the other end, you should turn it CCW. This will make the bottom roller as far away from the top idler as possible. You need to make sure that you set the gap this way so that the mill feed properly. If the ends are not set the same, the idler will bind. ALSO, don't set the gap wider than 0.045". You're wasting your time at a gap wider than that, and the mill might not feed properly, if it's bigger than that. I recommend you start at 0.040", and leave it there, or work slightly smaller.
Before you re-install the hopper, make a small mark with a permanent sharpie on the knob, and on the frames that line up, so that you know where 0.040" is on your mill. All milling is going to happen very close to here. This way, you can remove, and re-install the thumbscrews, and know that the knobs haven't moved, and you can always go back to 0.040" Then re-install your hopper. IF the holes that hold the hopper down don't line up with the holes in the top of the mill, (they may be tight), you may have to enlarge them slightly on the inside edge. If you really minimize the endgap on the rollers, this area can be tight. You can also just bolt down one end of the hopper, as two holes on one end will always line up.
Give this a whirl, and if you are still having problems, or have a question, please let me know.
Thanks
~~fred francis
Monster Brewing Hardware


![Craft A Brew - Safale BE-256 Yeast - Fermentis - Belgian Ale Dry Yeast - For Belgian & Strong Ales - Ingredients for Home Brewing - Beer Making Supplies - [3 Pack]](https://m.media-amazon.com/images/I/51bcKEwQmWL._SL500_.jpg)


