
OP
OP
ChemE
Well-Known Member
Question:
When using the HLT, how do you adjust for the temp changes? I use Beersmith. Typically, the temperature of my initial infusion of water is different than that of my sparge water temps. So what do you do? Heat all the water in the HLT to 168 and heat your initial infusion seperately?
Right now, I heat water to temp and dump it in. It's a little more time consuming, but I hit whatever temp that Beersmith tells me to hit......
I personally decoct because I don't make light beers. I strike at 104F for 20 minutes to let the enzymes leach into the strike water then I boil the thick part of that mash to get up to my sach rest.
One nice thing about decoction mashing is you aren't adding additional water to your mash. So you can make bigger beers in the same MLT and there is more sparge water available. I think this is part of what is helping me get the brewhouse efficiency that I get (92% on my last batch).


![Craft A Brew - Safale BE-256 Yeast - Fermentis - Belgian Ale Dry Yeast - For Belgian & Strong Ales - Ingredients for Home Brewing - Beer Making Supplies - [3 Pack]](https://m.media-amazon.com/images/I/51bcKEwQmWL._SL500_.jpg)


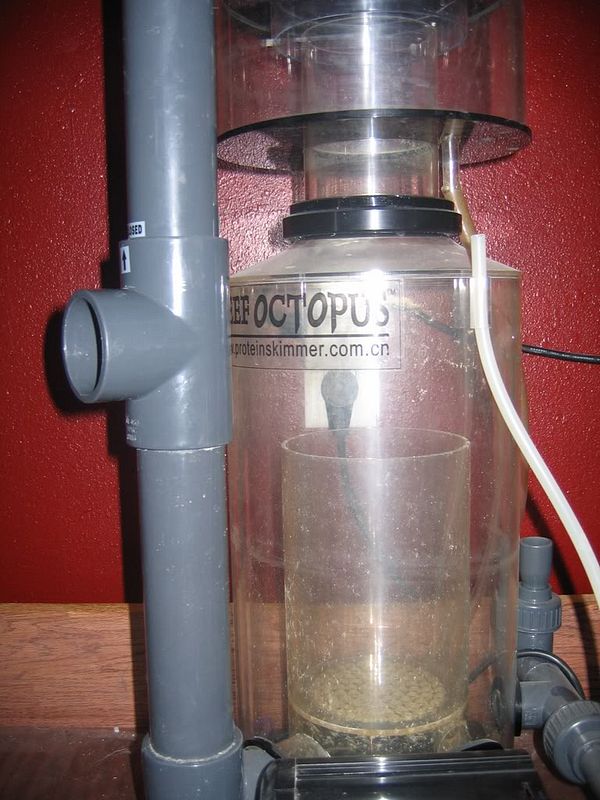
") ) I can't figure out how siphoning would be affected by an open valve at the top.
) I can't figure out how siphoning would be affected by an open valve at the top. 