My Fermentation Chamber - Cold White North Style

Homebrew Talk - Beer, Wine, Mead, & Cider Brewing Discussion Forum

Help Support Homebrew Talk - Beer, Wine, Mead, & Cider Brewing Discussion Forum:

This site may earn a commission from merchant affiliate links, including eBay, Amazon, and others.

thatjonguy

Now with 57.93% more awesome!
Joined
Mar 14, 2011
Messages
5,458
Reaction score
1,179
Location
Minnow
Yes, yet another fermentation cabinet build.

I am building this one to be in an unheated (but insulated) garage during North Dakota winters where daytime highs can be -20s ambient.

For most of you it might be overkill. But why kill when you can overkill...;)

I haven't decided on the final size yet but it will be somewhere in the neighborhood of 4L x 5H x 4W. With a 3x4 door so I can wheel my Brewhemoth in and out.
Constructed of 2x4s and 1/4 inch moisture resistant plywood.
Insulated with R15 mineral wool in the walls and ceiling, floor will be extruded foam panels framed with treated 2x4s.
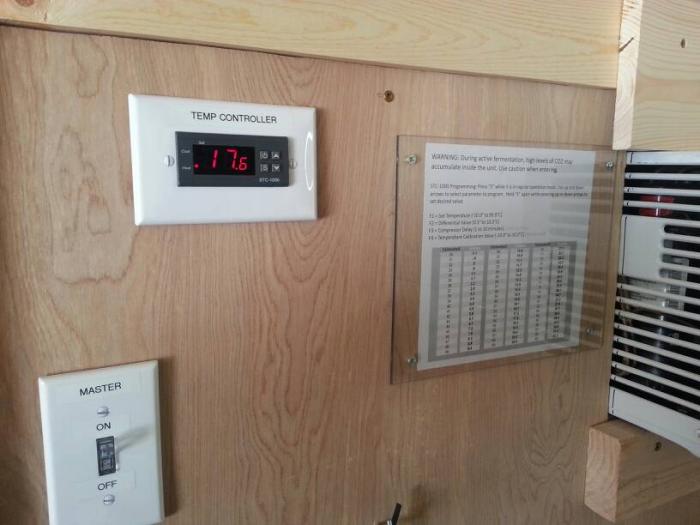
Run by a STC-1000 with 2 outlets (1 gang) for heat/cool.
It will also have a constant on outlet for a desk fan to circulate air.
A master switch on the exterior will control power to the unit.
All wired from a liberated 14/3 extension cord.
Cooling is a 5,000 BTU window air conditioner.
Heat will be provided by 200 watt personal heater (will it be enough? I am going to find out).
It will also have it's own CO2 supply for force carbing soda and soda water.
I am also thinking about a small shelf for carboys and bottle conditioning.
The top will be strong enough to hold empty buckets and carboys so I am making efficient use of the space in my garage.

I am going to start the floor and framing tonight. Pictures to follow.

I will post a materials list sometime soon. I am planning to knock it out while on paternity leave this week (after SWMBO and kids are in bed).

Materials List
(work in progress, framing (2x4) lumber is an estimate; I may need to add more to this)

Lumber:
10 - 2x4x10'
6 - 2x4x8'
6 - 1/4" plywood sheets (4x8)
1 - 1/2" plywood sheet (4x8)
2 - treated 4x4x8'
3 - 1x4X8' furring strips
6 to 10 - 1x4x8' common board or better for trim
2 - 1x6x8' common board or better for trim

Fasteners:
100 - #10x4" screws (I love GRK Mutlipurpose, no pilot holes...)
200 - #9x2.5" screws (I love GRK Mutlipurpose, no pilot holes...)
8 - 1/4"x4" lag bolts

Electrical:
1 - 14 gauge extension cord (3 wire) AT LEAST 25 feet long
3 - one gang electrical boxes
1 - two gang electrical box
1 - toggle switch
3 - outlets
1 - assortment of wire nuts (I ended up using red ones)
1- assortment of colored electrical tape (I used it to identify which cord was what)
10 to 15 - wire staples
3 - outlet plate/covers
1 - switch plate/cover
2 - blank plate covers (just buy two, I messed up the first one; used to mount STC-100)

Temperature control:
1 - 200 watt personal heater (Amazon)
1 - 5k BTU air conditioner
1 - personal desk fan (Amazon)
1 - STC-1000

Insulation:
1 - can of Great Stuff or other expanding foam (16 ounce)
75 sq feet of R15 insulation (I used mineral wool)
1 - bread knife (if using mineral wool)
1 - 3'x25' roll of 4 mil plastic
1 - roll of red sheathing tape
1 - box of 3/8" staples
1 - 1" extruded foam insulation sheet (4X8)

Hardware:
3 - 3/8" hooks (2 for CO2 tank, 1 for clipboard)
2 feet of chain (for CO2 tank)
3 - door hinges
2 - barrel bolts (3")
1 - locking hasp
1 - padlock
1 - utility handle (for door)

Carbon Dioxide:
Fittings for your choice of CO2 set up...none, some or all! Gas hose, fittings, regulator, tank and distributor.

Other stuff:
Stuff to build a ramp OR Buy a Curb Ramp (Only if you have a fermenter on wheels, I bought one)
Zipties
Label maker (to identify the outlets)
8x10 piece of Lexan for temperature conversion chart
Masking tape

Tools:
Staple Gun
Driver/Driver
Bit holder (nice to have a screw guide)
Bits - Phillips, Flathead (GRK screws include bit in the box when purchased at Home Depot)
Drill bit set (1/16 to 1/4)
5/8" hole bit (for electrical)
Dremel tool with rotosaw bit (to cut out the holes in plywood and the blank plate/cover for STC 1000 mounting)
Circular saw
Hammer
Tape Measure
Straight edge
Utility knife
Small Flathead screwdriver (for STC 1000)
Small Phillips screwdriver (electrical work)
Standard size screw driver (hook install)
Pencil
Another pencil
Marker
Another marker
Tape Measure
Irwin Quick Clamps (handy if working alone)
Stud Finder (not required but handy if you forget to mark your studs)
Protective clothing (hat, long sleeve shirt, jeans, boots, gloves, dust mask; mostly for insulation)
Shop vac
Two extension cords for tools
Wire stripper (hehe)
Work light


and of course:
Beer! (Careful around power tools and beer)
 
Yes, yet another fermentation cabinet build.

I am building this one to be in an unheated (but insulated) garage during North Dakota winters where daytime highs can be -20s ambient.
For most of you it might be overkill. But why kill when you can overkill...;)

I haven't decided on the final size yet but it will be somewhere in the neighborhood of 4L x 5H x 4W. With a 3x4 door so I can wheel my Brewhemoth in and out.
Constructed of 2x4s and 1/4 inch moisture resistant plywood.
Insulated with R15 mineral wool in the walls and ceiling, floor will be extruded foam panels framed with treated 2x4s.
Run by a STC-1000 with 2 outlets (1 gang) for heat/cool.
It will also have a constant on outlet for a desk fan to circulate air.
A master switch on the exterior will control power to the unit.
All wired from a liberated 14/3 extension cord.
Cooling is a 5,000 BTU window air conditioner.
Heat will be provided by 200 watt personal heater (will it be enough? I am going to find out).
It will also have it's own CO2 supply for force carbing soda and soda water.
I am also thinking about a small shelf for carboys and bottle conditioning.
The top will be strong enough to hold empty buckets and carboys so I am making efficient use of the space in my garage.

I am going to start the floor and framing tonight. Pictures to follow.

I will post a materials list sometime soon. I am planning to knock it out while on paternity leave this week (after SWMBO and kids are in bed).

Wish me luck!

Good luck, post pics as you go.
 
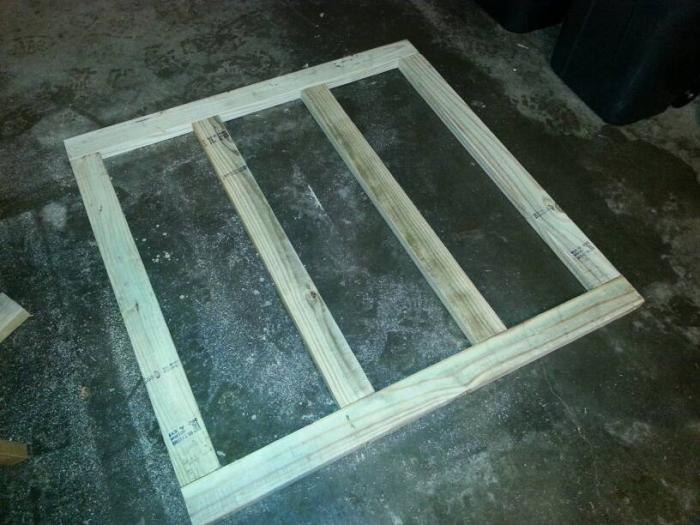
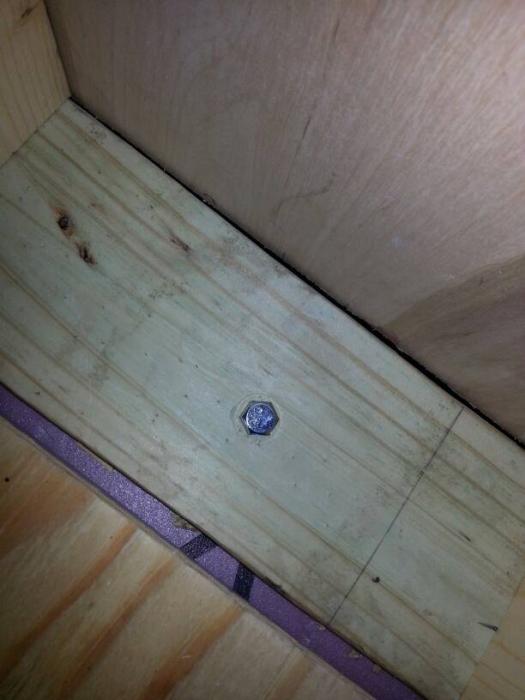
First photo is the floor framing, I got ahead of myself and started screwing it together. Then I realized i need to build the walls first.

The floor is made from treated 2x4s.

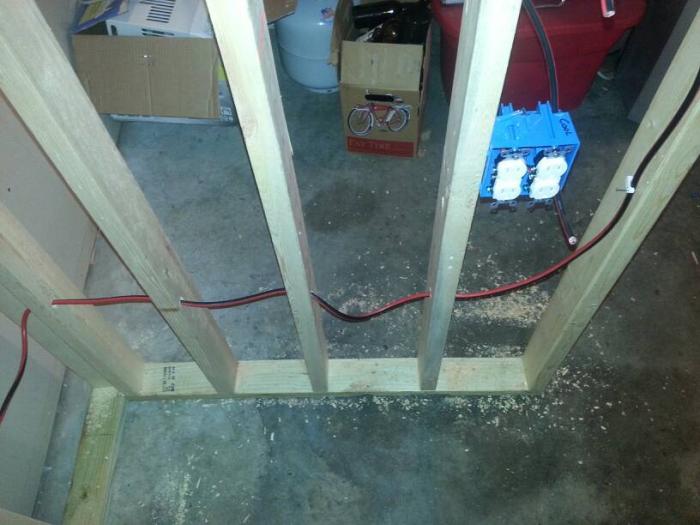
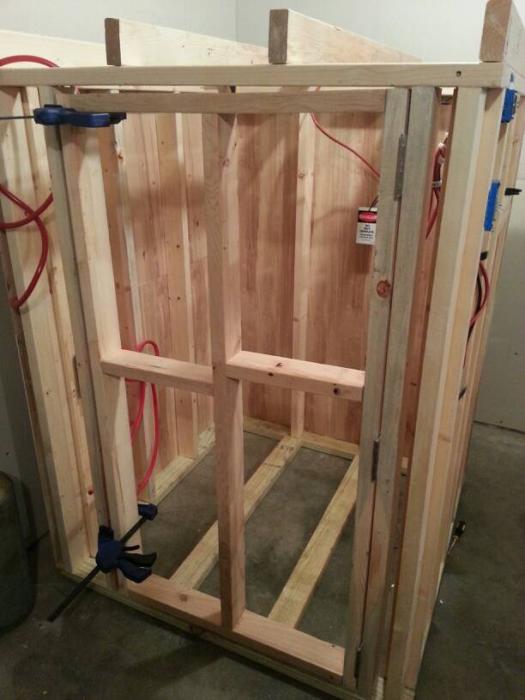
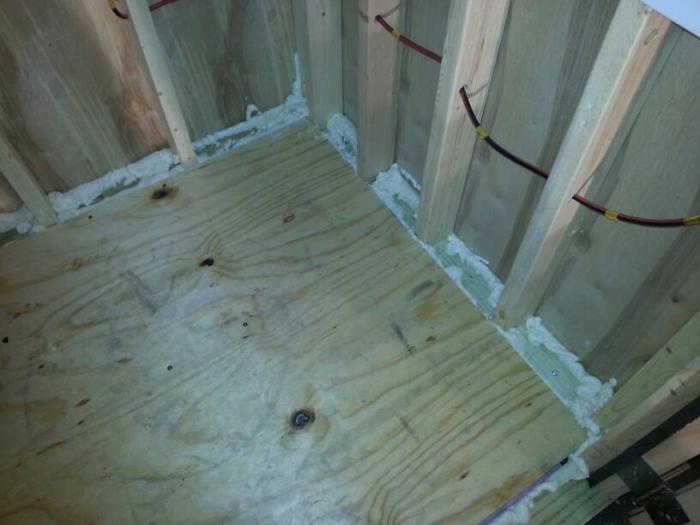
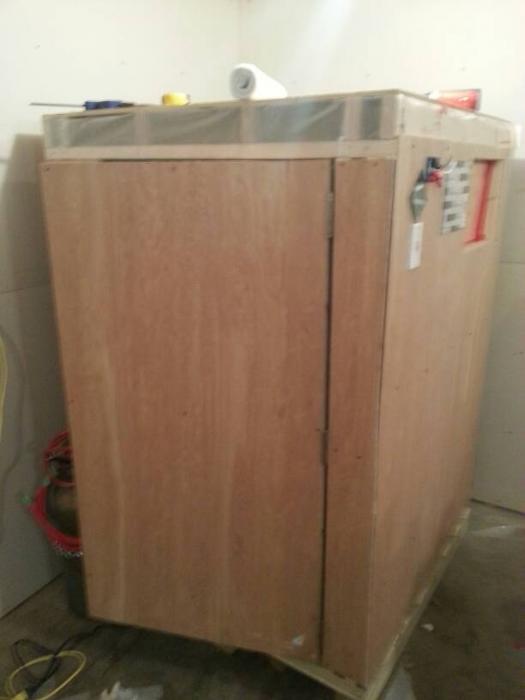
The second picture is of the three walls screwed together, my phone died while I was working way past midnight, so I didnt have an photos of each wall. Walls are made from regular 2x4s. My brewhemoth is hiding under the blue furniture blanket.

The screws I found at Home Depot are awesome. They are GRK multi-purpose screws. They are T25 head and go in like butter. No pilot holes required.

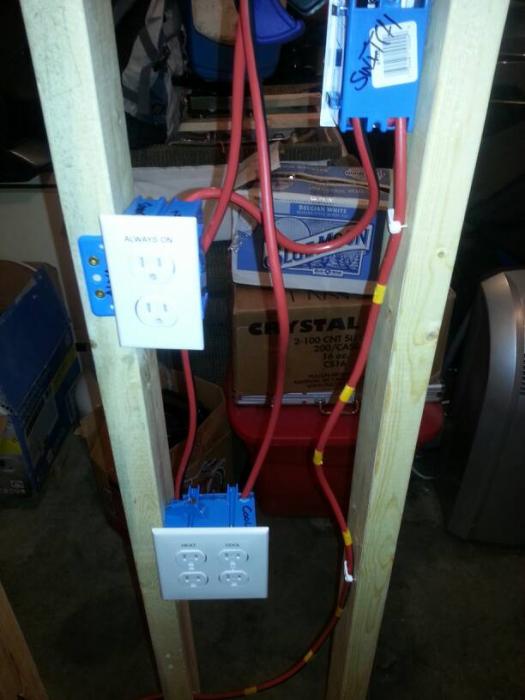
The third picture is the mount for my STC-1000 (not the one in the photo).

I am installing the AC in the walls today, I will post pictures later of each wall after it is completed.

I will also attempt to rough wire it today in anticipation of my STC-1000 arriving on Tuesday.

It is supposed to be cold this coming weekend so I want to finish it this week to test climate control.

1390752532662.jpg


1390753050462.jpg


1390753068863.jpg
 
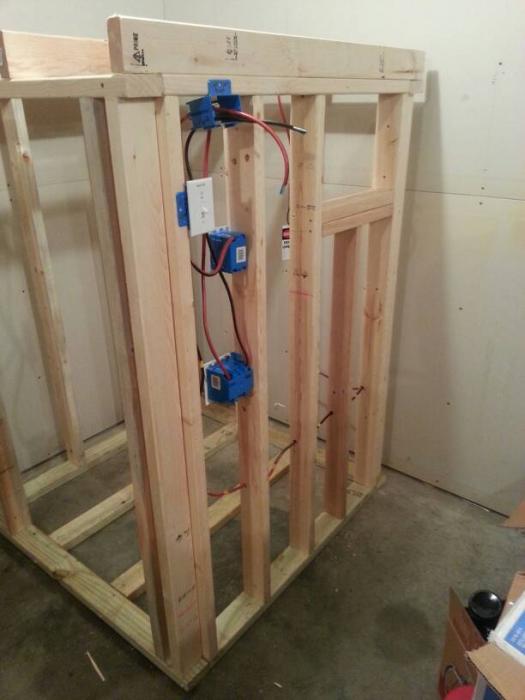
During wife and kids nap time today, I worked on Wall #3 which houses all the electrical work and the air conditioner hole.

I pulled and stapled wiring and trimmed to be striped and wired tonight.

After that is complete, I am starting on wall #4 which contains the door.

The floor will follow. If my drill has enough juice left tonight, I will attempt to put the ceiling on. If not, the insulation and vapor barrier will be finished tonight and tomorrow afternoon nap.

Pics in next post.
 
More late night progress:

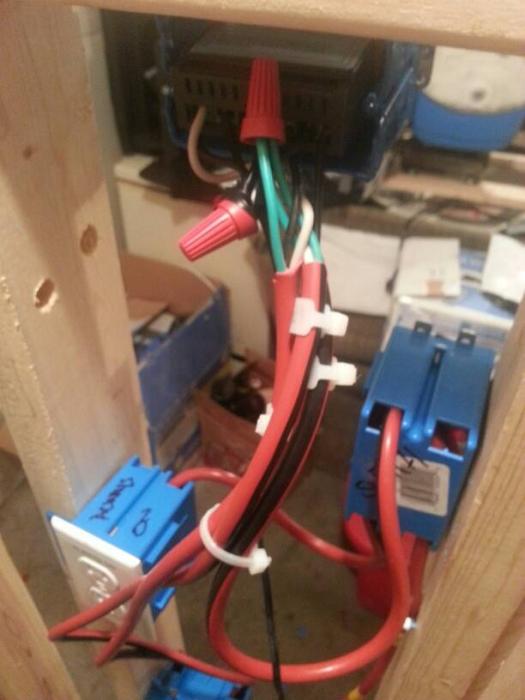
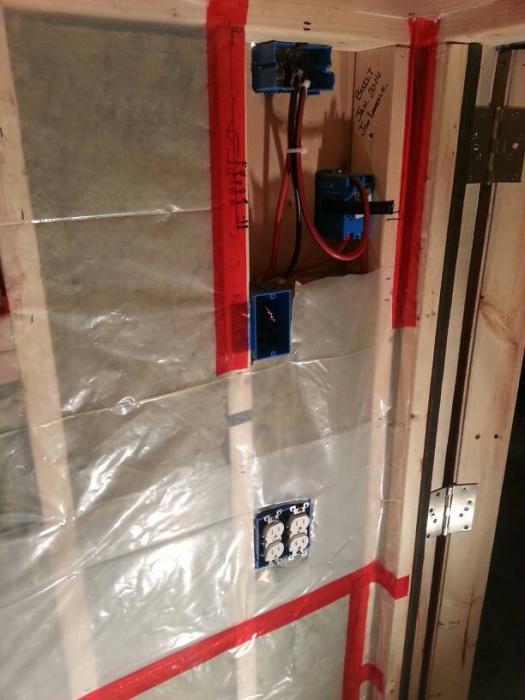
Wired switch and outlets. Tested "always on" outlet and it worked the first go around.

The heat/cool are wired at the outlet but waiting on the STC-1000 to test.

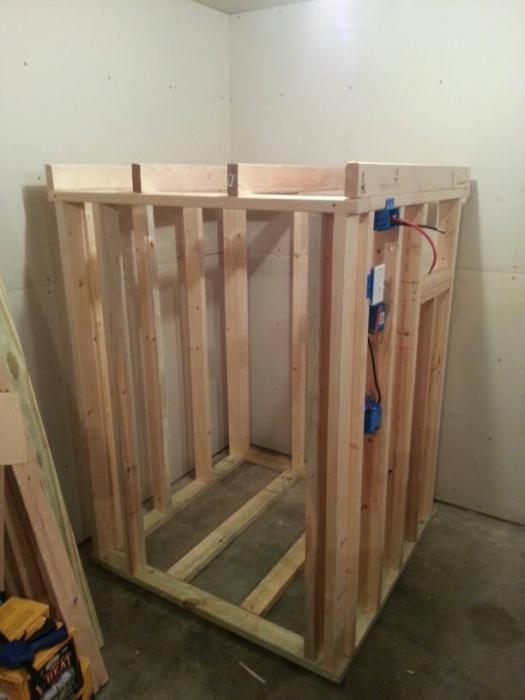
Front wall (#4) was attached, floor boards went in and roof/ceiling was started.

Installed hole in front left corner for CO2 access. Rough mounted 3 way gas manifold.

Floor insulation (1 inch extruded foam x2) going in tomorrow which will be covered with 1/2 inch plywood.

I need to pick up the 1/4 inch plywood tomorrow to start putting the skin on the outside so I can insulate. A friend dropped off a roll off extra synthetic roofing felt (looks like poly tarp material) for the vapor barrier. I will staple it in and seal with Tyvek tape.

I also need to divise some type of ramp to load and unload the Brewhemoth.

I am also kicking around the idea of mounting this on a 4x4 pallet so I can use a pallet jack to move it around. Right now, two guys could lift it with someone else to slide the pallet underneath.

1390811474063.jpg


1390811490511.jpg


1390811504190.jpg


1390811521097.jpg


1390811537394.jpg
 
How are you dealing with the AC temp probe? I am considering a tiny ac unit for my beer cellar area.

How are you dealing with the exhaust from the AC? Are you just figuring that the house's HVAC will deal with it?
 
I am going to have quick connects on the temp probe to the controller so I can use the thermowell on my Brewhemoth or switch to a spare to regulate ambient temperature.

The unit is located in my garage, so the exhaust will make it a little warmer in the summer but I don't think it will be unbearable, since I have 3 doors and 2 windows. I don't think it will run much during the winter, especially when it is -15°F ambient.

This AC is a GE 5050 BTU window unit with digital thermostat. If that seems to cause a problem, I am going to open it up and bypass the thermostat.
 
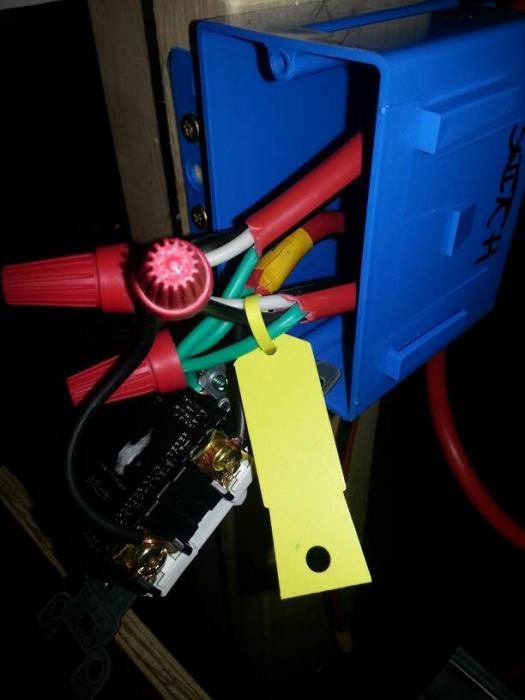
Here is the wiring of the switch, which I used a lighted toggle switch to indicate the power status to the unit.

The wire with a yellow tag in the foreground is the supply to the "always on" outlet after the master switch.

The wire with the yellow tape in the background is coming from the GFCI outlet to supply power to the switch.

The unmarked wire goes to the STC-1000.

1390928138230.jpg
 
More work done until 3am this morning.

I wired everything up with the STC-1000 last night and ran a function test of the electrical system. Works just like I planned.

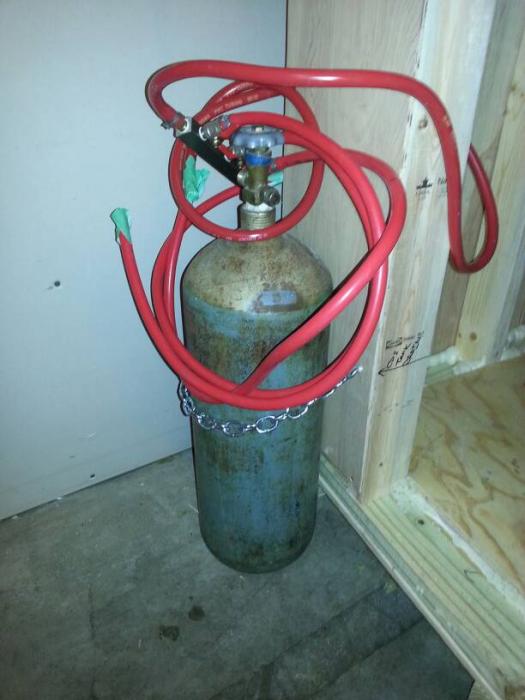
I can't remember if I mentioned it earlier, but I installed the CO2 hose from the regulator to the distributor.

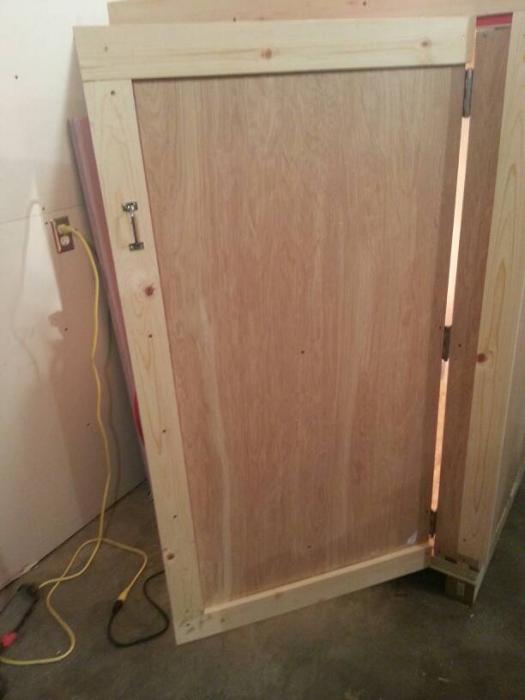
Built the door and mounted it to the frame.

Started covering the outside with 1/4 inch plywood on the left side and back before my drill battery died.

When I had to move the unit for placing the plywood, it has to be over 190 pounds. Looking for a 48 inch square pallet today to bolt to the bottom.

That is going to make the ramp design for the brewhemoth more interesting, but will allow me to borrow a pallet jack to move it when the need arises.

It is going to be 23°F (above zero!) today, so I am planning to get some stuff done while it is decently warm.

1391019239250.jpg


1391019330484.jpg


1391019364416.jpg
 
Sub'd. Can't wait to see more of this, I'd like to something like this in my shop. It would increase my brew capacity as I can only fit 2 fermenters at a time in my refrigerator ferm chamber currently.
 
There will be plenty more on this build including a materials list so you can get basic supplies. Obviously every build is different, so you might need something that I didn't use.

Right now the capacity looks like 6 bucket/carboys, one conical and several kegs piled in front of the door (or conditioning bottles).
 
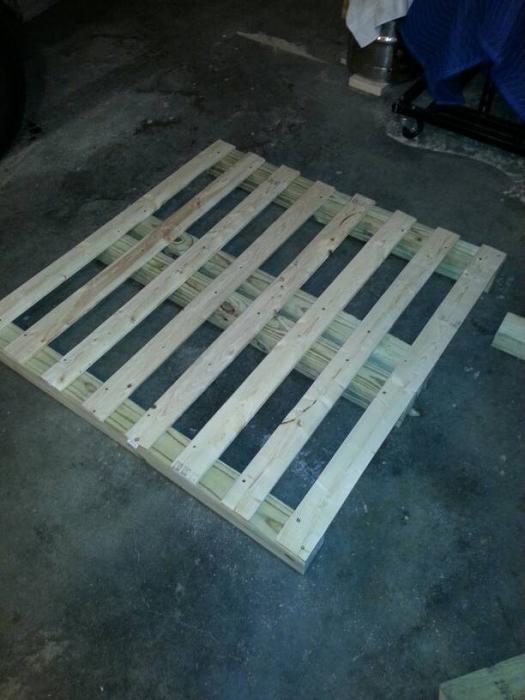
I tried to find a 48 x 48 pallet today but they are pretty rare...so I built one.

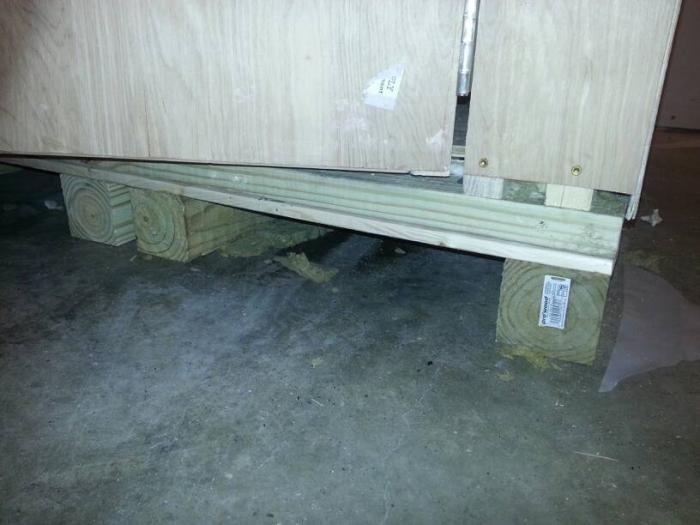
I built the one below was built from treated 4x4s and 1x3 furring lumber (2 - 4x4x8' and 4 - 1x3x8'). Using 2.5" and 4" screws. The spacing is 16 inches between the inside and outside 4x4s. Furring strips are spaced 3 inches apart. This should allow most pallet jacks to slide in.

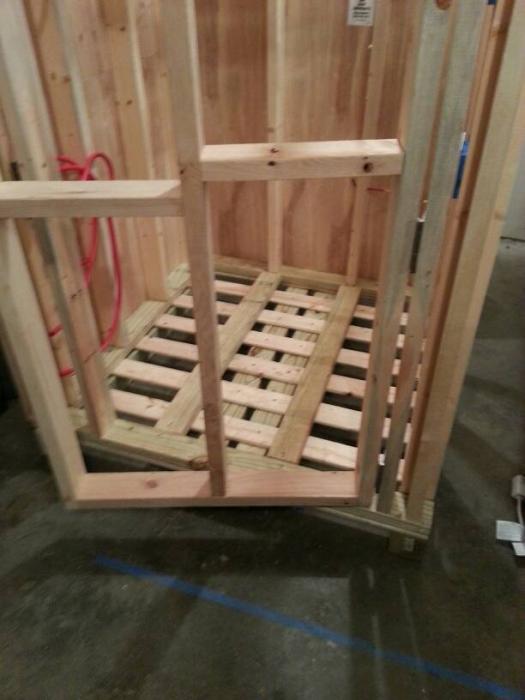
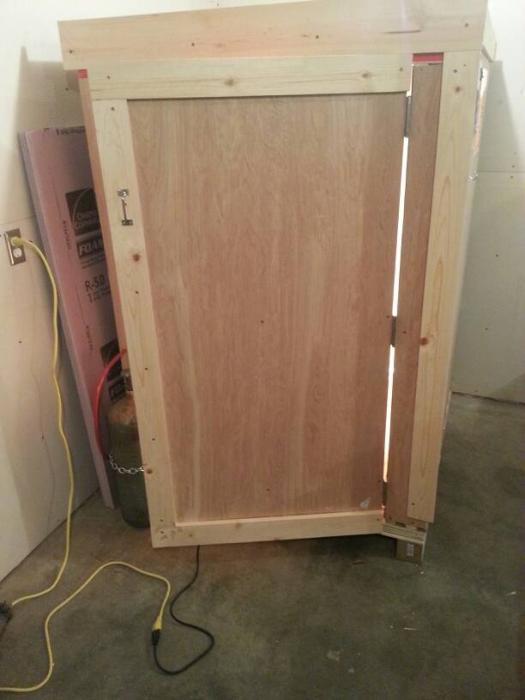
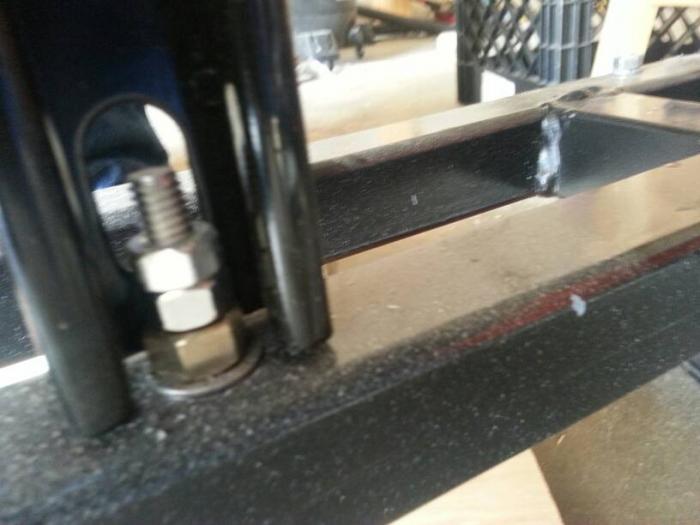
I slid it under the fermentation chamber and screwed it down with 4 inch screws to hold it in place while I attach it with 8 - 1/4x3" lag bolts with stainless washers. I also removed the two sections of treated 2x4s from the floor since it is now mounted on the skid.

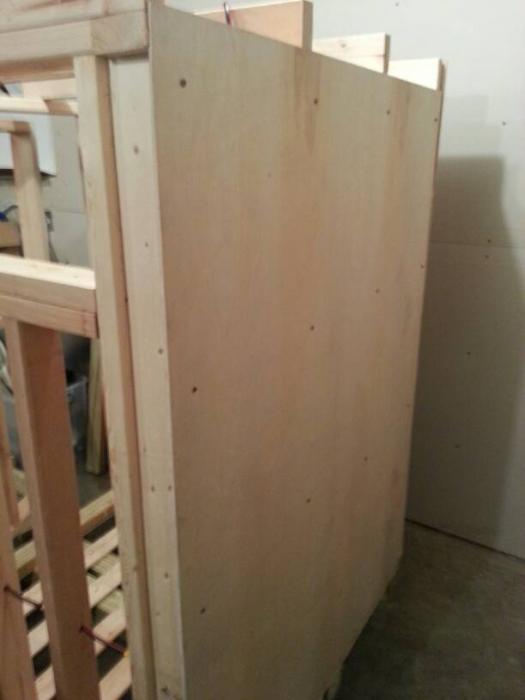
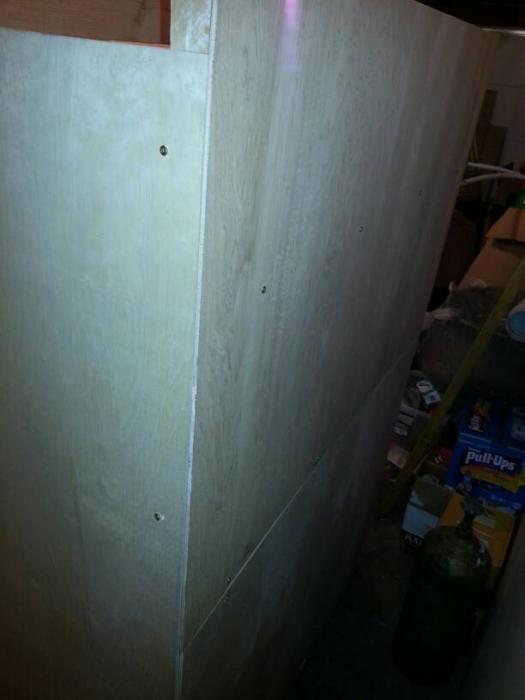
The other photos are the 1/4 inch plywood on the left and rear side. The plywood was attached with #9x2" wood screws about every foot vertically.

I will be sealing any gaps between the framing and plywood with expanding foam tonight, after finishing the exterior plywood on the other two sides and interior ceiling.

The extruded foam will also go on top of the furring lumber I used for the skid. The floor (1/2" plywood) will also be sized to fit and installed.

1391052291638.jpg


1391052307680.jpg


1391052353827.jpg


1391052365709.jpg
 
Nice room. I'm thinking of the same thing. You may have given me the will to start.
 
Thanks for the compliments guys! I hoped my build would help others. I have no formal construction knowledge or experience, just going on what I have seen on TV and from my Dad.

I almost just built a closet in my garage, but the wife and kids and I probably won't stay in this house forever. So I decided to make sure I could take it with me relatively easy. I also wanted to be efficient with the space I would need to heat and cool and have some storage for kettles, carboys and kegs on top. I would guess the weight limit up top will be about 250lbs, but I'm not an engineer or architect. Especially since I didn't put a header over the door frame.

Speaking of which the door ended up being 60 inches x 31.5 inches.
 
In tonight's/early morning edition:

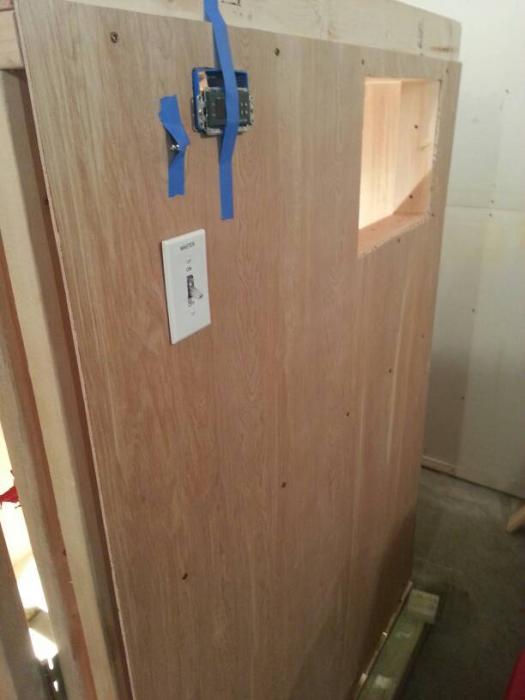
I covered the right side wall with plywood and cut the holes for the switch, temperature controller and air conditioner. The ceiling panel was also mounted.

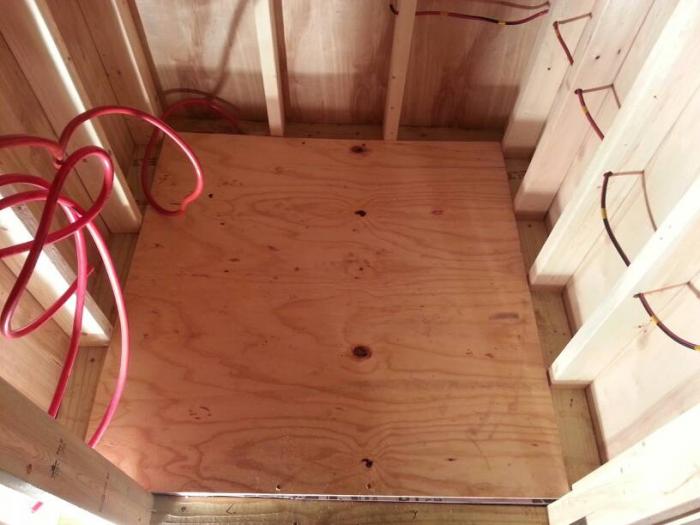
I also laid the floor insulation and plywood and sealed cracks on the floor, walls and roof with Great Stuff.

The door also gained some skin and I placed the weather striping on the hinge side of the door frame.

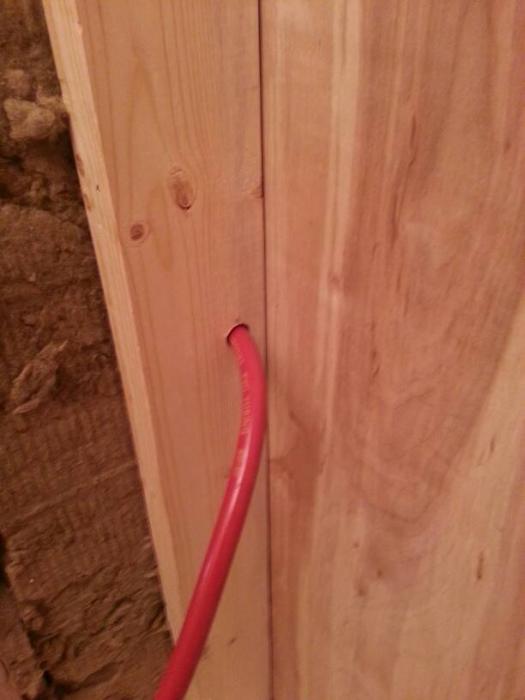
I cut the hole in the back of the unit for the power cord. Tomorrow this will need a piece of trim mounted to cover the majority of the hole.

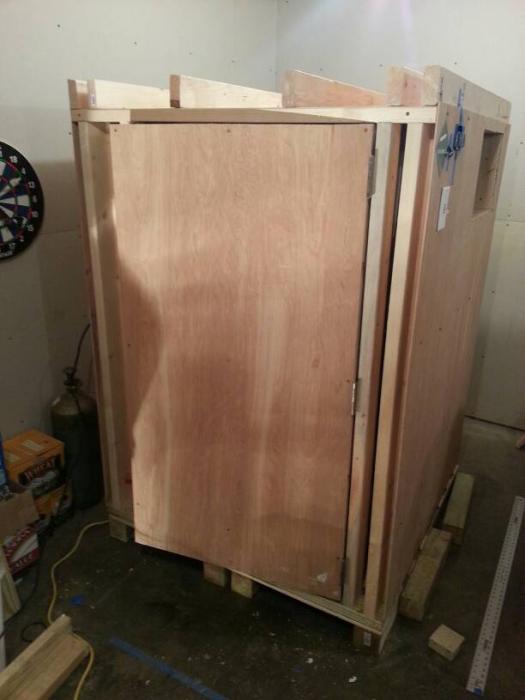
I also attached the chamber to the previously fabricated skid with 8 lag bolts. This thing is going to be a beast to take apart if anything ever needs changing.

I also decided on a 32" high shelf (floor to shelf height) for kegs and a 28" (shelf to ceiling) for buckets, carboys or beer conditioning.

More photos in the next post.

1391073547874.jpg


1391073560614.jpg


1391073572083.jpg


1391073584695.jpg


1391073621763.jpg
 
I completed a bunch of work tonight.

I finished installing the roof (including insulation and vapor barrier). There is 25" between the roof and the ceiling in my garage. Just enough to fit a bunch of stuff. However, I would need to remove it all to move the unit around with a pallet jack.

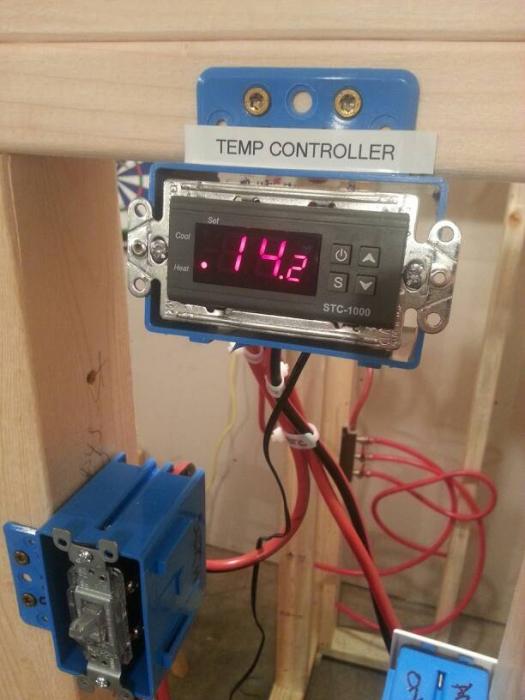
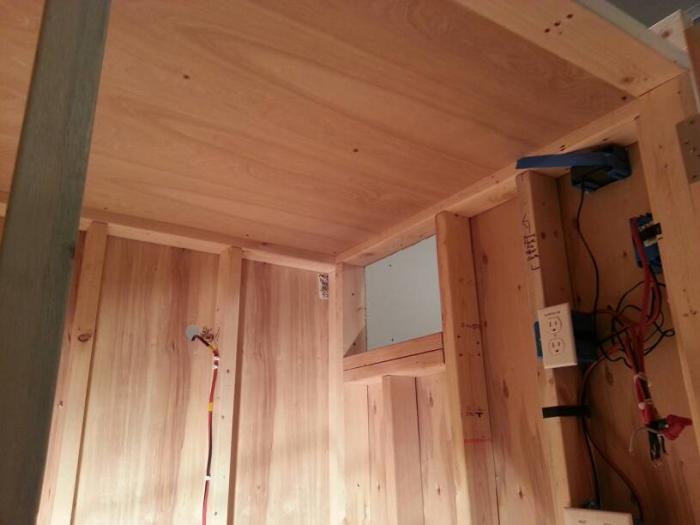
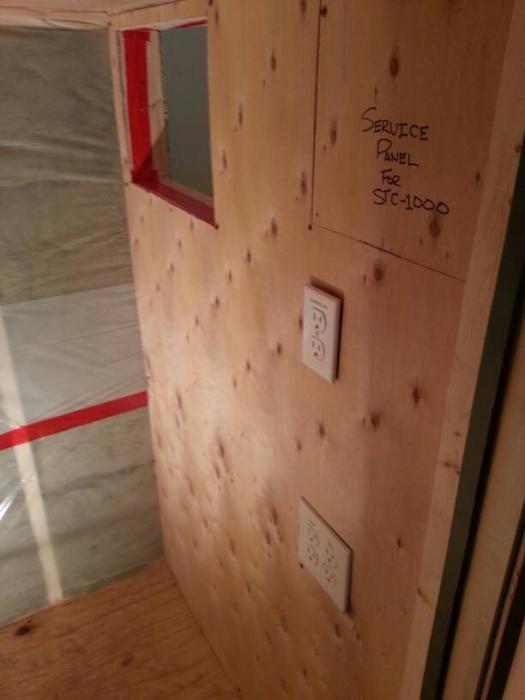
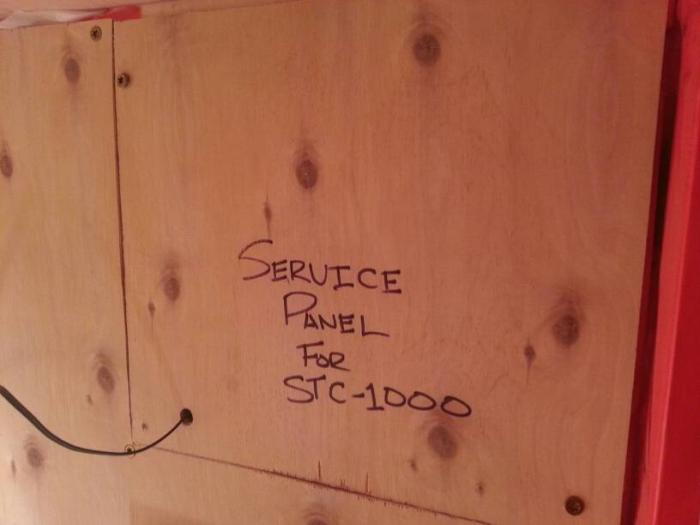
I also cut the interior wall (right side) that houses all the electrical components. I cut the hole for the duplex outlet box too big so I need to pick up a jumbo size cover and replace to cover the extra space. I also cut the service panel out of the interior right wall so I only have to remove a small piece to get at the STC-1000. The hole for the temperature sensor will be just below this panel.

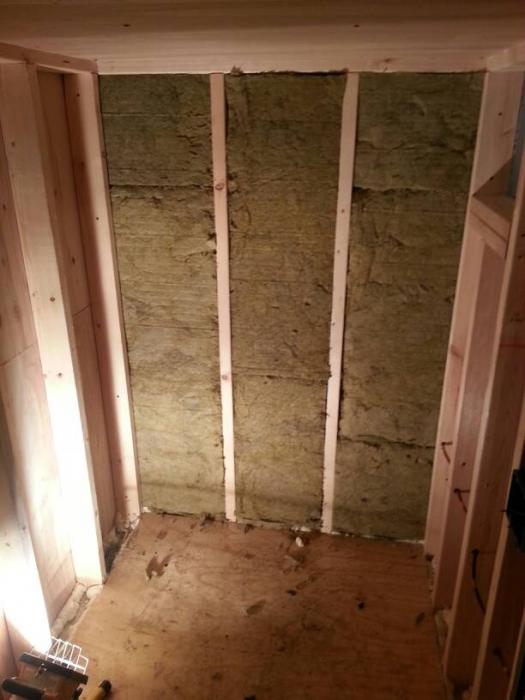
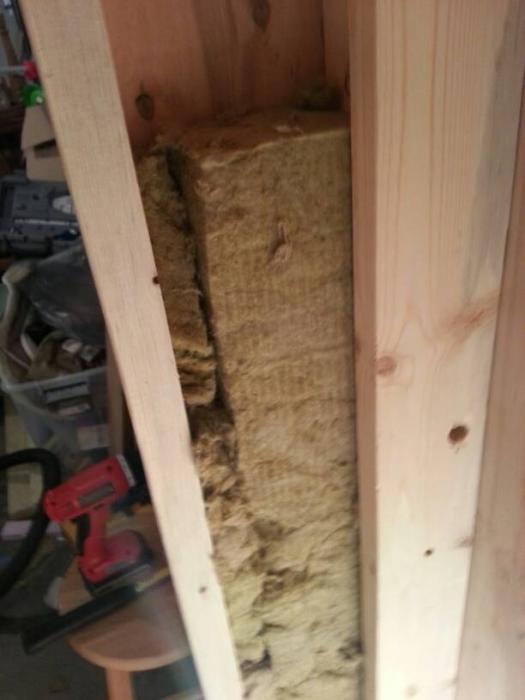
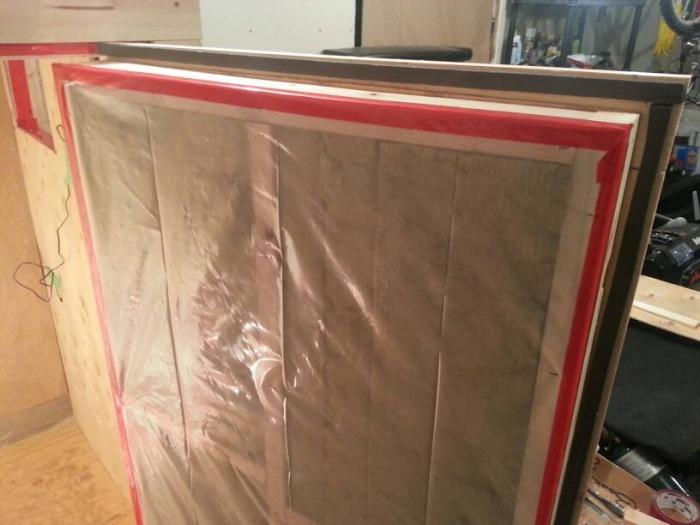
Insulation went in on the right and back walls along with the vapor barrier. Mineral wool is very easy to work with and is very dense. It is easy to cut with a cheap (dollar store) bread knife.

I also screwed my temperature conversion chart next to the STC-1000 with an 8x10 piece of Lexan.

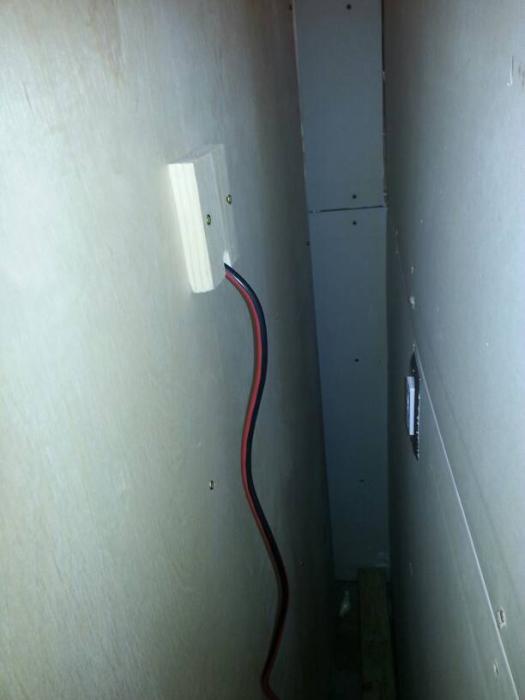
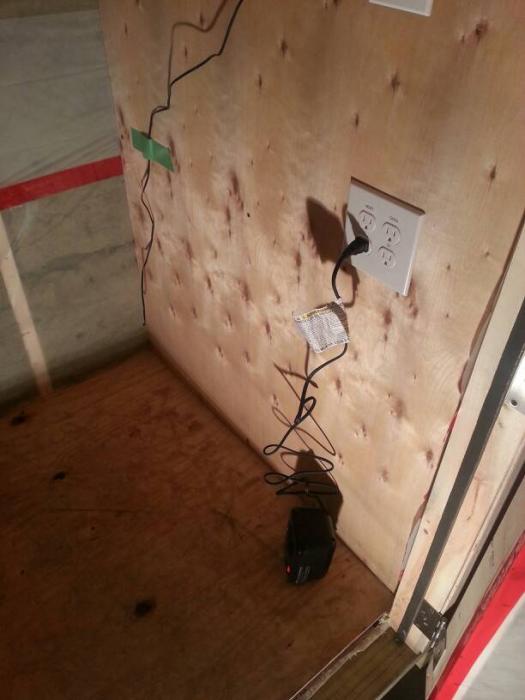
The plug coming out of the back of the unit was reinforced with a 2x4 and a small piece of 1x4 with a hole on the bottom for the cord. Electrical details will be placed on the small piece of 1x4.

I drilled holes on the left side for the CO2 supply to the distributor. I also placed the CO2 tank chain and hooks on the front left. The front left and right sides of the door got insulation and plywood on the exterior.

Hoping to get it mostly finished and running tonight. Trim and paint will be a work in progress for the next few months.

1391162519181.jpg


1391162534311.jpg


1391162552357.jpg


1391162566773.jpg
 
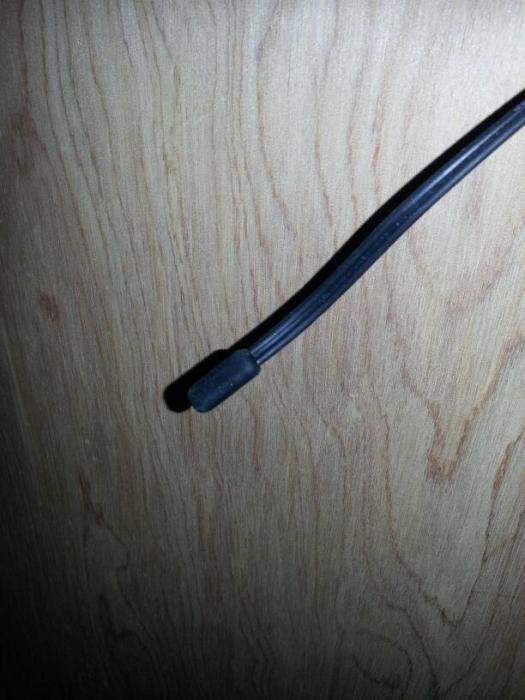
This is a photo of the STC-1000 sensor that came with from Amazon.

1391202979048.jpg
 
Another late night of progress last night.

I finished the insulation and mostiure barrier complete with sheathing tape. After all insulation activities were completed, I swept and vacuumed the garage floor where I was working to control the dust, as I was tried of wearing a dust mask. I also only used about 75 square feet of R15 mineral wool for this project with a few square few extra. So I will return an unused package!

I figured out how to mount the STC-1000 in an electrical box. I had been trying to use a decorator switch/outlet cover since it already had a hole in it. However the screw holes didn't line up, so ended up cutting the proper sized hole in a blank box cover with a Dremel.

I wired everything back up and tested the outlets. Everything works as it should.

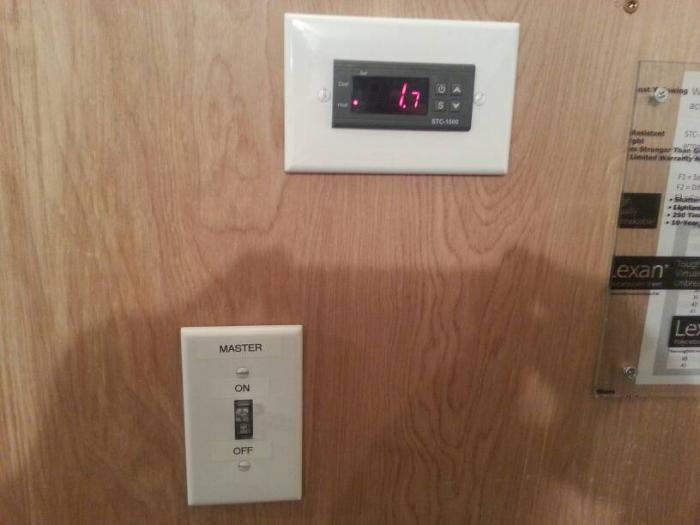
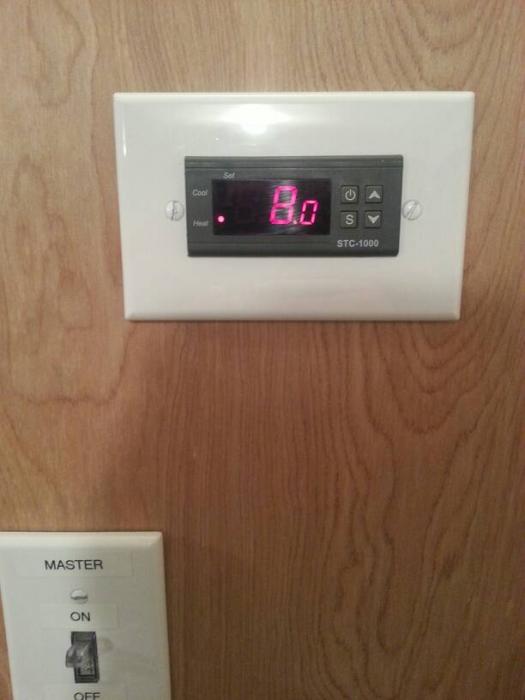
The small 200 watt heater (desk size) increased the temp from 1.7C to 8.0C in 14 minutes with the air conditioner hole covered with thin piece of plywood and the door only pushed closed, not latched.

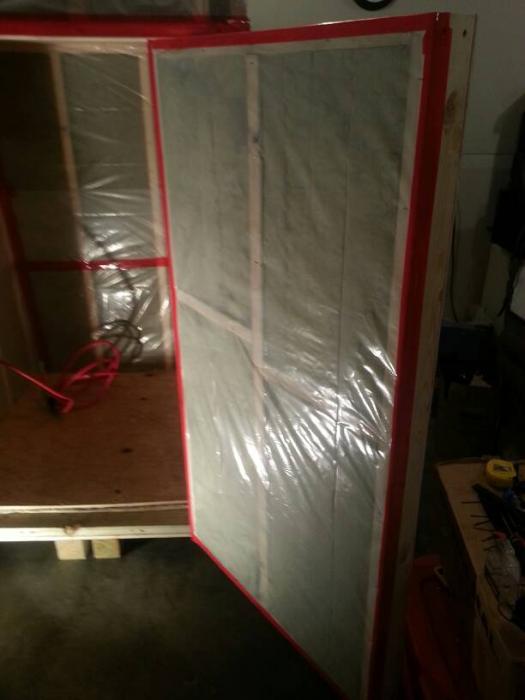
I also found out I have a nice airtight seal as when I pushed the door shut, the piece of plywood flew out of the window.

I started to trim out the door and front of the unit to make it look acceptable for the next few months and to support the mounting of the latches. I also mounted the rubber foam weather strip on the door.

Latches are going to be an interesting problem. I need a piece of wood to mount the latch that is exactly 1 inch thick. Since most pieces of lumber come in nominal sizes, I am not sure how to deal with this. I can only think of one thing, but I will have to rest that theory soon.

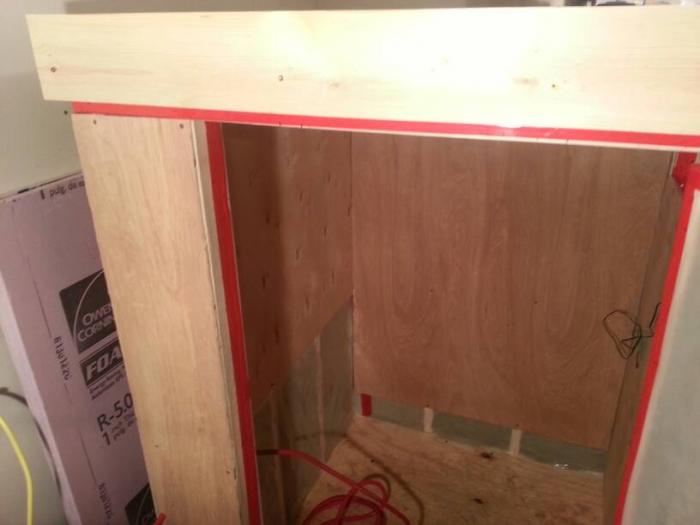
The interior gained a couple pieces of plywood after the insulation was done. The back interior wall will be getting a piece of 1x6 around the bottom to protect from the Brewhemoth cart. The right interior and front interior wall will also get this treatment for the same reason.

I just have to measure a few scrap pieces of plywood to finish the left interior, including a small panel to access the CO2 supply hose and to mount the gas distributor on.

This thing is now seriously heavy and won't be moving without a pallet jack. I would recommend that anyone considering building this block it up on a pallet unless you aren't going to move.

Feeling really drained from buolding this in 5 days with a 3 year old and a newborn occupying my time as well.

I might have the energy to finish the interior tonight and get the AC mounted but that is probably it. Unless I find a 1 inch piece of actual size lumber for the latches. Or some combination to make it work.

Now that I typed that out, I will probably use scrap 1/4 inch plywood under a piece of 1x4 to rig up the door latches.

Photos #1 of 3.

1391278385130.jpg


1391278401202.jpg


1391278419062.jpg


1391278461977.jpg


1391278480801.jpg
 
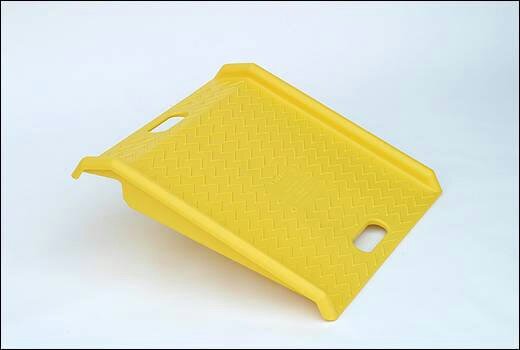
Since the chamber is now on a skid, I need to be able to wheel the Brewhemoth into it easily. Rather than build a heavy wood and metal ramp I ordered a lightweight plastic one that is tested up to 1000 pounds.

I took the night off last night to get caught up on some sleep as my 3 year old wanted to skip nap time yesterday.

1391357332561.jpg
 
Good build. I'm working on one right now. I'm also a carpenter, and I must say, I'm impressed by your skills. You did a great job for not being a framer or in construction. This room should last you for ever. +1
 
Thanks!

I sure hope so, I got up on top of it to screw the 1/2" plywood down and it didn't budge. I'm more linebacker than kicker...if you will.

Also, I need a sweet name for this build. One of my friends suggested Danger Zone.
 
My progress on the finishing work has slowed since I have now returned to work. I want to get it operational for a function test by this weekend as I have a marathon brew session scheduled for the 15th and 16th.

I still have to install AC, build shelf for carboys, finish CO2 supply, finish plywood skin, finish pine trim, finish door latch and lock and function test for 48 hour temperature swings.
 
Added a materials list to post #1, it is not the final list. However, it should help you gather cost estimates.
 
Since returning to work progress has been slow. After being outside all day at work in the cold, the last thing I want to do is be in a cold garage for a few hours...

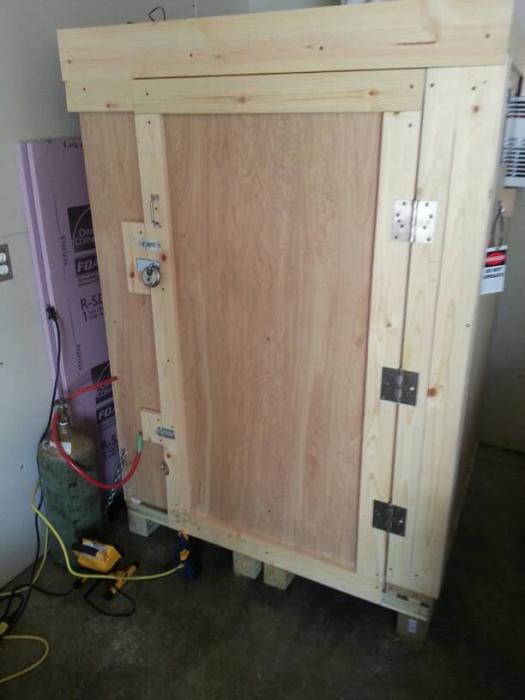
I knocked out some more trim on the front and added door hardware after relocating the hinges to allow more range when opening.

My door seems like it is becoming more warped, if that is possible. Getting it closed tight on the bottom involves a quick clamp. Maybe I will rebuild it some day.

I installed the air conditioner and haven't figured out how to bypass the AC digital thermostat to just have it controlled by the STC-1000. So I it is sitting idle (not like I need it right now).

The 200 watt heater has been plugged in since 830 this morning with the door closed. I am trying to see how well it holds temp. I am going to keep it at temp until Monday at 830am and shut it off. I will monitor the temp every hour for 12 hours.

The interior is almost finished with the plywood. Just a little piece by the door left plus trim work. I also need to build the shelving and figure out if I like my CO2 setup...

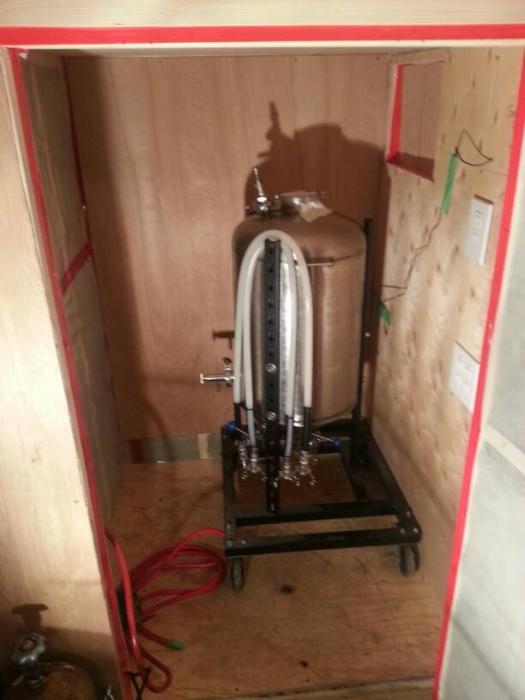
The last of the pics are for someone who asked about my Brewhemoth cart. It is 24x27 from 2 inch tube. My dad welded it up on a slow day at work. It will be nice just to wheel it in.

1391925833100.jpg
 
I installed the air conditioner and haven't figured out how to bypass the AC digital thermostat to just have it controlled by the STC-1000. So I it is sitting idle (not like I need it right now).in.

This doesn't really solve your problem because you already have one. But for readers, you can get old a/c units that don't have a digital display, just knobs. So you can just leave the knobs turned on and control threw the main power.

I have a newer a/c that is also a heat pump (runs refrigerant backwards so it heats instead of cools) that has a digital display. Since it is a newer one, I will run some tests just letting it control it own temp with its own stat. If it doesn't I will try and re locate the stat that is built in. I believe is should work fine, they are pretty accurate now a days, but we will see.

Well, I think the lowest my AC goes is 64F, so I need to figure that out. Not much of an issue in the winter to get it colder. Just going to be hard to crash in the summer.
 
I fired it up the other night and it has been doing a pretty good job holding around 18.6C to 19.0C when it is set at 19.0C with a 0.3C differential. It does lose heat quickly, it lost 13 degrees in 3 hours, although the ambient outside was -23C and not much warmer in the garage.

I am pretty happy with it so far. This coming Sunday I will be doing an all day brew session to fill it half way to see how it handles active fermentation.
 
There is a mod out there where you actually heat the temperature probe to keep the A/C running. I cannot find it right now, but maybe someone will know where to google it? This way the probe never reads below 'whatever', so the A/C stays running.
 
Back
Top