OP
OP
jlandin
Well-Known Member
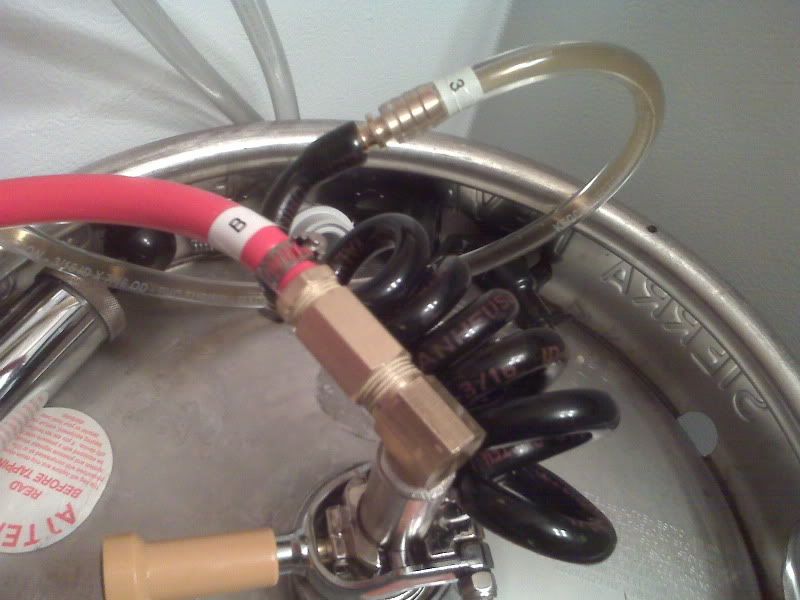
The brown truck brought my shanks and drip tray yesterday so I ran the beer lines.
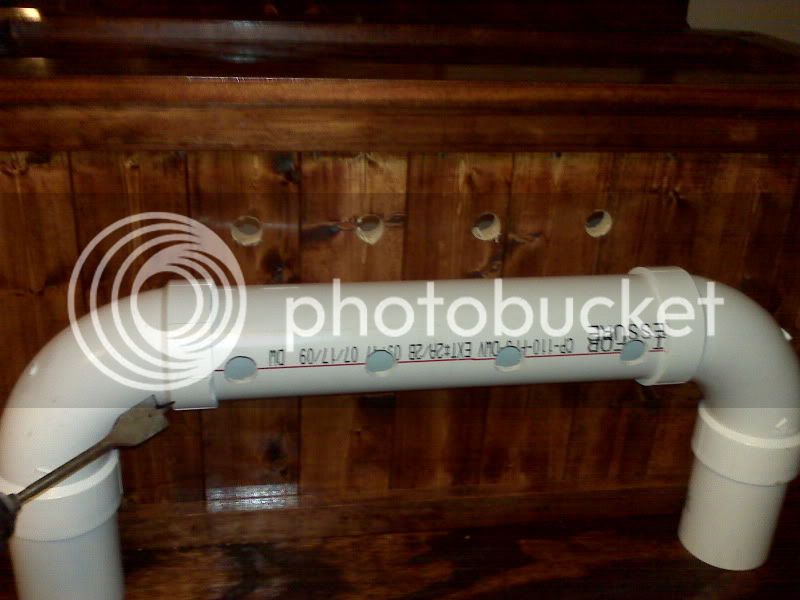
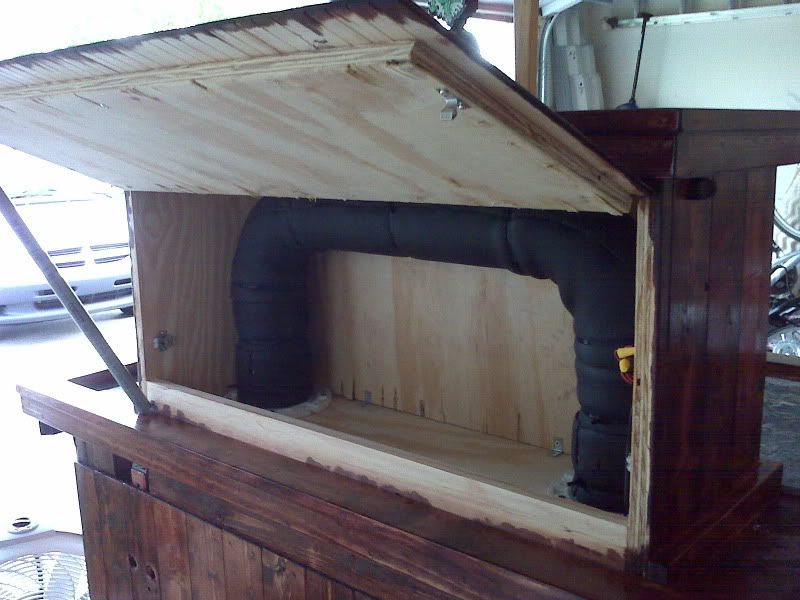
Shank holes in the backsplash and duct:
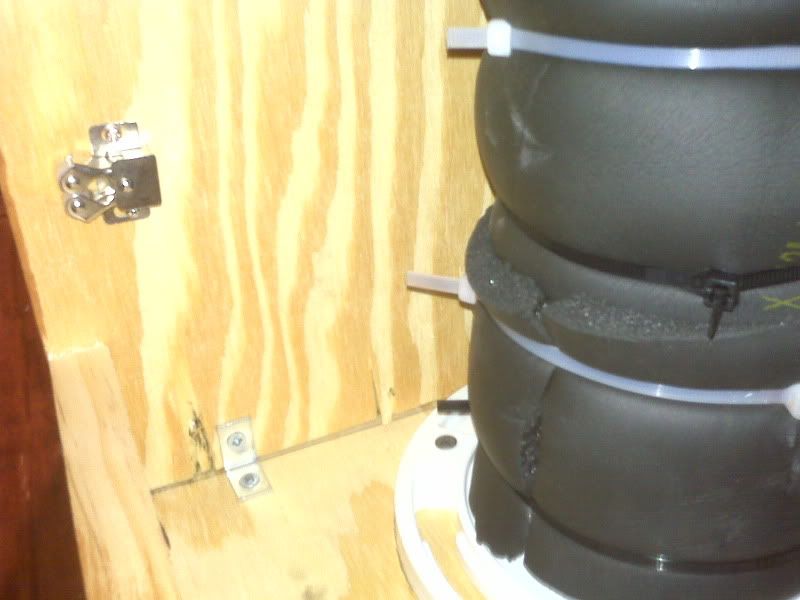
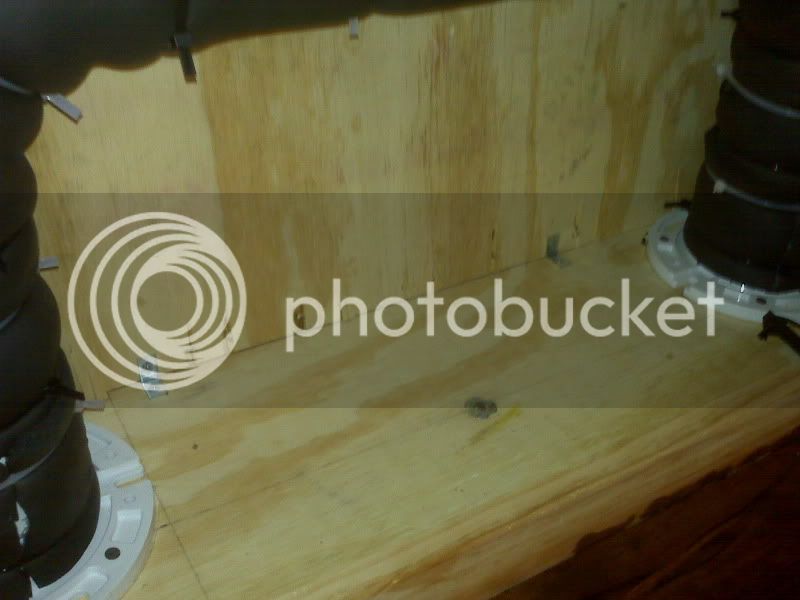
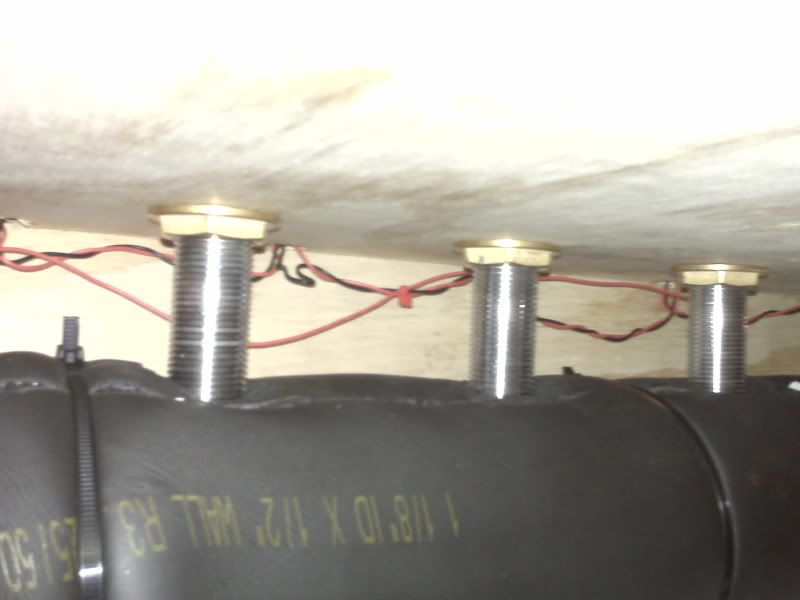
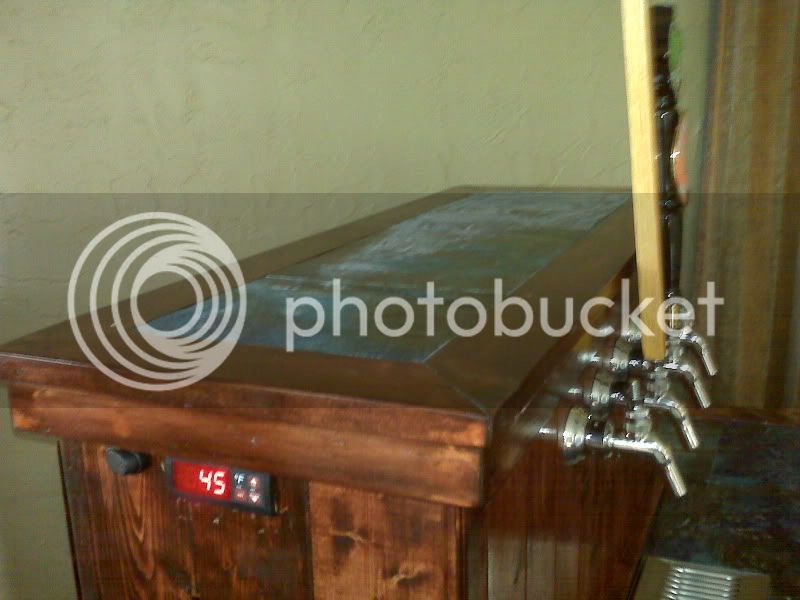
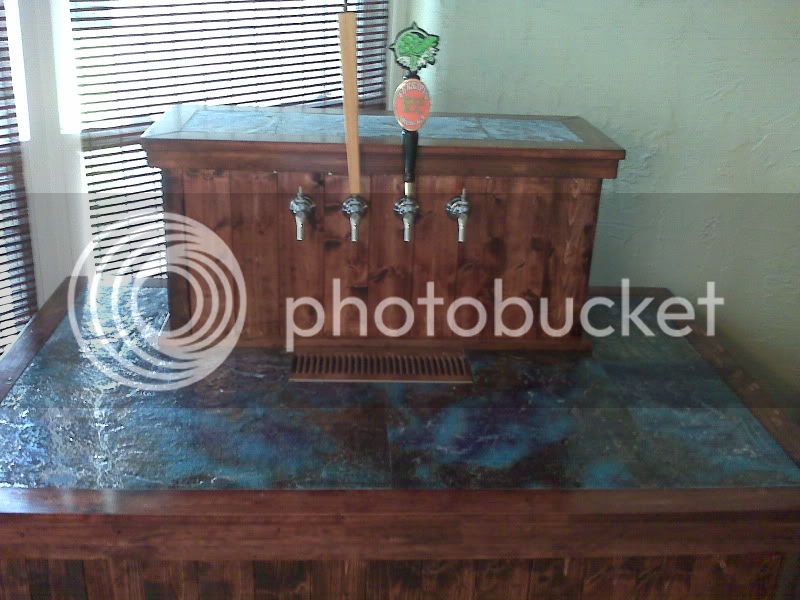
Here's the insulated duct inside the coffin. For those wondering, that's R3. We'll see how it goes, I may double it up as I had extra.
The view inside the coffin looking up at the shanks entering the duct.
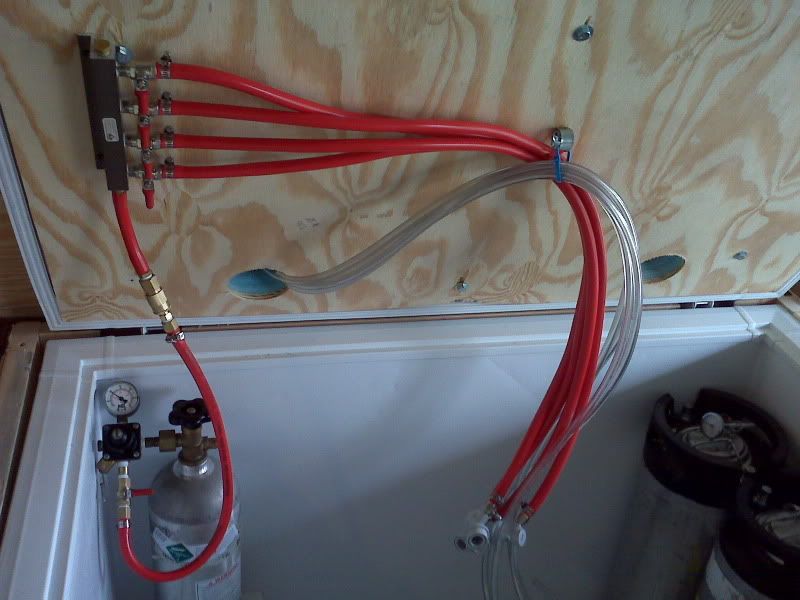
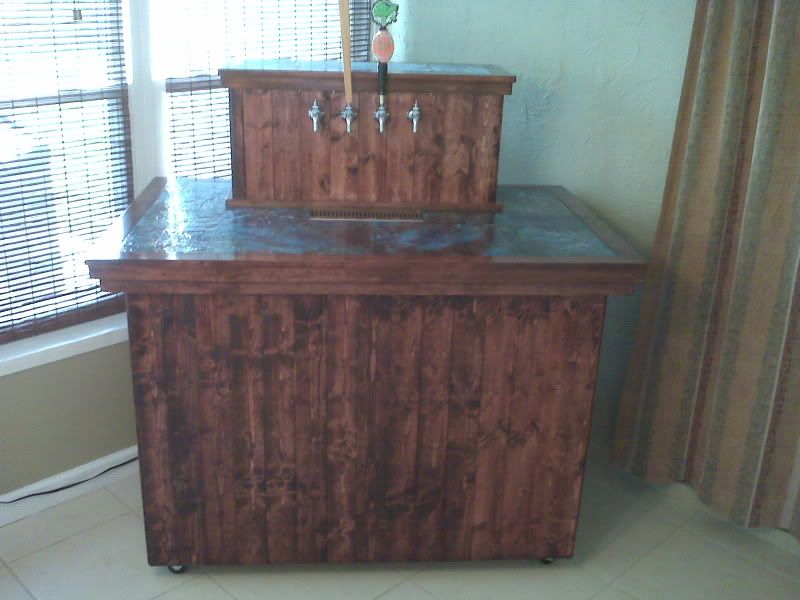
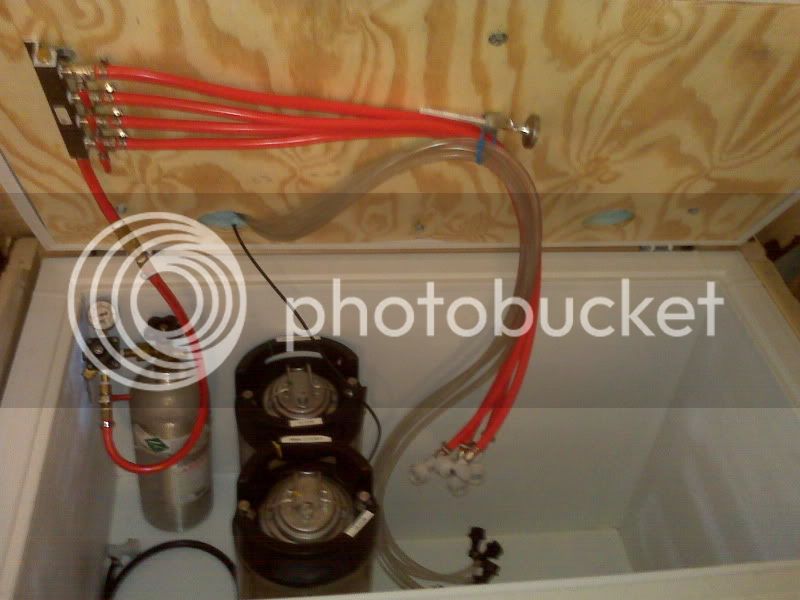
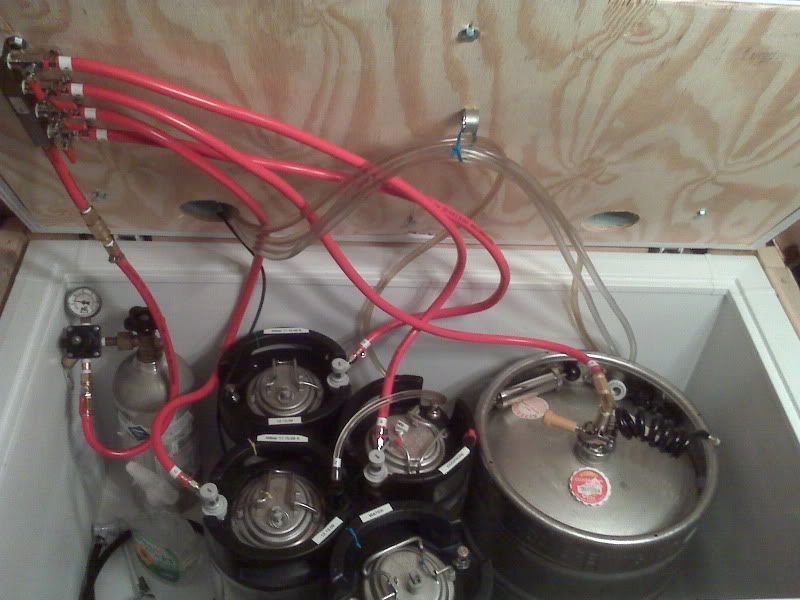
Beer lines ran, along with the gas lines complete.
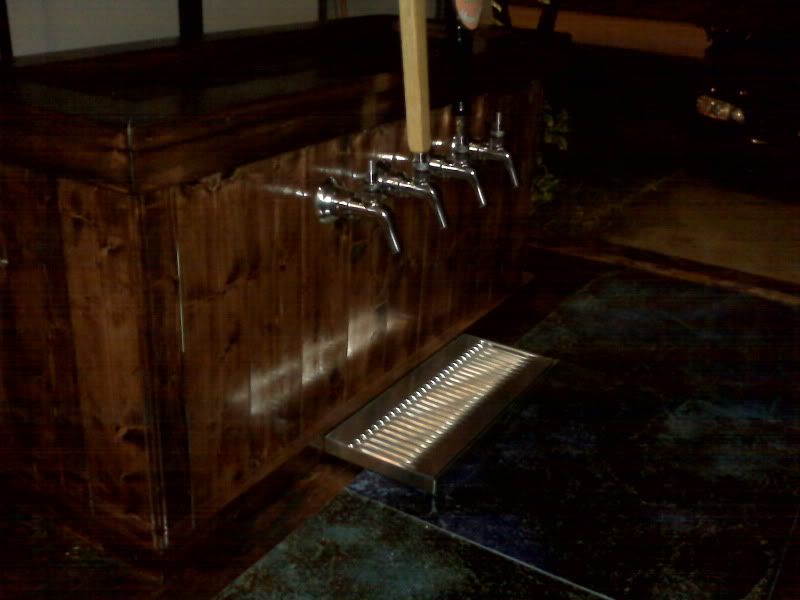
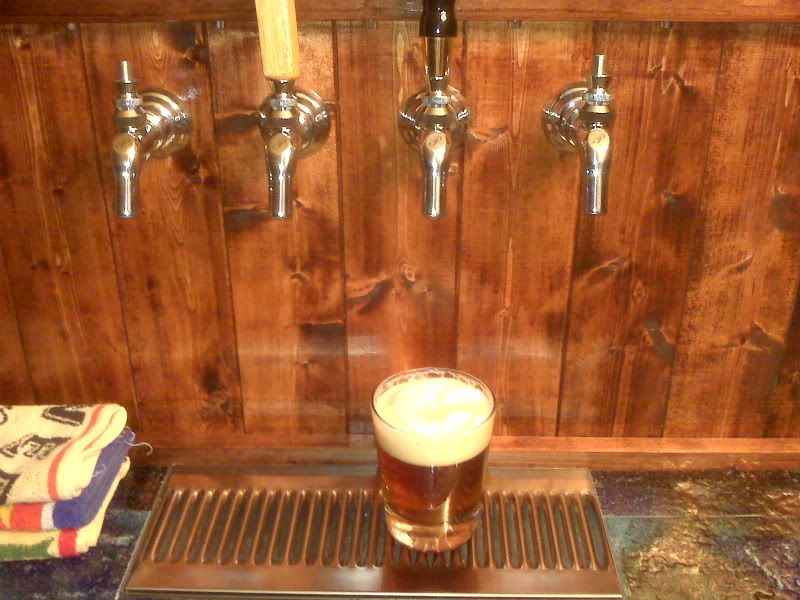
And they're in!
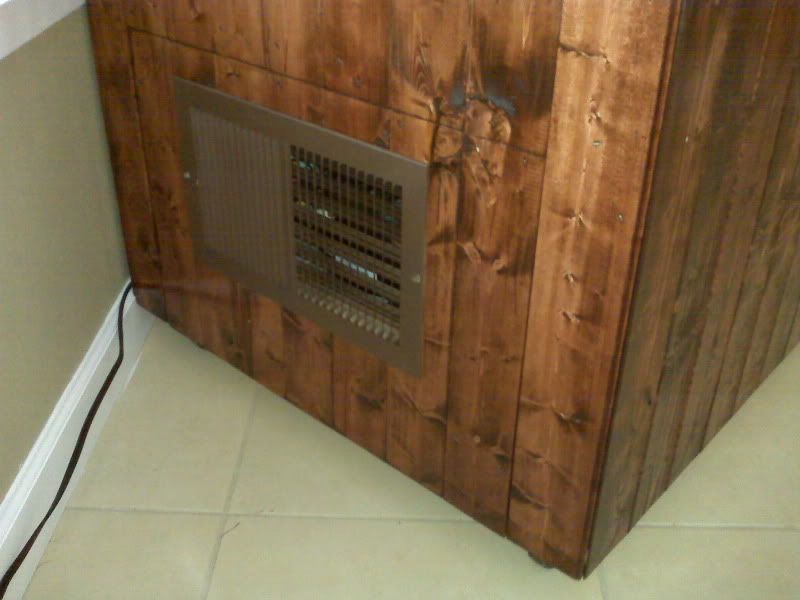
Next up, my buddy is doing the tile tonight while I wire in the Love controller and install a compressor vent.
--
Josh
Shank holes in the backsplash and duct:
Here's the insulated duct inside the coffin. For those wondering, that's R3. We'll see how it goes, I may double it up as I had extra.
The view inside the coffin looking up at the shanks entering the duct.
Beer lines ran, along with the gas lines complete.
And they're in!
Next up, my buddy is doing the tile tonight while I wire in the Love controller and install a compressor vent.
--
Josh


![Craft A Brew - Safale S-04 Dry Yeast - Fermentis - English Ale Dry Yeast - For English and American Ales and Hard Apple Ciders - Ingredients for Home Brewing - Beer Making Supplies - [1 Pack]](https://m.media-amazon.com/images/I/41fVGNh6JfL._SL500_.jpg)


")