• Please visit and share your knowledge at our sister communities:
  • If you have not, please join our official Homebrewing Facebook Group!

    Homebrewing Facebook Group

HBT members inspired me: My Keezer Project

Homebrew Talk

Help Support Homebrew Talk:

This site may earn a commission from merchant affiliate links, including eBay, Amazon, and others.
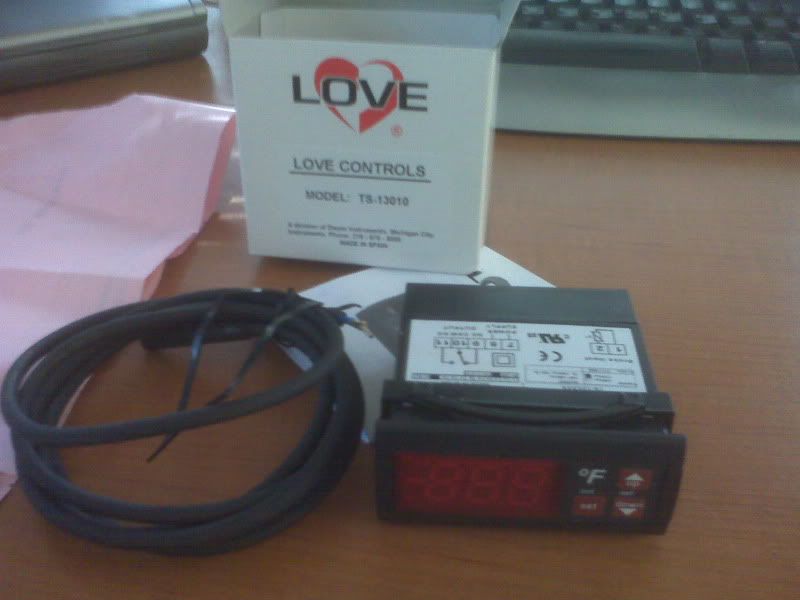
How did you avoid the refrigerant lines in the side when you drilled for the gas line? Also do you have a plan for the Love temp sensor or just leave it hanging in the freezer?

I'm keeping the CO2 tank inside the freezer, on the hump so I won't need to drill through the side wall. However, if ever I want to have an external gas hookup in the future, I would go out through the lid.

--
Josh
 
I'm keeping the CO2 tank inside the freezer, on the hump so I won't need to drill through the side wall. However, if ever I want to have an external gas hookup in the future, I would go out through the lid.

--
Josh

+1 Whenever you're running lines into a chest freezer, the best way is either through the lid where there are never any coolant lines simply because of how they are built (lids have to be removeable), or through the collar if you're building a keezer with a collar on it.

Unfortunately I'm at work right now and can't see all the awesome, but I will definitely be checking this thread again when I get home today!

I'm dealing with this problem right now. Removed my collar for weight and it wasn't needed for height any more. Now I don't have a way to bring my Love probe in/ It's too short to go around back through the lid and down to the bottom of the freezer.
 
Doh! I should have read the descriptions better. The holes I saw that look like they go through the freezer wall are the access screws for the hinges. Oh well. I may go through the lid/coffin for my gas line, a 20lb tank = another keg.
 
It's too short to go around back through the lid and down to the bottom of the freezer.

I'm not sure about your freezer model, but it looks like there are no coils in the hump on mine. You could potentially drill there. I would think if you leave the freezer off to warm up, then kick the compressor on, you should be able to feel the hump with your hand after a few minutes and see if it has coils in it.

Edit: I haven't figured out a plan for the probe on mine yet. I've read of people submerging them in blue-goo, or even in a sand-filled yeast vial. I'm not too clear on the physics involved, but what's wrong with just having the bulb exposed inside the freezer? Is there a best-practice for this sort of thing on the Love controllers?

--
Josh
 
I have my temp probe hanging in the middle of the freezer, not touching anything. I have a couple of computer case fans circulating the air inside, and have the controller set to keep the temperature within a range of 2 degrees, so the compressor is not constantly cycling on and off. Seems to be working well.
 
I'm not sure about your freezer model, but it looks like there are no coils in the hump on mine. You could potentially drill there. I would think if you leave the freezer off to warm up, then kick the compressor on, you should be able to feel the hump with your hand after a few minutes and see if it has coils in it.

Edit: I haven't figured out a plan for the probe on mine yet. I've read of people submerging them in blue-goo, or even in a sand-filled yeast vial. I'm not too clear on the physics involved, but what's wrong with just having the bulb exposed inside the freezer? Is there a best-practice for this sort of thing on the Love controllers?

--
Josh
I the idea with submeging the probe I believe if that the air temperature will change more quickly then it would take for a volume of liquid or goo be affected by a change. More closely simulating the temperature swings of the beer inside the keg. Remember the idea is to controller the beer's temperature, not specifically the air around them.

Thanks for the HUMP info. i maybe shoot an email to Magic chef to confirm.
 
I the idea with submeging the probe I believe if that the air temperature will change more quickly then it would take for a volume of liquid or goo be affected by a change. More closely simulating the temperature swings of the beer inside the keg.

Thanks for the info, that makes sense.

The brown truck just came and brought me this:

IMG00176.jpg


I also ordered a half barrel of Sierra Nevada Celebration to help break in the keezer alongside my homebrew! :mug:

--
Josh
 
Is that the probe on the left? Wow, that's much, much heftier than the one I'm using.
 
Is that the probe on the left? Wow, that's much, much heftier than the one I'm using.

It sure is! The thing is more beefy than I thought it would be. Not a special order or anything, just the standard one that comes with the TS13010.

--
Josh
 
I picked up the porcelain tile for the top today. Wow, that stuff is not cheap! But it sure looks good.... installing it tomorrow.

IMG00178.jpg


IMG00177.jpg


Now, to wire the Love controller..

--
Josh
 
That tile looks amazing -- you definitely made the right choice over the bottle caps. Nothing against the bottle caps, but that tile just fits the look of your keezer so well.
 
Great job! And nice choice on the tile, it looks great with the stain you chose.
 
The tile looks really awesome. Are you going to cut pieces to fill the whole top or just use those three big square tiles?
 
Don't mean to be a dick, but chest freezers are made by having the evaporator coil and condenser coil layered with a peace of foam between them. The condenser coil is on the outside and the surface of the exterior allows the heat to transfer to the ambient air. I'm worried that the wood insulating the exterior will cause excess head pressure and at best cause the freezer not to cool and at worst cause a premature compressor failure. That said, since it is being used as a cooler instead of a freezer you may be OD. Let me know how it goes.
 
Don't mean to be a dick, but chest freezers are made by having the evaporator coil and condenser coil layered with a peace of foam between them. The condenser coil is on the outside and the surface of the exterior allows the heat to transfer to the ambient air. I'm worried that the wood insulating the exterior will cause excess head pressure and at best cause the freezer not to cool and at worst cause a premature compressor failure. That said, since it is being used as a cooler instead of a freezer you may be OD. Let me know how it goes.

Didn't read about the air gap. How is it performing? I love the idea and am seriously thinking of doing my own.
 
The tile looks really awesome. Are you going to cut pieces to fill the whole top or just use those three big square tiles?

A friend of mine is a tile setter. He's coming by tomorrow to cut and fit each tile. It will all be tight around the coffin, and around the drip tray (which arrives tomorrow too). The tile is also going on top of the coffin. There are seven 18 inch tiles total.

--
Josh
 
Didn't read about the air gap. How is it performing? I love the idea and am seriously thinking of doing my own.

Yes the air gap seems to be sufficient on it's own, but I'm putting fans to push the air out of that space whenever the compressor kicks on. It should be more efficient than the factory intended. ;)

--
Josh
 
Man, I can't wait to see it all lit up, tiled in, and pouring smooth! Don't forget to post a first pint pic...

-Tripod
 
Question on your drip tray, how are you going to clean it out? I gather that it will be flush with the tile but if its fixed how will you empty it?
 
Question on your drip tray, how are you going to clean it out? I gather that it will be flush with the tile but if its fixed how will you empty it?

It's a drain-less drip tray so it will be removable. I'll have it in place when the tile is cut to fit. Then I'll remove it, set the tile, clear silicone the tile-to-wood edge, and set the drip tray back in place. Should be a nice tight fit, yet easily removed for cleaning.

--
Josh
 
@Jester369 : How is your killer keezer doing? Any hindsight tips, or troubles you've had?

--
Josh

It's doing well - a leaky keg cost me a bottle of CO2, but other than that it's all good. The only regret I have with it is that I didn't use a nicer wood. I used poplar, but I should have ponied up the cash for cherry - it looks good, but could have looked great.
 
Back
Top