UncleD
Well-Known Member
- Joined
- Dec 1, 2018
- Messages
- 190
- Reaction score
- 190
Hey guys! First of all, if this ins't the correct place for this, please feel free to move it and shame me with tar and feathers.
I wanted to build a tower style kegerator from a current mini-fridge model, and I wanted to add a quick DIY with the parts that are available as of 12/2018.
This was built for a single 5-gal corny keg with ball locks, but adapts for a standard pony keg with a sankey coupler.
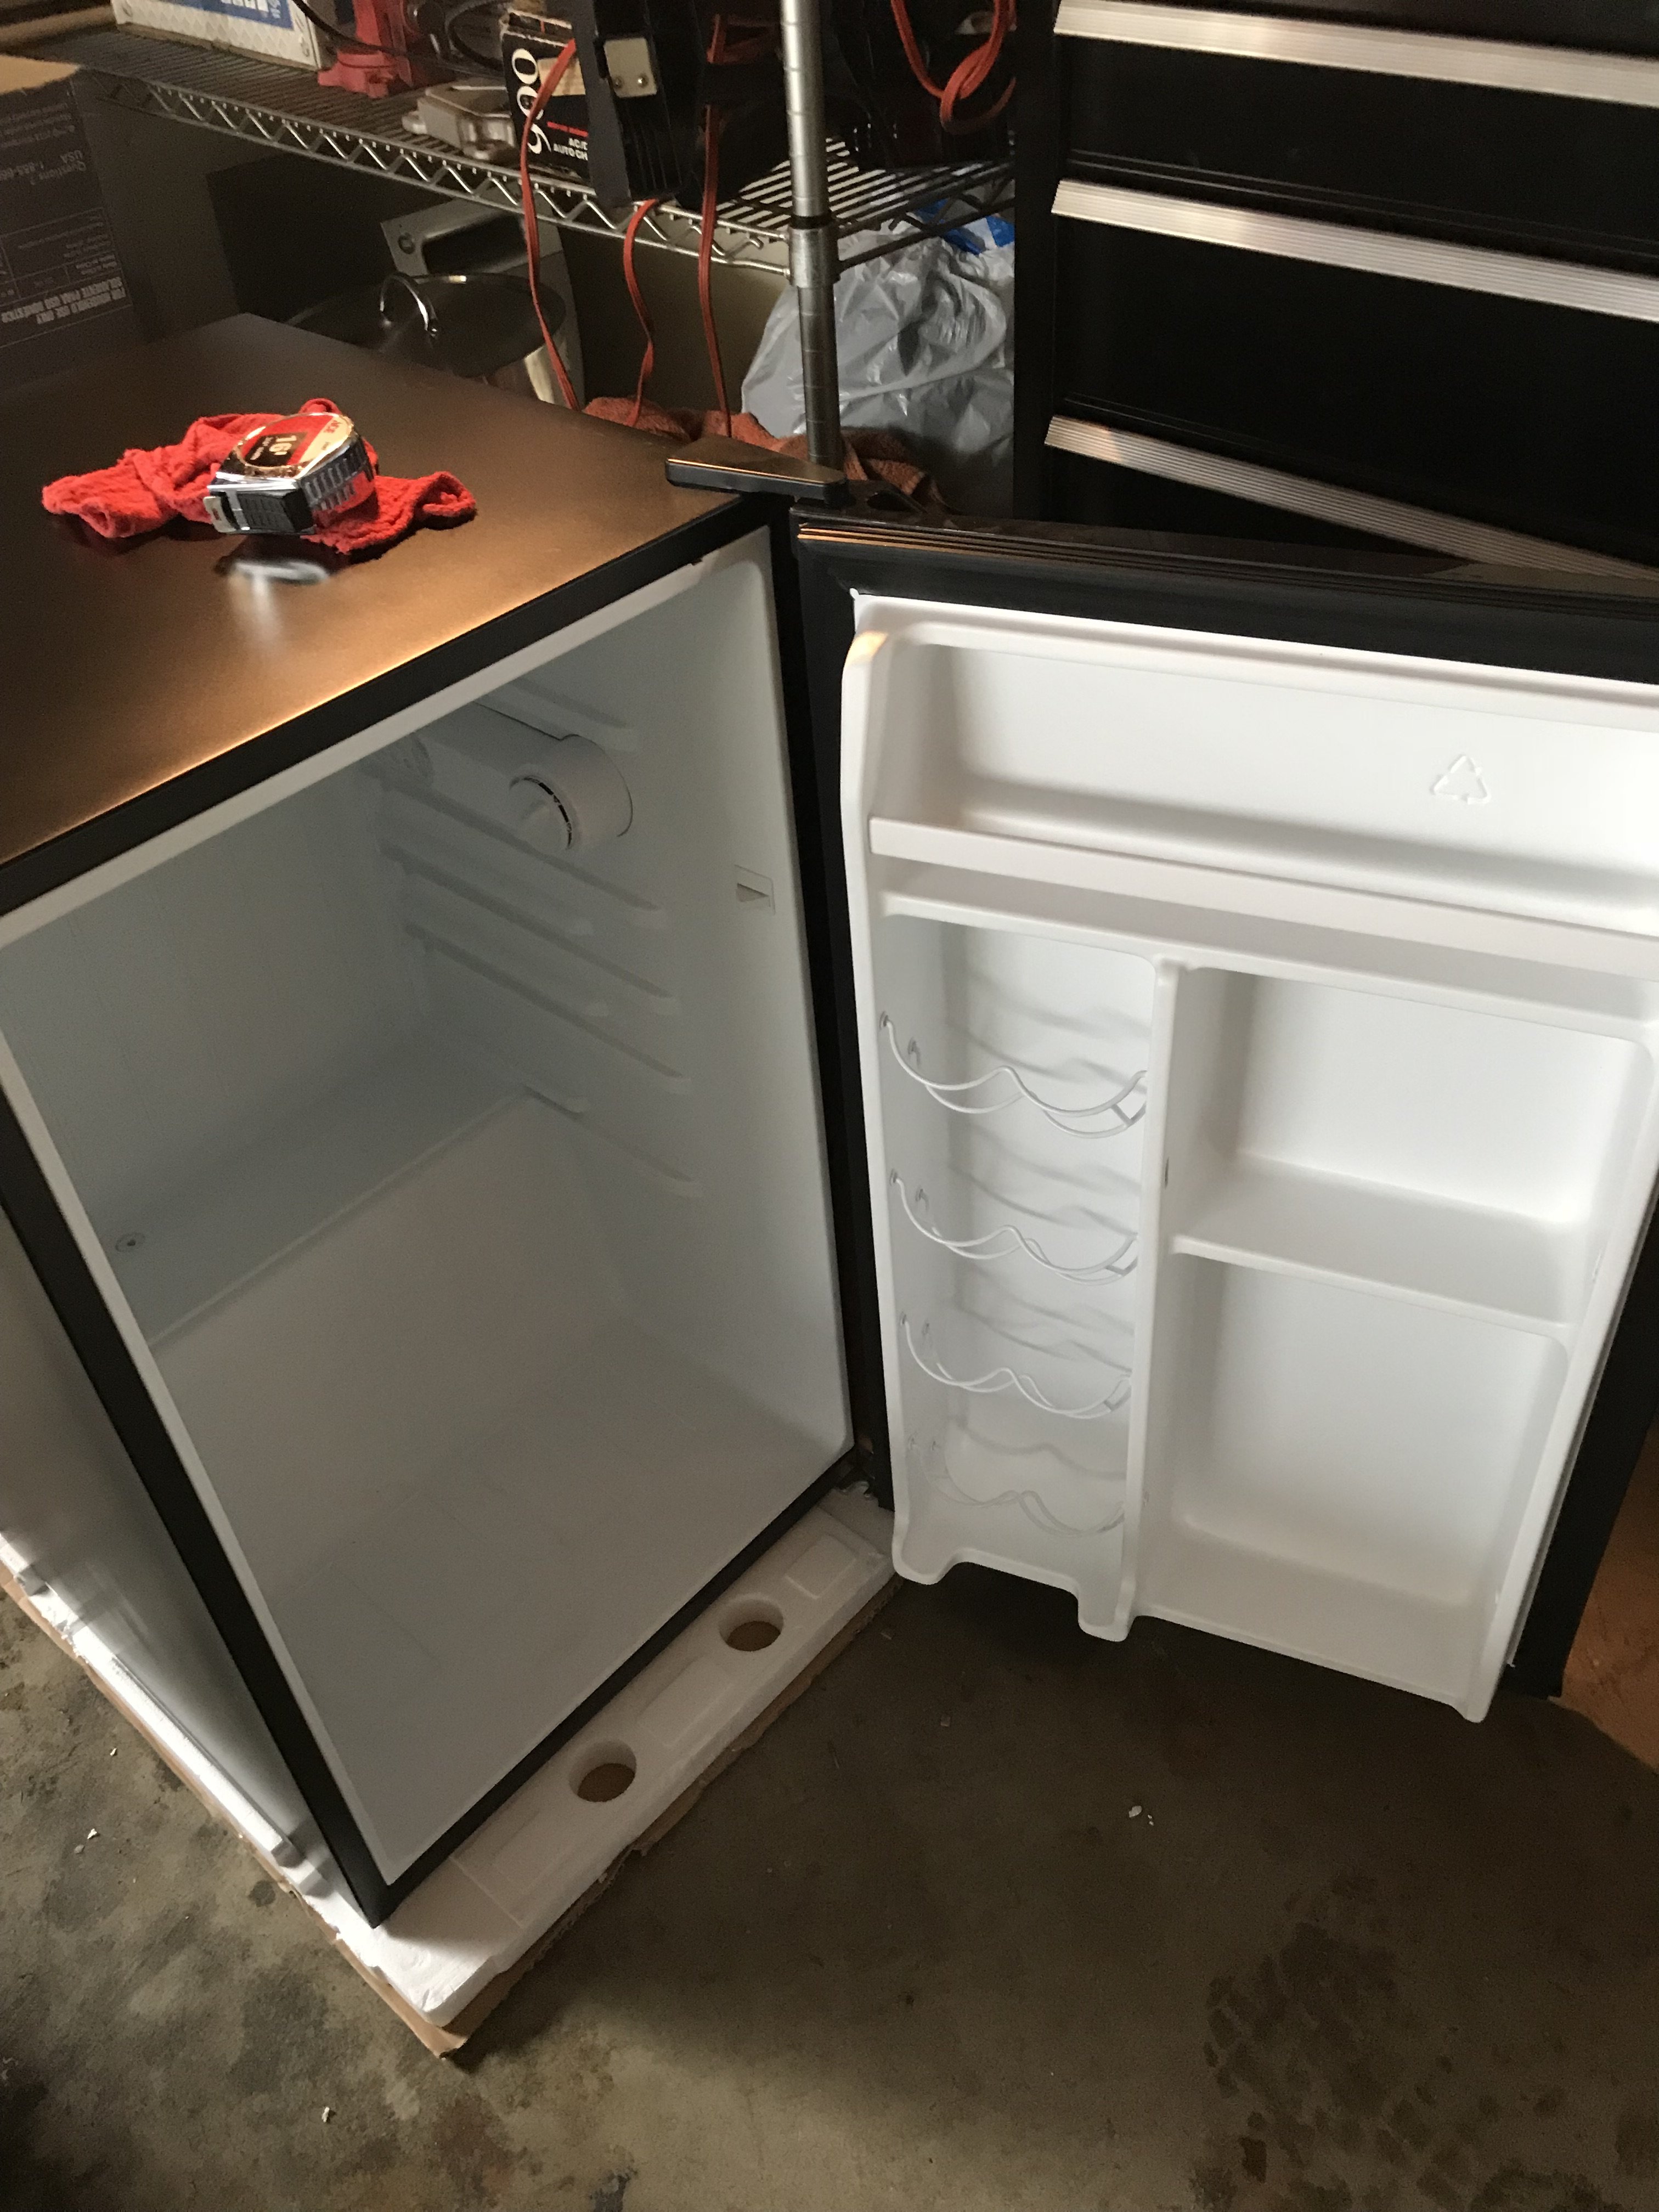
I also really liked this mini fridge because it allowed me to keep the top shelf and side rack on the door for storage or additional bottled/canned beers. The 5 gallon keg fits like a glove.
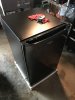
The black stainless finish and my personal preference to the whirlpool brand made this fridge a no-brainer.
All-in-all this only took a few hours of work and saved hundreds on a new assembled kegerator. Hopefully this helps some others who are looking for options on building their own!
------------------------------------------------
First of all, here are the materials:
QTY: 1 Whirlpool WH43RS2E, purchased for $119 at a local Lowe's that was going out of business, regular is $159.
QTY: 1 Tower Conversion Kit - $119
QTY: 4 #10-32 x2" screws, nuts, and washers
Depending on keg style, you will need to purchase ball lock adapters to fit a corny keg as I did:
QTY: 1 Ball Lock Connector Set - $12
And if you want to adapt the ball locks to the sankey coupler that comes with the tower conversion kit, you will need these:
QTY: 1 Coupler Adapter Set - $20
------------------------------------------------
Conversion Instructions:
1. Unwrap mini fridge, plug in, and make sure it works properly. If there is anything wrong with it, it will likely be tough to exchange once it's been modified...
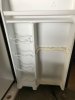
2. You will need to cut out the two lowest shelves on the right hand side of the door.
3. I used a metal tape to cover the area to seal it and give it a more finished look. You can use anything you would like here.
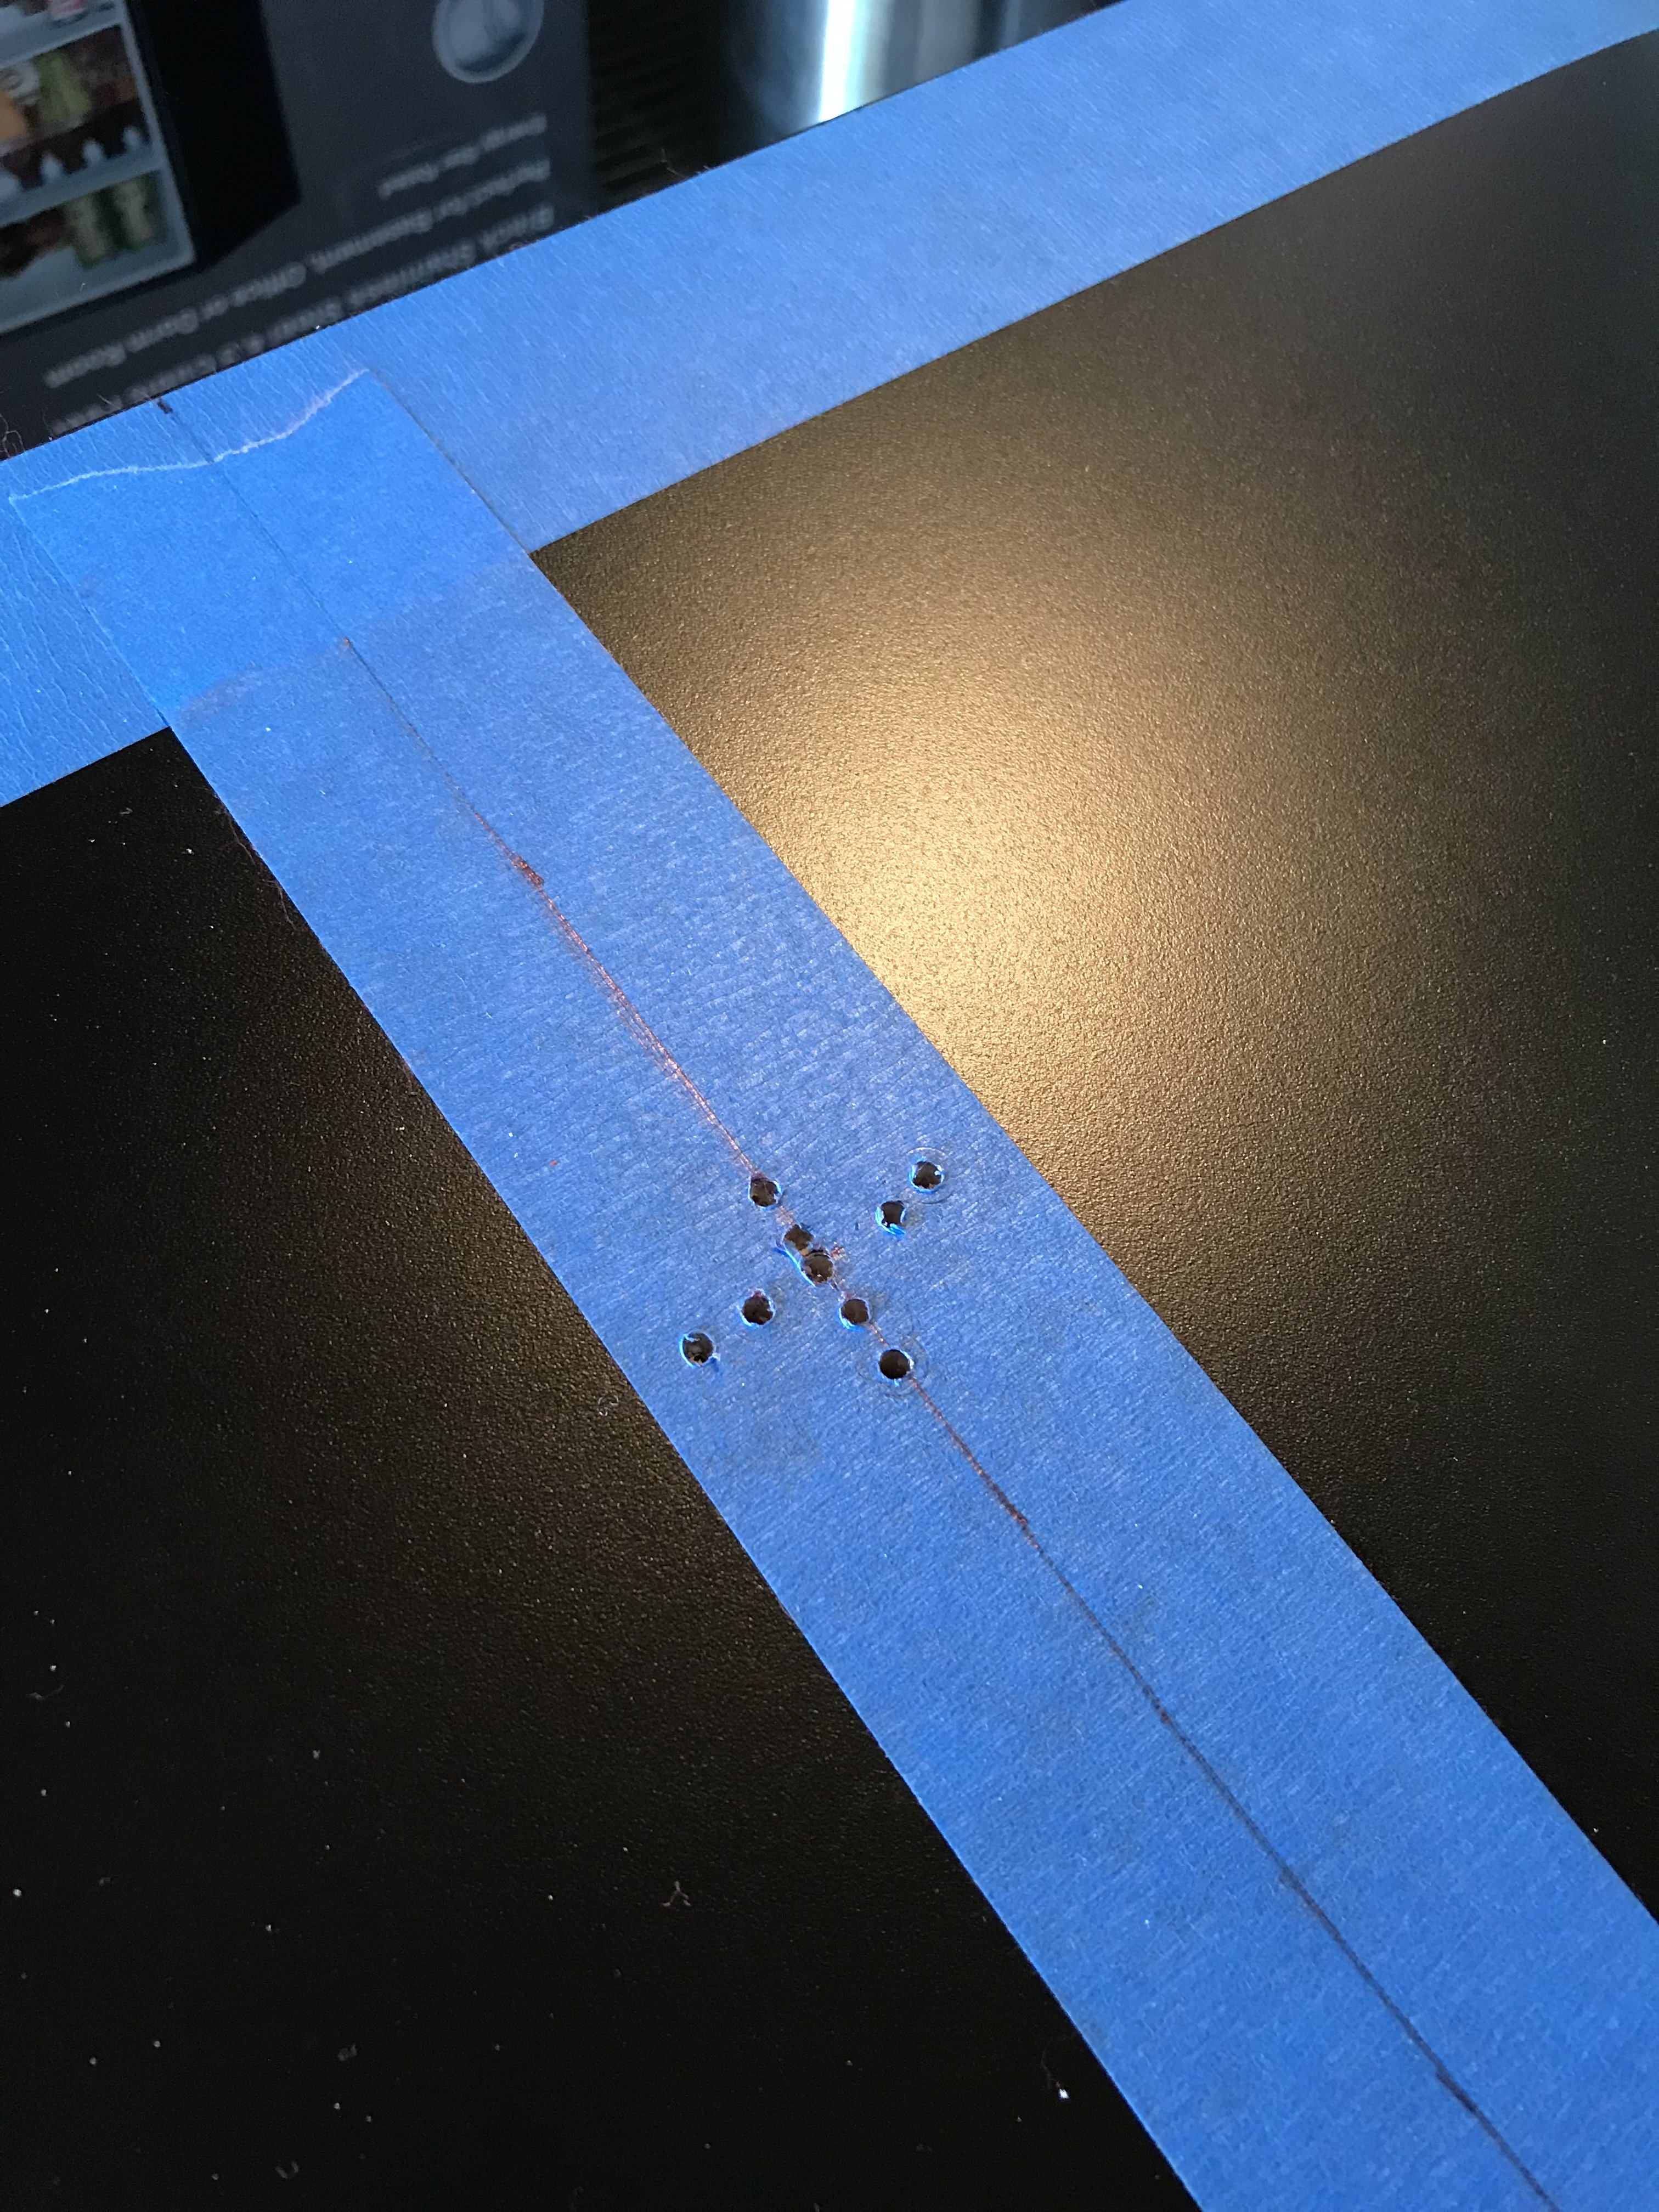
4. Measure the fridge, it should be 19-3/4" wide. The center mark is at 9-7/8". Double check my math on that one...
5. Measure 5-3/4" inward (towards the front) from the center of the back of the fridge.
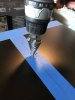
6. Carefully drill pilot holes through the top and feel for any refrigerant lines. Fortunately, I did not feel any. This was the pucker moment for me. I hope this write-up helps calm the nerves for others...
7. Drill out a "cross" pattern that represents a 1-1/2" hole that you will drill.
8. Using a hole saw or unibit, drill out a 1-1/2" hole for the tower
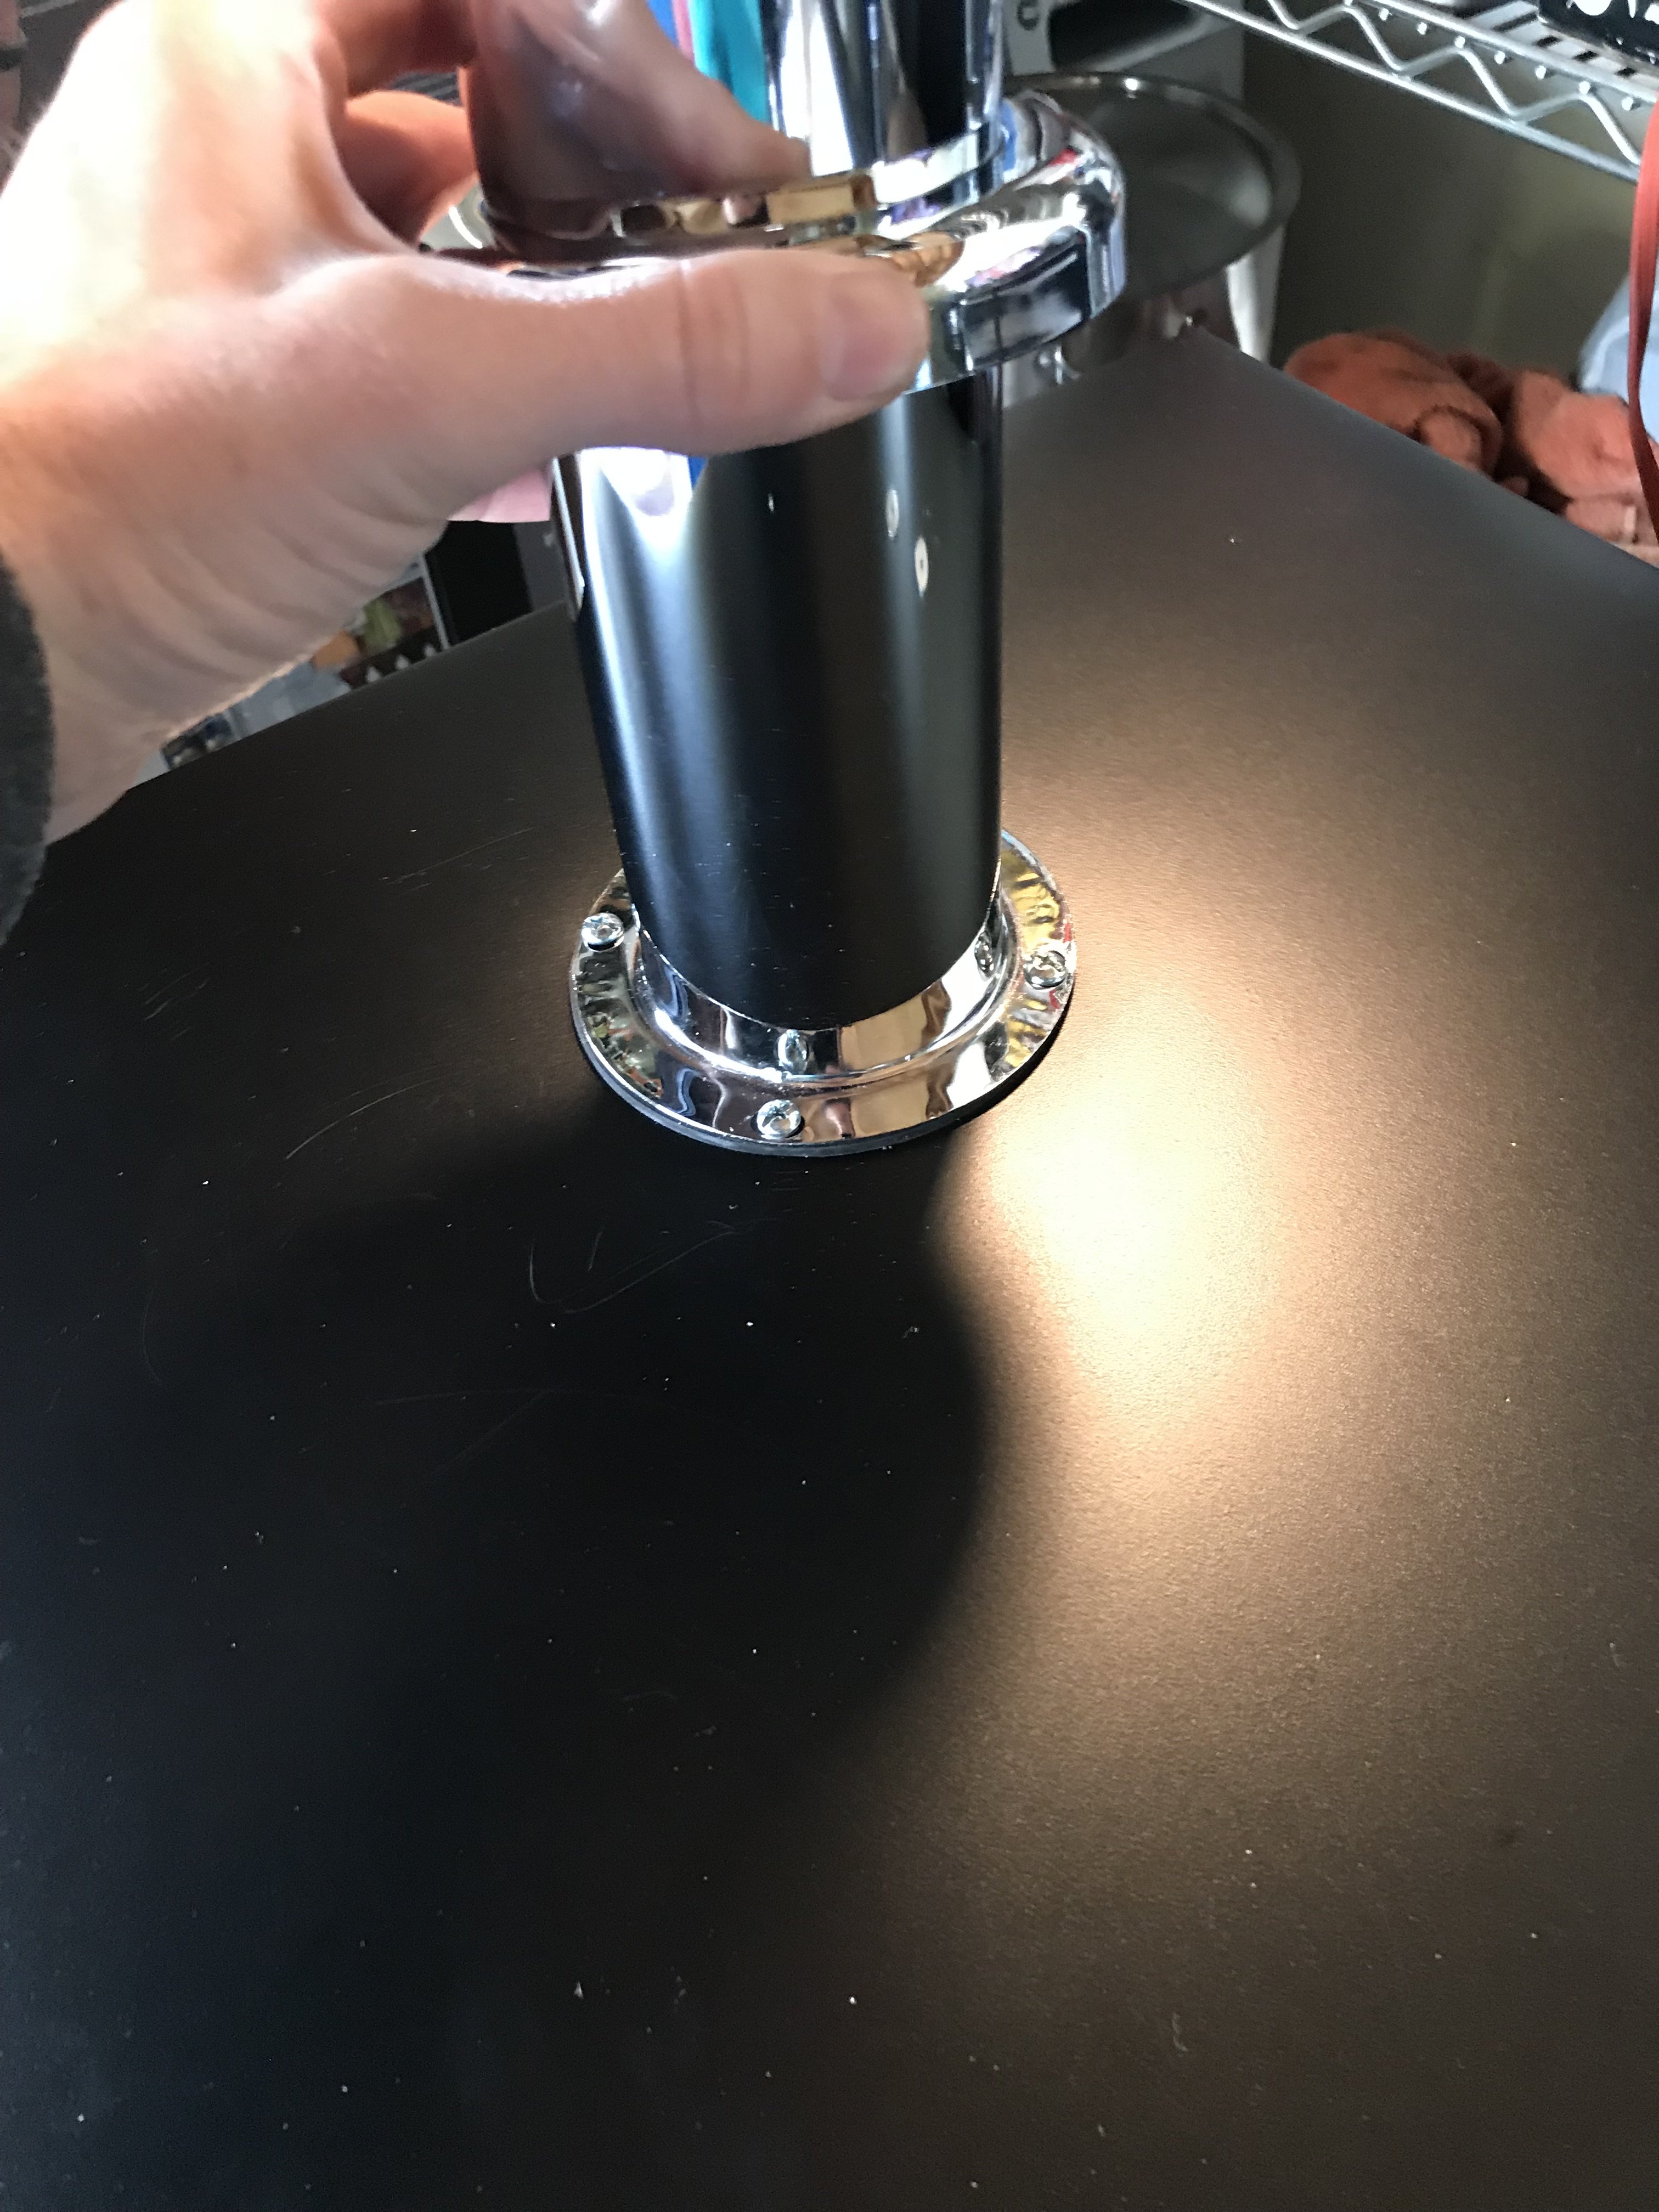
9. Center the tower on the fridge and mark the holes for the screws.
10. Drill the holes and feed the screws through, make sure to install the washers on the underside.
11. Install your favorite tap handle, and connect all equipment as you would with any kegerator.
12. Enjoy!
---------------------------------------
I wanted to build a tower style kegerator from a current mini-fridge model, and I wanted to add a quick DIY with the parts that are available as of 12/2018.
This was built for a single 5-gal corny keg with ball locks, but adapts for a standard pony keg with a sankey coupler.
I also really liked this mini fridge because it allowed me to keep the top shelf and side rack on the door for storage or additional bottled/canned beers. The 5 gallon keg fits like a glove.
The black stainless finish and my personal preference to the whirlpool brand made this fridge a no-brainer.
All-in-all this only took a few hours of work and saved hundreds on a new assembled kegerator. Hopefully this helps some others who are looking for options on building their own!
------------------------------------------------
First of all, here are the materials:
QTY: 1 Whirlpool WH43RS2E, purchased for $119 at a local Lowe's that was going out of business, regular is $159.
QTY: 1 Tower Conversion Kit - $119
QTY: 4 #10-32 x2" screws, nuts, and washers
Depending on keg style, you will need to purchase ball lock adapters to fit a corny keg as I did:
QTY: 1 Ball Lock Connector Set - $12
And if you want to adapt the ball locks to the sankey coupler that comes with the tower conversion kit, you will need these:
QTY: 1 Coupler Adapter Set - $20
------------------------------------------------
Conversion Instructions:
1. Unwrap mini fridge, plug in, and make sure it works properly. If there is anything wrong with it, it will likely be tough to exchange once it's been modified...
2. You will need to cut out the two lowest shelves on the right hand side of the door.
3. I used a metal tape to cover the area to seal it and give it a more finished look. You can use anything you would like here.
4. Measure the fridge, it should be 19-3/4" wide. The center mark is at 9-7/8". Double check my math on that one...
5. Measure 5-3/4" inward (towards the front) from the center of the back of the fridge.
6. Carefully drill pilot holes through the top and feel for any refrigerant lines. Fortunately, I did not feel any. This was the pucker moment for me. I hope this write-up helps calm the nerves for others...
7. Drill out a "cross" pattern that represents a 1-1/2" hole that you will drill.
8. Using a hole saw or unibit, drill out a 1-1/2" hole for the tower
9. Center the tower on the fridge and mark the holes for the screws.
10. Drill the holes and feed the screws through, make sure to install the washers on the underside.
11. Install your favorite tap handle, and connect all equipment as you would with any kegerator.
12. Enjoy!
---------------------------------------
Attachments
-
 IMG_4289.JPG1.4 MB · Views: 301
 -
 IMG_4290.JPG1.4 MB · Views: 324
 -
 IMG_4294.JPG1.4 MB · Views: 300
 -
 IMG_4297.JPG1 MB · Views: 301
 -
 IMG_4298.JPG1.4 MB · Views: 309
 -
 IMG_4306.JPG2 MB · Views: 309
 -
 IMG_4307.JPG1.4 MB · Views: 312
 -
 IMG_4310.JPG1.5 MB · Views: 304
 -
 IMG_4315.JPG1.3 MB · Views: 310
 -
 IMG_4316.JPG1.4 MB · Views: 319