Wine Fridge Drilling Help

Homebrew Talk - Beer, Wine, Mead, & Cider Brewing Discussion Forum

Help Support Homebrew Talk - Beer, Wine, Mead, & Cider Brewing Discussion Forum:

This site may earn a commission from merchant affiliate links, including eBay, Amazon, and others.

Bassman2003

Supporting Member
HBT Supporter
Joined
Jan 30, 2013
Messages
2,211
Reaction score
1,538
Location
Arlington
Hello,

I have a GE pwr04fanbs wine Fridge that I would like to run EVA barrier tubing out for CO2 capture from fermentation to purge my keg and spund. But I am verklempt about how to get the tubing out - drill or squeeze it through the door seal? I do not want to kill the fridge. I know it has coils in the sides but not much more than that. Called GE and they would not have any part in telling me anything.

So I thought I would ask if anybody has worked with this unit. I have read all of the threads and know it is a guess and leap of faith in the end!

Thanks for your input.
 
This is part of page 9 of the installation manual for the GE PWR04FANBS unit.
I don't know exactly what is under the top cover but you may be able to safely create an ingress point in the back edge once you remove it.
Certainly worth investigation...

Cheers!
cover_removal.jpg
 
Thanks! Great catch. I was looking at that part of the manual and dismissed it as changing the door direction not realizing that was the top they were showing... I will have a look.
 
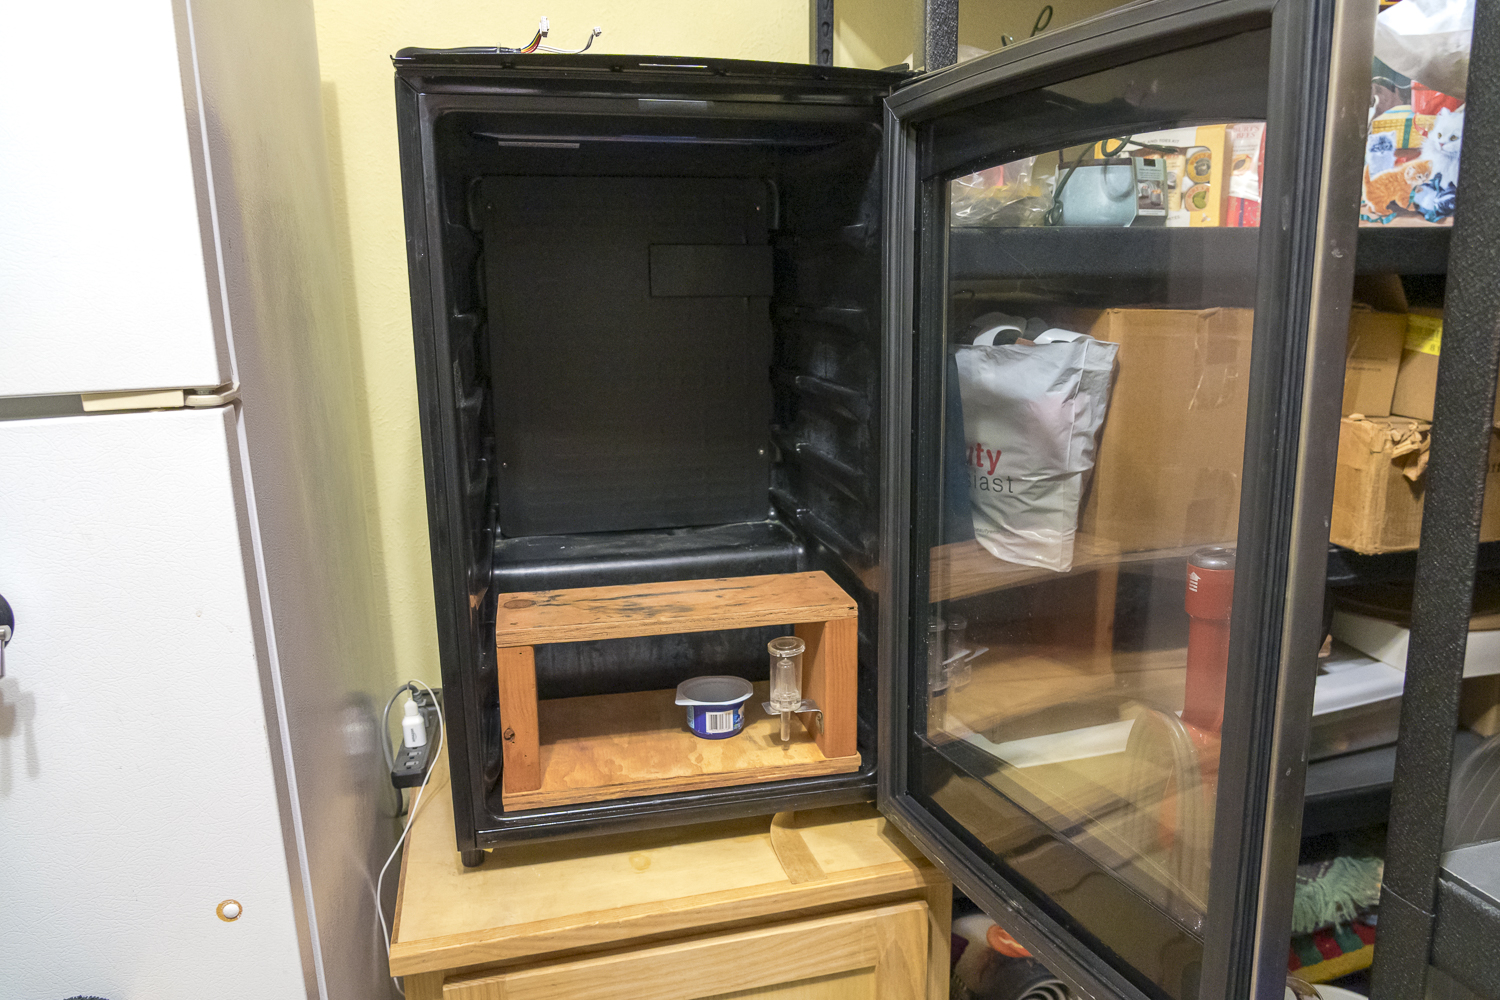
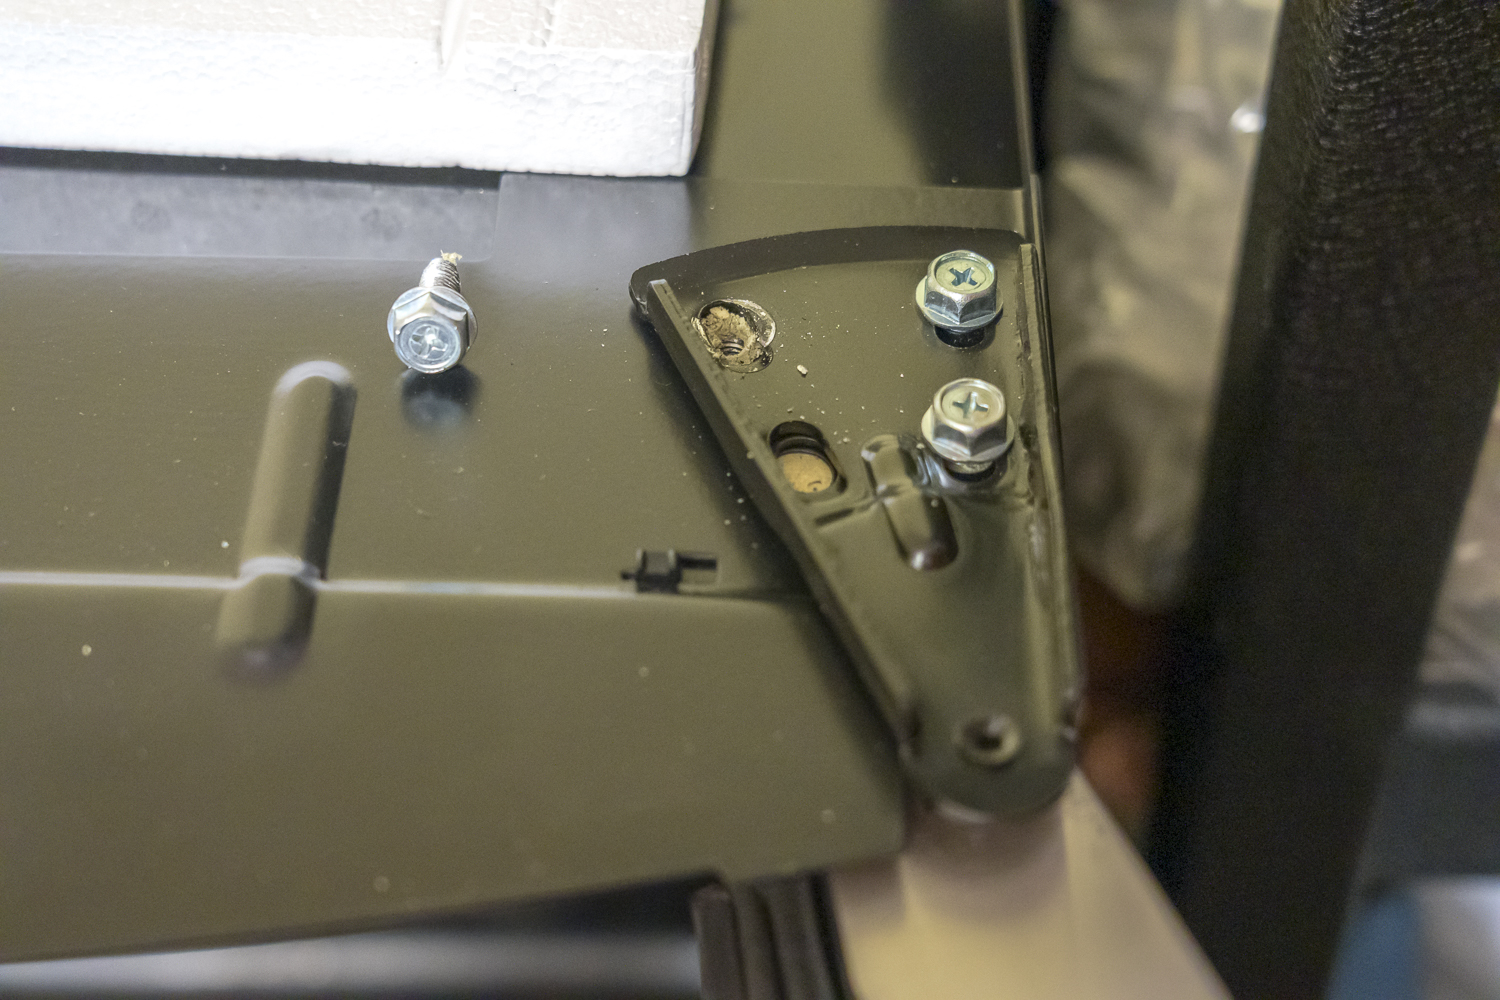
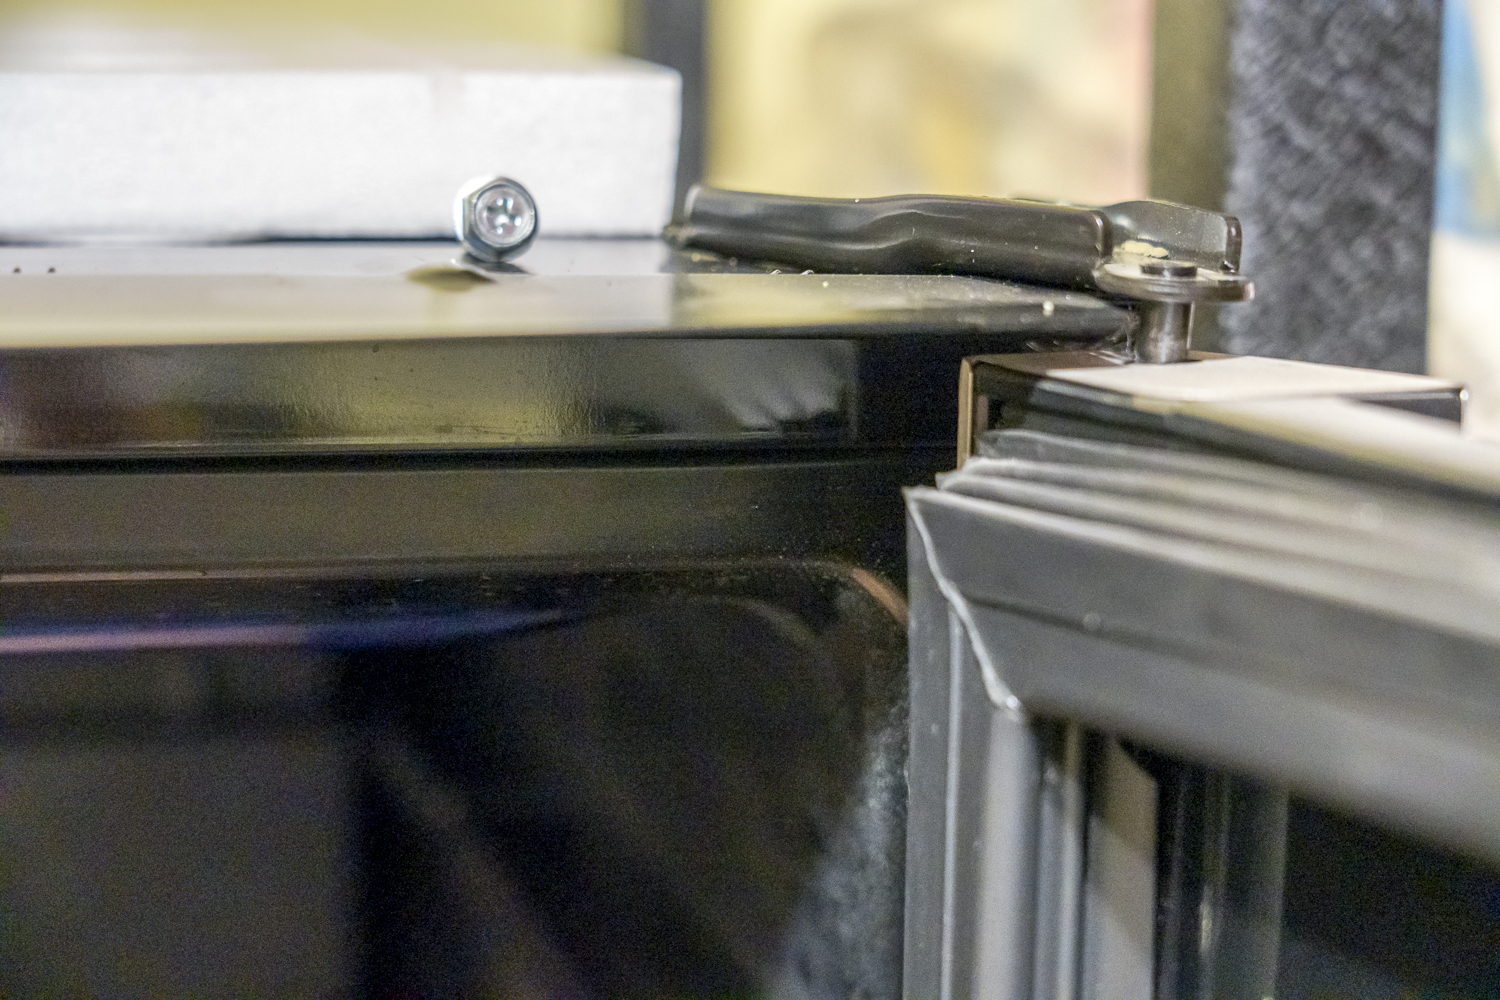
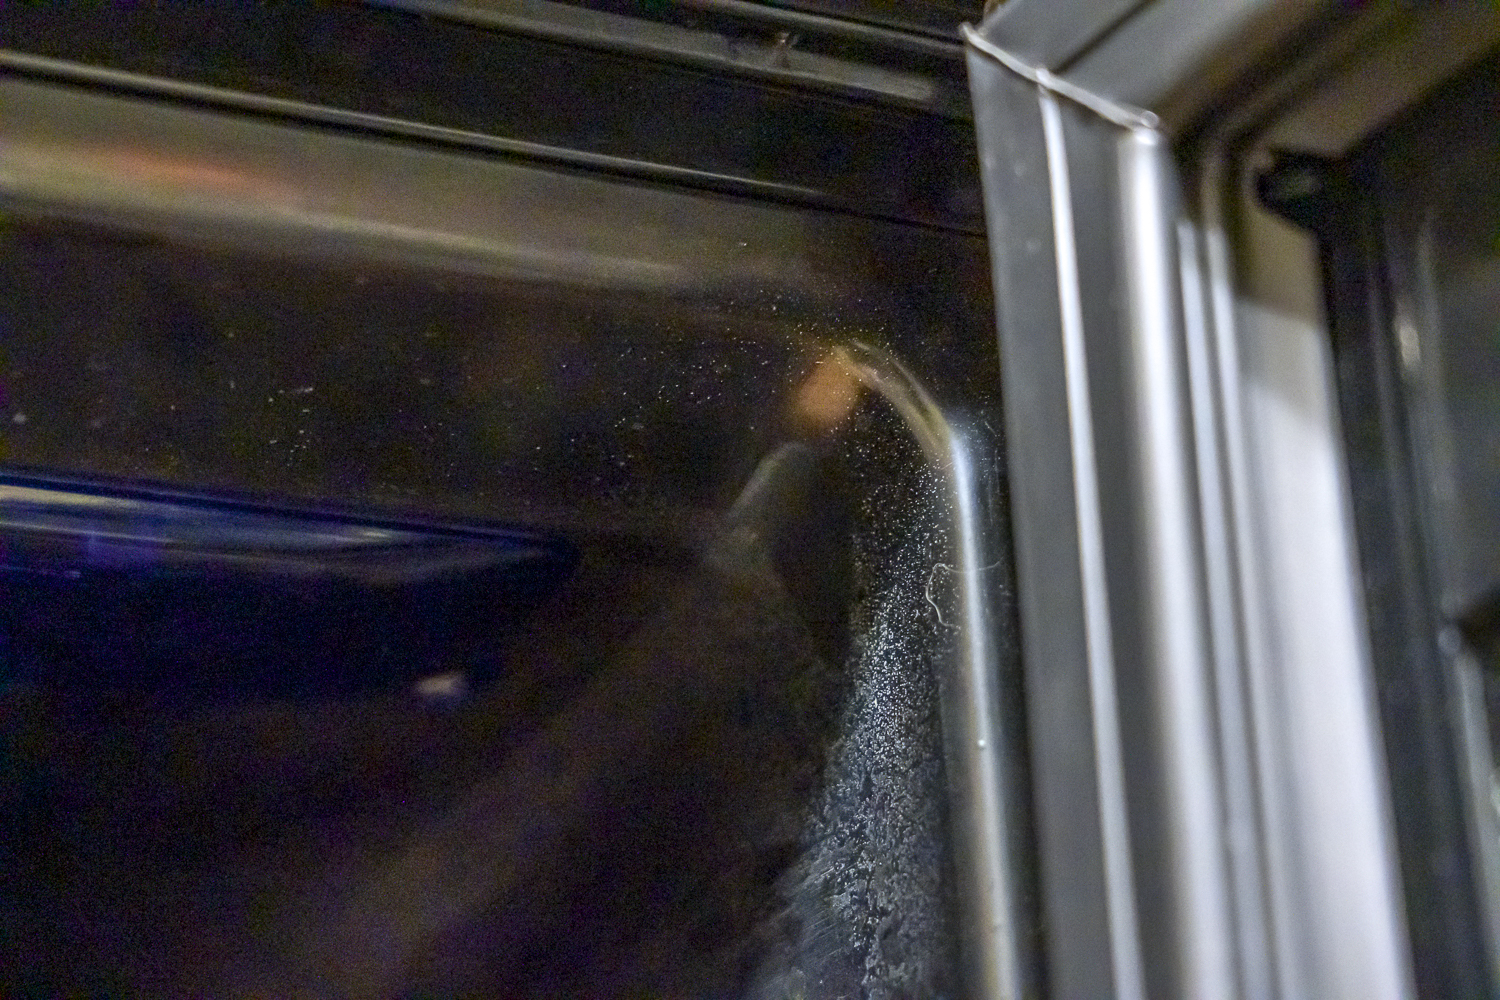
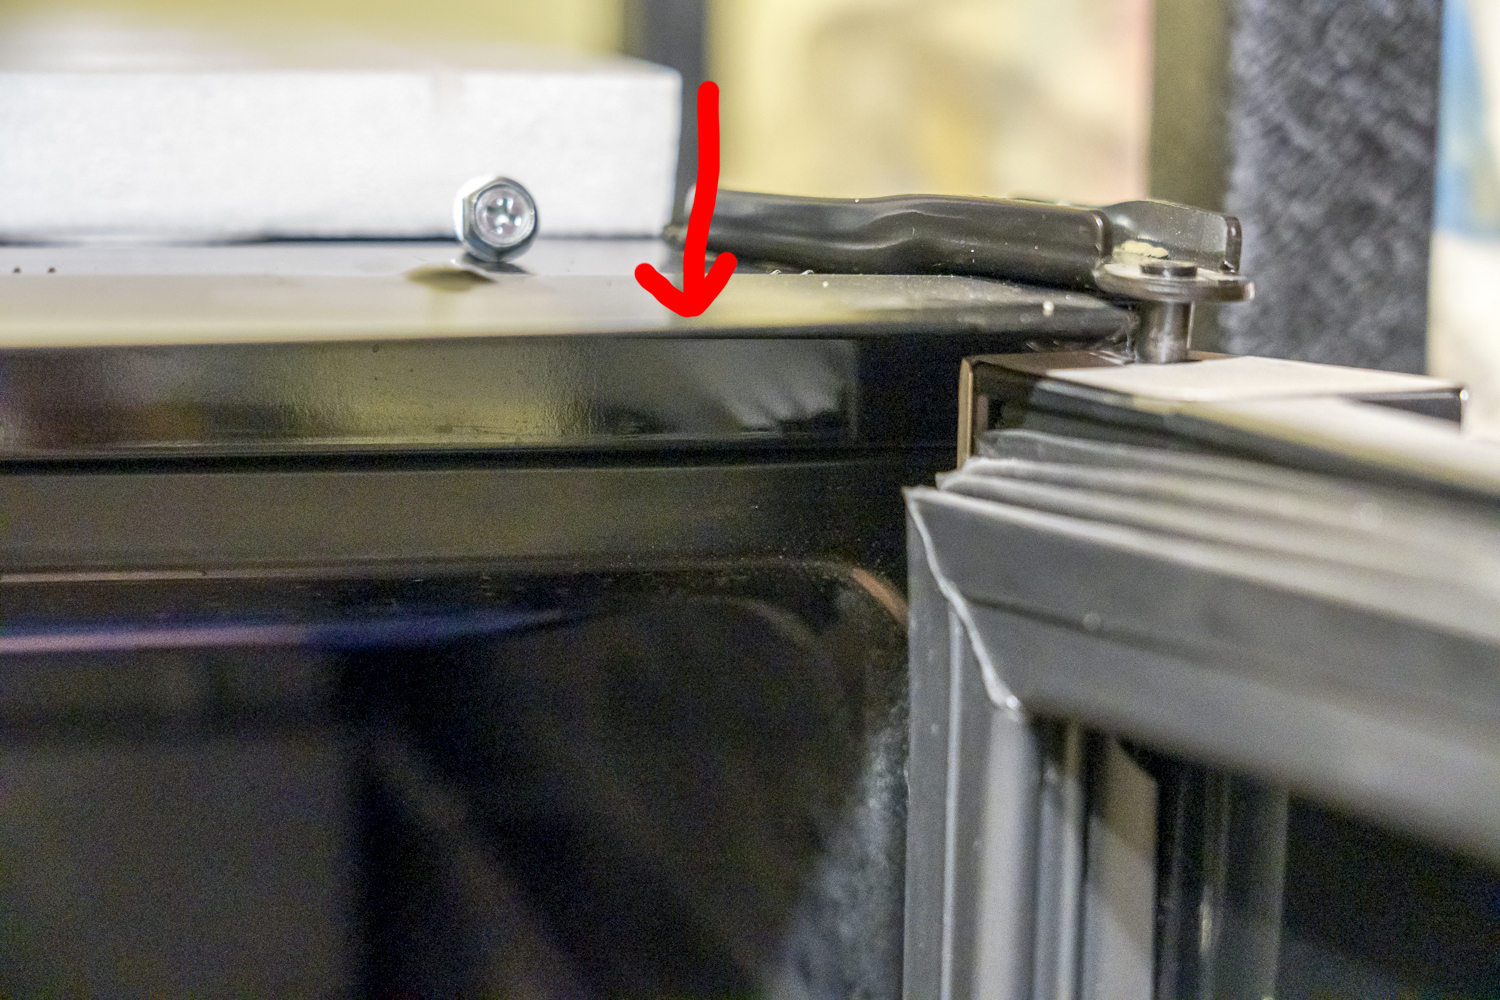
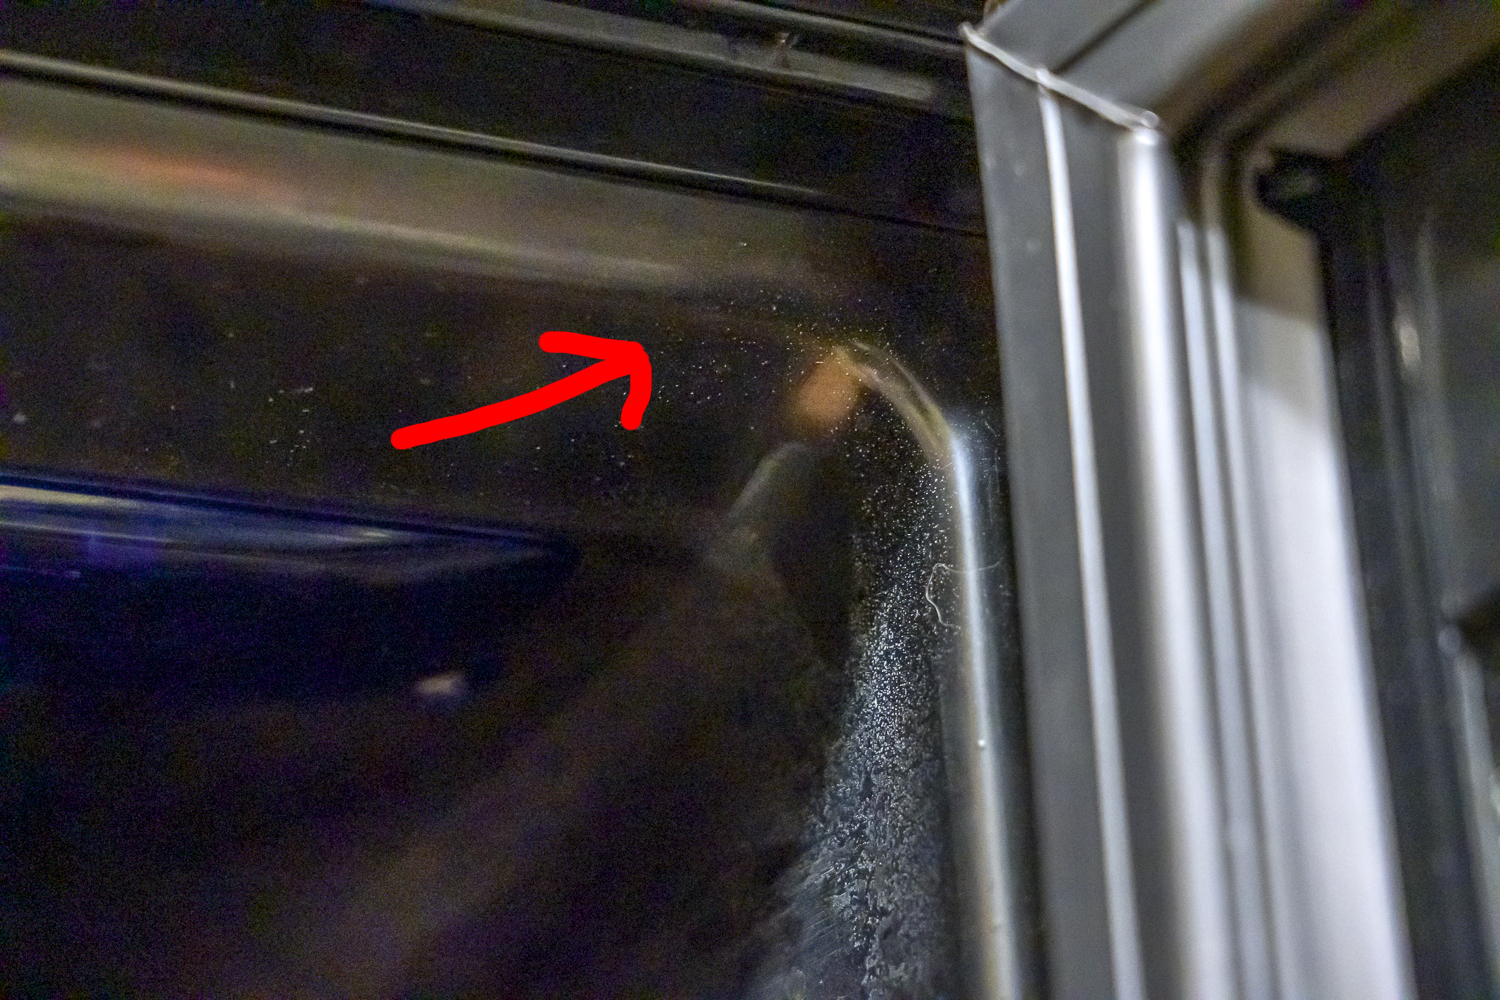
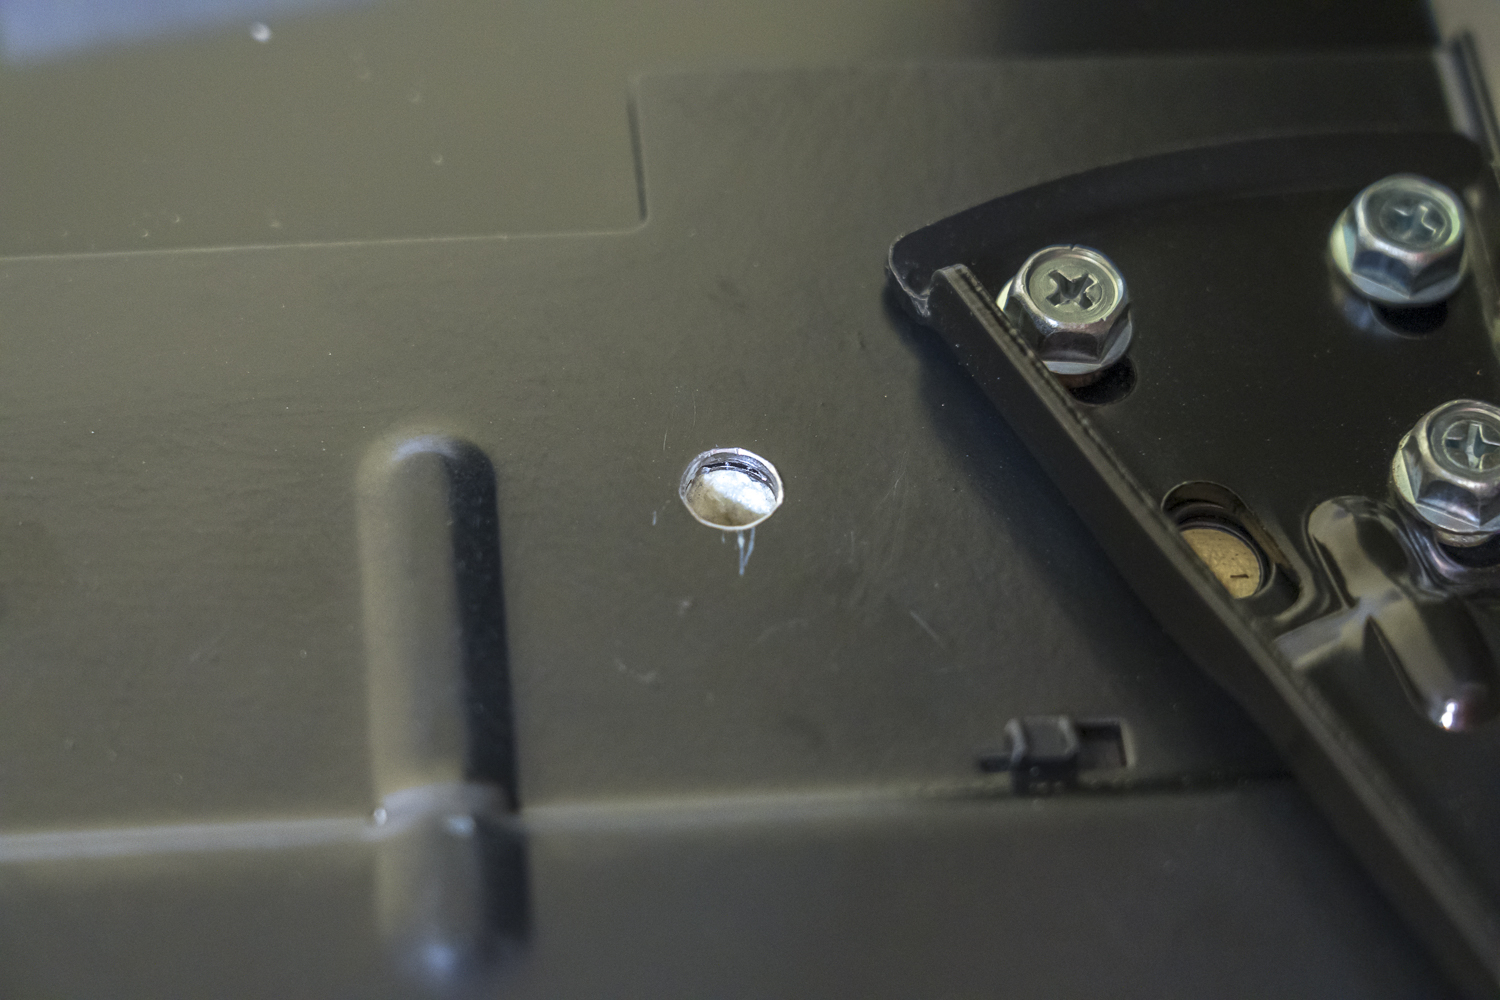
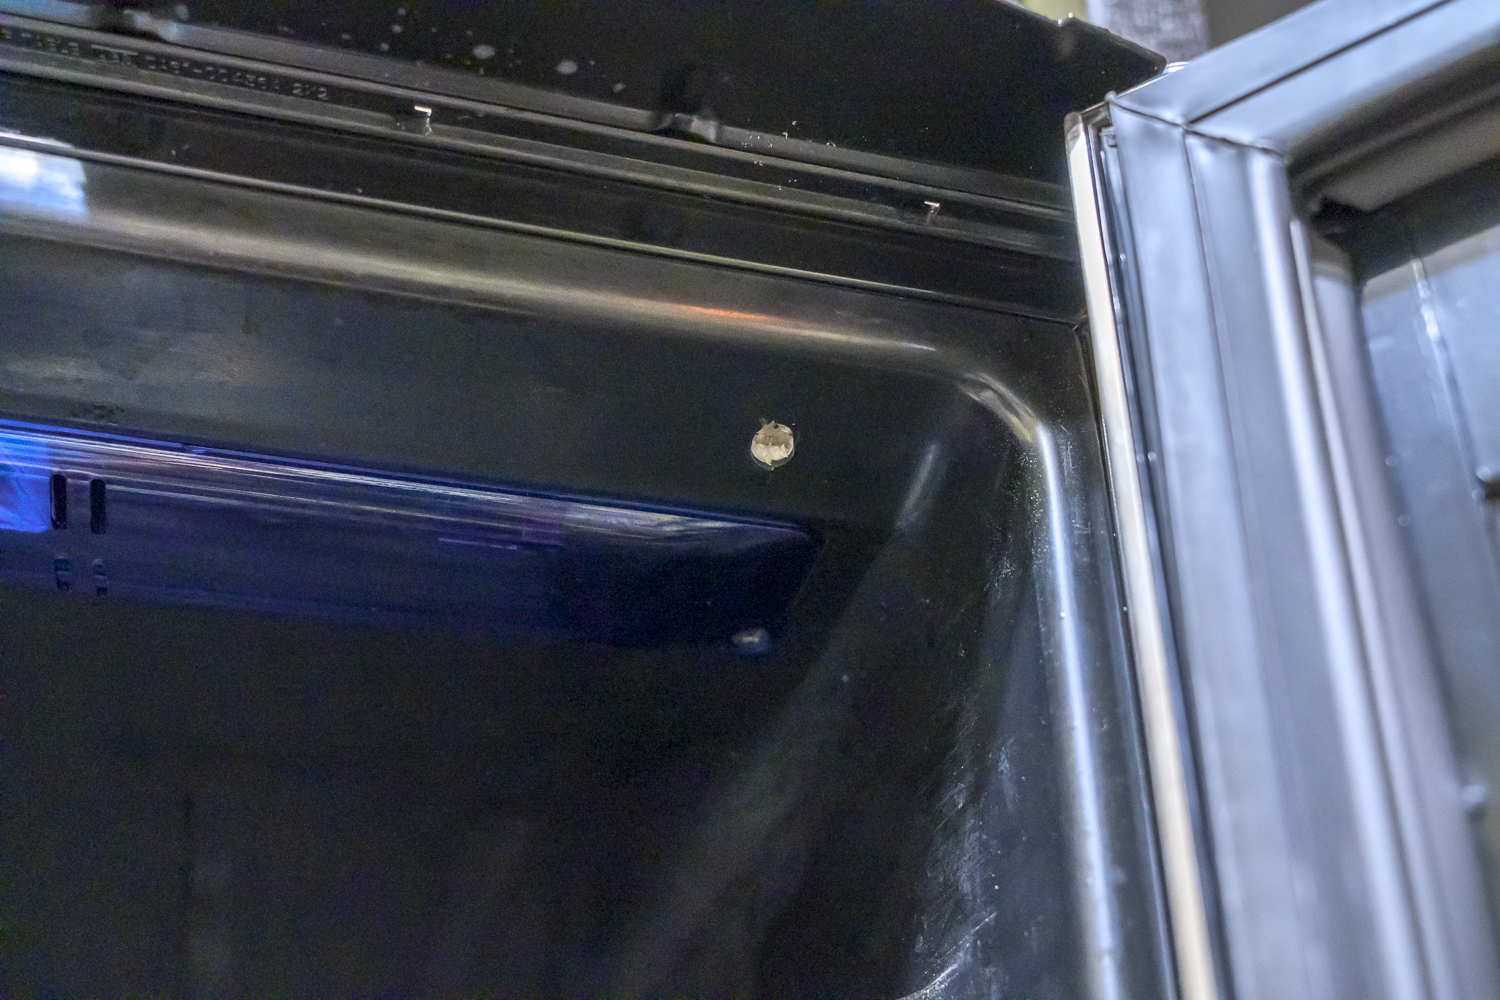
Ok, I took the top lid off and my best guess at the way forward would be through the door hinge. I took one screw out and the door still works fine. So I am thinking to drill out where the screw goes in and penetrate the inside top corner of the inner compartment. I have attached some photos of the area. A schematic on the back shows all of the coils are on the sides of the unit. The electronics for the front are on the other side.

What do you think the chances are of something being underneath where the screw is for the hinge? Thanks.

Fridge Drill Project-1.jpg
Fridge Drill Project-2.jpg
Fridge Drill Project-3.jpg
Fridge Drill Project-4.jpg
 
I would guess your probably OK there. The other spot might be above your cooling plate out the back. I've done a few small fridges upper right hand corner of the back.🤞

Edit- I drill a pilot hole just penetratingly the skin on the inside, then poke around with the drill bit to see if I feel like I am hitting the back wall metal. If so I continue on out the back metal skin. Then I'll hole saw the inner skin just barley breaking through. Then I'll dig out the spray foam and if all is good I'll hole saw the back.
 
Last edited:
Hi thanks. I looked at the back and the plate takes up pretty much all of the area on the inside. So I do not think that is a go. After looking closer at the hinge areas, the inside plastic has a rounded edge right underneath the hinge, so the inner hole might be on that slope which is not the best.

So now I am thinking of just a few inches over from the hinge up towards the front edge. This is where the inside plastic is at its most thin and not on the side slope.

Fridge Drill Project-2 copy.jpg
Fridge Drill Project-3 copy.jpg
Fridge Drill Project-4 copy.jpg
 
Last edited:
Same method applies just try to break the skin, and probe around. I've drilled 7 total 3 small and 4 full sized. Killed one trying going out the side of a minifridge.
 
Last edited:
Thanks. That is a good method. I don't think there will be anything in the insulation but I have no idea about what wires etc... might be in the metal compartment.
 
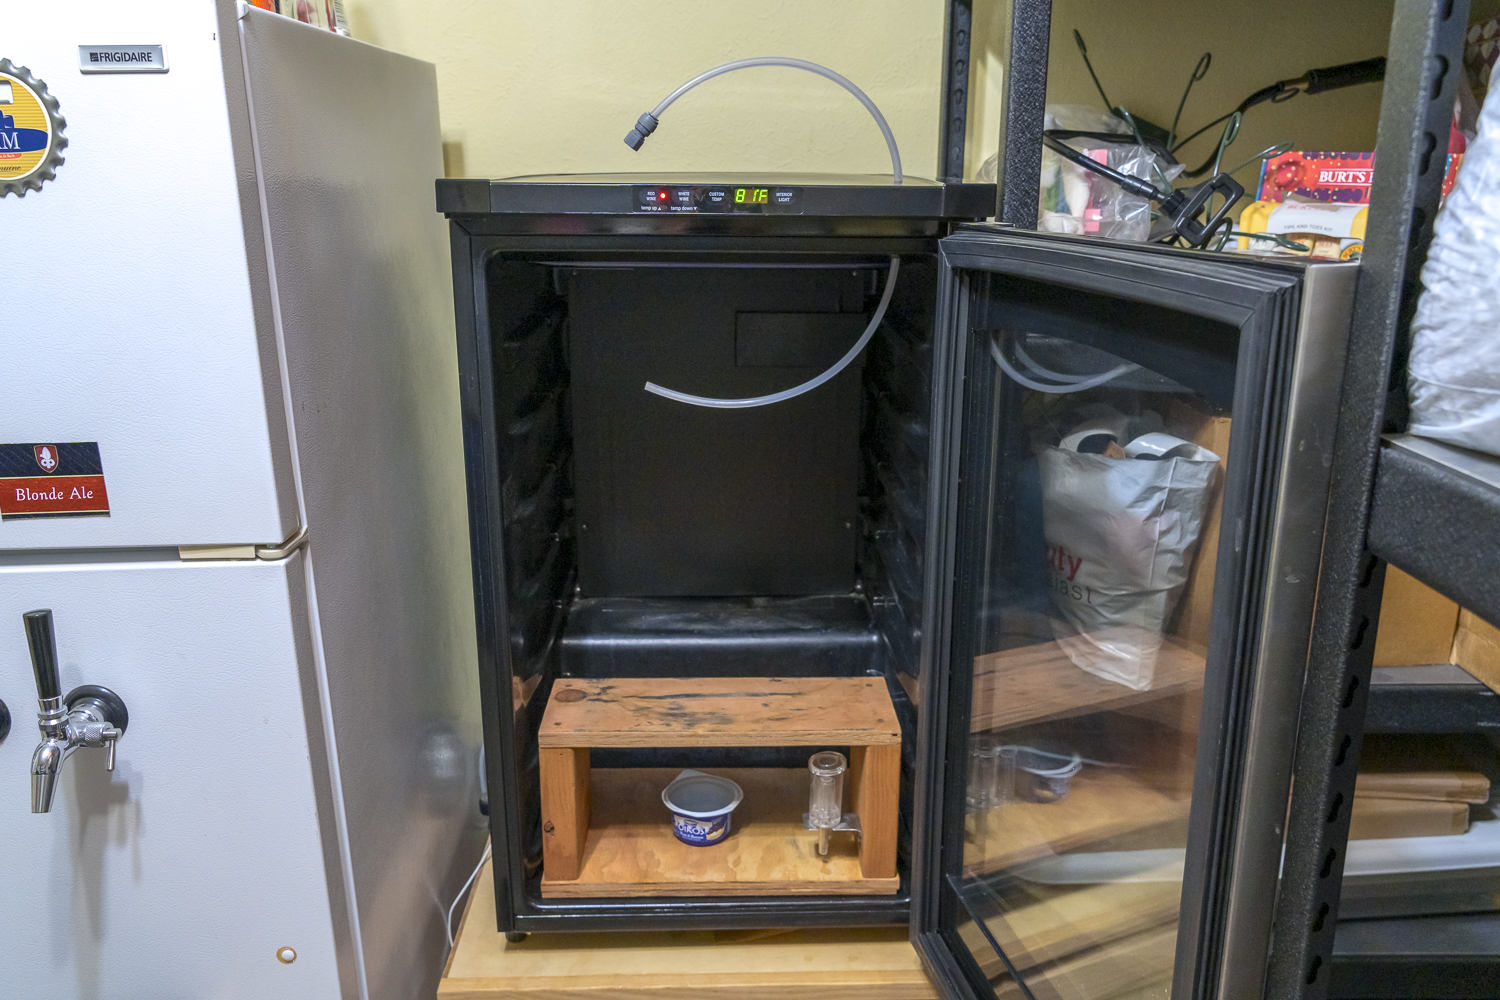
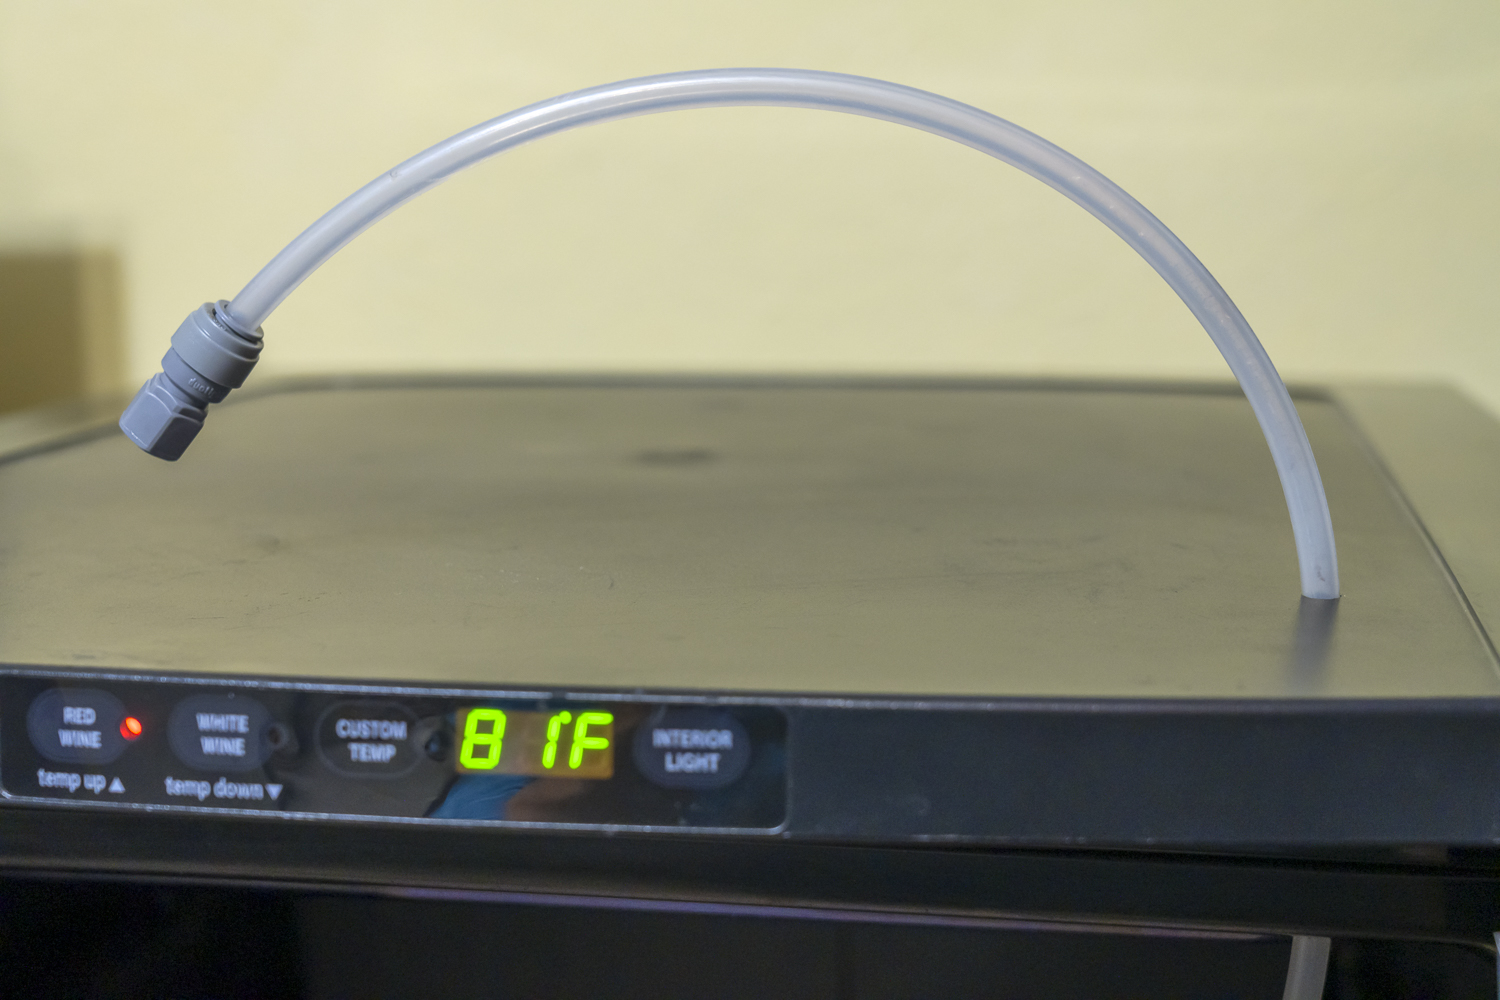
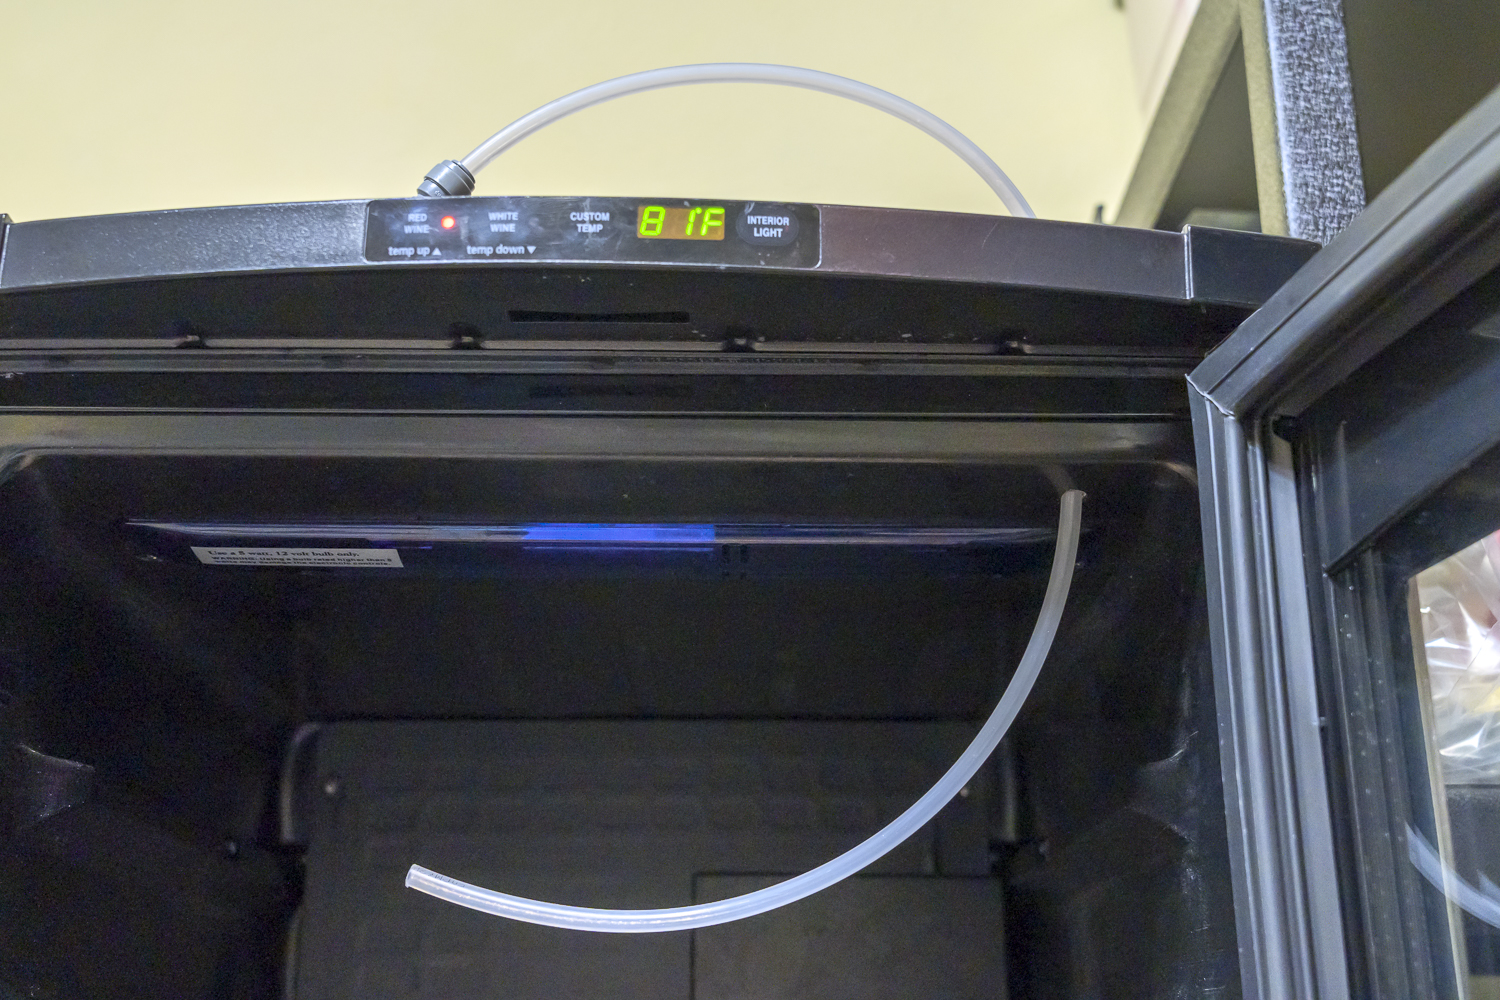
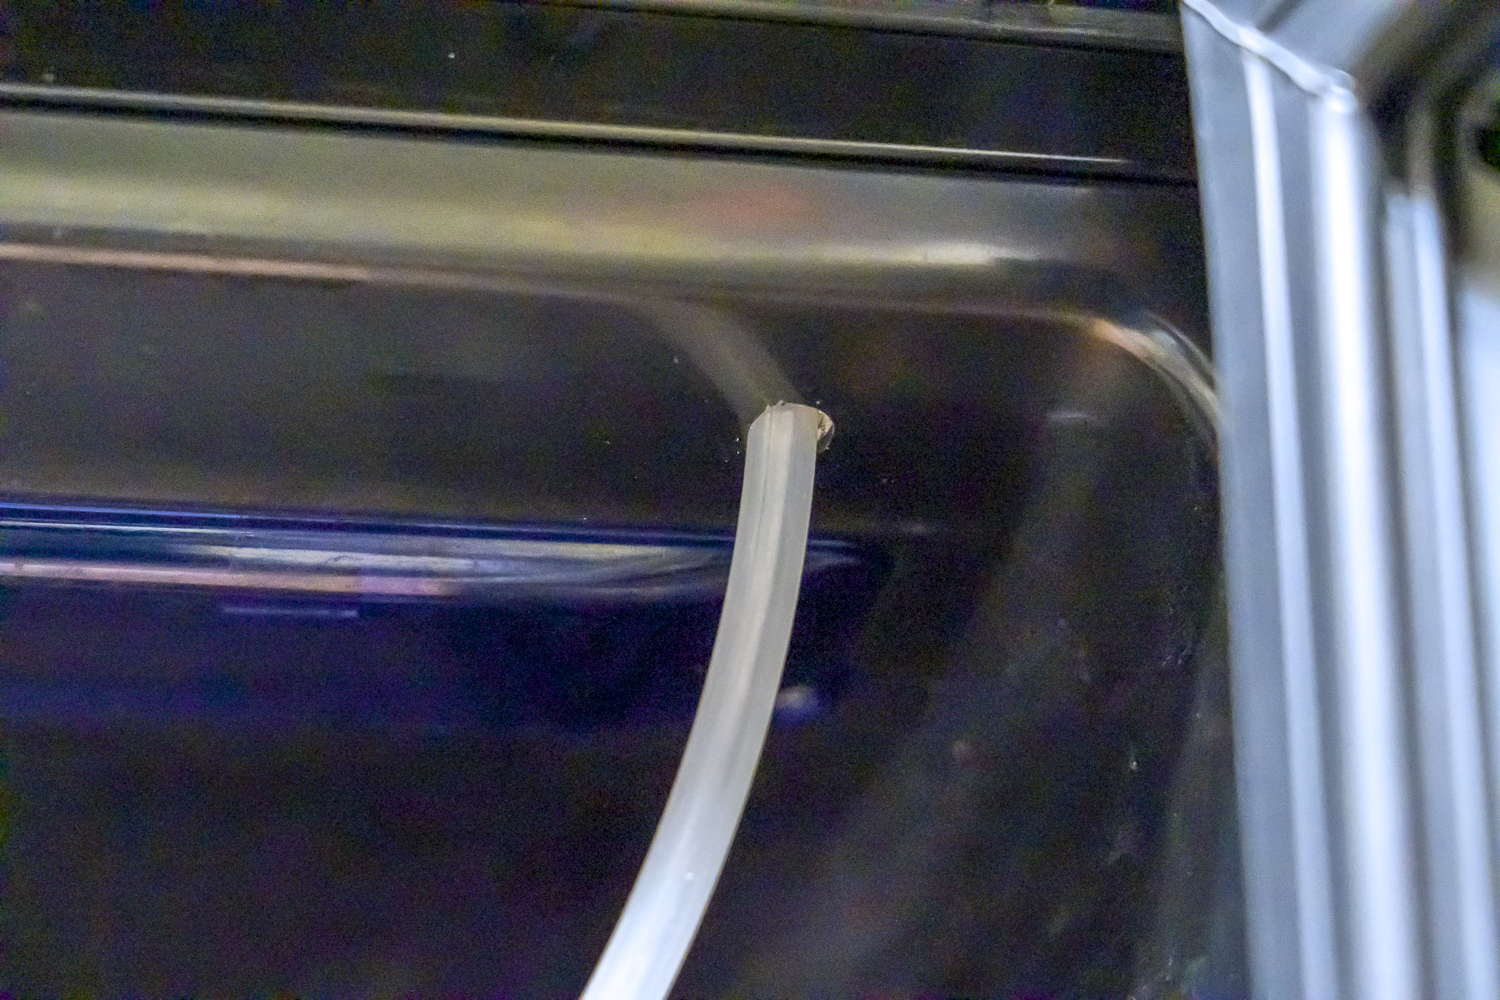
Update - Success! Thanks for your help. I started with a small drill bit, drilled from the inside and just pierced the plastic. Then shoved the bit up in the hole and felt around. Even though there is separate plastic and metal looking like two different layers on the outside, on the inside it was just insulation all the way to the top. After feeling nothing but insulation without obstructions I drilled through the top plate with the small bit. Then it was a series of stepped up larger bits until I zeroed in on the best final hole size. .316 was the bit that allows the tubing to barely go through and create a pressure fit. I then put the top cover back on and drilled from the inside with the .316 bit to pierce the outer plastic cover. And that was it. I will seal it up later once I get the correct tubing in place. Thanks for the help!

Here are shots of the finished state:

Fridge Drill Project Completed-1.jpg
Fridge Drill Project Completed-2.jpg
Fridge Drill Project Completed-3.jpg
Fridge Drill Project Completed-4.jpg
Fridge Drill Project Completed-5.jpg
Fridge Drill Project Completed-6.jpg
Fridge Drill Project Completed-7.jpg
Fridge Drill Project Completed-8.jpg
 
What is the goal here? What are you going to put in there? A 2.5 gallon keg? A mini keg? Etc That looks like a real nice sturdy wood base at the bottom
 
Hello,

I ferment in this fridge, so I wanted to run the fermentation CO2 gas out to purge a keg for low oxygen transfers. I use a fusti tank now but am moving to a 7.9 gallon Kegmenter in order to do some pressure fermentations. The wood base makes a platform that is level with the back hump.
 
If you’re confident there’s nothing where you drilled your holes, you could drill your holes out larger and use these for a more complete installation that offers a little extra protection to your tubing. Looks like they average out to be about a buck apiece. Drill your hole just slightly larger than specified if you need a tad extra “stretch” to get your tubing through. The grommet’s ID of 5/16 (.3125) is ever so slightly smaller than the .316 you used to drill your current holes.
https://www.amazon.com/Rubber-Grommet-Fits-Thick-Panel/dp/B07LBBLMX2
 
Thanks. I will look into these. What I want is to not have the tubing slide through the hole as I use it over time. I thought of some kind of compression fitting, but if I do not enlarge the holes, there is already sort of a pressure fit. The grommet would eliminate the need for any caulking to keep the inner chamber cool and might act as a stop if it grips the tubing well.
 
Back
Top