Upgrade regulator screw handle

Homebrew Talk - Beer, Wine, Mead, & Cider Brewing Discussion Forum

Help Support Homebrew Talk - Beer, Wine, Mead, & Cider Brewing Discussion Forum:

This site may earn a commission from merchant affiliate links, including eBay, Amazon, and others.

Cider Wraith

Well-Known Member
Joined
Aug 11, 2022
Messages
330
Reaction score
178
Location
US
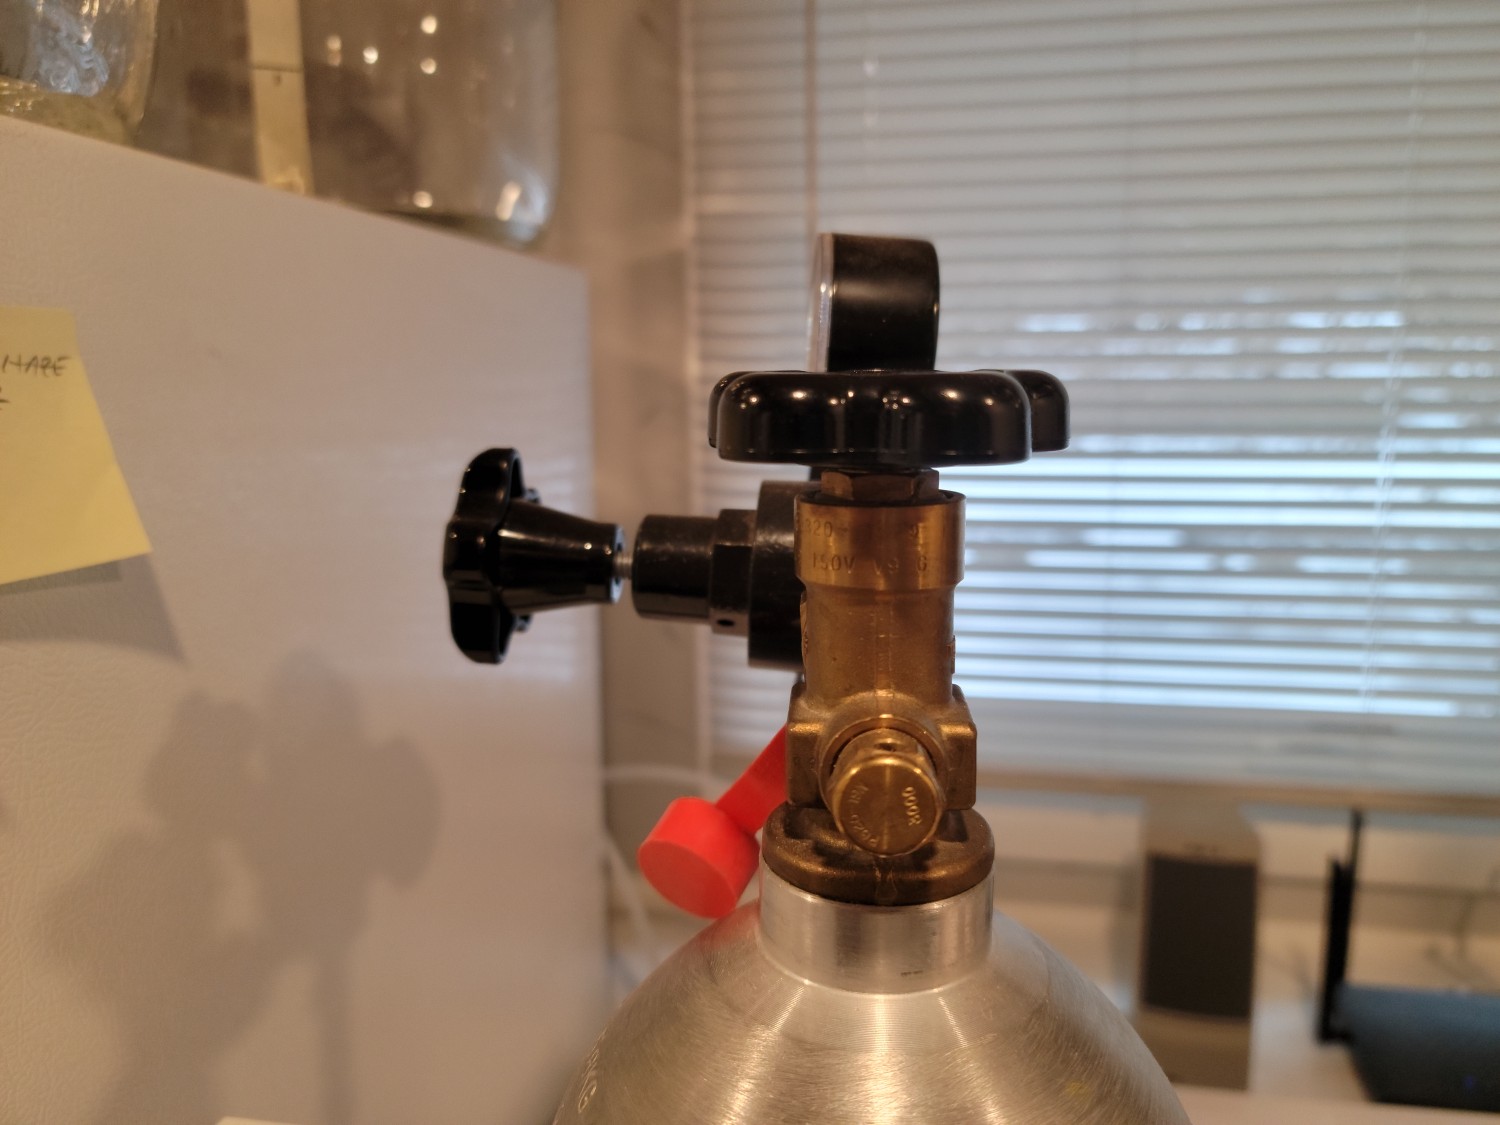
Could anyone please give a recommendation on how to upgrade a regulator flat blade screw to a rubber handle? Purchased a couple of regulators with this "tamper proof" option but a rubber handle would be better. Tried unscrewing the screw and it seizes, won't fully back out. Could possibly tape something like a framing nail into the screw slot but that sounds like a last resort. Could some type of rubber handle be slipped over the screw head giving a quick retrofit? Suggestions appreciated, thanks -
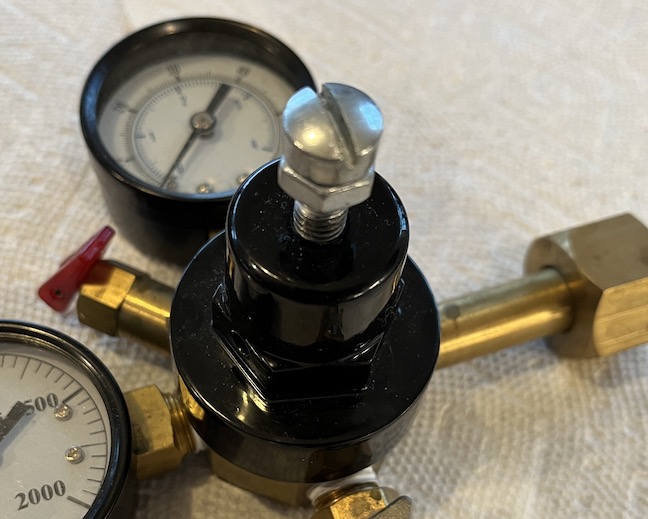
reg_handle.jpeg
 
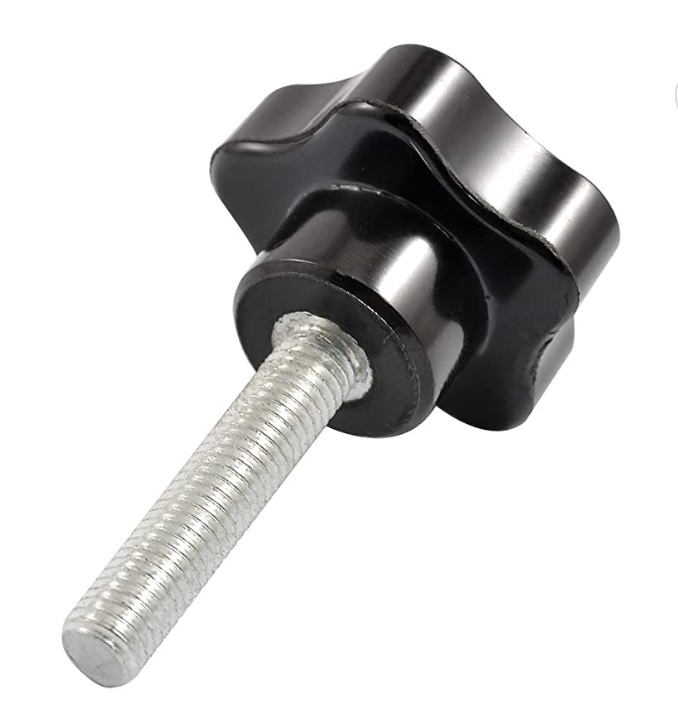
Ok that's very helpful, the magic words, "Screw-head mount knob". Yes, a blank knob and epoxy, probably the way to go unless something else novel shows up.
knob.jpg
Unfortunate the existing screw won't back out because if it did, diameter and pitch could be determined and something like this would be a quick fit
 
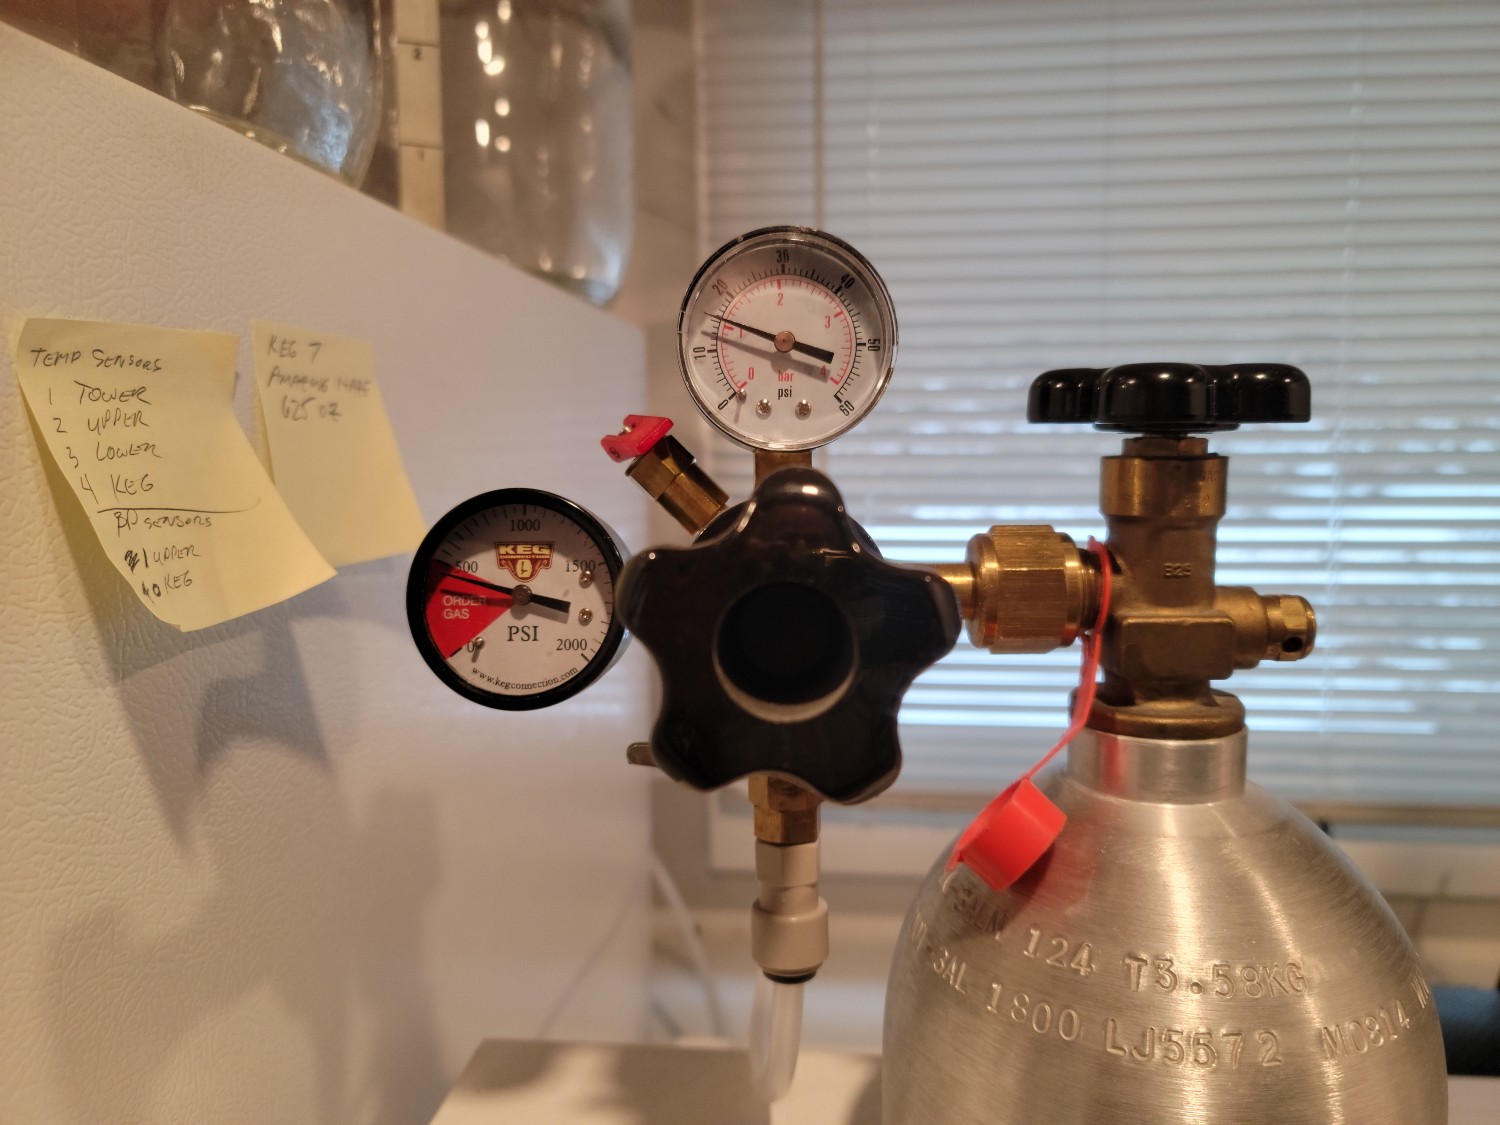
Years ago I modified one of my Chudnow regulators to use a 5 star screw with a 5/16-18 thread.

1674667992466.jpeg


You have to take the bonnet off, screw the adjusting screw IN as far as you can so you can reach the last ~1/4" of the threads, then Dremel or file away the crimped bits of thread that prevent the screw from being removed.

reg_mod_2.jpg


A couple years ago I converted everything to EVAbarrier tubing...

reg_mod_3.jpg


Cheers!
 
You have to take the bonnet off, screw the adjusting screw IN as far as you can so you can reach the last ~1/4" of the threads, then Dremel or file away the crimped bits of thread that prevent the screw from being removed.
Ah yes, so when removing the "bonnet" nothing is likely to be lost? So in that case you're looking at a diaphragm? Certainly don't want to get debris in that chassis. Yeah, that all sounds easy. I could just file away the deformed threads and it should mostly come off, might struggle a hint but probably not much. And then these are the numbers one needs to know: 5/16-18. Thanks!

Edit - and so there isn't a swivel on the end of the screw?
 
Last edited:
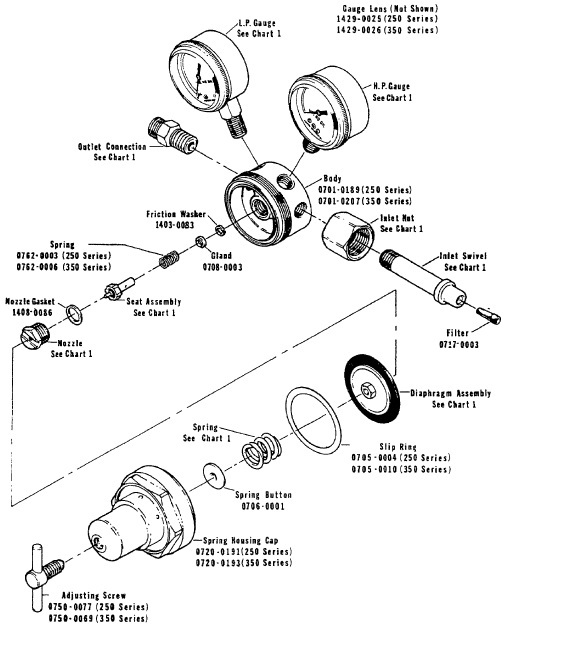
There should be no drama removing the bonnet. Back the pressure adjusting screw all the out to the stop first, then use a big spanner to unscrew the bonnet. Underneath you'll find a small stamped metal disc ("spring button", below) that goes between the tip of the adjusting screw and the top of the spring. Typically the diaphragm will stay put under the metal ring that aligns it to the regulator body and provides a low friction interface to the inside of the bonnet but if it pops loose it's no big deal to stick back in place later.

This is a generic regulator assembly diagram but it'll suit this discussion...

1674681572311.png


btw, the projecting "dent" side of the spring button sits inside the spring top...

Cheers!
 
Back
Top