BethelLight
Active Member
I thought I would share a couple of pictures of my new sanke fermentor.
I like to ferment in a chest freezer for a couple of reasons.
* Small size
* Fast and low temp cold crashing
* Capturing (and holding) a CO2 blanket
* Put them on wheels and roll them to my brew location for filling with wort.
If you use a chest freezer as a fermentation chamber you may be interested in a similar setup.
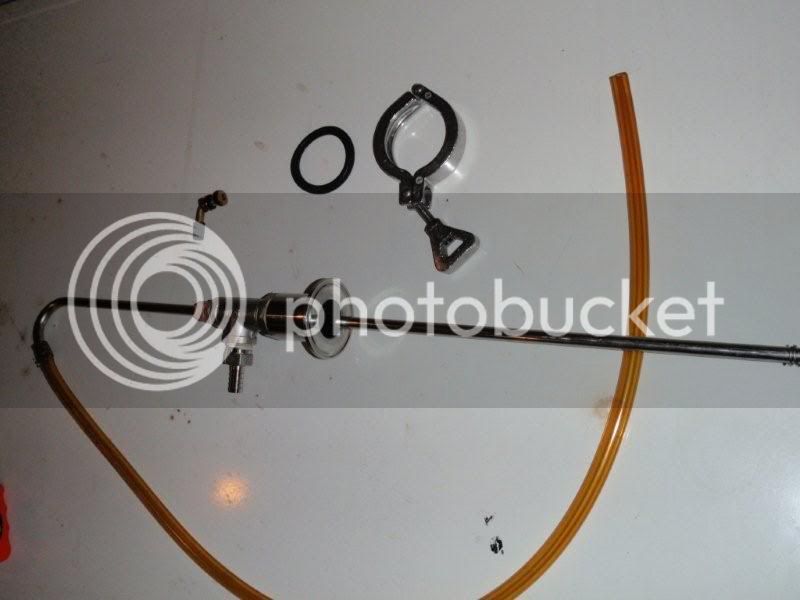
I found that a sanke keg fits perfectly in chest freezer so I had a 6" tri-clover ferrule welded up on one. My welder also installed three (3) 1/2" couplings in the cap giving me a large number of options.
Right now I have a thermowell, cap and blow-off tube configuration but intend to install either a compression/racking cane combo or a set of ball lock posts.
I like having the ability to be able to put my fermentor under pressure like commercial breweries do for dry hopping, cold crashing & carbonating at the same time and moving beer with CO2.
Really like to thank Christian at Custom Built Brewing for helping me put this together.


I like to ferment in a chest freezer for a couple of reasons.
* Small size
* Fast and low temp cold crashing
* Capturing (and holding) a CO2 blanket
* Put them on wheels and roll them to my brew location for filling with wort.
If you use a chest freezer as a fermentation chamber you may be interested in a similar setup.
I found that a sanke keg fits perfectly in chest freezer so I had a 6" tri-clover ferrule welded up on one. My welder also installed three (3) 1/2" couplings in the cap giving me a large number of options.
Right now I have a thermowell, cap and blow-off tube configuration but intend to install either a compression/racking cane combo or a set of ball lock posts.
I like having the ability to be able to put my fermentor under pressure like commercial breweries do for dry hopping, cold crashing & carbonating at the same time and moving beer with CO2.
Really like to thank Christian at Custom Built Brewing for helping me put this together.