
...to build my keezer! 
After getting back into this obsess - um, HOBBY about 3 years ago, I quickly remembered how much I HATED bottle management! The bottling process isn't so bad - nevermind the occasional plugged/stuck open valve on the bottling wand, but the storing, cleaning, sanitizing and managing of ALL THOSE BOTTLES is a royal pain!
After looking at pages and pages of keezers/kegerators, I settled on 4 criteria that MY keezer had to meet.
This is NOT as polished as most I've seen on here - I'm rapidly nearing the half-century mark and learned as a young boy that, when it comes to working with wood, Murphy (y'all know him: Anything that can go wrong, will!, is my best friend!) Having said that, I'm happy - hell, even a little proud - of how it turned out!
A Sketch-up view of how I wanted the face panel to look:
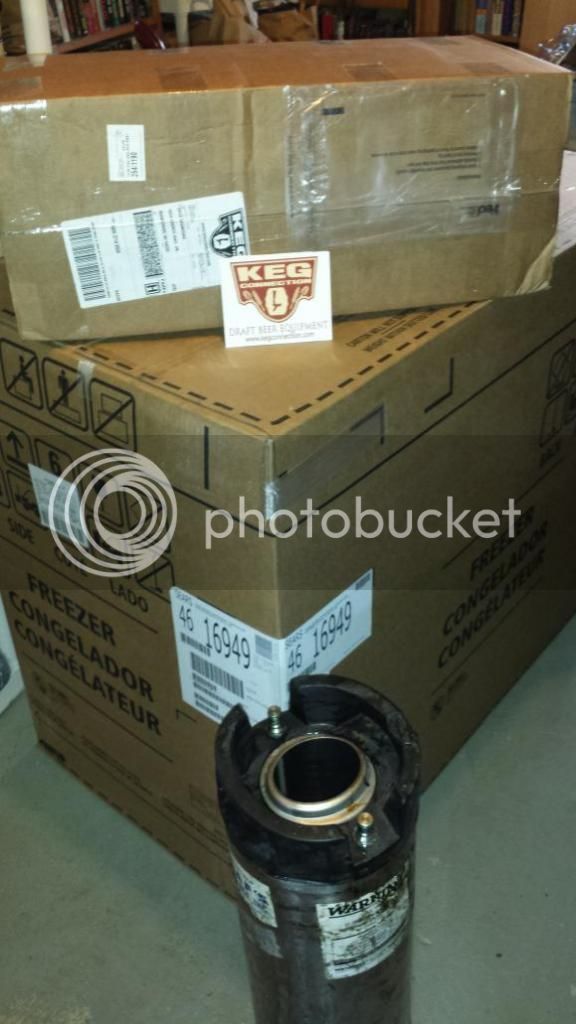
Collecting up the necessary hardware. A modified 4-Faucet fridge kit, a Kenmore Black 8.8 cu.ft. chest freezer, and (one of six) ball-lock soda keg - complete with soda goo!
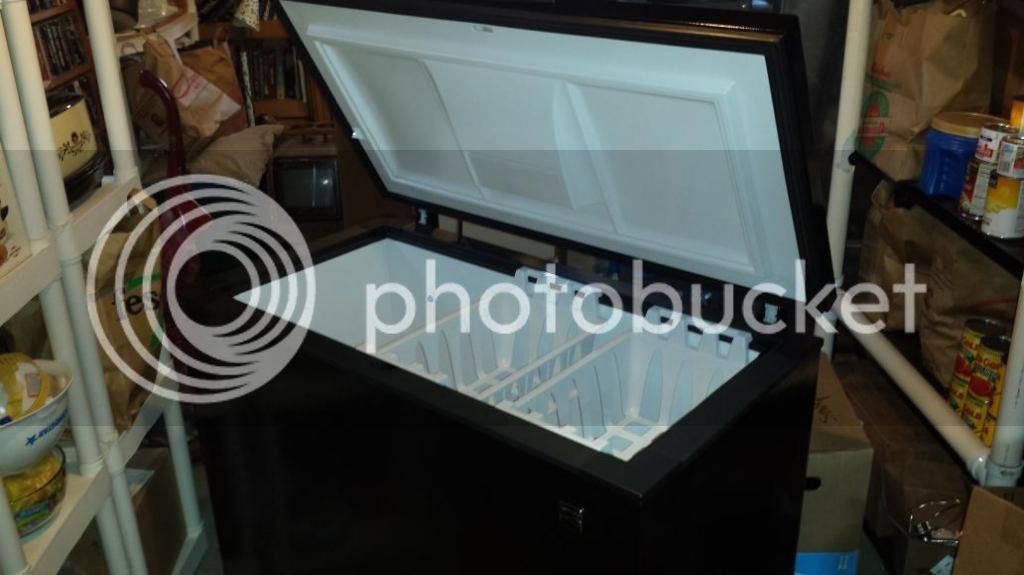
The fresh-out-of-the-box, Kenmore 8.8 cu.ft. chest freezer, before shot.
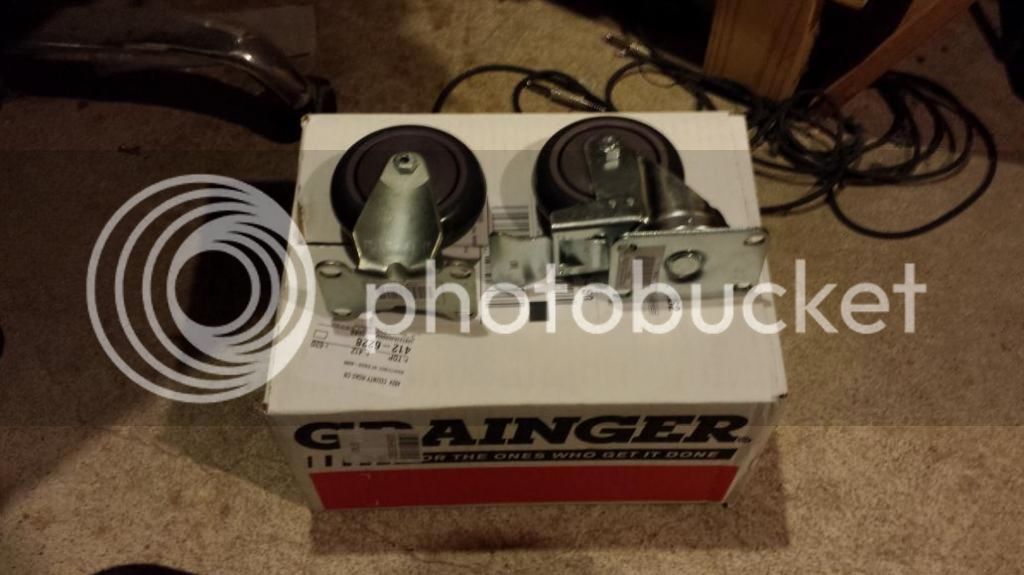
Casters: fixed, and swivel. 350lb capacity each, polyurethane 'tires', and the swivel caster locks both the tire AND the swivel when you mash the brake!
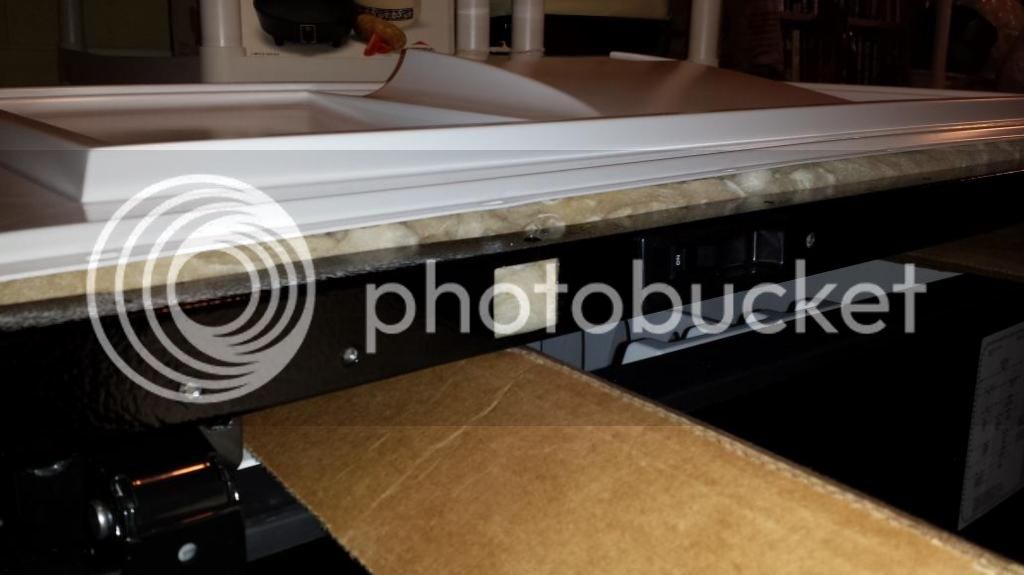
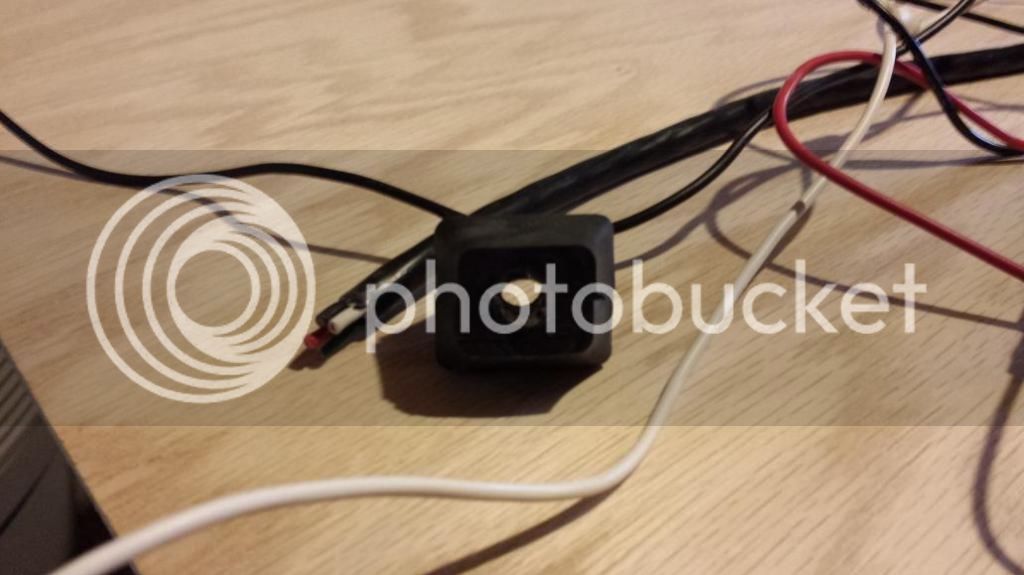
Kenmore puts a number of doo-dads and gee-gaws (read: lights, switches and buzzers) in the lid of this unit. The square hole is where the power cord for those doo-dads enters the lid. With the collar in place, the original cord won't reach (the unit functions fine without), but I'm going to reuse the hole to feed power to the temp controller.
The grommet and some of the original wiring from the picture above.
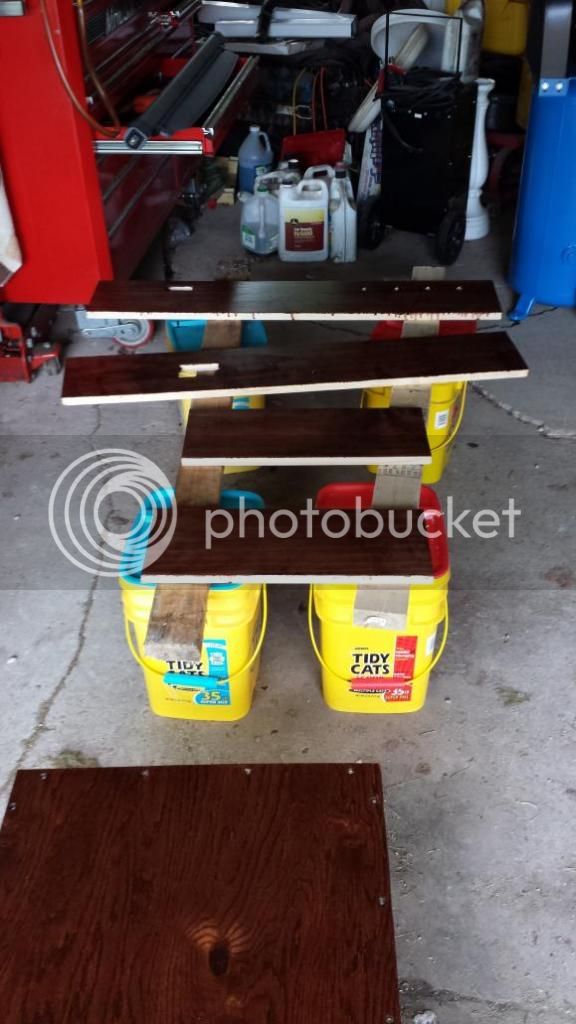
All the collar panels cut and stained in my fancy woodshop.
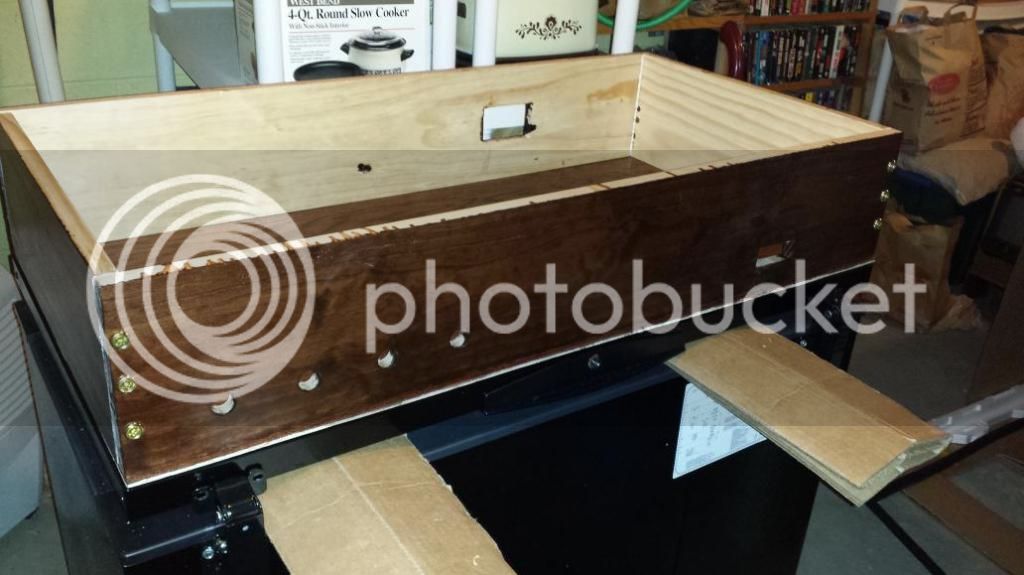
Putting the collar together. I REALLY wanted to miter those corners but, I just don't have the tools for the job. Instead, I used that brass hardware to draw the eye away from the ugly butt joint.
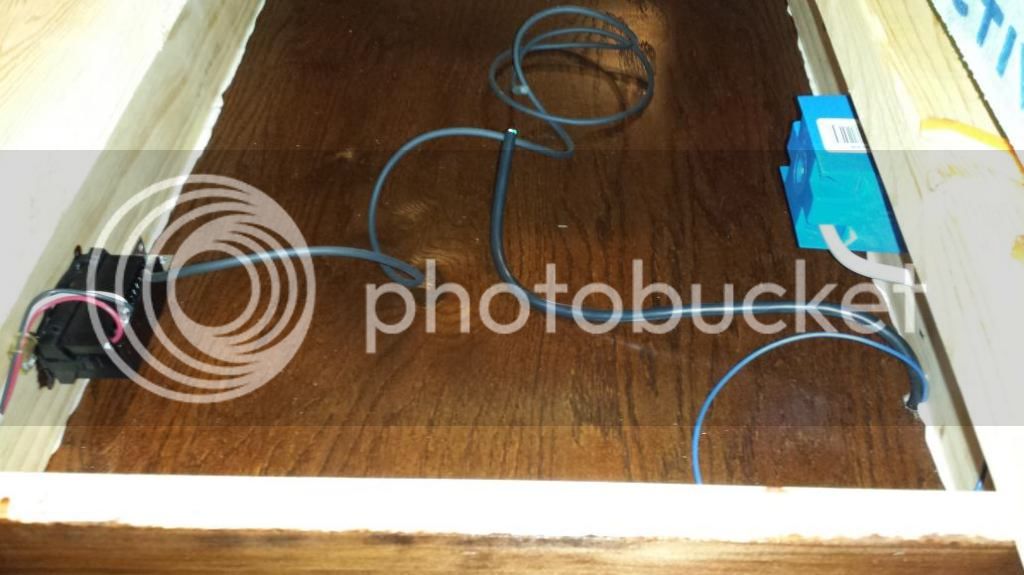
Installing the TS-13010 controller (on the left side) and the switched outlet (right side).
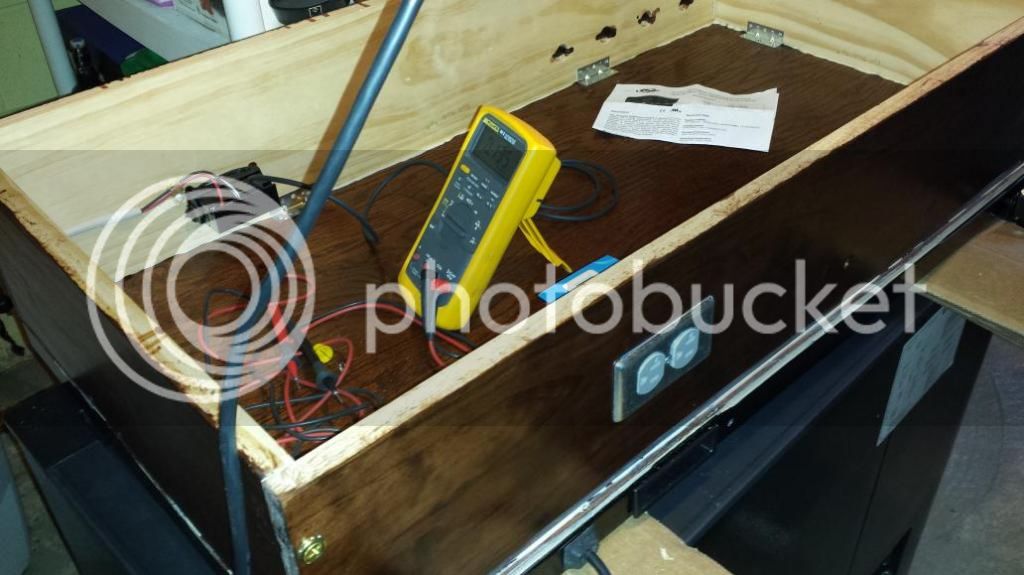
Double checking my wiring, before adding foam board.

Rear panel insulation glued and clamped in place and test fitting the front panel insulation.
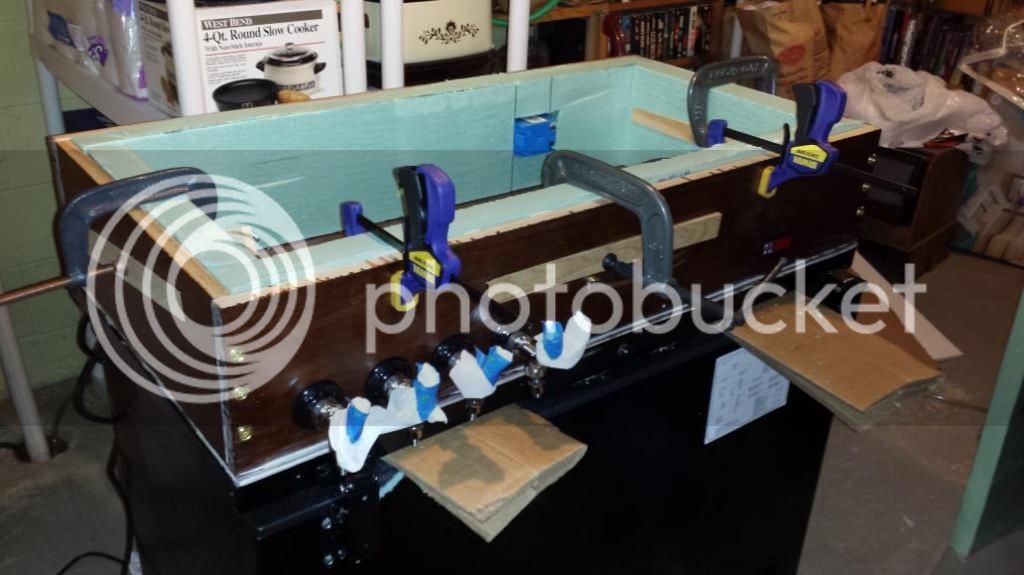
All the insulation in place. As I was fitting the insulation in the side panel (left side) I realized that I had better check for interference with the shank. Then, I realized I had better install ALL the shanks BEFORE I glued the insulation in place! Murphy nearly got me there! (Yes, I could install the shanks later, but I don't have a socket deep enough to get in there...)

Back view of the completed keezer. You can see where I feed my power cord in to the original hole in the rear of the lid. Also the switched outlet, the brass fitting for feeding gas in to the manifold and the 'cart' that the unit is resting on.
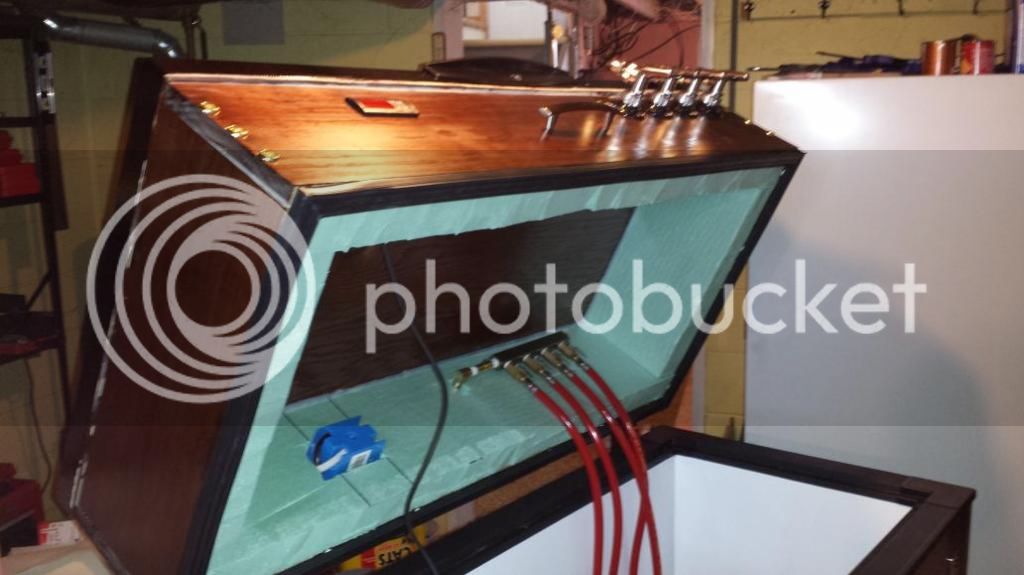
Inside view. If you look closely, you can see that I reused the original gasket on the collar. Just thumb tacked in place! :rockin:
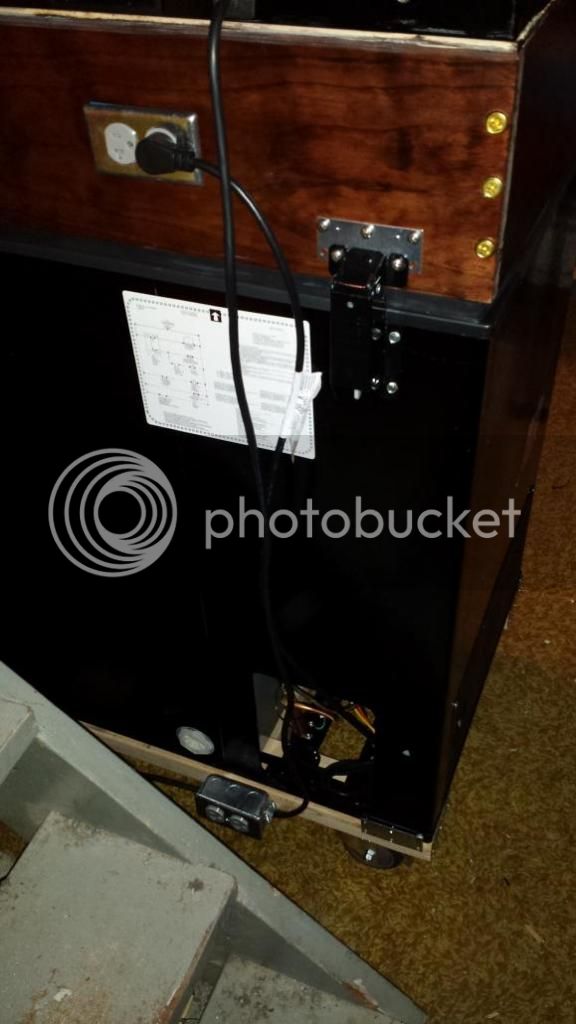
Another view of the rear. I had originally planned on building a 'fence' around the base; to keep the unit from sliding around on the cart (there is no physical attachment between them) and to hide the cart. Murphy got me there, so I used those metal 'mending plates', screwed to the cart, to keep it from sliding around. Power comes from the wall, through that outlet on the cart, into the lid, through the switched outlet box, to the controller and back to the switched outlet. The OEM power cord plugs into the switched outlet to turn the compressor on/off.
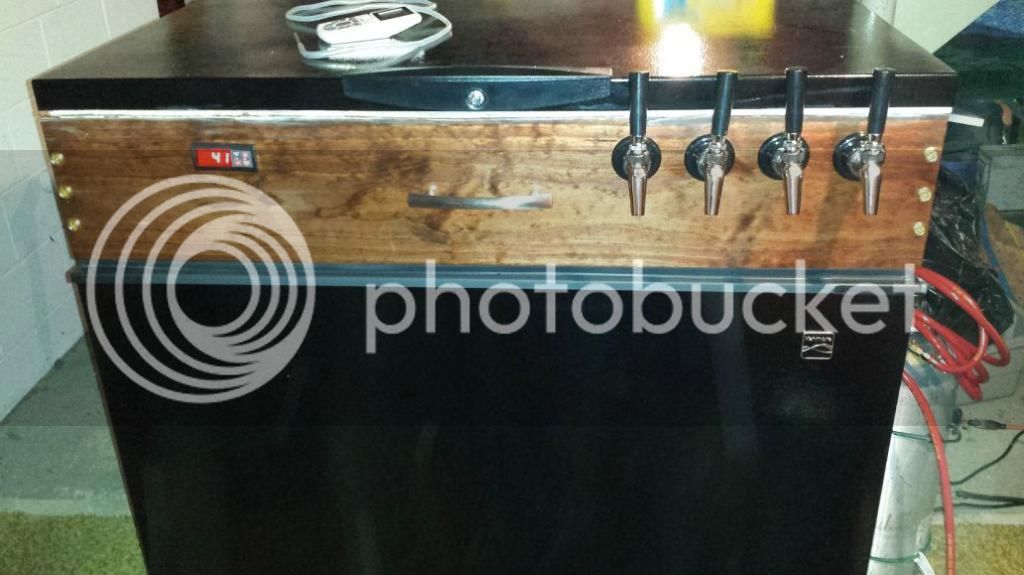
DONE!
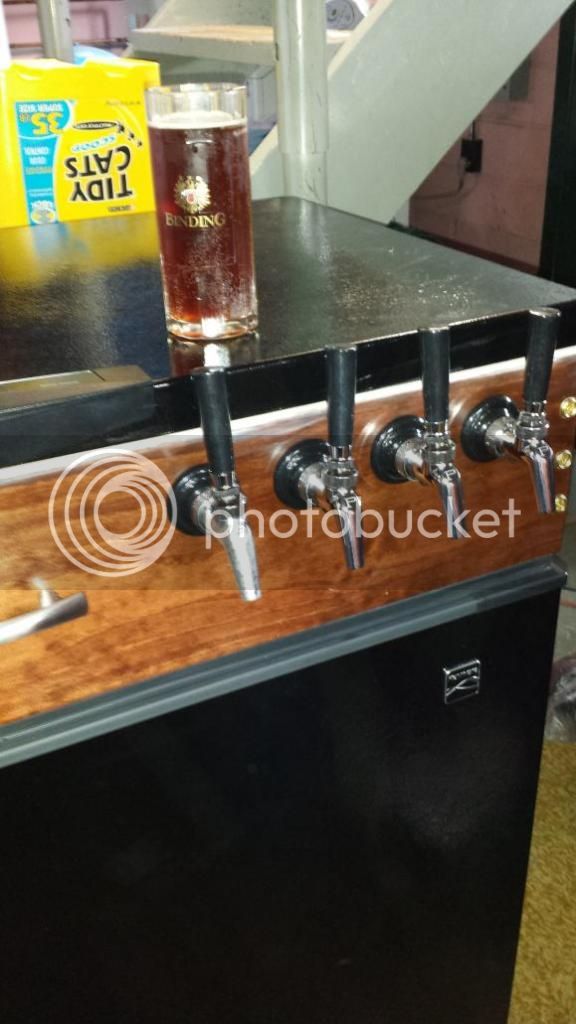
The fruit of my labor!
To do:
Now, for those of you that may want to convert this unit and, in hindsight, this is what I would do differently.
1) I would order a second set of hinges. Hinge the lid to the collar and the collar to the chest. For me, this wouldn't provide any functional advantage but, it would make the construction MUCH simpler! I removed the plastic inner lid and replaced it with a thin sheet of plywood, to make the mechanical connection between lid and collar. With the hinge between lid and collar, you could leave the original lid (basically) intact and use the OEM lock to fasten the lid and collar together.
2) Use 2x8 lumber for the collar. The gasket surface of the chest is 2", which would provide an excellent seal at the chest/collar interface and the OEM gasket, on the lid, would fit perfectly on the collar.
Finally, thanks to all who went before me!
I stole many ideas from you folks!
After getting back into this obsess - um, HOBBY about 3 years ago, I quickly remembered how much I HATED bottle management! The bottling process isn't so bad - nevermind the occasional plugged/stuck open valve on the bottling wand, but the storing, cleaning, sanitizing and managing of ALL THOSE BOTTLES is a royal pain!
After looking at pages and pages of keezers/kegerators, I settled on 4 criteria that MY keezer had to meet.
- Serve and store at least 4 beers
Since I returned to homebrewing, I've generally had at LEAST 4 beers available. No point in downgrading the selection while upgrading the packaging system! - Black in color
The first time I go to pour a beer, after servicing the John Deere, a white one would suck all the grease, grime, dirt, etc. off of me and turn black anyhow! - Must be on wheels
This thing lives in my basement, so in case of catastrophic failure (read keg leakage), I can just wheel it over to the nearest sump drain, pull the drain plug, and done! - Collar fastened to lid
With jacking it up on wheels, I still want to be able to lift kegs in/out without having to install a hoist in my basement!
This is NOT as polished as most I've seen on here - I'm rapidly nearing the half-century mark and learned as a young boy that, when it comes to working with wood, Murphy (y'all know him: Anything that can go wrong, will!, is my best friend!)
Having said that, I'm happy - hell, even a little proud - of how it turned out!A Sketch-up view of how I wanted the face panel to look:


Collecting up the necessary hardware. A modified 4-Faucet fridge kit, a Kenmore Black 8.8 cu.ft. chest freezer, and (one of six) ball-lock soda keg - complete with soda goo!

The fresh-out-of-the-box, Kenmore 8.8 cu.ft. chest freezer, before shot.

Casters: fixed, and swivel. 350lb capacity each, polyurethane 'tires', and the swivel caster locks both the tire AND the swivel when you mash the brake!

Kenmore puts a number of doo-dads and gee-gaws (read: lights, switches and buzzers) in the lid of this unit. The square hole is where the power cord for those doo-dads enters the lid. With the collar in place, the original cord won't reach (the unit functions fine without), but I'm going to reuse the hole to feed power to the temp controller.

The grommet and some of the original wiring from the picture above.

All the collar panels cut and stained in my fancy woodshop.

Putting the collar together. I REALLY wanted to miter those corners but, I just don't have the tools for the job. Instead, I used that brass hardware to draw the eye away from the ugly butt joint.

Installing the TS-13010 controller (on the left side) and the switched outlet (right side).

Double checking my wiring, before adding foam board.

Rear panel insulation glued and clamped in place and test fitting the front panel insulation.

All the insulation in place. As I was fitting the insulation in the side panel (left side) I realized that I had better check for interference with the shank. Then, I realized I had better install ALL the shanks BEFORE I glued the insulation in place! Murphy nearly got me there! (Yes, I could install the shanks later, but I don't have a socket deep enough to get in there...)

Back view of the completed keezer. You can see where I feed my power cord in to the original hole in the rear of the lid. Also the switched outlet, the brass fitting for feeding gas in to the manifold and the 'cart' that the unit is resting on.

Inside view. If you look closely, you can see that I reused the original gasket on the collar. Just thumb tacked in place! :rockin:

Another view of the rear. I had originally planned on building a 'fence' around the base; to keep the unit from sliding around on the cart (there is no physical attachment between them) and to hide the cart. Murphy got me there, so I used those metal 'mending plates', screwed to the cart, to keep it from sliding around. Power comes from the wall, through that outlet on the cart, into the lid, through the switched outlet box, to the controller and back to the switched outlet. The OEM power cord plugs into the switched outlet to turn the compressor on/off.

DONE!

The fruit of my labor!
To do:
- Clean up/fill in all the wood joints and 'stain' them
- Drip tray
- Fancy Tap handles
- Some means of showing which beer is on which tap
Now, for those of you that may want to convert this unit and, in hindsight, this is what I would do differently.
1) I would order a second set of hinges. Hinge the lid to the collar and the collar to the chest. For me, this wouldn't provide any functional advantage but, it would make the construction MUCH simpler! I removed the plastic inner lid and replaced it with a thin sheet of plywood, to make the mechanical connection between lid and collar. With the hinge between lid and collar, you could leave the original lid (basically) intact and use the OEM lock to fasten the lid and collar together.
2) Use 2x8 lumber for the collar. The gasket surface of the chest is 2", which would provide an excellent seal at the chest/collar interface and the OEM gasket, on the lid, would fit perfectly on the collar.
Finally, thanks to all who went before me!
I stole many ideas from you folks!
