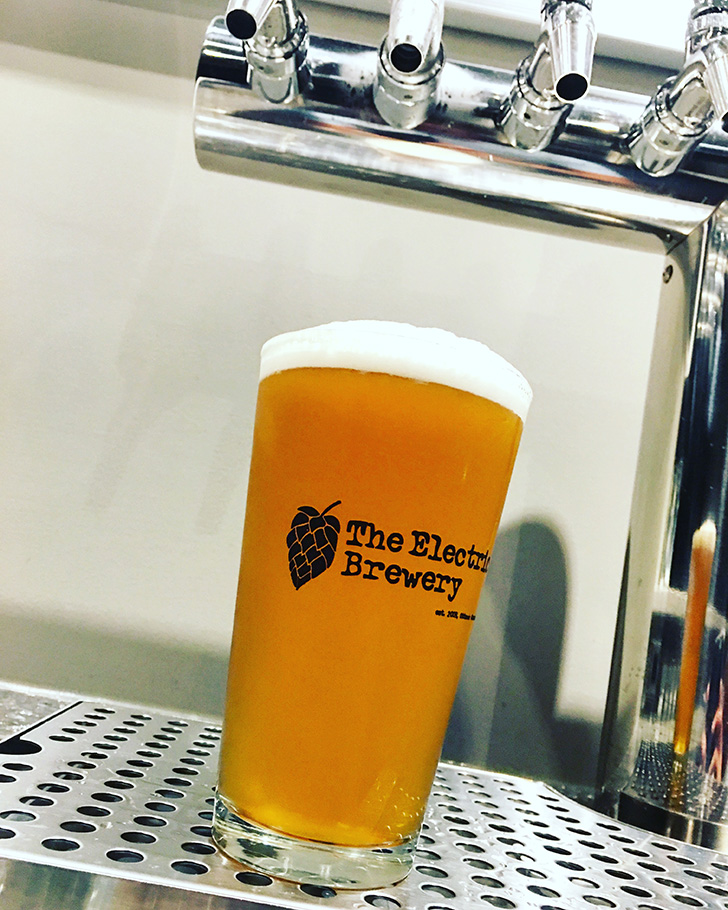
This past weekend I brewed a Deschutes Fresh Squeezed clone - here are some pics from that brew day. Have any recent brew day pics?
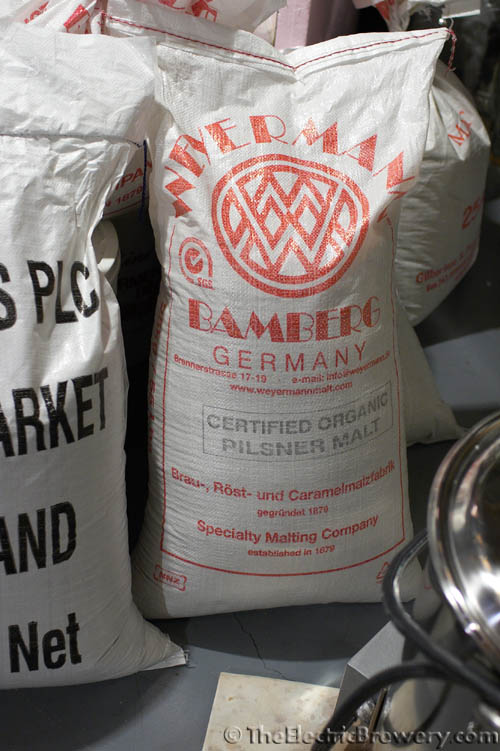
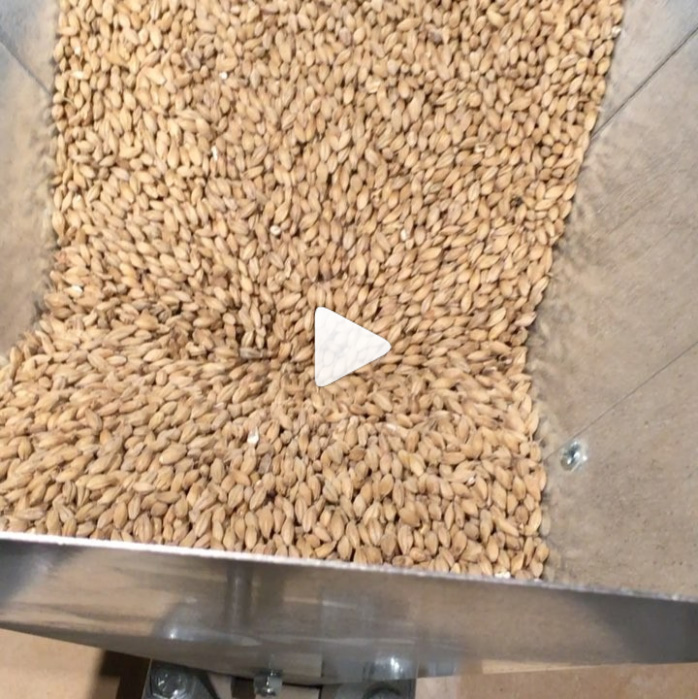
Grinding 30lbs of grain:
 IMG_0346 by jonymac, on Flickr
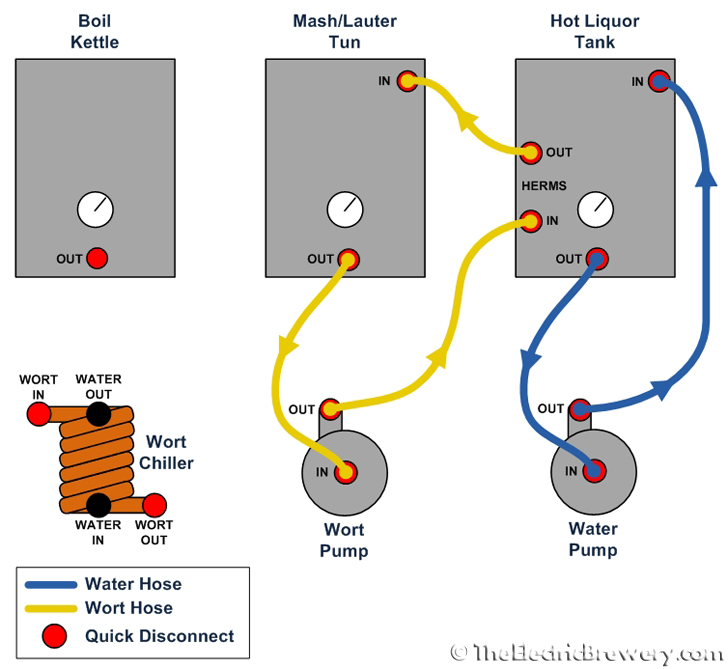
Hoses hooked up and filling HLT:
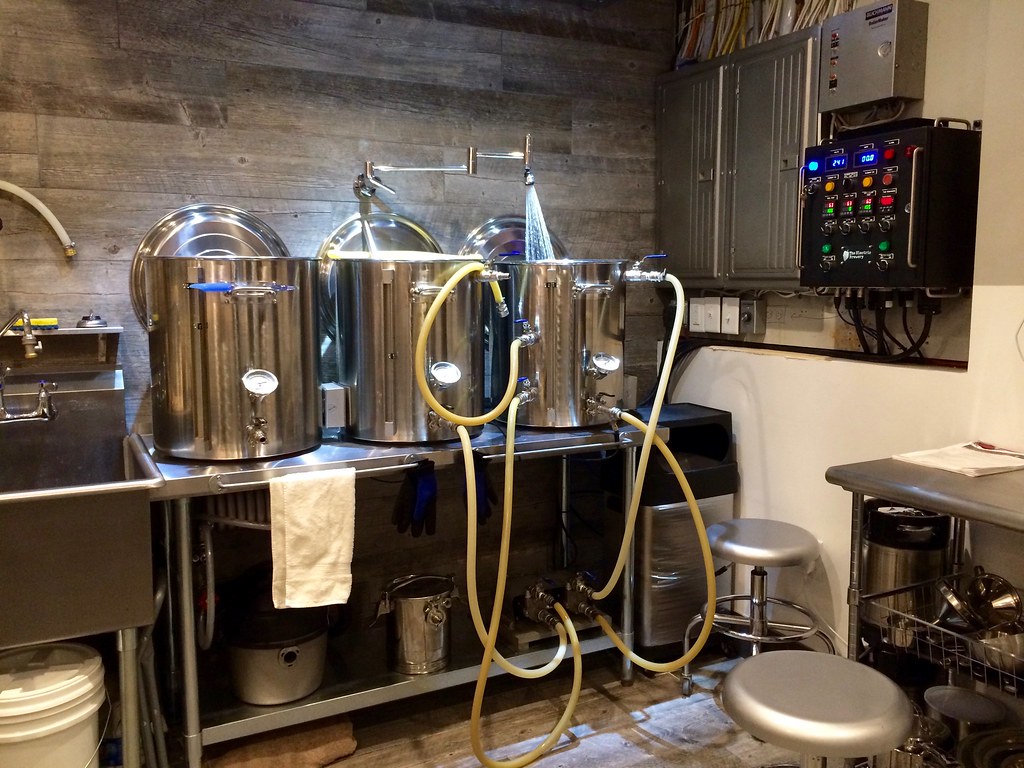 IMG_0345 by jonymac, on Flickr
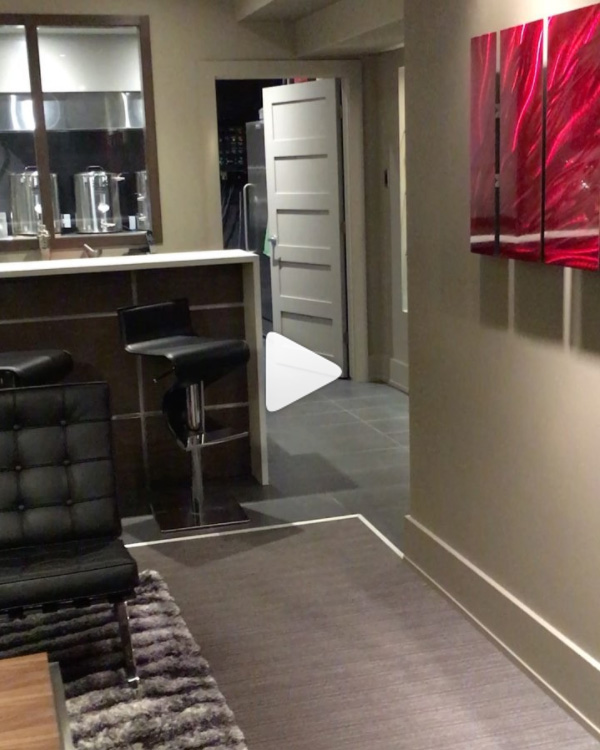
My buddies waxing philosophic at the end of brew day:
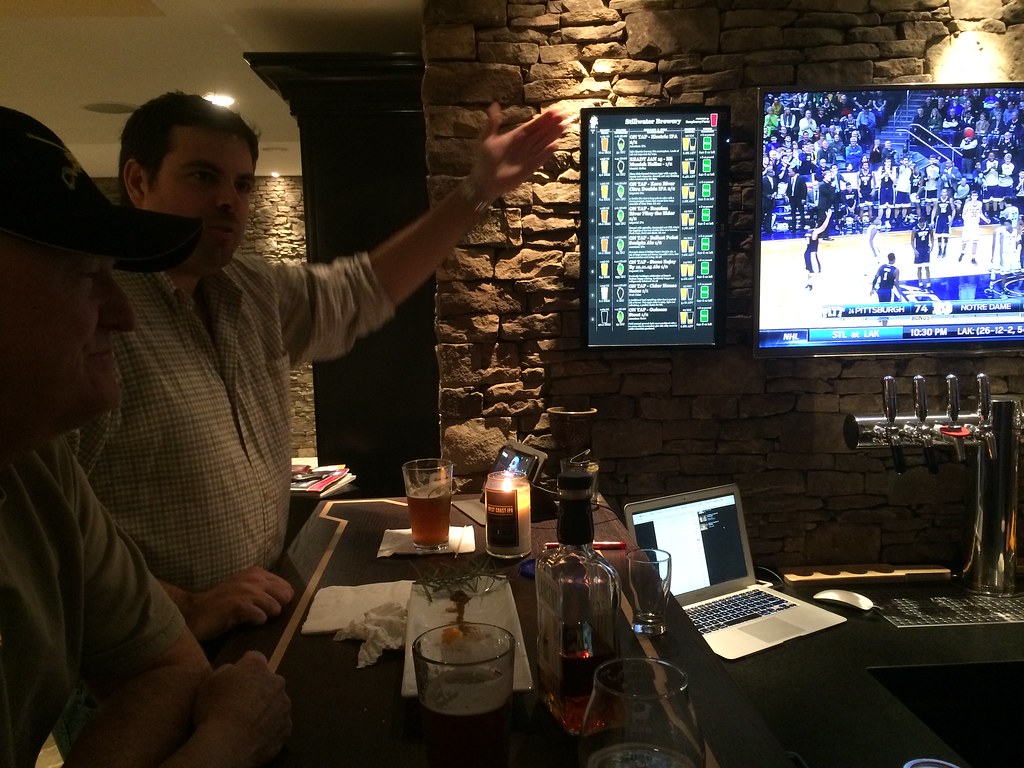 IMG_0350 by jonymac, on Flickr
Grinding 30lbs of grain:
IMG_0346 by jonymac, on FlickrHoses hooked up and filling HLT:
IMG_0345 by jonymac, on FlickrMy buddies waxing philosophic at the end of brew day:
IMG_0350 by jonymac, on Flickr