GJOCONNELL
Well-Known Member
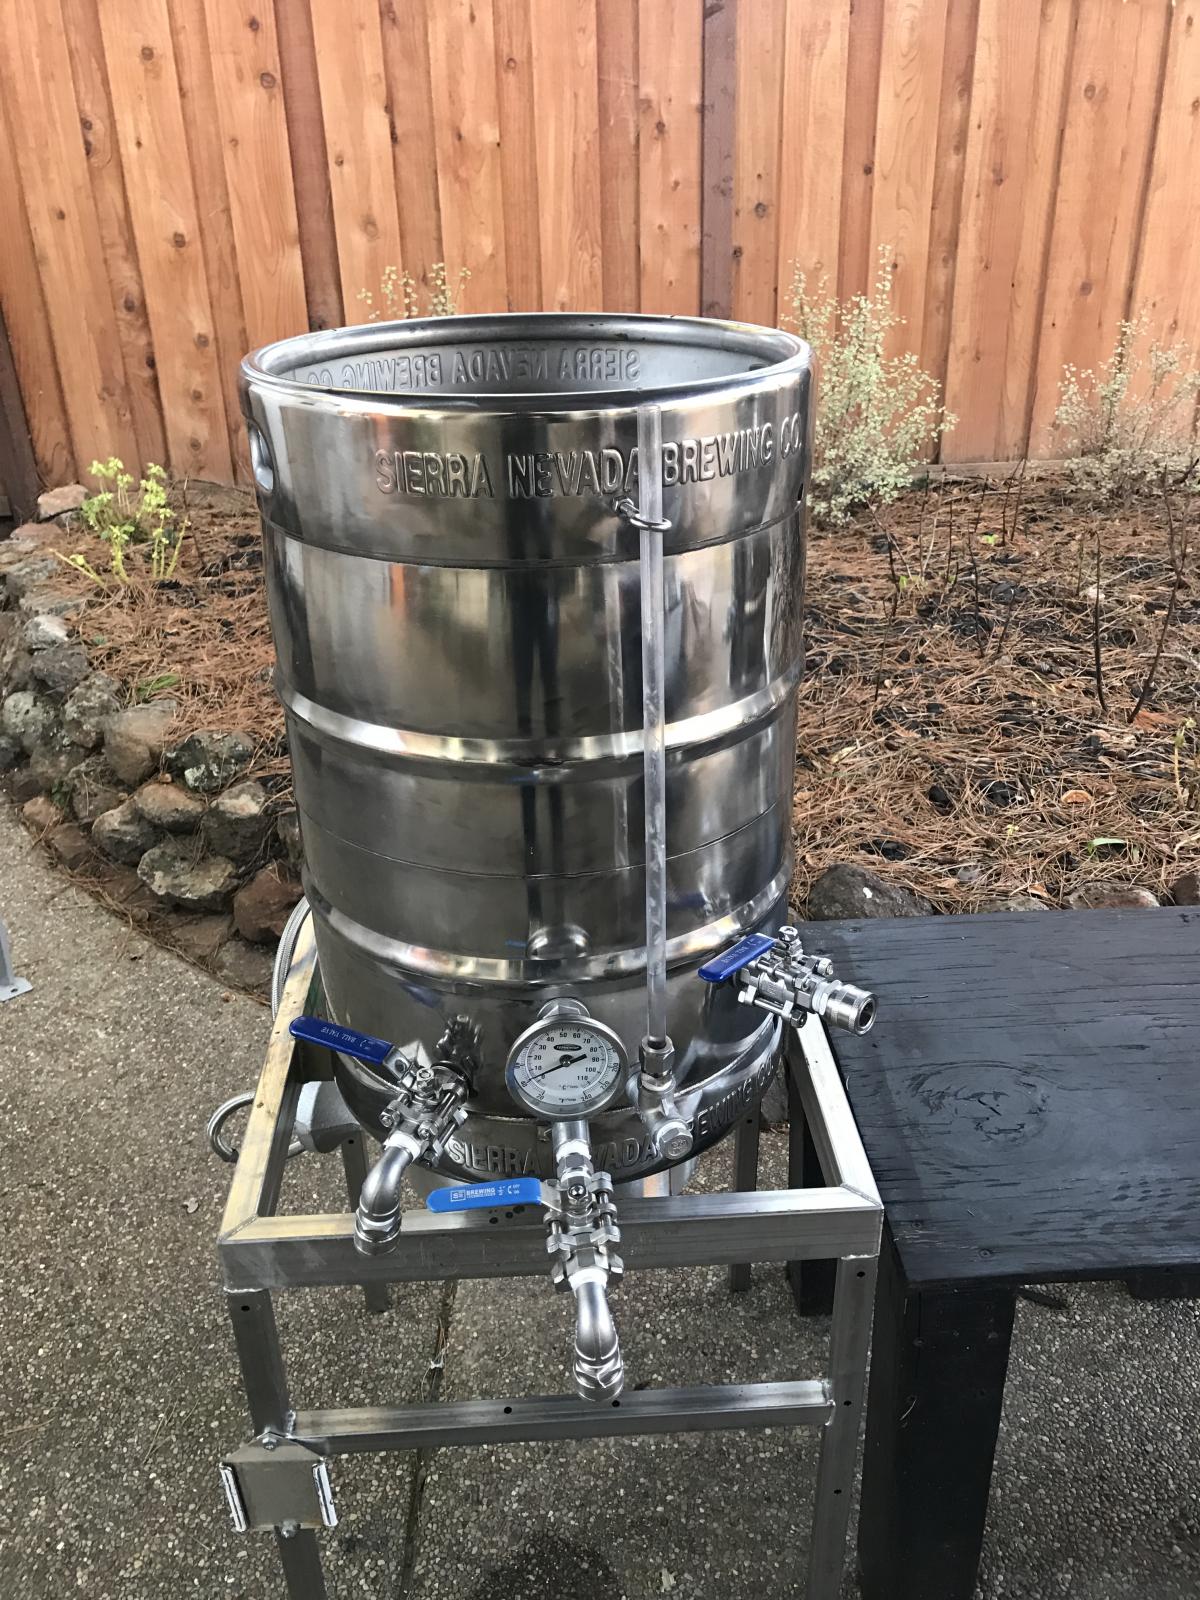
Well I finally took the plunge and got the parts needed to polish a keggle based on threads on here:
Gator backing pad
gator blending pads (green) each pack has 2 pads/discs
polishing pads (white) each pack has three pads
Enkay polishing compound set (6 piece from Amazon )
Dewalt drill (brushless motor) with polishing bonnets (I got four of them to help cut on down time once they got dirty). With the buffing pads eat keggle ate up a 20v Li-Ion battery which surprised me because the batteries last for days when drilling I made the switch from Ni-Cad once all my batteries died and can't believe I waited as long as I did to make the switch.
Dewalt porter angle grinder (corded)
This takes forever. I thought the videos were an exaggeration but they are not. I had two keggles to do and I spent probably 8 hrs on each.
I started with the green pads and it quickly removed the majority of dirt, stickers, glue, dark spots on the bottom from decades of use on a camp chef burner. It just takes time and you have to be methodical or you end up bouncing all over the keg.
Then I came back with white compound and the polishing pads and did a full pass top to bottom. Switched pads the repeated with the green compound. Then again with the red compound.
I started to do a final pass with the blue compound but it seemed to be diminishing returns and I was tired. I used a fair number of the white polishing pads and called it quits.
After doing two keggles I will not be doing that again on a keg. I may polish up the corny kegs but I doubt I will ever tackle keggles again just takes too much time.
I wore eyes and ear protection throughout. My wife was not amused at the noise in the backyard and time duration. I will try to post pics if I can get a couple tonight.
My hands hurt....


