Ok... I guess... I'll upgrade to brucontrol

Homebrew Talk - Beer, Wine, Mead, & Cider Brewing Discussion Forum

Help Support Homebrew Talk - Beer, Wine, Mead, & Cider Brewing Discussion Forum:

This site may earn a commission from merchant affiliate links, including eBay, Amazon, and others.

hedge_87

Well-Known Member
Joined
Dec 19, 2011
Messages
114
Reaction score
26
Location
mayfield
I've spent the past couple of weeks trying to get a handle on what all I need to upgrade to brucontrol. I really like some of the builds I've seen on here and it looks like a fun project to take on. Thank you all for sharing your progress it has been a lot of help for me to get my head wrapped around this.

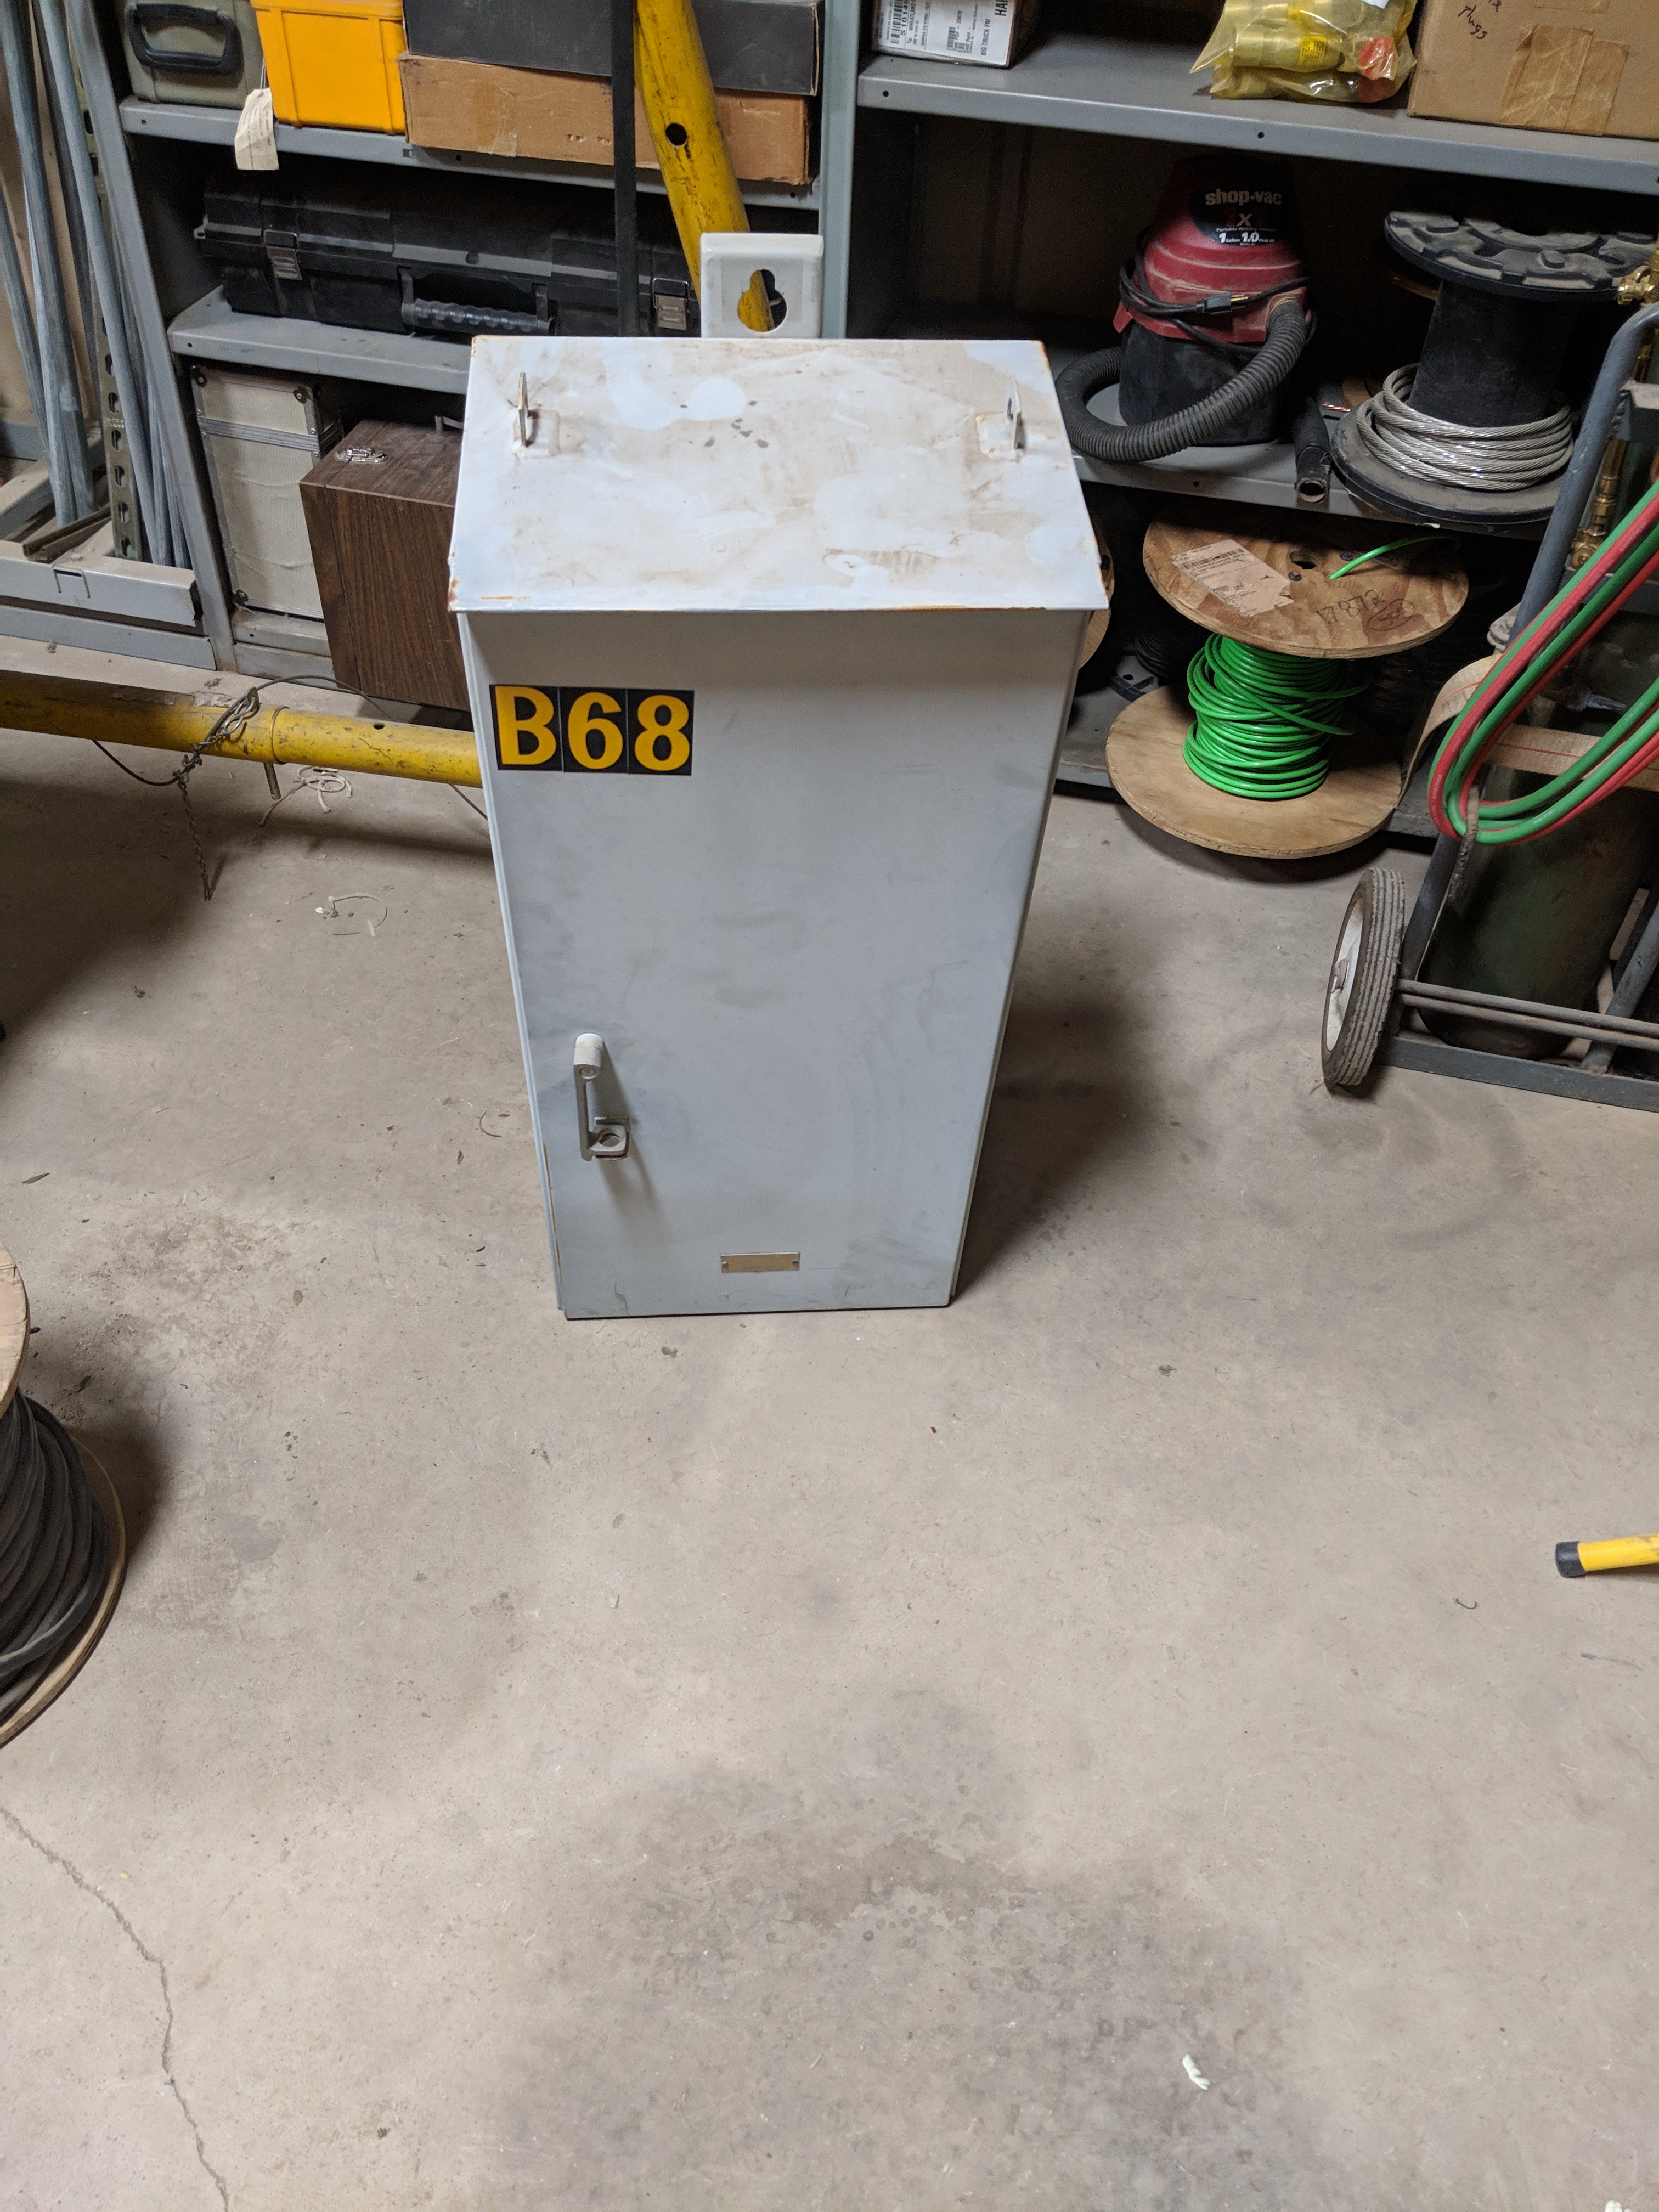
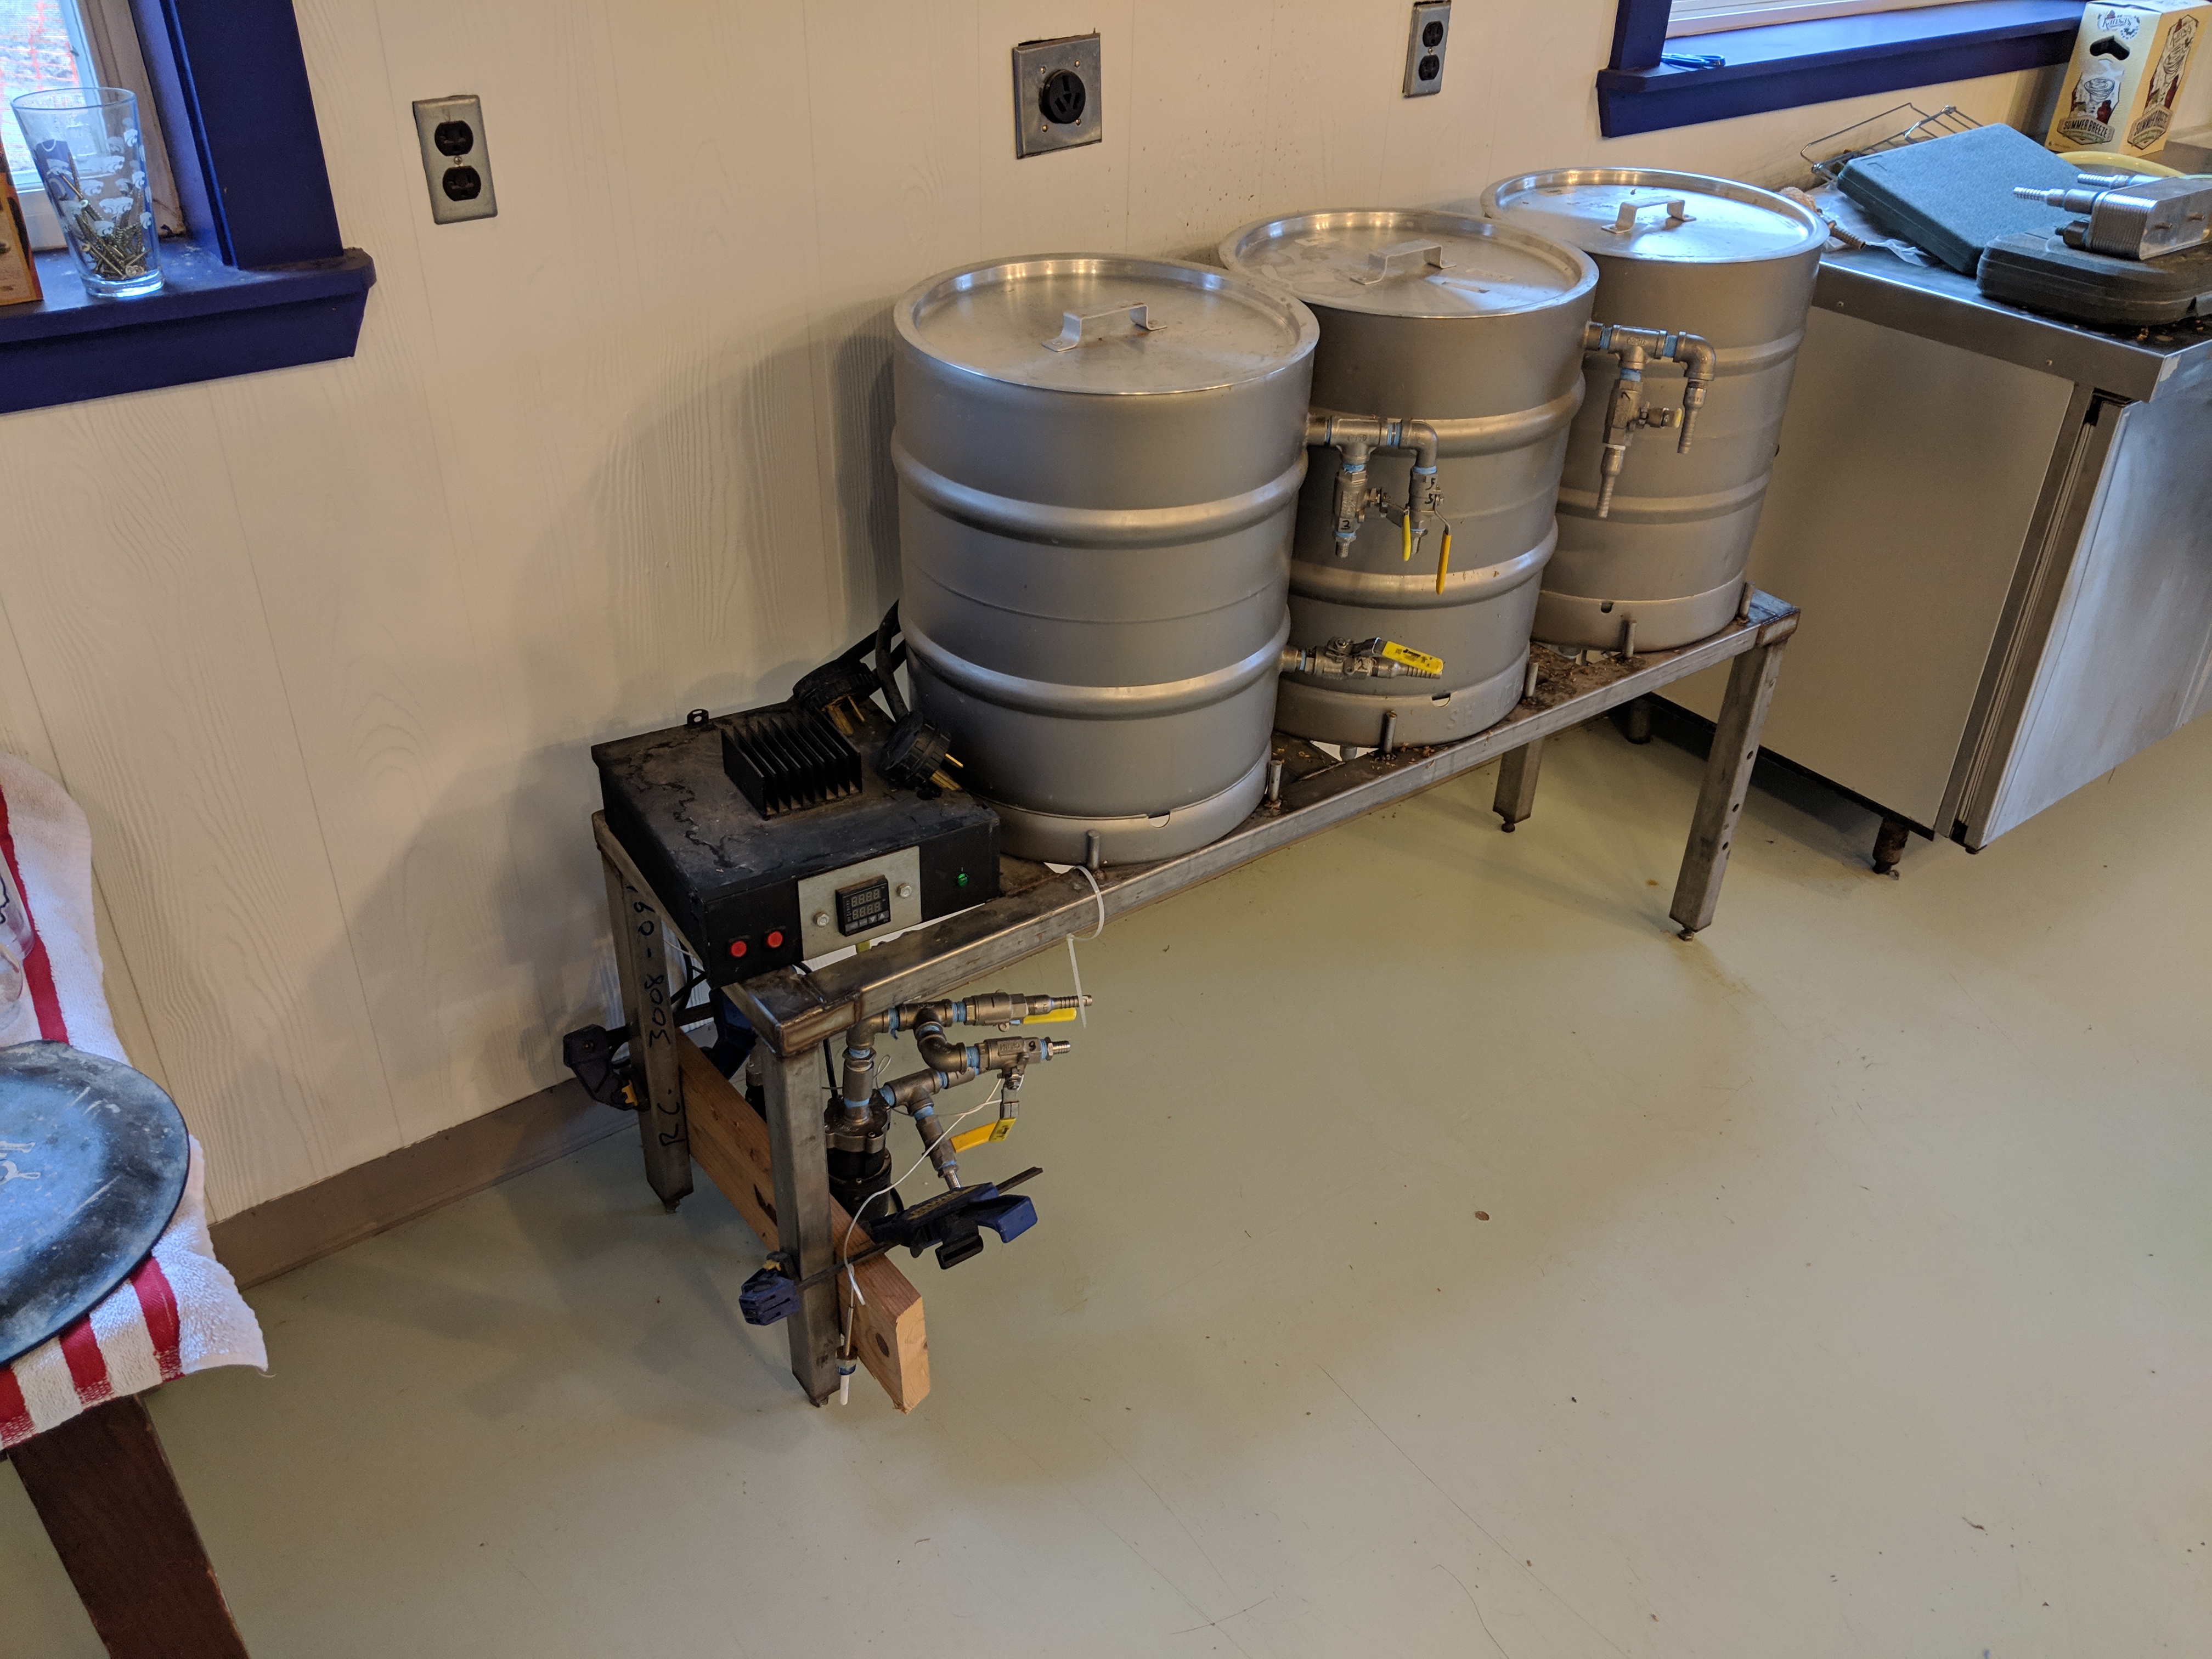
What I have now is an eHerms setup made of keggles. I only have one PID and SSR so I can only control one element at a time. Currently our process goes pretty smoothly but due to the fact that I can only control one element at a time and I use my HLT as a chiller brewing two batches in a day make for a LONG day from start to finish. (I will try and get some pictures of my setup tonight but it is nothing new. Kal did all the ground breaking work I just copied him for the most part).

I'll start by listing my immediate goals for this build.

1) Be able to control both my heating elements simultaneously and turn all my pumps on and off with brucontrol. This is step one and since it is winter time, when I brew the most beer I want to get the control built and just swap them out so I am not out of commission for very long.

2) Learn enough of the program to be able to have the brewery set up and up to temperature by the time I get off work I'm ready to dough in. The weekends seem to keep getting choked full of stuff and finding a free weekend to brew is hard.

3) automate valves as time and money allows. This part does not have to happen right away but I know once I have the capability it won't take me long to bite the bullet, spend the cash and, make it happen.

4) learn enough of the program and have my system automated enough where I just need to add grains and hops. Once again this doesn't have to be an overnight thing but I am normally pretty busy while brewing. Like kegging the last batch or cleaning and sanitizing stuff that this is desirable. not to mention sometimes its nice to kick back and watch some football while everything is chugging along.

Longer term goals

1) Build fermentation control into my system. I currently have two refrigerators run by ink birds. this works fine but is limited by space, I have to remember to set the tempuratures and cold crash, and at least one of my fridges has to be close to dying. I really want a glycol setup.

2) Monitor my kegorators. this is last on the list but I've seen some of the builds that are on here and thought, "yep... That's kickass... I'm doing it."

3) Build a temperature monitor for my smoker. Sure I could just buy one but I could also just buy beer.

Major Parts list for step one

controller

Mega 2560

https://www.amazon.com/dp/B00D9NA4CY/?tag=skimlinks_replacement-20

WiFi board

????

Relay board

https://www.amazon.com/dp/B0057OC66U/?tag=skimlinks_replacement-20

Power Supply

https://www.amazon.com/dp/B00UHI3NGS/?tag=skimlinks_replacement-20

Control box

I have access to metal fab equipment and might be able to round up enough scrap aluminium to build my own. I also know a guy who has access to a water jet so since my panel front won't be full of equipment I might see about having a design cut into it I can back light with some LED strips just because.

Misc.

I have some din rail, contactors, breakers, E stop switch, terminal boards and some cable management trays but that is small stuff. I can cannibalize my other control for the rest.
Questions.

1) Do I need a screw terminal board or can I use breadboard connectors and solder longer wire on them as needed?

2) I plan on running this with my laptop that sometimes travels with me. It should not effect the control if the laptop is not on WiFi while the brewery is not in operation correct?

3) wifi shield still confuses me. I have a firm grasp of ohms law and the nuts and bolts of everything but am new to the circuit boards and communications side of things for that matter.

4) I currently have one RTD on the brew rig (since I only had one PID) I would like to add some more. I have read in a few places that you need an amplifier to read RTD's. Since I only have one I could start over with a different device. I am open to suggestions

I am sure there will be many more questions as I dig farther into this so thanks in advance for any advice or help on this project.
 
What are your elements wattage an voltage? Do you have an electrical outlet capable to handle both elements simultaneously?
1) Up to you.
2) If your brewery is not in operation you don't need a laptop to control it.

4) Cheapest way is to use DS18B20 probes. You just need a 4.7KOhm resistor to connect multiple probes. Probes awailable on eBay, Amazon etc. Just search for DS18B20
 
I got my W5500 WiFi board from mouser, but will say if you can use USB, by having the PC close, or even inside your panel, it is better. (you can do firmware upgrades in place is one reason, there are a few more, including using the USB as power for the mega for simple installations...)

DS18B20 probes are very accurate, I was surprised how much so, but I got mine from a reputable us source such as digi-key, mouser, or newark. (how accurate? they read a constant 211.8-212.0 for an hour in a still column that was boiling water.. placement is far more likely to be an issue, so be careful how you install the shorter pre-made probes, I built my own from ebay "10pcs Stainless Steel 304 Tube Husk for DS18B20" that were 10 for $10.)

I went for the Power supply in the BC Mega order list that was DIN mountable and was very happy.

Control box... go big... I mean BIG... after several upgrades, I now have a 24"x30"x8" stainless box , but at least 20x24, IMHO, 16x20 is not enough, and get 8" deep, 6" is not deep enough for switches in the door and thicker din mount stuff..

you can use a DIN-rail screw terminal board, but you have to mod the Mega to fit the W5500 on the other side, there are pics in the main BC thread

speaking of the main BC thread, I suggest crawling it at least 2x, and take notes of such things like post number or keywords for things like that W5500 mod...

If you take the laptop with you, you can just shut down BC, some things will keep operating (hysteresis), while others will not(timers), so a fermentation counting days will not work, but it will hold temp..

I have that relay board, the only down side is that there is no DIN mount available... the 8CH versions such as this are more spendy, but the din rail is really nice.. I am not using nearly as many relays as I did with CBP3 or BCS because BruControl can control multiple arduinos or NodeMCU's, and I have several remote switches with built in WiFi and DS18B20 sensors built form SonOff Dual units

FYI - 99% of this info above can be had crawling the BC thread

Good luck you will be happy, and *someday* @BrunDog will release the next version with Tilt capability...
I have been waiting for the new version with tilt capability as well but the more I read about the tilt the more I see they cant be trusted..
there are also different mega breakout boards like the one im using where the w5500 plugs in on top with a $2 adapter..

also they do make universal green din mounts which I used to mount my relay boards. some require drilling and screwing or another type of method to fasten the mounts to the boards but it works and is not difficult.
 
I will have two 5500 watt elements and I have a 50 amp service to the brewery. 11kw/240VAC is 46 amps correct? granted this does not leave much room for pumps and other electric needs. I could run those on a seperate 120VAC 20A outlet if needed (I have one right next to the 50 amp plug for the brewery) The previous owner held nothing back when he built the shop each wall has a 50 amp plug on every wall that goes to its own breaker.

Looks like its going to rain all day so I should have some time to do some research. I'll try and get a rough schematic drawn out today as well.
do you need all elements on at the same time?
yes 2 draw 45-46 amps and most homebrewing puumps draw like 2 amps... I run a 3bbl 10 element system off 100 amps.. the key is I never allow more than 95 amps or so to be drawn at once.. no need to have HLT on at the same time as boil kettle for me. simple NO/NC relay prevent that from ever happening.

at home my 4500w,5500w and 1800w rim system runs on 30 amps.
 
I have written here and on BCS forum about PWM 'priority' setups that are sort of like a flexible Time-Division Multiplexing with over-subscription.... See this post and the post two after it...

  • Basically, you need something that is not time constrained (i.e. logic gates, not software) that you configure to operate in the following way: If the RIMS element is on(and by on, meaning 'during a positive pulse from the PWM circuitry') this instant, do not let the BK or HLT elements be on.
  • If the RIMS is off the BK can be on, but the HLT will be disallowed..
  • If the RIMS and BK are off, the HLT is allowed
 
I am wanting to run both the HLT and Boil kettle at the same time when I run back to back batches. Once batch #1 is in the boil kettle I can have my HLT heating and possibly be mashing in before the boil is completed. This would shave quite a bit of time off the second brew because right now I have to wait until I am done chilling because I dump Ice in my HLT and pump from my boil kettle through my herms coil to chill. I want to get away from that and have a dedicated Counter flow chiller. It takes quite a while to heat the cold water up from the previous chill procedure. It normally starts around 45 degrees.
 
Anybody see why this won't work as a control box? It's 35"t 16"w and 10"d. And it's FREE just needs the old guts taken out and a coat of paint to clean it up
 

Attachments

  • IMG_20190111_114016.jpg
    IMG_20190111_114016.jpg
    3.3 MB · Views: 126
Last edited:
It does have a removable back plate and can sit in the same place as the old controller (the little black thing on the left of the hlt
 

Attachments

  • IMG_20190111_123411.jpg
    IMG_20190111_123411.jpg
    2.7 MB · Views: 107
I think I got enough information today to go ahead and start ordering equipment but I am feeling a little dense on this part.

I think I want to use these temp probes These are the "1- wire probes" correct? so they can connect directly to the MEGA?
https://www.amazon.com/dp/B01LY53CED/?tag=skimlinks_replacement-20

to do that I will need these husk to put the probe in to.
http://rover.ebay.com/rover/1/711-5...0001&campid=5338413729&icep_item=362182381909

After that I assume I will need some sort of compression fitting to hold the husk in like a 1/2 male npt to 1/4 compression connection. Am I on the right track? then you just heat shrink around the tube and wire coming out to hold it in there and add mechanical strength.

I also think I am going to go ahead and order a mini computer to run brucontrol. This is the one I am looking at unless anybody else has anything any better.

https://www.amazon.com/dp/B07JW8WFLW/?tag=skimlinks_replacement-20
 
I think I want to use these temp probes These are the "1- wire probes" correct? so they can connect directly to the MEGA?
Yes, it's a 1-wire probe. You just need an extra resistor to connect it to Mega.


No that probes already in a 'husk'. So you don't need an extra one. You can buy a sensor itself (https://www.mouser.com/ProductDetai...=sGAEpiMZZMucenltShoSnu2ltHLyJVLbjVt2VYI39eg=) and make probe by yourself.
 
got it thanks! Still not sure how to put those on the brewery though lol.
You can use something like this - http://rover.ebay.com/rover/1/711-5...0001&campid=5338413729&icep_item=263841734076
In that case I'd recommend to buy a bare sensor(s) and install it in thermowell using thermal paste. You can buy sensors really cheap on ebay (for example - http://rover.ebay.com/rover/1/711-5...0001&campid=5338413729&icep_item=292904598066) but I'd recommend to buy it from official distributors like mouser, digikey, arrows etc. It will cost you a few bucks more, but you'll be sure about quality.
 
awsome thanks.

http://rover.ebay.com/rover/1/711-5...0001&campid=5338413729&icep_item=302685507524

Anybody have any luck with these? They claim they are rated for 80 amps but I find that hard to believe looking at the picture. What I am wanting to is have three relays. One to be the "main" that is run directly off the e-switch that kills all ac power past this point. The coil on this can be ac cause its a simple jumper up to the e-stop. I am thinking of getting a three pole one for this because I could bring a separate 20 amp 120v circuit in to power all my pumps and aux ac to give me room on my 50 amp breaker. I would want to power down the pumps with the e stop as well.

One to be the "main" that is run directly off the e-switch that kills all ac power past this point. The coil on this can be ac cause its a simple jumper up to the e-stop

Next I would like one on each heating element. These I want to be have 12v coils so I can wire them to float switches above the elements to prevent dry firing. This way I don't have to trust my newbie skill writing script or a ssr that could fail in the on position. I've had this happen before, luckily it was while we were heating strike water and just overshot but was still a little scary.

Honestly Brucontrol does not need to know if the element is actually firing or not right? it will just continue to send a close signal to the SSR until its temp set point is hit.
 
I just clicked on where Mayfield is... I am not super close, but pretty close... If you ever get over to Dunedin, I can show you BC, CBPI, and even have a BCS-462 panel in a production craft distillery.. heck get a DD or a hotel and visit the 7 great breweries within .5 miles of us...
 
I have written here and on BCS forum about PWM 'priority' setups that are sort of like a flexible Time-Division Multiplexing with over-subscription.... See this post and the post two after it...

  • Basically, you need something that is not time constrained (i.e. logic gates, not software) that you configure to operate in the following way: If the RIMS element is on(and by on, meaning 'during a positive pulse from the PWM circuitry') this instant, do not let the BK or HLT elements be on.
  • If the RIMS is off the BK can be on, but the HLT will be disallowed..
  • If the RIMS and BK are off, the HLT is allowed

You mean like what I have implemented in my panel.

https://www.homebrewtalk.com/forum/index.php?threads/479201/
 
Nice.... for those watching this, the right SSR in his diagram is connected normally... the left is connected through transistor that allows the left SSR only to fire when the right one is off, but unlike a relay, it is so super fast, it can work between the individual PWM pulses of an Arduino or PID controller. Sure, the left ssr may miss a few PWM pulses of it's PID, but the I of PID will 'wind up' to compensate.. Link to current part on Digi-key that I think will work

Extremely elegant solution, @crane

It gets a bit trickier when adding a 3rd SSR..
 
Last edited:
Nice.... for those watching this, the right SSR in his diagram is connected normally... the left is connected through transistor that allows the left SSR only to fire when the right one is off, but unlike a relay, it is so super fast, it can work between the individual PWM pulses of an Arduino or PID controller. Sure, the left ssr may miss a few PWM pulses of it's PID, but the I of PID will 'wind up' to compensate..

Extremely elegant solution, @crane

It gets a bit trickier when adding a 3rd SSR..
Yeah I am working that out in my head right now. I want to have 3 elements, but only a 50A service, so limit to 2 at a time.

Also if you look at the hand drawn diagram later in the thread you will see I modified it so BruControl can change the priority so the SSR on the left can be ran normally and the right one is gated.

And as far as missing pulses or getting shorter pulses the integral does wind up to compensate. Also the times when I am doing this I don't necessarily need as precise temp control, example heating cleaning water in the HLT while the boil is going. Don't really care that I get a spike in the HLT temp when the boil finishes.
 
Last edited:
I just clicked on where Mayfield is... I am not super close, but pretty close... If you ever get over to Dunedin, I can show you BC, CBPI, and even have a BCS-462 panel in a production craft distillery.. heck get a DD or a hotel and visit the 7 great breweries within .5 miles of us...

Your from Florida right? I should probably update my profile. My Mayfield is in Kansas. Although I still might come visit it's kinda cold and crappy up here this time of year lol
 
Started taking all the old guts out of this beast and getting it cleaned up a little. It looks even bigger than I expectedIMG_20190113_115340.jpg IMG_20190113_111425.jpg IMG_20190113_111417.jpg
 
Does anybody see anything glaring wrong with this schematic for my power circuit? I am also curious. Is everybody grounding the negative side of their dc stuff or are you floating it? In my world of substation batteries the negative is floated but I am also dealing with higher voltages.
 

Attachments

  • brewery element power.pdf
    36.8 KB · Views: 40
Does anybody see anything glaring wrong with this schematic for my power circuit? I am also curious. Is everybody grounding the negative side of their dc stuff or are you floating it? In my world of substation batteries the negative is floated but I am also dealing with higher voltages.
Nothing wrong that I can see, but I would get rid of the 2 30A contractors and wire the float switch in series with the mega output. Wire the float switch such that it opens when the water level falls too low, breaking the signal from the mega to the SSR. Then use a pulldown resistor across the 2 inputs of the SSR to ensure it shuts off once the switch opens.
 
Nothing wrong that I can see, but I would get rid of the 2 30A contractors and wire the float switch in series with the mega output. Wire the float switch such that it opens when the water level falls too low, breaking the signal from the mega to the SSR. Then use a pulldown resistor across the 2 inputs of the SSR to ensure it shuts off once the switch opens.
My thinking on the contactors was to have the added safety of not having an ssr fail in the on position like I have had happen before. Or since both elements will be plugged in during the brew session. I could mess up in the scripting and dry fire my elements since they will both be plugged in the whole time now. This way I can have elements start firing as soon as the liquid level covers the heating element. Most of the time I am around 5 minutes from boiling by the time my transfer is complete. I see what you are saying though eliminate some hardware and accomplish the same thing.
 
My thinking on the contactors was to have the added safety of not having an ssr fail in the on position like I have had happen before. Or since both elements will be plugged in during the brew session. I could mess up in the scripting and dry fire my elements since they will both be plugged in the whole time now. This way I can have elements start firing as soon as the liquid level covers the heating element. Most of the time I am around 5 minutes from boiling by the time my transfer is complete. I see what you are saying though eliminate some hardware and accomplish the same thing.
I use contactors myself in front of my ssrs for this reason and also for the added safety of ensuring both poles of power are removed from element wiring and only one kettle can be heating at a time (4 5500w elements in each kettle) I use a arduino NO/NC relay board with 2 relays to only allow power to pass to one if the other is off, this powers my contactor relay coils. I have my float switches connected as crane suggested only without the pulldown resistors. Since I have 2 rims elements that make up 4400w I have those set up with a allen bradley contactor which has 3 NO and one set of NC contacts, I use that NC set of contacts to break power to the 4th element in my HLT so when the rims is on im still drawing under 100 amps total. This is for a 3bbl setup but I do something similair at home where im limited to 30amps.
 
So your saying I would be better off controlling the contactor with BC and a separate relay? Then the float switch would be wired in series with the input for the ssr? I want the ability to run both elements at the same time for back to back batches. I plan on bringing a separate 20 amp circuit in to run my pumps, valves, controller, etc. The 50 amp service will just power my 11000 watts of elements.
 
My thinking on the contactors was to have the added safety of not having an ssr fail in the on position like I have had happen before. Or since both elements will be plugged in during the brew session. I could mess up in the scripting and dry fire my elements since they will both be plugged in the whole time now. This way I can have elements start firing as soon as the liquid level covers the heating element. Most of the time I am around 5 minutes from boiling by the time my transfer is complete. I see what you are saying though eliminate some hardware and accomplish the same thing.

I agree, I like your wiring, with a main contactor and sub contactors...

And the float on the boil will allow you to start with a lower duty cycle right away and keep from scorching and still have a fast heat up.

now, that being said, you should put 30A supplementary circuit protection on each leg of each drop before the contactor and SSR, use 4AWG for the main in and out of the 63A contactor, to the circuit breakers, and then reduce to 10AWG or better after the circuit breaker. I use the eaton WMS2B30 (edit: now FAZ-B30-2 for $19.50) from automation direct if I cannot find surplus on eBay...
 
Yeah... Your right.... I probably should have some over current protection on each element vs relying on the 50 amp main in the breaker panel
 
Remember that circuit breakers are there to protect any downstream devices. Since the device will probably not overload on it's own without failing, the circuit breaker, in theory, is there to protect the downstream wires. You must always cover the wires with appropriate overload protection as, for example, a 50A breaker will not release when wires capable of carrying 30A are overloaded (they will become nice heaters in that case).
 
You guys are right. I would say there is a pretty good chance #10 will generate enough fault current to trip a 50 amp breaker. However it's not worth the risk. There could be enough impedance in a shorted circuit that it would not trip.
 
It really really depends on the cable and use for romex and conduit wiring 10awg is 30a and 6awg is 60a.. Its sometimes different when it comes to power cords and short runs inside panels I believe.
12awg SJoow wire is rated for 25a... inside a control panel I believe 10awg is rated for more than even 30a but I could be wrong and realize it depends on the type of load and insulation. that said I agree with others, and have all my elements protected with either 25a fuses or breakers.
 
yea slight oversight on my part. When I built my initial control panel I just replaced the 50 amp breaker in my main control panel with a 30 amp so I didn't have to try and mount an additional breaker in my already crowded control panel. this worked because only one element was plugged in at a time because I was too cheap to by a selector switch and an additional outlet. I have two 30 amp breakers on order now hopefully they will be here by Sunday. With any luck I will find some time to work on laying out my control panel this weekend as pieces have been trickling in all week. Is everybody grounding the negative side of their DC? I am used to dealing with higher voltage DC and we "float" both positive and negative this we we can alarm a positive or negative ground and have time to fix it before something actually trips and we lose protection.
 
Max engineering ampacity on 10 AWG is ~40A. That's engineering, not practice. Really would be making it interesting - especially at the terminals.

Stick to the basics: 10 AWG for 25A and 6 AWG for 50A.

Yep, 10AWG is what a licensed electrician will run to your water heater with a 5500w element.. good enough for that long run behind drywall, good enough for a foot of individual wire inside a panel..


.... Is everybody grounding the negative side of their DC? I am used to dealing with higher voltage DC and we "float" both positive and negative this we we can alarm a positive or negative ground and have time to fix it before something actually trips and we lose protection.

Yes.. Connect to the white neutral is best. This can often reduce noise, and make things like temp sensors more stable... it was pretty much a requirement on the old BCS...
 
Back
Top