Non brew related fireplace build

Homebrew Talk - Beer, Wine, Mead, & Cider Brewing Discussion Forum

Help Support Homebrew Talk - Beer, Wine, Mead, & Cider Brewing Discussion Forum:

This site may earn a commission from merchant affiliate links, including eBay, Amazon, and others.

KNOTSANE

Well-Known Member
Joined
Dec 4, 2009
Messages
193
Reaction score
3
Location
New Orleans
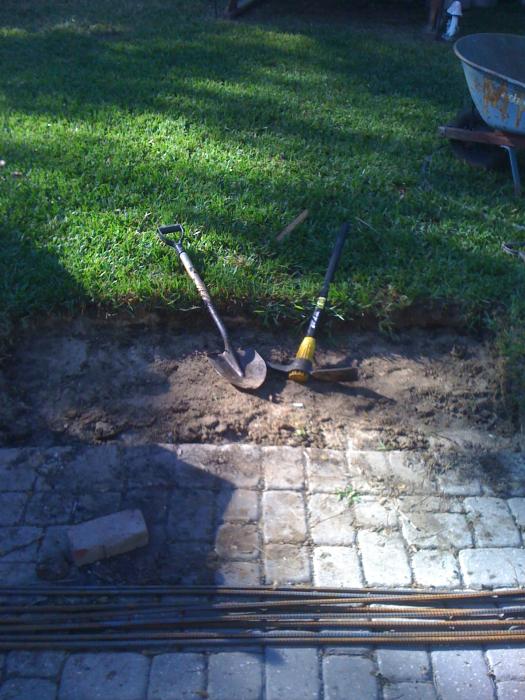
I love homebrew and I love drinking some while sitting on my patio with a nice warm fire when the weather gets cool. After I had gone through my third metal fireplace (rusting out) in as many years, I knew I wanted a permanent outdoor fireplace. I sketched out some designs and looked over some other designs I found online and came up with something that compliments the old style architecture and charm that we have down here in New Orleans. With a turn key project hired out to a mason, I would be looking at around $4,000. Well that wasn't going to happen. Having never done a masonry project of this size before, I still knew that my level of skill would make this a fun project to take on myself. So here we go.

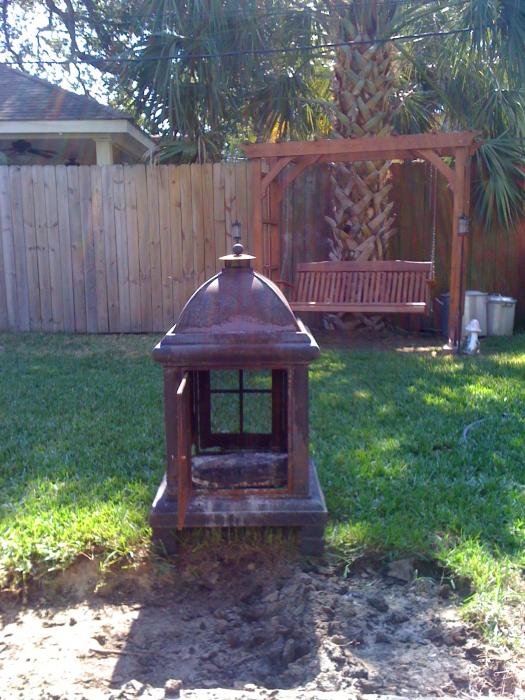
Out with Old Rusty III
089.jpg
 
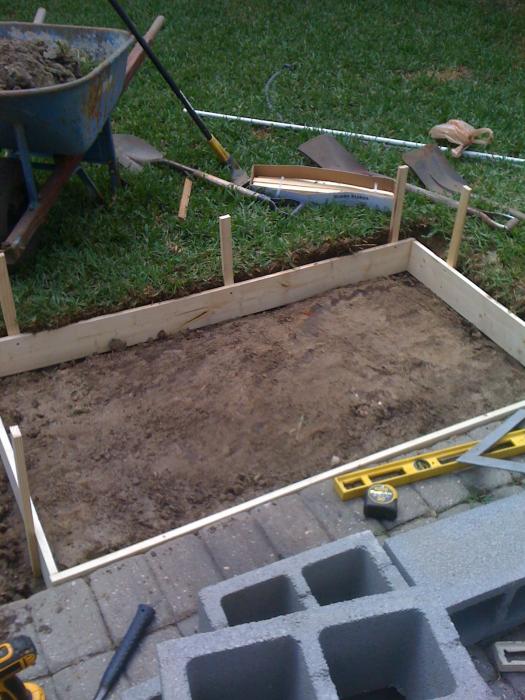
Once the grade was set, the form boards were put in and braced and the steel rebar was tied in. Both horizontal and vertical steel were tied in for the slab and the cinder block sub frame.

092.jpg


093.jpg
 
Now it was time for some concrete. Also I must note that the two pieces of conduit roughed into the slab is for cable and electric. I'm planning on bringing out a flat screen for night time football games.

095.jpg


097.jpg


098.jpg
 
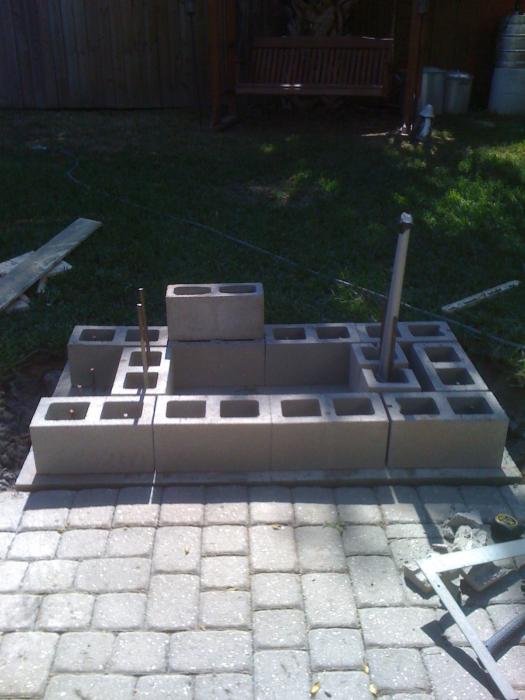
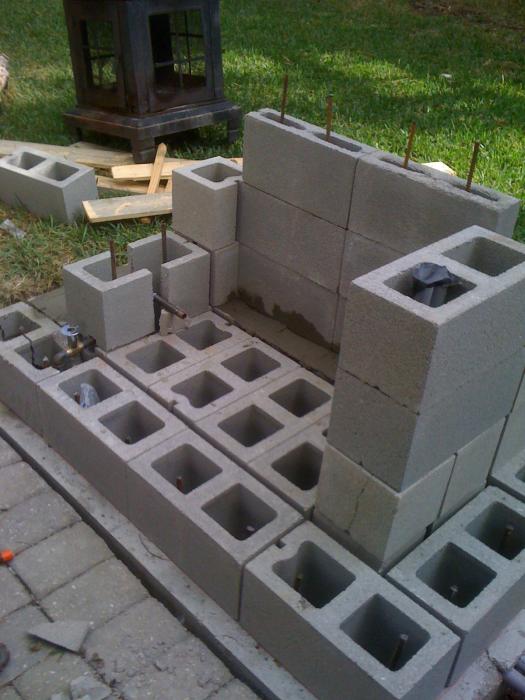
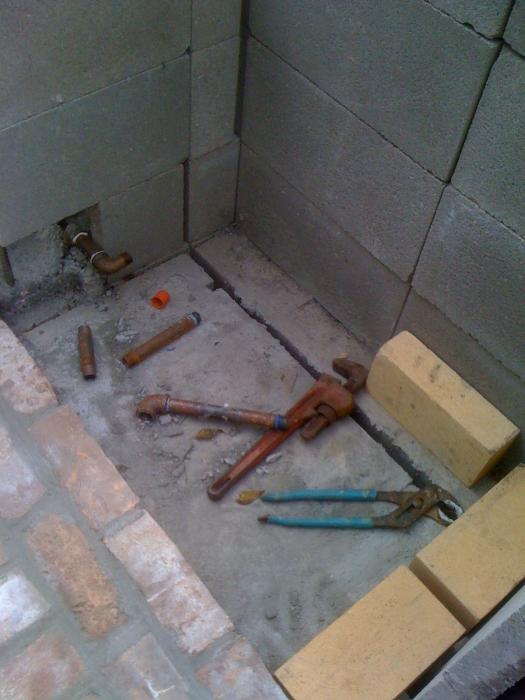
Next came the construction of the cinder block sub frame and roughing in the gas line and valve to be used as a starter only. (this is a wood burning fireplace)

099.jpg


100.jpg


101.jpg
 
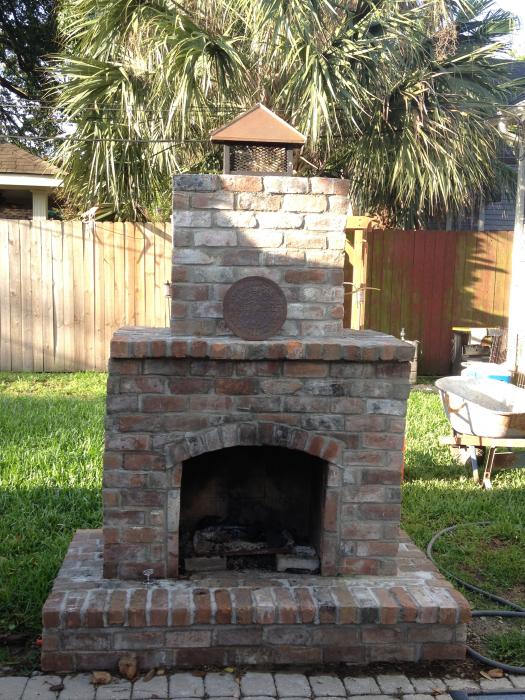
At this point I knew I kept Old Rusty III around for a reason. I threw him in the firebox area and played with some matches.
103.jpg
 
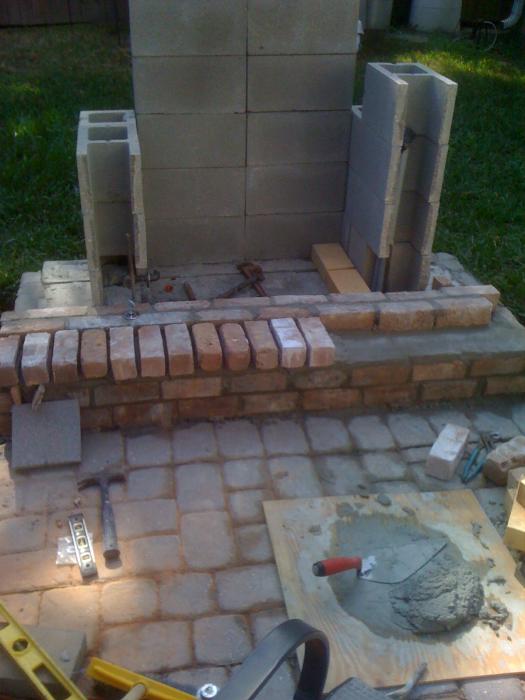
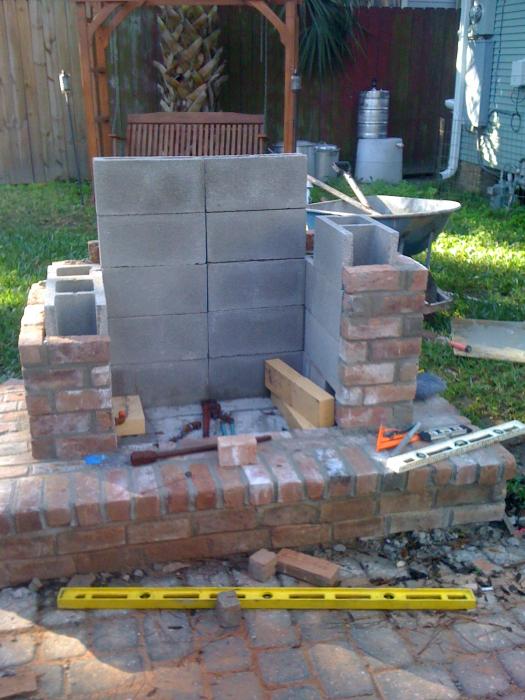
At this point the blocks were filled with concrete and it was time to head to the brick yard. I decided to go with old New Orleans reclaimed bricks. So now the fun begins. Because I was basically building this on the fly, I added the other cinder blocks as I went along so I could change something up if I felt I needed to.

104.jpg


105.jpg


106.jpg
 
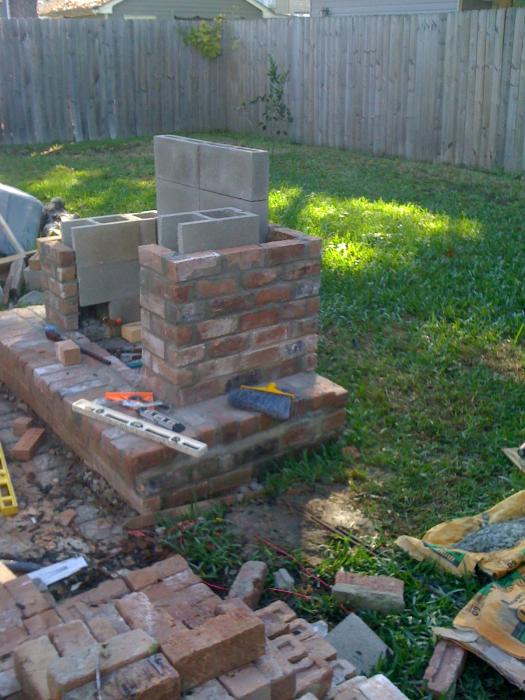
Now it's just a matter of laying the bricks, one by one.:( This process honestly took me much longer than I expected.)

109.jpg


110.jpg


111.jpg
 
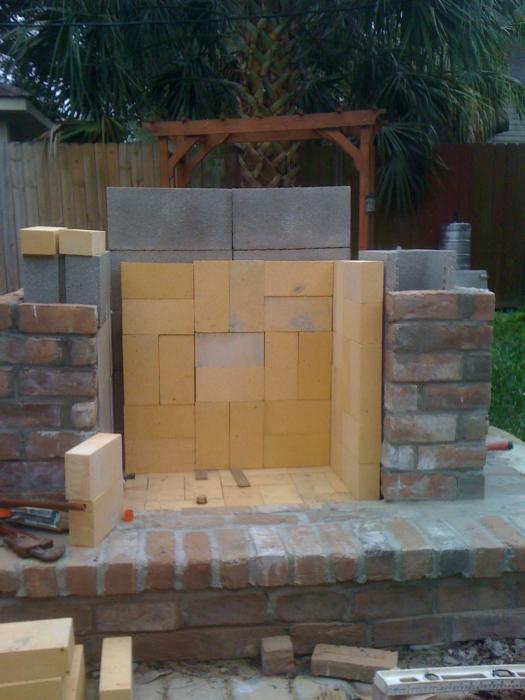
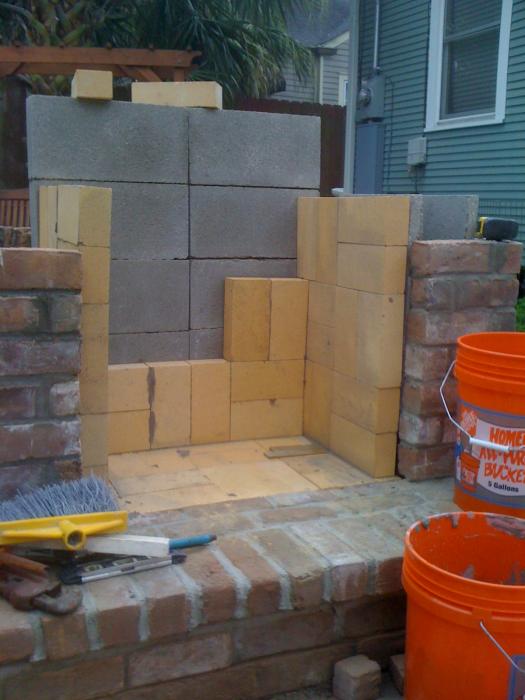
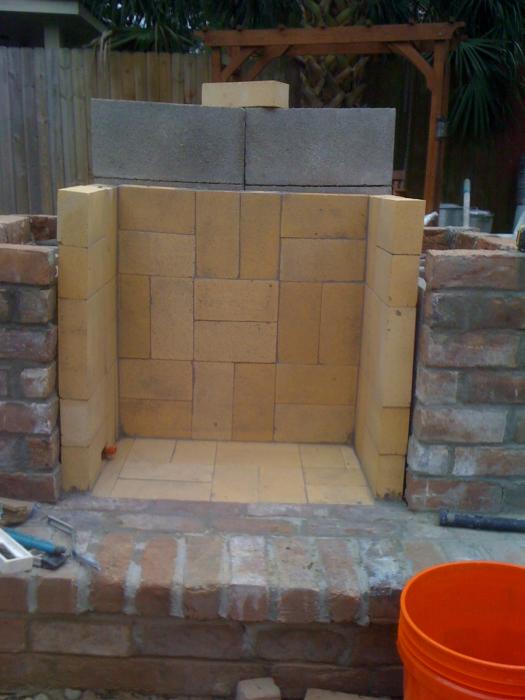
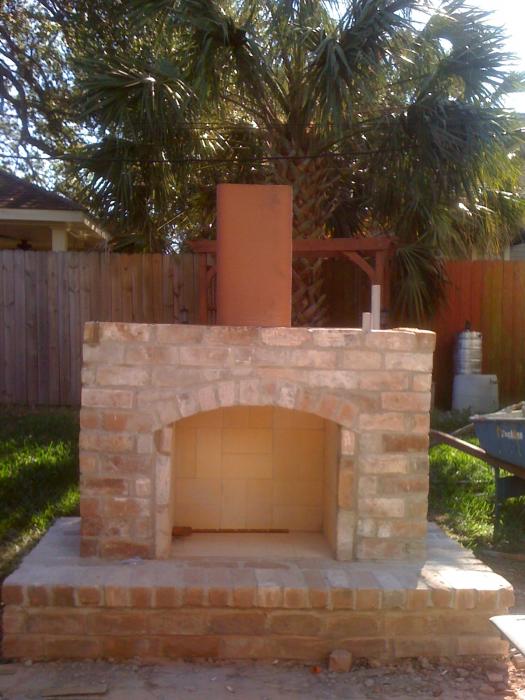
At this point in the brick laying process, I did a dry fit with the fire brick for the fire box itself. I decided to go with a standard basket weave pattern. When I was satisfied with the dry run, I mixed up some refractory mortar and set the fire brick, encasing the firebox.

112.jpg


113.jpg


115.jpg
 
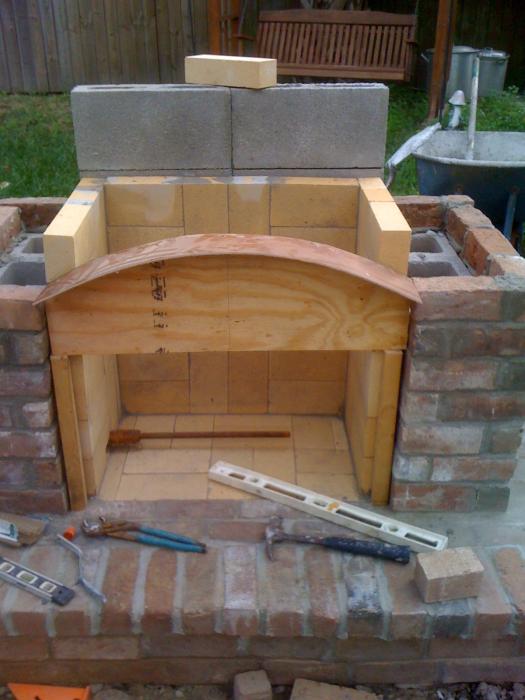
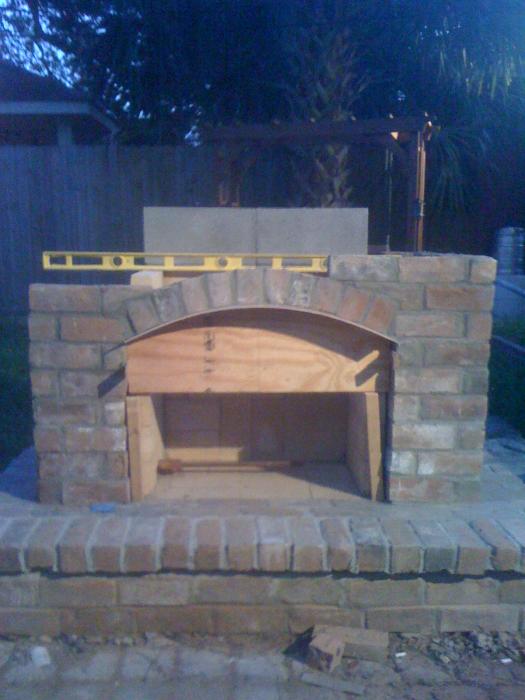
Now It was time to build a wooden form and set it in place to create the arch for the firebox opening.

116.jpg
 
working late into the evening, I got the arch set. Next I laid out the metal lintals that will support the chimney flues that are tied into the top backside of the firebox. Seeing this kind of progress is exciting and definitely a motivating factor to keep on keeping on.

117.jpg


121.jpg
 
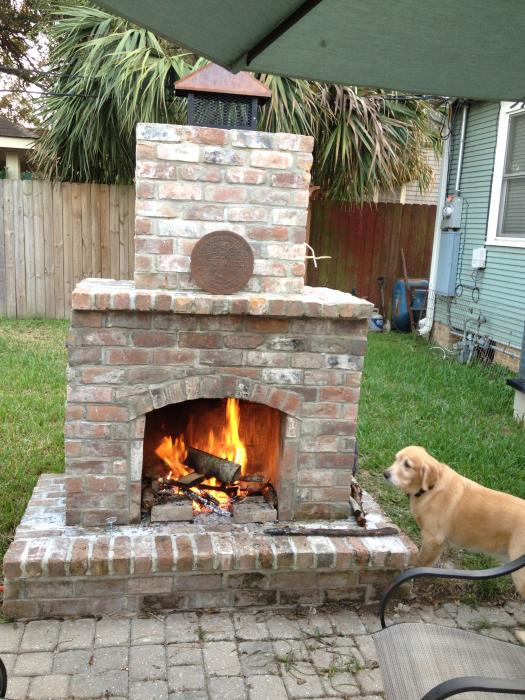
After getting all the bricks laid, I pulled out the welder and fabricated the frame for the chimney cap. I dropped the metal frame off at a friends sheet metal shop where they did a roll and crimped copper roof. Can't wait for it to get that nice patina on the copper.

157.jpg
 
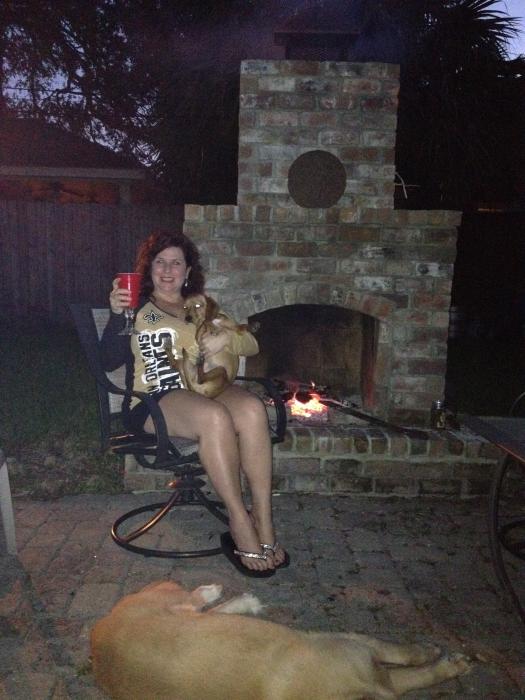
And this is where the hard work pays off. And yes, that is a glass red solo cup wine glass with a crystal stem on it in SWMBO hands. We are from the south after all.:D And I know I have to go get a grate for the logs. Don't know how I forgot that part of this. Hope you guys enjoyed a walk through of this rewarding project.

036.jpg


038.jpg
 
Back
Top