
pentiumone133
Well-Known Member
- Joined
- Nov 13, 2012
- Messages
- 62
- Reaction score
- 7
I have been an all grain brewer for about 2 years and have always done brew-in-a-bag. I started off just wrapping the kettle in some moving blankets, then eventually built a PID controlled RIMS rig, now I've completed what I believe to be the final version of it save for some modifications to my kettle.
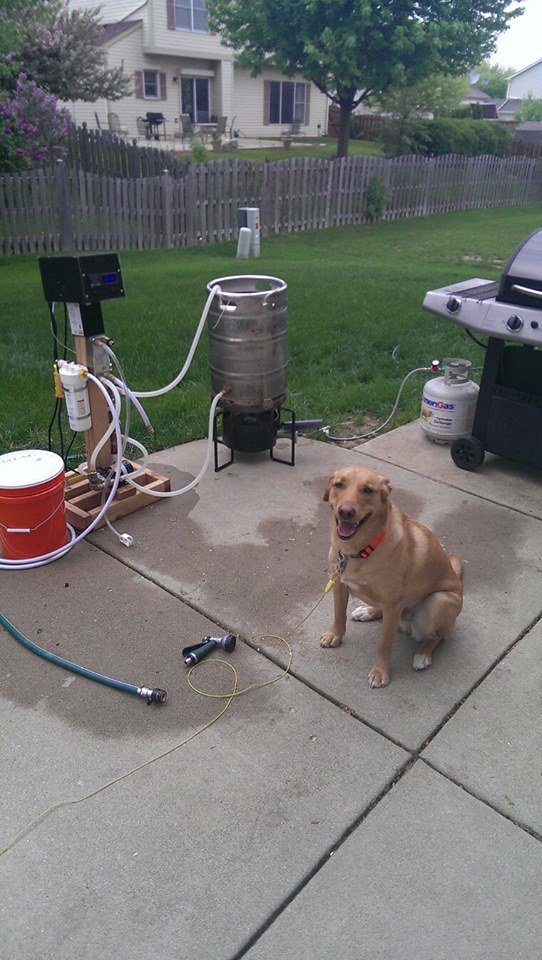
Here was my existing setup. Basically a wooden post that I built to mount he pump, RIMS tube, water filter, and plate chiller. On top of the rig is the control box I built with cheap ebay PID controller and a couple of switches to turn the pump on or off.
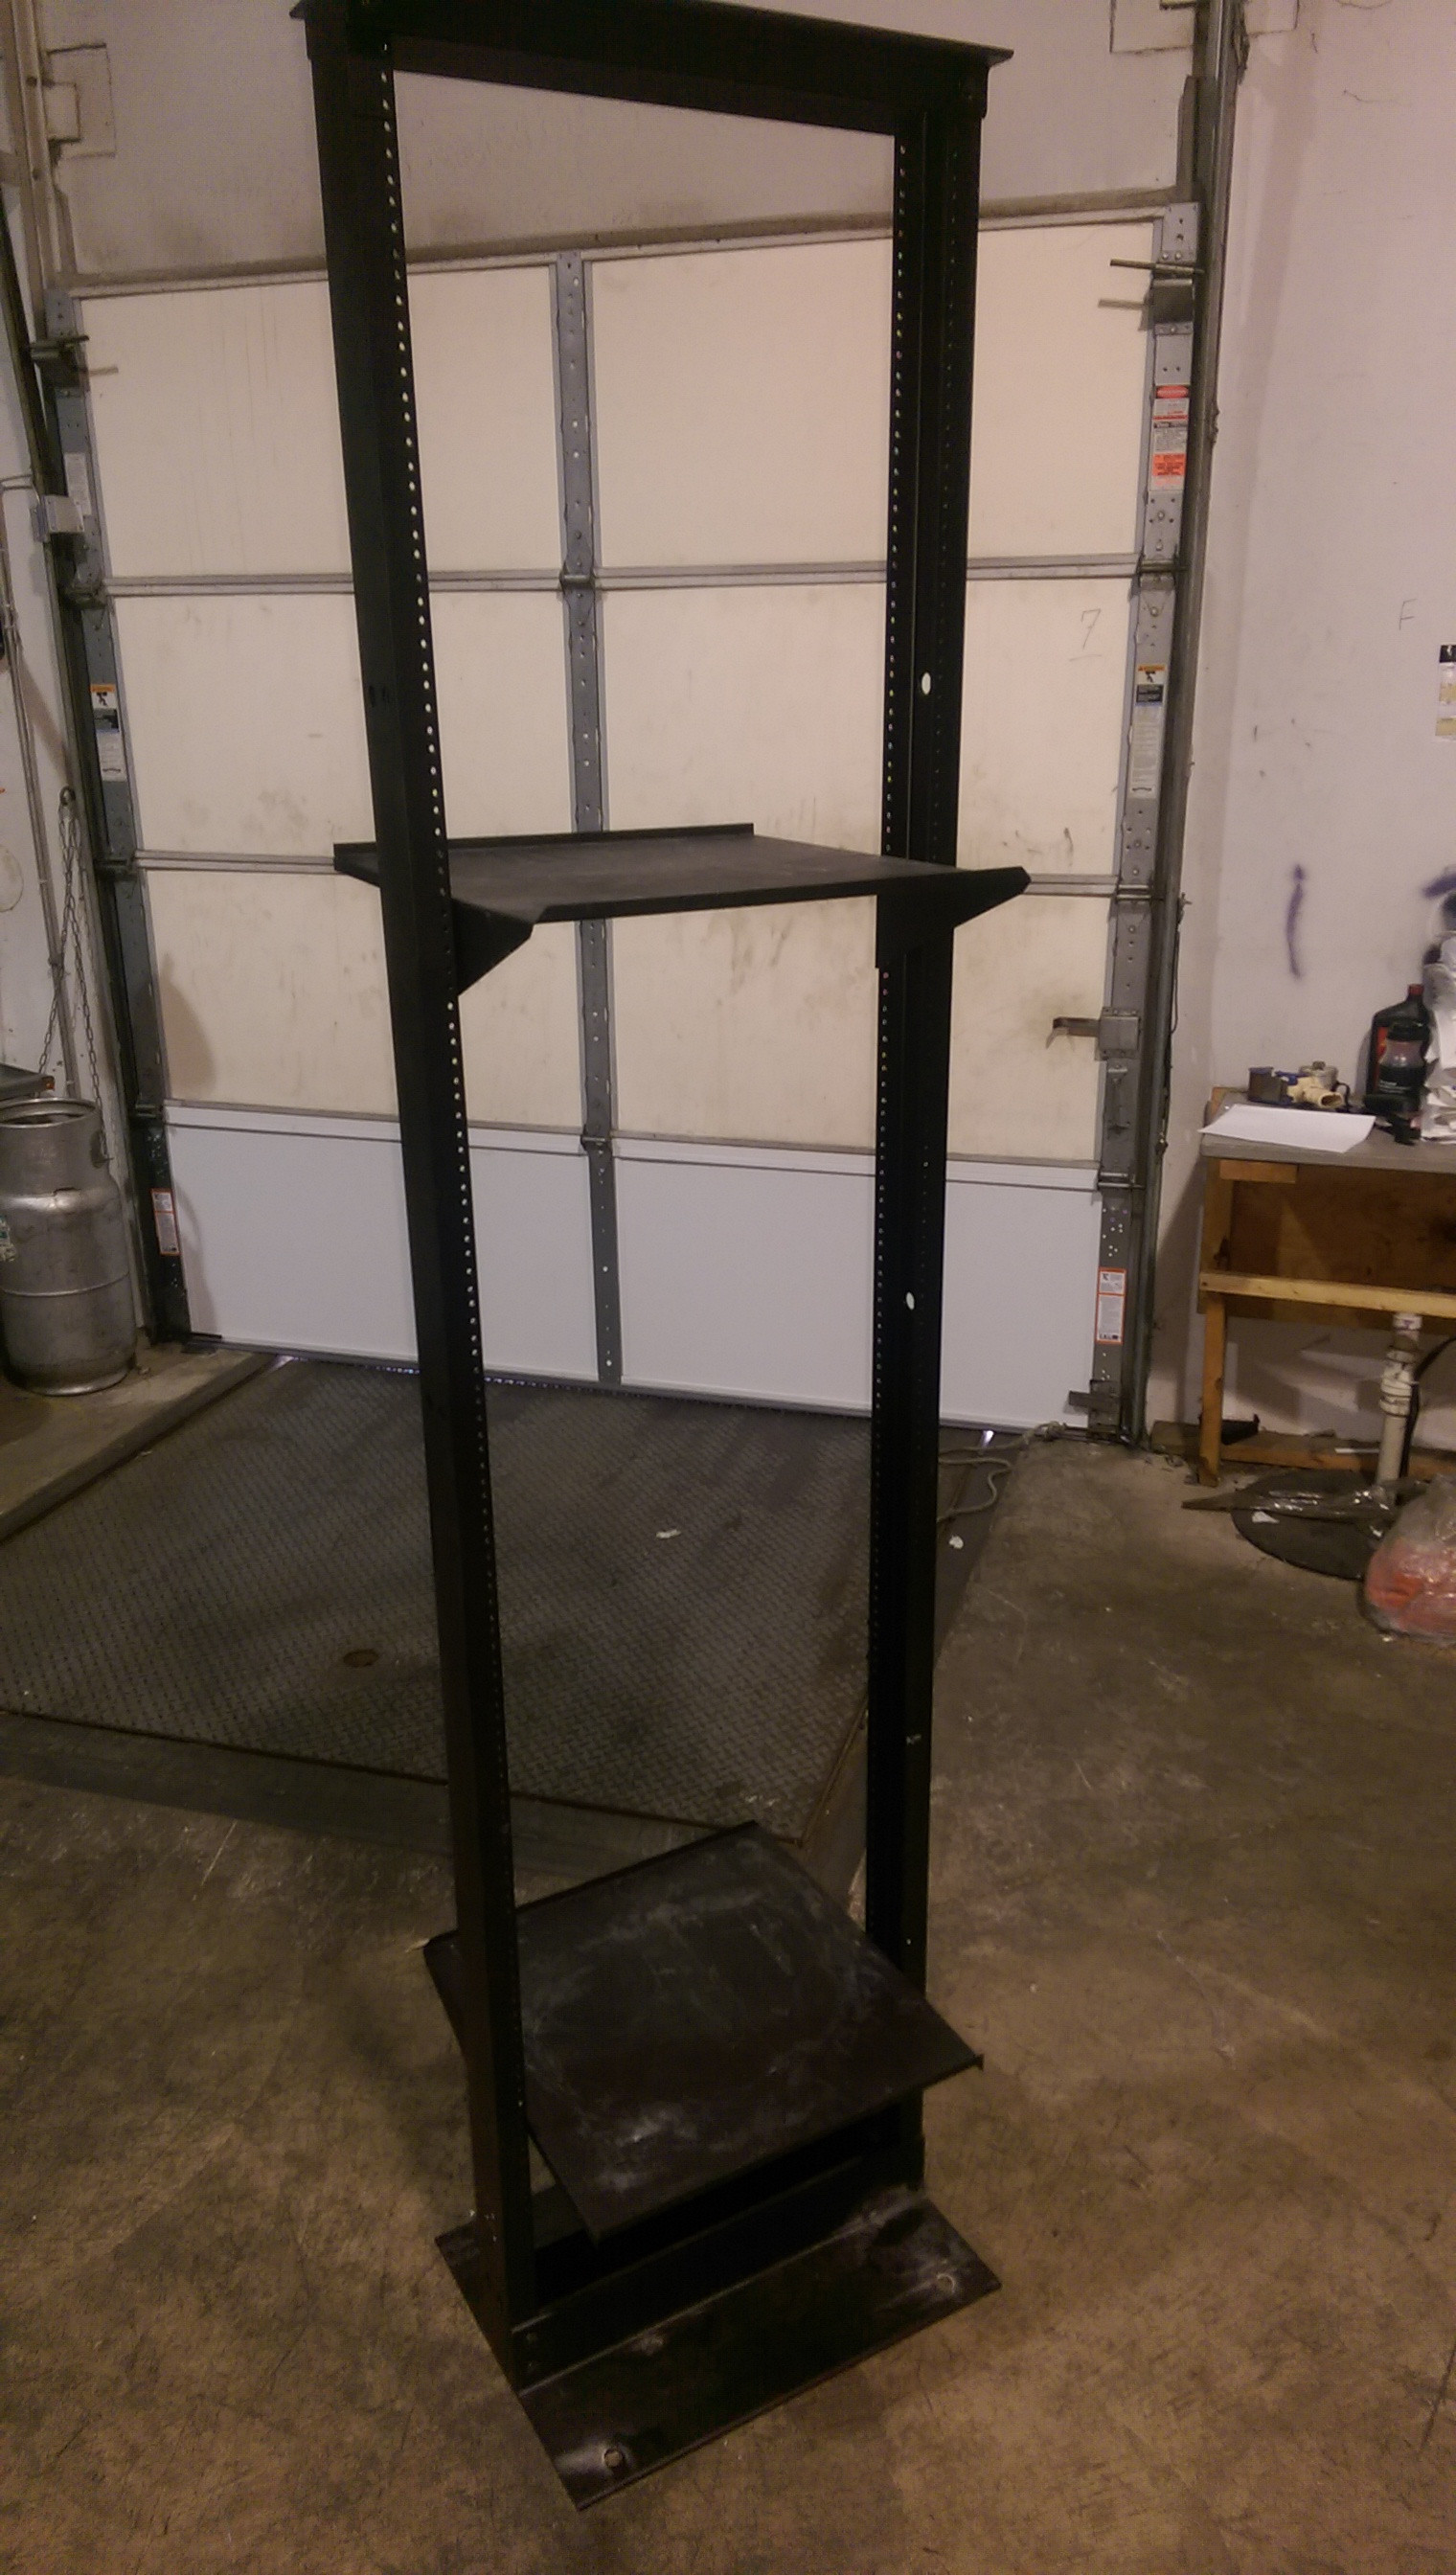
This is what I butchered to build my new brewing stand.
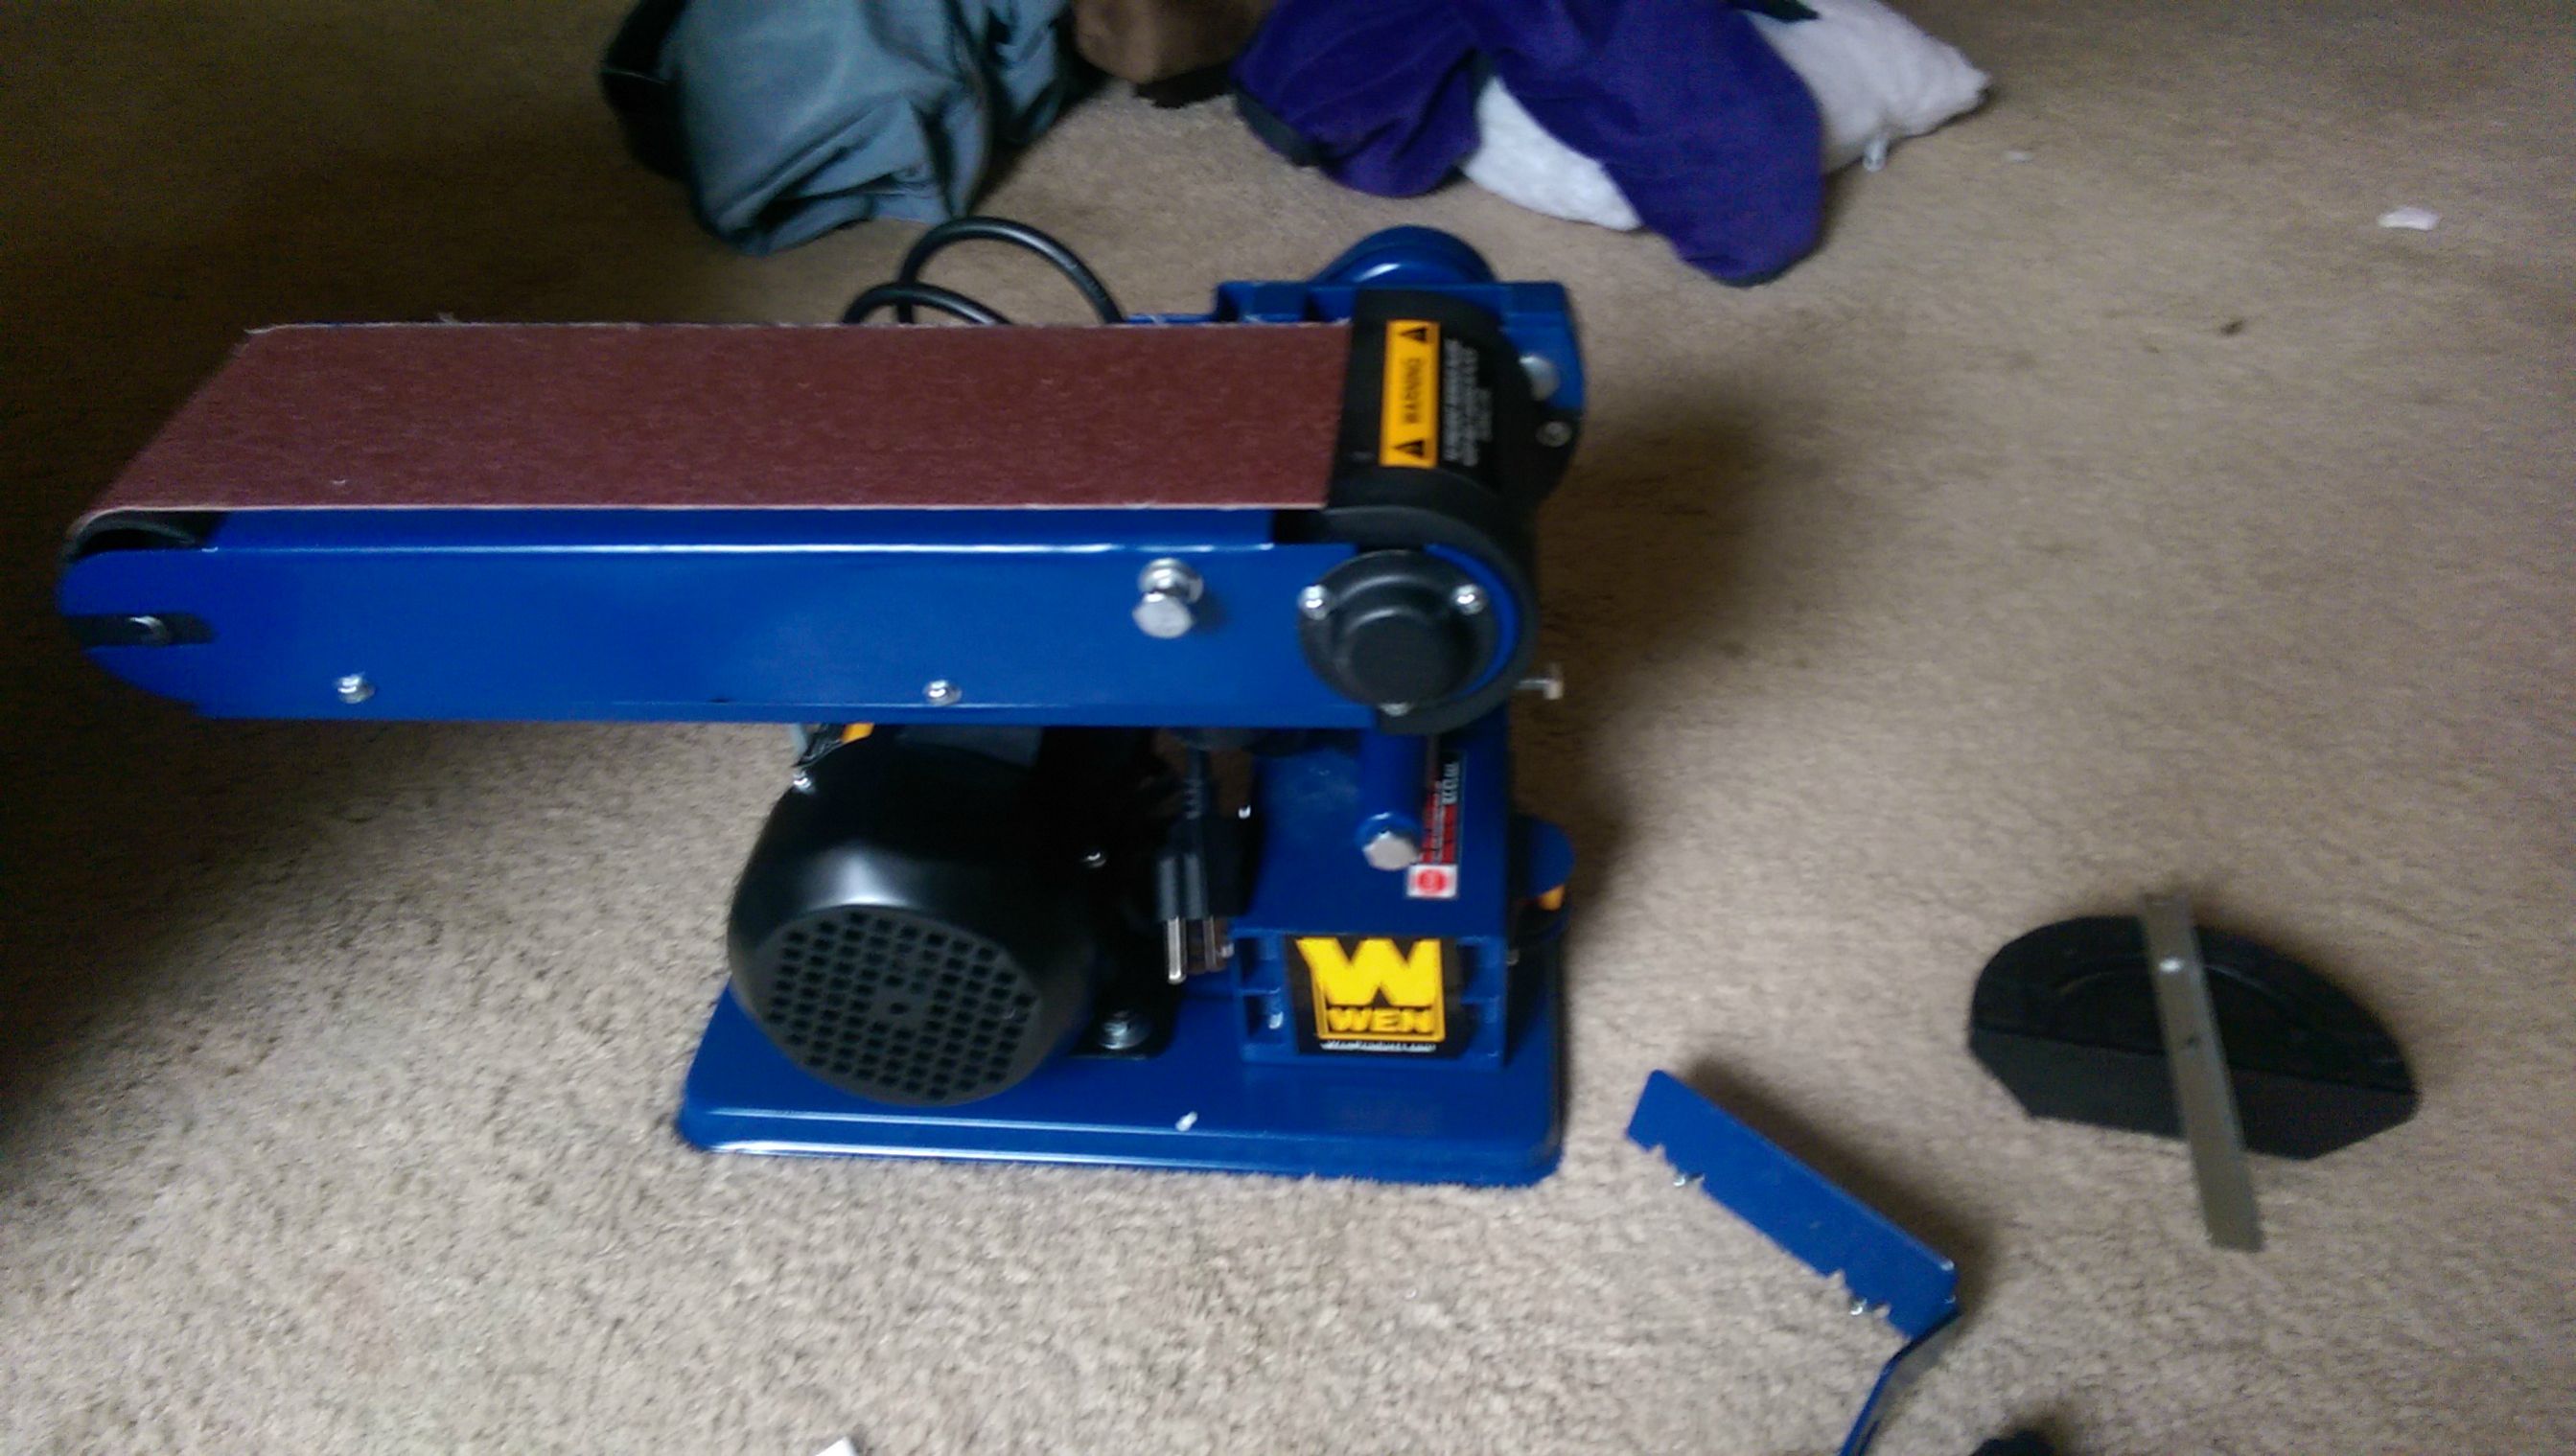
Had to buy this sucker because my cuts with the angle grinder were significantly less than perfect.
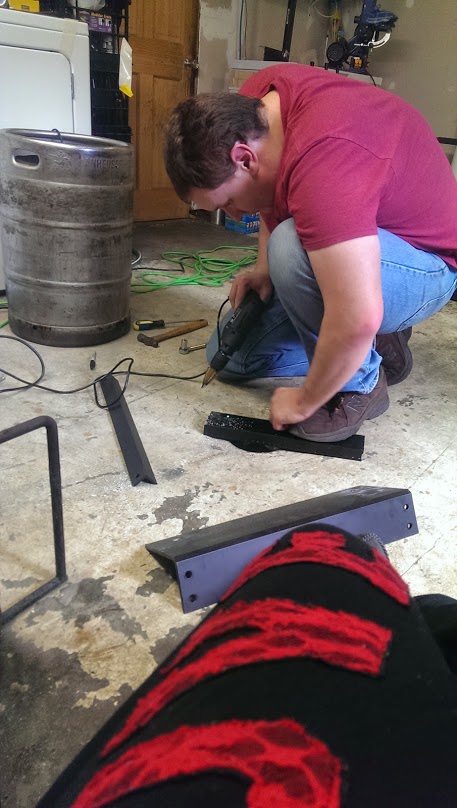
Cutting, drilling the pieces
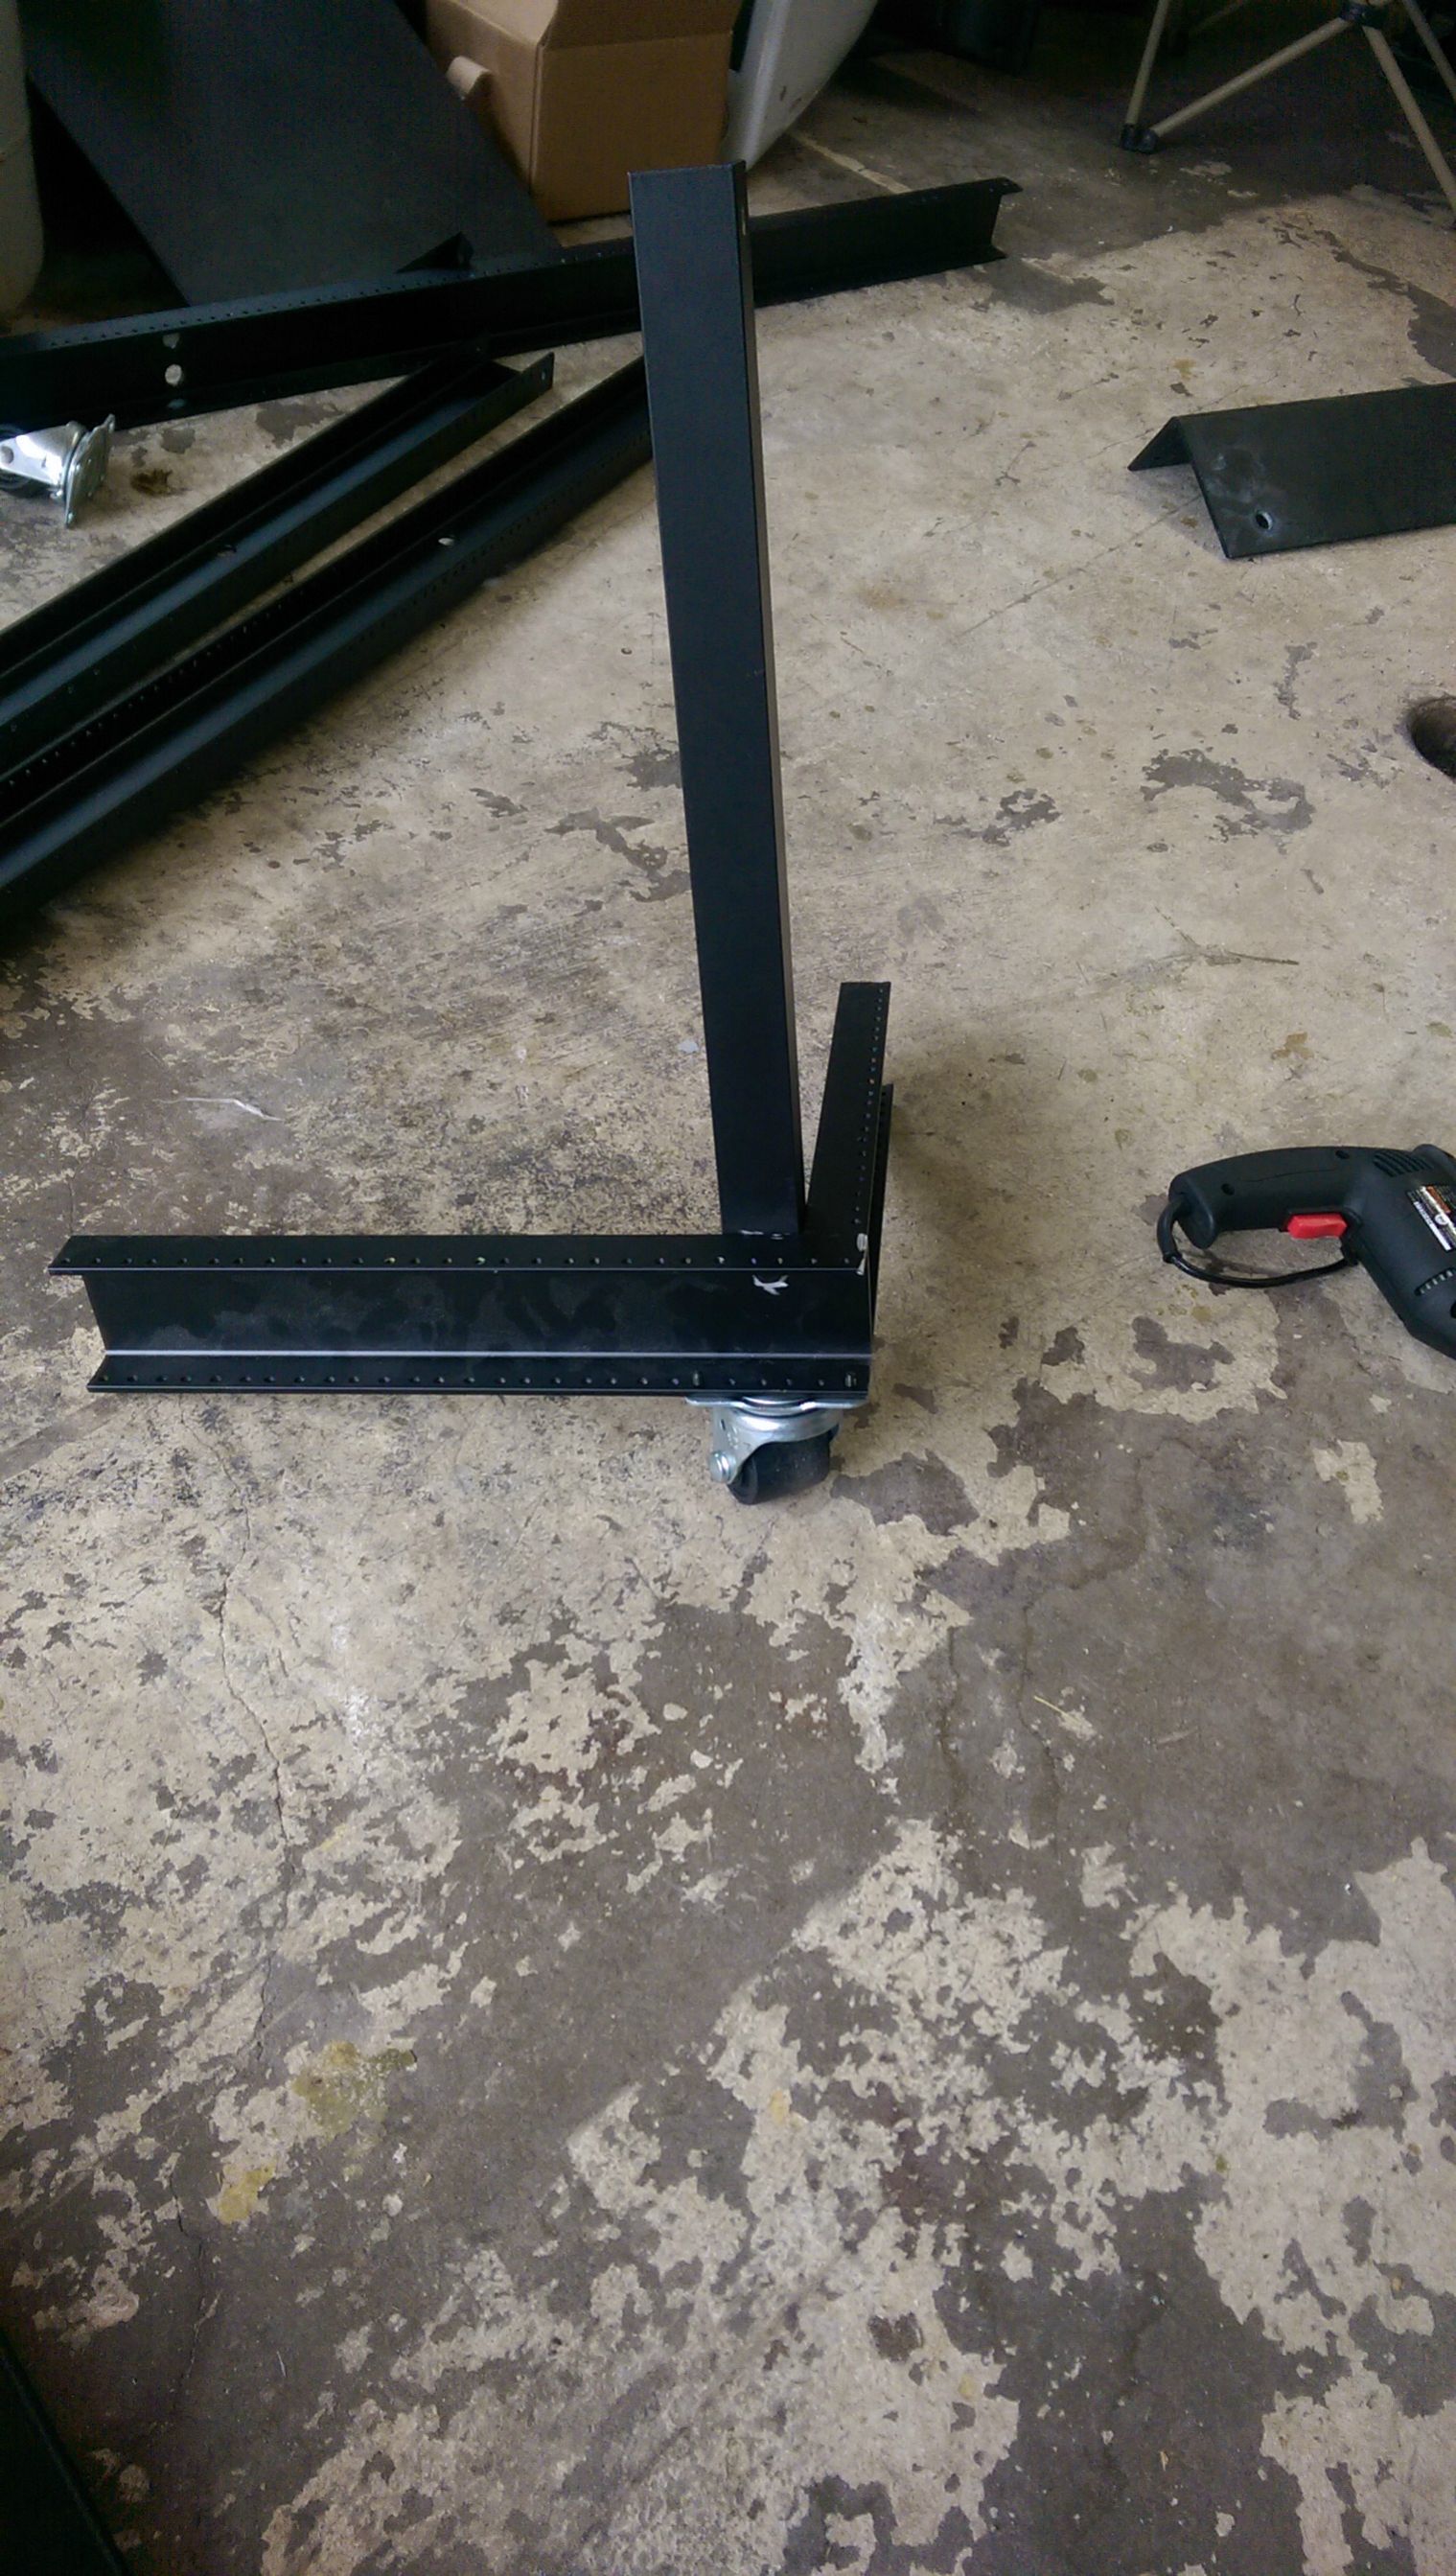
Starting to take shape. Because of the shape of the raw material it was somewhat difficult to actually construct using just nuts and bolts. The solution I came up with was to use the 90 degree angle pieces to actually hold everything together. It worked out well.
About halfway done. In this pic the stand is actually upside-down. I wanted to make sure that the keggle would actually fit on it and that my measurements are correct
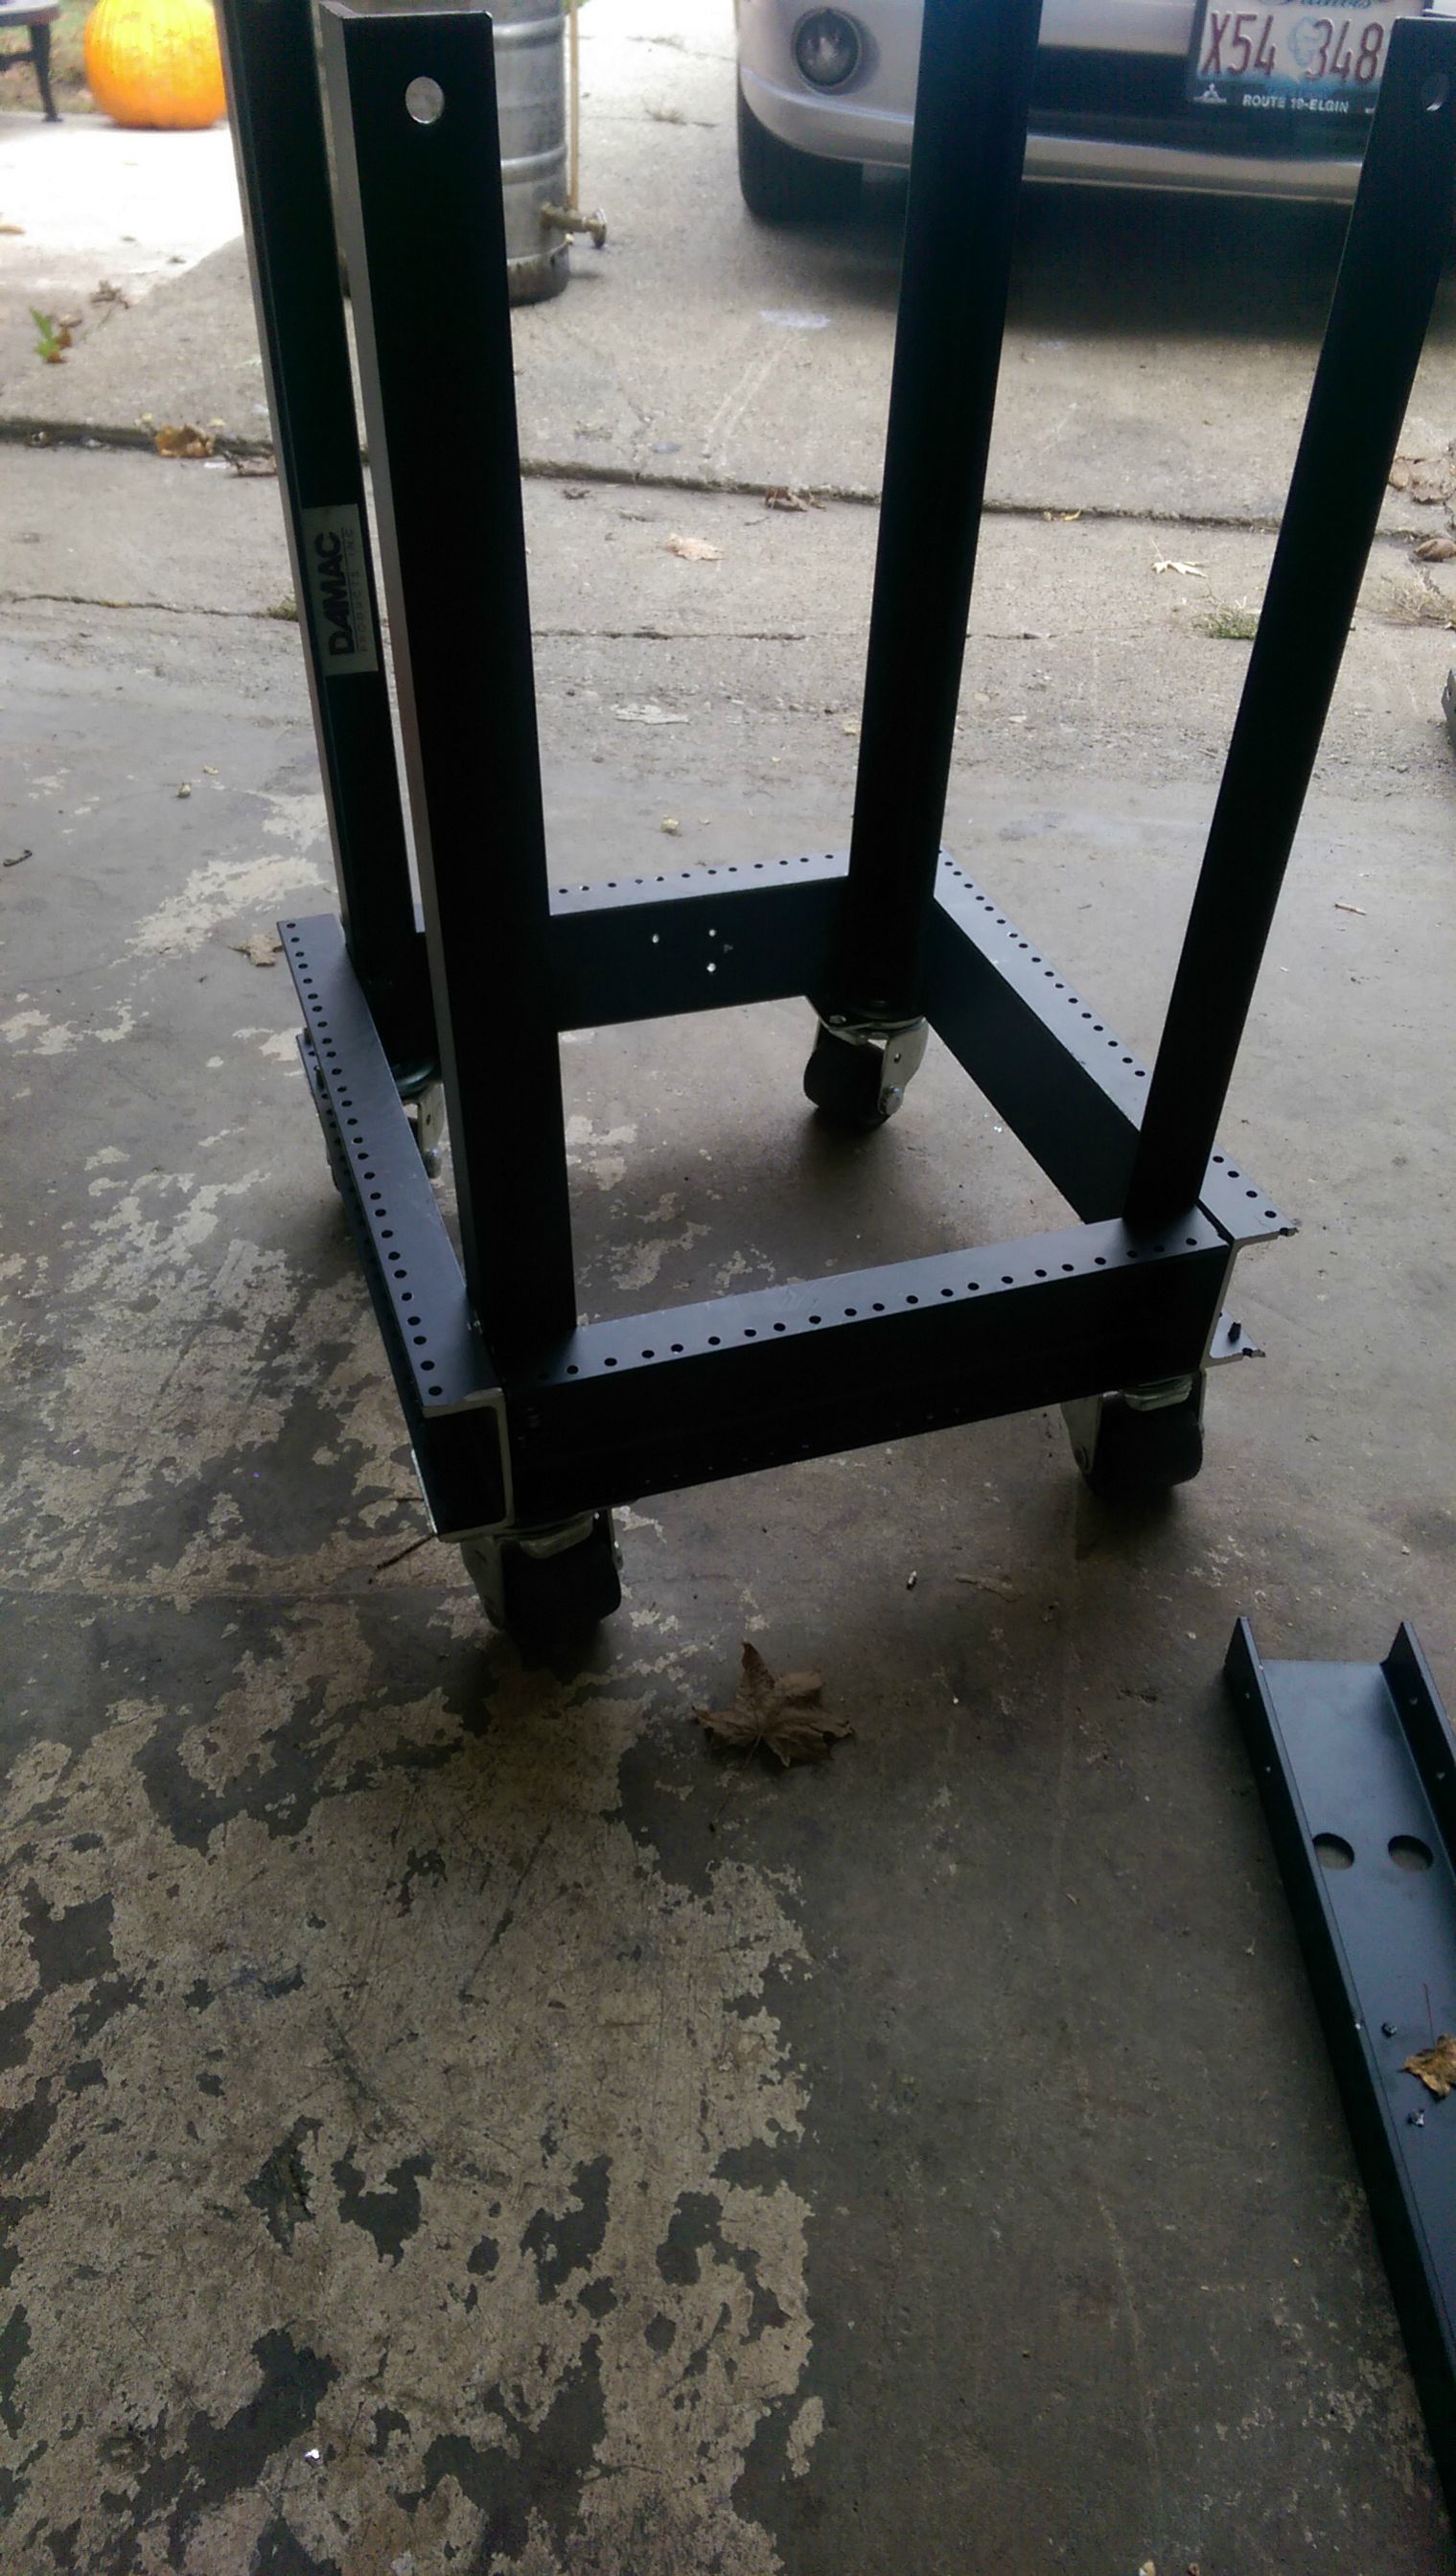
Wheels attached. They are just screwed in from the bottom. The wheels came from an HP 42U server cabinet so I know they will have no problem supporting the weight.
It is coming along. A couple more pieces cut and assembled.
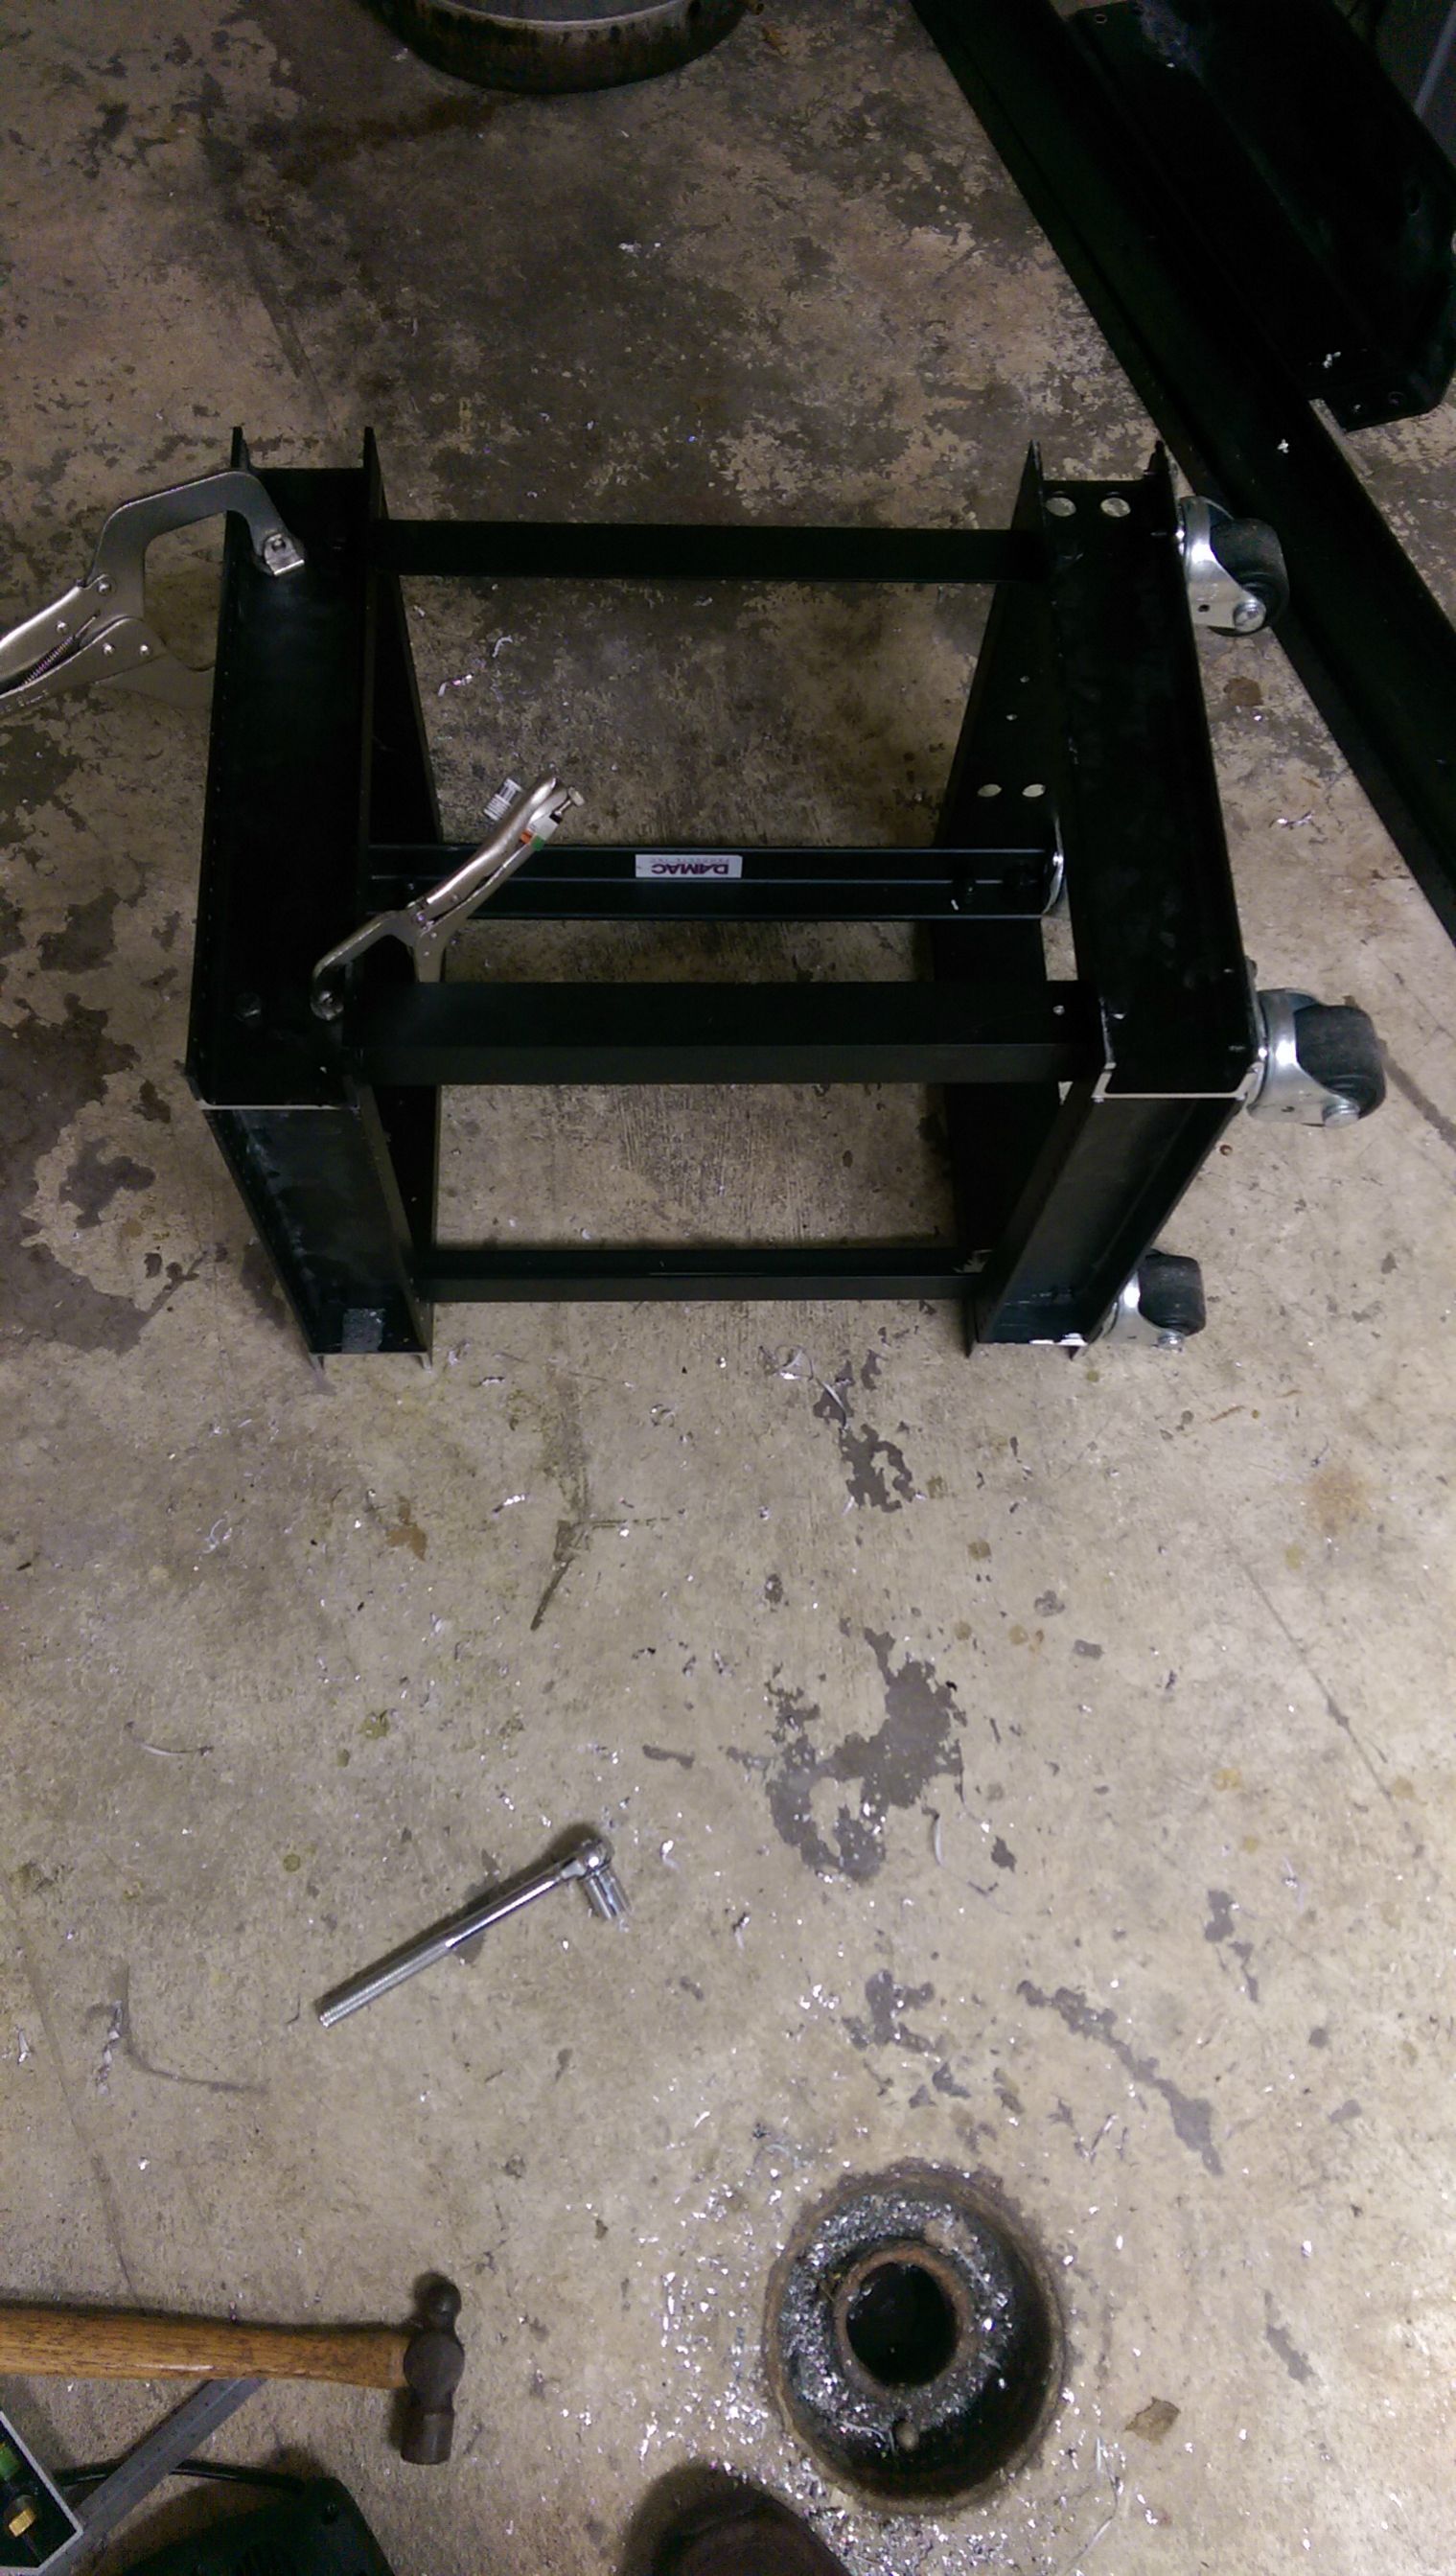
The final pieces being clamped and bolted on.
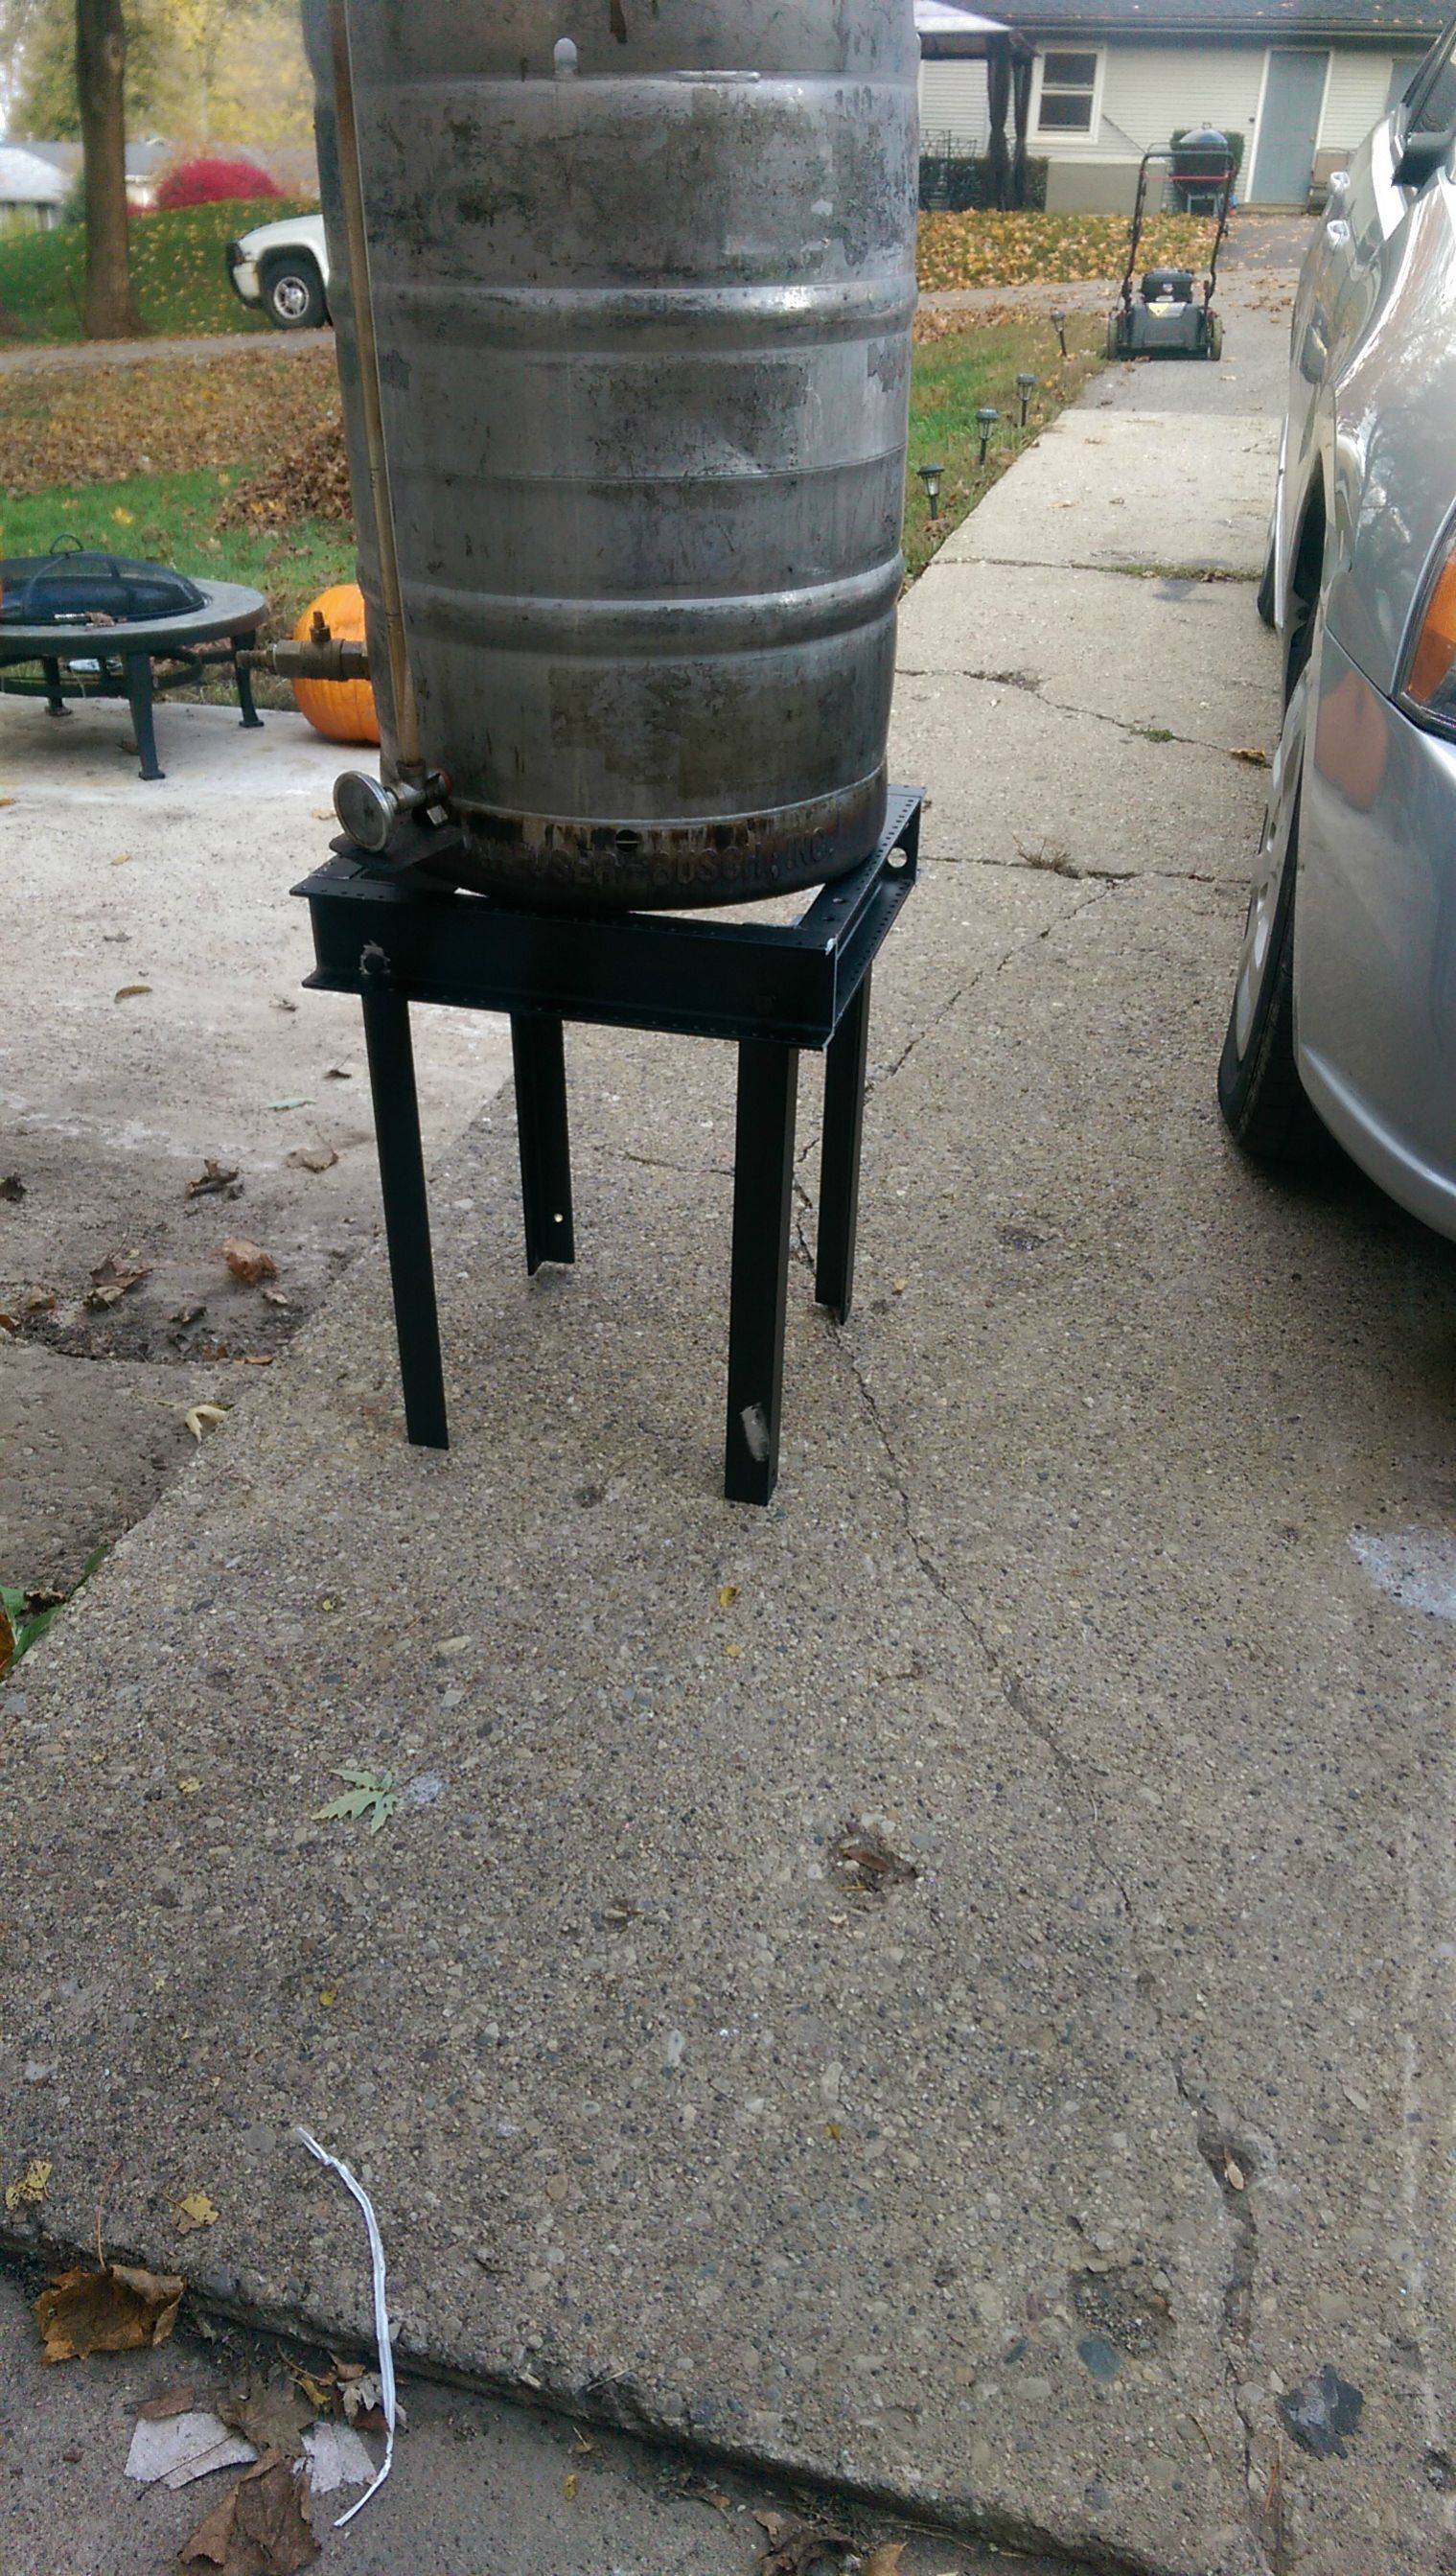
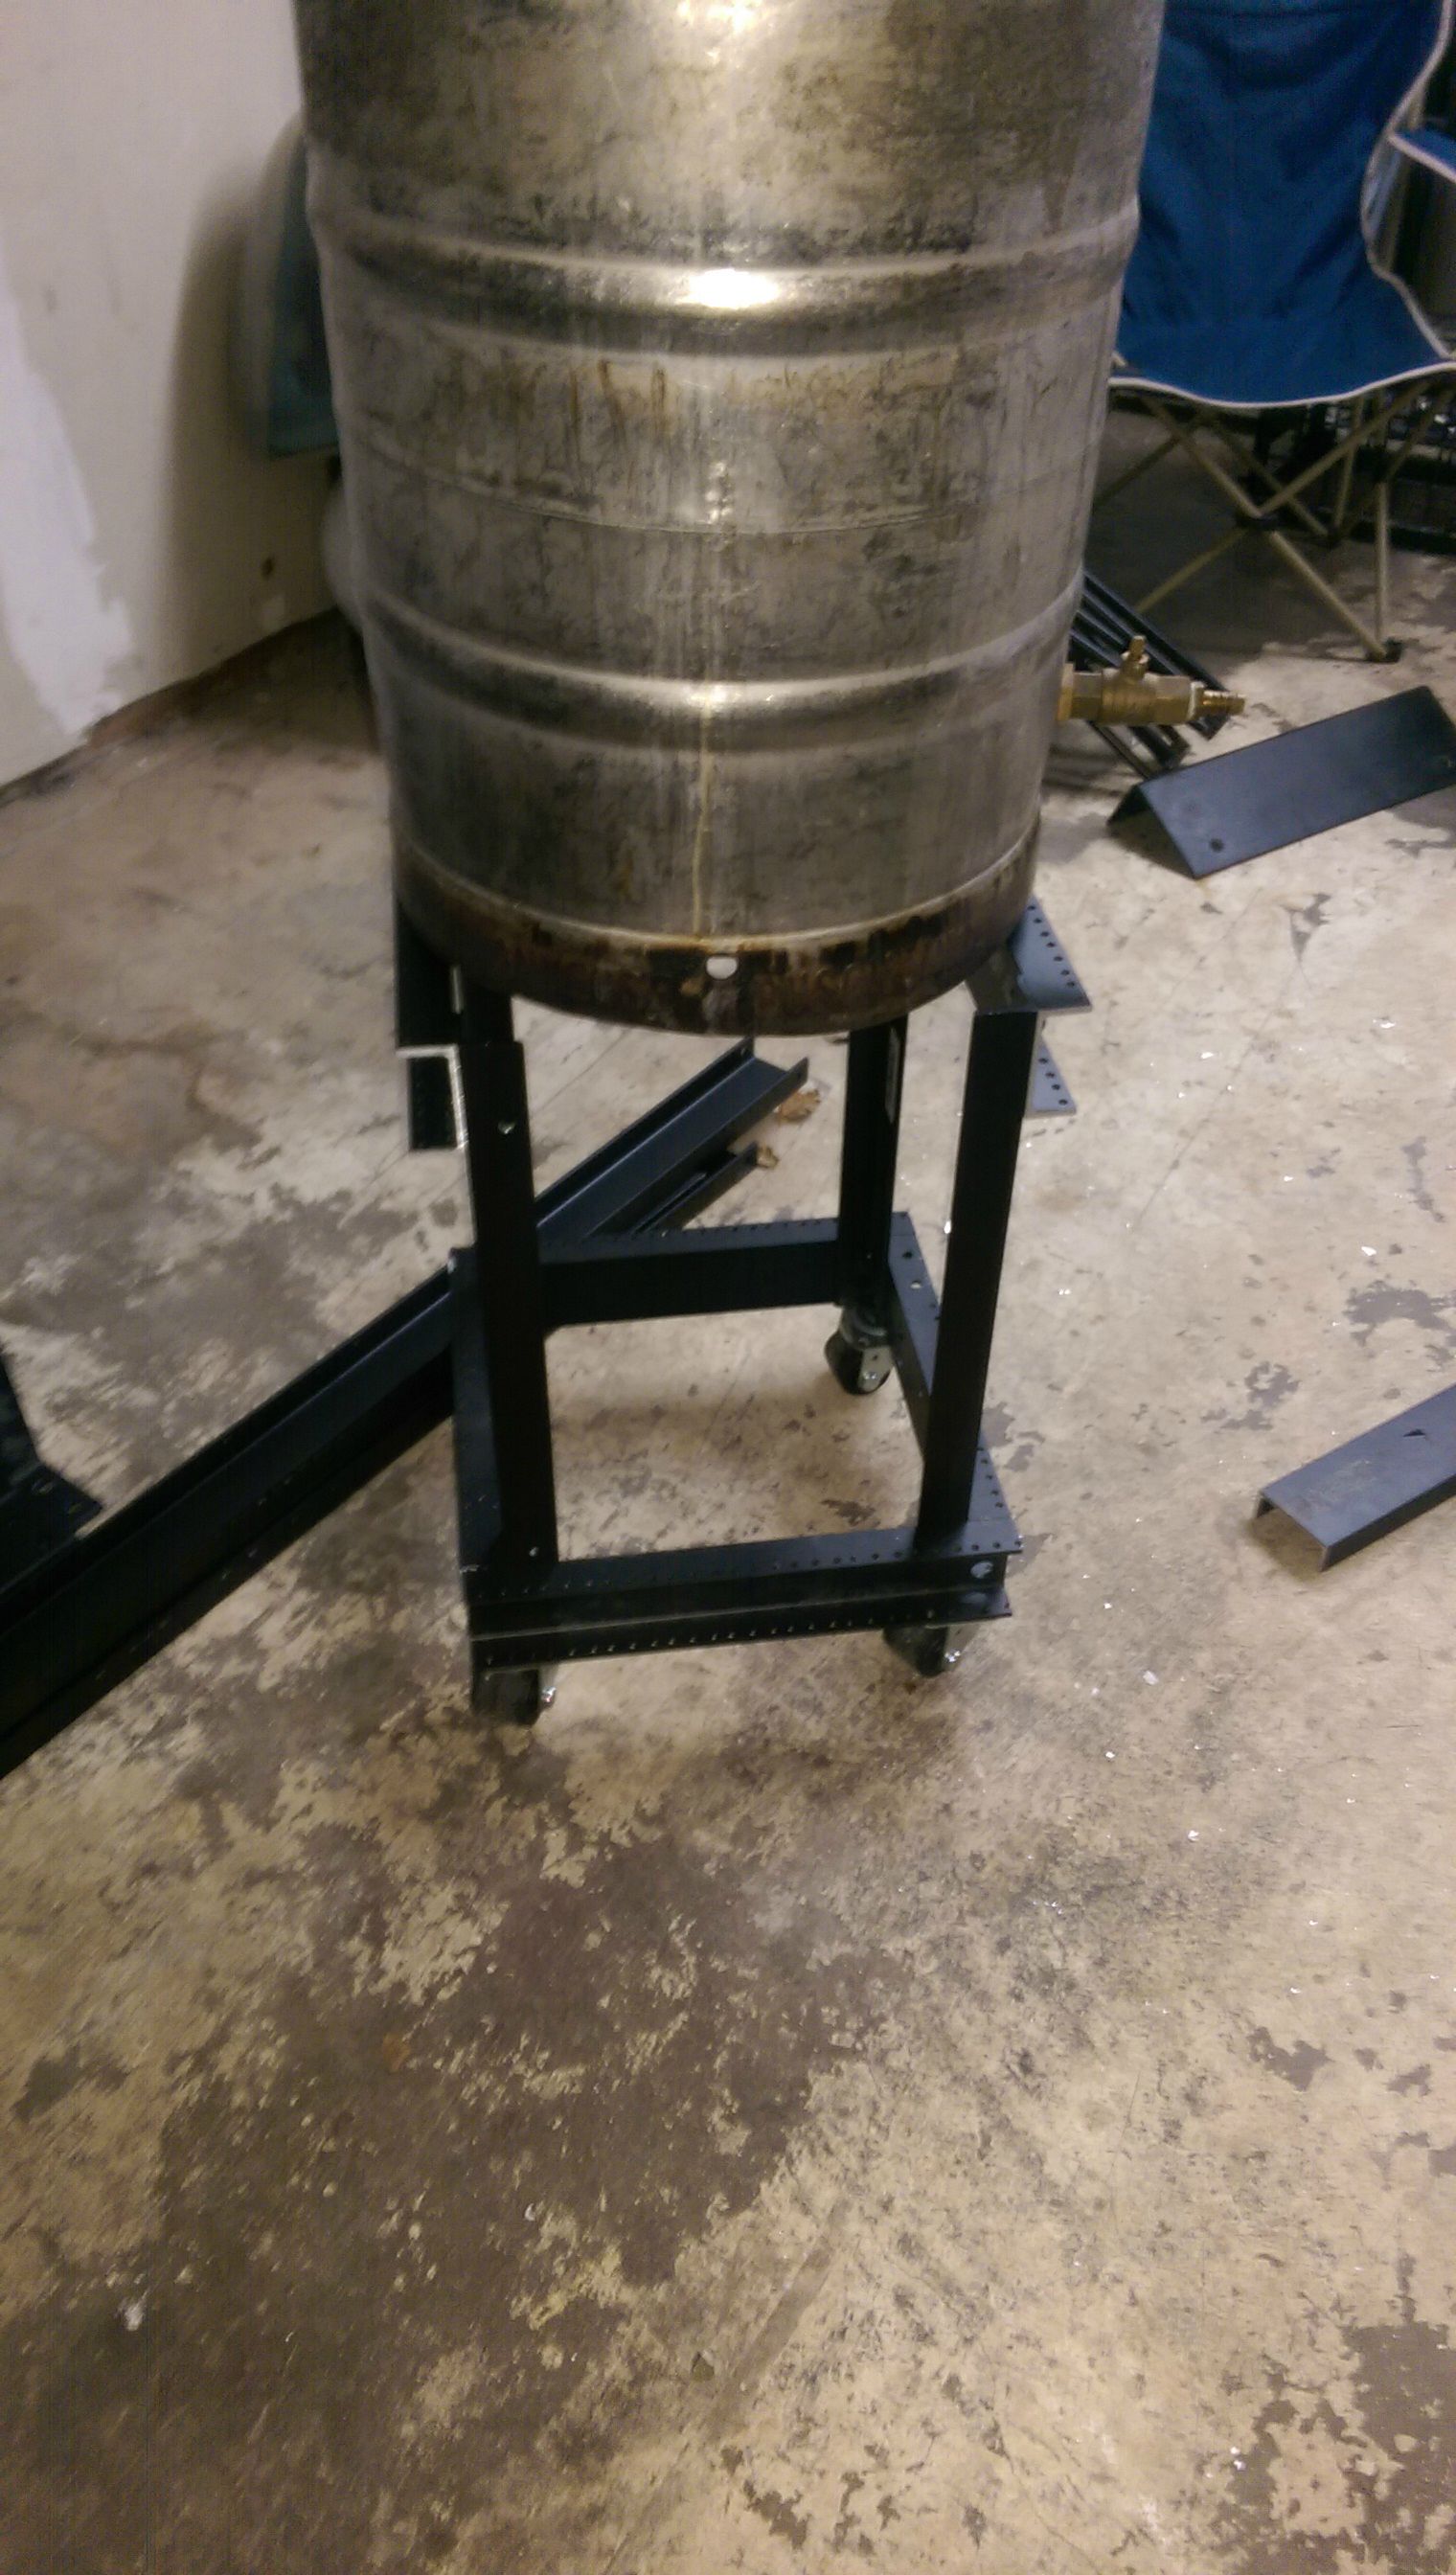
It supports the keg full of water as well as my entire body weight! I'd say its strong enough.
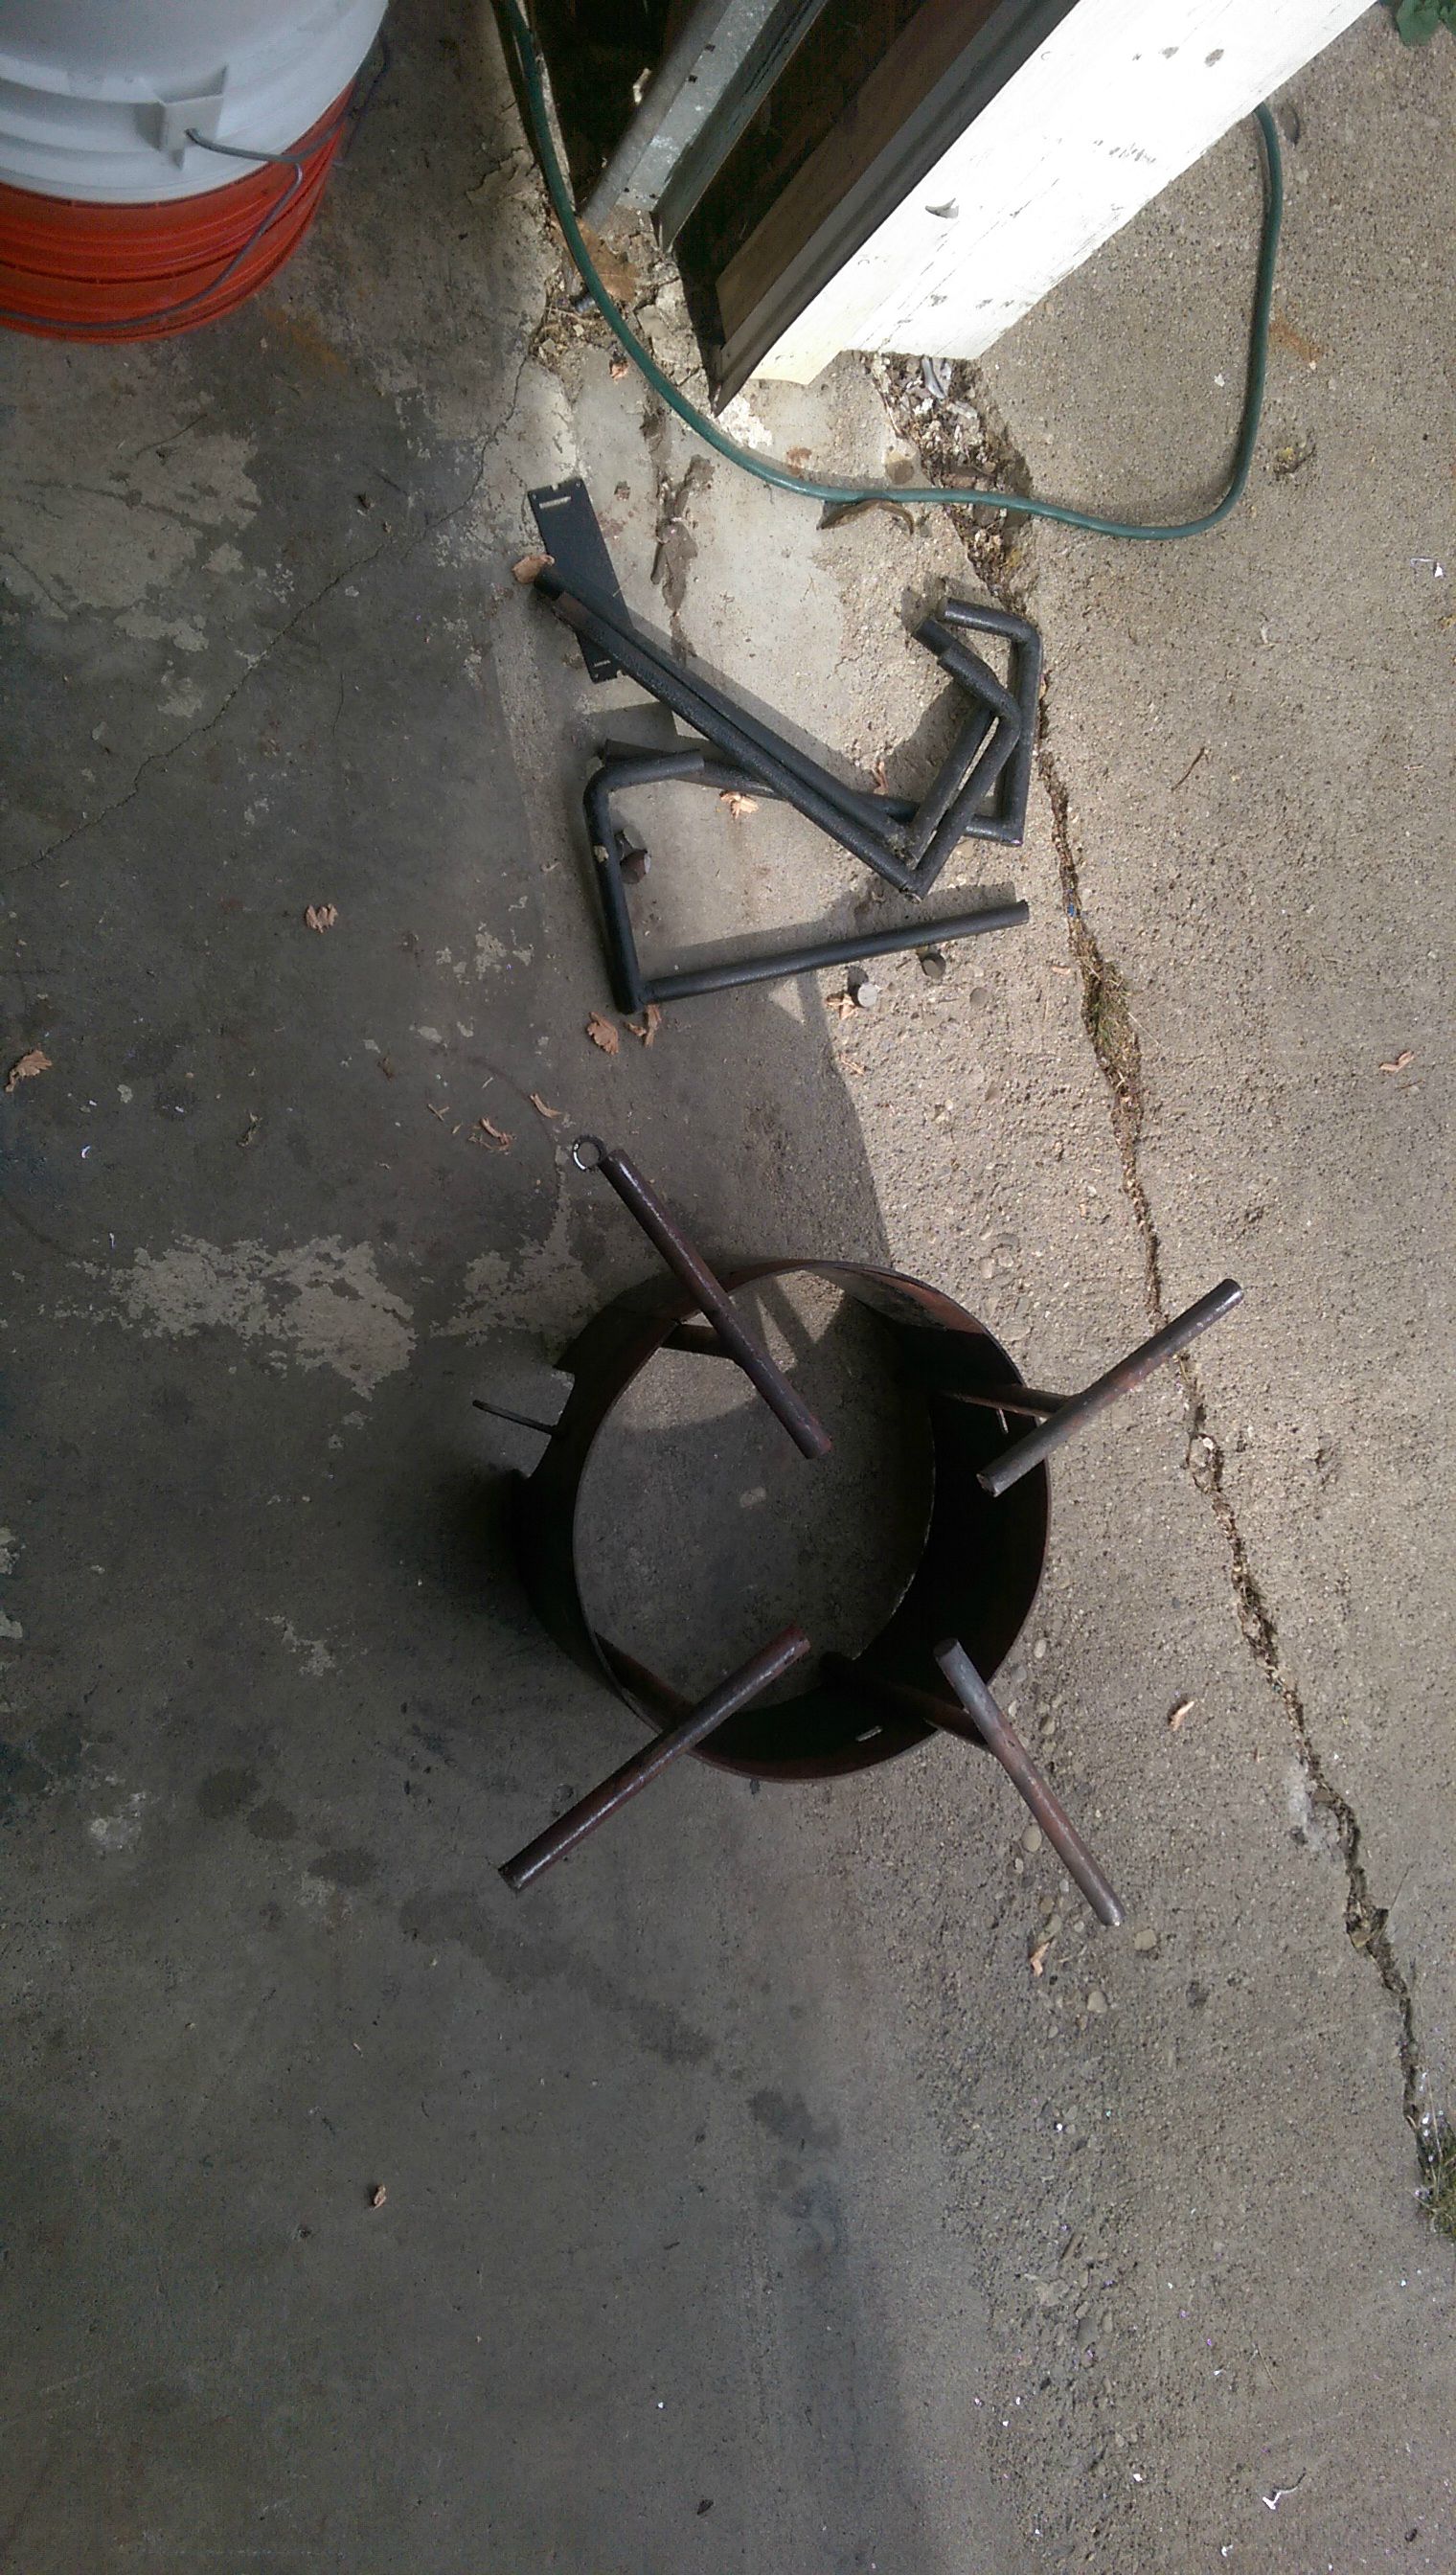
I butchered my banjo burner to make it fit into the new frame as well. At this point there was no going back to my old setup.
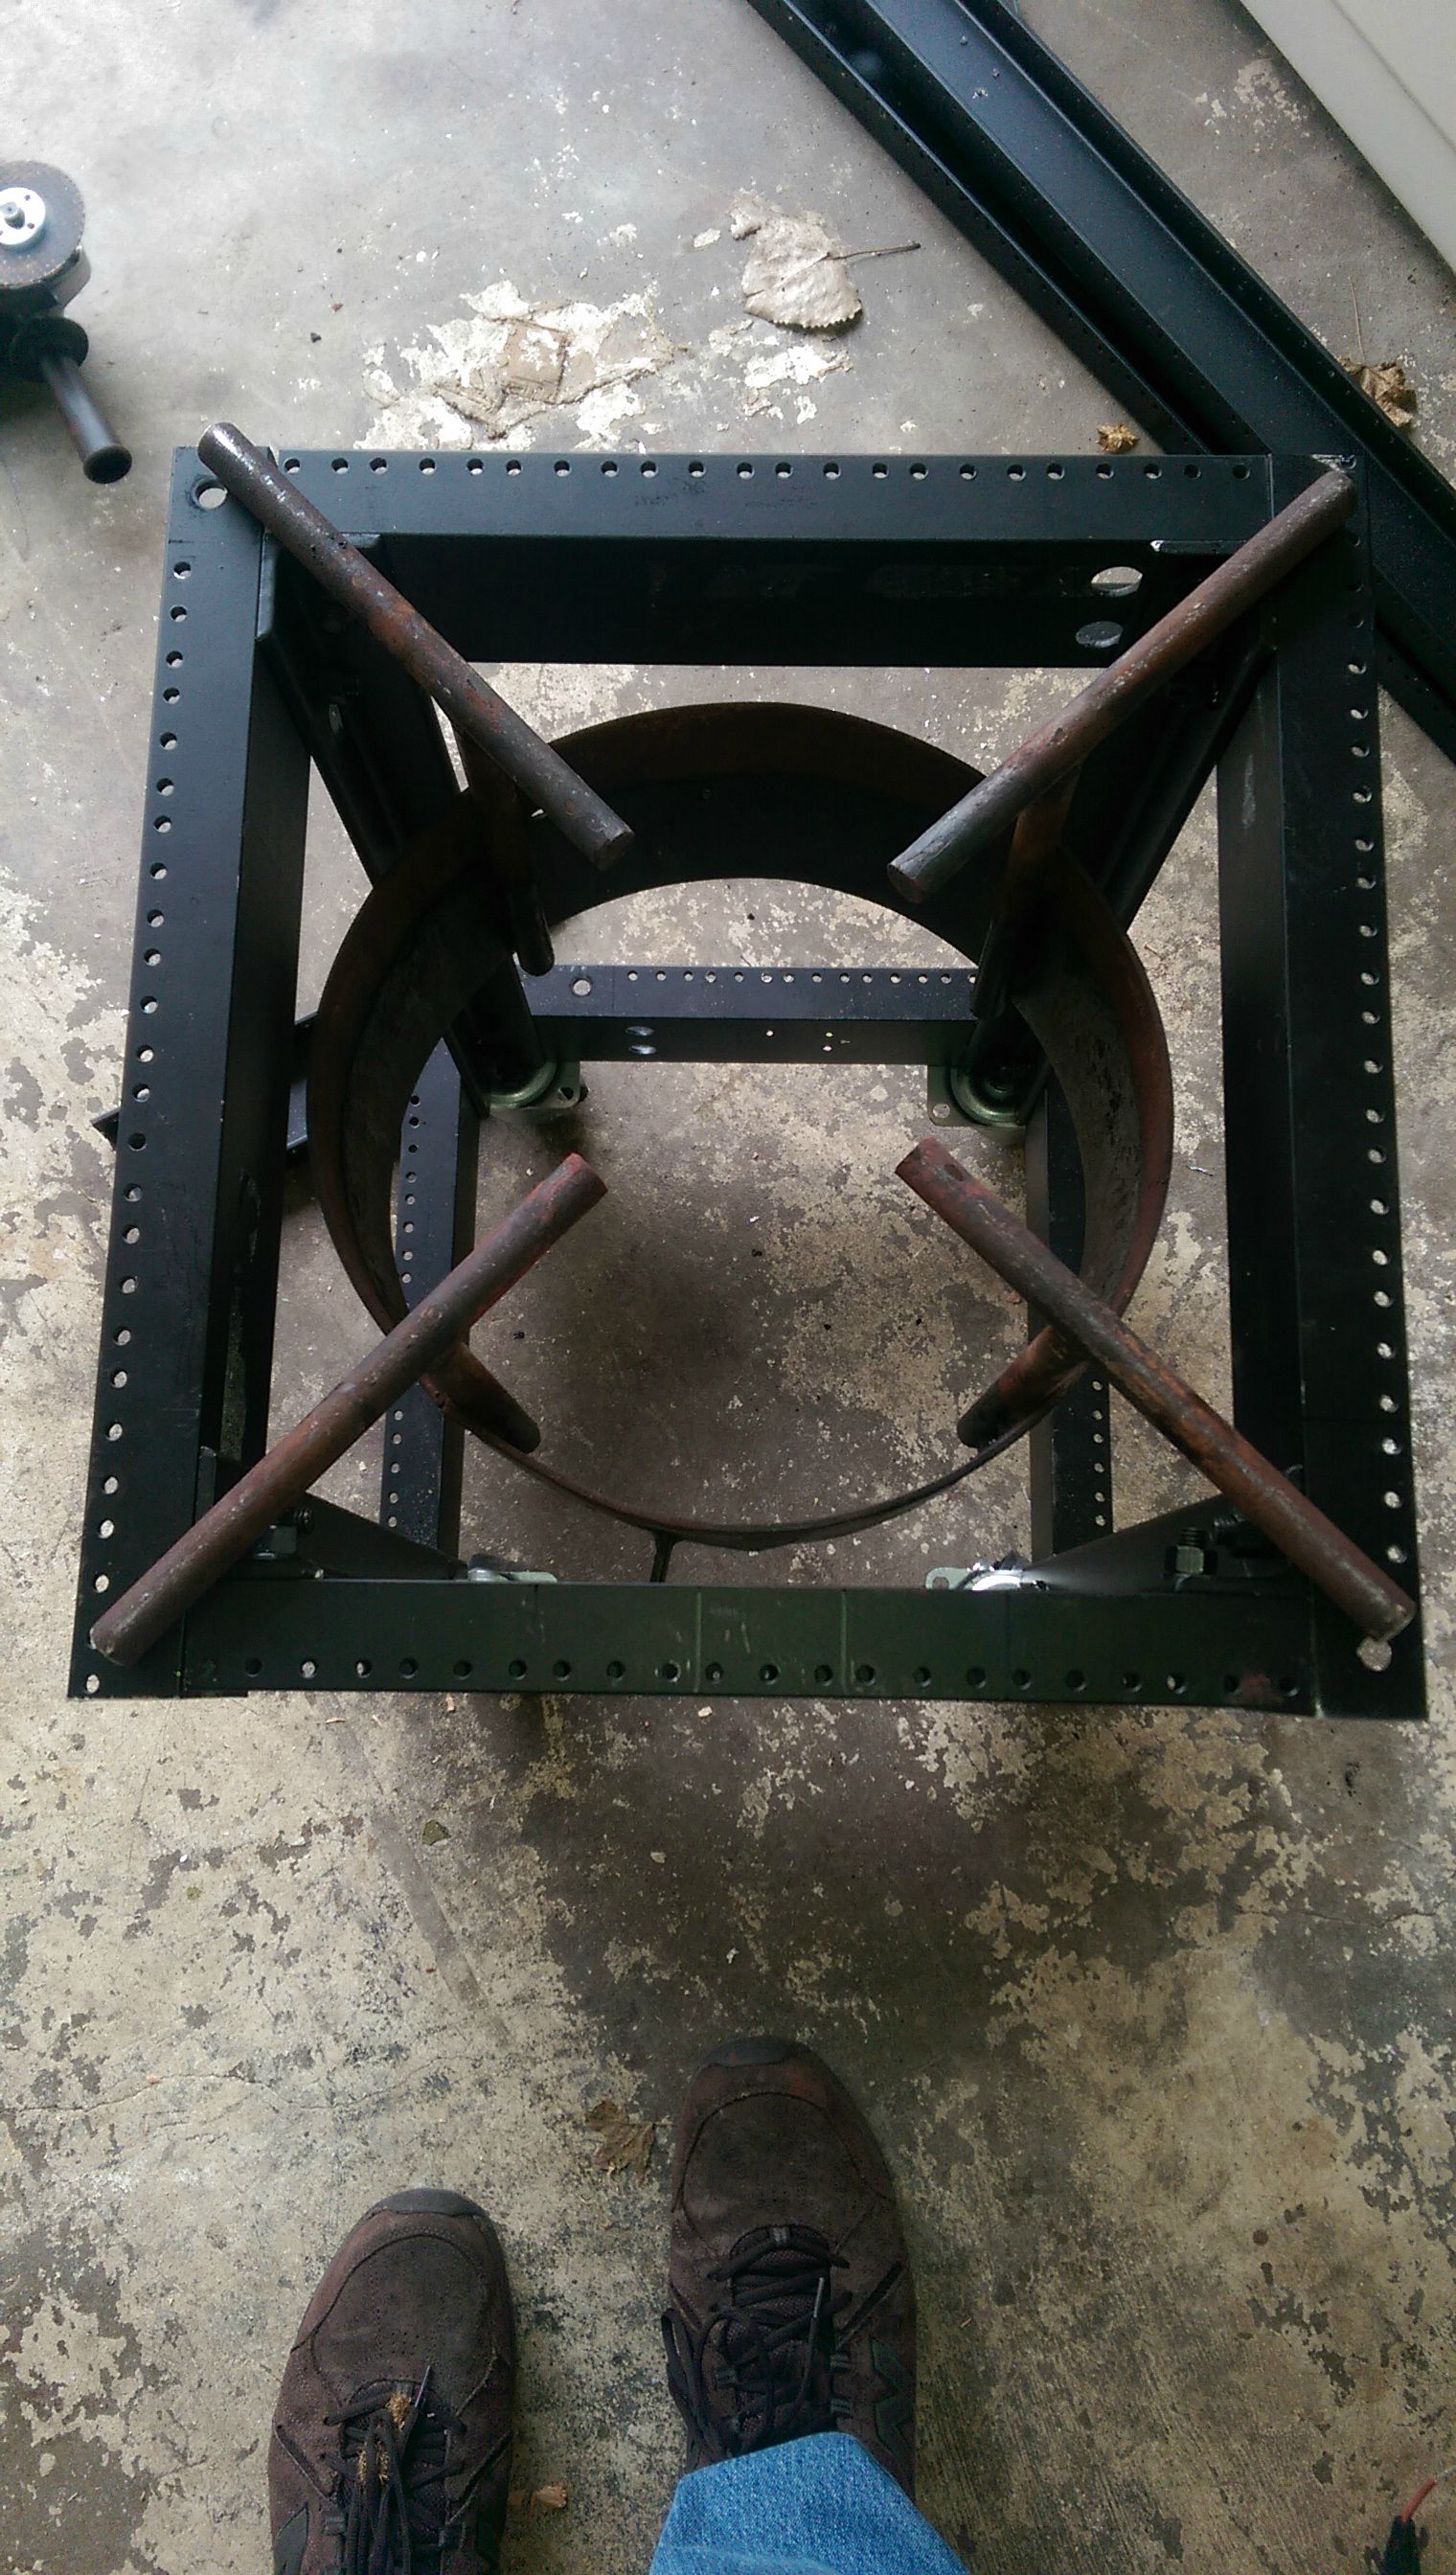
Test fitting the banjo frame and heat shield. This might actually work.
Banjo burner bolted down and burner itself installed back into the heat shield. All I did was grind down an inch or so of the metal bar from the burner to accommodate a bolt all the way through to the frame.
I was worried the entire time that the aluminium wouldn't be able to hold up to the heat, so the first chance I got I fired up the burner with a kettle of water and ran it through the rest of my propane. Infrared thermometer showed about 800* at the hottest part of the aluminium. I think I'll be fine.
My existing RIMS setup needed some modifications for it to fit neatly onto the new frame. I think this is the strangest looking RIMS tube I've seen yet.

RIMS mounted to the frame using some conduit hangers. Since taking this picture I actually modified it again and rotated the output of the RIMS to point upward instead of back into the center of the frame since the output runs straight back up to the top of the kettle.
Here you can see the RIMS modification again as well as the mounting of the plate chiller to the frame.
The pump is mounted on the "front" of the stand and mounted directly to that is a 3-way valve which can be used to direct the flow of wort through either the RIMS or to the plate chiller. This allows all the components to be "hard plumbed" in a sense, meaning I dont ever have to move hoses around during brewing.

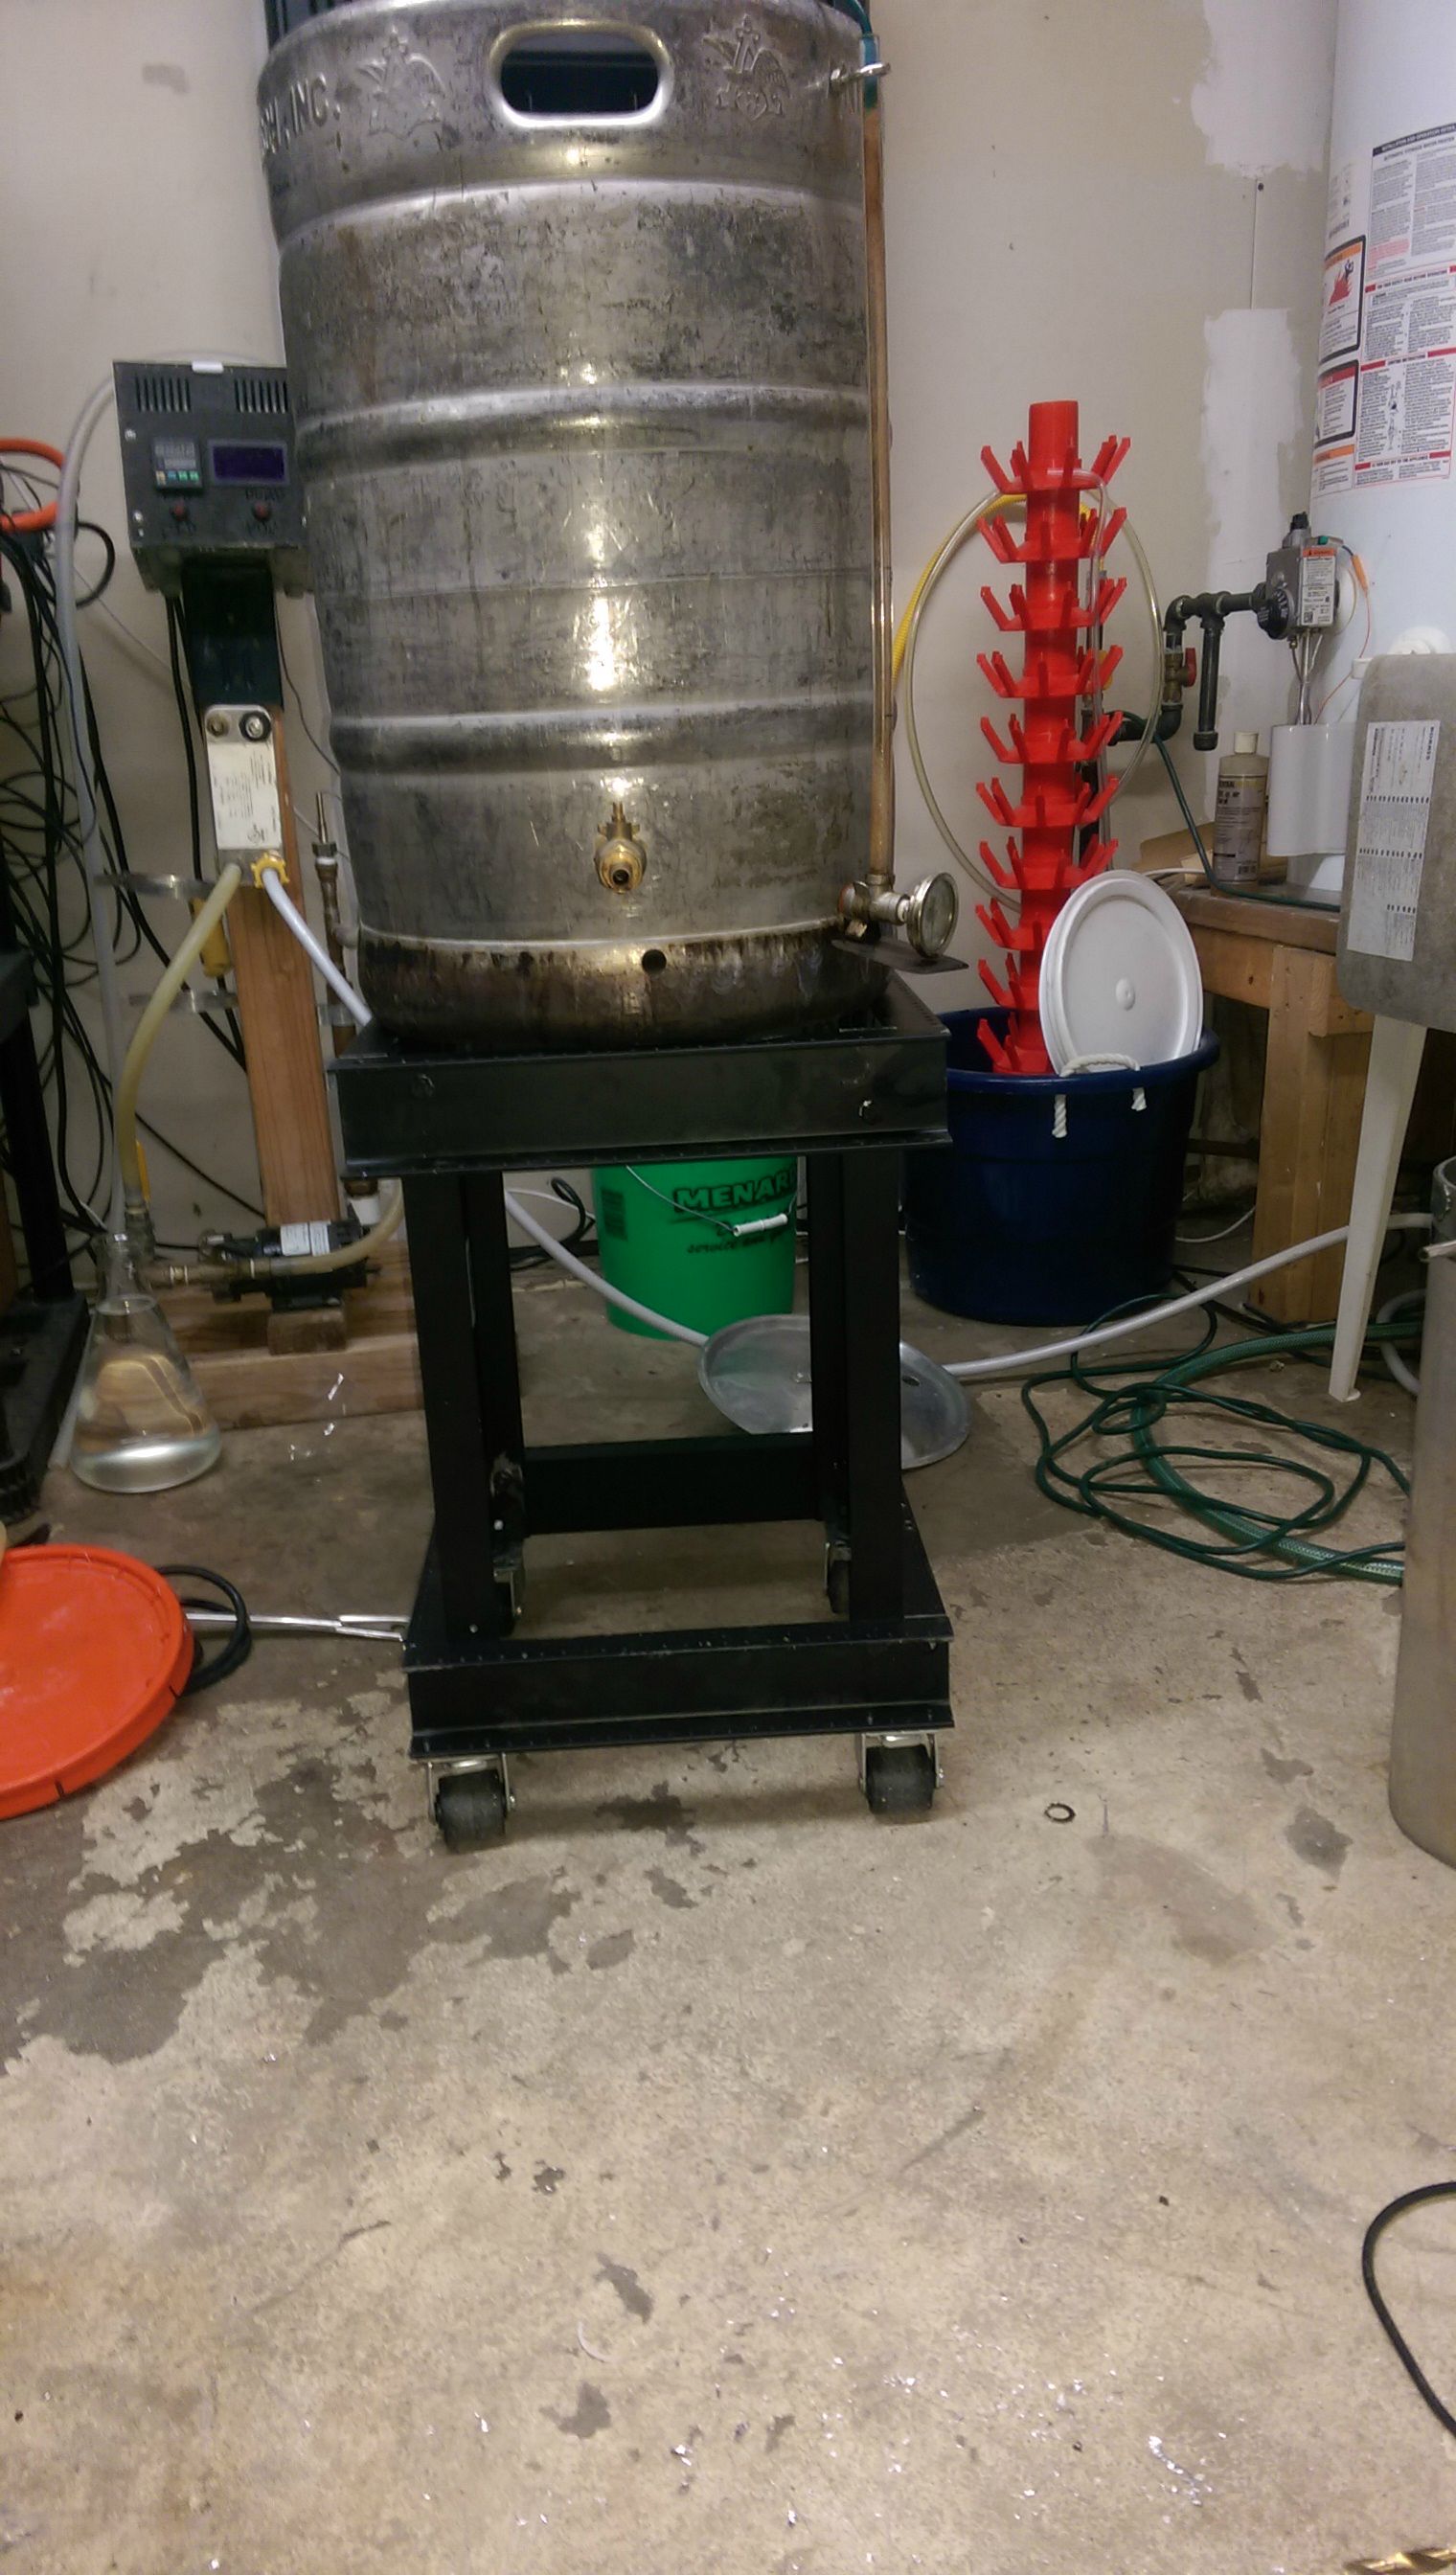
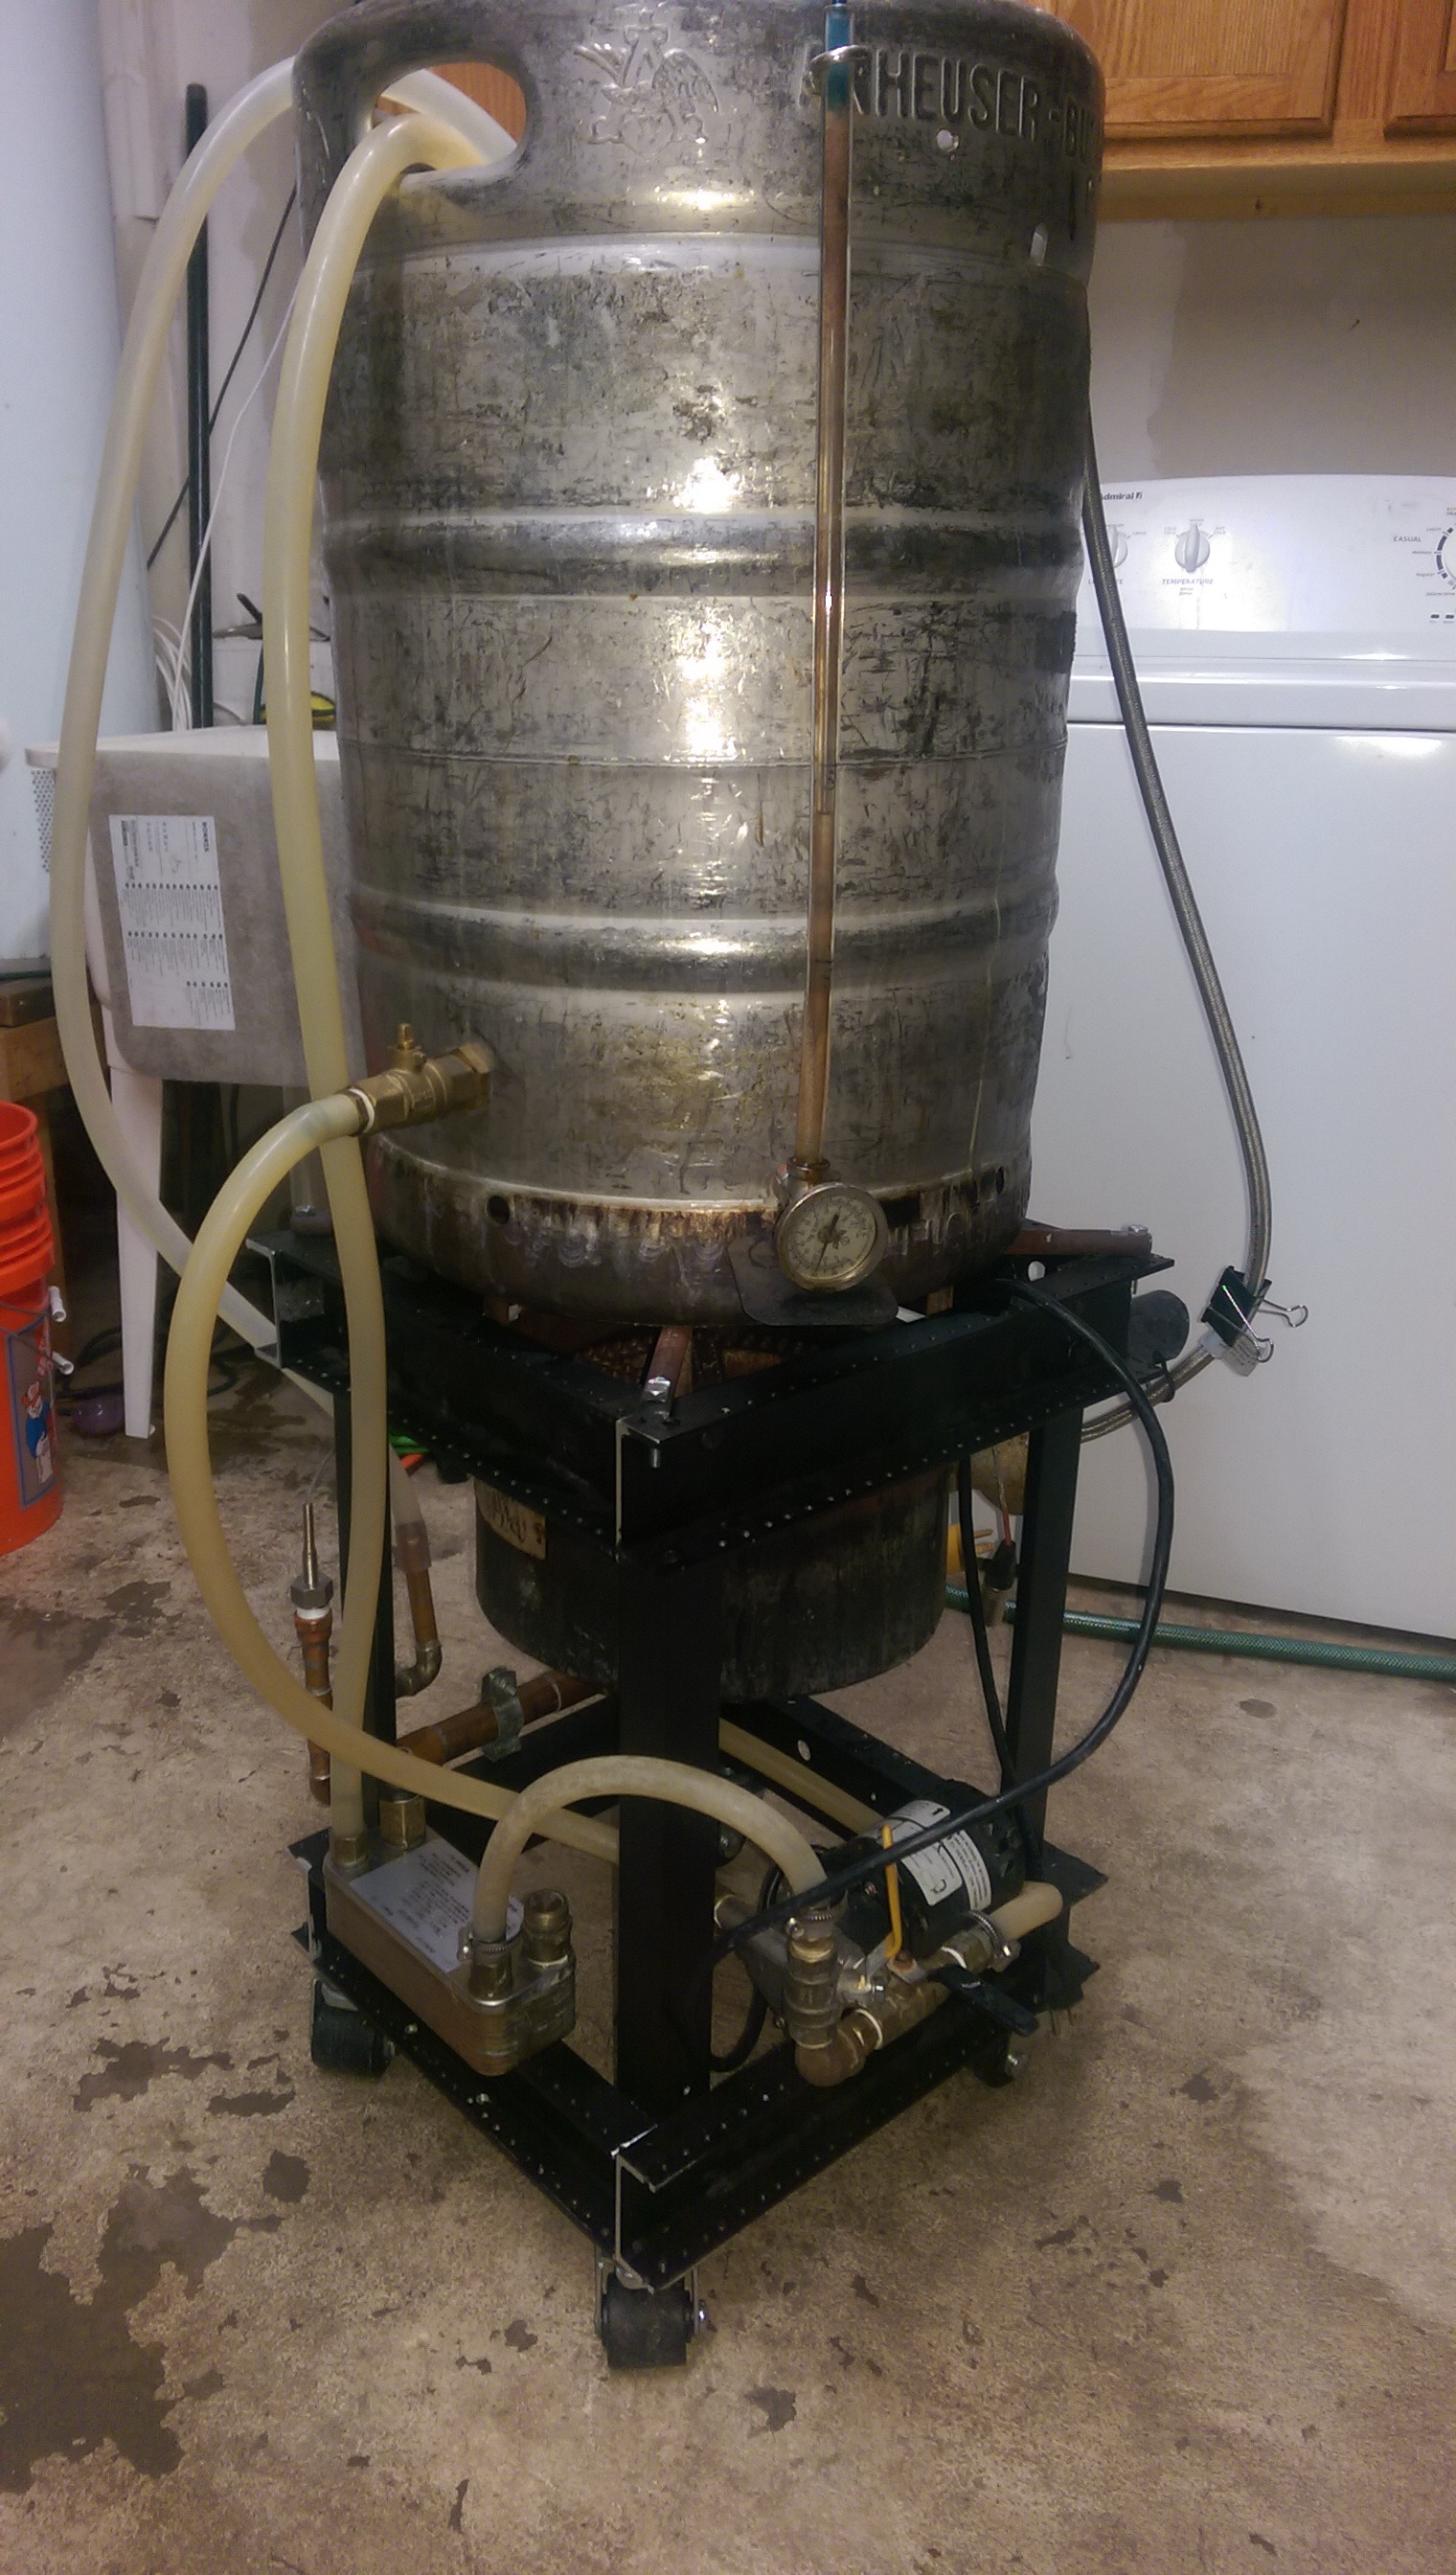
She's done for now! I still want to come up with a way to mount he RIMS controls to the rig itself, but the heat worries me as well as mixing electrical and water so for now the control box will be separate from the stand as a whole.
I may also add a winch and arm to the rig for pulling the bag out of the kettle at the end of the mash, but for now the hook in my garage ceiling works just fine for that as well.
I think the pictures are slightly deceiving in that the stand looks much taller than it is. it is about 19" tall without the wheels and is about 16" deep and wide. I really think the risk of tipping is minimal, and certainly much less than that of my old brew rig with hoses and cables going everywhere. I will be brewing with the rig this weekend so I'll report back after a real functional brewing test!
Here was my existing setup. Basically a wooden post that I built to mount he pump, RIMS tube, water filter, and plate chiller. On top of the rig is the control box I built with cheap ebay PID controller and a couple of switches to turn the pump on or off.
This is what I butchered to build my new brewing stand.
Had to buy this sucker because my cuts with the angle grinder were significantly less than perfect.
Cutting, drilling the pieces
Starting to take shape. Because of the shape of the raw material it was somewhat difficult to actually construct using just nuts and bolts. The solution I came up with was to use the 90 degree angle pieces to actually hold everything together. It worked out well.
About halfway done. In this pic the stand is actually upside-down. I wanted to make sure that the keggle would actually fit on it and that my measurements are correct
Wheels attached. They are just screwed in from the bottom. The wheels came from an HP 42U server cabinet so I know they will have no problem supporting the weight.
It is coming along. A couple more pieces cut and assembled.
The final pieces being clamped and bolted on.
It supports the keg full of water as well as my entire body weight! I'd say its strong enough.
I butchered my banjo burner to make it fit into the new frame as well. At this point there was no going back to my old setup.
Test fitting the banjo frame and heat shield. This might actually work.
Banjo burner bolted down and burner itself installed back into the heat shield. All I did was grind down an inch or so of the metal bar from the burner to accommodate a bolt all the way through to the frame.
I was worried the entire time that the aluminium wouldn't be able to hold up to the heat, so the first chance I got I fired up the burner with a kettle of water and ran it through the rest of my propane. Infrared thermometer showed about 800* at the hottest part of the aluminium. I think I'll be fine.
My existing RIMS setup needed some modifications for it to fit neatly onto the new frame. I think this is the strangest looking RIMS tube I've seen yet.
RIMS mounted to the frame using some conduit hangers. Since taking this picture I actually modified it again and rotated the output of the RIMS to point upward instead of back into the center of the frame since the output runs straight back up to the top of the kettle.
Here you can see the RIMS modification again as well as the mounting of the plate chiller to the frame.
The pump is mounted on the "front" of the stand and mounted directly to that is a 3-way valve which can be used to direct the flow of wort through either the RIMS or to the plate chiller. This allows all the components to be "hard plumbed" in a sense, meaning I dont ever have to move hoses around during brewing.
She's done for now! I still want to come up with a way to mount he RIMS controls to the rig itself, but the heat worries me as well as mixing electrical and water so for now the control box will be separate from the stand as a whole.
I may also add a winch and arm to the rig for pulling the bag out of the kettle at the end of the mash, but for now the hook in my garage ceiling works just fine for that as well.
I think the pictures are slightly deceiving in that the stand looks much taller than it is. it is about 19" tall without the wheels and is about 16" deep and wide. I really think the risk of tipping is minimal, and certainly much less than that of my old brew rig with hoses and cables going everywhere. I will be brewing with the rig this weekend so I'll report back after a real functional brewing test!
