OP
OP
Carlyle
Well-Known Member
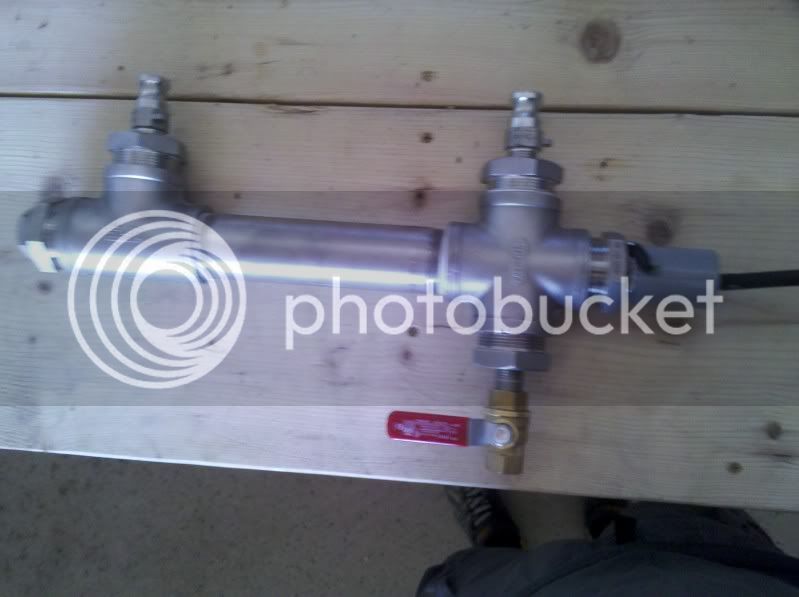
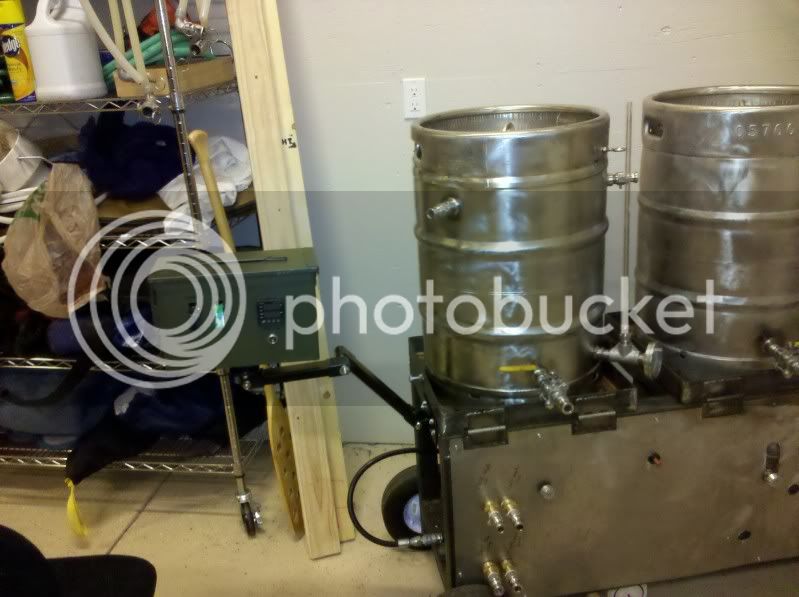
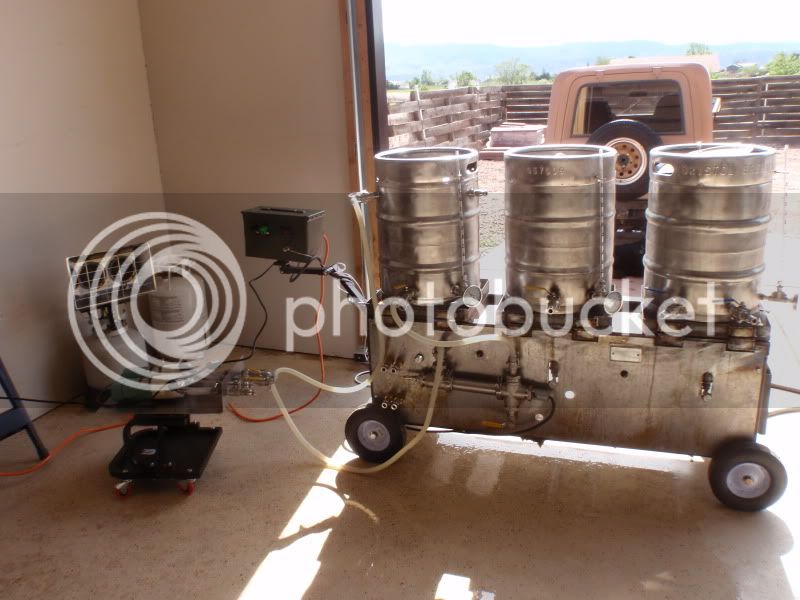
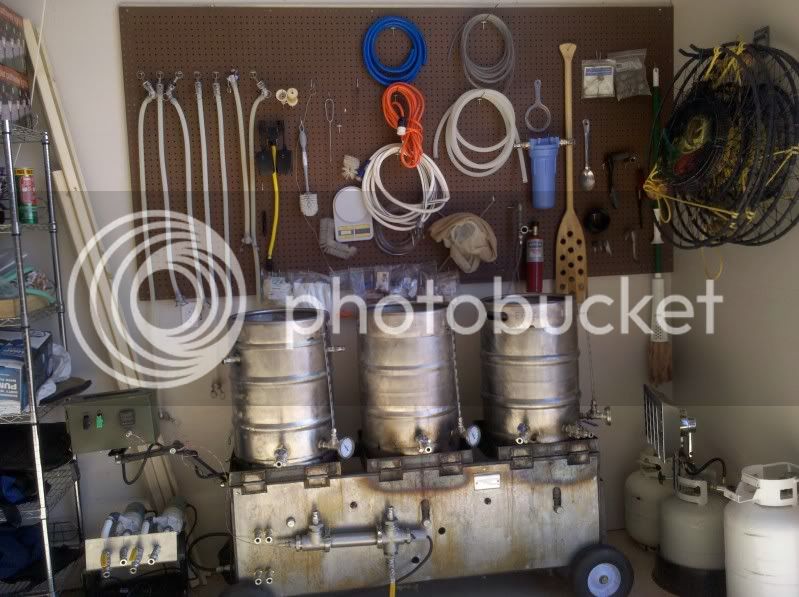
As the brew stand unfolds it has become a natural progression at this time to install a Rims unit and a controller. I searched the HB forums for quite a while and finally contacted Paul aka stlbeer who built his own system form scratch and was gracious enough to agree to build one for me as well.
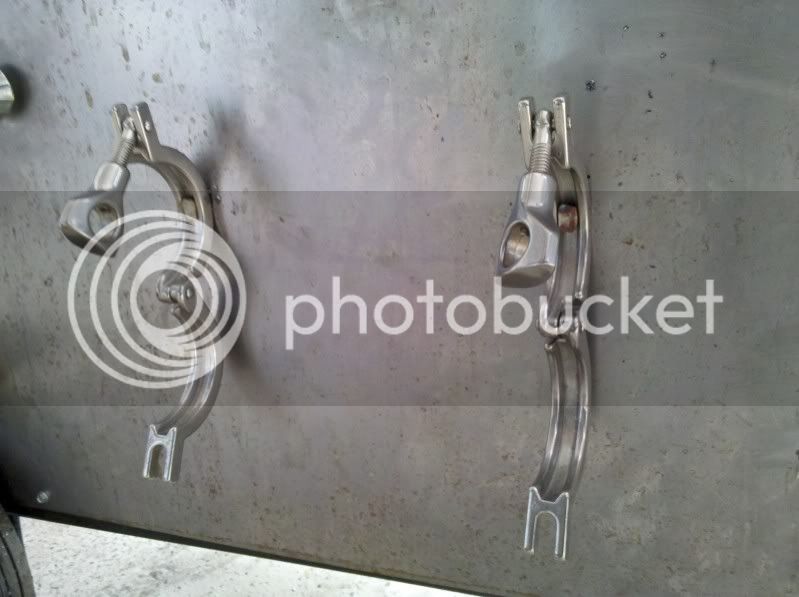
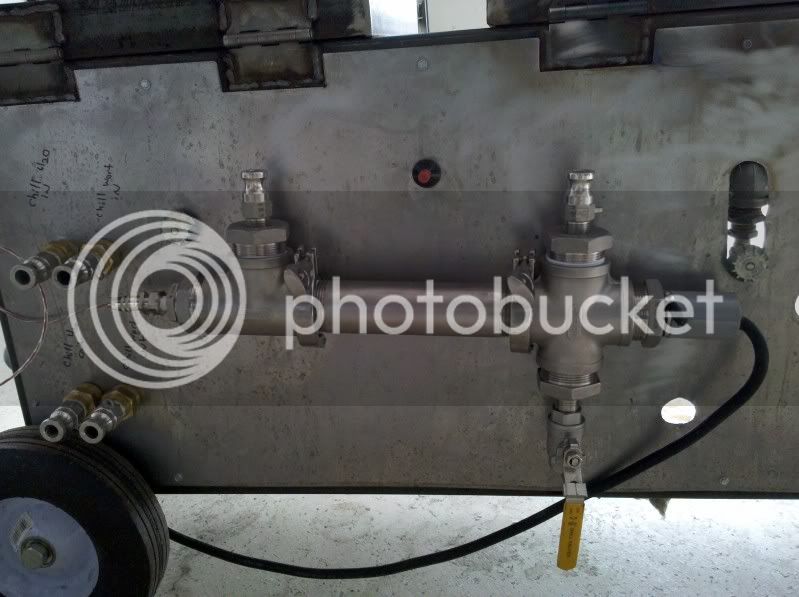
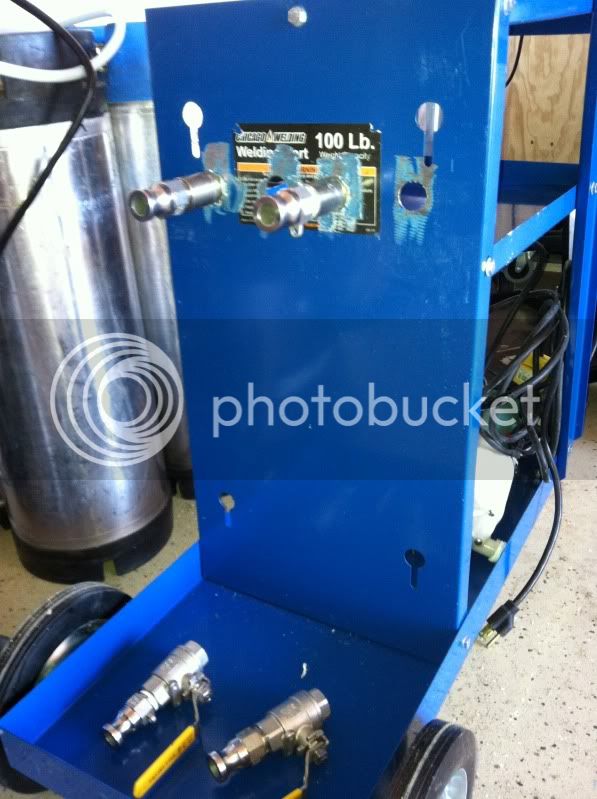
Paul began the procedure and slowly put the project together.
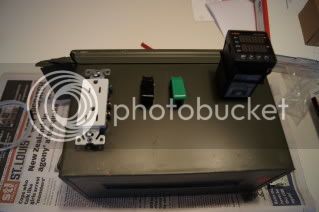
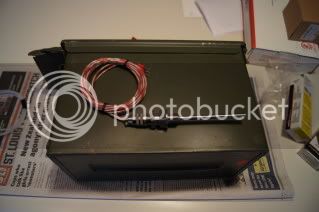
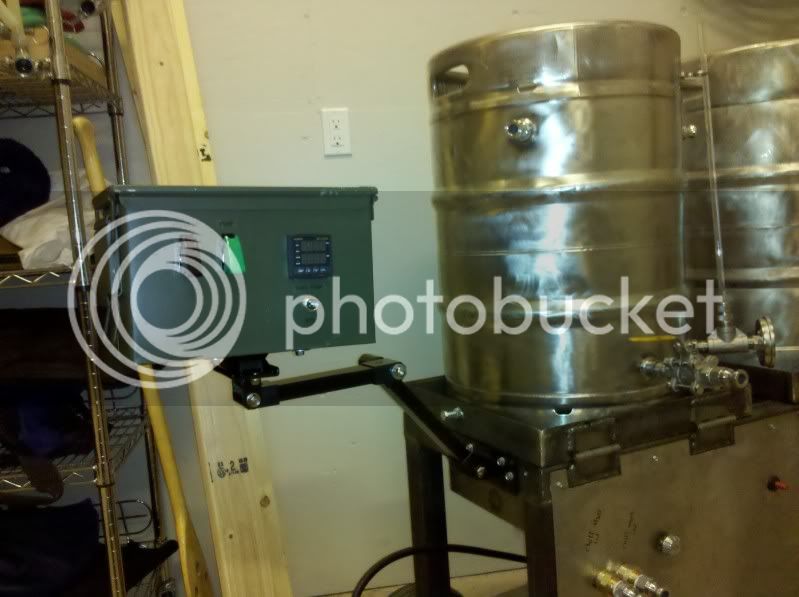
Using a ammo can as the control box was ingenious. Sturdy, water resistant and oh so good looking. What better combination than beer and 50 cal ammo...
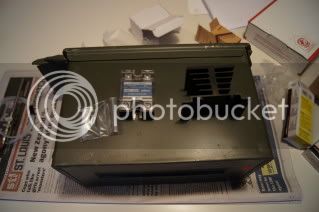
Paul began the procedure and slowly put the project together.
Using a ammo can as the control box was ingenious. Sturdy, water resistant and oh so good looking. What better combination than beer and 50 cal ammo...