Knockout punch usage

Homebrew Talk - Beer, Wine, Mead, & Cider Brewing Discussion Forum

Help Support Homebrew Talk - Beer, Wine, Mead, & Cider Brewing Discussion Forum:

This site may earn a commission from merchant affiliate links, including eBay, Amazon, and others.

hezagenius

Supporting Member
HBT Supporter
Joined
Oct 23, 2008
Messages
2,728
Reaction score
4,002
Location
Iowa
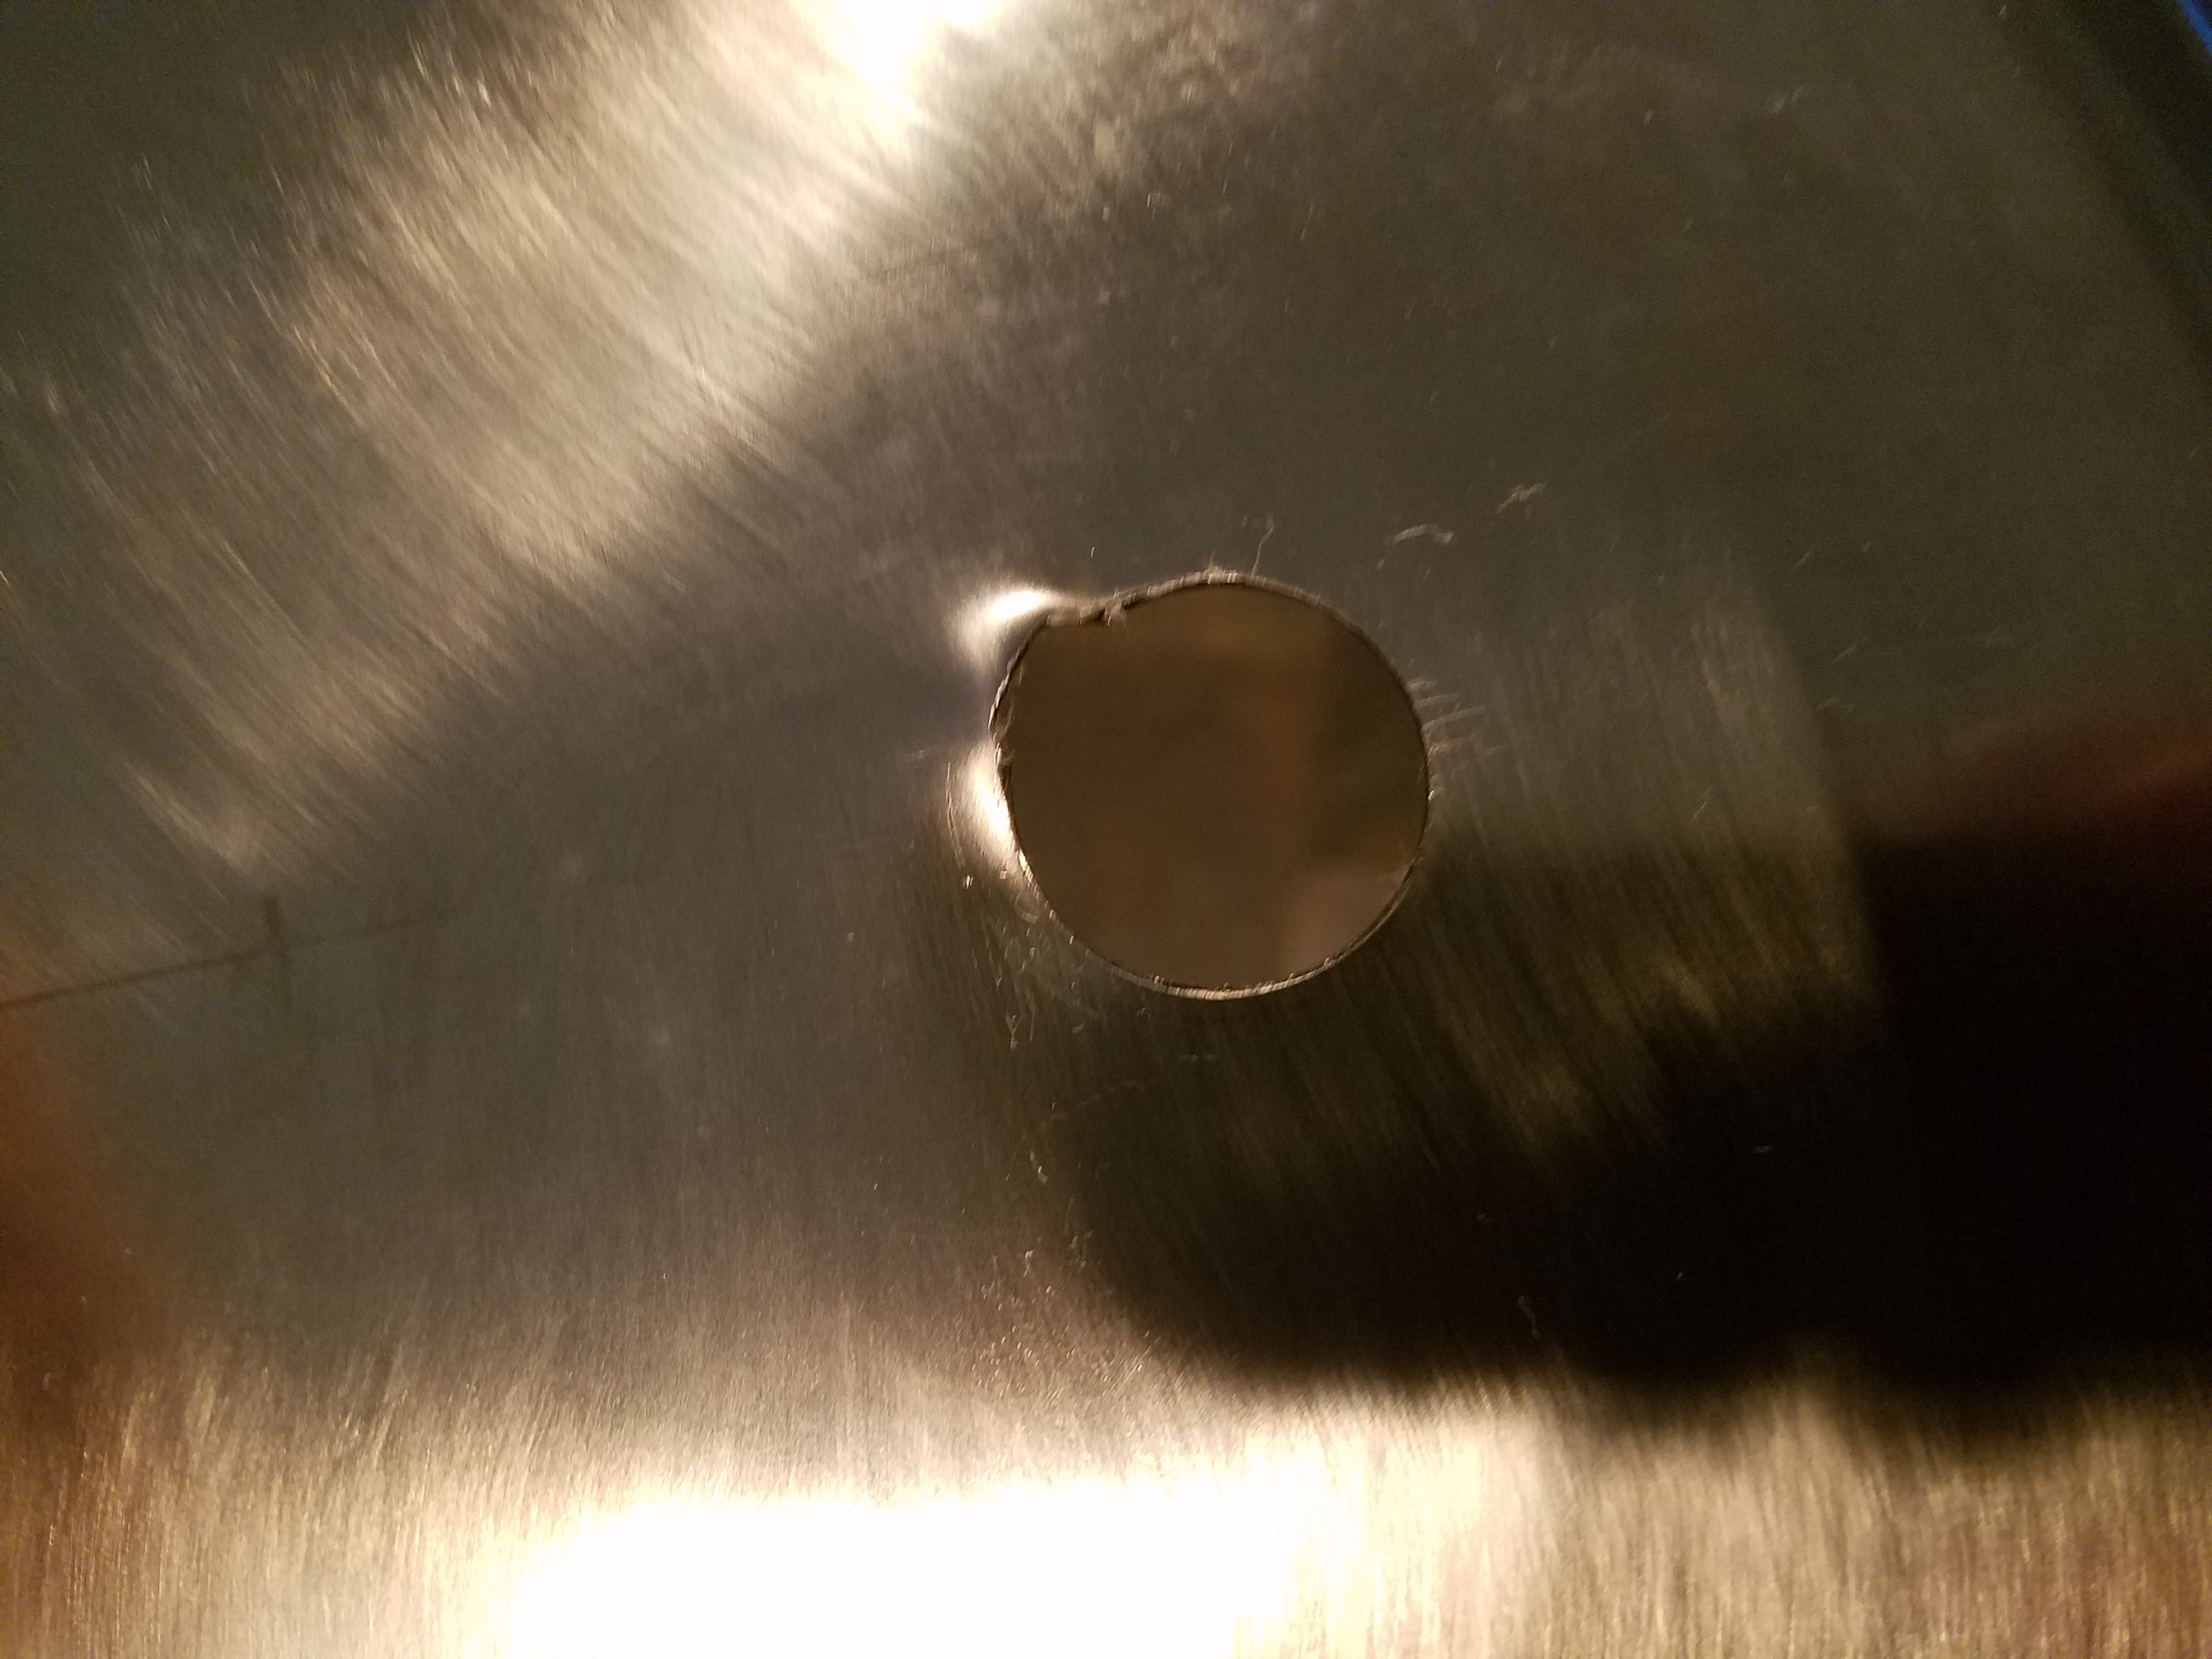
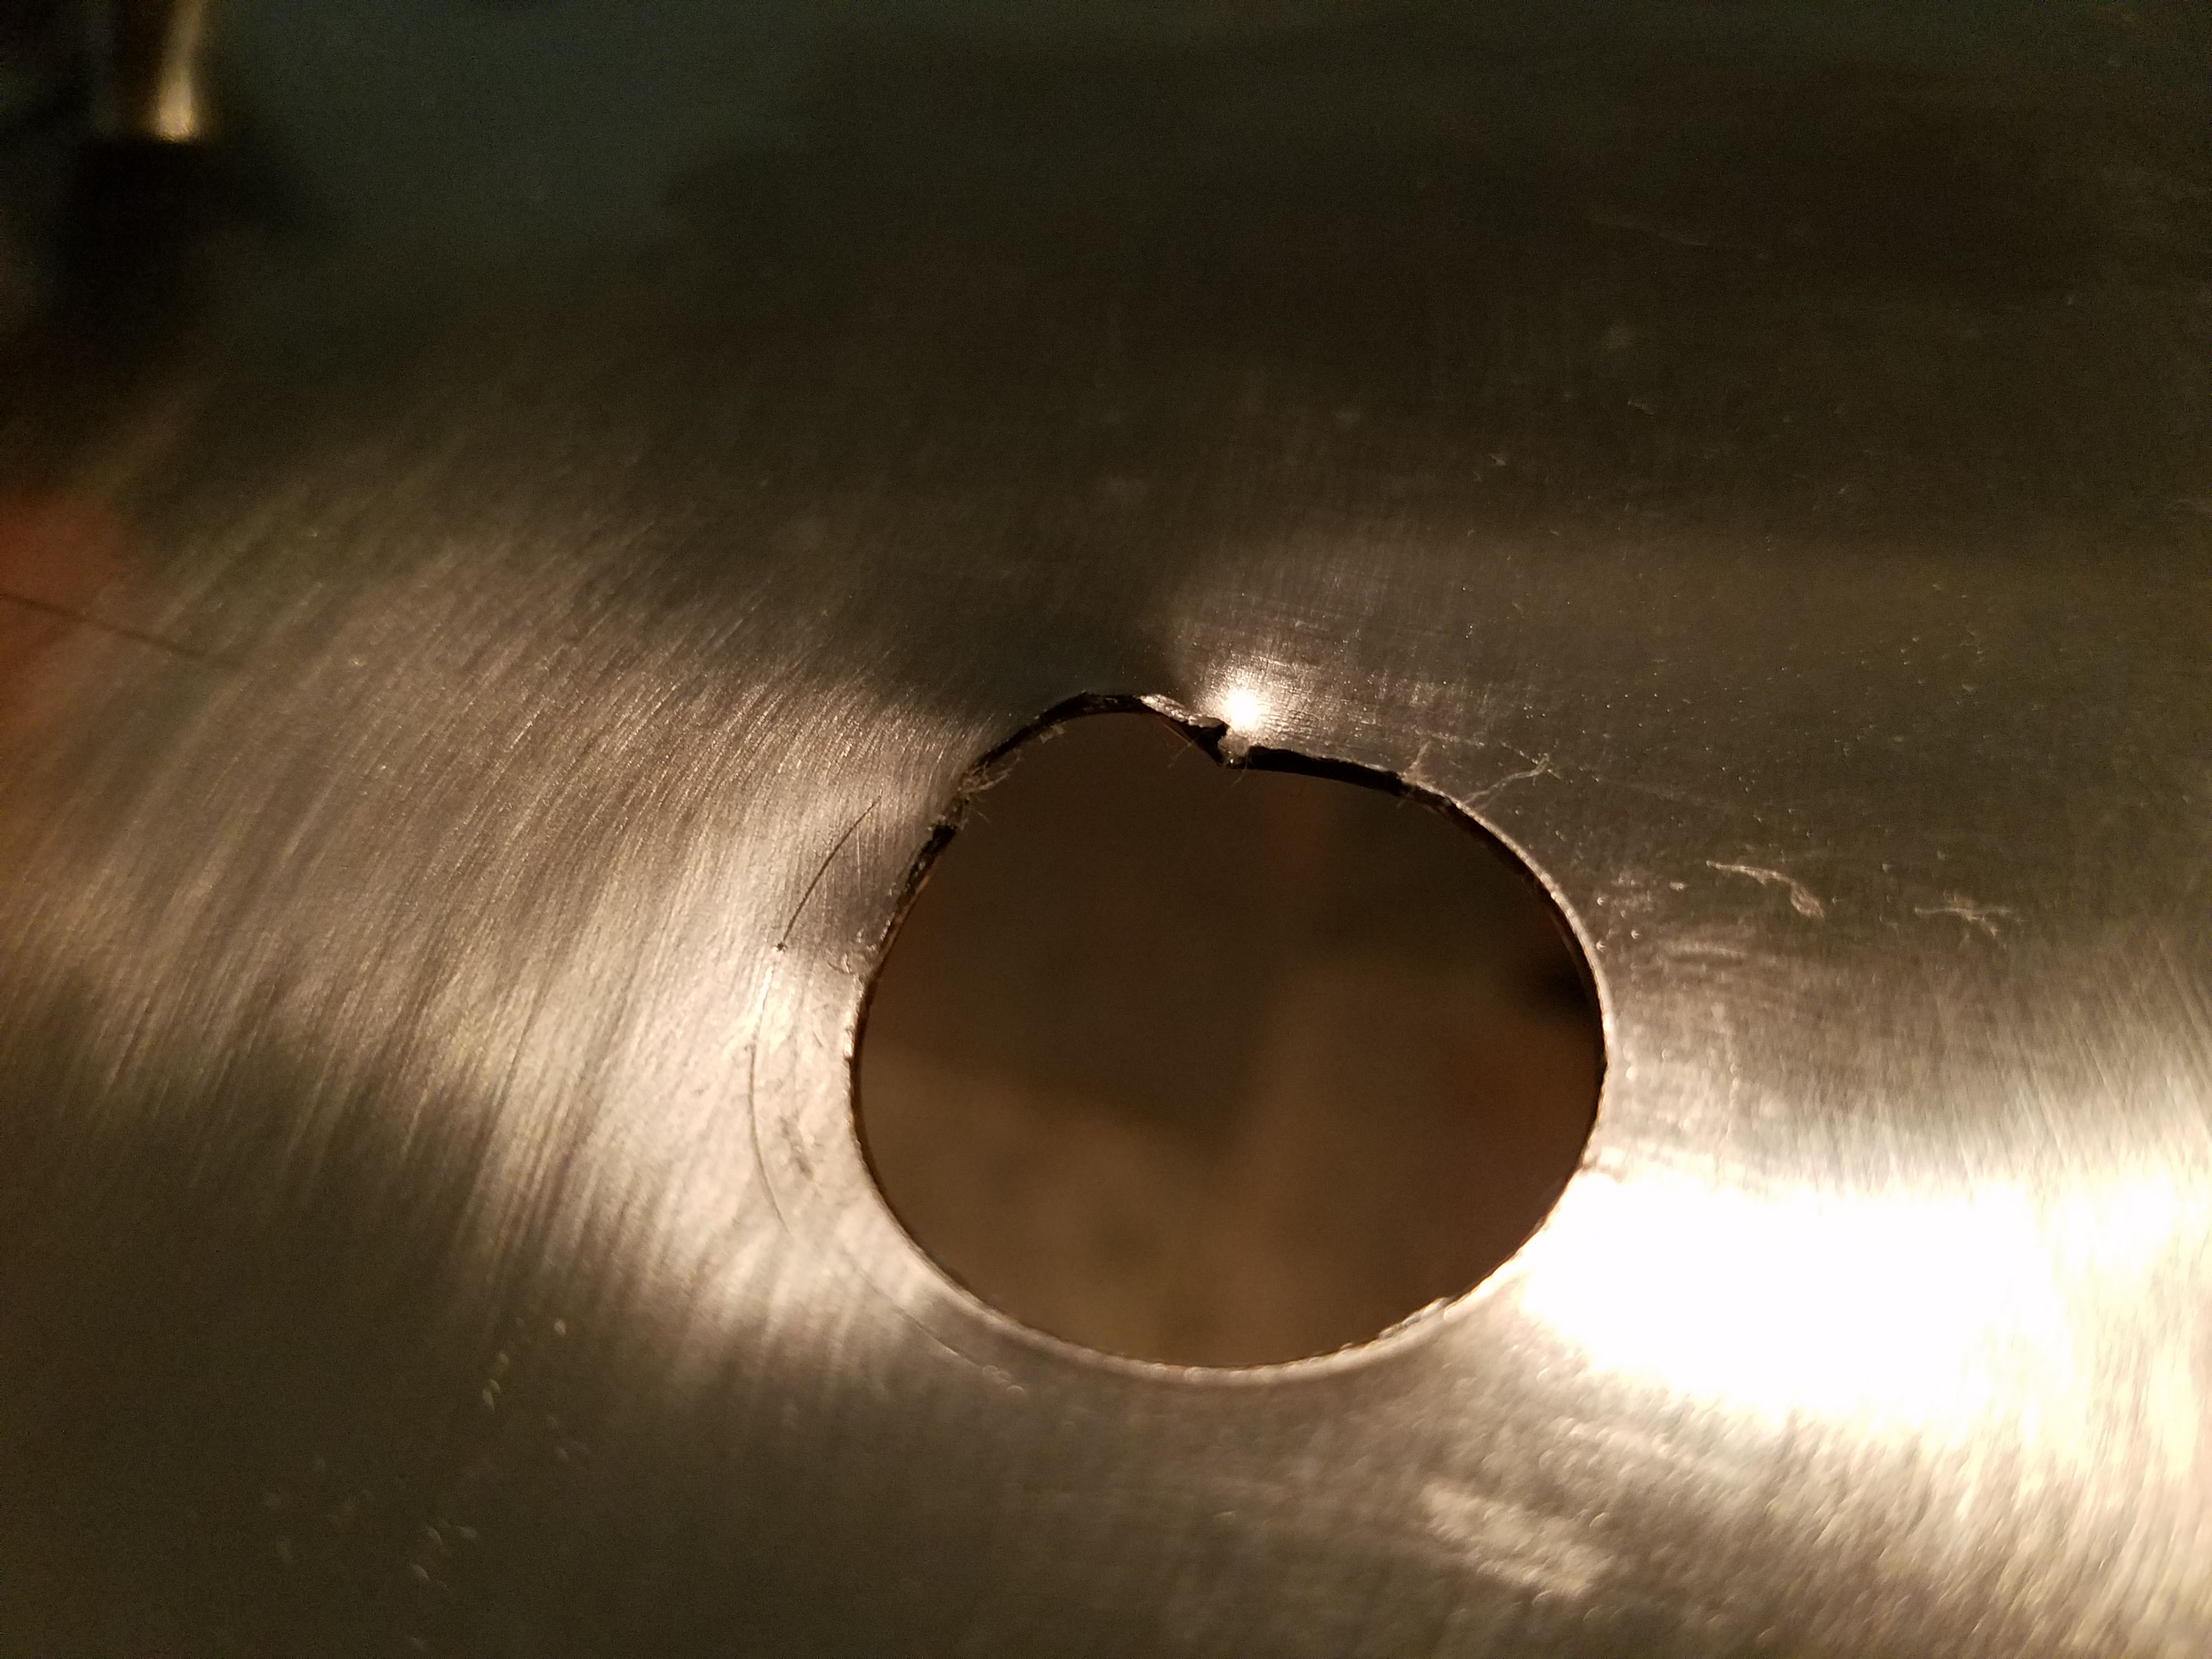
Going to put a hole for 1/2 NPT fittings in my kettle lid for eBIAB recirculation and I have a few questions. I bought 13/16 and 7/8 punches just in case but I think I will use the 7/8.

In terms of getting a clean cut, is it better to use a drill or a ratchet with a knockout punch?

If a drill is recommended, would a low speed be preferable to a high speed?

Is cutting oil recommended?
 
Punches need a socket wrench not a drill. Go slow and well lubricated.

For the pilot hole use a very, very slow drill, plenty of cutting oil and lots of pressure so you actually see the metal cutting away. Especially on stainless.
 
Thanks. Already got the 3/8 hole drilled for the draw stud. I just wanted to make sure I didn't bollocks up the knockout hole.
 
Welp, that didn't work out. I heard one side pop but the other side took forever to break. When it did, the hole was all #$%^ed up and the slug is wedged in between the 2 parts of the knockout. That side just didn't give so it bent or stretched until it finally gave. So I ended up with a jacked up hole and a knockout punch that no longer works. Cool. I guess I could buy a bigger KO punch and try to make a better hole and then plug it. Might as well try to find a new lid. Probably cheaper.

95BYAkJ.jpg


i1ErWAh.jpg
 
Check out this video. Slightly NSFW due to language. If you want to skip right to the knock-out part go to about 7:30
 
Man, I'd be pissed if that had happened to one of the (counts fingers) 10 holes I punched through my G1 kettles with a Greenlee.
Other than a defective set I can't picture how that particular pattern could happen, though I did position the cutter horizontally on each hole. I wonder if that matters or not.

On the up side, if that was a 13/16" punch it should still carry a bulkhead without issues, just use the flat silicone washers instead of o-rings and get a good squish on them. Otoh if that's a 7/8" hole it might not be quite as solid...

Cheers!
 
It's in the lid so it's not going to be an issue in terms of being watertight. And I checked it out with my fittings and it will do what I want so functionally, it's not the end of the world. It's more just really annoying. Brand new Greenlee punch. One side cut fine. The other side basically tore the metal. The torn piece is wedged between the cutting piece and the "cup" piece so the punch is now toast.

Maybe uneven pressure from ratcheting? That's about all I can think of unless it was just a weird defect in the metal in that spot.
 
yea, the only thing I can think of would be twisting due to the high torque on a single handle.

I wonder how much torque is needed for the sheering action. I have a 1/2 socket drive on a sliding handle which allows me to center it, but the handle is half as long on each side - I wonder if something like that would help.

I also wonder if using an impact wrench would be too much for this application, there are some that can apply a tremendous amount of torque (I'm looking at an 18v Makita that has some impressive numbers).
 
Step 1: smack a healthy dimple that will hold plenty of oil

kettles_03_sm.jpg


Step 2: Drill a pilot hole. I used a 3/16" cobalt twist bit at headway speed and lots of pressure. Curls are always a good sign.

kettles_04_sm.jpg


Step 3: Use a step bit to get to the hole size needed for the punch.

kettles_05_sm.jpg


Step 4: Assemble the punch. Again, I position the flukes to follow the perimeter as opposed to top/bottom orientation. I have no idea if that's important but I punched 10 holes through 5 Blichmann G1 kettles and they were all perfect.

kettles_06_sm.jpg


Et voila.

kettles_07_sm.jpg


Cheers!
 
Yes, a old 7.5v for the pilot hole then the 18v for the step bit and then s l o w l y turning the punch bolt using the lowest gear setting.
I will fully admit I had tight-sphincter syndrome until the first punch came out clean ;)
I had never used a Greenlee punch prior...

Cheers!
 
Well, I ordered a replacement lid that appeared to be very similar to the original. Hopefully that will fit the kettle. Then I can use the original lid to practice punching out holes! Maybe I'll just stick with step bit. The 3/8 pilot hole I made was perfect. It just needed a little deburring.
 
Is the original lid really ruined? Seems like you could hammer that flat (use something behind it for an anvil), and the imperfections would be hidden by the pipe fittings or lock nuts.
 
Is the original lid really ruined? Seems like you could hammer that flat (use something behind it for an anvil), and the imperfections would be hidden by the pipe fittings or lock nuts.

It's not ruined in terms of functionality, but my OCD will be tingling whenever I use it. I used a hex nipple, washers and a locknut to flatten it out a bit. I need to hammer it the rest of the way flat. Then dremel the ragged edges down.
 

Latest posts

Back
Top